

Ke'nai Shakah Shrine Guide – A Modest Test of Strength
Full walkthrough for Ke'nai Shakah Shrine in Akkala's Ulria Grotto: bomb the cracked rocks, beat the Guardian Scout III, and claim the Sapphire chest.
Where is Ke’nai Shakah Shrine?
The shrine is inside Ulria Grotto, on the eastern side of Akkala — the nearest landmark shrines are Dah Hesho to the northwest and Ne’ez Yohma (Zora’s Domain) to the west, with Kah Mael off to the northeast. There is no visible gate when you arrive: the entrance is a cave blocked by cracked rocks. The intended approach is to paraglide down into the grotto from above and break those rocks with Bomb Arrows fired in midair — miss that and you’ll wander the grotto wondering where the shrine went.
| Item | Detail |
|---|---|
| Trial | A Modest Test of Strength |
| Tower region | Akkala |
| Map-marker coordinates | 4195, 0856, 0336 |
| Shrine quest | None |
| Chests | 1 |
| Names | Ke’nai Shakah Shrine · 科尼‧希卡神廟 · 科尼·希卡神庙 |
What should you bring?
No runes, no shrine quest, no key items — this trial is purely about entry tools and combat prep. You need a bow and Bomb Arrows to blast open the cracked rocks hiding the entrance; without them you cannot get in at all. For the duel, bring a melee weapon with solid durability plus a spare, since the Guardian Scout III fight is one long exchange and it hits hard. A shield you trust for parries and a few healing meals round out the kit; no specific armor or resistance is required.
Video walkthrough
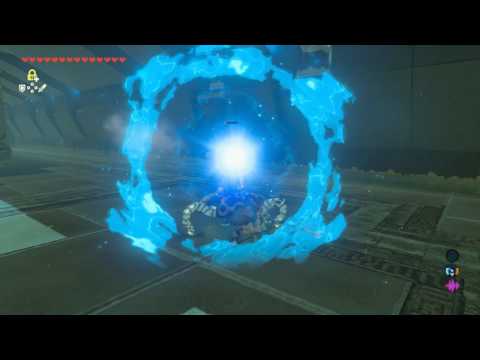
How do you solve Ke’nai Shakah Shrine?
Despite the ominous name, this trial is a single straight duel: walk to the center of the arena, destroy the Guardian Scout III, and the portcullis at the back of the room rises to let you through.
1. Break into the grotto
Stand on the high ground above Ulria Grotto and paraglide down into the grotto — the shrine is inside, but its gate is hidden from view.
As you glide, spot the cracked rocks sealing the cave mouth and shoot them with a Bomb Arrow while still airborne; the blast breaks them open and uncovers the shrine entrance.
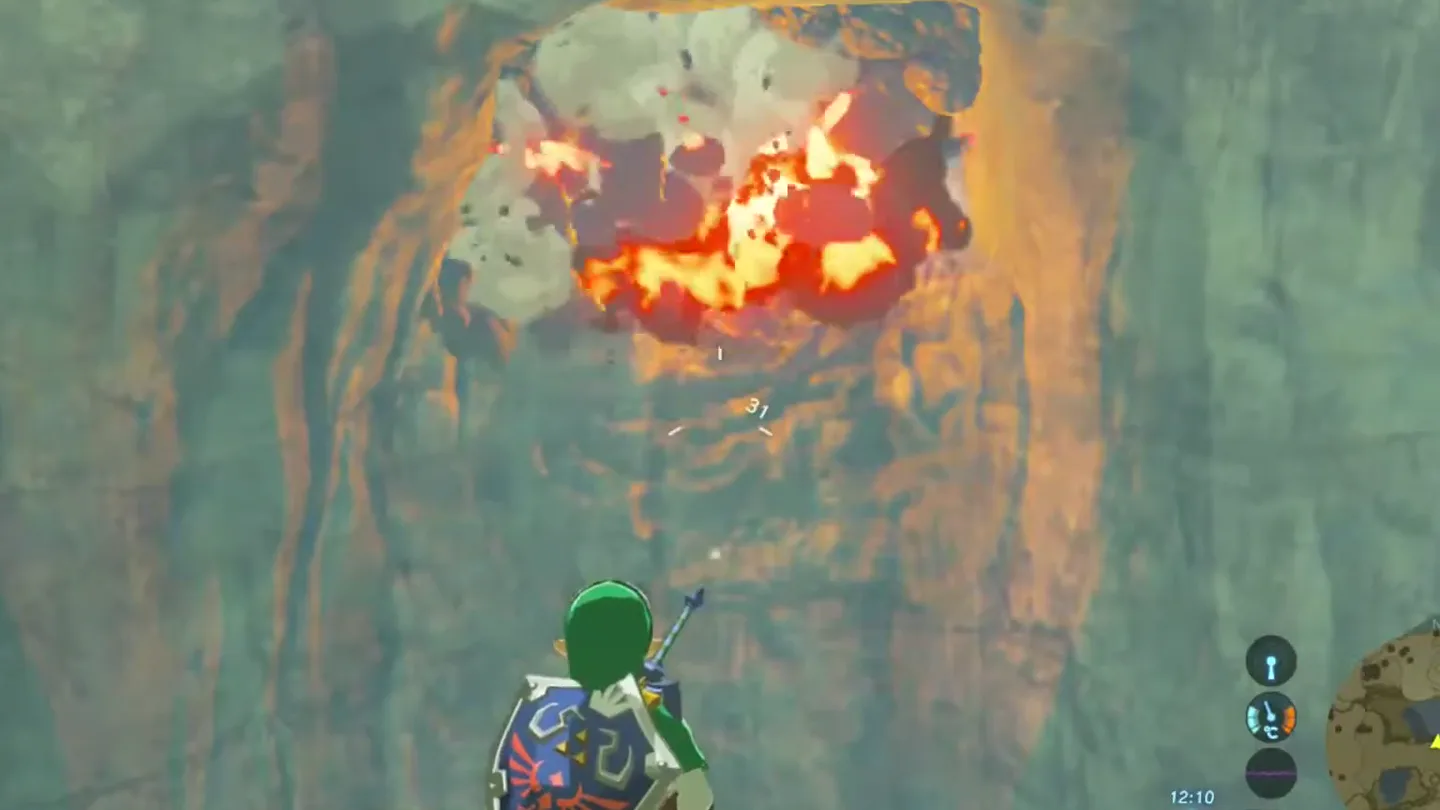
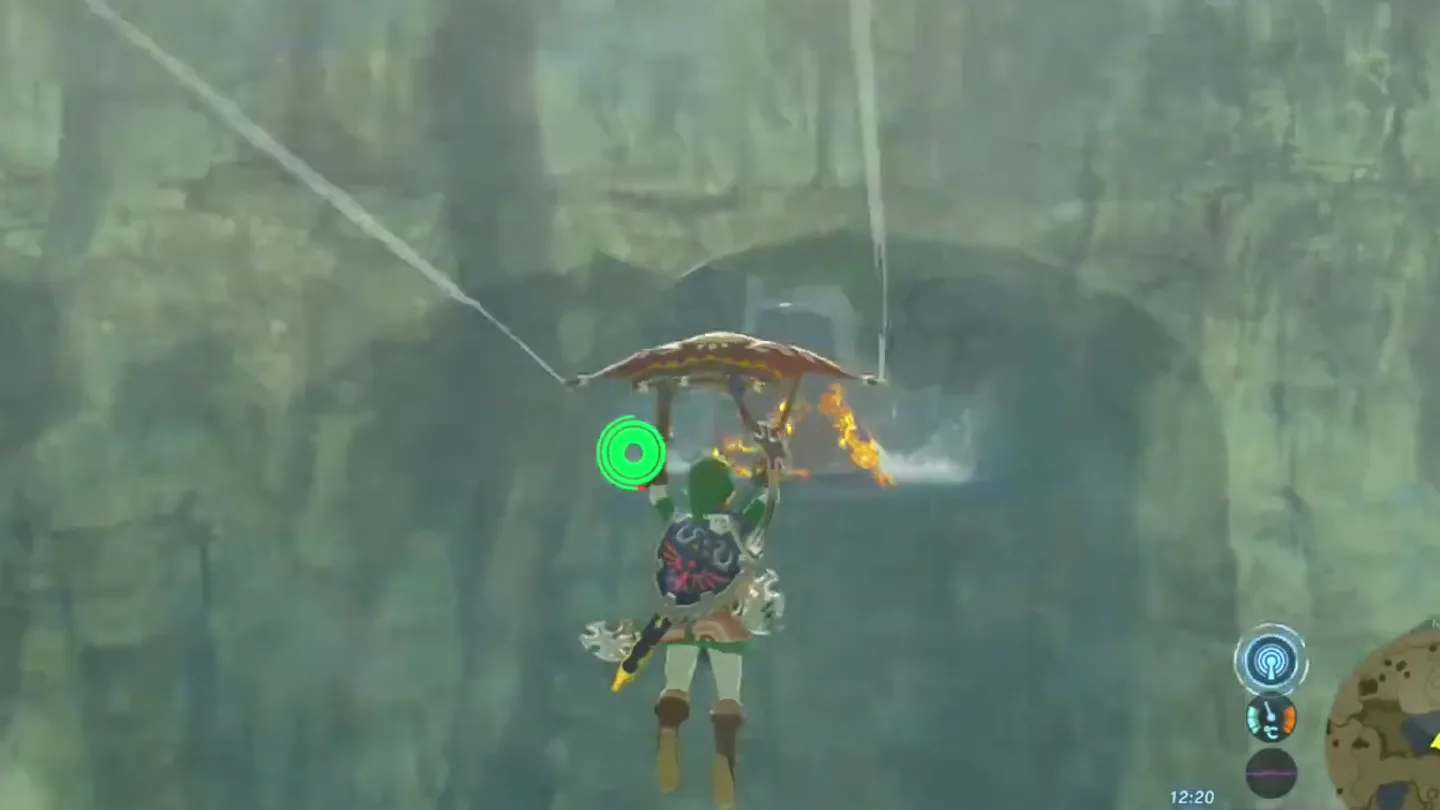
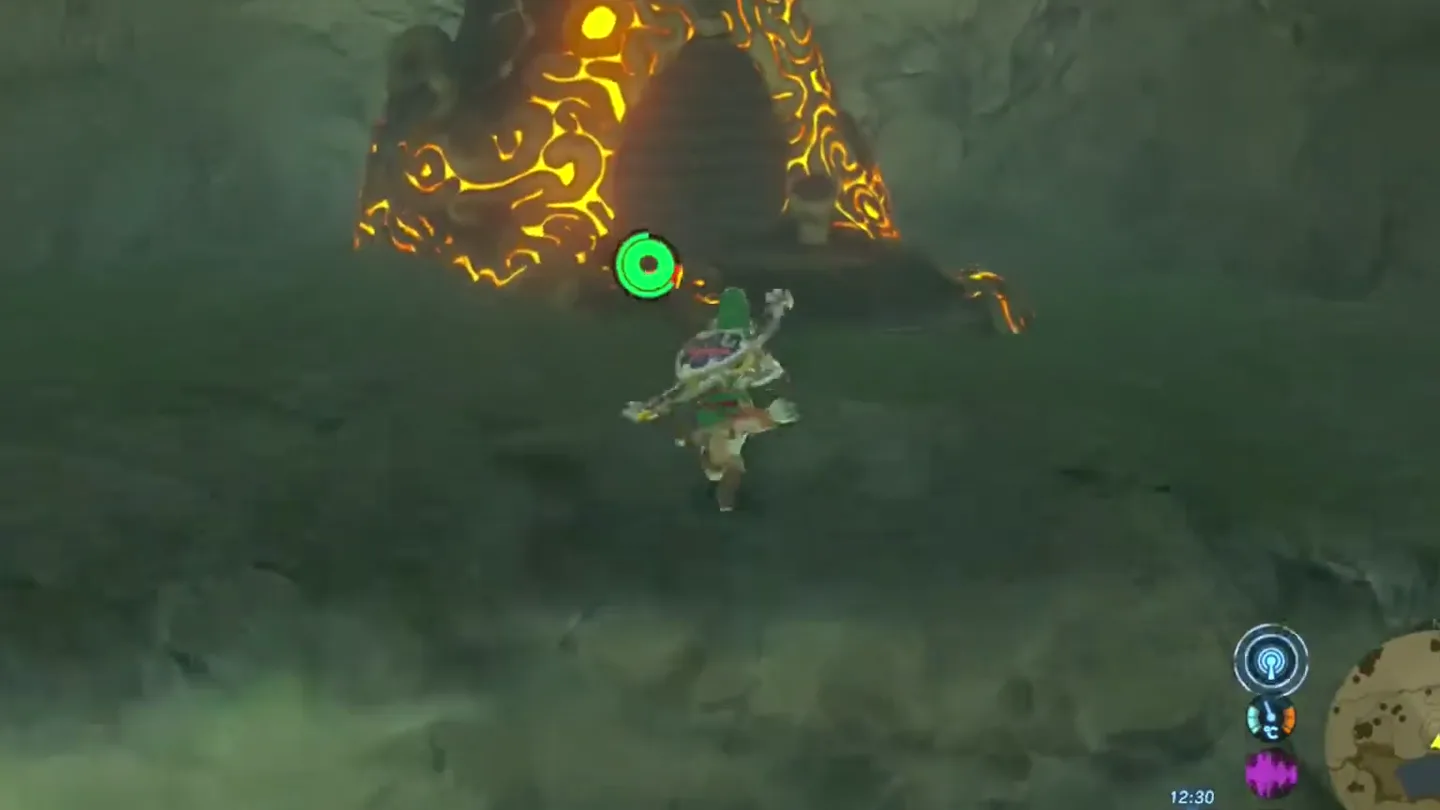
2. Defeat the Guardian Scout III
Land and enter the shrine. The monk Ke’nai Shakah greets you and names the trial: A Modest Test of Strength.
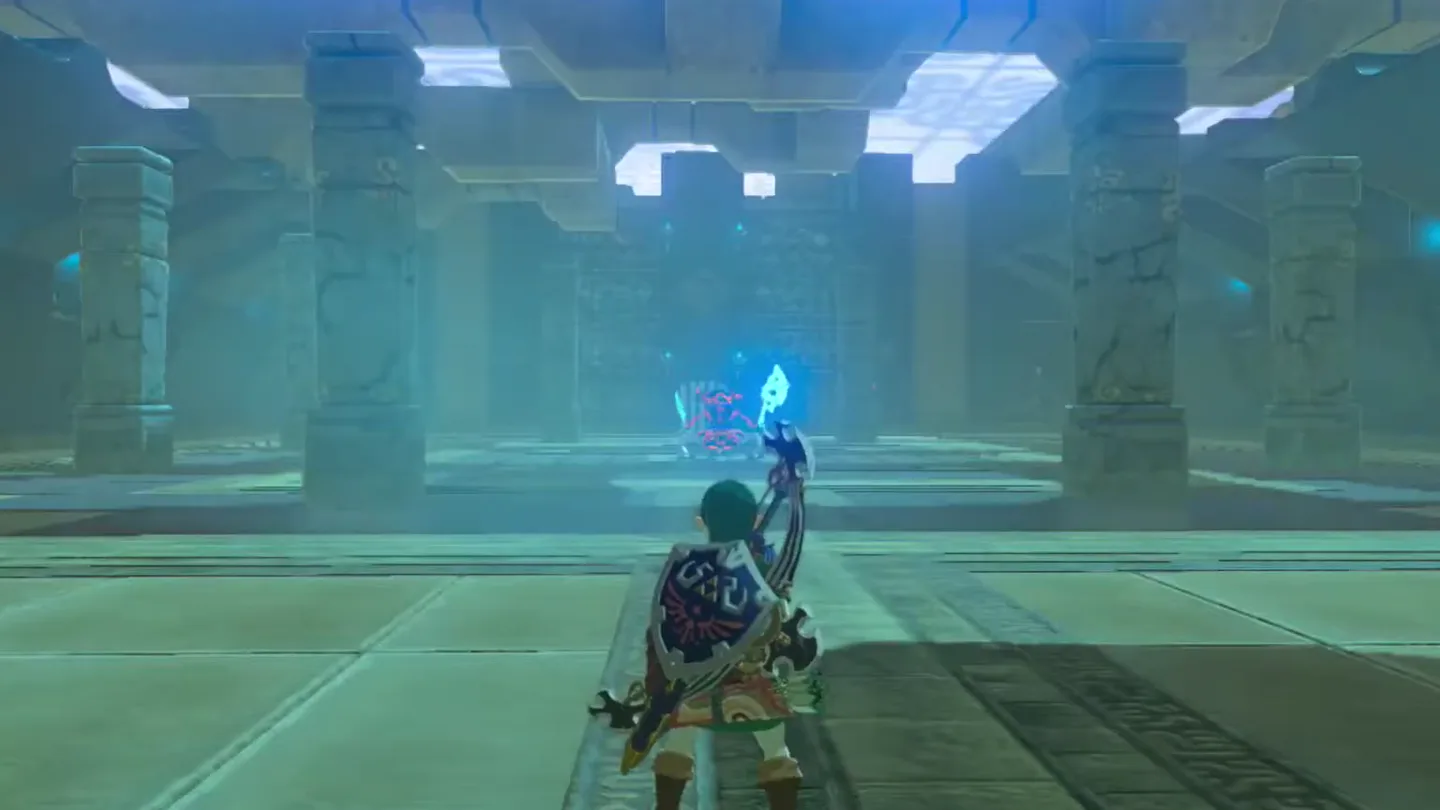
Inside you’ll find one large central chamber that acts as an arena, with a closed portcullis across the back of the room — no puzzles, only the fight.
Walk toward the center of the arena and a Guardian Scout III rises out of a pit in the floor to challenge you.
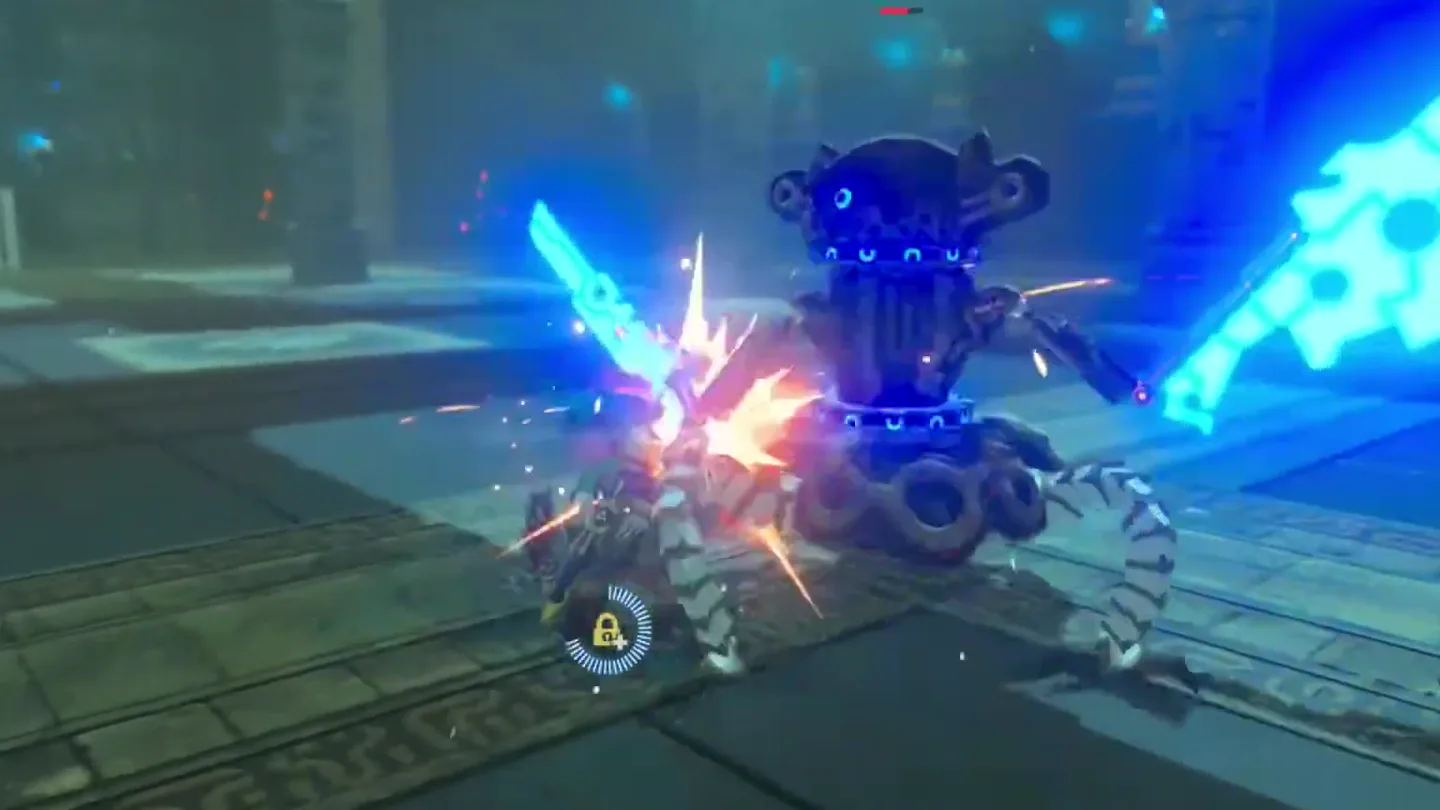
Lock on right away. The Scout fights with an Ancient Battle Axe+ and a Guardian Sword+, and its hits are heavy — treat every swing as a real threat.
Dodge its attacks with sidehops (lock on, strafe left or right, jump) or backflips (lock on, backpedal, jump); a perfectly timed dodge can trigger a Flurry Rush for a free damage window.
If you can’t read the dodge timing, raise your shield and parry — a perfect guard right as the blow lands avoids the damage instead.
Hold that rhythm for the whole duel: avoid one attack, punish with a flurry or a few swings, then back off and reset. Never stand and trade blows — the Scout’s damage output will outpace yours.
Watch your weapon durability as the fight drags on; if your main weapon is about to snap, switch to your backup rather than finishing the duel unarmed.
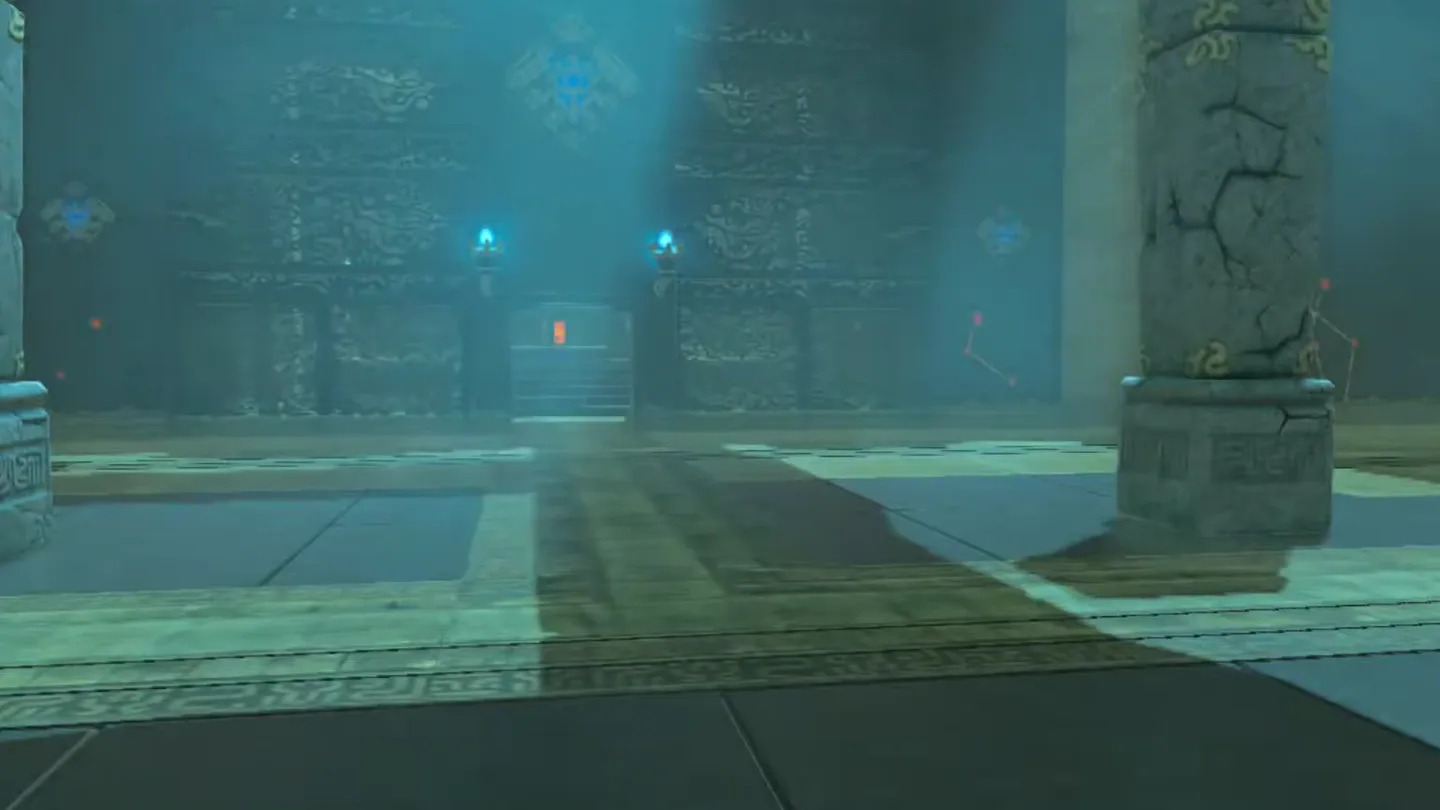
Once the Guardian Scout III is destroyed, the portcullis at the back of the room rises on its own, opening the way forward.
3. Collect your rewards
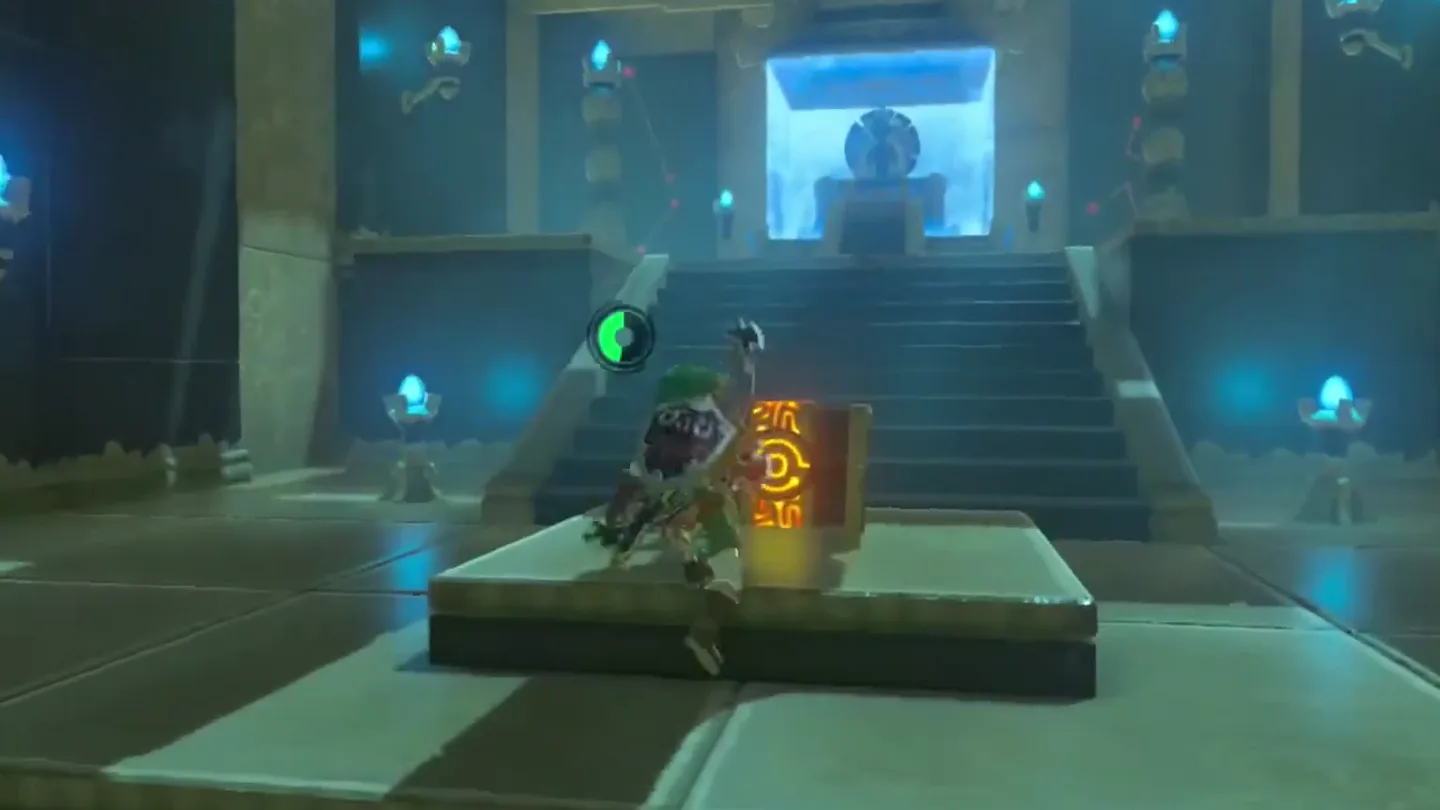
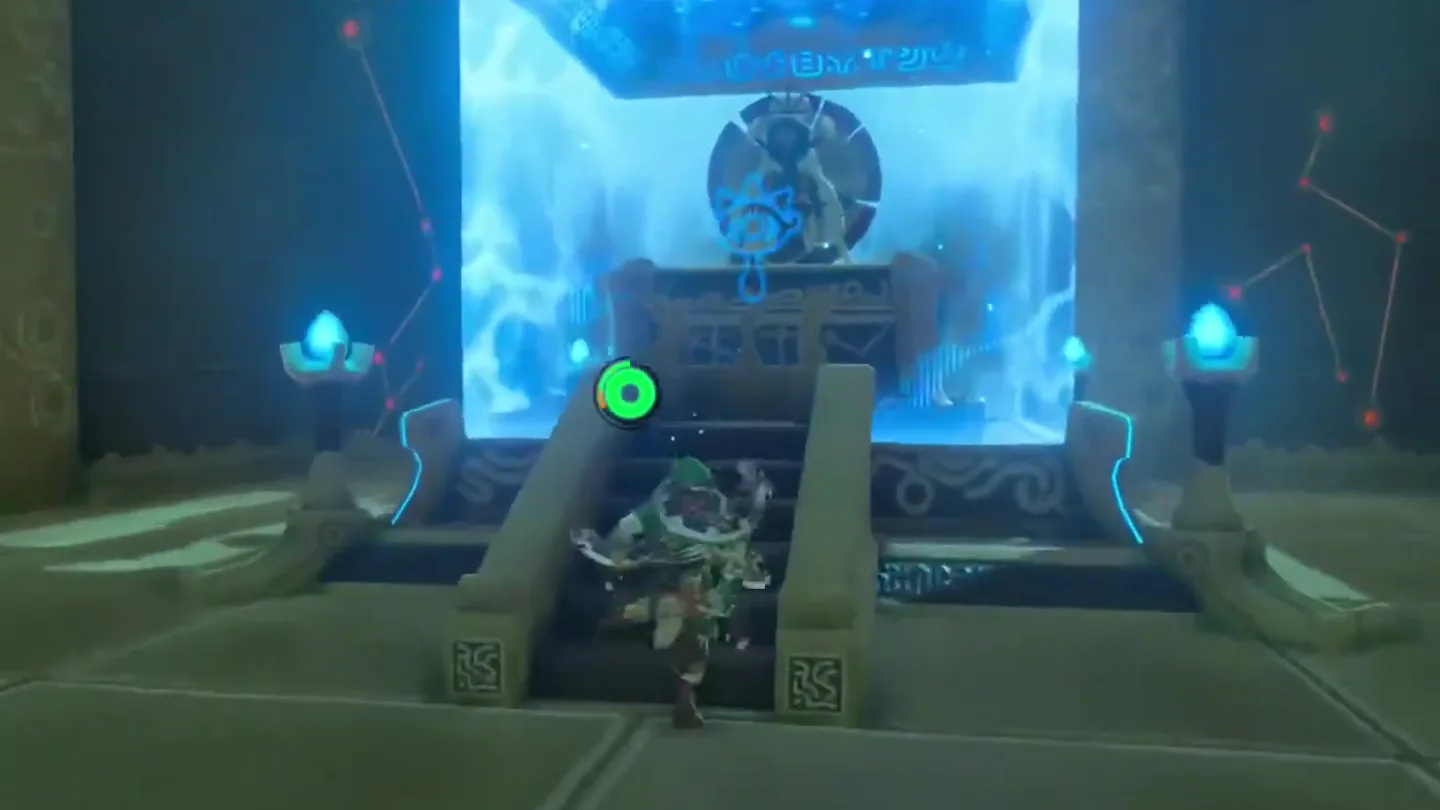
Before anything else, open the stone Treasure Chest sitting behind the raised portcullis — it contains a Sapphire.
Interact with the Monk’s Pedestal to receive a Spirit Orb; Ke’nai Shakah wishes you well and fades away, completing the shrine.
What is in the chest?
| Chest | Contents | How to get it |
|---|---|---|
| 1 | Sapphire | A stone Treasure Chest behind the portcullis at the back of the arena. It becomes reachable once the Guardian Scout III is destroyed and the gate rises — open it before claiming your Spirit Orb, or re-enter the shrine later to collect it. |
What do people miss here?
- Circling Ulria Grotto looking for a gate. There isn’t one — the entrance is a cave sealed behind cracked rocks. Paraglide in from above and Bomb Arrow the rocks open; if you’re standing in the grotto seeing nothing, you’re looking for cracked stone, not a shrine.
- Showing up without Bomb Arrows and a bow. That’s the one hard gate to entry, so stock up before you jump down into the grotto.
- Treating death like a failure state. Lose to the Scout and it’s a normal Game Over — you reload and walk straight back in. The Guardian resets to full, but nothing else is lost, so just retry with better dodge timing.
- Sprinting from the wreckage straight to the monk. The stone chest behind the raised portcullis holds a Sapphire — grab it before you leave; if you already walked out, you can re-enter the finished shrine and collect it.
- Bringing one nearly-broken weapon into a Modest Test of Strength. It’s a sustained duel, not a skirmish — carry a durable primary plus a backup or you’ll be swinging fists at a Guardian.
What else is nearby?
| Shrine | Direction | Straight-line distance | Region |
|---|---|---|---|
| Dah Hesho Shrine | northwest | 536 | Akkala |
| Kah Mael Shrine | northeast | 685 | Lanayru |
| Ne’ez Yohma Shrine | west | 935 | Lanayru |
Which guides help next?
FAQ
Where is Ke'nai Shakah Shrine and how do I get in?
What Guardian do I fight in Ke'nai Shakah Shrine?
How do I beat the Guardian Scout III?
What happens if I die to the Guardian Scout?
What's in the Ke'nai Shakah chest, and can I still get it?
Related Articles
guides
Breath of the Wild Captured Memories: All 13 Locations and Rewards
All 12 photo locations from Zelda's album plus the 13th memory in Impa's painting, with coordinates, nearby shrines, the Champion's Tunic and the extra ending scene.
guides
Breath of the Wild Great Fairy Fountains: Locations, Costs and Horse God
Where the four Great Fairy Fountains and the Horse God Malanya are in Breath of the Wild, what each fairy costs to release, and how many you need per armor upgrade.
guides
Hyrule Castle Walkthrough: Entry Routes, Hylian Shield and Final Prep
How to get into Hyrule Castle in Breath of the Wild: five entry routes, the Hylian Shield and other loot by room, and what to prepare before the final battle.
Was this helpful?
Thanks for the feedback!