

Toto Sah Shrine Location and Solution (Breath of the Wild)
Find the hidden Toto Sah Shrine entrance, align its motion-control platforms, and collect the Shield of the Mind’s Eye and small key before opening the final door.
Where is Toto Sah Shrine?
Look southeast of Dueling Peaks Tower, on the riverbank south of Hickaly Woods. The entrance is concealed by a breakable rock wall. Swim to the rock outcropping upstream, throw a Remote Bomb into the river, and detonate it as it floats past the wall. Enter through the opening.
Use the BotW shrine location checklist to find its entry alongside the other shrines in the region.
| Item | Detail |
|---|---|
| Trial | Toto Sah Apparatus / 托托‧伊薩的機關 |
| Tower region | Dueling Peaks |
| Map-marker coordinates | 1847, -2474, 0145 |
| Type | Motion-control platform puzzle; not a Test of Strength |
| Shrine quest | None |
| Chests | 2 |
| English name | Toto Sah Shrine |
| Traditional Chinese name | 托托‧伊薩神廟 |
| Simplified Chinese name | 托托·伊萨神庙 |
What should you bring?
You only need one thing: the Remote Bomb rune, because the entrance is sealed behind a breakable rock wall that must be blown open before you can get inside. Cryonis is a handy optional extra — you can raise an ice block in the river and throw the bomb from there as an alternative to swimming out to the upstream rock outcropping. Nothing is required inside: the trial is pure motion-control apparatus work with no combat, so no weapons, armor, or resistances are needed, and either a tilt-capable controller or the console itself works.
Video walkthrough

Solution: How do you solve Toto Sah Apparatus?
Use the motion controls at each apparatus to turn the suspended structure into a walkable route. The middle stairs slide along a rail; the final structure needs a chest-access arrangement before its exit arrangement.
1. Flip the platform and collect the shield
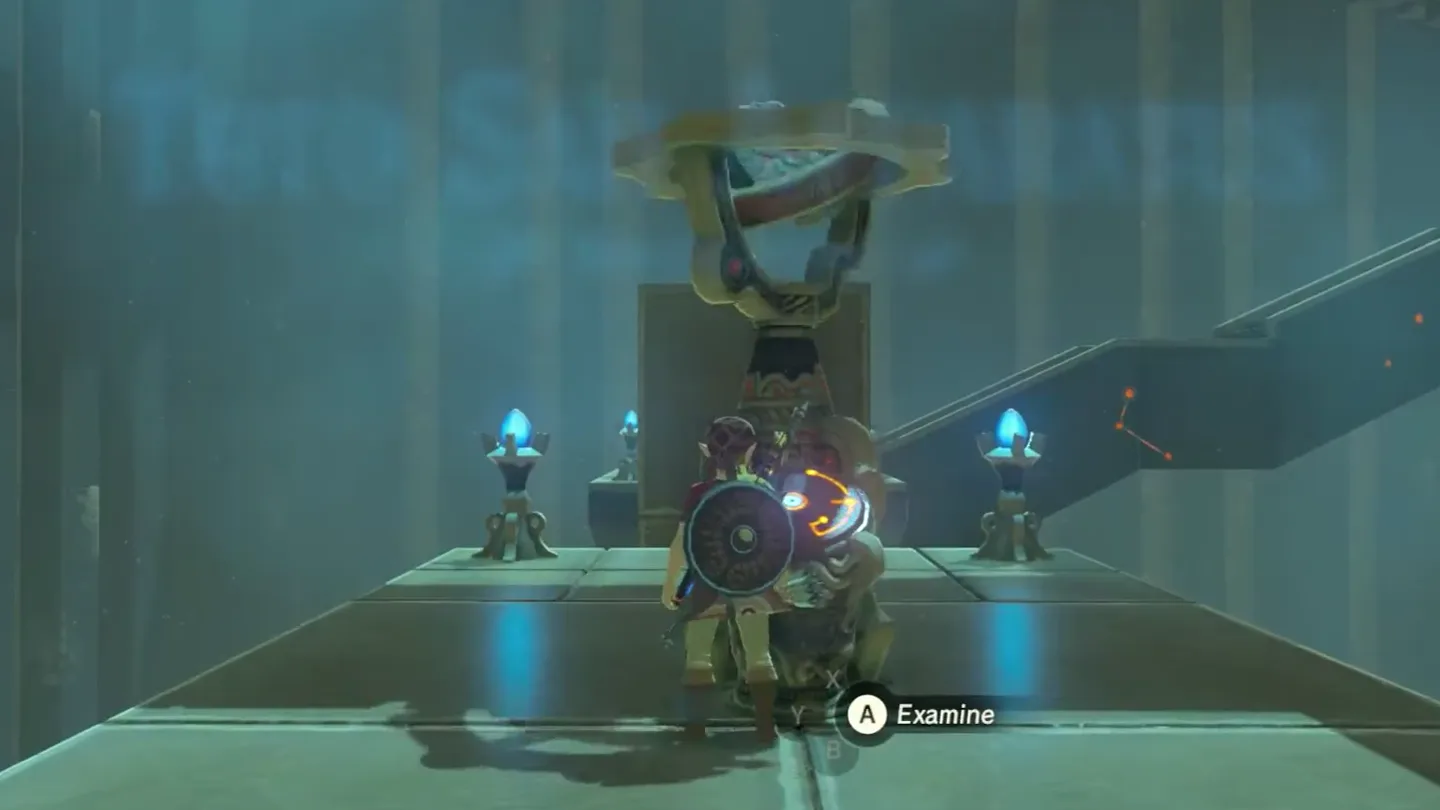
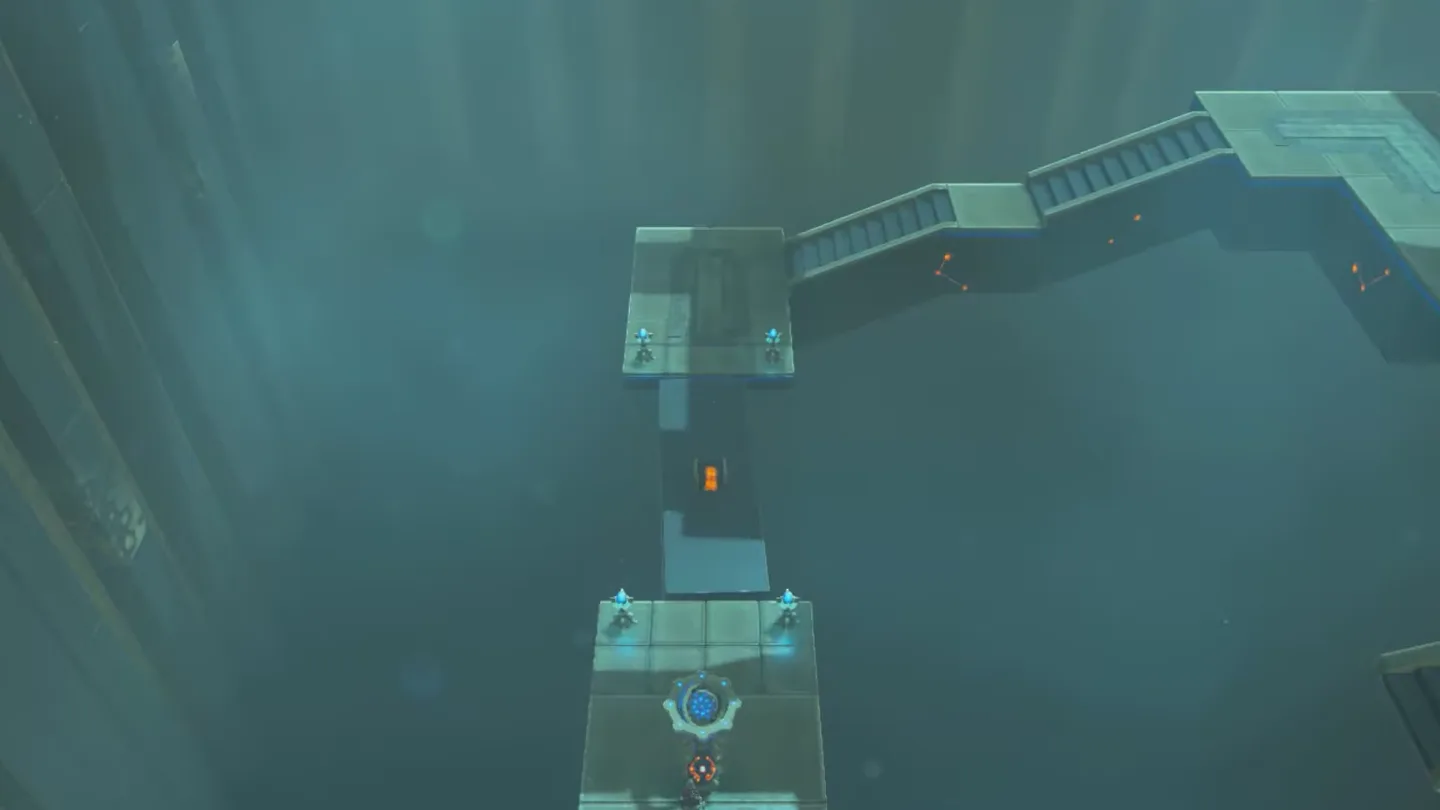
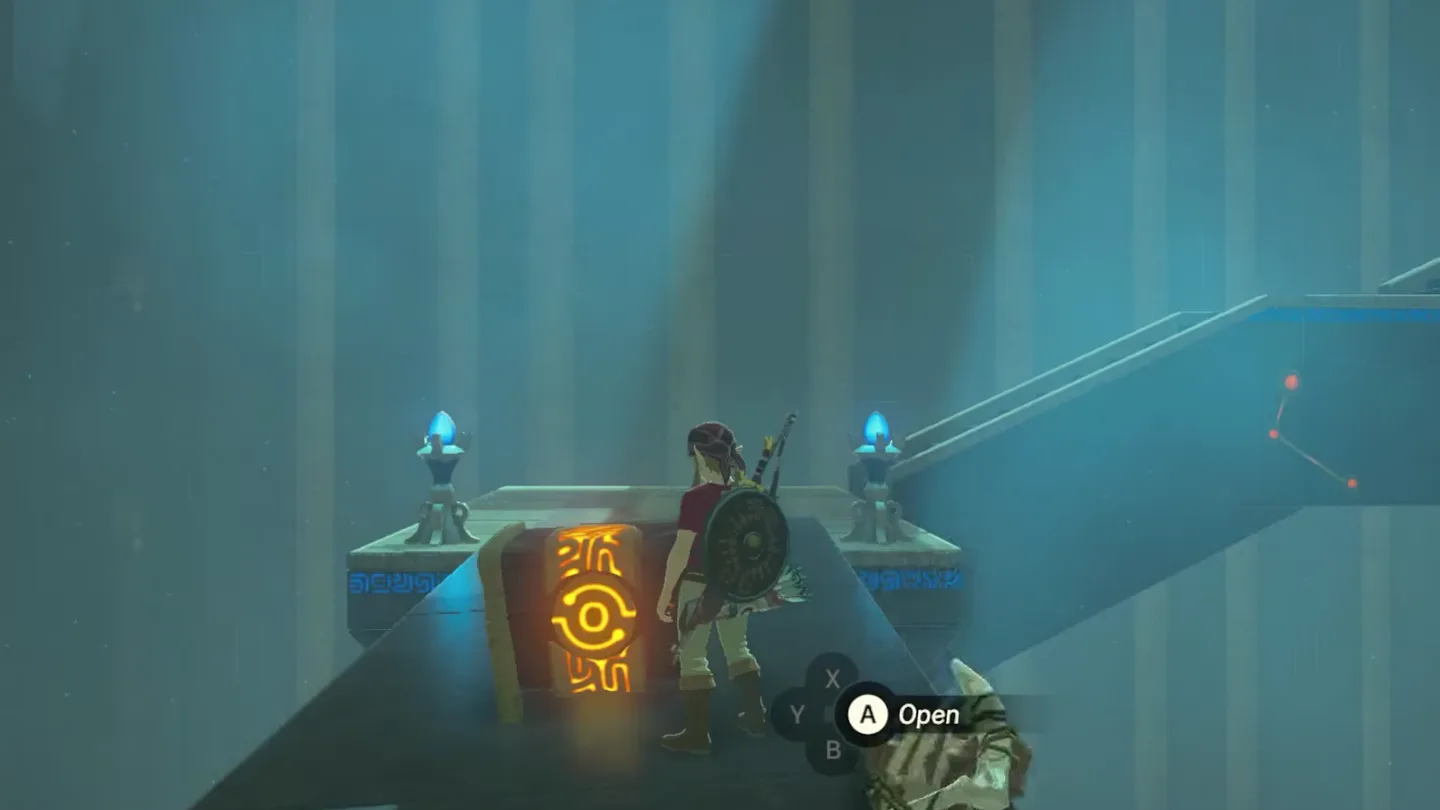
Turn the opening platform chest-side up. At the entrance apparatus, flip the long platform to expose its chest and line the platform up as a bridge to the far side.
Collect the shield and cross. Leave the controls, walk onto the platform, open the chest for the Shield of the Mind’s Eye, and continue to the next apparatus.
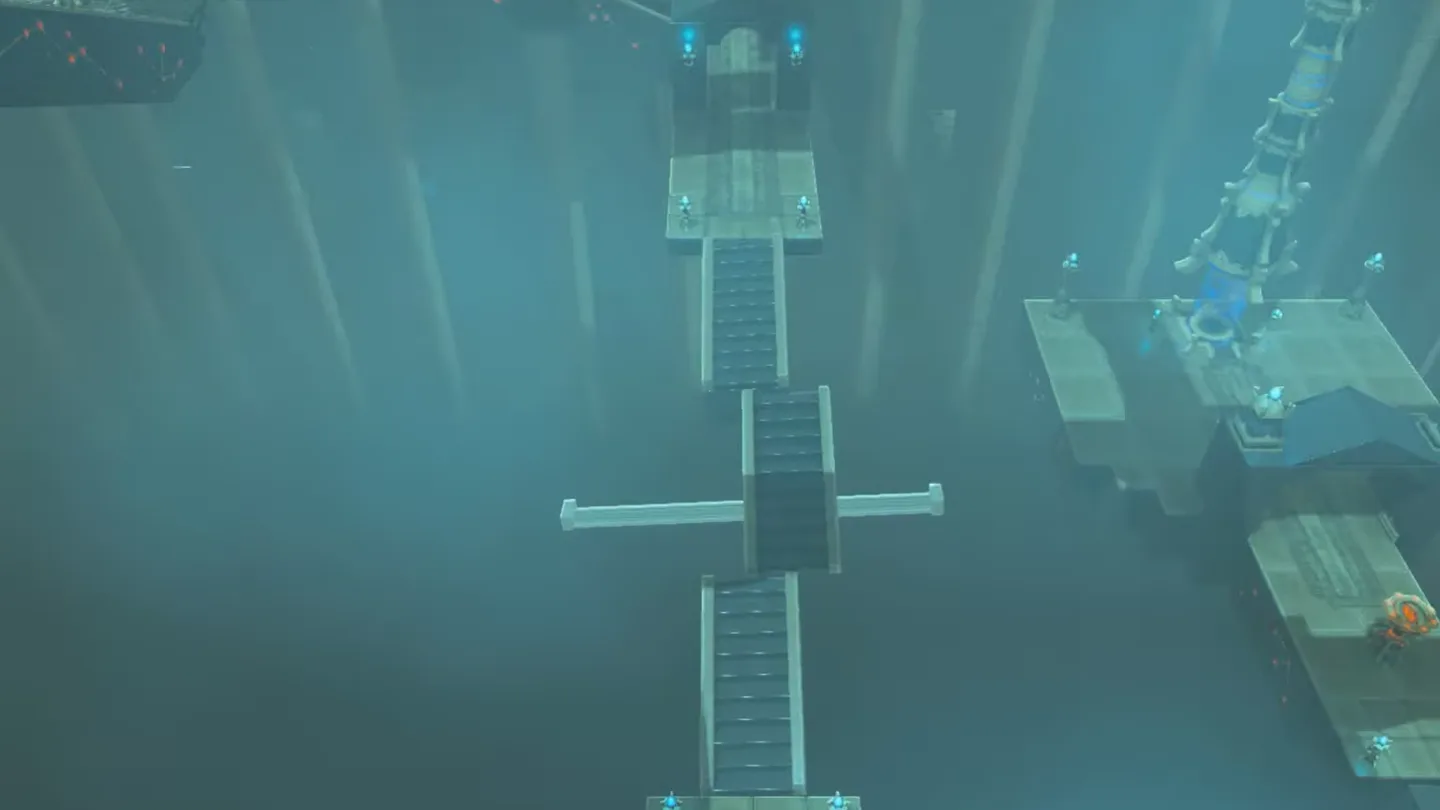
2. Align the sliding stairs
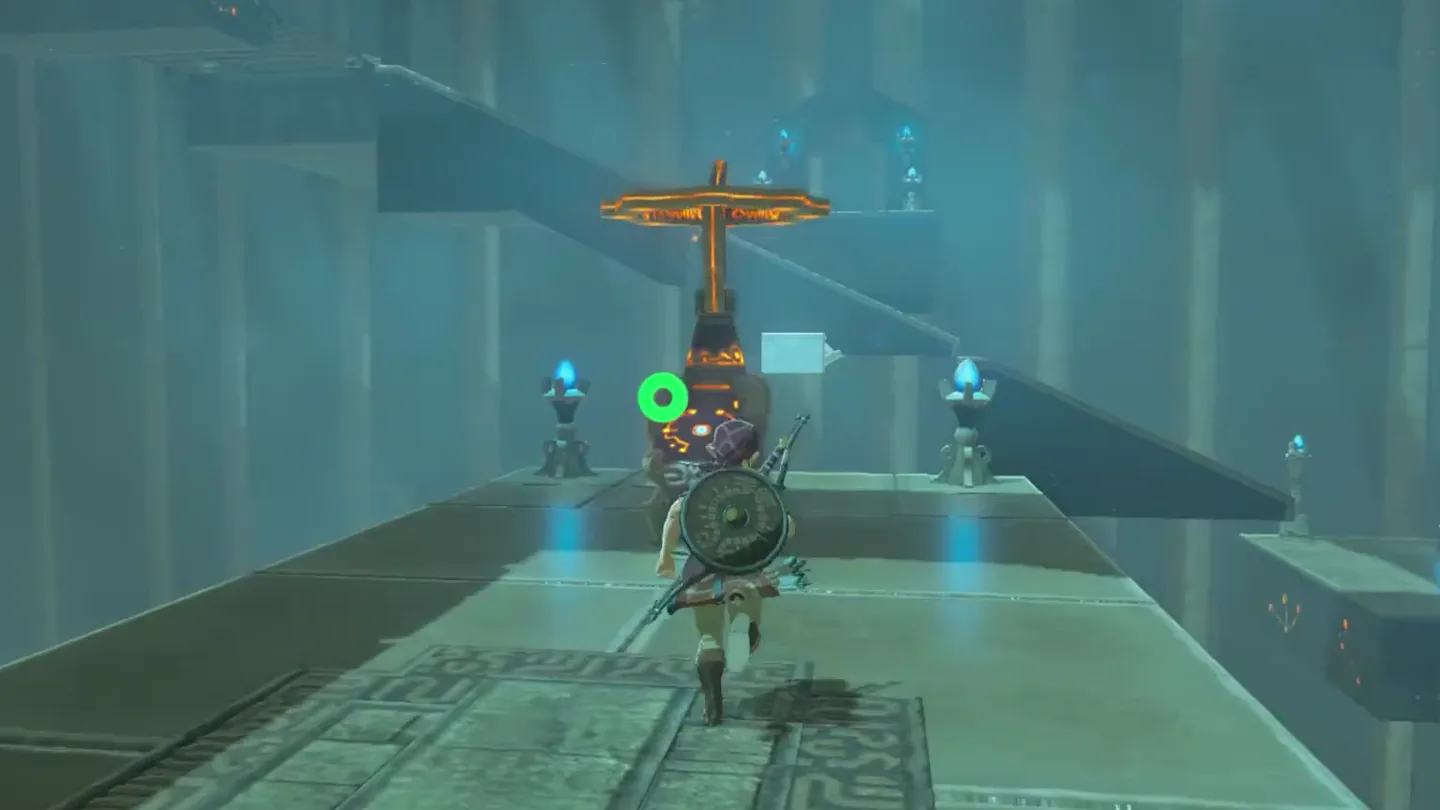
Align the sliding stairs. Tilt the stair structure so the middle section slides into line with the fixed sections. Leave a continuous staircase between the landings, then cross it.
3. Rotate the complex structure for the key and door
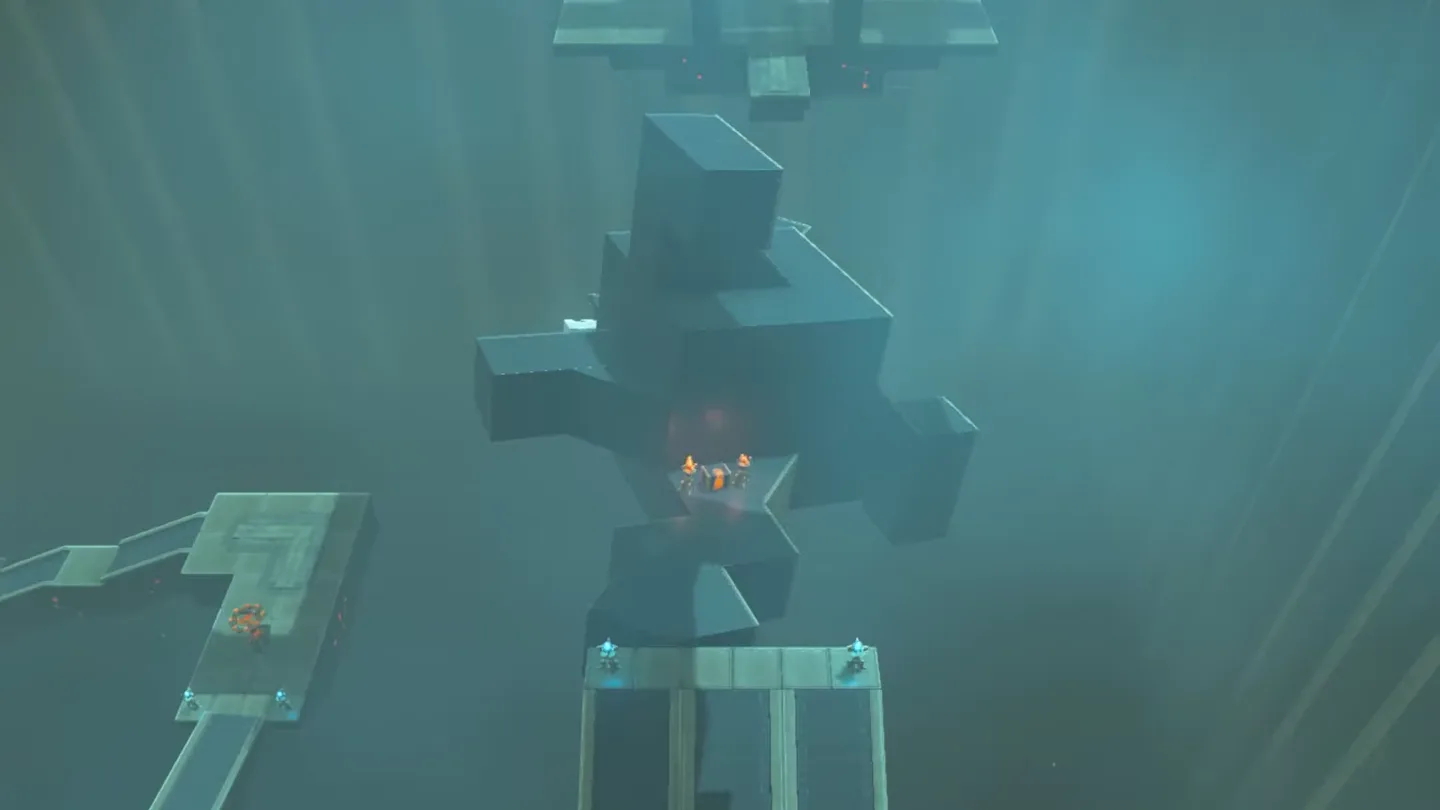
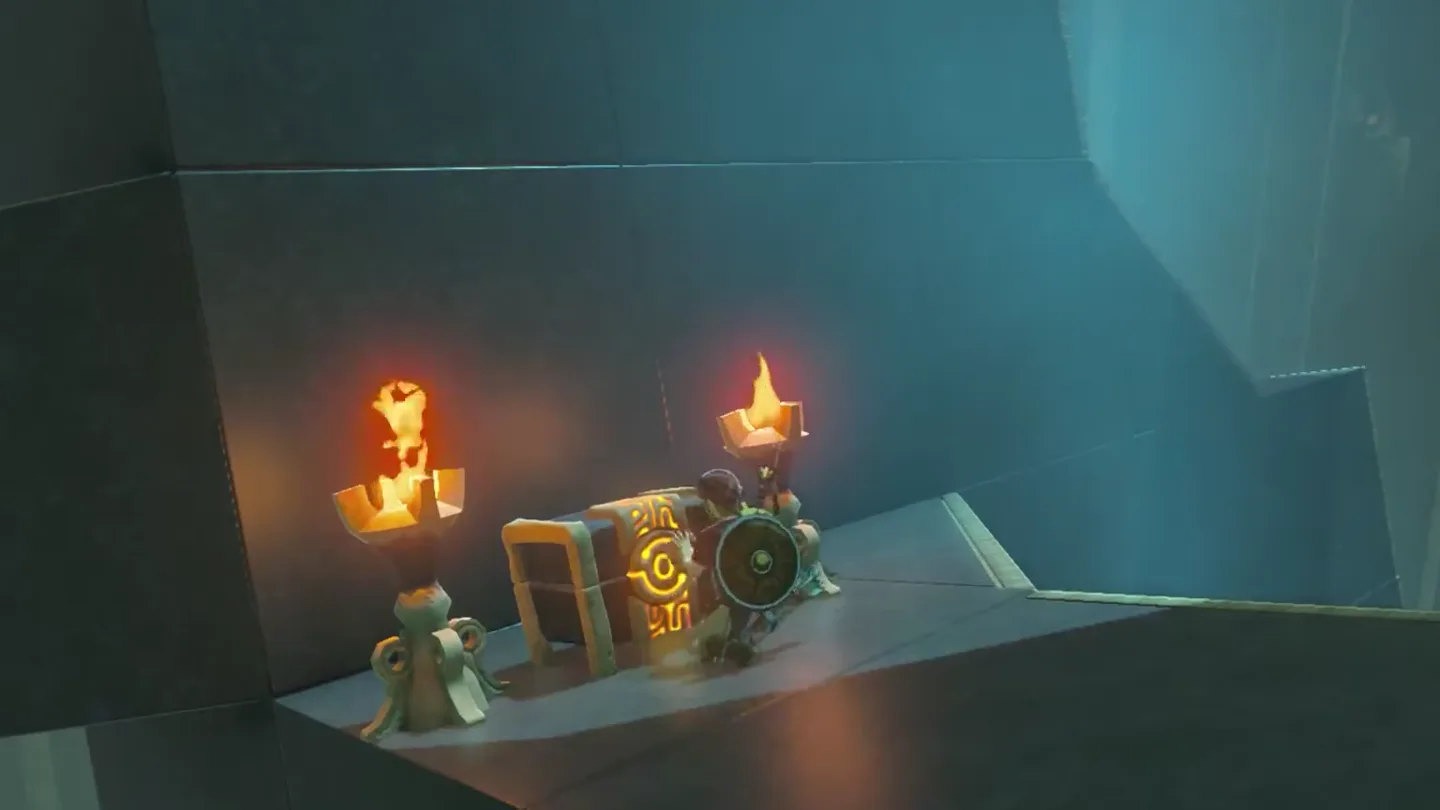
Expose the final chest. At the last apparatus, turn the complex structure so its chest faces the entrance-side landing and is reachable from there.
Take the small key, then return. Walk onto the structure, open the chest, and go back to the same apparatus controls.
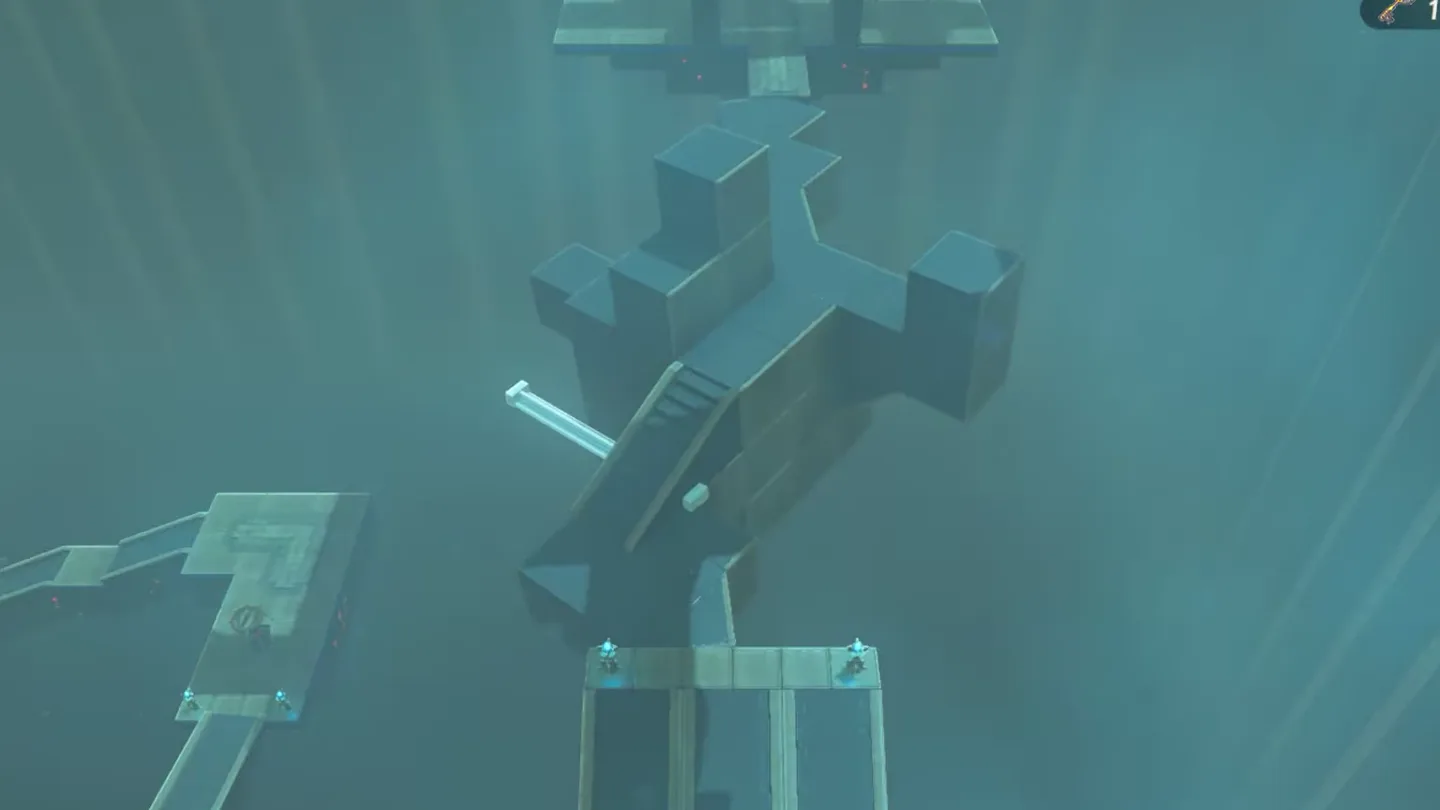
Rebuild the route to the door. Rotate the structure again, bringing the sliding stairs toward the entrance-side landing. Connect the low foothold to the upper walkway, then follow that walkway toward the locked door.
4. Unlock the door and complete the shrine
Unlock the door and finish. Use the small key, reach the altar, and speak to the monk to receive the Spirit Orb.
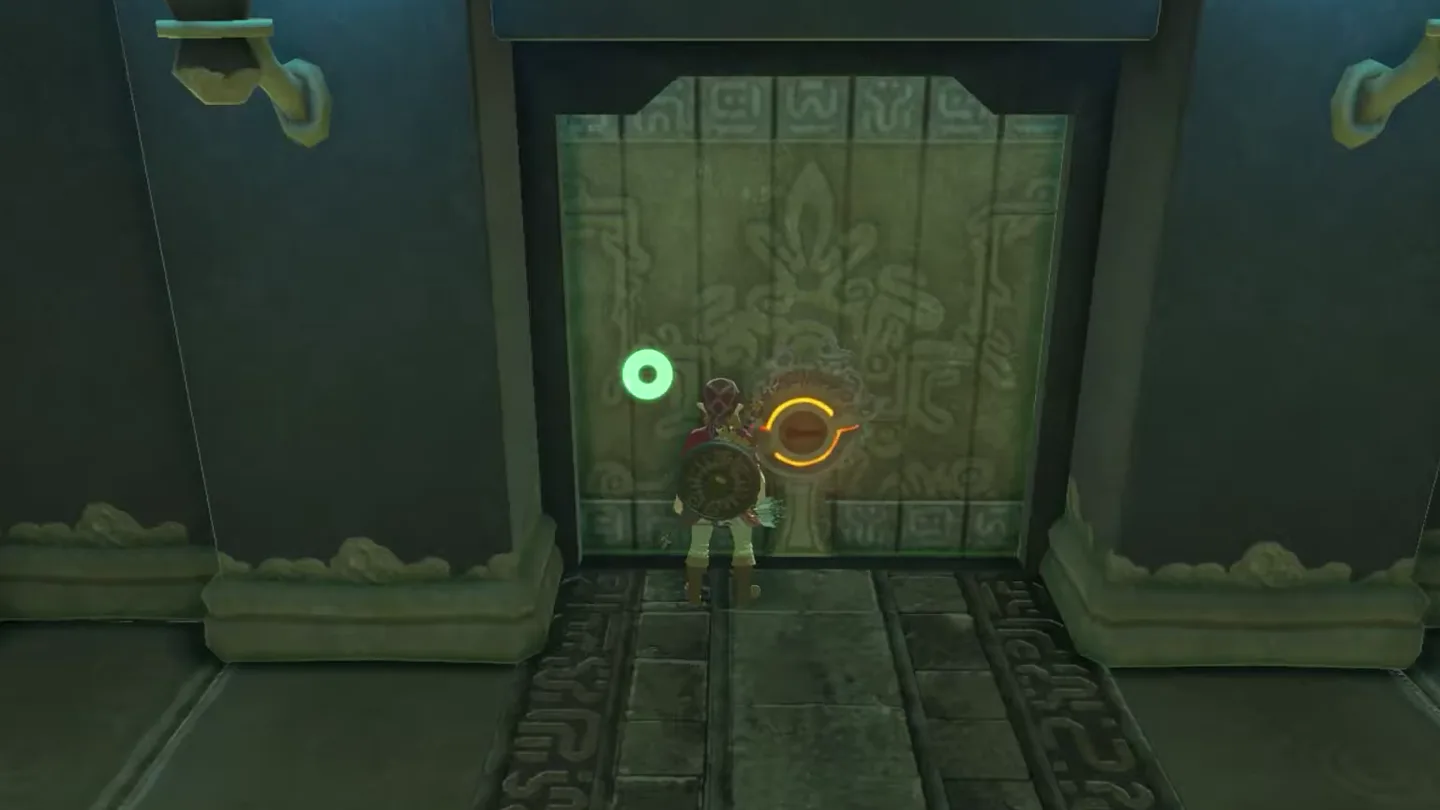
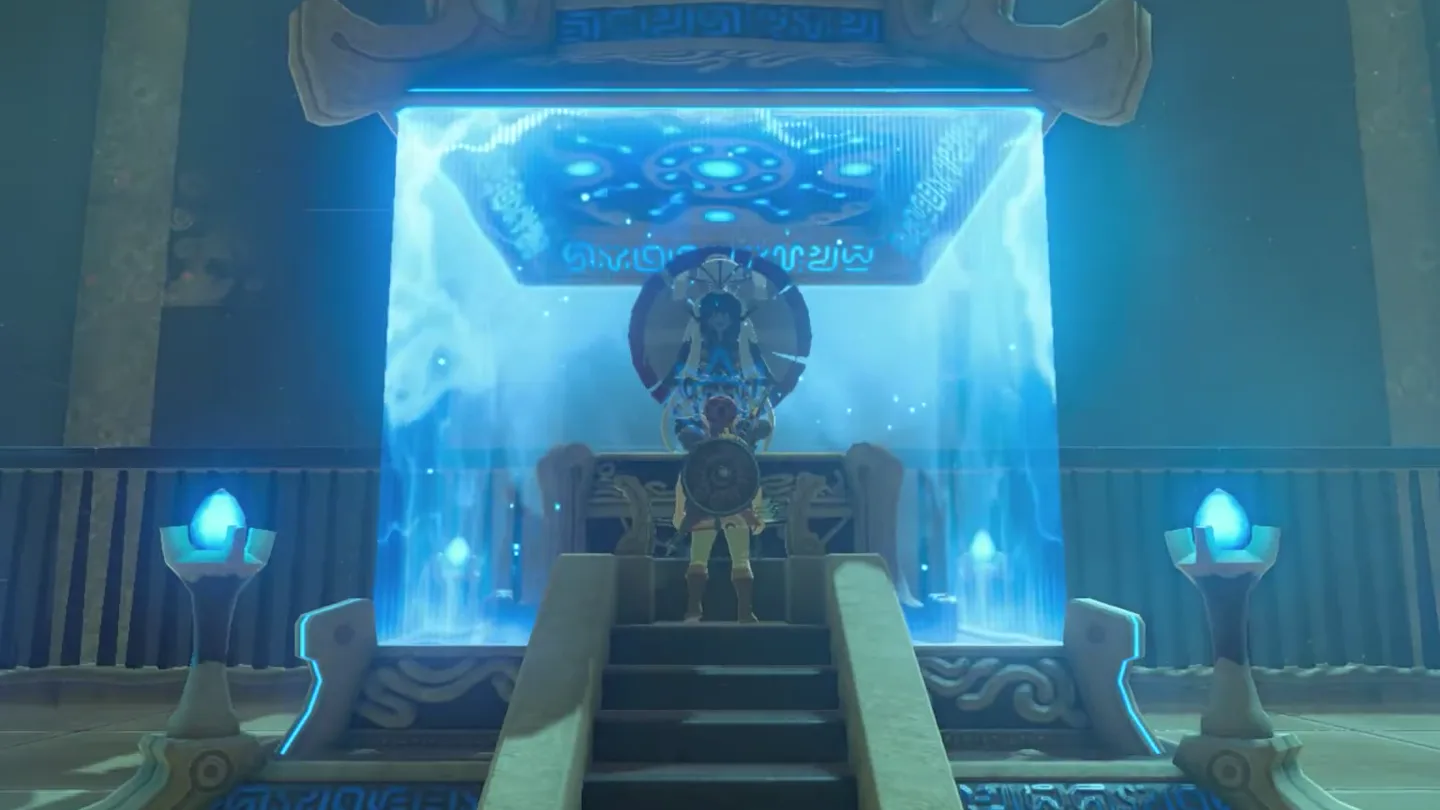
Chests: What is inside each chest?
| Chest | Contents | How to reach it |
|---|---|---|
| 1 | Shield of the Mind’s Eye | Flip the opening platform so the chest is on top, align it as a bridge, then walk onto it and open the chest. |
| 2 | Small key | Turn the final structure to bring its chest toward the entrance landing. Collect the key before rearranging the same structure for the exit. |
What do people miss here?
- The Shield of the Mind’s Eye chest is on the underside of the first platform, and that rectangle works as a bridge whichever way it faces — line it up, cross, and you can clear the whole trial without ever seeing the chest. Flip it before you cross.
- The small key is also in an underside chest, on the final complex structure, and the orientation that exposes it is different from the one that builds the walkway to the door. Set the exit route first and you’ll end up standing at a locked door, forced back to the same apparatus to re-tilt for the key.
- None of the apparatus alignments have to be perfect. If the platforms and stairs are lined up well enough to look walkable, they are — don’t burn time micro-tilting for an exact fit the puzzle doesn’t demand.
- Circling Hickaly Woods itself finds nothing: the shrine is across the river from the woods, and until the wall is bombed open there is no visible entrance to spot, so check the far riverbank.
What else is nearby?
| Shrine | Direction | Straight-line distance | Region |
|---|---|---|---|
| Shoda Sah Shrine | south | 522 | Faron |
| Ha Dahamar Shrine | north | 581 | Dueling Peaks |
| Shee Vaneer Shrine | northwest | 789 | Dueling Peaks |
Related: Where should you go next?
- All BotW shrine locations: choose another shrine from the Dueling Peaks region.
- How to find shrines: plan the next search when an entrance is difficult to spot.
- Tears of the Kingdom vs. Breath of the Wild: compare the games before switching between their guides.
FAQ
How do I open the Toto Sah Shrine entrance?
How do I line up the stairs in Toto Sah Shrine?
Where is the small key in Toto Sah Shrine?
Is Toto Sah Shrine a Test of Strength?
Related Articles
guides
Breath of the Wild Captured Memories: All 13 Locations and Rewards
All 12 photo locations from Zelda's album plus the 13th memory in Impa's painting, with coordinates, nearby shrines, the Champion's Tunic and the extra ending scene.
guides
Breath of the Wild Great Fairy Fountains: Locations, Costs and Horse God
Where the four Great Fairy Fountains and the Horse God Malanya are in Breath of the Wild, what each fairy costs to release, and how many you need per armor upgrade.
guides
Hyrule Castle Walkthrough: Entry Routes, Hylian Shield and Final Prep
How to get into Hyrule Castle in Breath of the Wild: five entry routes, the Hylian Shield and other loot by room, and what to prepare before the final battle.
Was this helpful?
Thanks for the feedback!