

Rota Ooh Shrine Location and Solution (Breath of the Wild)
Find Rota Ooh Shrine by Outskirt Stable, solve Passing of the Gates, and collect the Small Key and Feathered Edge before the final airborne switch shot.
Where is Rota Ooh Shrine?
From Outskirt Stable, head west up the hill to the shrine entrance. If you are orienting yourself from Central Tower, the shrine lies southwest of it. There is no shrine quest to complete before entering.
| Item | Detail |
|---|---|
| Trial | Passing of the Gates |
| Tower region | Central |
| Coordinates (X, Y, Z) | -1562, -1310, 0200 |
| Type | Rotating-gate puzzle; not a Test of Strength |
| Shrine quest | None |
| Chests | 2 |
| English name | Rota Ooh Shrine |
| Traditional Chinese name | 魯耀‧塔烏神廟 |
| Simplified Chinese name | 鲁耀·塔乌神庙 |
The coordinates use the marker convention in our all-shrine table. For help locating entrances, see how to find BotW shrines.
What should you bring?
You only need a bow, a few arrows, and the paraglider. Every mechanism in the shrine is triggered by shooting the crystal, and the final stretch adds a mid-air shot plus a glide to a chest ledge, so check your arrow supply before entering. No runes are required for this route, and since this is a rotating-gate puzzle rather than a Test of Strength, no special weapon, armor, or resistance is needed.
Video walkthrough

Solution: how do you pass the gates?
Bring a bow, arrows, and the paraglider. No rune is required; Cryonis, Magnesis and Remote Bombs only offer shortcuts, and the key door is optional. The videos on this page use some of those shortcuts.
1. Expose and Take the Ball
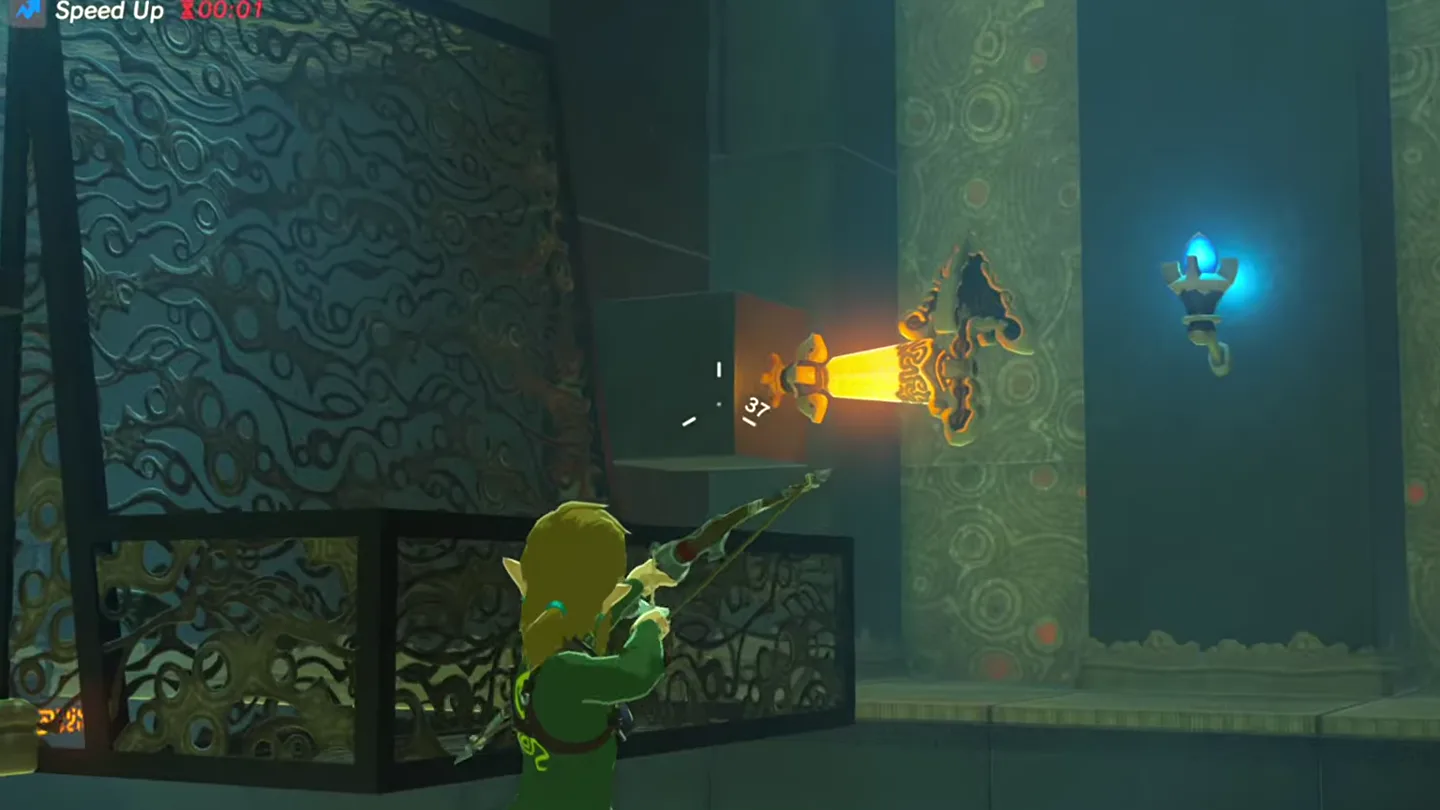
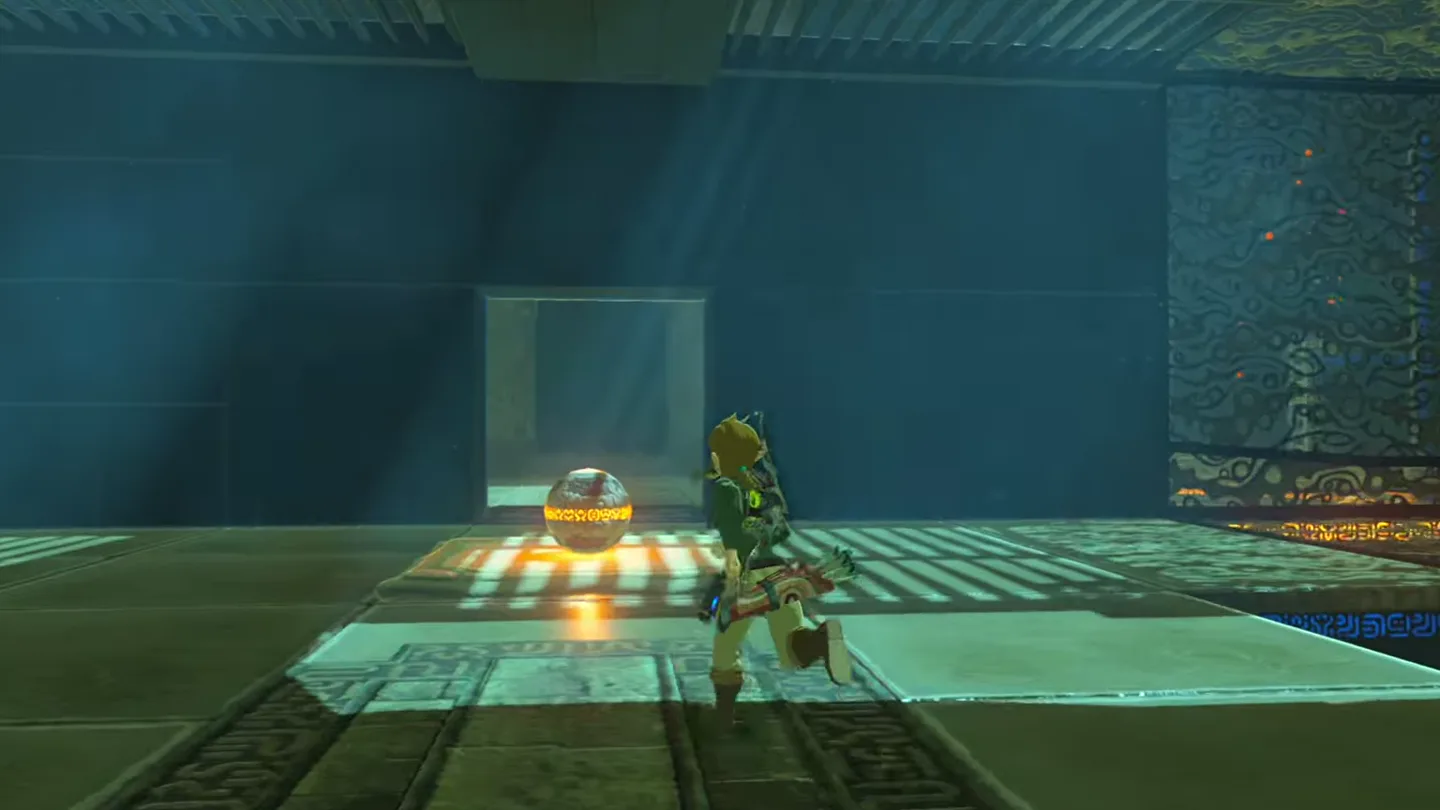
Shoot the crystal on the right wall. The barred gate rotates, exposing a corridor on the left and the glowing ball on its pad.
Grab the Small Key from the left corridor. The chest at its end holds the Small Key. It opens the door in the gate, a shortcut you can skip.
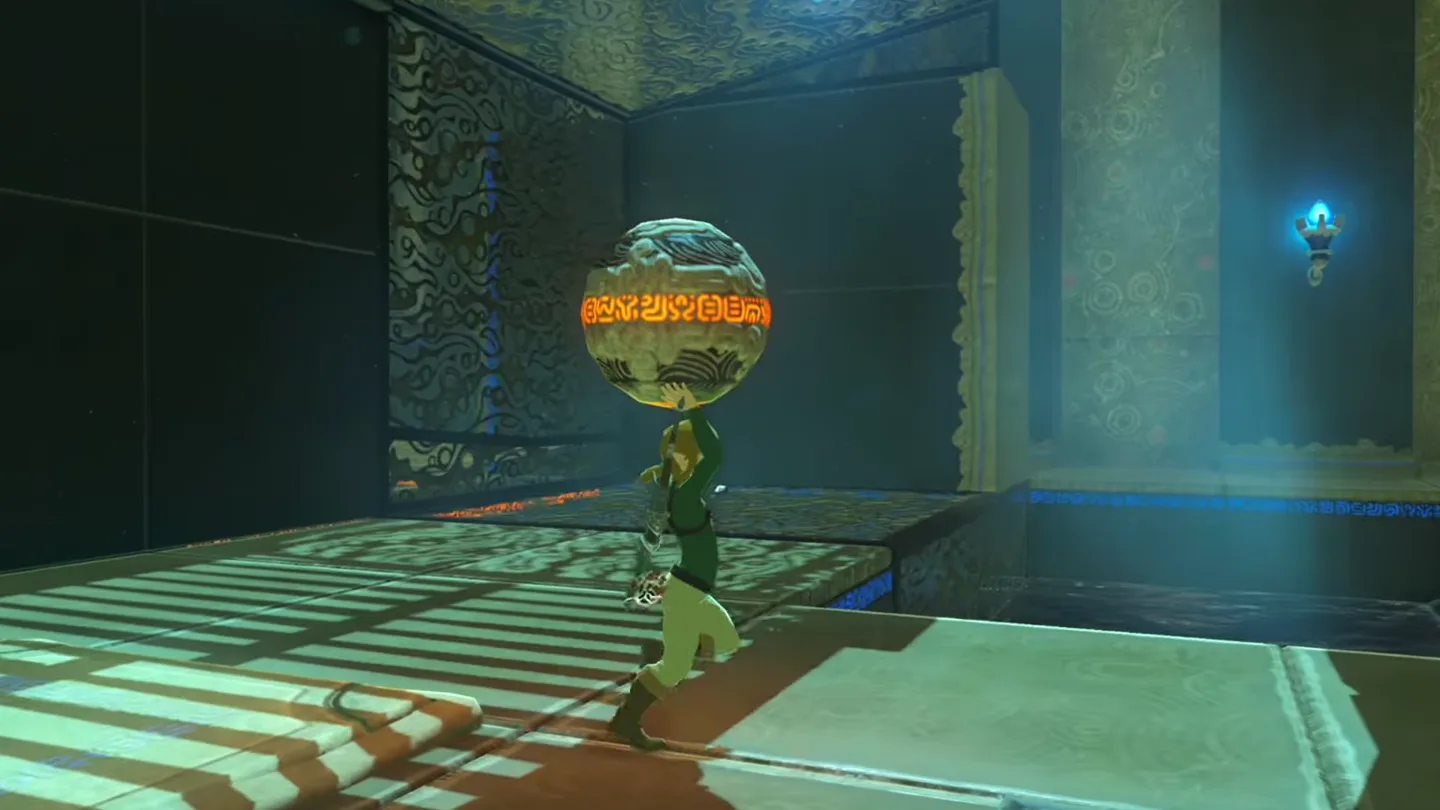
Pick up the ball while the gate is rotated. Carry it back toward the entrance side.
2. Put the Ball in the Basket
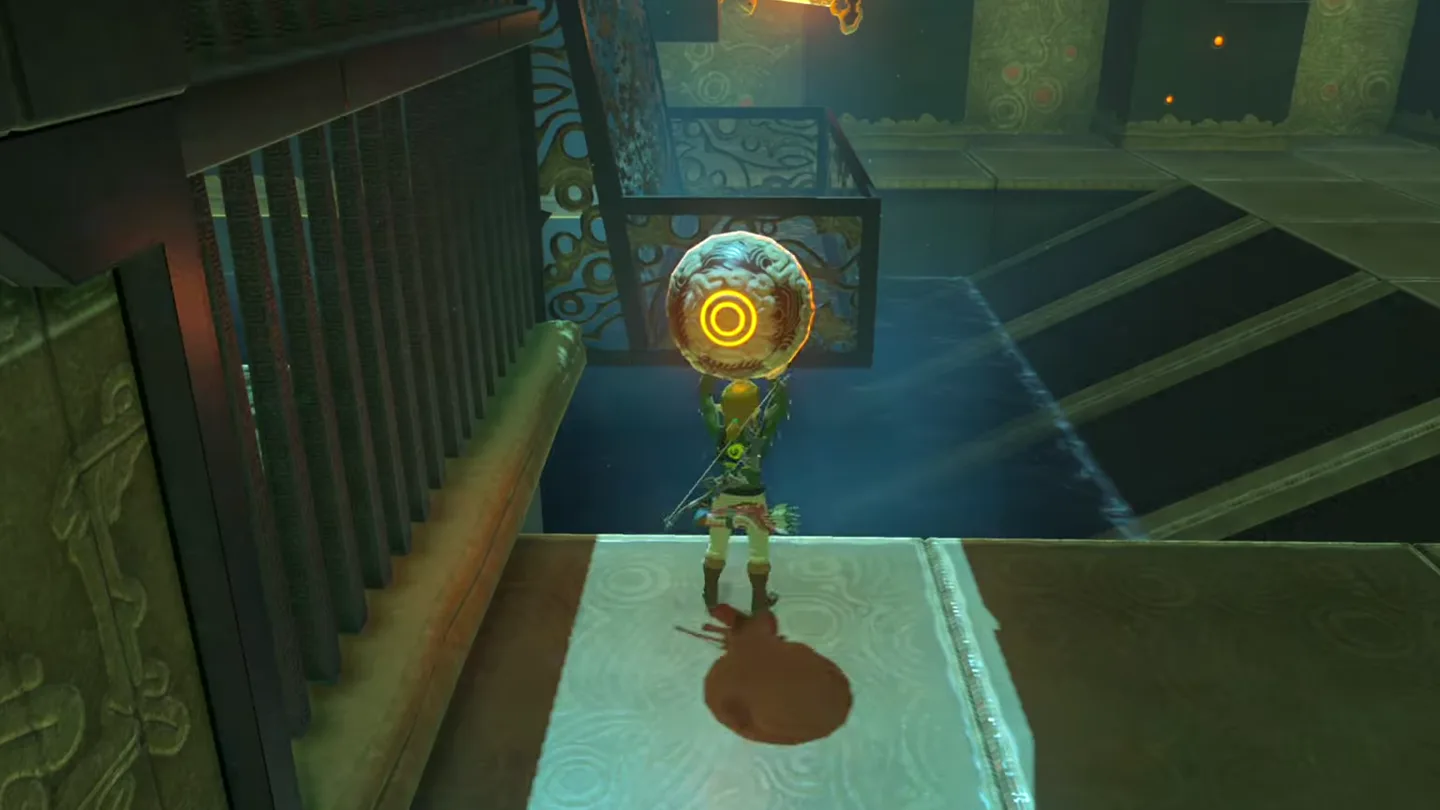
Shoot the crystal to turn the gate back. The metal basket built into the gate, just below the crystal, is now within reach.
Throw the ball into the basket. Make sure it stays in the cage rather than rolling off.
3. Start the Launcher and Get the Feathered Edge
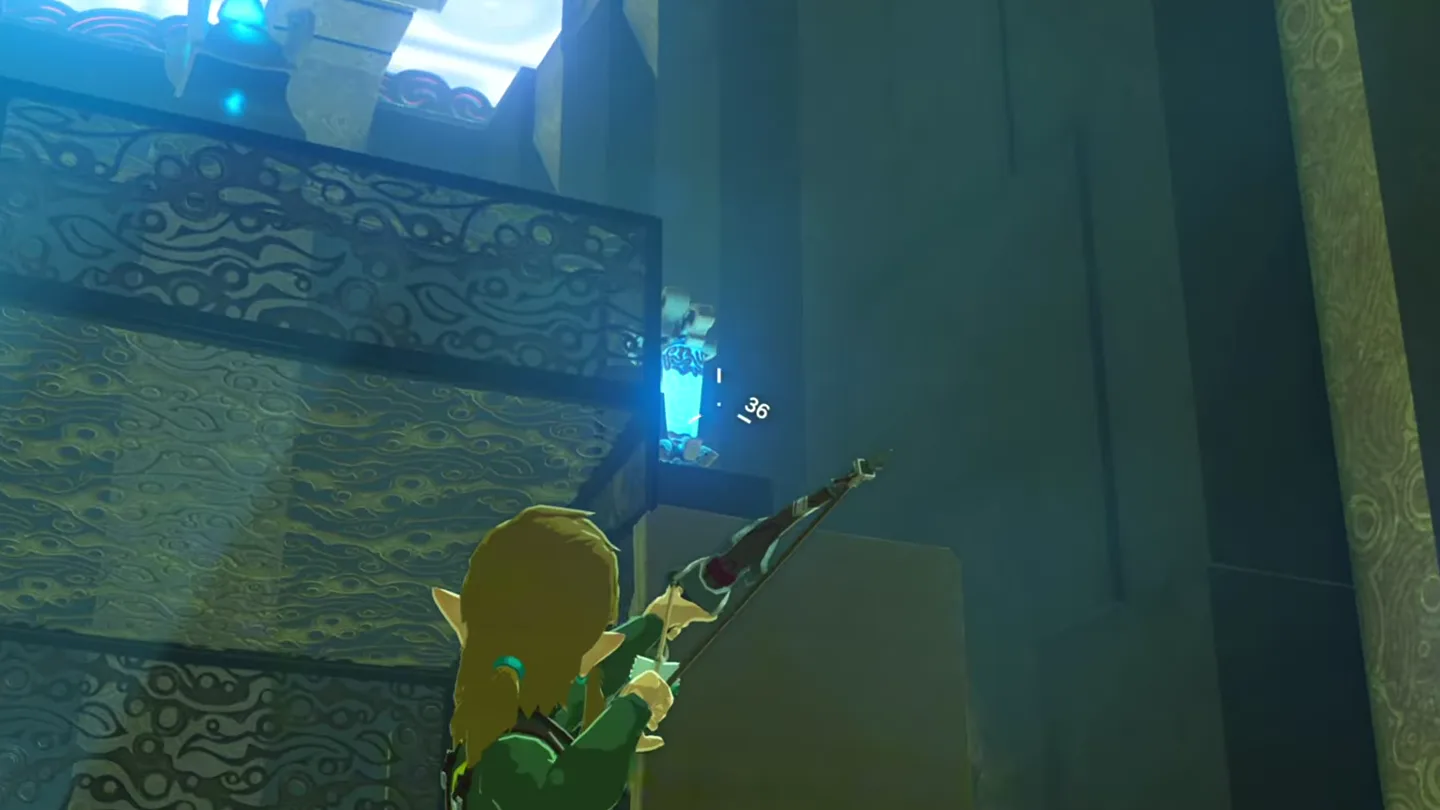
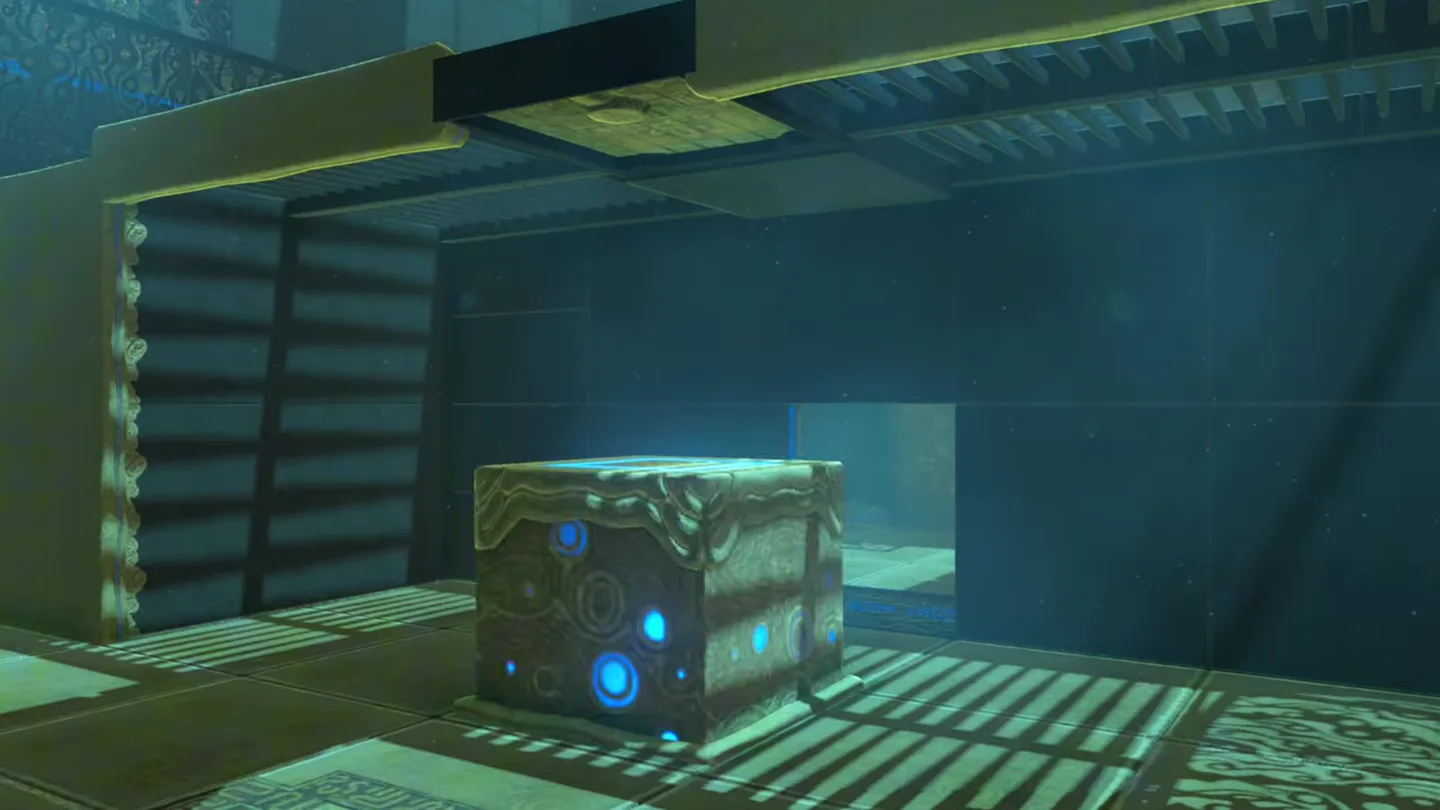
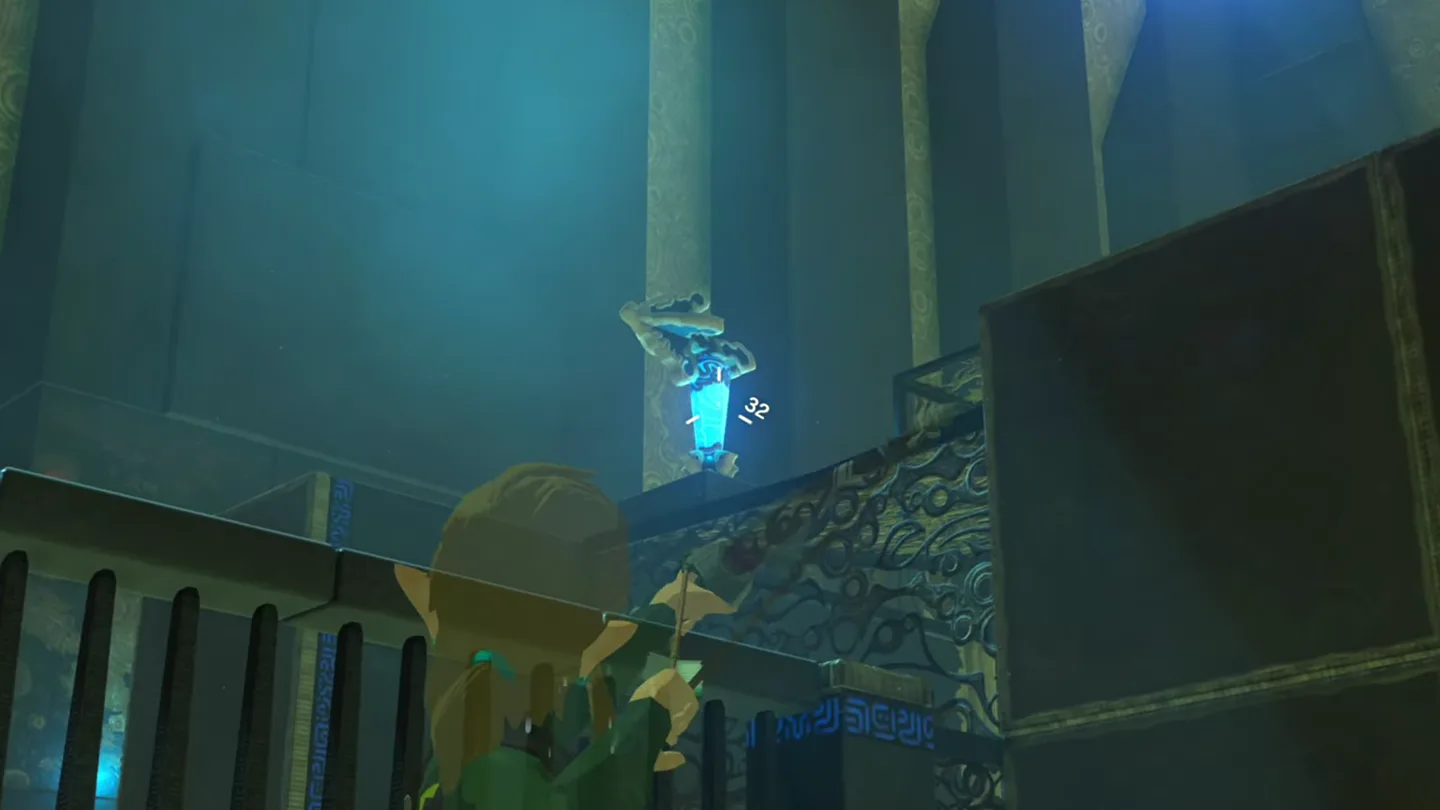
Shoot the crystal once more. The gate turns, the basket tips the ball into the socket past the bars, and a stone launcher starts rising and falling from the floor.
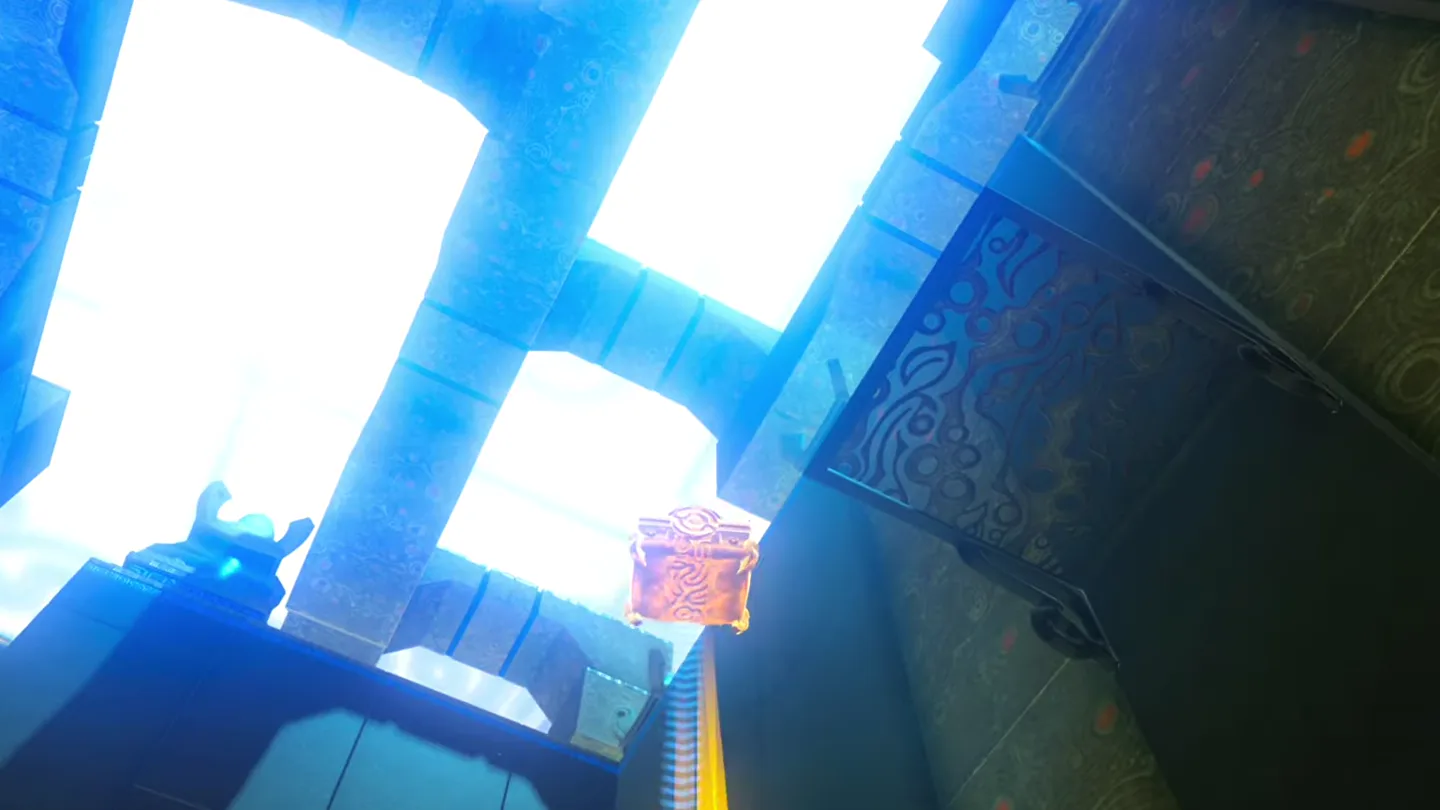
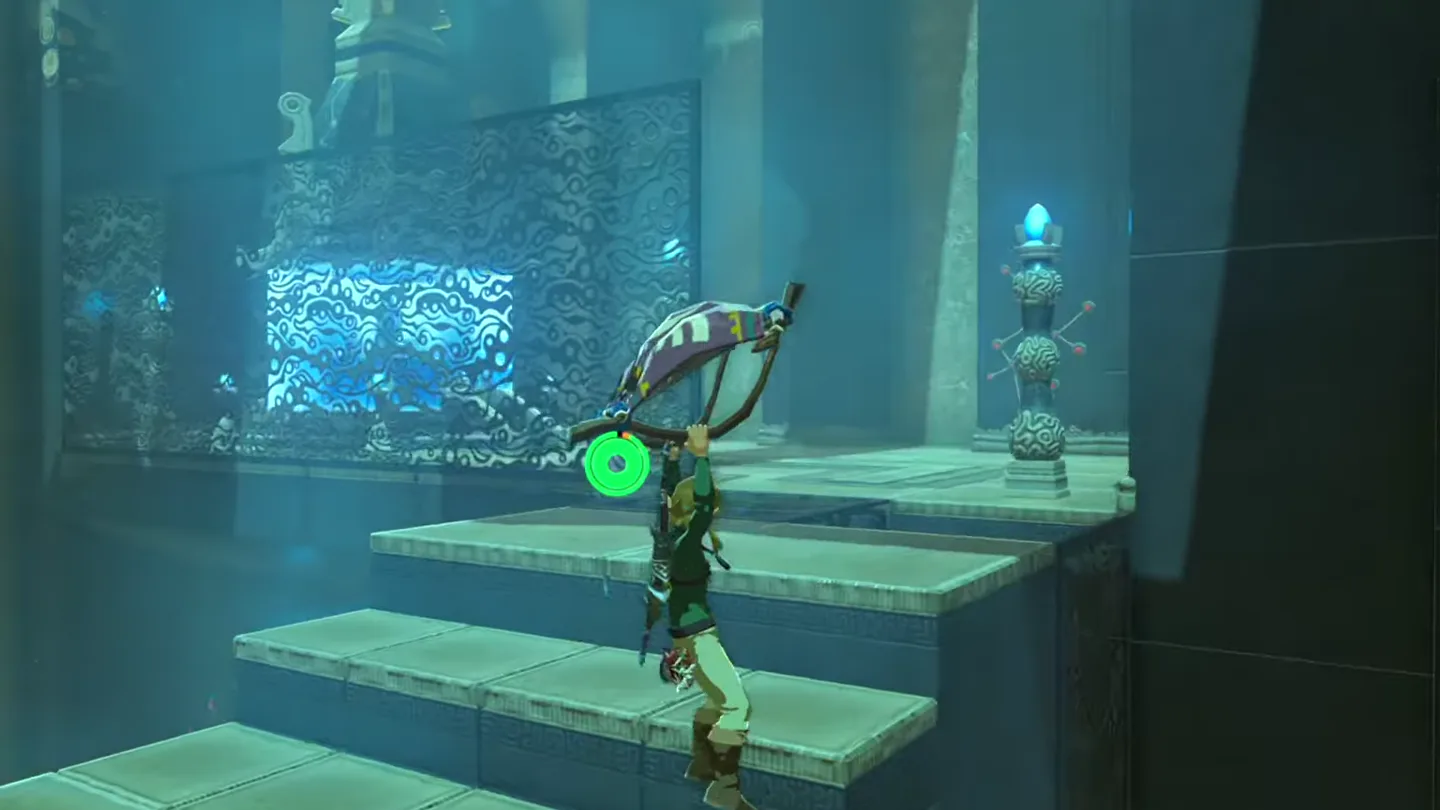
Ride the launcher to the Feathered Edge. Stand on it, open the paraglider at the top, and glide to the metal chest on the back-wall ledge for the Feathered Edge. Magnesis can also pull the chest down to you.
4. Turn the Gate Back and Reach the Altar
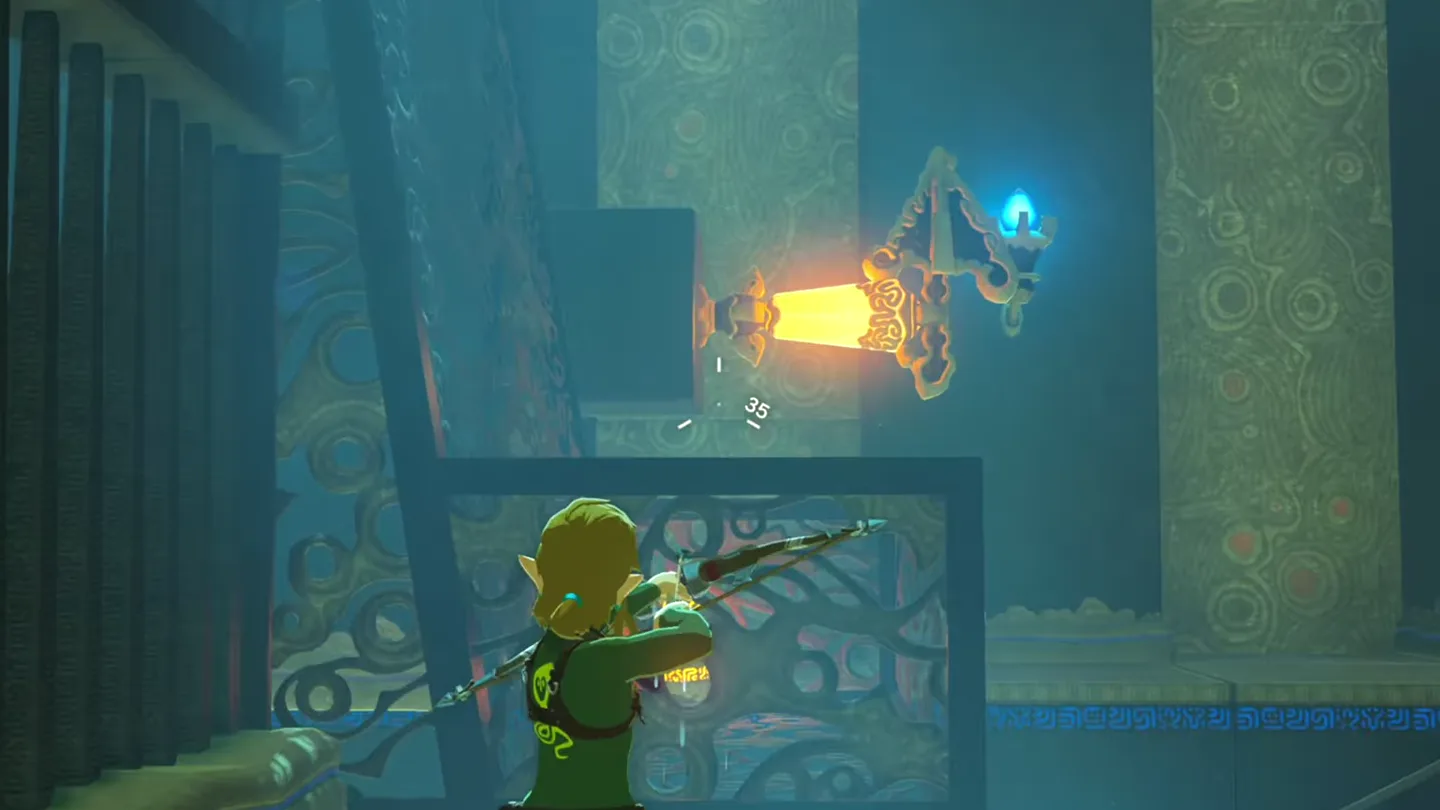
Launch again and shoot the crystal in mid-air. Draw your bow while airborne to get the slow-motion shot; the gate rotates back so its top becomes a walkway. A Remote Bomb set by the crystal works too.
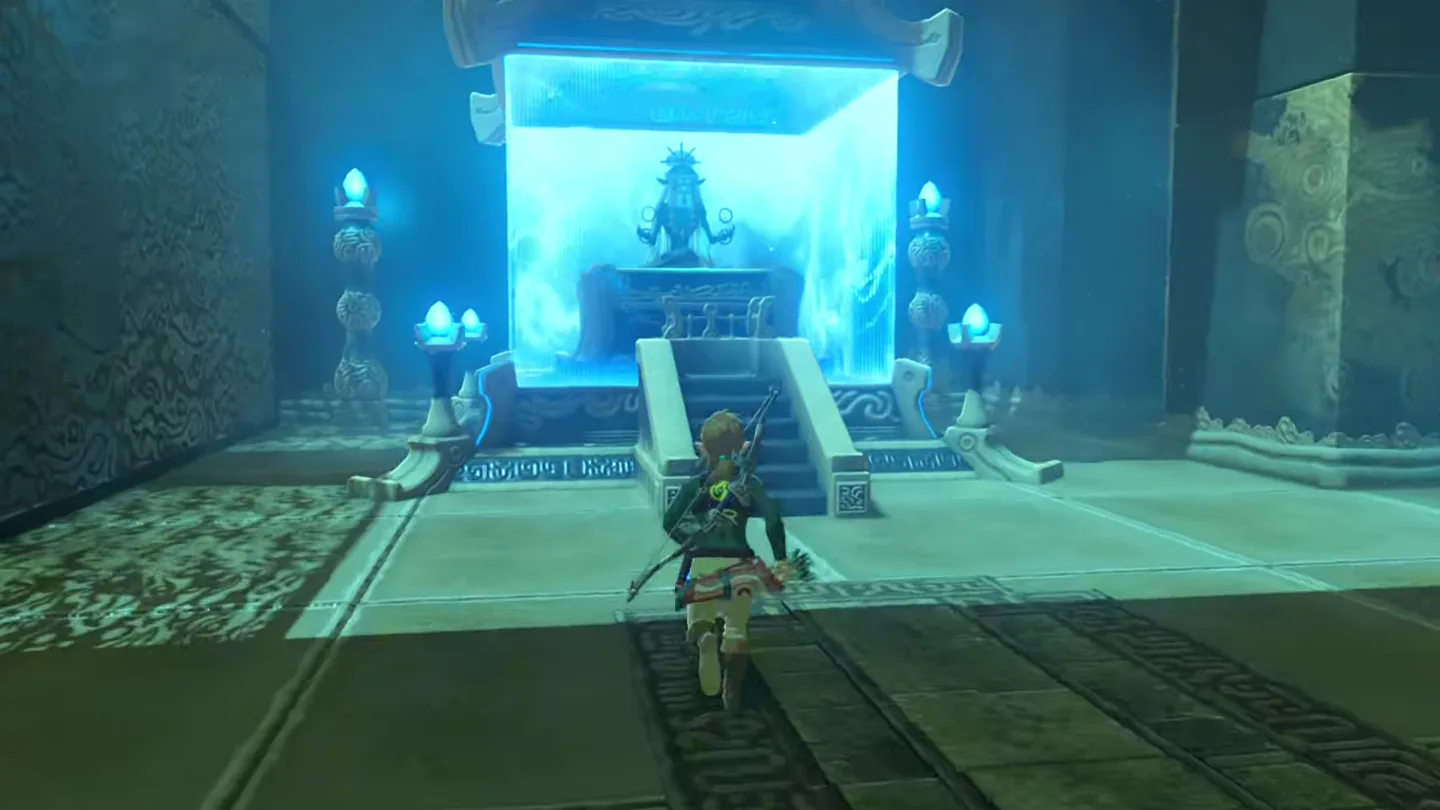
Cross the top of the gate to the altar. Follow it to the stairs and speak to Rota Ooh for the Spirit Orb.
Chests: what is inside and how do you reach them?
| Chest | Contents | How to get it |
|---|---|---|
| 1, left corridor | Small Key | Rotate the gate with the crystal to expose the corridor and open the stone chest. The key opens a shortcut door in the gate; you can finish without it. |
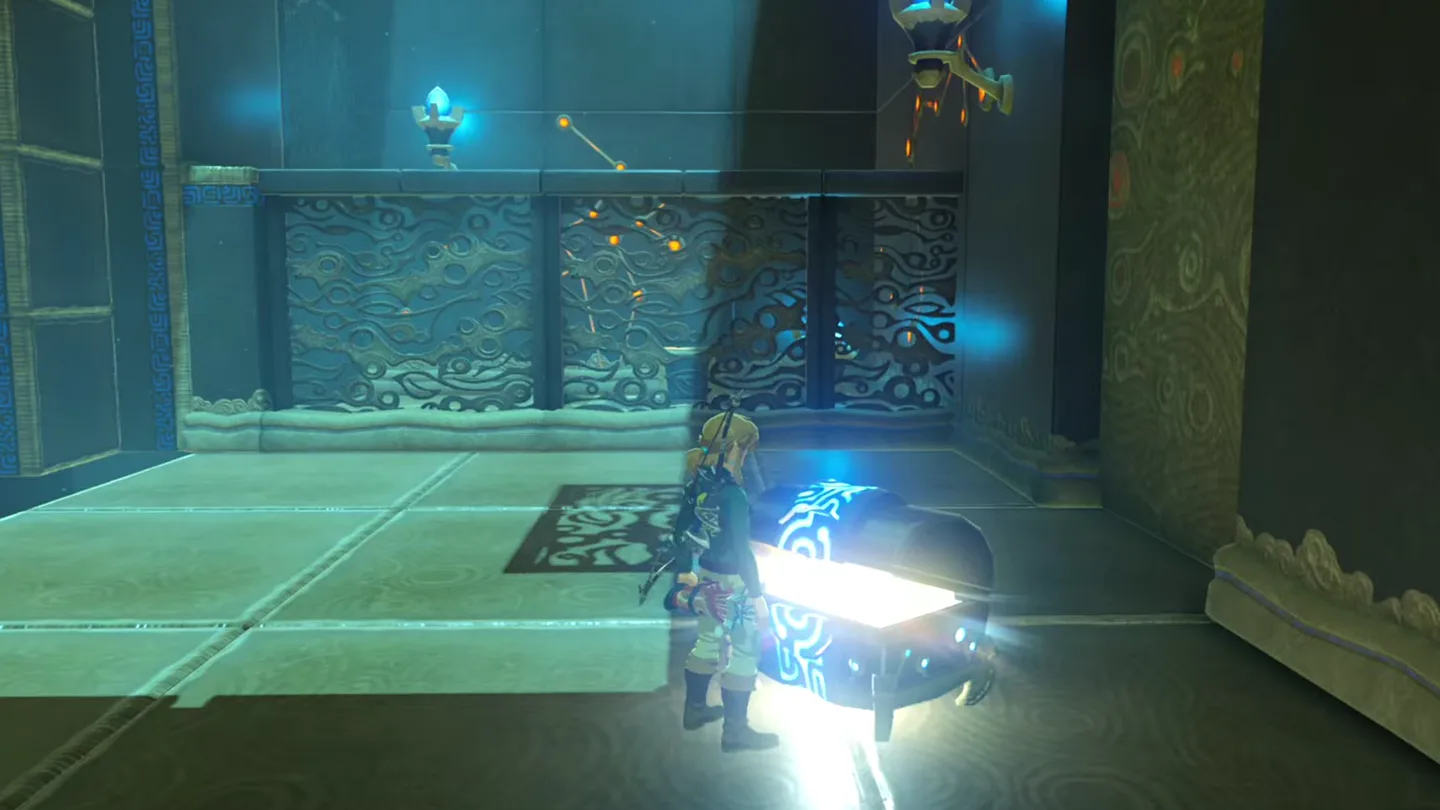
| 2, back-wall ledge | Feathered Edge | Deliver the ball to the socket to activate the launcher. Launch upward and paraglide onto the ledge to open the metal chest, or pull it down with Magnesis. |
What do people miss here?
- The Feathered Edge chest is the one that gets left behind: it sits on the raised ledge at the back of the shrine, off the direct line to the altar, and it is entirely possible to finish the trial and claim the Spirit Orb without ever gliding over to it.
- If you do walk out without it, nothing is lost for good — the shrine can be re-entered after completion, and any unopened chest is still waiting on a return visit.
- The locked door is not the way forward: the ball and the launcher route need no key and no runes. The key door (or Cryonis through the water) is only a shortcut to the other side.
- There is no soft lock from rotating the wall at the wrong time: the crystal just toggles the structure back and forth, so hitting it again re-exposes the left corridor whenever you need another pass at it.
What else is nearby?
| Shrine | Direction | Straight-line distance | Region |
|---|---|---|---|
| Dah Kaso Shrine | south | 413 | Central |
| Joloo Nah Shrine | southwest | 573 | Gerudo |
| Keh Namut Shrine | south | 692 | Great Plateau |
Related: where can you go next?
- All BotW shrine locations: return to the Central region checklist.
- How to find BotW shrines: use the discovery guide while planning your next stop.
- Keh Namut Shrine: south and slightly east of Rota Ooh, on the Great Plateau; this is a direction reference, not a direct walking route.
- Tears of the Kingdom vs. Breath of the Wild: compare the games and their different ability systems.
FAQ
Where is Rota Ooh Shrine near Outskirt Stable?
Where is the Small Key in Rota Ooh Shrine?
How do I get the Feathered Edge chest?
Why can’t I reach the monk after using the launcher?
Do I need Cryonis or a combat weapon for Rota Ooh Shrine?
Related Articles
guides
Breath of the Wild Captured Memories: All 13 Locations and Rewards
All 12 photo locations from Zelda's album plus the 13th memory in Impa's painting, with coordinates, nearby shrines, the Champion's Tunic and the extra ending scene.
guides
Breath of the Wild Great Fairy Fountains: Locations, Costs and Horse God
Where the four Great Fairy Fountains and the Horse God Malanya are in Breath of the Wild, what each fairy costs to release, and how many you need per armor upgrade.
guides
Hyrule Castle Walkthrough: Entry Routes, Hylian Shield and Final Prep
How to get into Hyrule Castle in Breath of the Wild: five entry routes, the Hylian Shield and other loot by room, and what to prepare before the final battle.
Was this helpful?
Thanks for the feedback!