

Kaam Ya'tak Shrine: Solution and All Chests (BotW)
Solve Kaam Ya'tak Shrine's Trial of Power, time the ball launcher, use the motion-control hammer, and find every chest, including the hidden Diamond.
Where is Kaam Ya’tak Shrine?
Use Mount Daphnes in Hyrule Field as your landmark and head to its southern foot to find the entrance. There is no shrine quest to trigger. For the surrounding region, use the BotW shrine location table.
| Item | Detail |
|---|---|
| Trial | Trial of Power / 巨大的力量 |
| Tower region | Central |
| Map-marker coordinates | -0968, -0717, 0141 |
| Type | Physics puzzles with Guardian Scouts; not a Test of Strength |
| Shrine quest | None |
| Chests | 5 |
| English name | Kaam Ya’tak Shrine |
| Traditional Chinese name | 亞卡‧瑪塔神廟 |
| Simplified Chinese name | 亚卡·玛塔神庙 |
What should you bring?
No shrine quest or special gear gates this trial — the only runes it uses are Magnesis, Stasis, and Remote Bomb, all of which you earn on the Great Plateau. Guardian Scouts appear in two rooms (Scouts II, upgraded to Scouts III in Master Mode), and the finale asks you to strike the frozen stone ram repeatedly, so bring a melee weapon with durability to spare. A fire source helps with the burn puzzles, though one chamber provides a sconce for lighting arrows and Remote Bombs can destroy the wooden supports outright. The interior sits at a mild +73 °F (about 23 °C), so no heat- or cold-resistant gear is needed.
Video walkthrough
![[Zelda BotW] Kaam Ya'Tak Shrine Guide (All Chests)](https://i.ytimg.com/vi/CD2lhuk-c5I/hqdefault.jpg)
How do you solve Kaam Ya’tak Shrine?
The route alternates between giving a ball momentum and stopping a platform from moving. Prepare these tools before following the walkthrough; the chest stops are included in route order.
| Tool | Use on this route |
|---|---|
| Magnesis | Move the upper iron ball at the entrance and control rolling spiked balls |
| Stasis | Lock tilting floors and store force in the stone ram |
| Bow and arrows; a fire source | Drop the hanging lantern and burn wooden ball supports |
| Melee weapon | Charge the frozen ram and activate the final crystal |
| Remote Bomb | Break the cracked rock concealing a chest; also an alternative for wooden supports |
| Paraglider | Reach the final chest ledge after launching upward |
1. Swing the Boulder into the Door
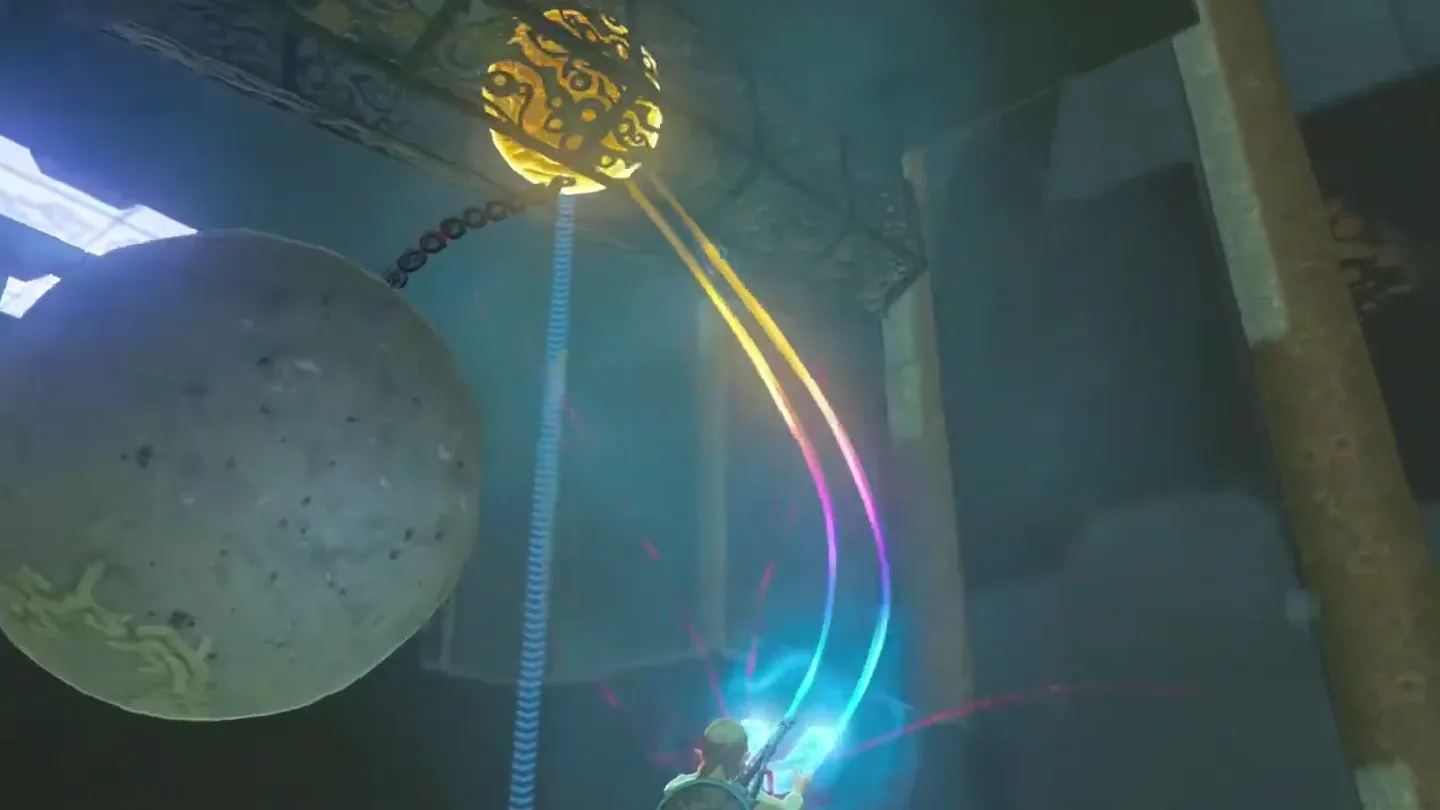
Swing the suspended boulder into the door. Use Magnesis on the iron ball in the overhead cage, not the stone ball below it. Move the iron ball so the hanging boulder swings hard into the stone doors.
2. Stop the Spiked Balls
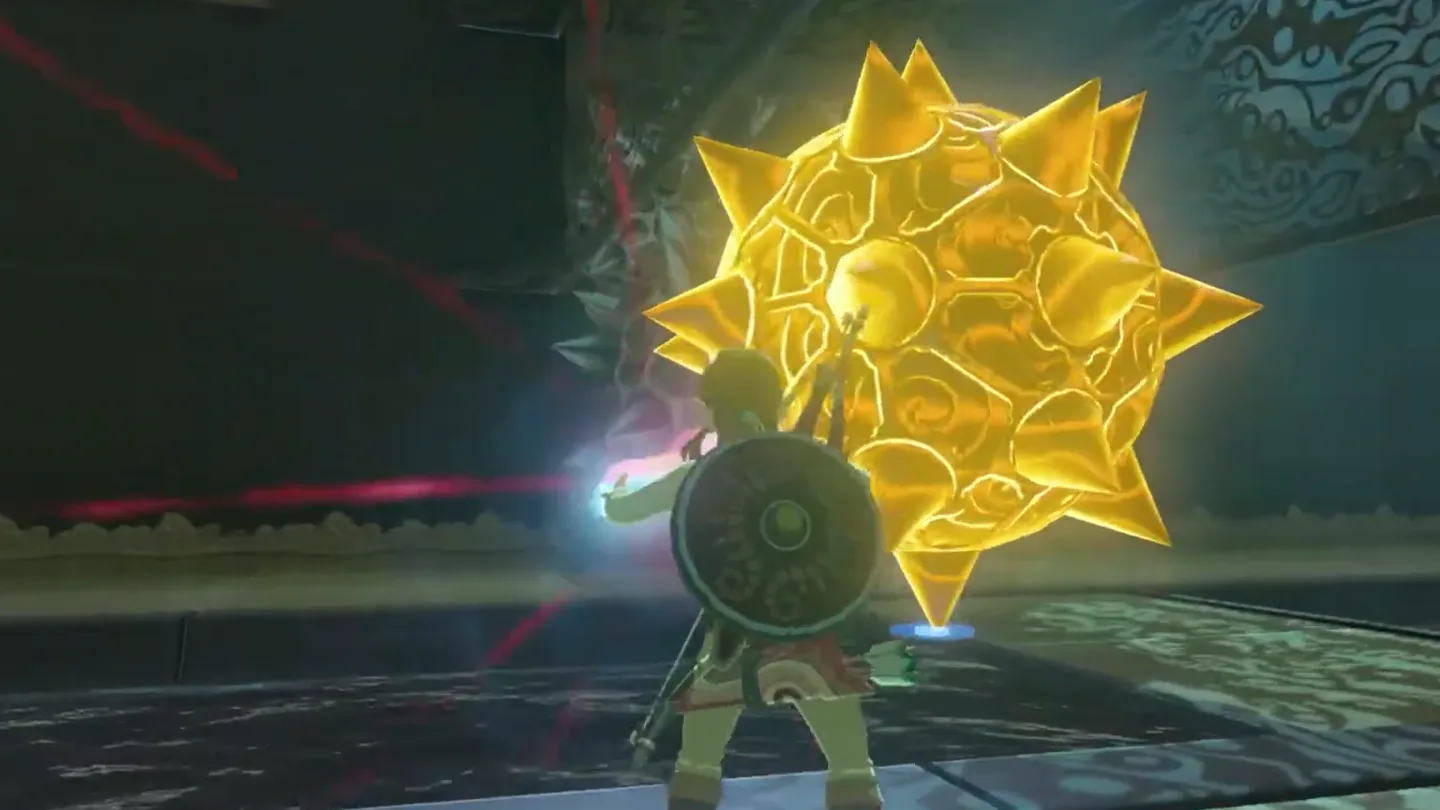
Stop the spiked balls before crossing. Use Magnesis to slow or hold the rolling metal hazards out of your path, then pass through the corridor.
3. Burn the Leaves and Collect the Edge of Duality
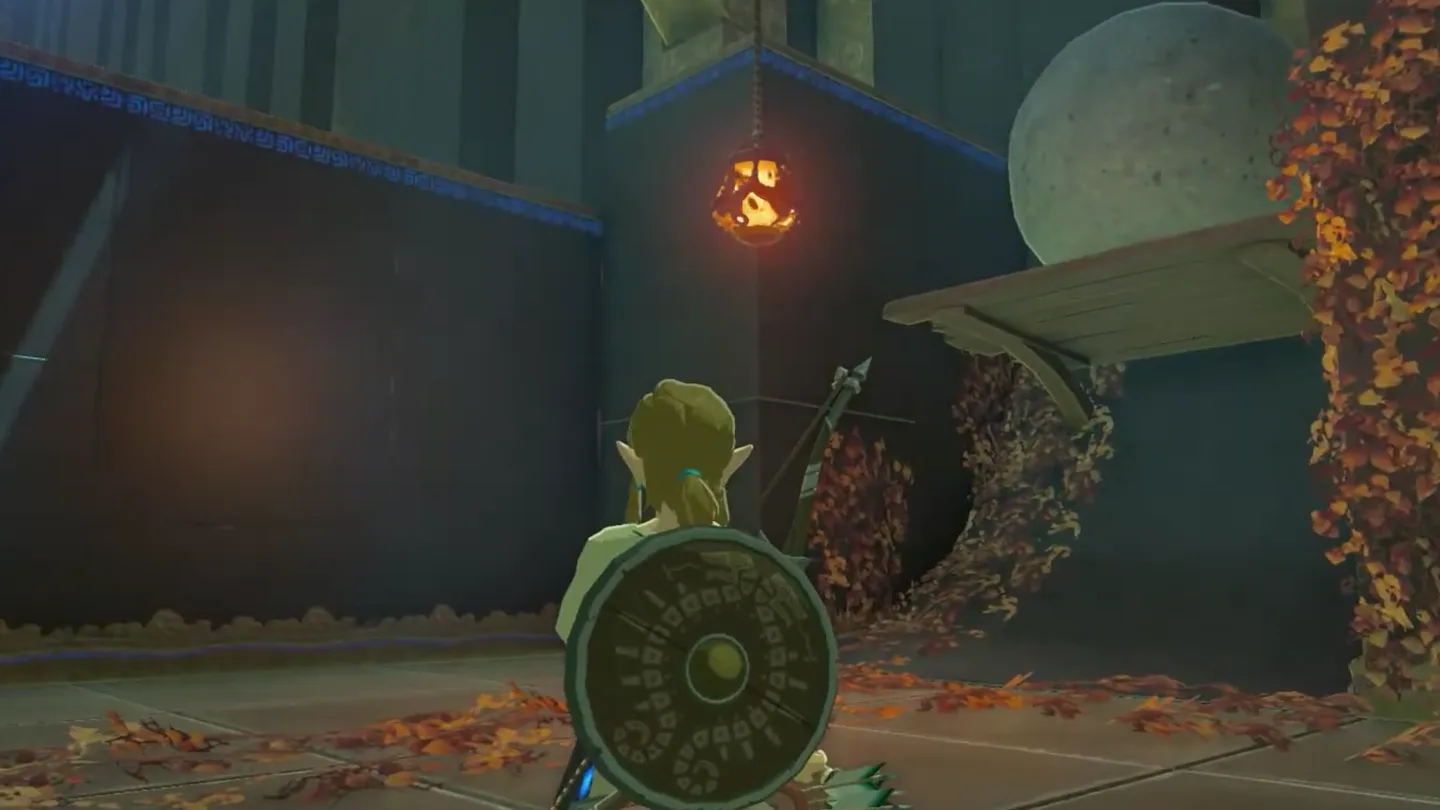
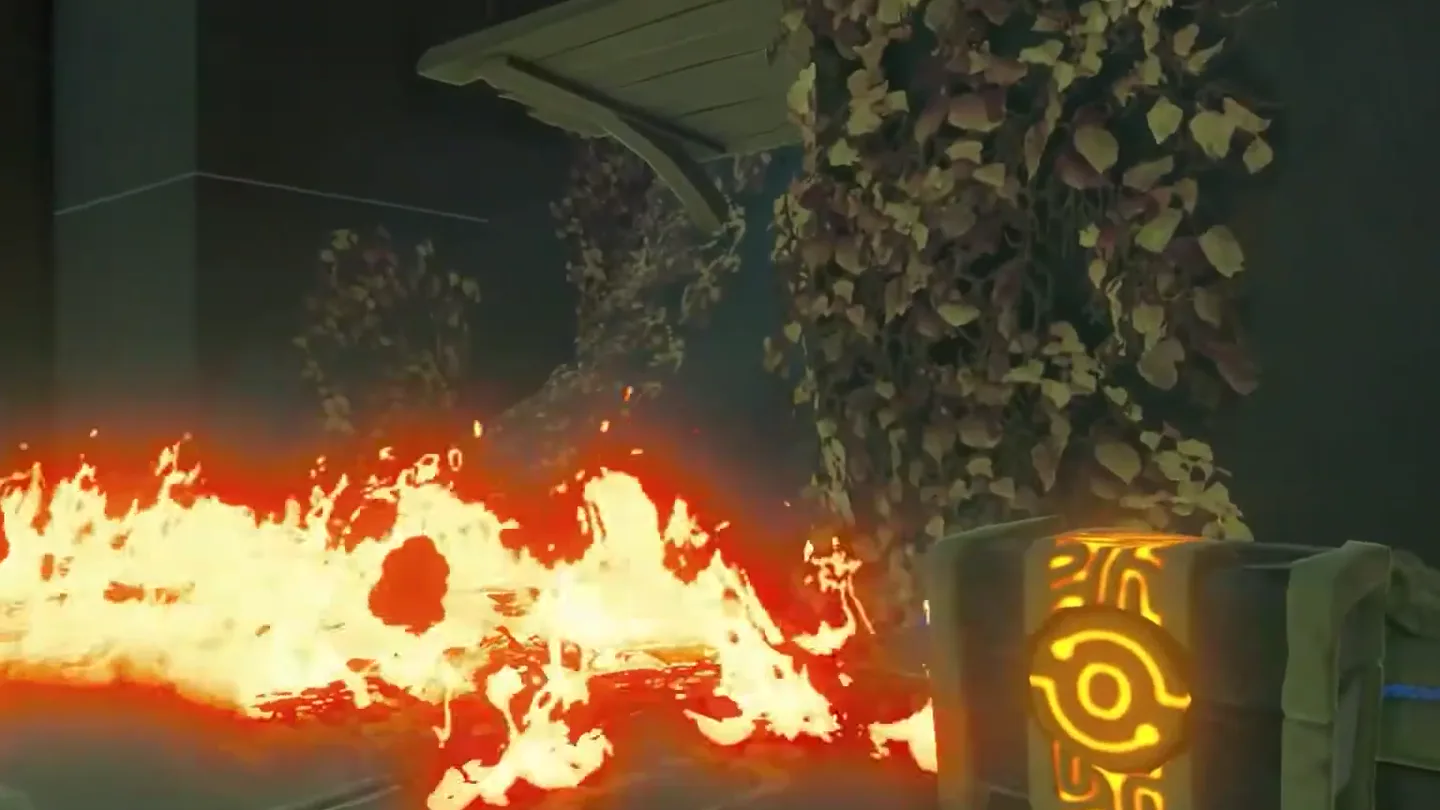
Release the boulder above the leaves. Deal with the Guardian Scouts in the leaf-covered passage, then shoot the hanging lantern’s rope. Fire spreads through the leaves to the wooden support, dropping the boulder so it rolls into the next doors.
Collect the Edge of Duality. Before leaving this area, open the chest in the corner of the Guardian Scout passage.
4. Collect the Knight’s Broadsword
Turn left for the Knight’s Broadsword. Go through the doors opened by the rolling boulder, then follow the left-hand passage to the chest beside the stairs.
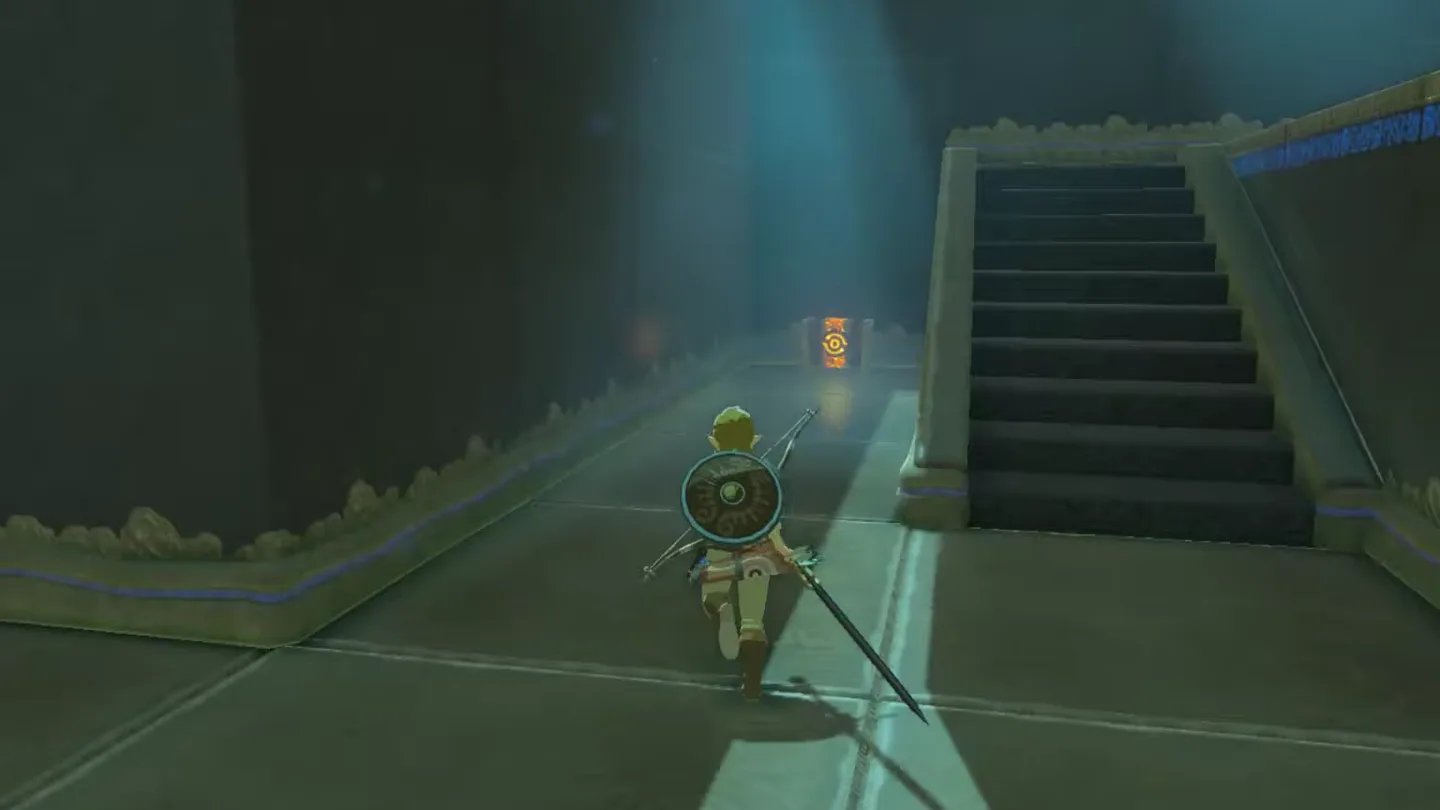
5. Hammer the Ball Forward
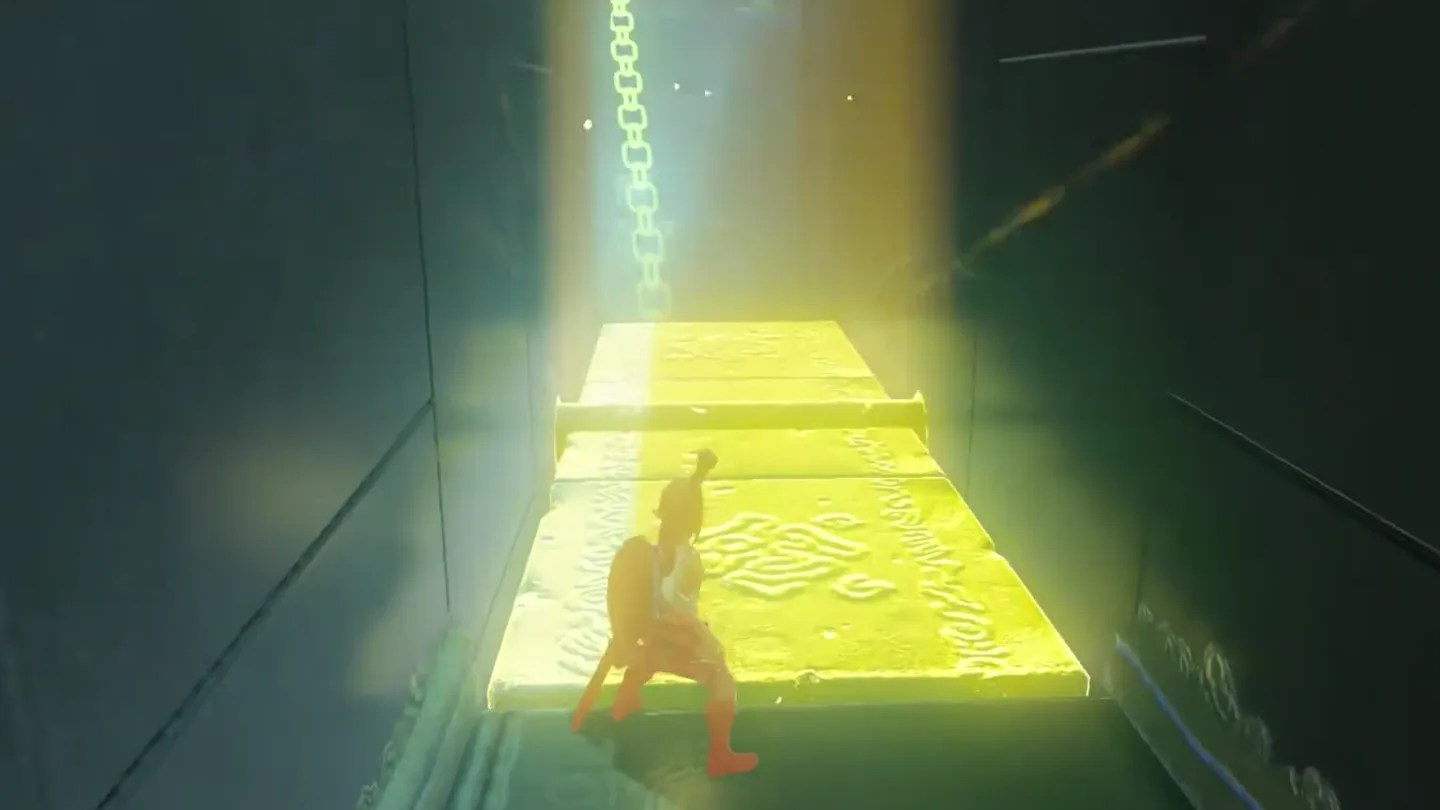
Freeze the collapsing floor. Follow the winding corridor past more Guardian Scouts, then use Stasis on the tilting floor panel before walking across it. The Scouts in this later corridor do not have to be defeated to continue.
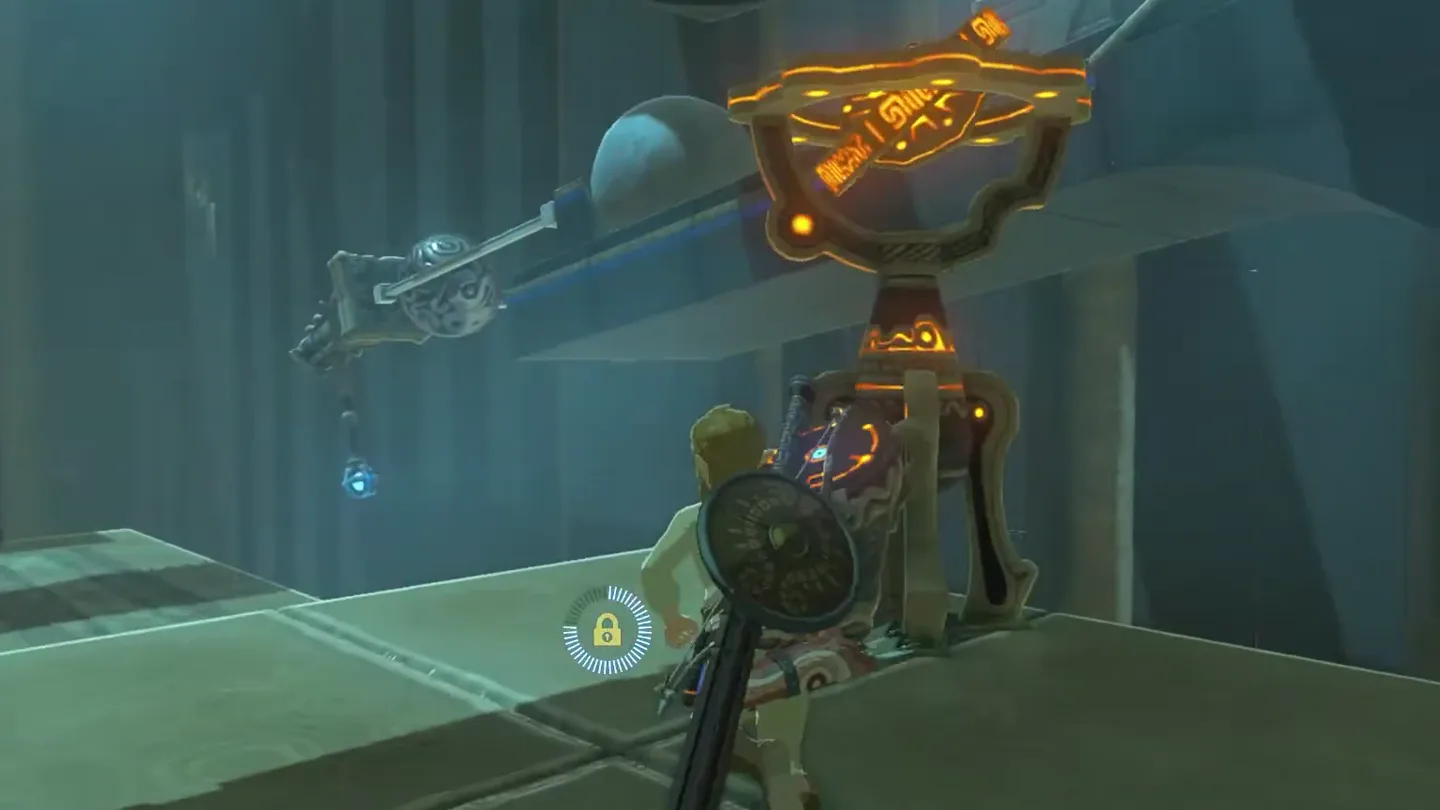
Use the motion-control hammer. Activate the apparatus and swing its hammer into the iron ball. The impact drives the larger boulder through the wooden boxes and opens the route ahead.
Take the Ancient Core before leaving. Check the corner of the motion-control chamber near the doorway and open its chest before passing through.
6. Launch the Boulder Across the Gap
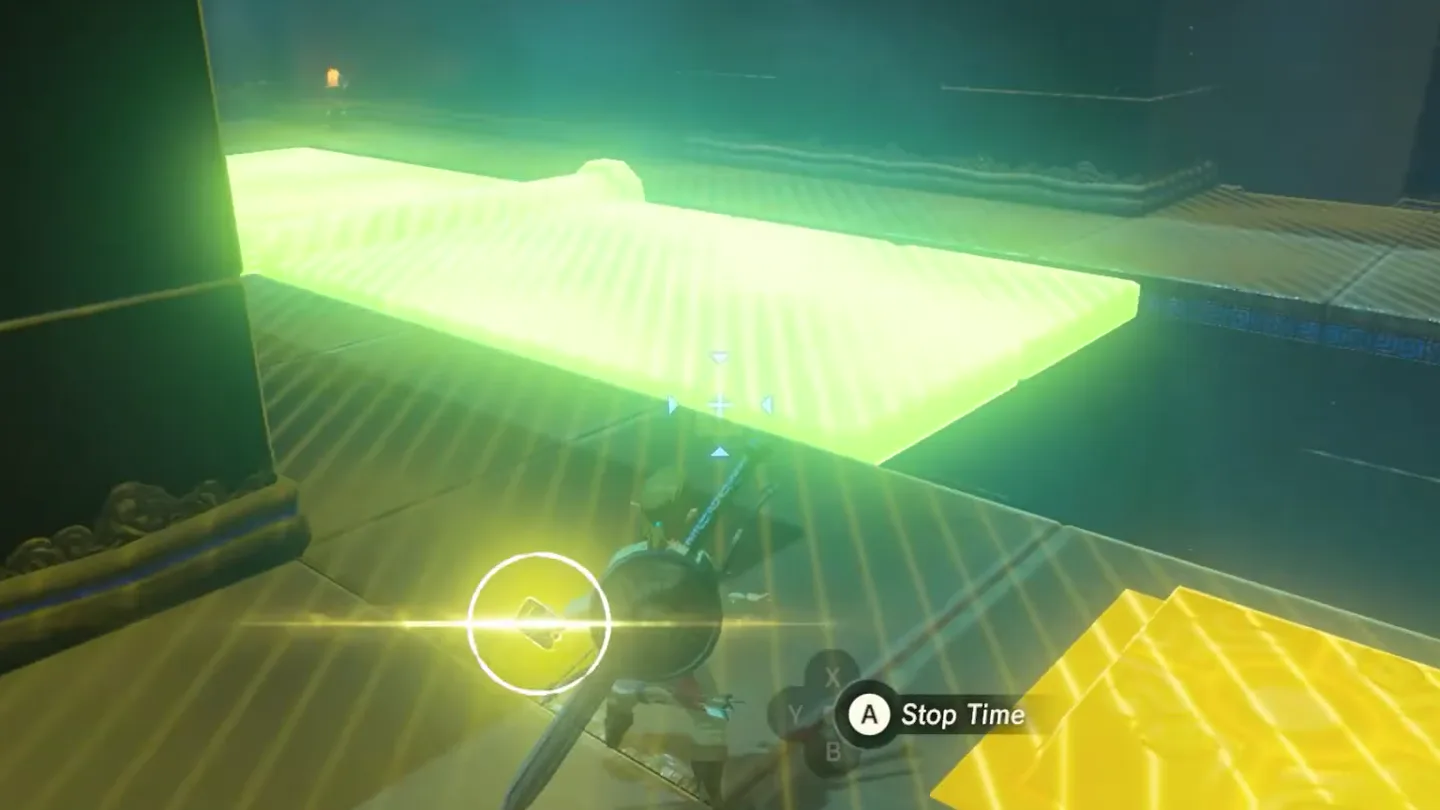
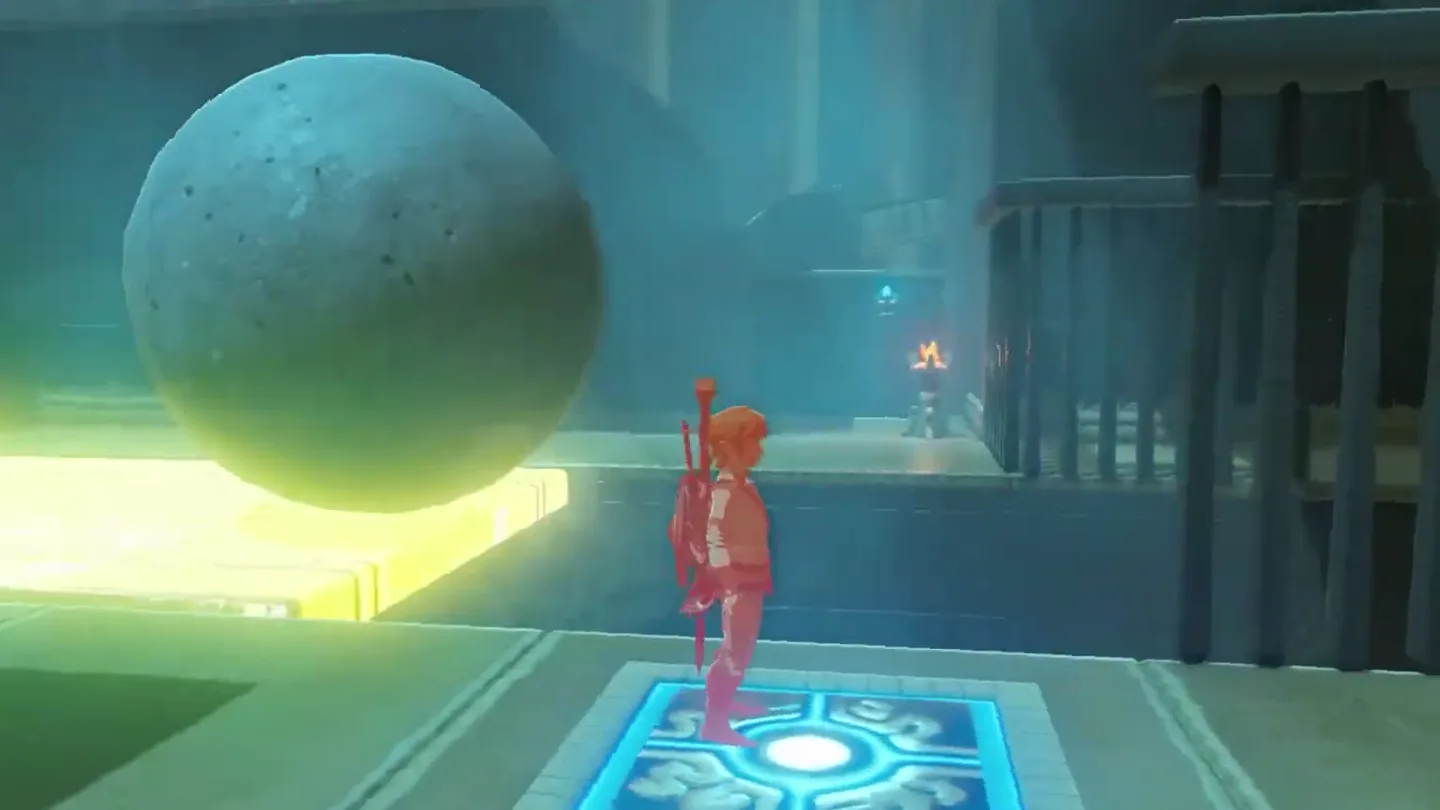
Cross the next tilting platform with Stasis. Beyond the doorway, lock the seesaw-like floor and walk to the other side, where you can operate the ball-launching mechanism.
Burn the next wooden support. Set fire to the board holding the boulder so it drops and begins rolling toward the launcher.
Lock the landing platform, then launch the ball. Use Stasis on the tilting floor across the gap. Activate the pressure switch as the boulder reaches the launch plate, sending it over the gap and across the frozen floor into the doors.
7. Bomb the Cracked Rock for the Silver Rupee
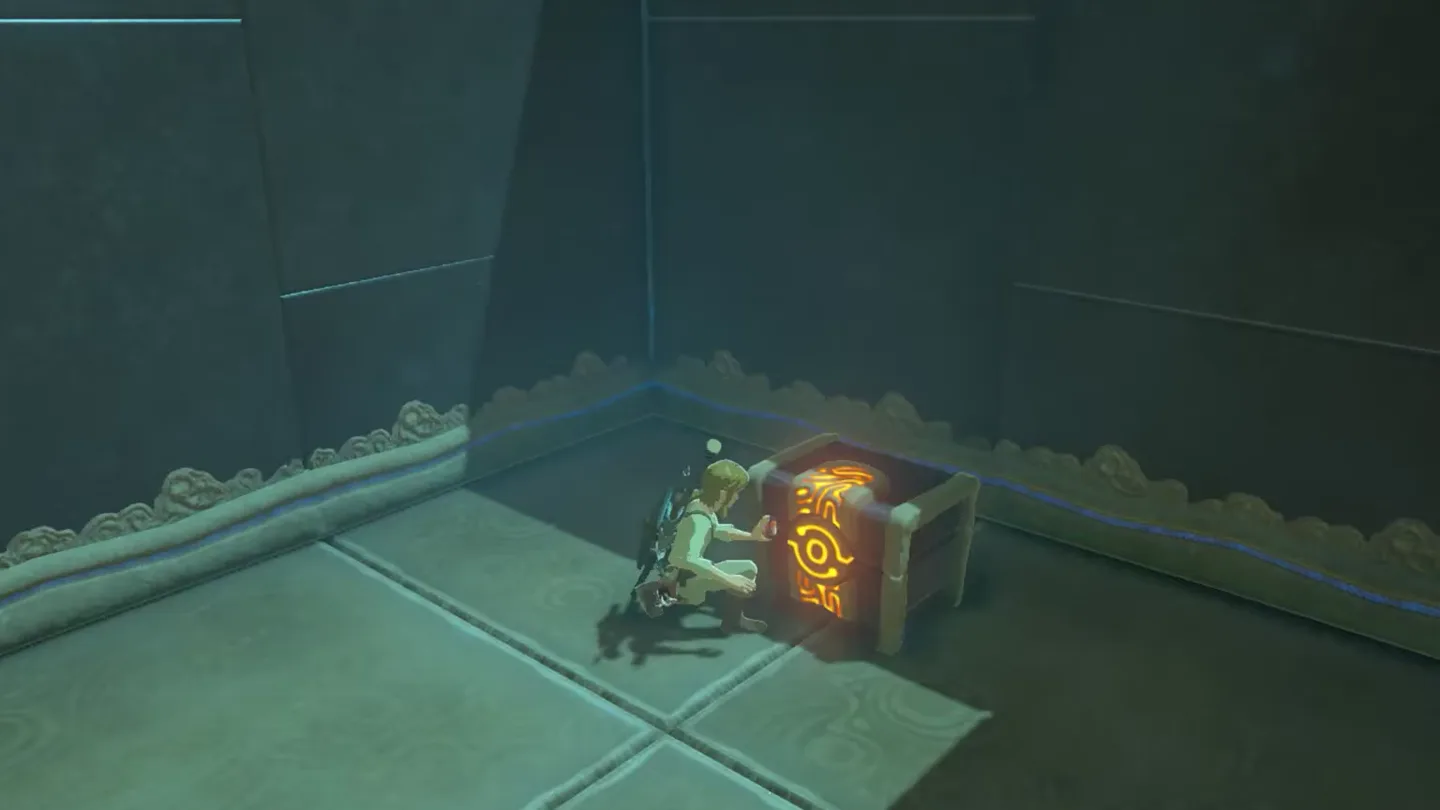
Bomb the cracked rock for the Silver Rupee. Through those doors, look right into the passage behind the stone ram. Destroy the cracked obstruction with a Remote Bomb and open the hidden chest.
8. Reach the Altar
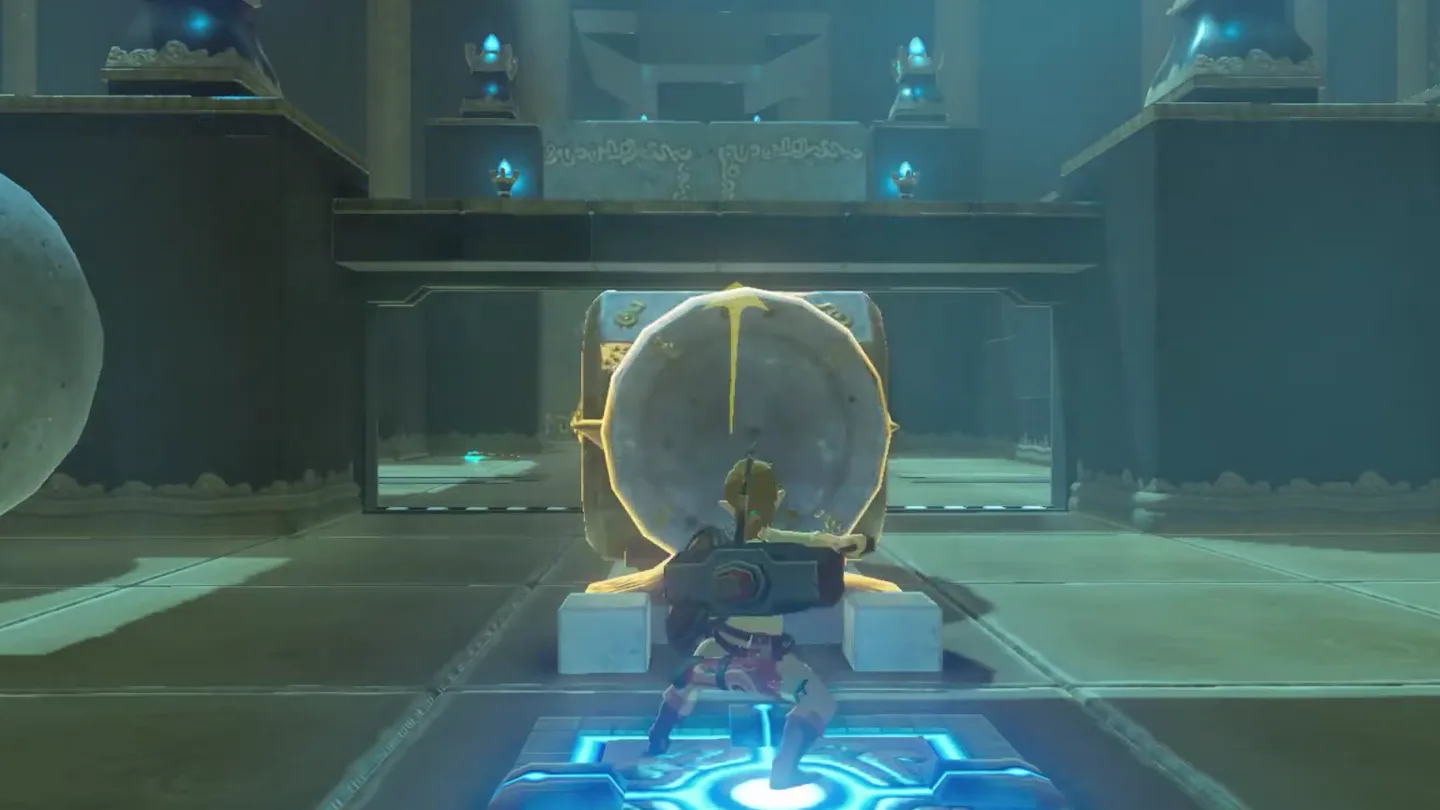
Charge the stone ram while standing on the switch. Step onto the pressure switch, freeze the ram on its track with Stasis, and strike it toward the next doors. When Stasis ends, the stored force sends it down the track to open the way.
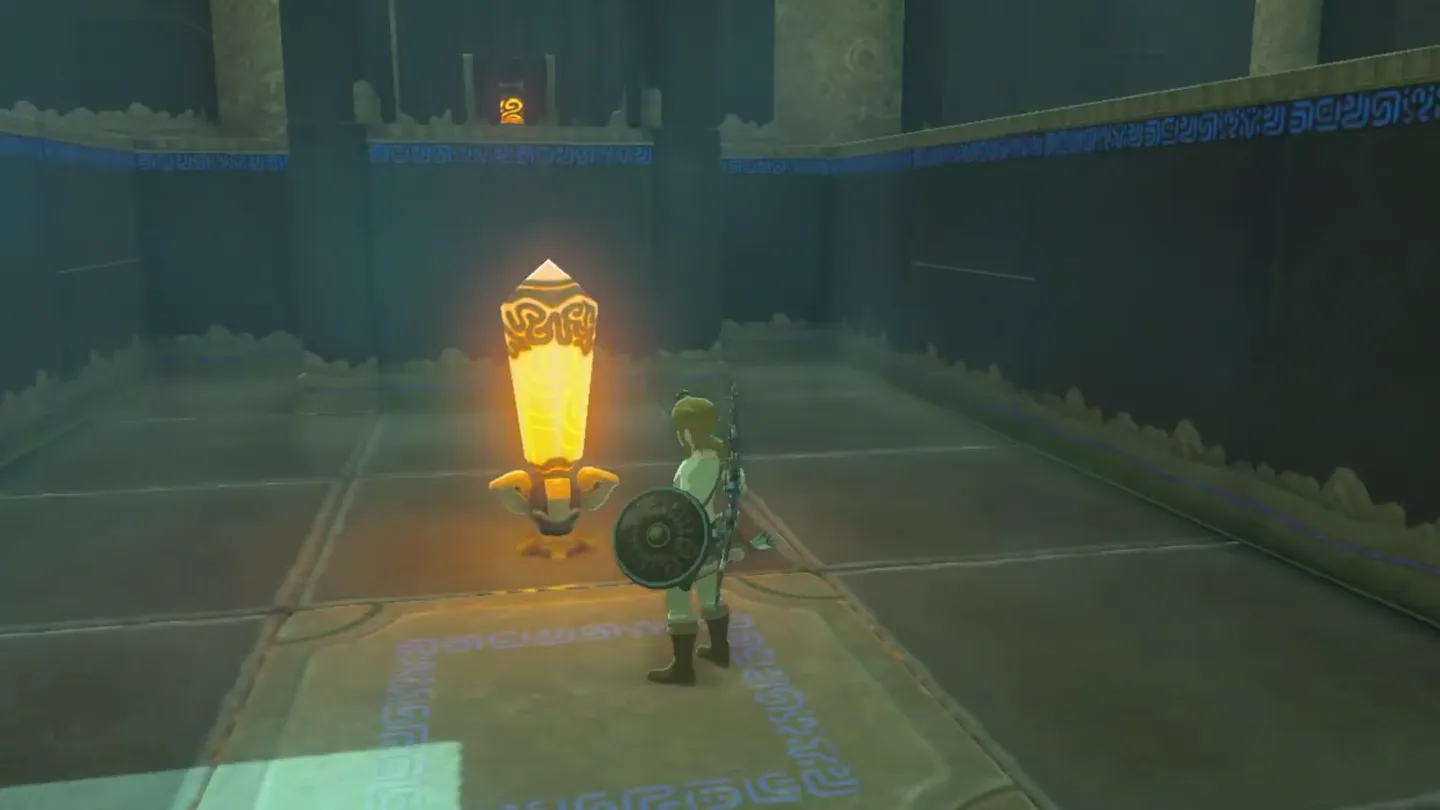
Launch toward the Diamond chest. In the final room, stand on the launch plate and strike the crystal. Glide onto the wall behind the crystal, then follow the ledge around to the chest beneath the monk.
Return to the launcher and reach the altar. Use the crystal-operated plate to launch toward the monk’s platform, then interact at the altar to receive the Spirit Orb.
Where are the chests, and what do they contain?
| Chest | Contents | How to get it |
|---|---|---|
| 1 | Edge of Duality | Search the corner of the Guardian Scout passage beside the leaf-burning boulder puzzle. |
| 2 | Knight’s Broadsword | After the leaf-puzzle boulder opens the doors, turn left and follow the passage to the chest beside the stairs. |
| 3 | Ancient Core | Check the corner near the doorway in the motion-control hammer chamber before moving onward. |
| 4 | Silver Rupee | After the timed ball launcher, bomb the cracked rock in the passage to the right, behind the stone ram. |
| 5 | Diamond | Use the final launcher, glide onto the wall behind the crystal, and follow the ledge beneath the monk. |
What do people miss here?
- A few breakable barrels line the winding hallway between the second stone door and the next pair of Guardian Scouts — smash them for free materials before rushing past.
- The first tilting floor looks like a hard Stasis requirement, but timed right you can sprint and jump across before the panel tips; Stasis is the safe method, not the only one.
- You don’t have to stop every spiked ball: the first row is a single roller you can simply outrun, and it’s the multi-ball second row that really warrants Magnesis or Stasis.
- Mid-route you’ll pass a gate that can’t be opened from your side. Don’t backtrack hunting for a switch — it opens much later via the floor switch beside the stone ram, and once triggered it stays open for good.
- If the motion-control hammer keeps coming up short, it’s the wooden crates sapping the boulder’s momentum rather than your aim — expect a couple of attempts before it breaks through.
What else is nearby?
| Shrine | Direction | Straight-line distance | Region |
|---|---|---|---|
| Rota Ooh Shrine | southwest | 839 | Central |
| Oman Au Shrine | south | 850 | Great Plateau |
| Katah Chuki Shrine | north | 1111 | Central |
Which related guides help next?
- All BotW shrine locations: use the regional checklist to plan your next destination.
- How to find shrines: review the search tools when an entrance is hard to spot.
- Oman Au Shrine: southeast of here on the Great Plateau, with a guide to the Magnesis tutorial.
- Tears of the Kingdom vs. Breath of the Wild: compare the games and their different abilities.
FAQ
Is Kaam Ya'tak Shrine a Test of Strength?
Why does the ball keep falling in Kaam Ya'tak Shrine?
Where is the last chest in Kaam Ya'tak Shrine?
Do I need a bow for Kaam Ya'tak Shrine?
Related Articles
guides
Breath of the Wild Captured Memories: All 13 Locations and Rewards
All 12 photo locations from Zelda's album plus the 13th memory in Impa's painting, with coordinates, nearby shrines, the Champion's Tunic and the extra ending scene.
guides
Breath of the Wild Great Fairy Fountains: Locations, Costs and Horse God
Where the four Great Fairy Fountains and the Horse God Malanya are in Breath of the Wild, what each fairy costs to release, and how many you need per armor upgrade.
guides
Hyrule Castle Walkthrough: Entry Routes, Hylian Shield and Final Prep
How to get into Hyrule Castle in Breath of the Wild: five entry routes, the Hylian Shield and other loot by room, and what to prepare before the final battle.
Was this helpful?
Thanks for the feedback!