Some terrain tiles could not load. Switch to the coordinate grid or retry.
Start at Lurelin Village and head east to Palmorae Ruins on the coast. For a guided approach, speak to Zuta in the village and follow him to the ruins. Garini waits by the broken monument, where the shrine challenge begins. The entrance stays hidden until you complete it.
Item
Detail
Trial
Quick Thinking
Tower region
Faron
Coordinates
3437, -3317, 0130
Type
Moving-platform and barrel puzzle; not a Test of Strength
Two things matter before you enter: the Camera on your Sheikah Slate, required to photograph the monument fragments for the shrine quest, and a bow with arrows for the right course’s crystal switches. No other runes are needed — the trial runs on hand-carried barrels, so Magnesis, Stasis, Cryonis, and Remote Bombs are all optional. There is no Test of Strength here, so no combat gear or elemental resistance is required.
You need the Camera to document the monument fragments. Night makes the fragments easier to spot.
Fragment
Where to look, relative to Garini
East beach
Behind the palm trees east of the monument
West shore
Among the rocks by the water, beyond the crates and barrels
Curved peninsula
At its far tip, beside a palm tree
1. Shrine Quest: Reveal the Shrine
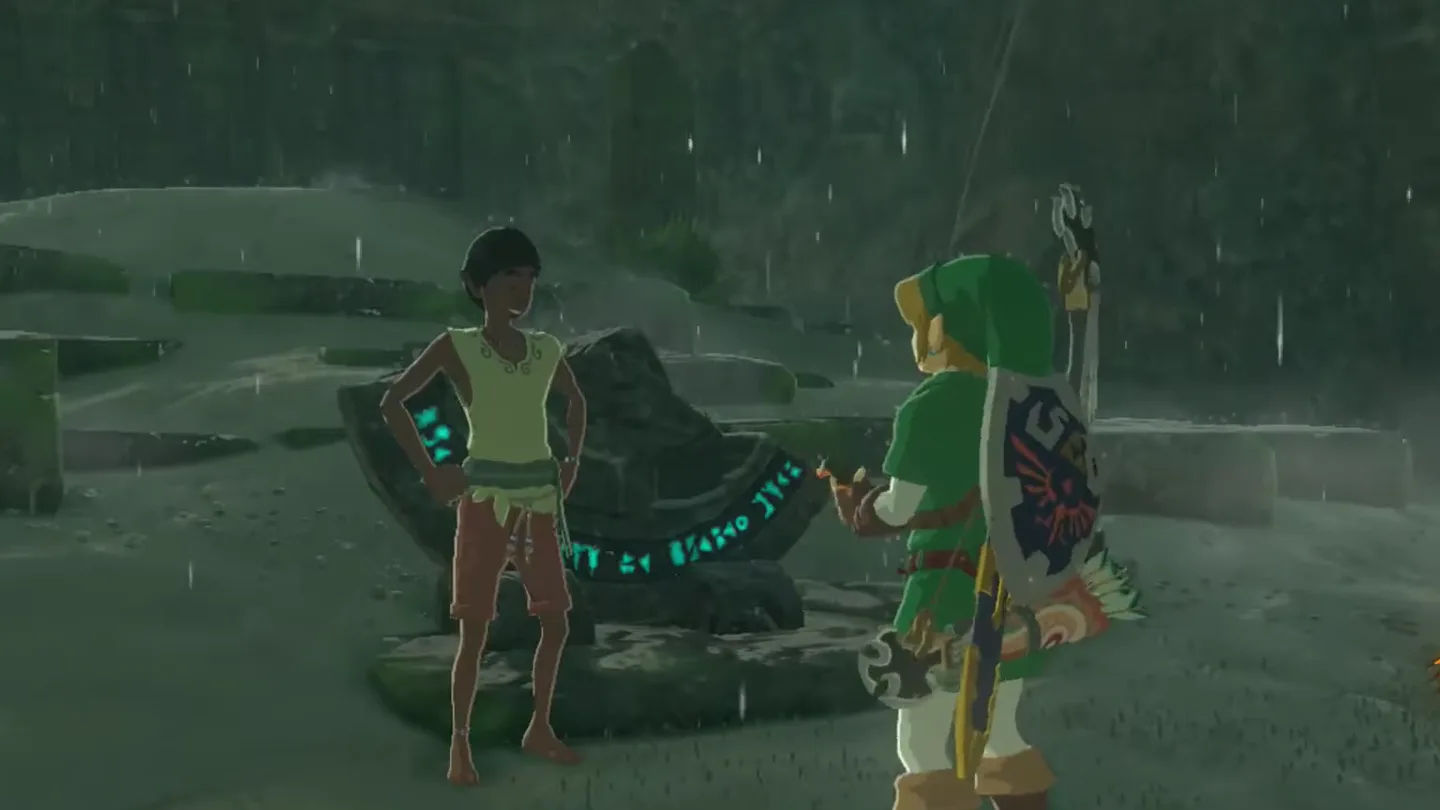
Speak to Garini at the broken monument to begin the challenge.
Photograph the scattered fragments at the locations above, then return and show him the pictures.
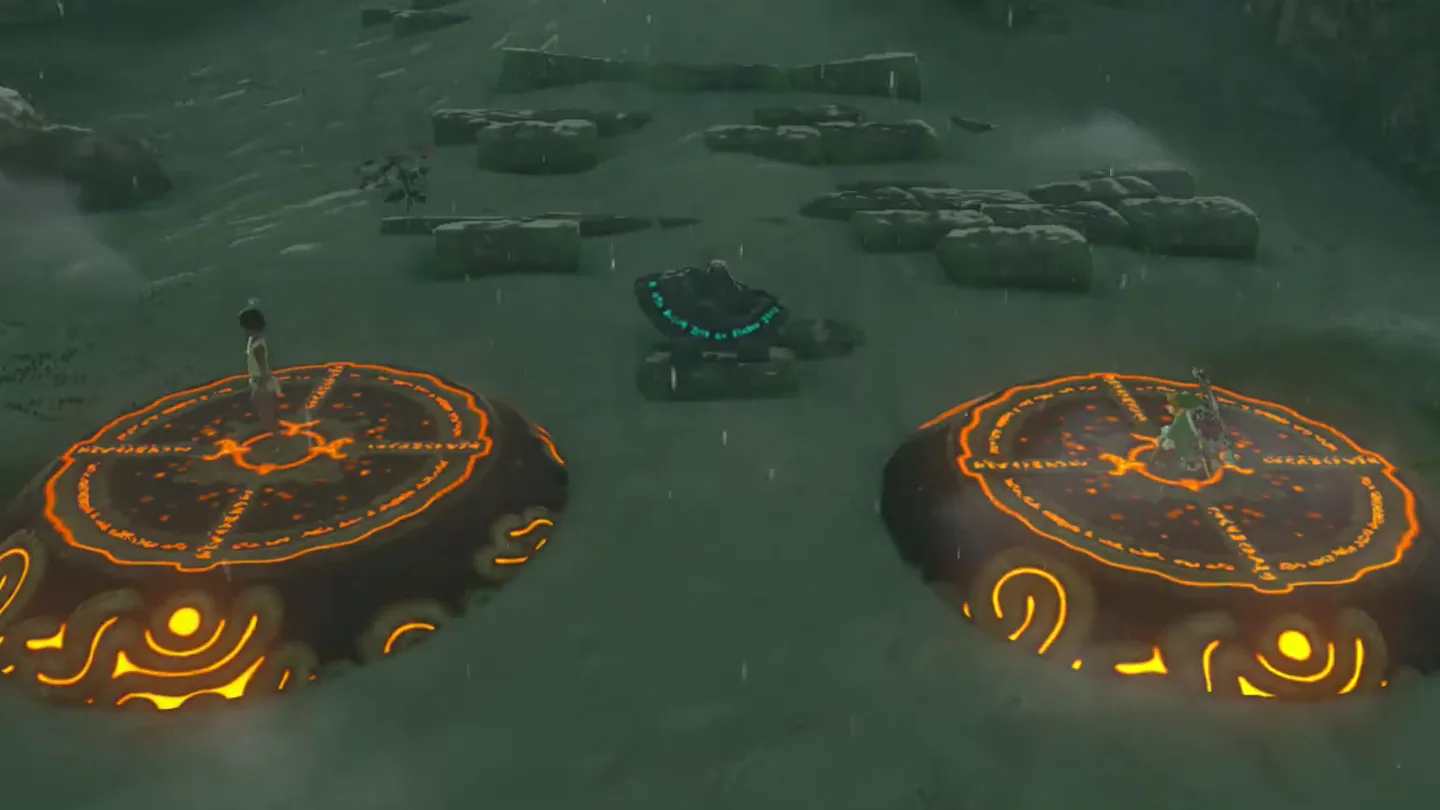
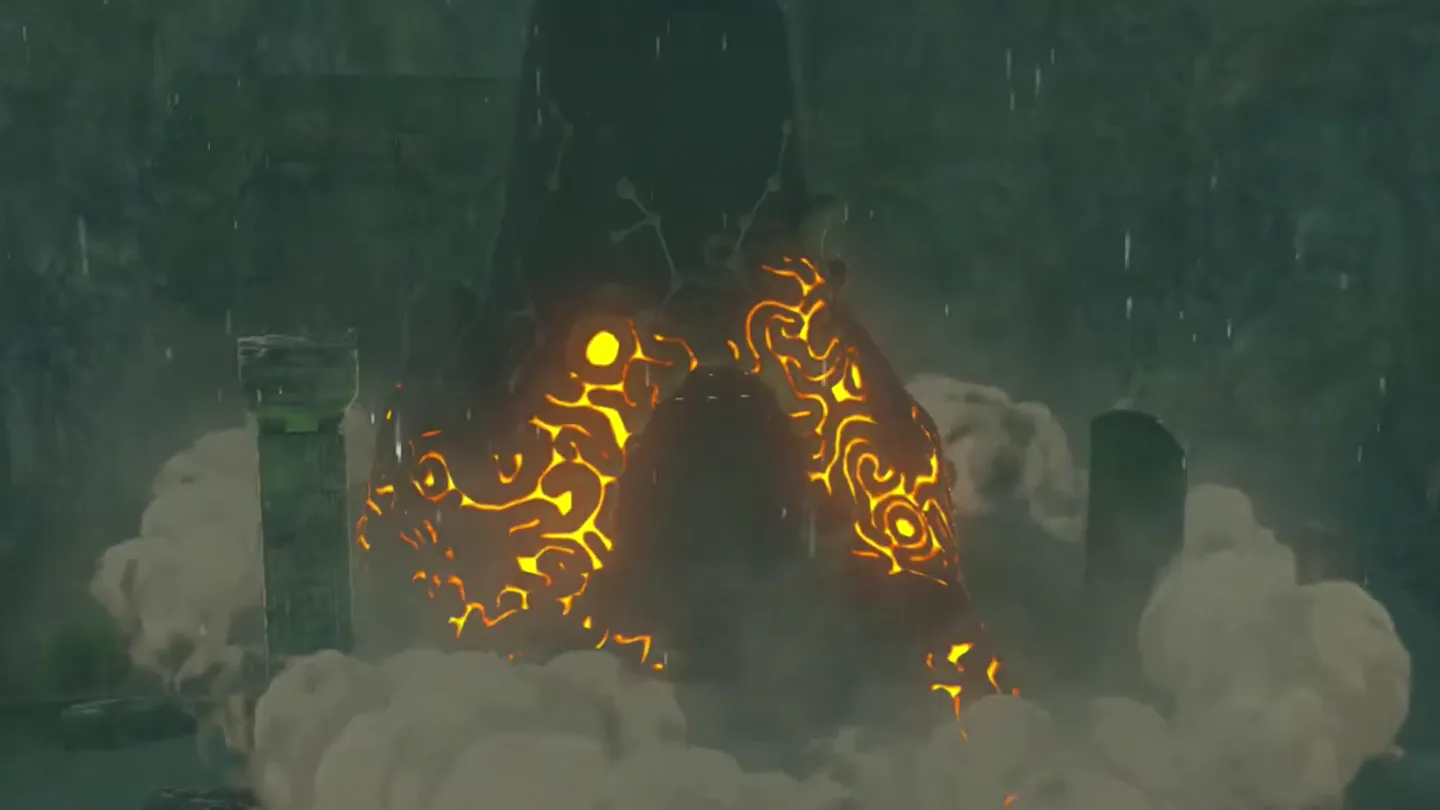
Crouch on a round platform after he deciphers the message; Garini kneels with you and the shrine appears.
Account
Photograph scope
Scattered fragments only
3 photographs
Including the main monument beside Garini
4 photographs
Speak to Garini ① at the broken monument to start the challenge. Screenshot (cropped) from DuoNerd
· CC BY After he reads the message, crouch on round platform ①; Garini kneels on the other one. Screenshot (cropped) from DuoNerd
· CC BY The shrine rises from the ground. Screenshot (cropped) from DuoNerd
· CC BY
How do you carry the barrels through Quick Thinking?
Bring a bow and arrows for the right course. This route uses hand-carried barrels and crystal switches; it does not require Magnesis, Stasis, Cryonis, or Remote Bombs. There is no Test of Strength fight.
2. Left Course: Barrel Puzzle for the Small Key
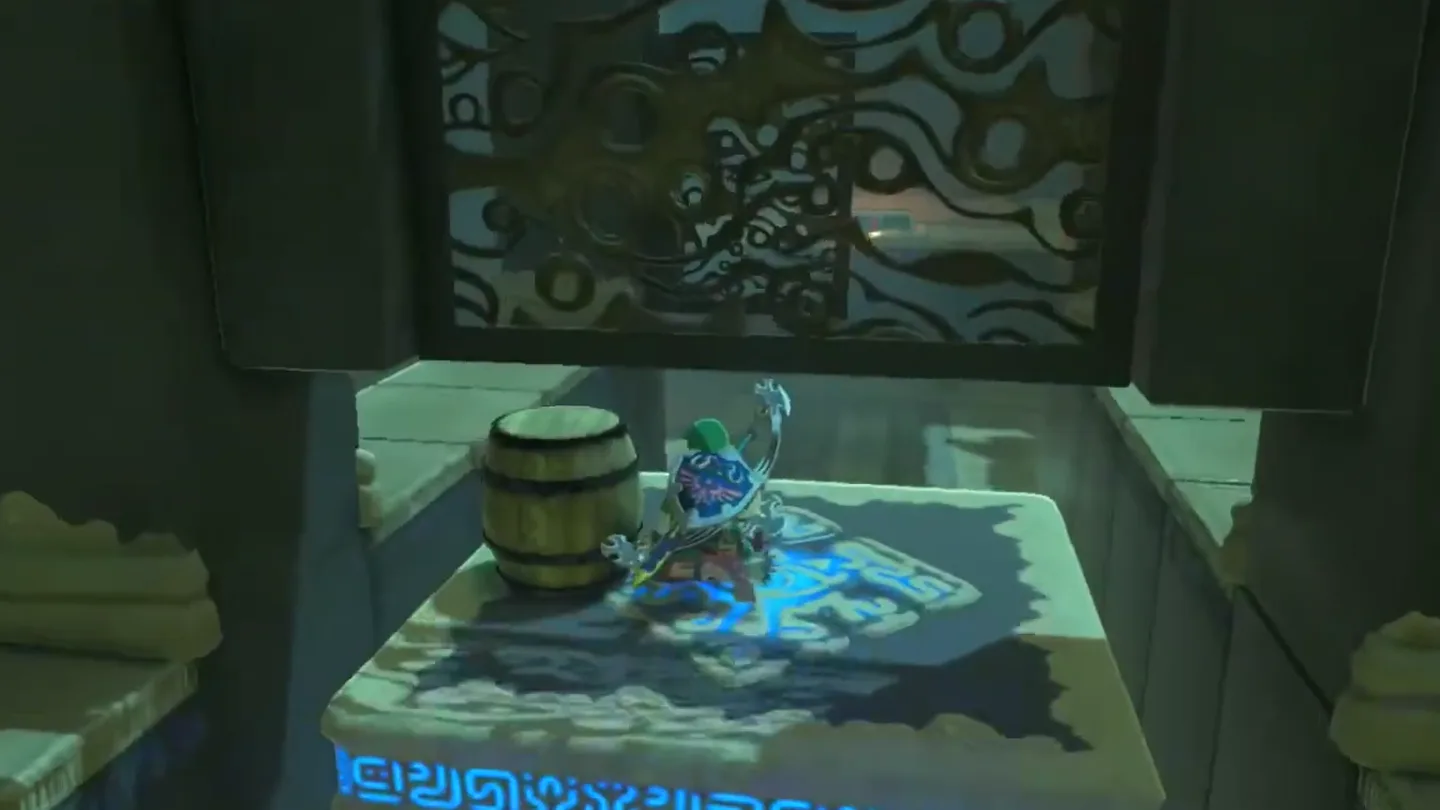
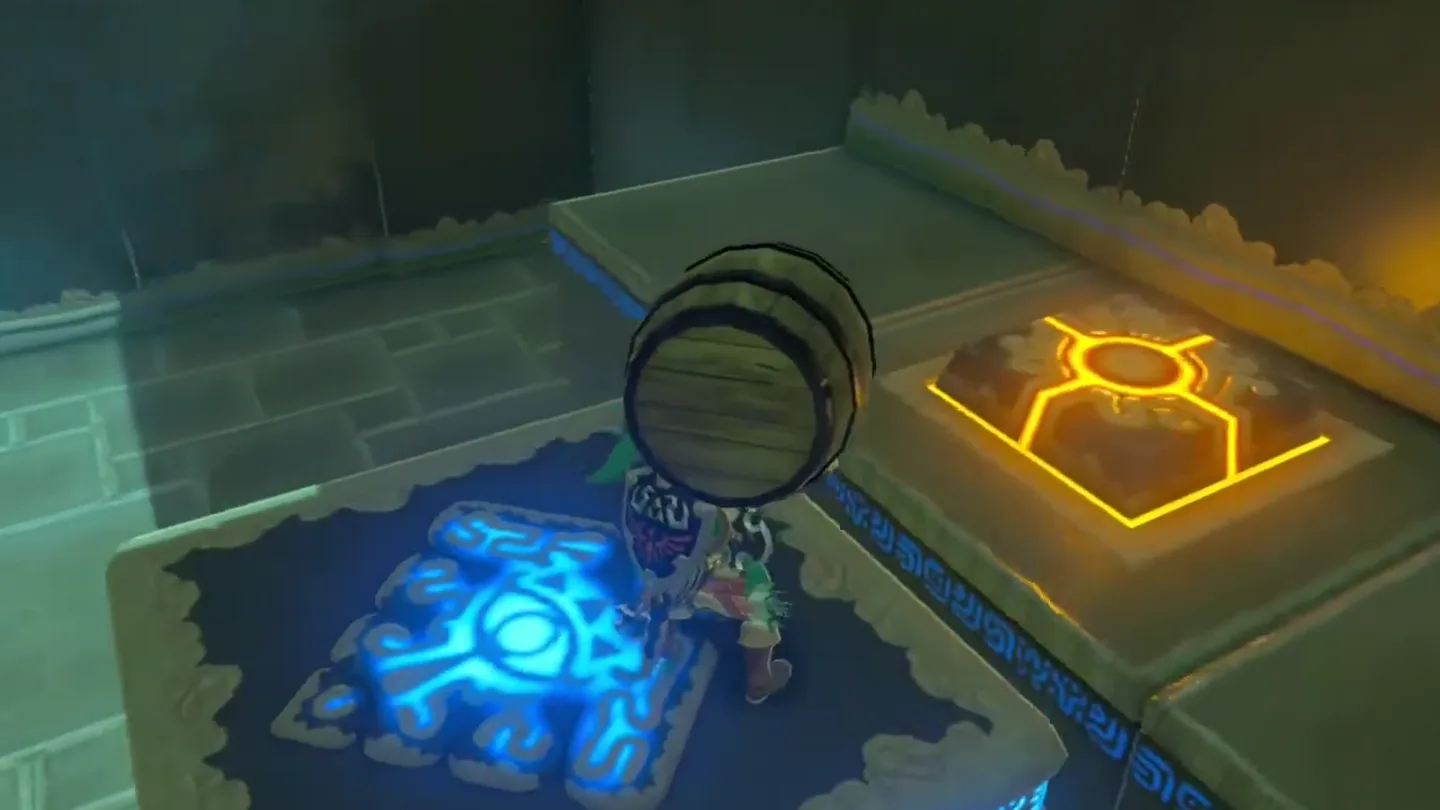
Take the left ramp and put a barrel on the left side of its moving platform, clear of the obstacle on the right.
Leave the barrel down and crouch under the overhead barrier as the platform carries you forward.
Pick up the barrel and move right once clear of the beam, avoiding the obstruction on the left.
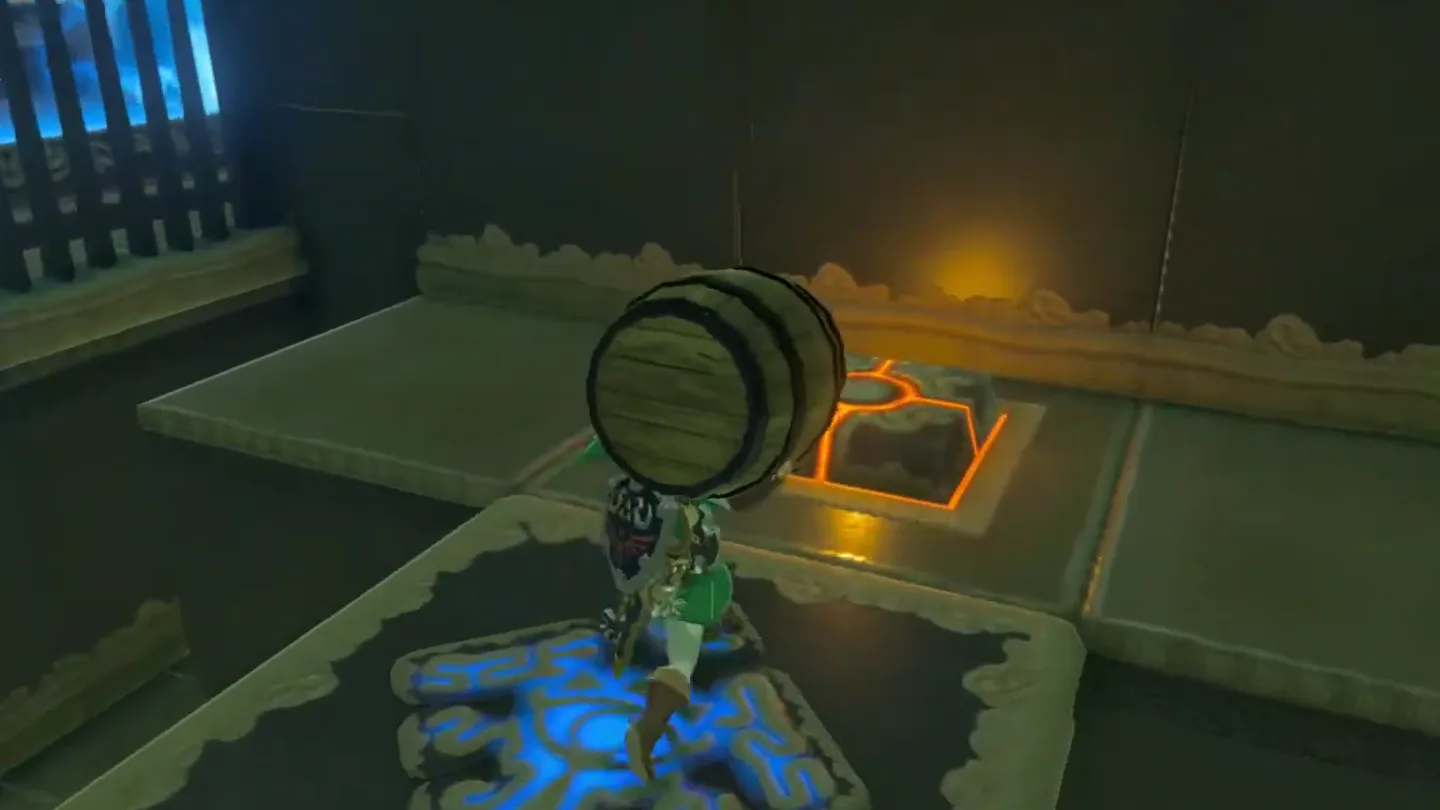
Place the barrel on the pressure plate at the end, then ride back toward the boarding point.
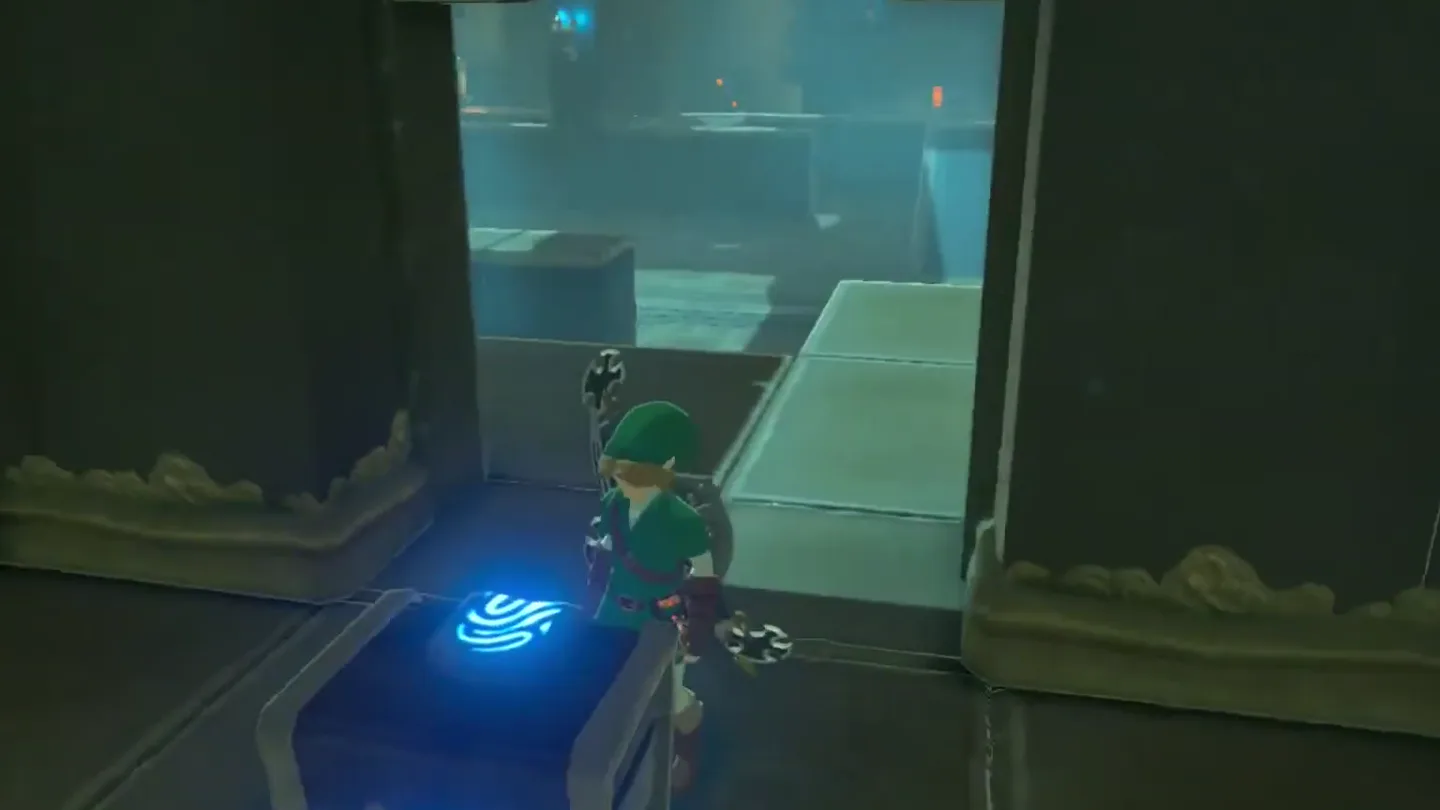
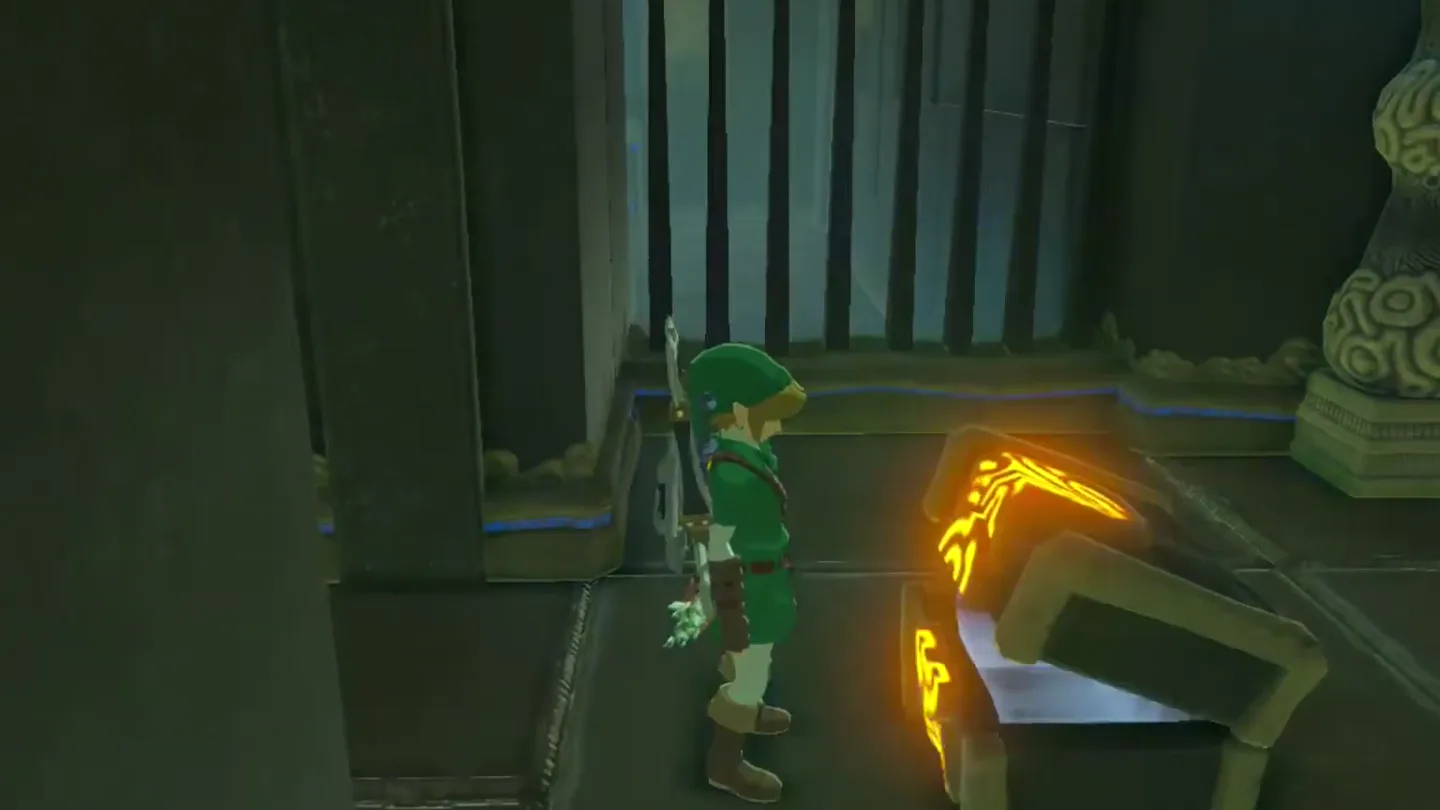
Open the newly accessible chest near the start to obtain the small key.
Leave barrel ① on the left of the platform and crouch under the overhead barrier. Screenshot (cropped) from DuoNerd
· CC BY At the end, put barrel ① on pressure plate ②, then ride back toward the start. Screenshot (cropped) from DuoNerd
· CC BY Open the chest ① near the start for the small key. Screenshot (cropped) from DuoNerd
· CC BY
3. Right Course: Crystal Gates and Weapon Chest
Take the right ramp for the optional chest, bringing a barrel onto its moving platform and readying your bow.
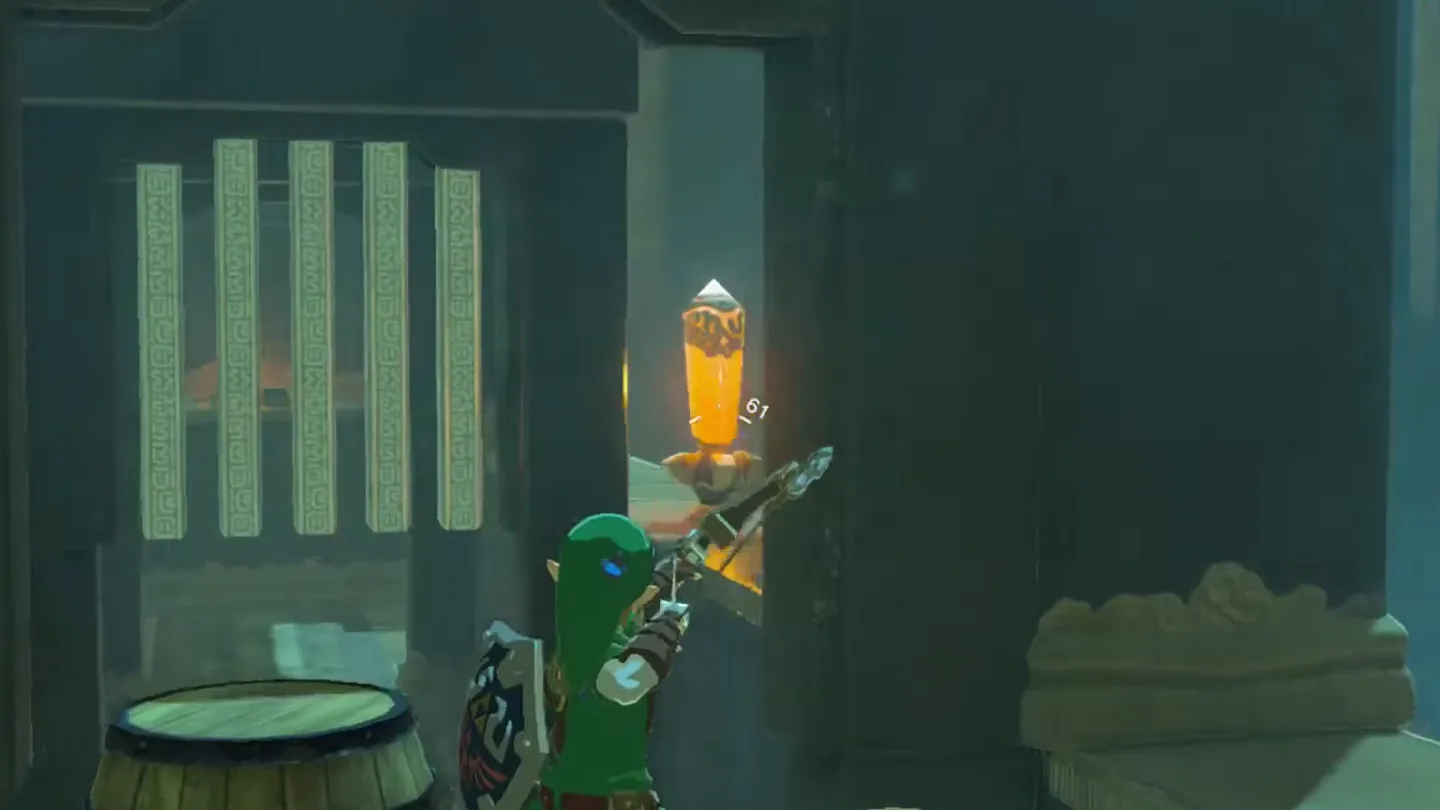
Pass the starting arch before shooting the crystal on your right; the switch opens the gate ahead.
After crossing that gate, turn and shoot the same crystal again to open the next gate along your route.
Set the barrel on the far pressure plate, then return to the right boarding area and open the weapon chest behind the unlocked gate.
On the right course, pass the starting arch, then shoot crystal ① to open the gate ahead. Screenshot (cropped) from DuoNerd
· CC BY Set barrel ① on the far pressure plate ②. Screenshot (cropped) from DuoNerd
· CC BY Return to the right boarding area and open chest ① behind the gate. Screenshot (cropped) from DuoNerd
· CC BY
4. Final Door: Unlock It and Claim the Spirit Orb
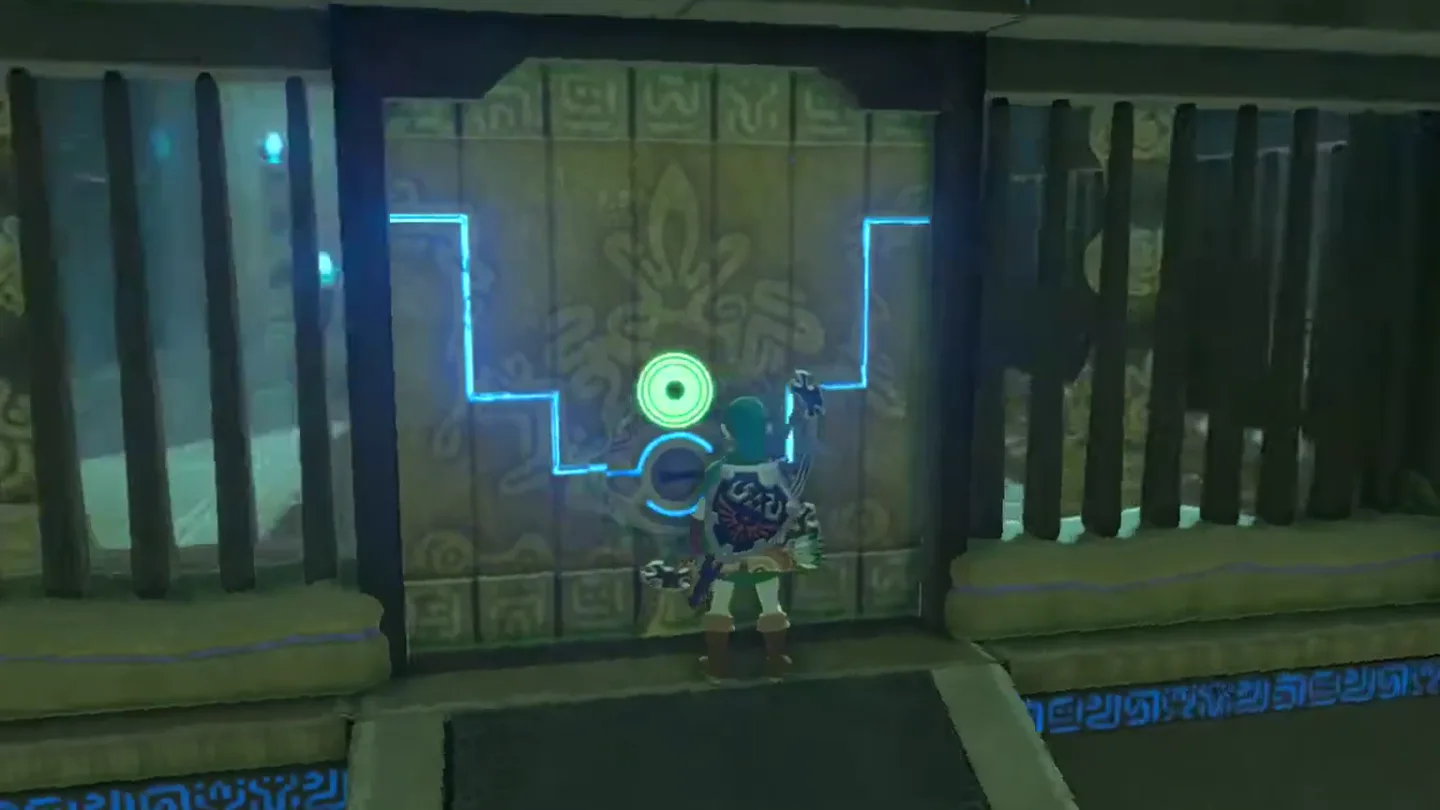
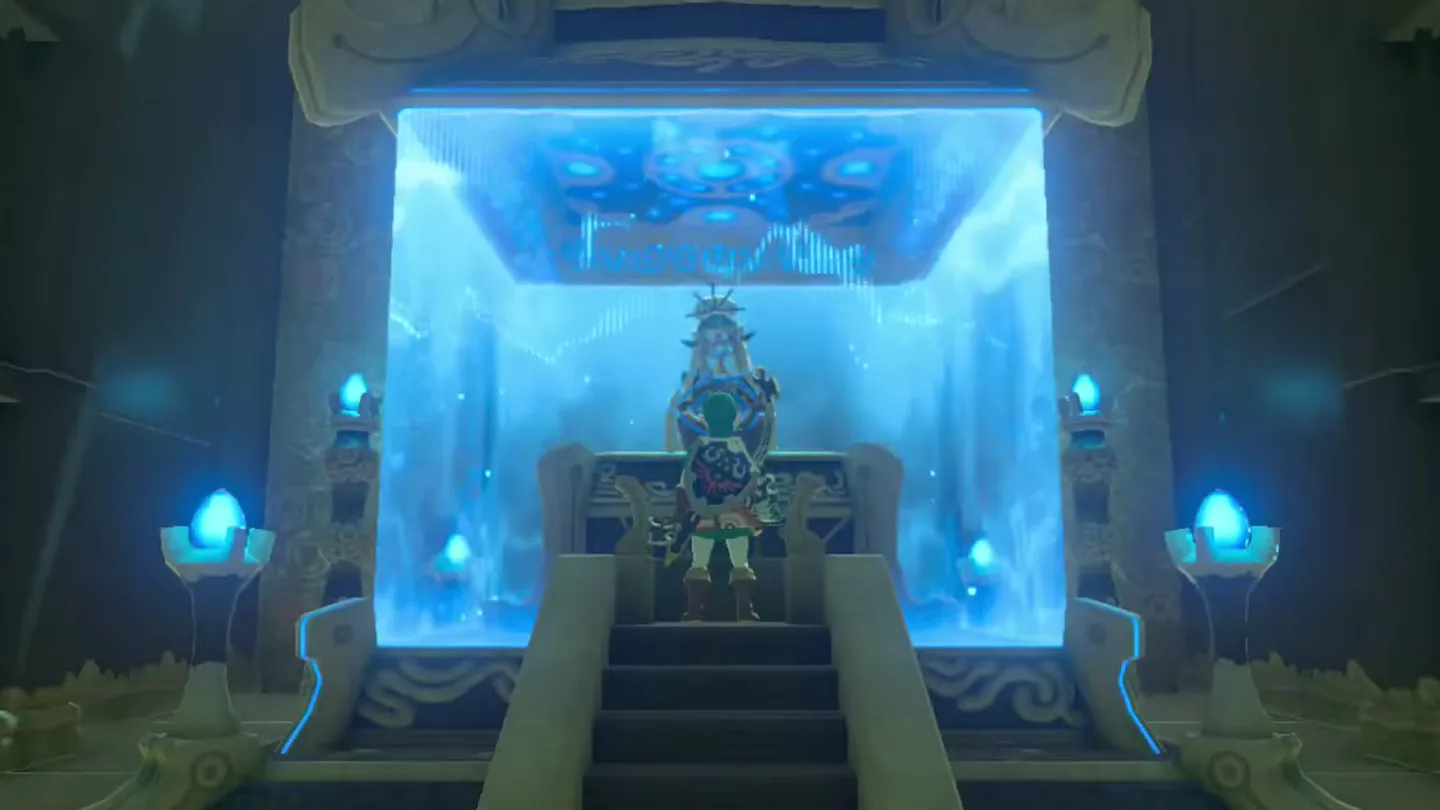
Go up the central ramp and use the small key on the locked door, then approach the monk for the Spirit Orb.
Go up the central ramp and use the small key on locked door ①. Screenshot (cropped) from DuoNerd
· CC BY Approach the monk for the Spirit Orb. Screenshot (cropped) from DuoNerd
· CC BY
Chests
Chest
Contents
How to get it
Left course
Small Key
Deliver the barrel to the far pressure plate, then return to the gate near the left boarding point
Right course
Conflicting accounts: Knight’s Claymore / Royal Claymore
Carry the barrel through the switch-controlled gates, press the far plate, then return to the right boarding point
What do people miss here?
The left course alone finishes the shrine — its small key opens the final door, so it’s easy to take the Spirit Orb and leave without ever boarding the right platform, and the weapon chest is the only reward that course offers.
If you run out of arrows, Remote Bombs can hit the crystal, but they’re tricky to aim and can explode close enough to knock you off the moving platform; the account that tested them calls it not worth the risk.
A barrel isn’t the only way to hold a floor switch — Stasis applied to the switch keeps it pressed too, a handy fallback if a barrel run goes wrong.
If Garini won’t decipher the message after you show him the scattered-fragment photos, check whether your album is missing a shot of the main monument beside him — accounts differ on whether that fourth picture is required.
Complete A Fragmented Monument at Palmorae Ruins by showing Garini the fragment photographs. After he reads the message, crouch on a round platform so he joins you and reveals the shrine.
How do I get past the low barrier in Kah Yah Shrine?
Set the barrel on the left side of the moving platform and crouch beneath the overhead barrier. Once clear, pick it up and move right to avoid the next obstruction.
Where is the small key in Kah Yah Shrine?
Carry a barrel to the pressure plate at the end of the left course. The gate opens back near the boarding point; return there to open the small-key chest.
Do I need the right chest to finish Kah Yah Shrine?
No, the right course leads to an optional weapon chest. The left chest supplies the small key for the central exit door.