Some terrain tiles could not load. Switch to the coordinate grid or retry.
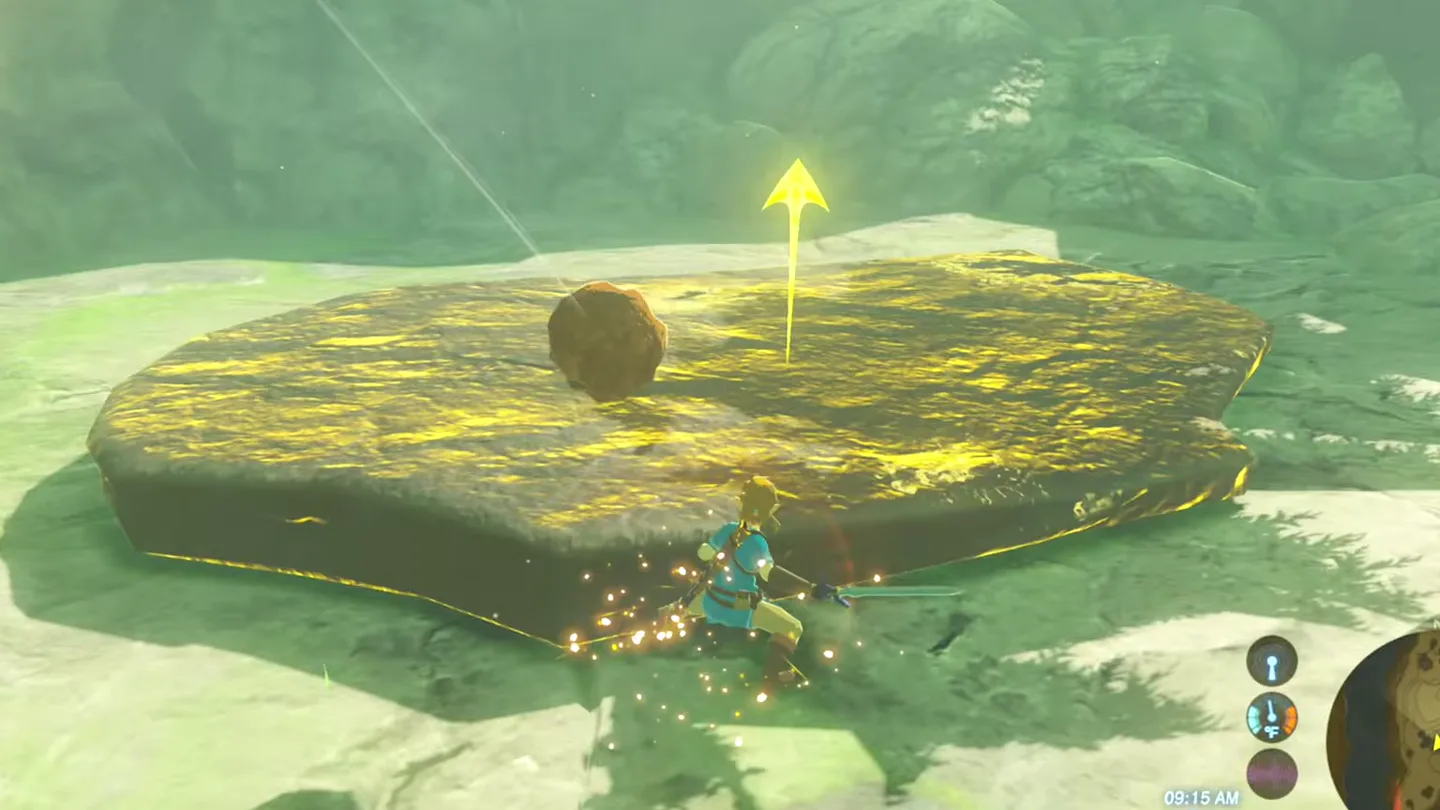
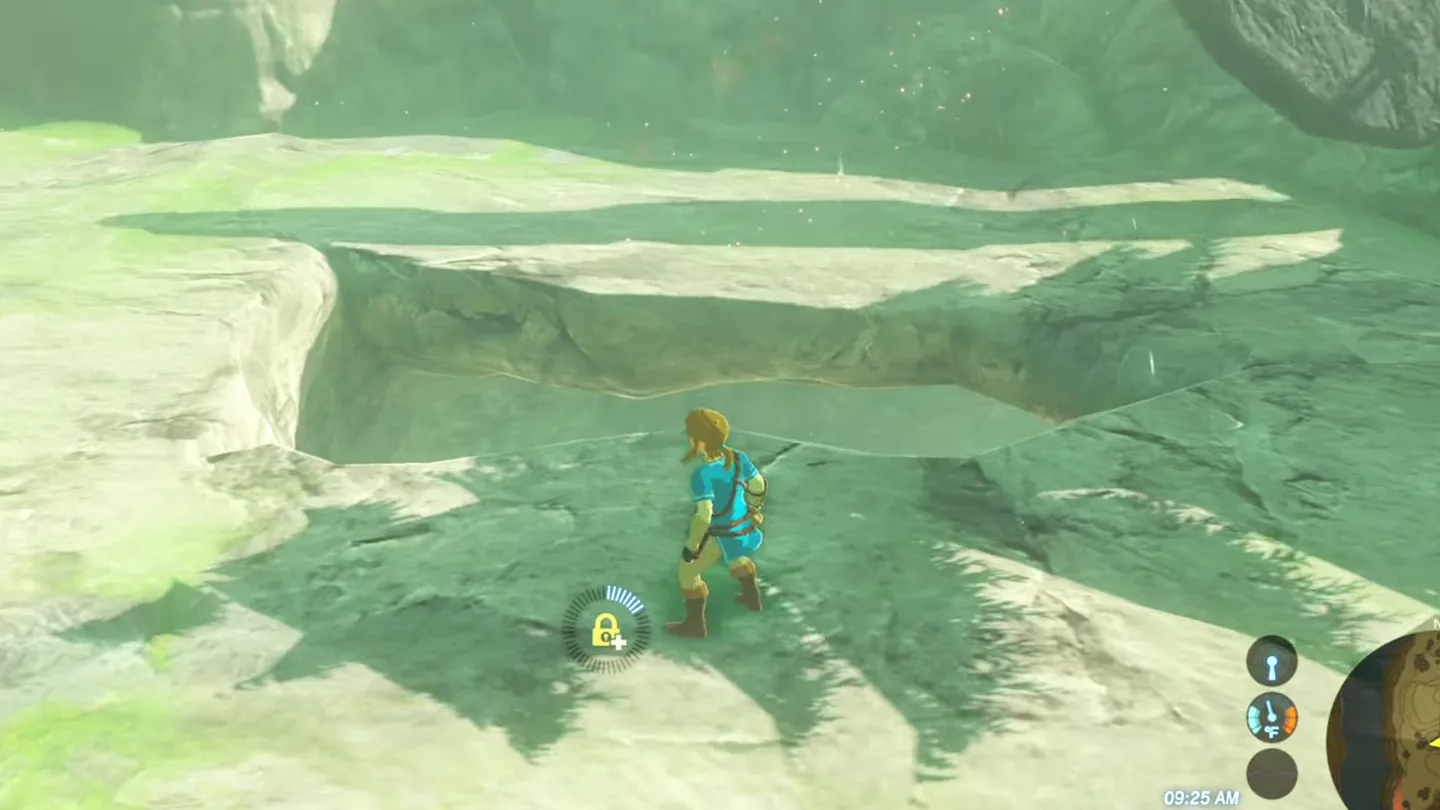
Kah Mael Shrine is on Tingel Island, out on Hyrule’s east coast in the Akkala Highlands. The tricky part is spotting the entrance: it’s a hole in the ground covered by a large rock slab, not an open shrine gate. Clear the slab, then drop into the hole to get inside.
Item
Detail
Trial
Drop and Rise
Tower region
Lanayru
Map-marker coordinates
4709, 1310, 0255
Shrine quest
None
Chests
1
Names
Kah Mael Shrine · 卡‧姆神廟 · 卡·姆神庙
What should you bring?
You need Magnesis (for the Barrel and the metal cube) plus either Stasis or Octo Balloons to shift the rock slab off the entrance. A bow and arrows let you shoot the ropes inside; with no arrows, you can drop the Barrel on one side of the scale, stand on the other, and use Magnesis to move the metal cube down onto the scale instead. The trial involves no fighting, so no special armor or elixirs are required.
The entire trial is one big seesaw: shift weight between the two sides of the scale so the empty end flips up and catapults you — first toward the exit platform, then a second time to reach the chest.
1. Enter the Shrine
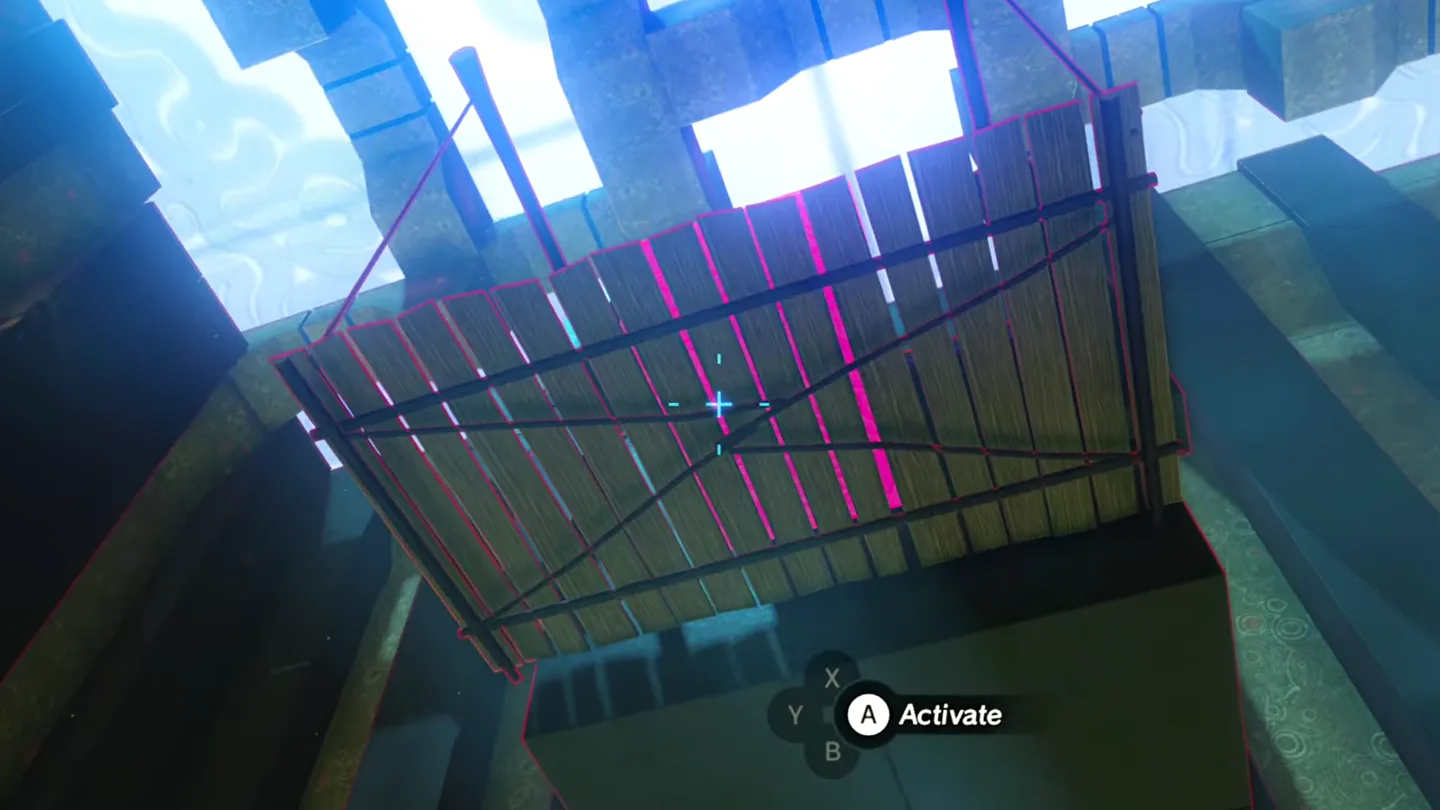
On Tingel Island, find the large rock slab covering a hole in the ground — that’s the shrine entrance. Raise it with Octo Balloons or use Stasis and knock it out of the way, then drop down into the hole.
Freeze rock slab ① with Stasis and strike it so it flies off the hole. Screenshot (cropped) from Kingdom of Hyrule
· CC BY Drop into the uncovered hole to reach the shrine. Screenshot (cropped) from Kingdom of Hyrule
· CC BY
2. First Launch: Shoot the Ropes
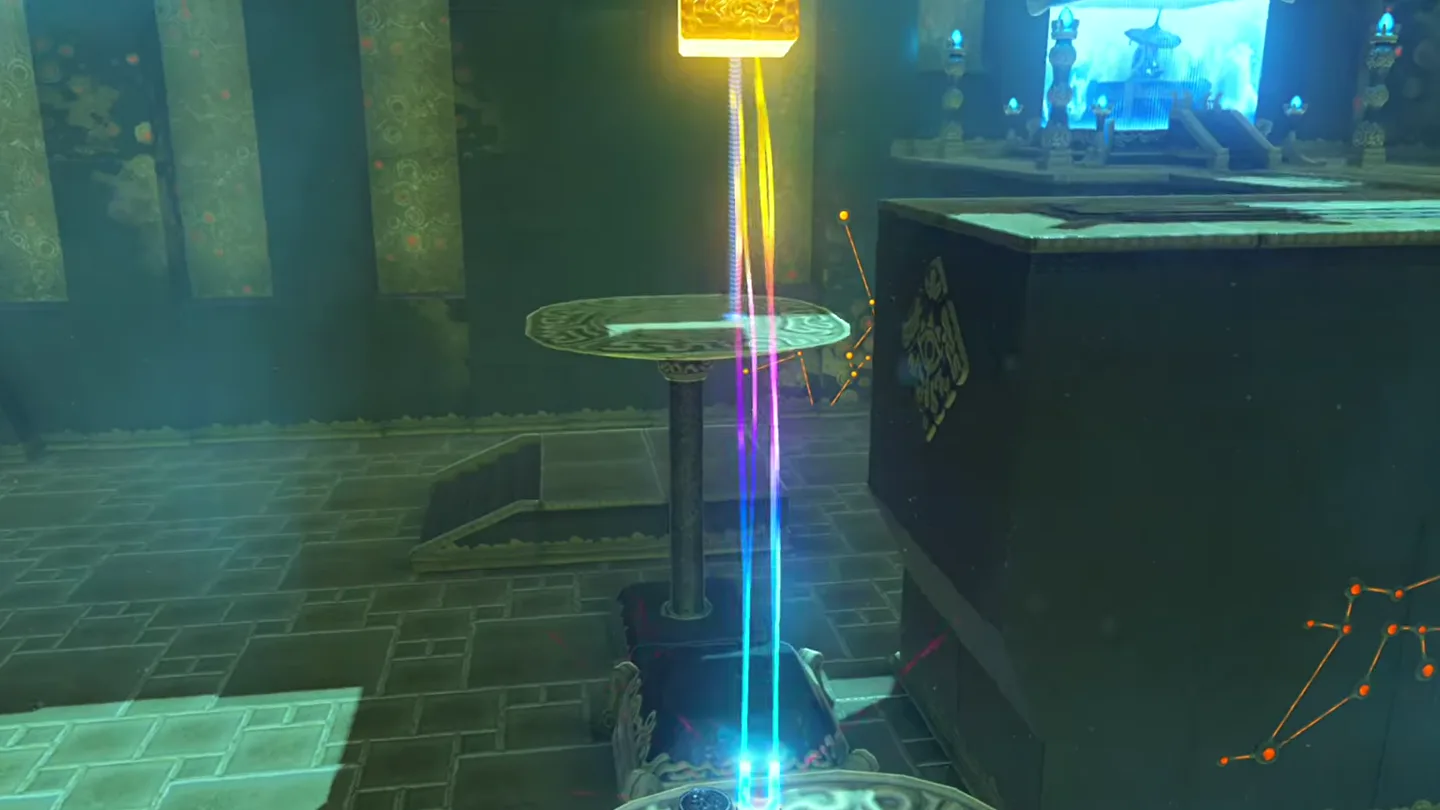
Inside, take the stairs up into the main chamber: a large scale stands before you, its left side lowered with a metal Barrel sitting on it and its right side raised. To the right of the scale, a wooden platform hangs from ropes with a heavy metal cube on it, and the monk’s pedestal is on the platform behind the scale.
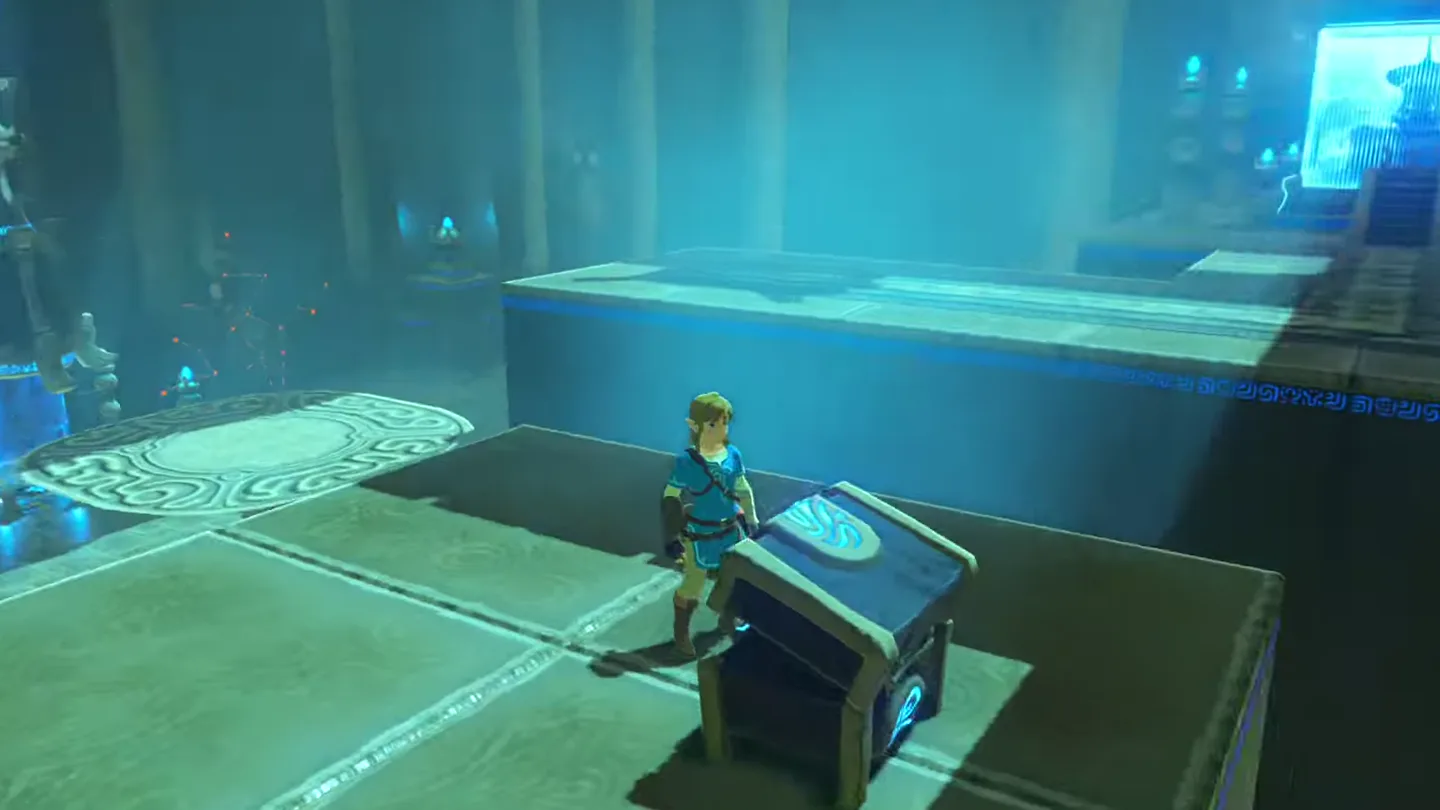
Hop onto the lowered left side of the scale, next to the Barrel.
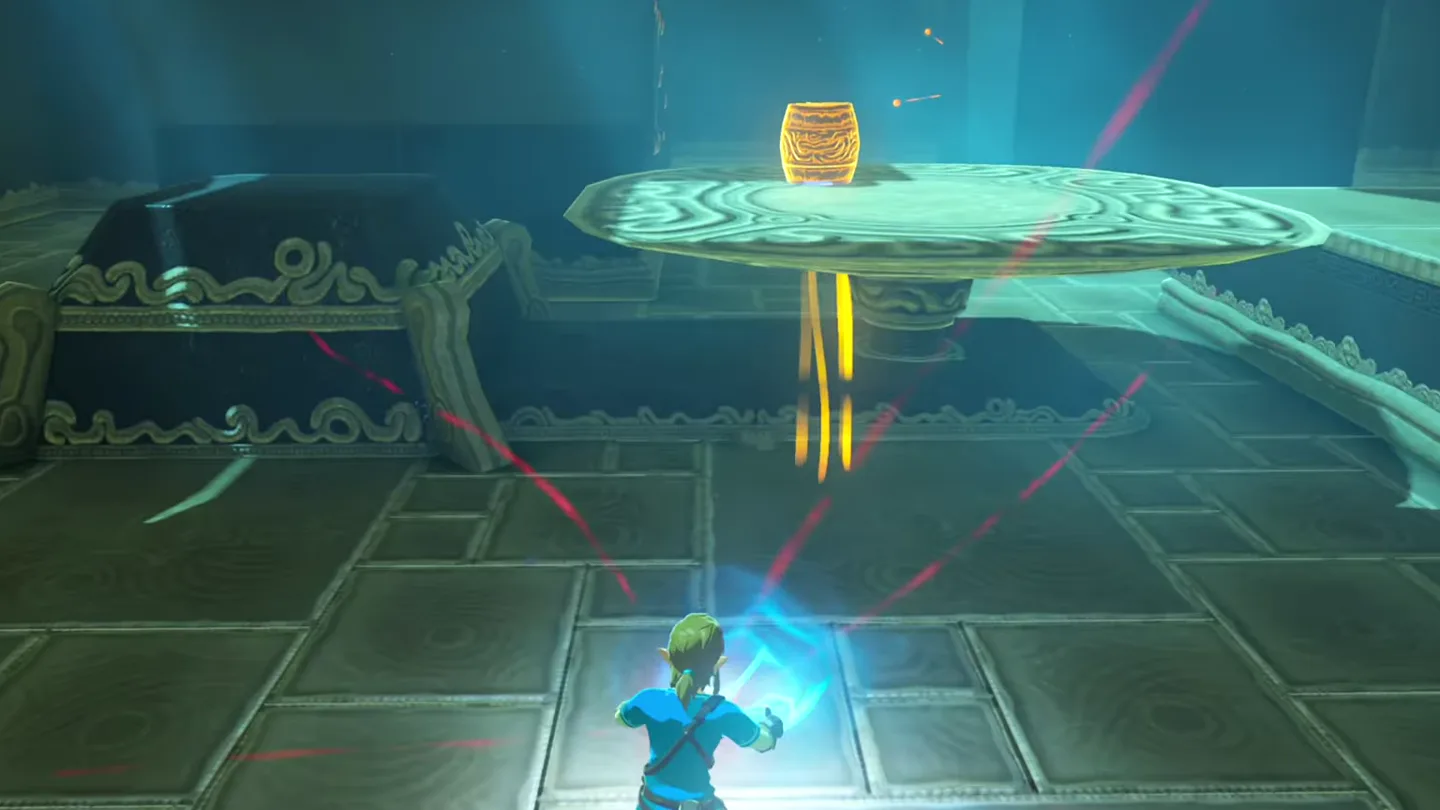
Use Magnesis to pull the Barrel off the scale and set it down out of the way.
Stay standing on the left side and shoot the ropes suspending the wooden platform.
The platform drops and the metal cube slams onto the scale’s right side, flipping it and launching you into the air.
Open your Paraglider as you rise. Gliding straight to the platform behind the scale ends the trial — but turn right first if you want the chest.
Hop onto the lowered left side of the scale, where Barrel ① sits. Screenshot (cropped) from Kingdom of Hyrule
· CC BY Pull Barrel ① off the scale with Magnesis and set it aside. Screenshot (cropped) from Kingdom of Hyrule
· CC BY Standing on the left side, shoot the ropes holding up wooden platform ①. Screenshot (cropped) from Kingdom of Hyrule
· CC BY
3. Second Launch: Get the Treasure Chest
Glide back down onto the right side of the scale, next to where the cube is now resting.
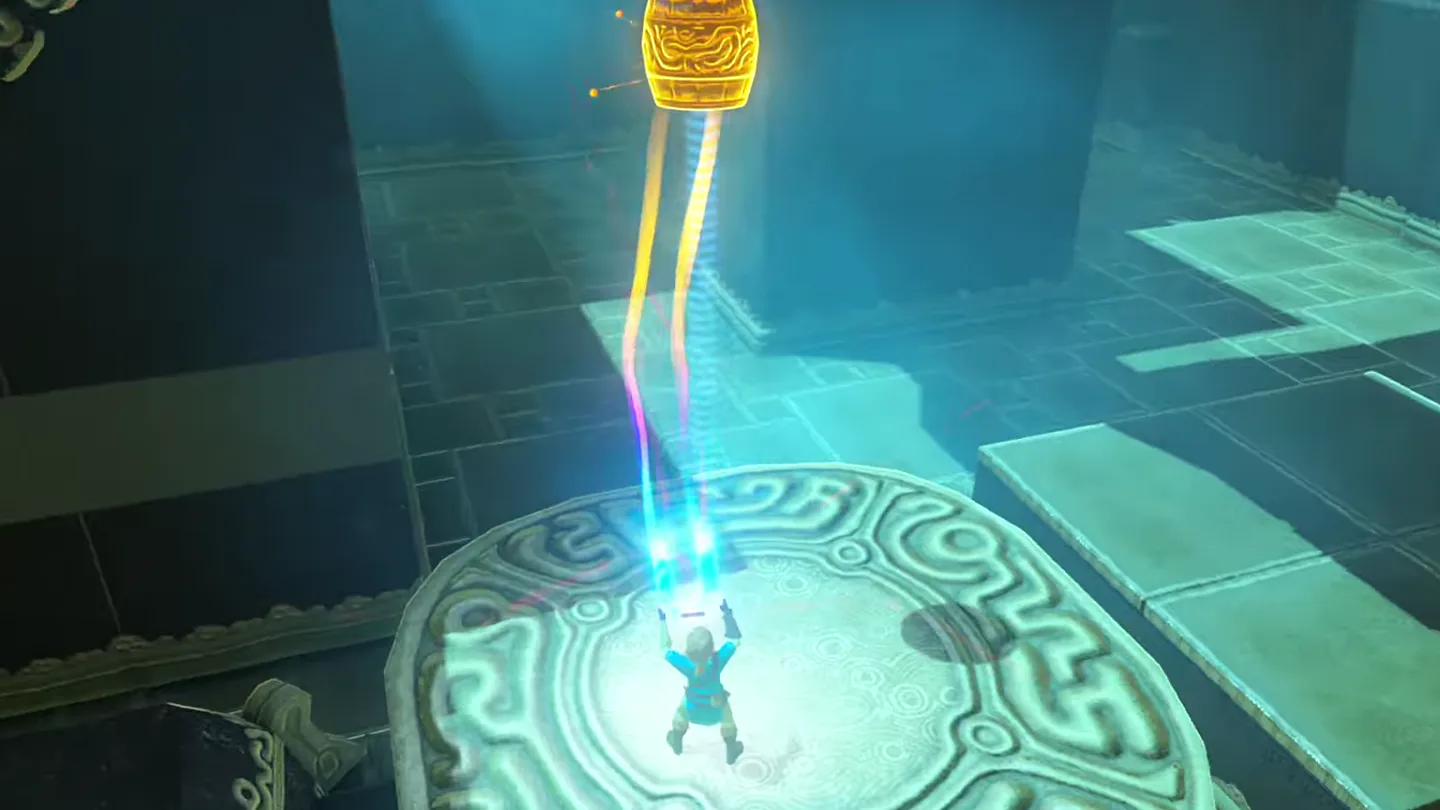
Use Magnesis to lift the metal cube up into the air above the scale.
Drop the cube onto the left side — the sudden weight flips the scale and flings you into the air again.
Paraglide to the lone platform to the right of the path leading to the end of the shrine and open the chest to collect a Diamond.
From the right side, lift cube ① high above the scale and drop it on the left side to launch yourself again. Screenshot (cropped) from Kingdom of Hyrule
· CC BY Glide to the lone platform and open the chest for a Diamond. Screenshot (cropped) from Kingdom of Hyrule
· CC BY
4. Complete the Trial
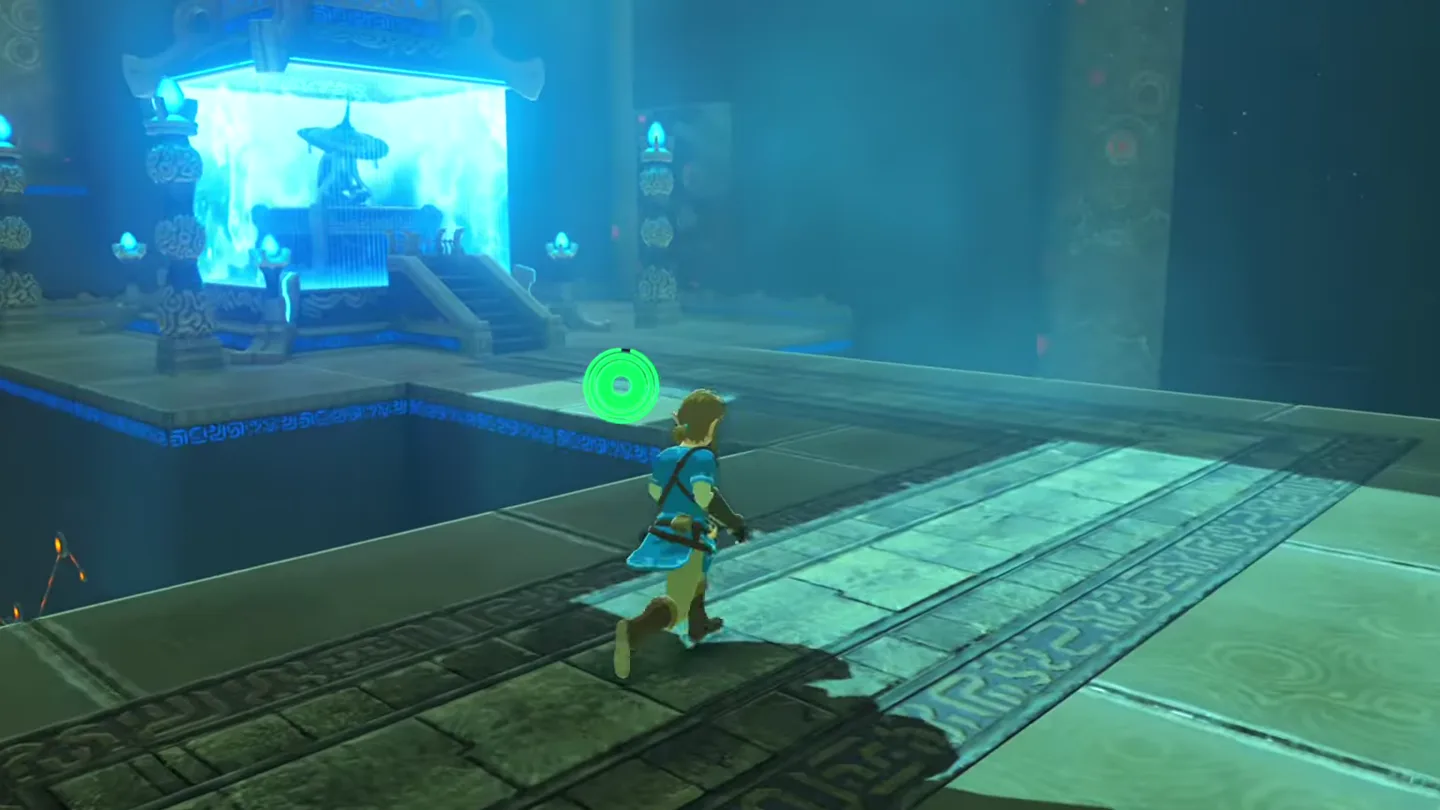
Glide to the platform behind the scale and speak with Kah Mael to receive a Spirit Orb; the monk wishes you well and fades away.
Glide to the platform behind the scale and speak with Kah Mael for the Spirit Orb. Screenshot (cropped) from Kingdom of Hyrule
· CC BY
What is in the chest?
Chest
Contents
How to get it
1
Diamond
After the first launch, glide back onto the right side of the scale beside the metal cube, then Magnesis-lift the cube into the air and drop it on the left side to be flung a second time. Paraglide to the chest’s lone platform, to the right of the path to the end of the shrine, and open it.
What do people miss here?
The entrance is hidden — there’s no ordinary shrine front, just a hole in the ground sealed by a large rock slab. Bring Octo Balloons or have Stasis ready to clear it before you start searching the island.
The scale only launches whoever is on the side opposite the weight. If you’re standing where the cube lands, you’ll be carried down instead of flung up — check your footing before cutting those ropes.
Gliding straight from the first launch to the monk ends the run without the Diamond. The chest sits on its own platform to the right of the path to the end of the shrine — detour there before finishing.
Out of arrows and think you’re stuck? The ropes are optional: drop the Barrel on one side of the scale while standing on the other, then use Magnesis to move the metal cube down onto the scale yourself.
The Barrel only tips the scale between its two sides — it can’t launch you. Magnesis it out of the way and let the heavy metal cube do the flinging.
How do I get into Kah Mael Shrine on Tingel Island?
The entrance is a hole in the ground covered by a large rock slab. Use Octo Balloons to raise the slab, or cast Stasis on it and knock it out of the way, then drop down into the hole.
How do I get launched up to the monk in Kah Mael Shrine?
Hop onto the lowered left side of the scale, use Magnesis to pull the Barrel off, then shoot the ropes holding the wooden platform. The metal cube drops onto the scale and flings you into the air — paraglide to the monk's platform behind the scale.
Where is the Diamond chest in Kah Mael Shrine?
It's on its own platform to the right of the path leading to the end of the shrine. After the first launch, land back on the right side of the scale, Magnesis the cube into the air, and drop it on the left side for a second fling, then glide to the chest.
Can I complete Kah Mael Shrine without arrows?
Yes. Skip the ropes: drop the Barrel on one side of the scale while standing on the other, then use Magnesis to move the metal cube down onto the scale yourself. You will still need Stasis or Octo Balloons to unseal the entrance outside.
What rewards do you get from Kah Mael Shrine?
Kah Mael rewards you with a Spirit Orb for clearing the Drop and Rise trial, and the chest on the side platform contains a Diamond.