

Ka'o Makagh Shrine: Metal Doors Open the Way Guide (BotW)
Find Ka'o Makagh Shrine behind Highland Stable, detach the metal door to bridge the platforms, and collect the hidden Gold Rupee, bow, and Opal.
Where is Ka’o Makagh Shrine?
Use Highland Stable as your landmark and climb the hill behind it. The entrance is on that hill; no shrine quest is required. You can check it off in the BotW shrine locations table.
| Item | Detail |
|---|---|
| Trial | Metal Doors Open the Way |
| Tower region | Lake |
| Coordinates (X, Y, Z) | 0523, -3525, 0192 |
| Type | Metal-door puzzle; not a Test of Strength |
| Shrine quest | None |
| Chests | 3 |
| Names | Ka’o Makagh Shrine · 卡奧‧瑪卡神廟 (zh-TW) · 卡奥·玛卡神庙 (zh-CN) |
What should you bring?
You need very little: the shrine only requires the Magnesis and Remote Bomb runes, plus a melee weapon in decent condition for the two Guardian Scouts inside — the stronger one (a Scout II) wields a Guardian Spear. Stasis is a handy optional third rune for the stone stack, and Bomb Arrows work on the cracked supports if you would rather not swap runes. No specific armor, resistances, or shrine quest are required.
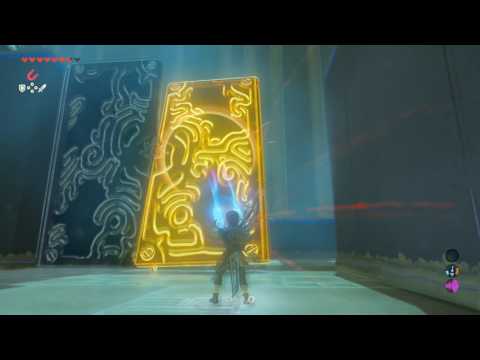
Video walkthrough
Solution
The useful bridge is the door beside the cracked stone support, not the entrance door. This route includes the hidden wall chest before you start crossing the raised platforms.
| Preparation | Use |
|---|---|
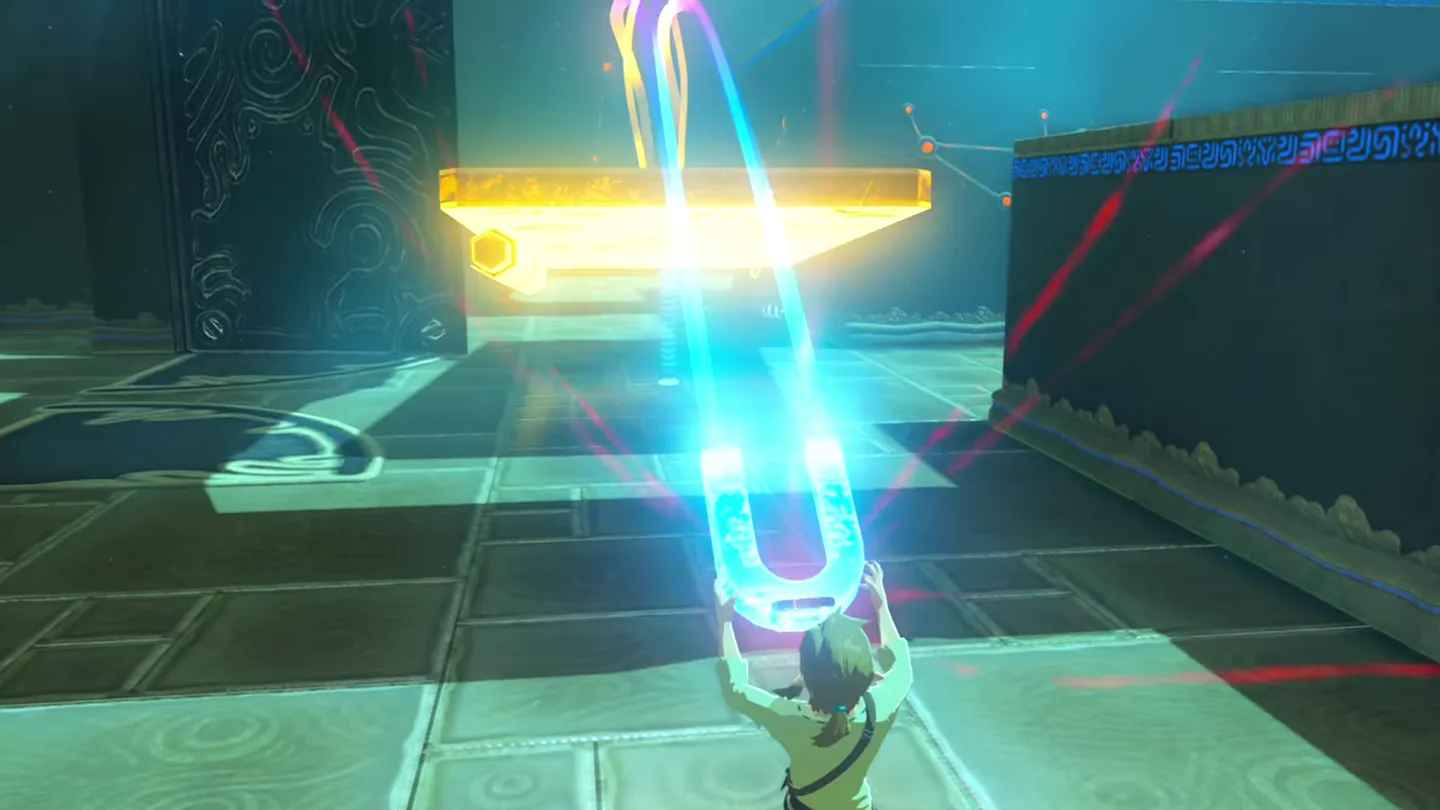
| Magnesis | Open doors, move the detached door, remove the hidden wall block, and lower the metal chest |
| Remote Bombs | Destroy the cracked stone supporting the detachable door |
| Combat weapon | Clear the main room’s Guardian Scouts before moving the bridge |
| Enemies | 2 small Guardians; this remains a puzzle shrine |
1. Clear the Room and Free the Door
Open the entrance doors with Magnesis and enter the main room.
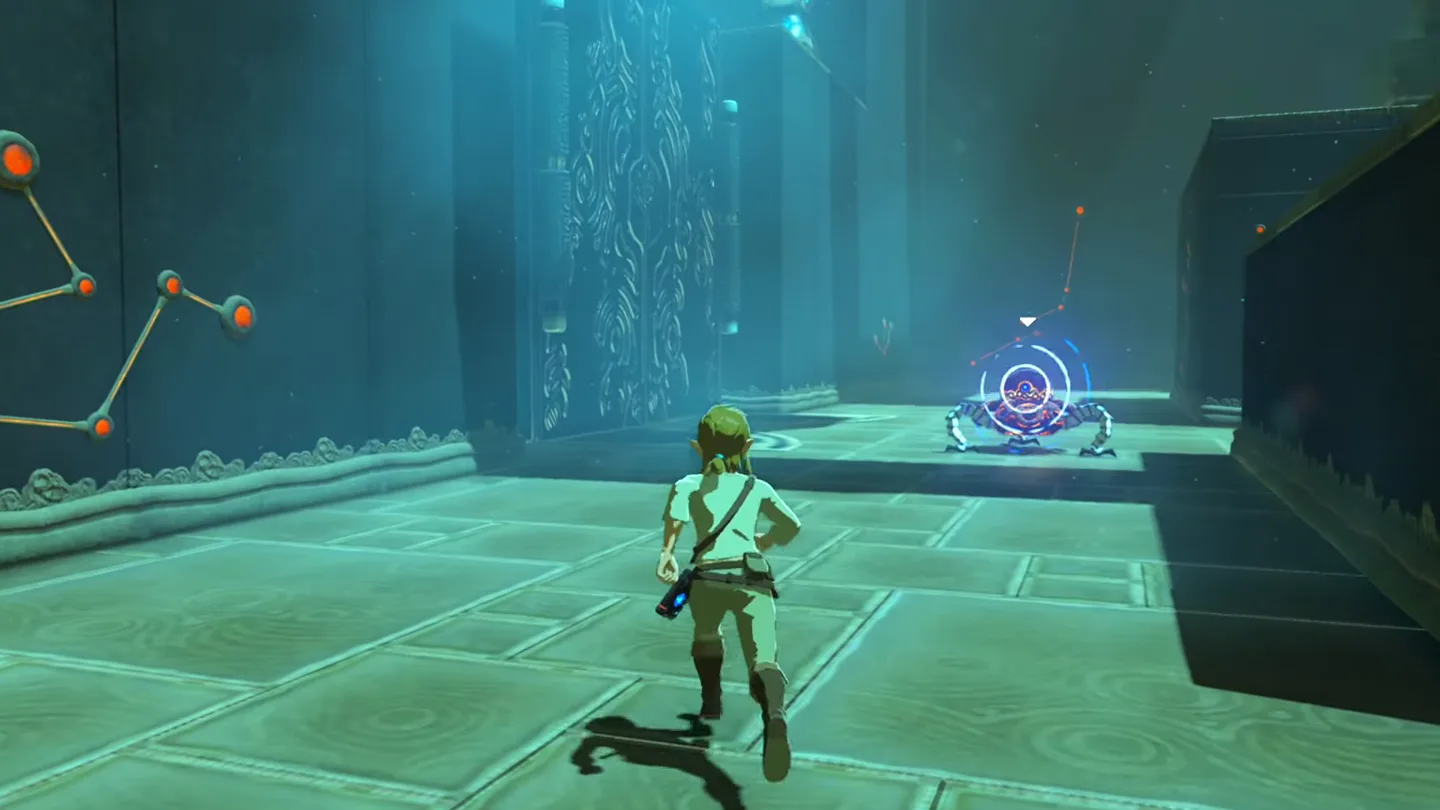
Deal with the Guardian Scouts before concentrating on moving the door and searching the walls.
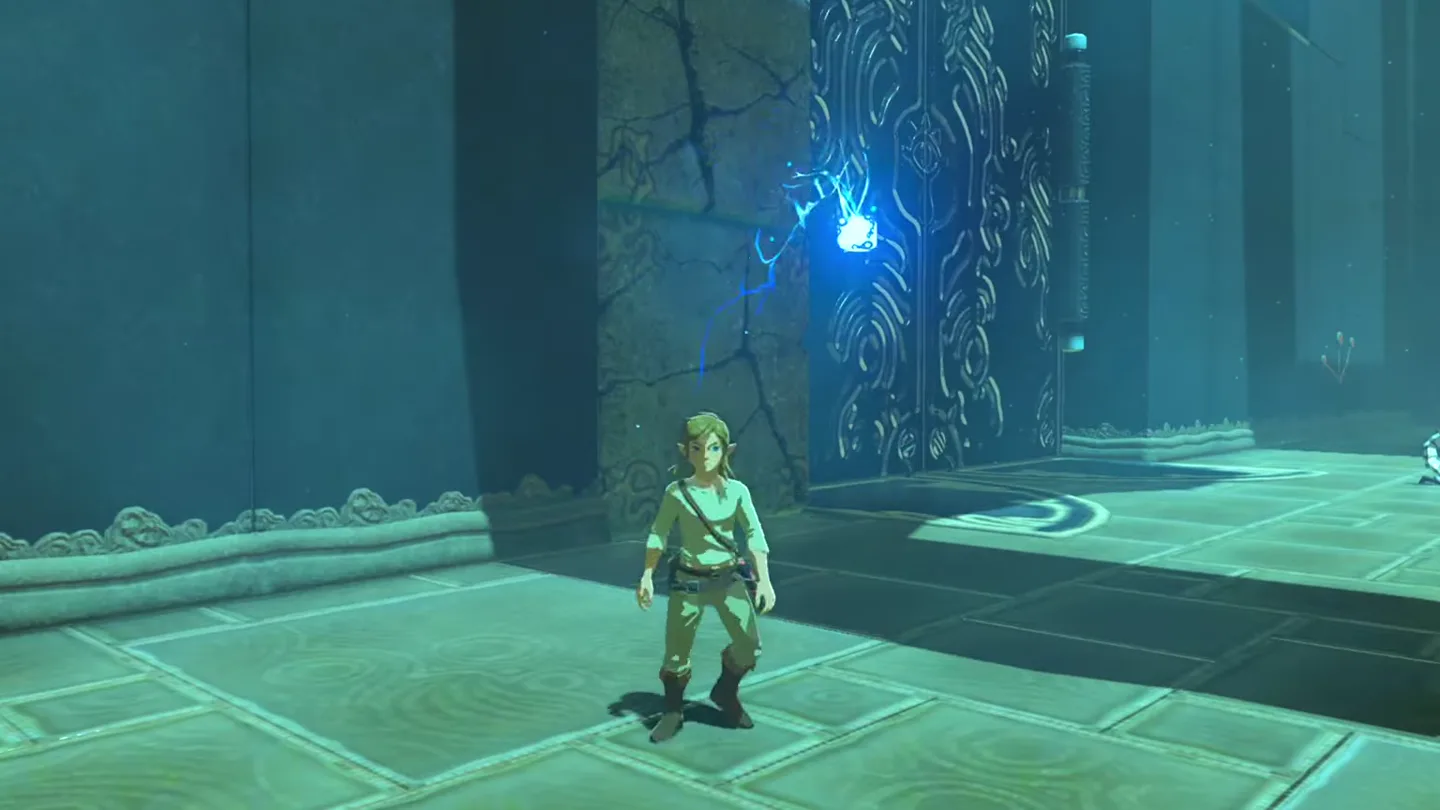
Pull out the hidden metal block. Scan the northwest raised platform’s side wall with Magnesis, remove the embedded block, and enter the recess to collect the Gold Rupee.
Free the door beside the bow room. On the left side of the main room, bomb all the cracked stone blocks supporting the metal door; open the chest in the room behind it for the bow.
2. Use the door as a bridge across the platforms
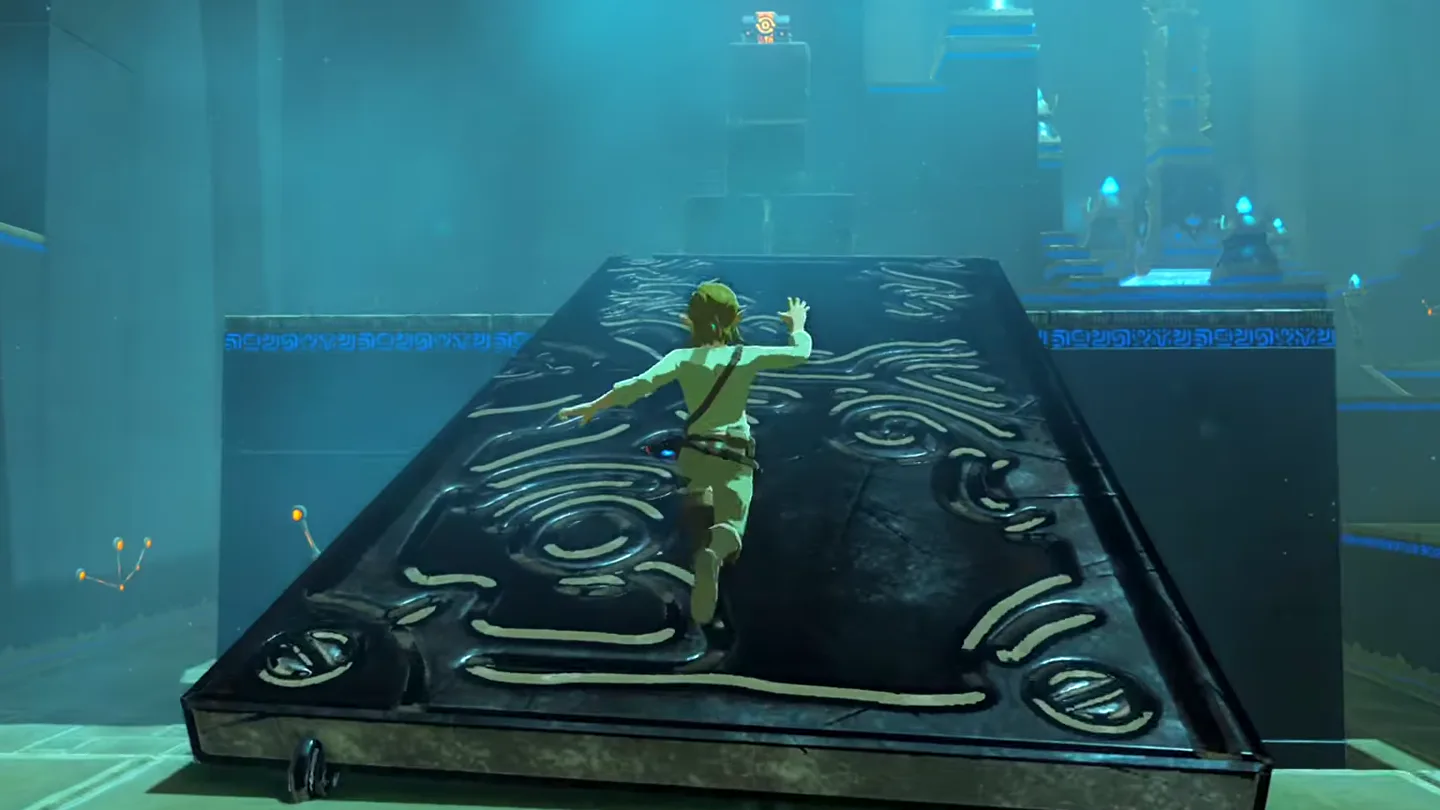
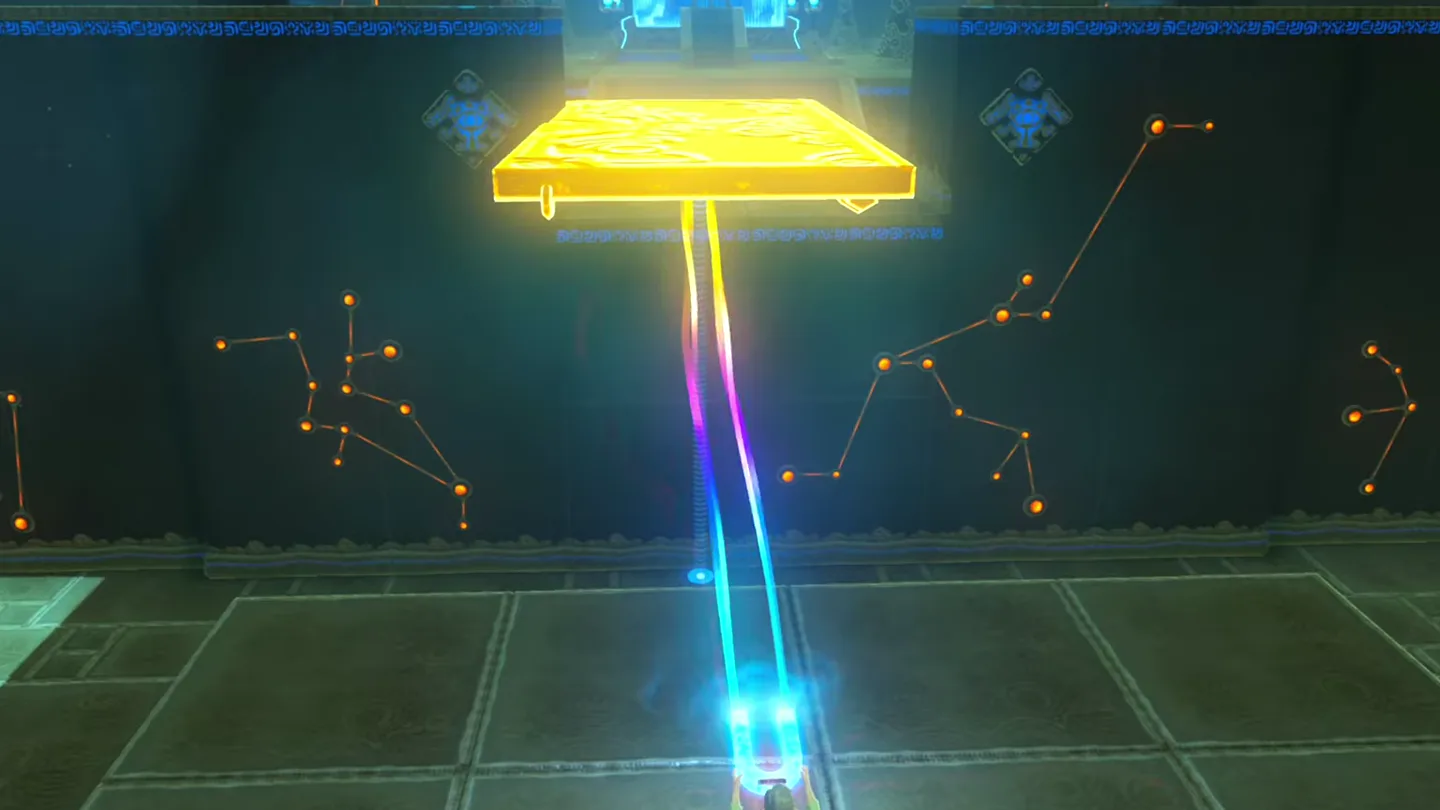
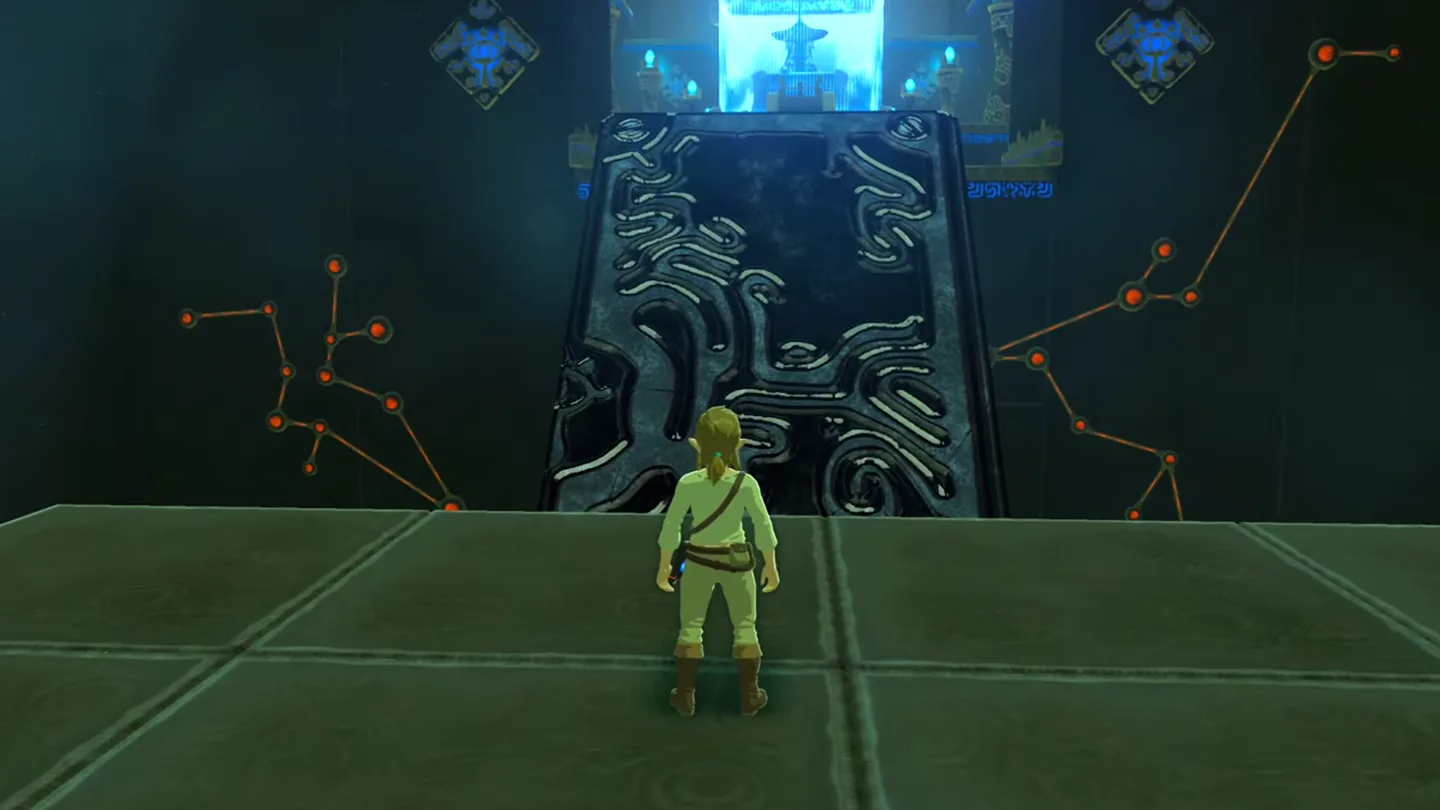
Carry the detached door up the right-hand steps with Magnesis. Lay it flat between the raised platforms, cross, then move it forward to bridge the next gap.
3. Retrieve the Opal from the stone stack
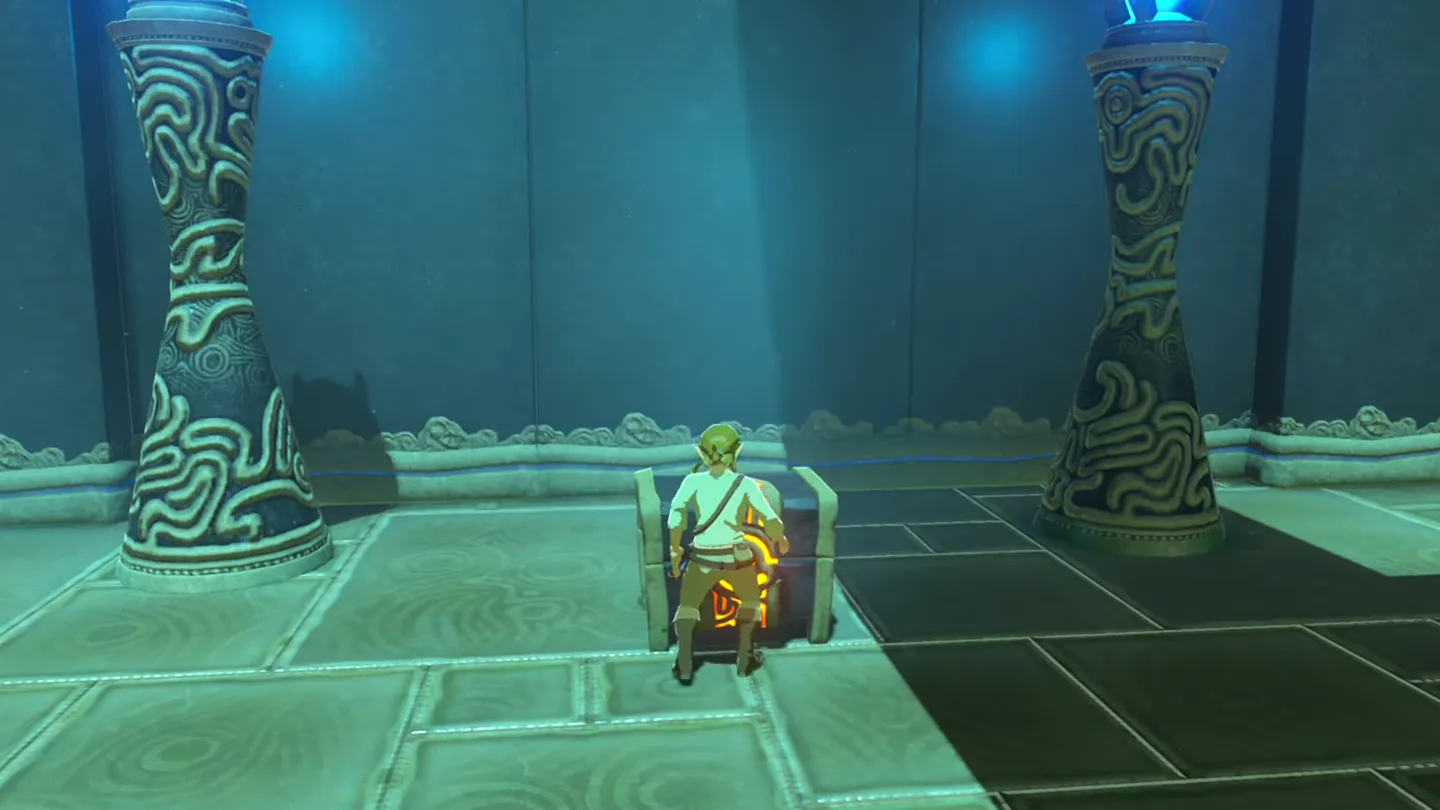
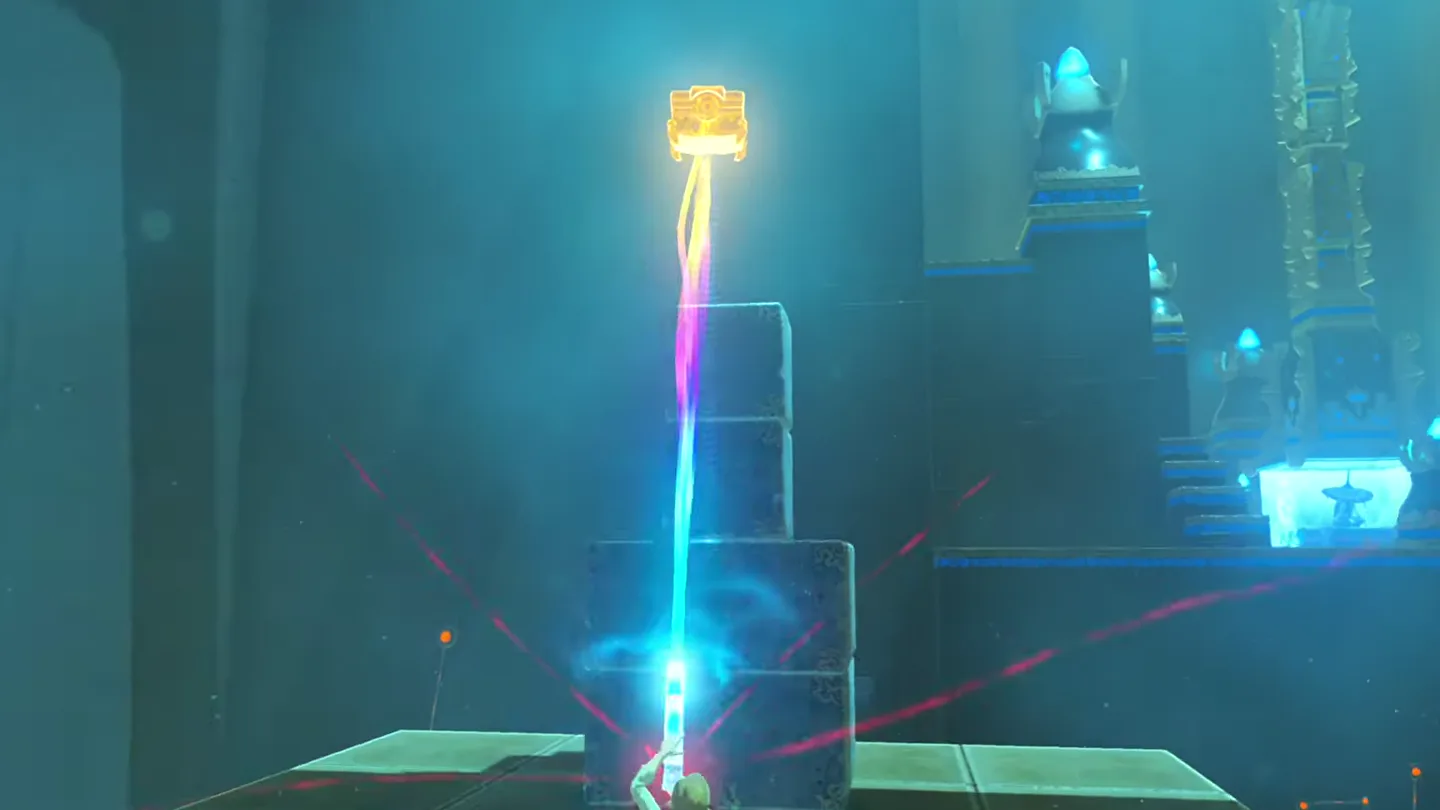
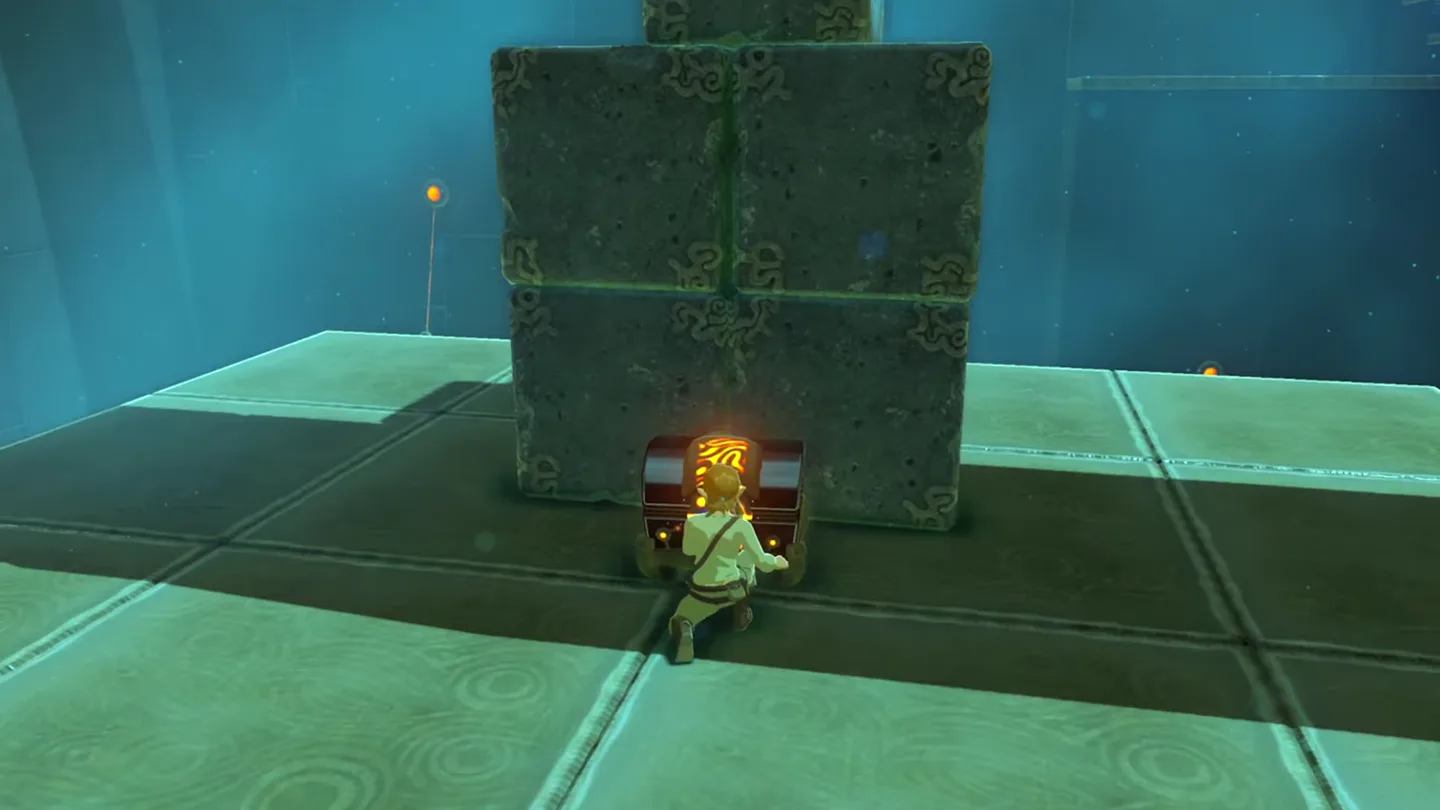
Retrieve the Opal chest from the stone stack. Reach its raised platform using the door, then use Magnesis to lower the metal chest from the stacked blocks and open it.
4. Cross to the altar and complete the shrine
Move the door toward the altar. Reuse it across the remaining gap, walk to the monk, and interact with the altar to receive the Spirit Orb.
Chests
| Chest | Contents | How to get it |
|---|---|---|
| Behind the northwest platform’s wall | Gold Rupee, worth 300 rupees | Pull the metal block out of the side wall with Magnesis and enter the hidden space |
| Room behind the detachable door | A bow that scales with progression: Traveler’s Bow → Soldier’s Bow → Knight’s Bow → Royal Bow | Open the doors or destroy the cracked support, then enter the room |
| On the stacked stone blocks | Opal | Use the door to reach the raised platform, then lower the metal chest with Magnesis |
What do people miss here?
- The stacked blocks under the Opal chest are immune to both Remote Bombs and Magnesis, so do not waste time trying to demolish them — Stasis or a shove from the metal door are the only ways to shift the blocks, and in practice you can skip them entirely by pulling the metal chest itself down with Magnesis.
- A second Guardian Scout — a Scout II armed with a Guardian Spear — is up the right-hand stairs, the same route you will carry the door along; clear it before hauling the panel so it cannot interrupt you mid-carry, and claim its Guardian Spear as a free weapon after the fight.
- The Gold Rupee compartment sits low on the wall of the tallest platform, on the side facing the monk’s altar, and its metallic cover reads as ordinary masonry — if you only scan from the platform tops you will walk straight past it, so check near the base of that wall.
- The final gap can be paraglided: send the door ahead with Magnesis to the platform in front of the altar, glide across after it, then set the panel as one last ramp — there is no need to walk the door around every platform.
What else is nearby?
| Shrine | Direction | Straight-line distance | Region |
|---|---|---|---|
| Shoqa Tatone Shrine | southwest | 532 | Lake |
| Pumaag Nitae Shrine | north | 535 | Lake |
| Shai Utoh Shrine | east | 1066 | Faron |
Related
- All BotW shrine locations: continue your regional checklist.
- How to find shrines: plan your next search after leaving the stable.
- Tears of the Kingdom vs. Breath of the Wild: compare the games and their exploration systems.
FAQ
Where is Ka'o Makagh Shrine near Highland Stable?
Why can I not remove the metal door in Ka'o Makagh Shrine?
Where is the hidden Gold Rupee chest?
Why did the chest give me a different bow?
Is Ka'o Makagh a Test of Strength?
Related Articles
guides
Breath of the Wild Captured Memories: All 13 Locations and Rewards
All 12 photo locations from Zelda's album plus the 13th memory in Impa's painting, with coordinates, nearby shrines, the Champion's Tunic and the extra ending scene.
guides
Breath of the Wild Great Fairy Fountains: Locations, Costs and Horse God
Where the four Great Fairy Fountains and the Horse God Malanya are in Breath of the Wild, what each fairy costs to release, and how many you need per armor upgrade.
guides
Hyrule Castle Walkthrough: Entry Routes, Hylian Shield and Final Prep
How to get into Hyrule Castle in Breath of the Wild: five entry routes, the Hylian Shield and other loot by room, and what to prepare before the final battle.
Was this helpful?
Thanks for the feedback!