

Shai Utoh Shrine Location and Solution (Breath of the Wild)
Find Shai Utoh Shrine behind Lakeside Stable, solve Halt the Tilt with Stasis and a metal chest, and reach the Ancient Core on the high ledge.
Where is Shai Utoh Shrine?
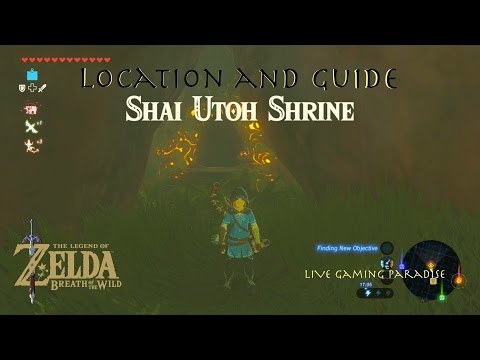
Start at Lakeside Stable and look behind it for a cave blocked by rocks. Clear the obstruction with a Remote Bomb to reach the entrance. There is no shrine quest to trigger first. If you are tracking nearby discoveries, use the BotW shrine locations checklist.
| Item | Detail |
|---|---|
| Trial | Halt the Tilt / 防止傾倒之物 |
| Tower region | Faron |
| Coordinates (X, Y, Z) | 1586, -3614, 0180 |
| Type | Seesaw puzzle using Stasis and Magnesis; not a Test of Strength |
| Shrine quest | None |
| Chests | 2 |
| English name | Shai Utoh Shrine |
| Traditional Chinese name | 塞伊‧烏托神廟 |
| Simplified Chinese name | 塞伊·乌托神庙 |
What should you bring?
Nothing special is required. Bring the Remote Bomb rune (or any other explosive) to blast the rocks blocking the cave entrance behind Lakeside Stable, and have Stasis, Magnesis, and the paraglider ready for the seesaw puzzle inside. There is no combat here, so no particular weapon, armor, or resistance is needed, and Cryonis is never used.
Video walkthrough
How do you solve Halt the Tilt?
The metal chest is part of the solution even after you open it. Keep it available for both the launch and the final crossing. This route uses Stasis, Magnesis, and the paraglider inside; you do not need Cryonis or a particular weapon.
1. Cross the entrance seesaw
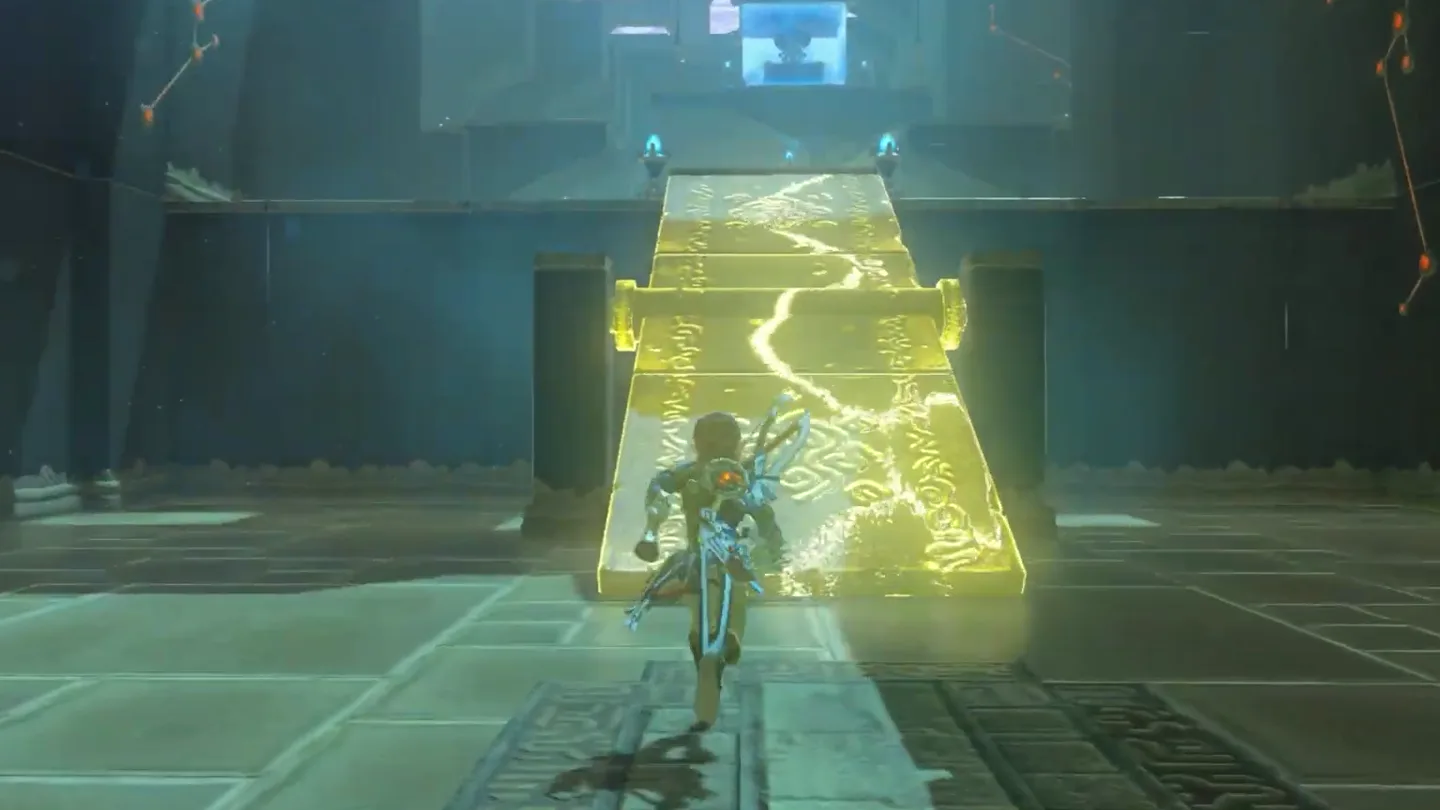
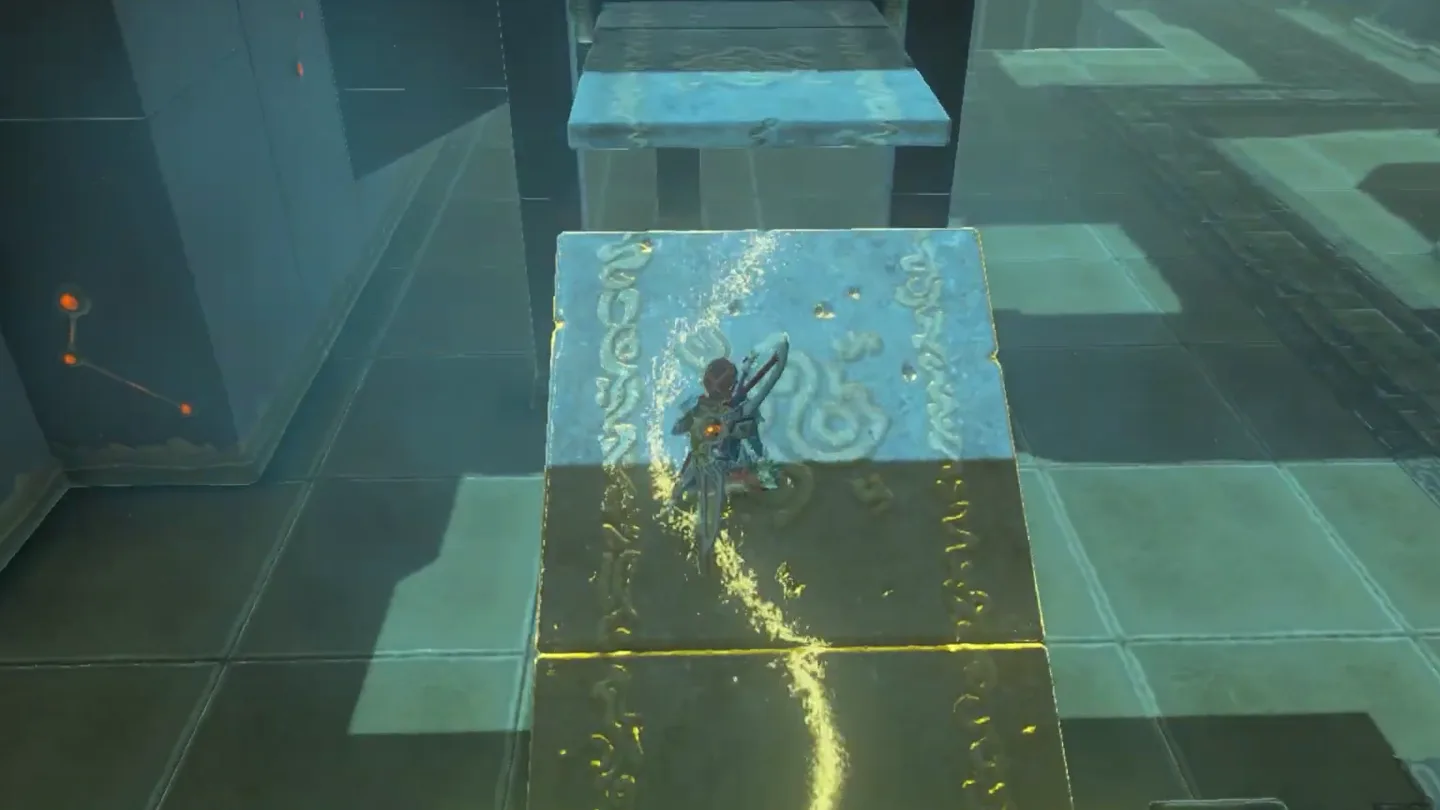
Freeze the entrance seesaw with Stasis. Walk up the locked slope to the next section.
2. Get the metal chest and reverse the path
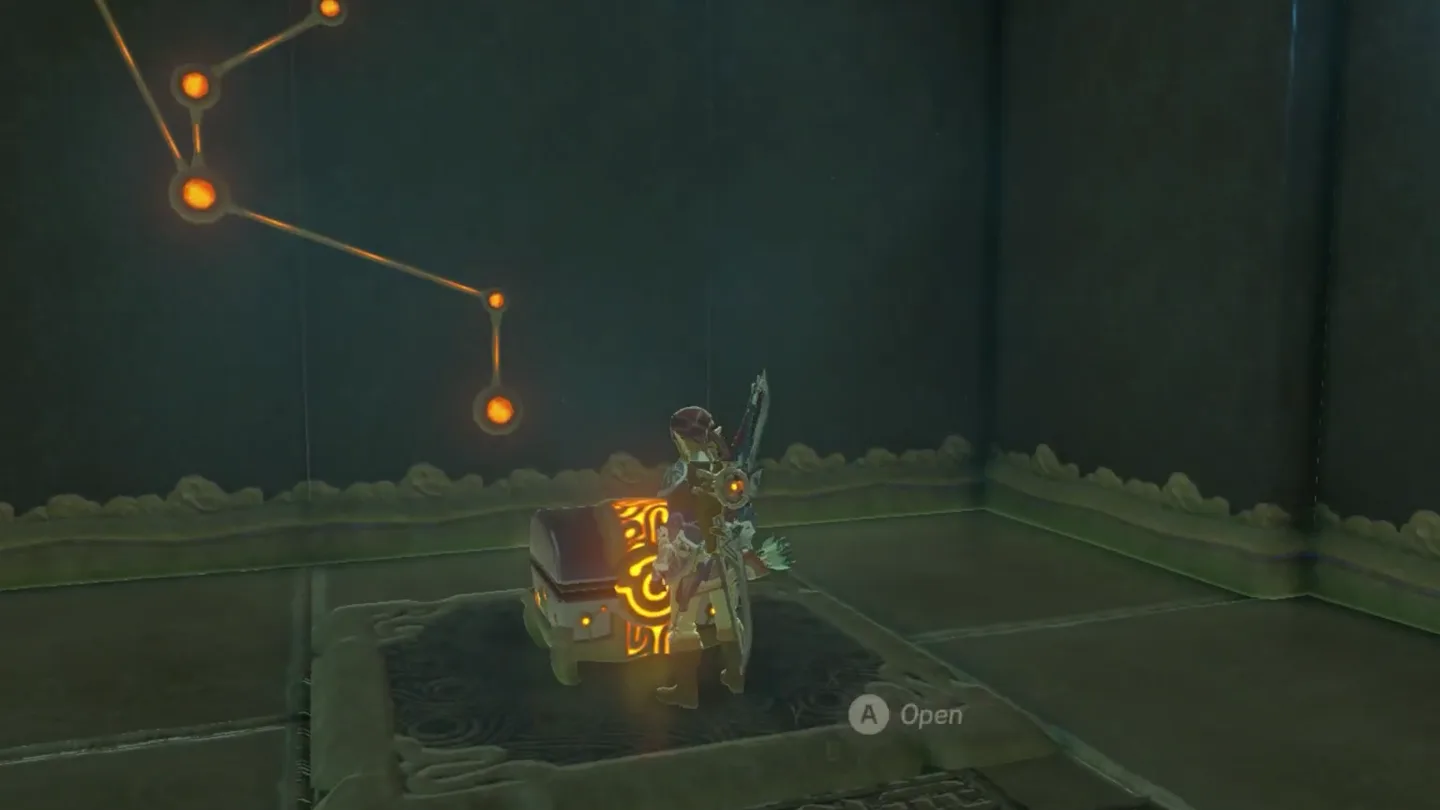
Freeze the next seesaw and take the right-hand path upward. Open the metal chest on the raised platform; its disputed sword contents are listed below.
Reverse the route with the chest as a weight. Return to the seesaw, use Magnesis to put the chest on its opposite end, then move to the centre. Freeze the board and cross toward the other side.
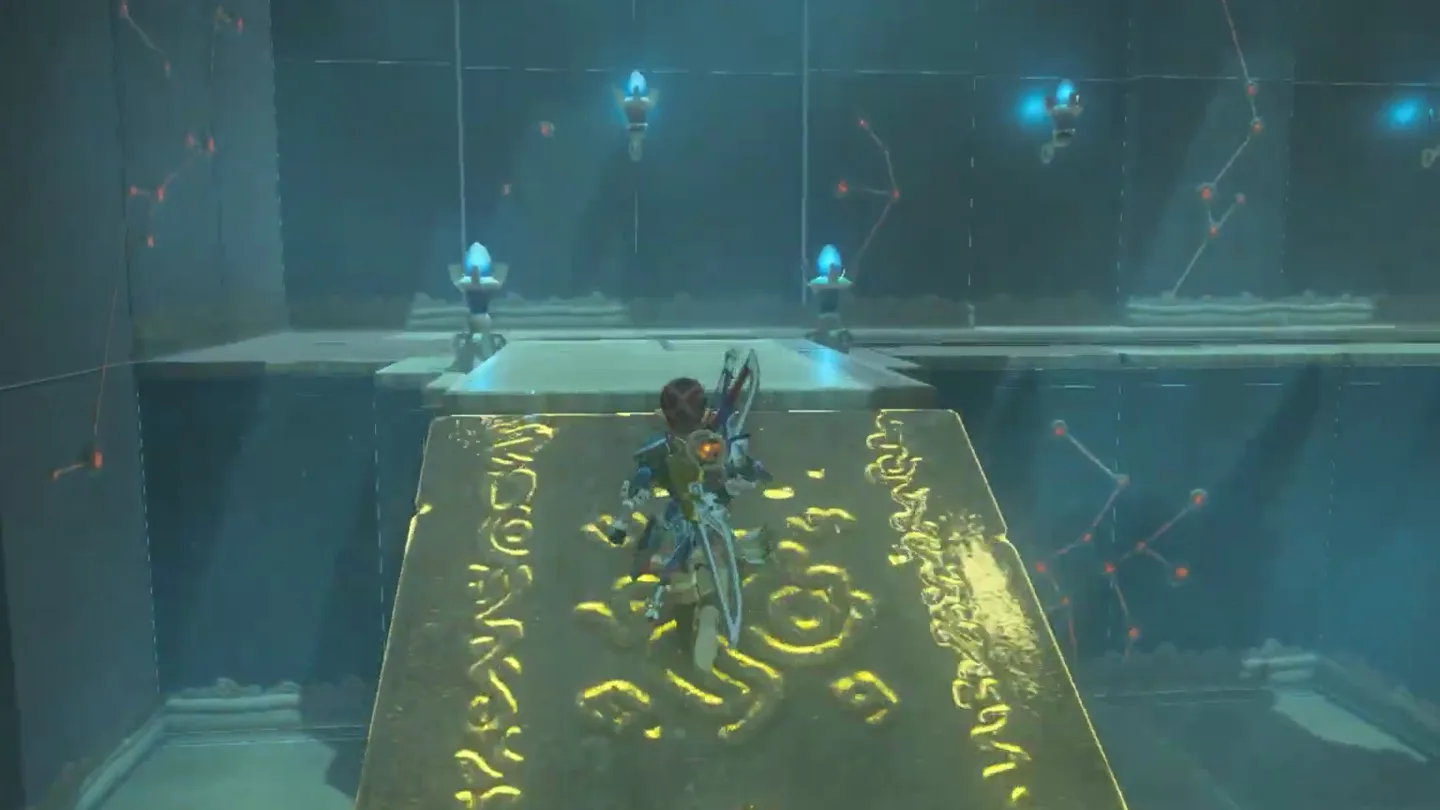
3. Launch to the altar platform
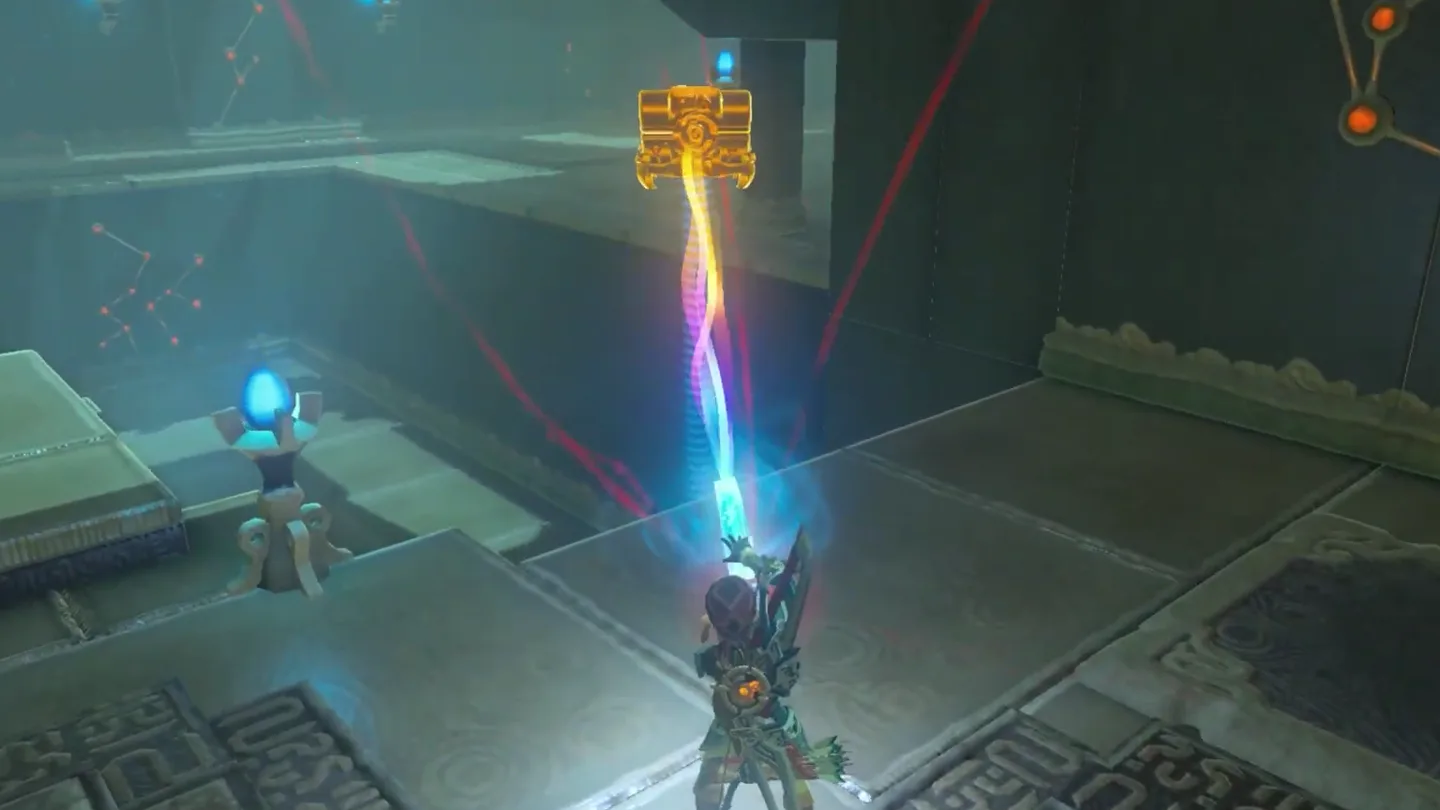
Carry the metal chest to the seesaw at the back of the room. Stand at the low end with the chest ready to move using Magnesis.
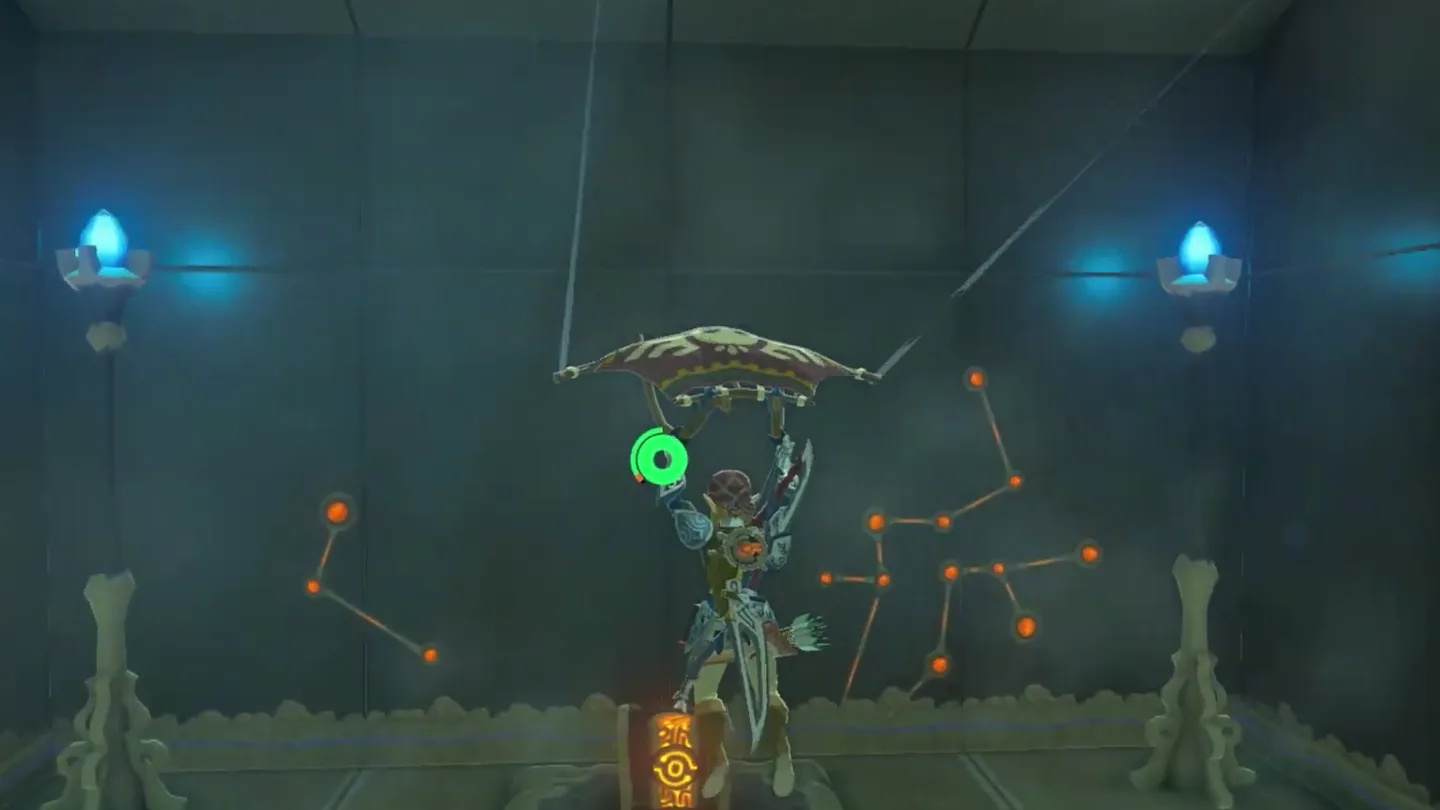
Drop the chest onto the opposite end from high above. The impact launches you upward; open the paraglider and land beside the elevated chest across from the altar. Open it for the Ancient Core.
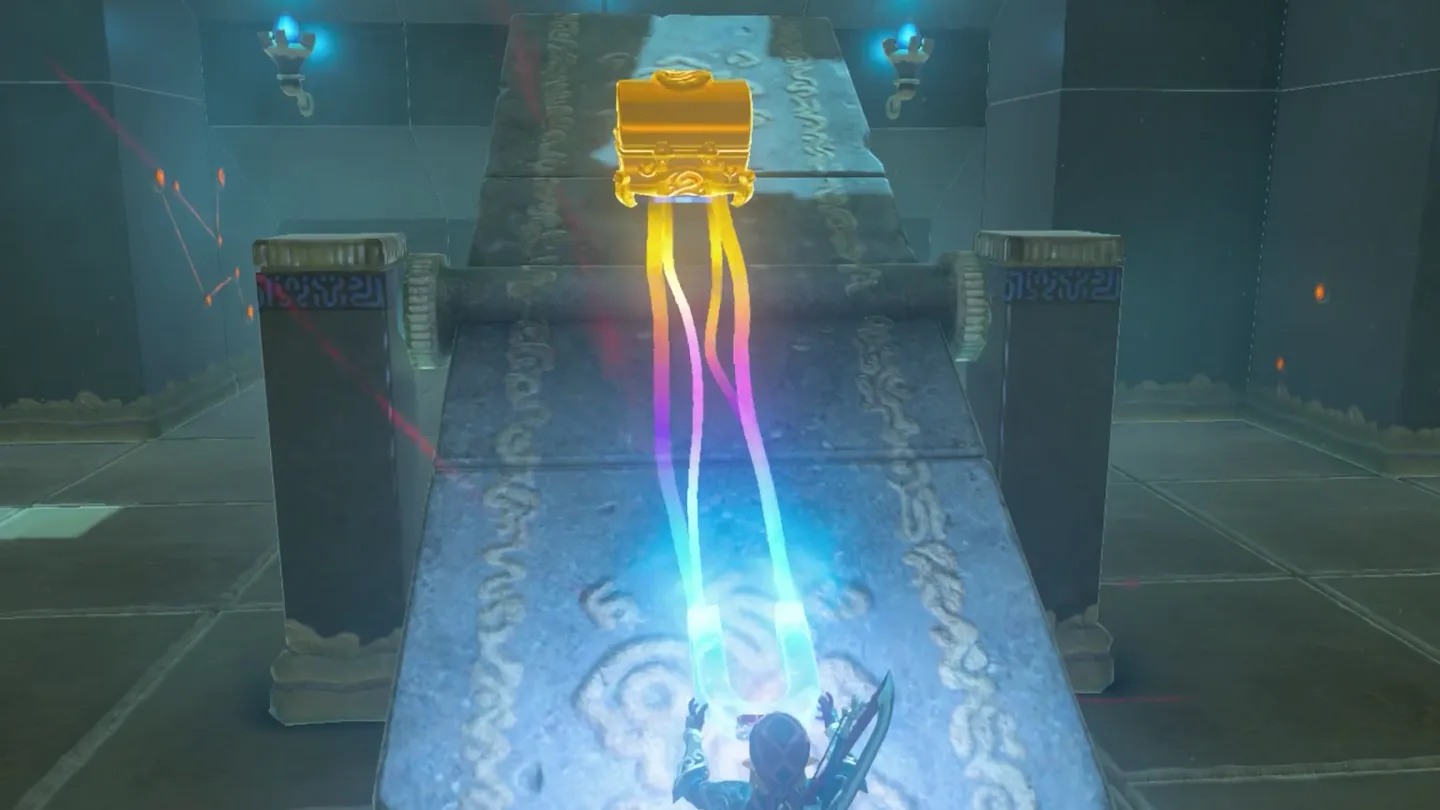
4. Create a ramp and reach the monk
Return to the lower floor and reset the counterweight. Put the metal chest on the far end of the launch seesaw so it holds a ramp you can walk up.
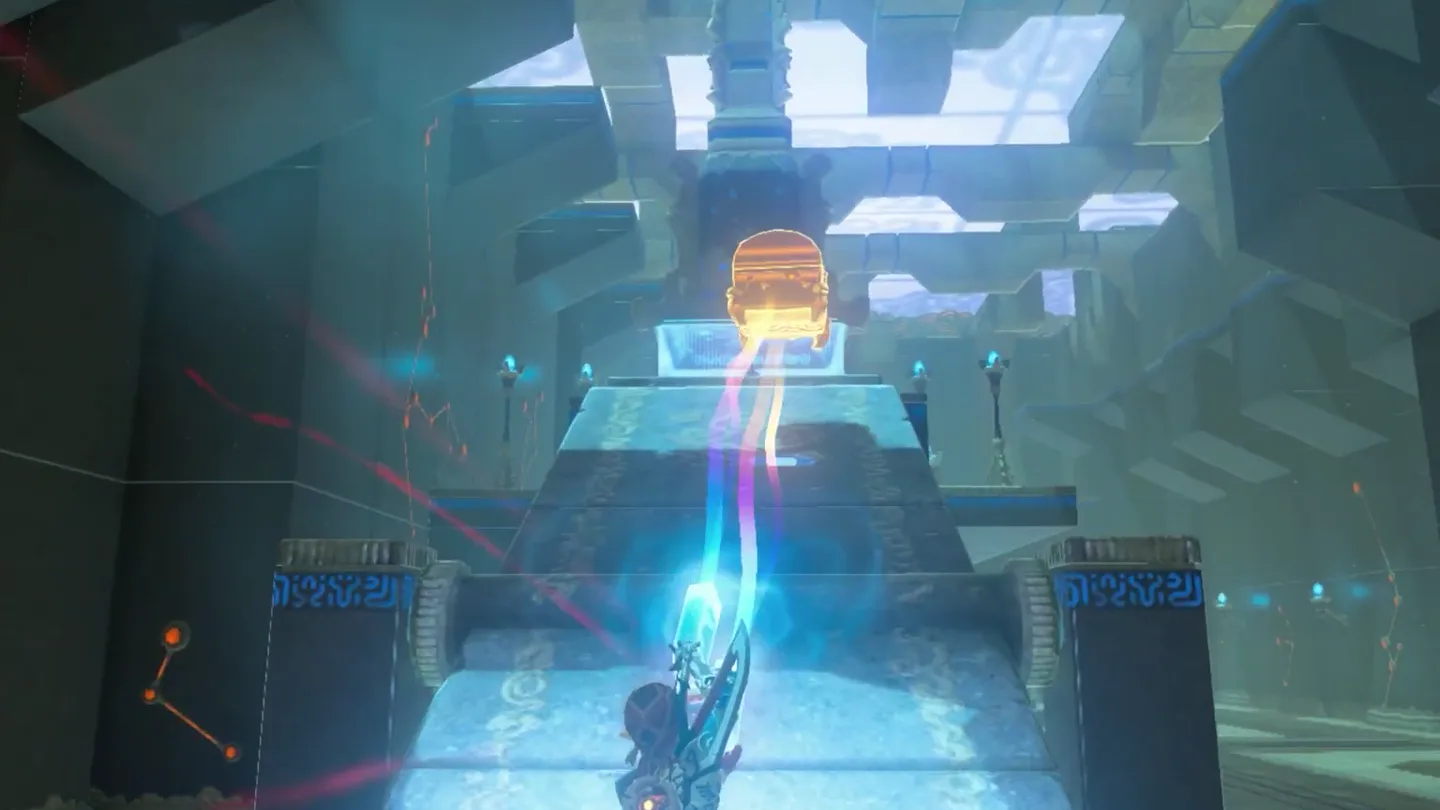
Freeze the board closer to the monk. With the nearer seesaw held by the chest, climb onto it, use Stasis on the next board, and cross while it is locked.
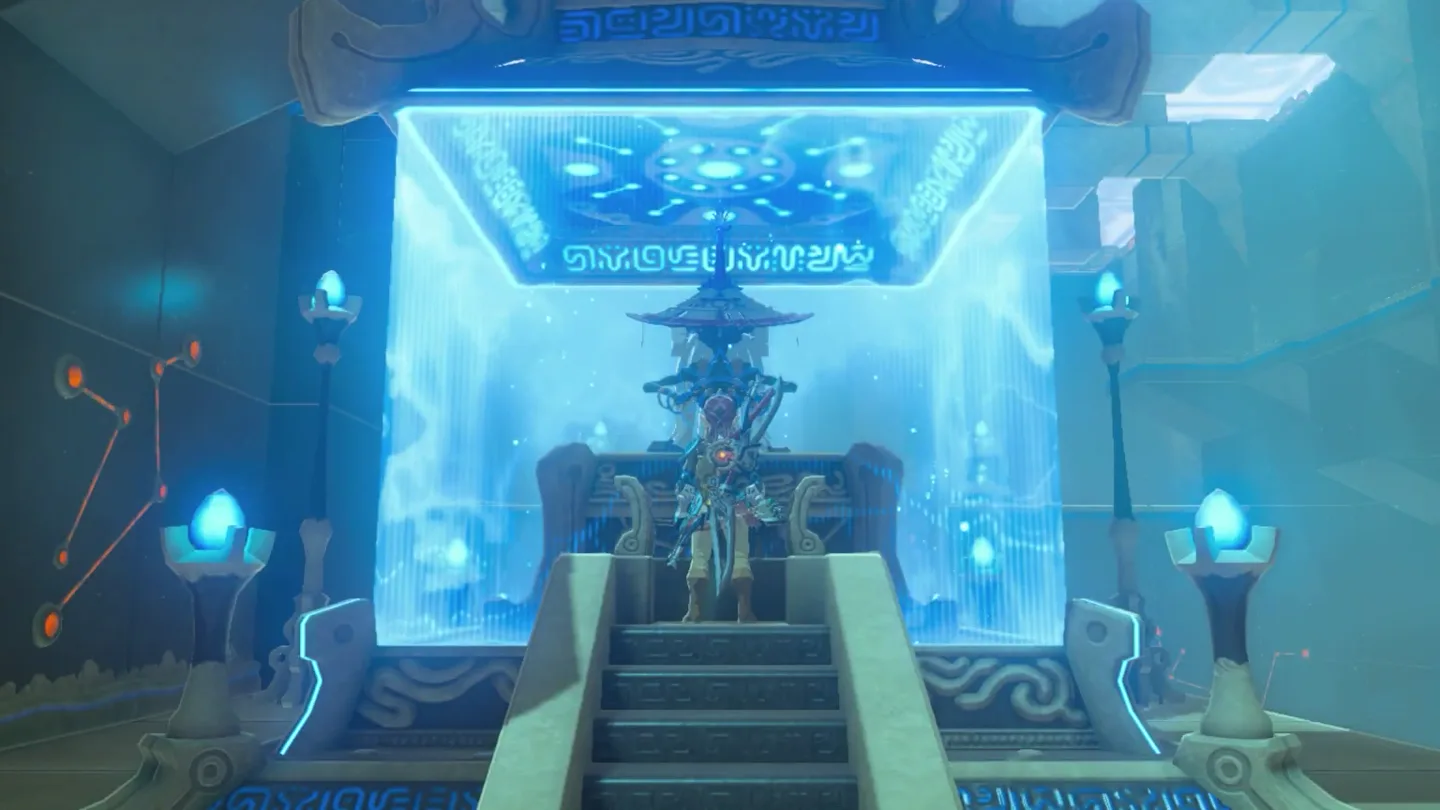
Interact with the symbol at the monk’s pedestal. Receive the Spirit Orb to finish the trial.
Where are the chests, and what is inside?
| Chest | Contents | How to reach it |
|---|---|---|
| 1: Raised platform beside the earlier seesaw | Traveler’s Sword / Royal Broadsword, conflicting reports | Freeze the seesaw, follow its right-hand route upward, and open the metal chest. Bring the chest along afterward. |
| 2: High ledge opposite the altar | Ancient Core | Drop the metal chest onto the opposite end of the launch seesaw, then paraglide onto the ledge. |
What do people miss here?
- You can beat the entire trial without ever using Stasis by shield jumping, but that skip makes the second chest unreachable: the Ancient Core ledge can only be reached by launching yourself from the second-to-last platform, so take that detour before rushing to the finish.
- The last set of platforms has several working solutions: freeze the first board, run and jump onto the second, and keep jumping until it levels; shield jump from the first board to the second without Stasis; or hold one board down with the chest while freezing the other with Stasis. If one approach fails, try another instead of assuming you are stuck.
- The metal sword chest is one of the rare shrine chests that Magnesis can move, and it can pin a tottering platform flat in place of Stasis — useful whenever the freeze timing keeps fighting you.
- The Ancient Core chest sits on a ledge directly across from and slightly above the altar, off the main path, and the trial can be completed without ever going there; make the launch before you collect the Spirit Orb and leave.
What else is nearby?
| Shrine | Direction | Straight-line distance | Region |
|---|---|---|---|
| Qukah Nata Shrine | northeast | 535 | Faron |
| Shoda Sah Shrine | north | 653 | Faron |
| Ka’o Makagh Shrine | west | 1066 | Lake |
Which related guides should you use next?
- All BotW shrine locations: continue marking completed shrines.
- How to find shrines: use the general search guide when an entrance is hidden.
- Ka’o Makagh Shrine: west and slightly north of Shai Utoh, in the Lake tower region.
- Tears of the Kingdom vs. Breath of the Wild: compare the games before switching between their guides.
FAQ
How do I get into Shai Utoh Shrine?
How do I get the high chest in Shai Utoh Shrine?
What is in the sword chest in Shai Utoh Shrine?
How do I cross the last seesaws in Shai Utoh Shrine?
Is Shai Utoh a Test of Strength?
Related Articles
guides
Breath of the Wild Captured Memories: All 13 Locations and Rewards
All 12 photo locations from Zelda's album plus the 13th memory in Impa's painting, with coordinates, nearby shrines, the Champion's Tunic and the extra ending scene.
guides
Breath of the Wild Great Fairy Fountains: Locations, Costs and Horse God
Where the four Great Fairy Fountains and the Horse God Malanya are in Breath of the Wild, what each fairy costs to release, and how many you need per armor upgrade.
guides
Hyrule Castle Walkthrough: Entry Routes, Hylian Shield and Final Prep
How to get into Hyrule Castle in Breath of the Wild: five entry routes, the Hylian Shield and other loot by room, and what to prepare before the final battle.
Was this helpful?
Thanks for the feedback!