

Ishto Soh Shrine Location and Solution (Breath of the Wild)
Find Ishto Soh Shrine, move its laser onto the moving platform, ride the pillars, and collect the Topaz and Ancient Core chests in Bravery’s Grasp.
Where is Ishto Soh Shrine?
Look southwest of Lake Tower, close to the eastern edge of the Wasteland Tower map area. From Oseira Plains, climb the western slopes and look for the shrine near the rubbish heaps. You can enter without completing a shrine quest. Use the shrine-finding guide if you need help turning a distant sighting into a route.
| Item | Detail |
|---|---|
| Trial | Bravery’s Grasp |
| Tower region | Lake |
| Coordinates (X, Y, Z) | -0986, -3565, 0334 |
| Type | Laser and moving-platform puzzle; not a Test of Strength |
| Shrine quest | None |
| Chests | 2 |
| English name | Ishto Soh Shrine |
| Traditional Chinese name | 伊奧‧索奧神廟 |
| Simplified Chinese name | 伊奥·索奥神庙 |
What should you bring?
The preparation is minimal: you need Stasis to freeze the laser emitter, plus any weapon or Remote Bombs to knock the frozen emitter off its stand — no particular weapon type is specified. Have the Paraglider ready as well if you want the elevated Ancient Core chest. Beyond that, nothing special is required: there is no shrine quest gating entry, the trial is a laser-and-moving-platform puzzle rather than a Test of Strength, and Magnesis and Cryonis are never used, so no specific armor, meals, or resistances are called for.
Video walkthrough

Solution: How do you move the pillars?
The trick is to move the laser emitter itself. Once its beam sweeps across the crystal from the moving platform, the pillars keep changing position while you climb.
| Ability or equipment | Use on this route |
|---|---|
| Stasis | Stop the beam and freeze the emitter before knocking it loose |
| Weapon or Remote Bomb | Apply force to the frozen emitter; no particular weapon type is specified |
| Carrying by hand | Move the loose emitter onto the platform |
| Paraglider | Reach the elevated Ancient Core chest |
Magnesis and Cryonis are not used in this route.
1. Move the Laser onto the Platform
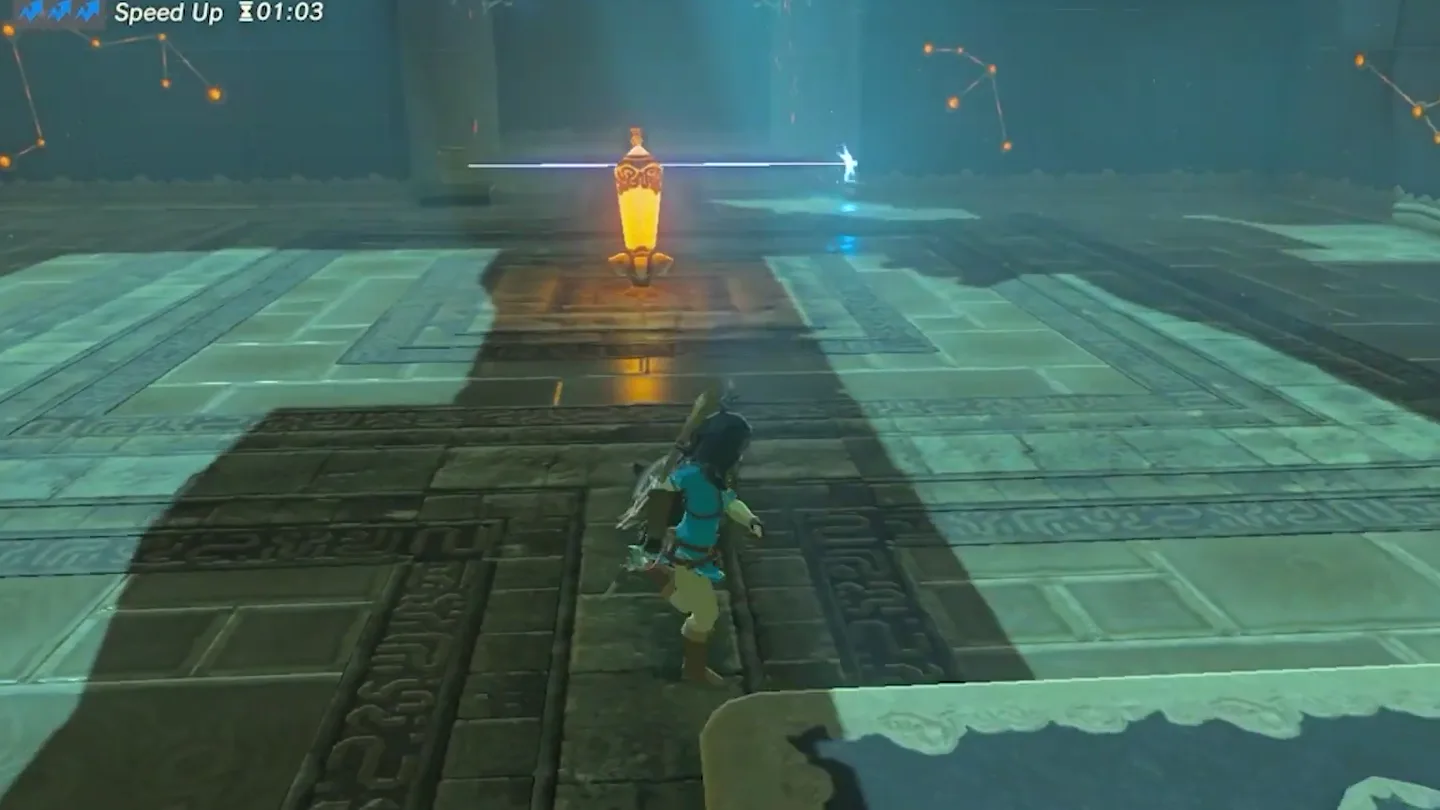
Find the back room. Drop to the main floor and turn around. The laser and a chest are beneath the entrance landing.
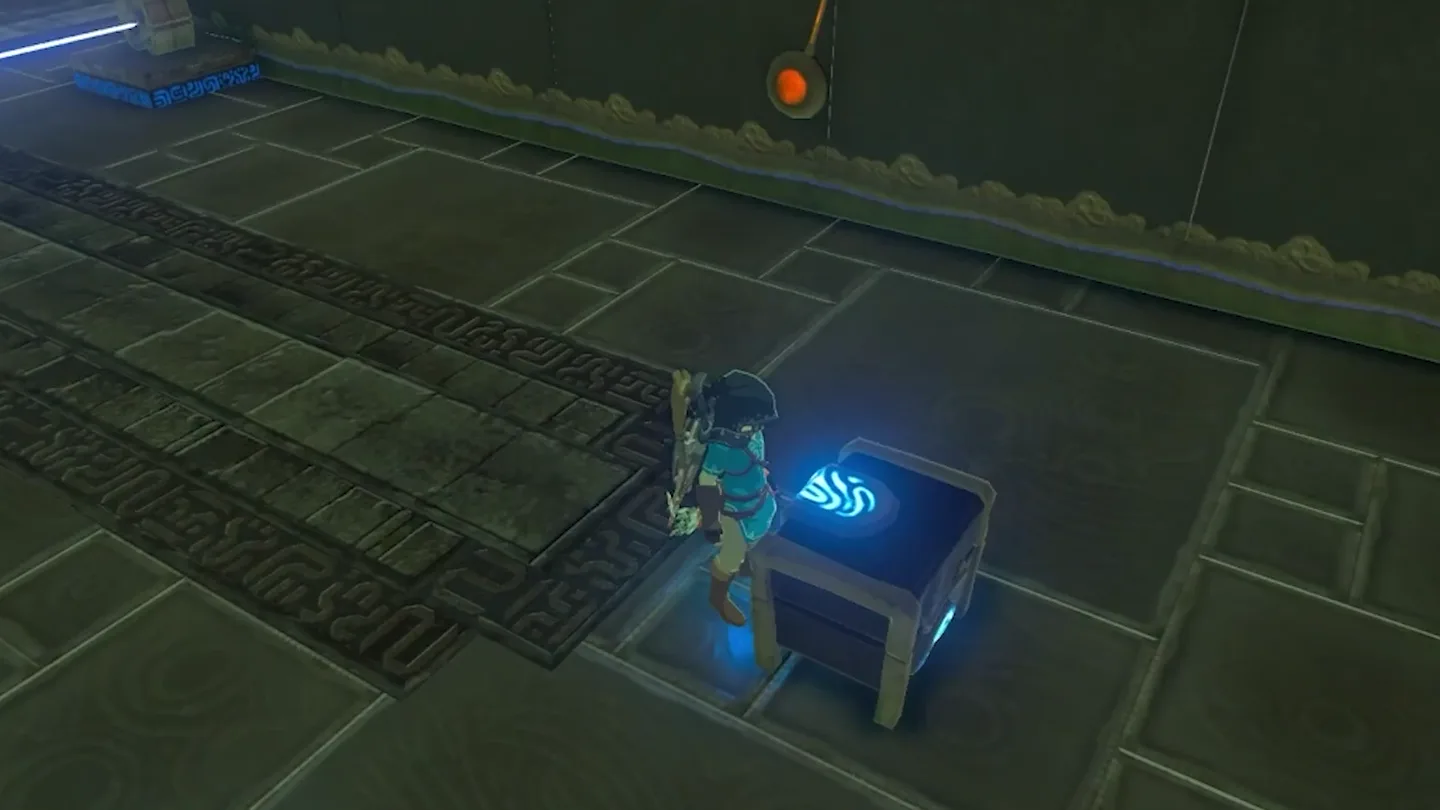
Stop the laser with Stasis. Target its emitter, then pass through the now-inactive beam’s path to open the back-room chest for Topaz.
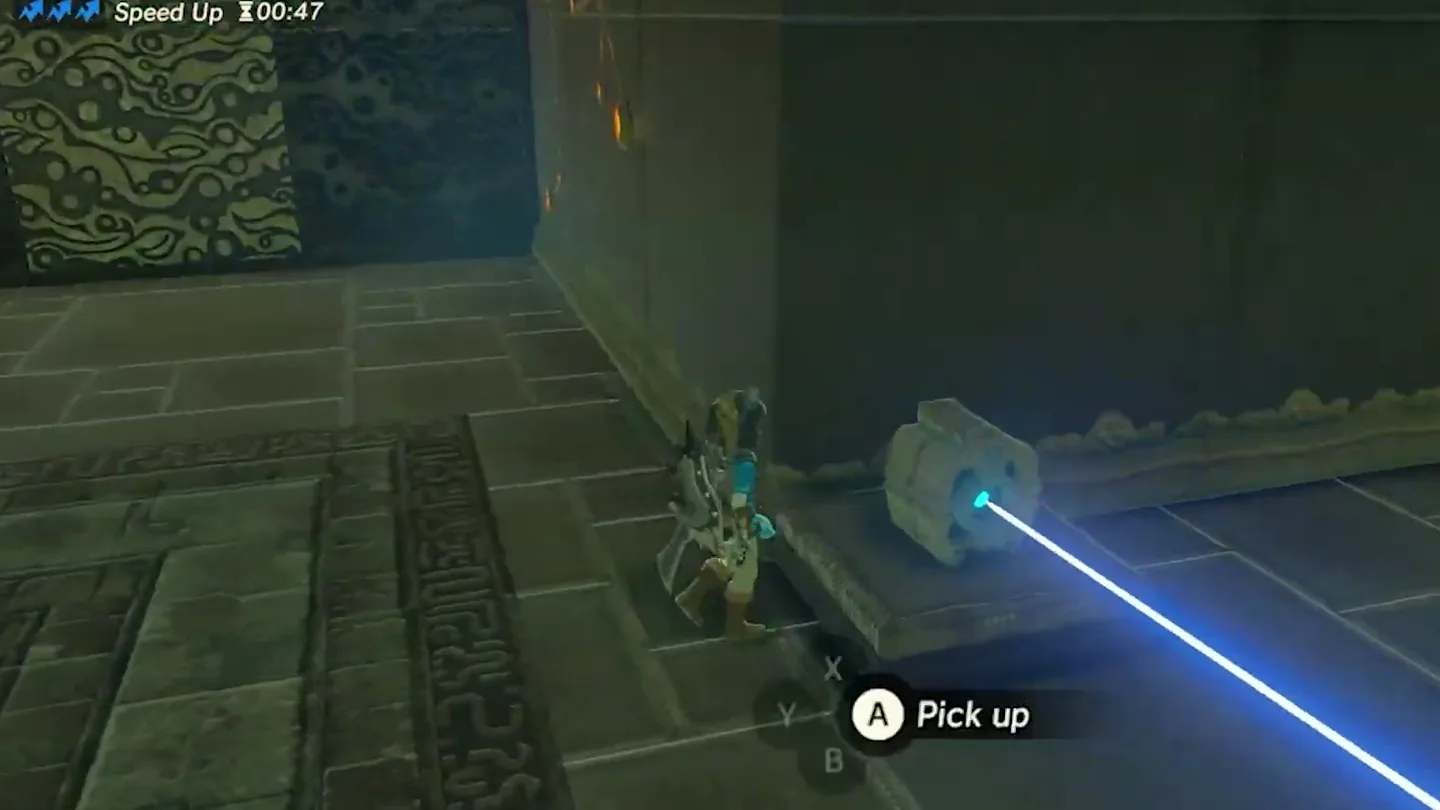
Knock the emitter off its stand. While it is frozen, strike it with a weapon or use a Remote Bomb. If Stasis has expired, wait for it to recharge and freeze the emitter again before applying force.
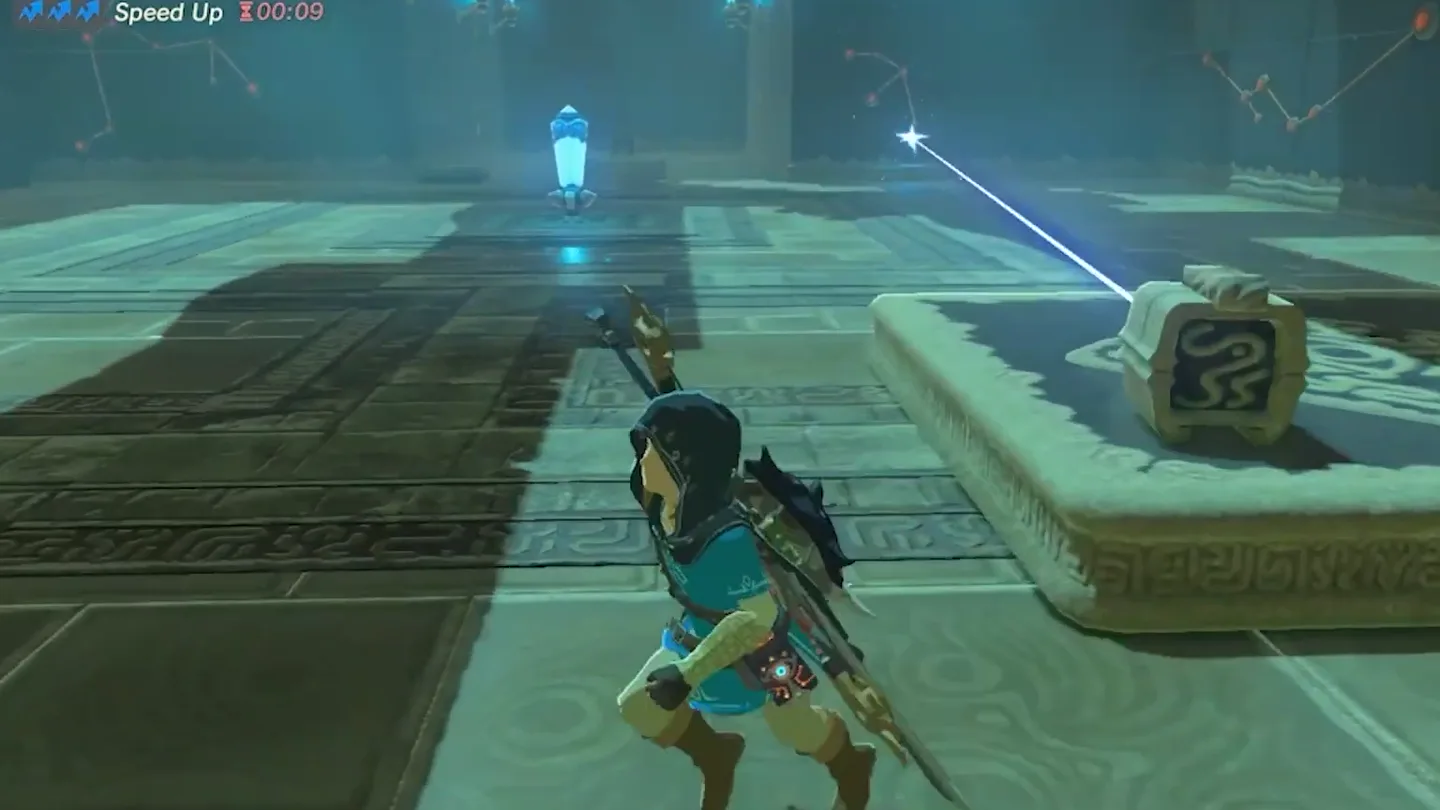
Put the emitter on the moving platform. Carry it by hand and set it down facing the back room, toward the entrance. Align the beam so it strikes the crystal whenever the platform passes it.
2. Ride the Pillars to the Altar
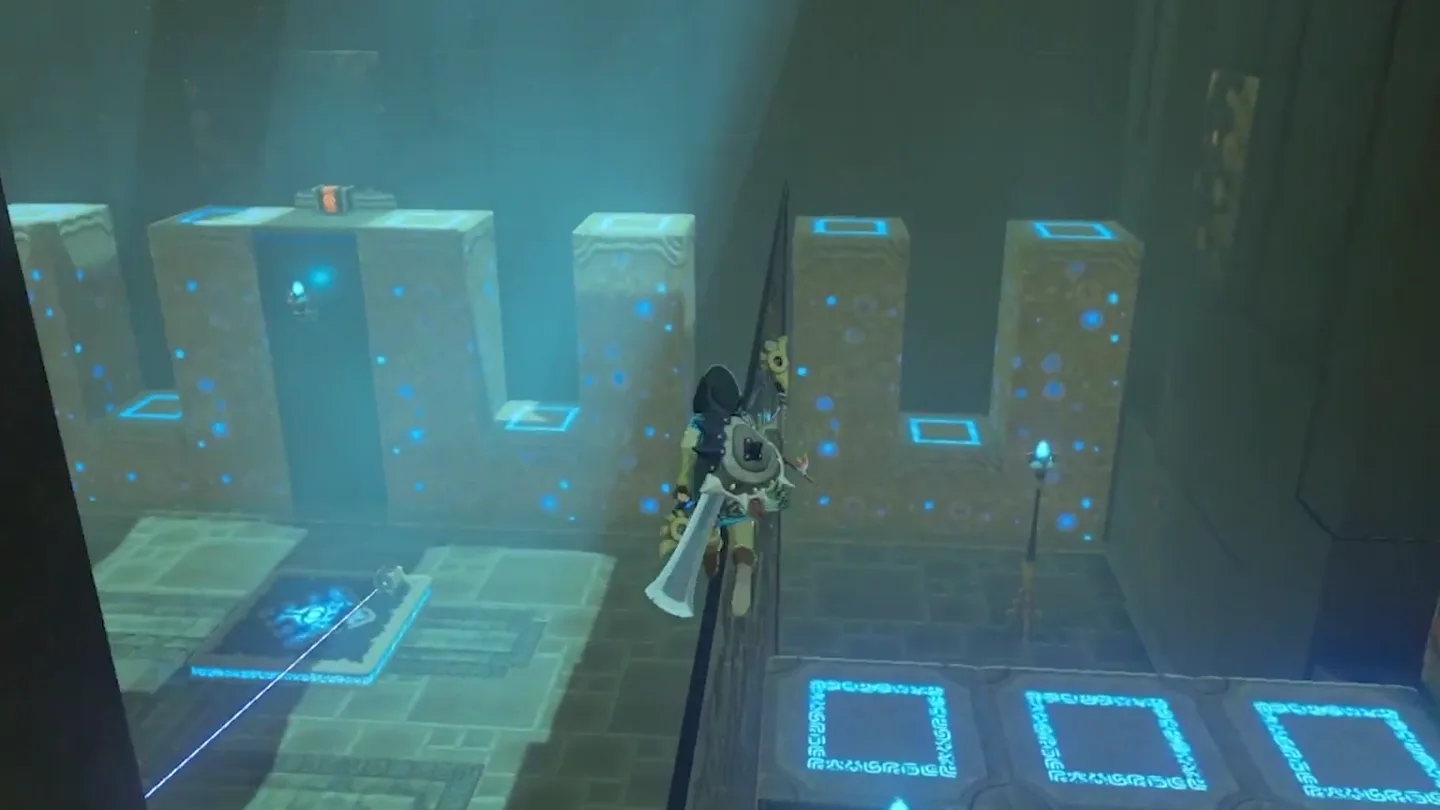
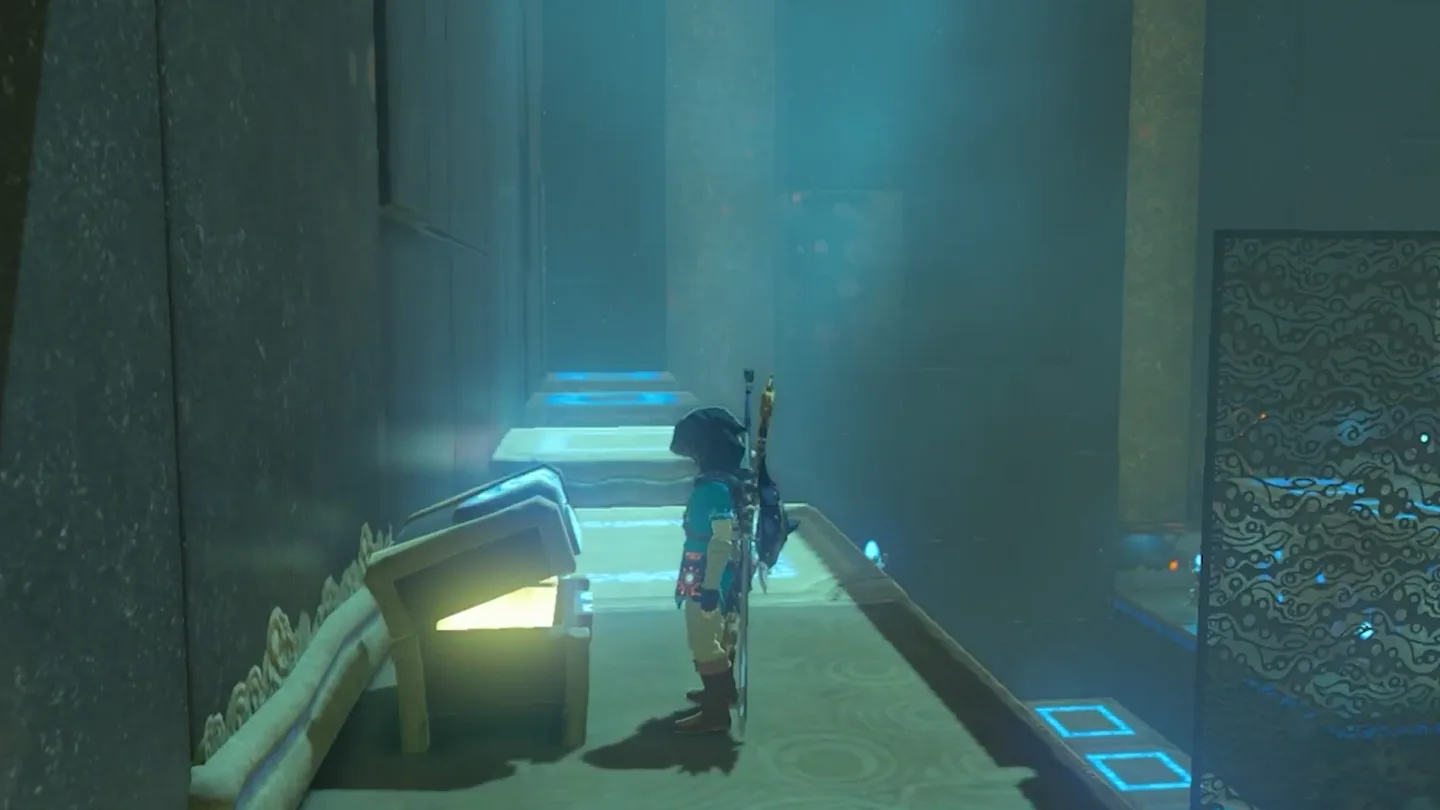
Ride the right-hand pillar path upward. Facing the main room from the laser room, head into the fenced passage on your right. Advance along the pillars as their changing heights let you reach the high landing toward the altar.
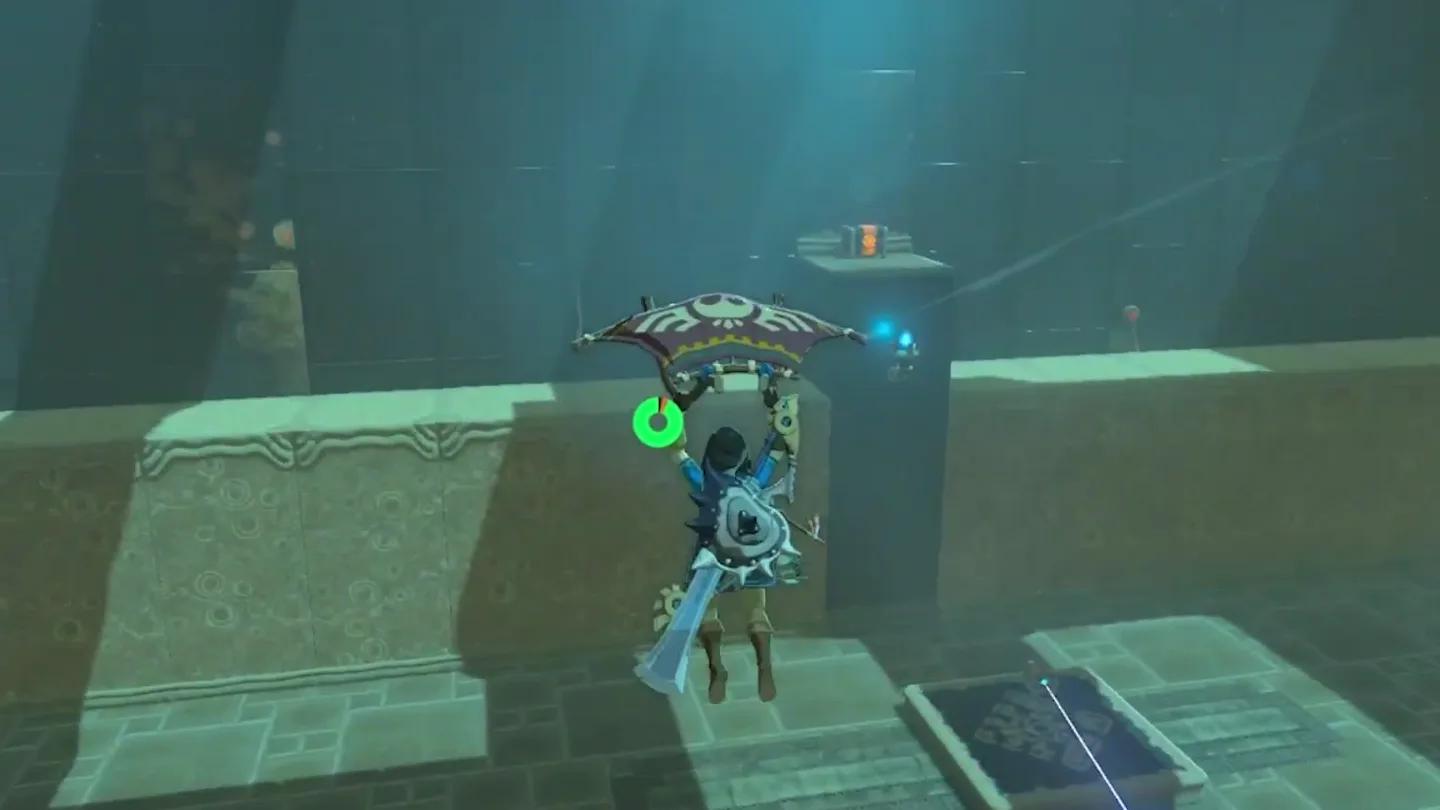
Turn back for the elevated chest. Wait at the top for the pillars to descend. Just before they start moving again, jump and paraglide toward a low pillar across the room.
Open the central chest. After landing on the pillar route, move toward the middle to collect the Ancient Core.
Return to the upward route. Ride the shifting pillars toward the altar again and interact with the monk to complete the shrine.
Chests: Where are the rewards?
| Chest | Contents | How to reach it |
|---|---|---|
| 1: Back room | Topaz | Freeze the laser emitter with Stasis and pass behind the beam’s path to the chest beneath the entrance |
| 2: Elevated pillar route | Ancient Core | Ride the right-hand route upward, turn back, glide to a low pillar across the room, then move to the central chest |
What do people miss here?
- Of the two chests, the back-room Topaz is the easy one to leave behind: it sits behind the laser’s beam beneath the entrance landing, so open it on the same trip you make downstairs to fetch the emitter.
- The pillars move as two alternating sets. After landing on the low set, wait for it to rise and step across to a neighbouring pillar — the centre pillar holding the Ancient Core only links up with your route once the crystal is struck again and the second set rises, so move to the middle during that window.
- The final approach to the altar is a step-by-step climb: each crystal cycle only advances you a few pillars, and you will wait through several lower-and-raise cycles before the top. Needing multiple cycles is intended, not a sign that the emitter is misaligned.
- If you hunt shrines by map region rather than tower region: this one physically sits in the Gerudo Highlands, tucked among piles of garbage, even though it is grouped with Lake Tower — searching around the tower itself will come up empty.
What else is nearby?
| Shrine | Direction | Straight-line distance | Region |
|---|---|---|---|
| Suma Sahma Shrine | west | 447 | Wasteland |
| Dila Maag Shrine | west | 815 | Wasteland |
| Shoqa Tatone Shrine | east | 1115 | Lake |
Related: Where should you look next?
- All BotW shrine locations: check the Lake and Wasteland groups when planning your next stop.
- How to find shrines: use the finding guide when an entrance is hard to spot.
- Tears of the Kingdom vs. Breath of the Wild: compare the games if you are moving between their shrine guides.
FAQ
Where is Ishto Soh Shrine in Breath of the Wild?
How do I move the laser in Ishto Soh Shrine?
How do I get the Ancient Core chest?
Is Ishto Soh Shrine a Test of Strength?
Related Articles
guides
Breath of the Wild Captured Memories: All 13 Locations and Rewards
All 12 photo locations from Zelda's album plus the 13th memory in Impa's painting, with coordinates, nearby shrines, the Champion's Tunic and the extra ending scene.
guides
Breath of the Wild Great Fairy Fountains: Locations, Costs and Horse God
Where the four Great Fairy Fountains and the Horse God Malanya are in Breath of the Wild, what each fairy costs to release, and how many you need per armor upgrade.
guides
Hyrule Castle Walkthrough: Entry Routes, Hylian Shield and Final Prep
How to get into Hyrule Castle in Breath of the Wild: five entry routes, the Hylian Shield and other loot by room, and what to prepare before the final battle.
Was this helpful?
Thanks for the feedback!