

Kay Noh Shrine Guide: Power of Electricity Walkthrough (Both Chests)
Step-by-step Kay Noh Shrine walkthrough: move the electric balls, beat the water puzzle, and grab the Small Key and Gerudo Scimitar chests.
Where is Kay Noh Shrine?
The shrine sits on a small cliff right next to Gerudo Canyon Stable in the Gerudo Highlands (listed under the Wasteland region’s shrines). Once activated, it doubles as a handy fast-travel point for the stable, so it’s well worth stopping by whenever you pass through the canyon.
| Item | Detail |
|---|---|
| Trial | Power of Electricity |
| Tower region | Wasteland |
| Map-marker coordinates | -2810, -2300, 0185 |
| Shrine quest | None |
| Chests | 2 |
| Names | Kay Noh Shrine · 克‧諾伊神廟 · 克·诺伊神庙 |
What should you bring?
Magnesis on your Sheikah Slate does the heavy lifting for the metal cubes and the high chest. Bring a bow with a few arrows to shoot down the chained ball — a jump slash works as a backup if you’re out — plus any weapon you like for the Guardian Scouts, the first of which is very weak and easily destroyed.
Video walkthrough

How do you solve Kay Noh Shrine?
The whole trial, officially named Power of Electricity, is about directing currents of bright green electricity: complete circuits by slotting charged balls into empty sockets to open gates, then mirror an arrangement of metal cubes so current flows through water to two switches. The puzzles here carry an uncanny resemblance to Divine Beast Vah Naboris, so treat it as a warm-up if you haven’t tackled that Divine Beast yet.
1. Complete the circuit in the first room
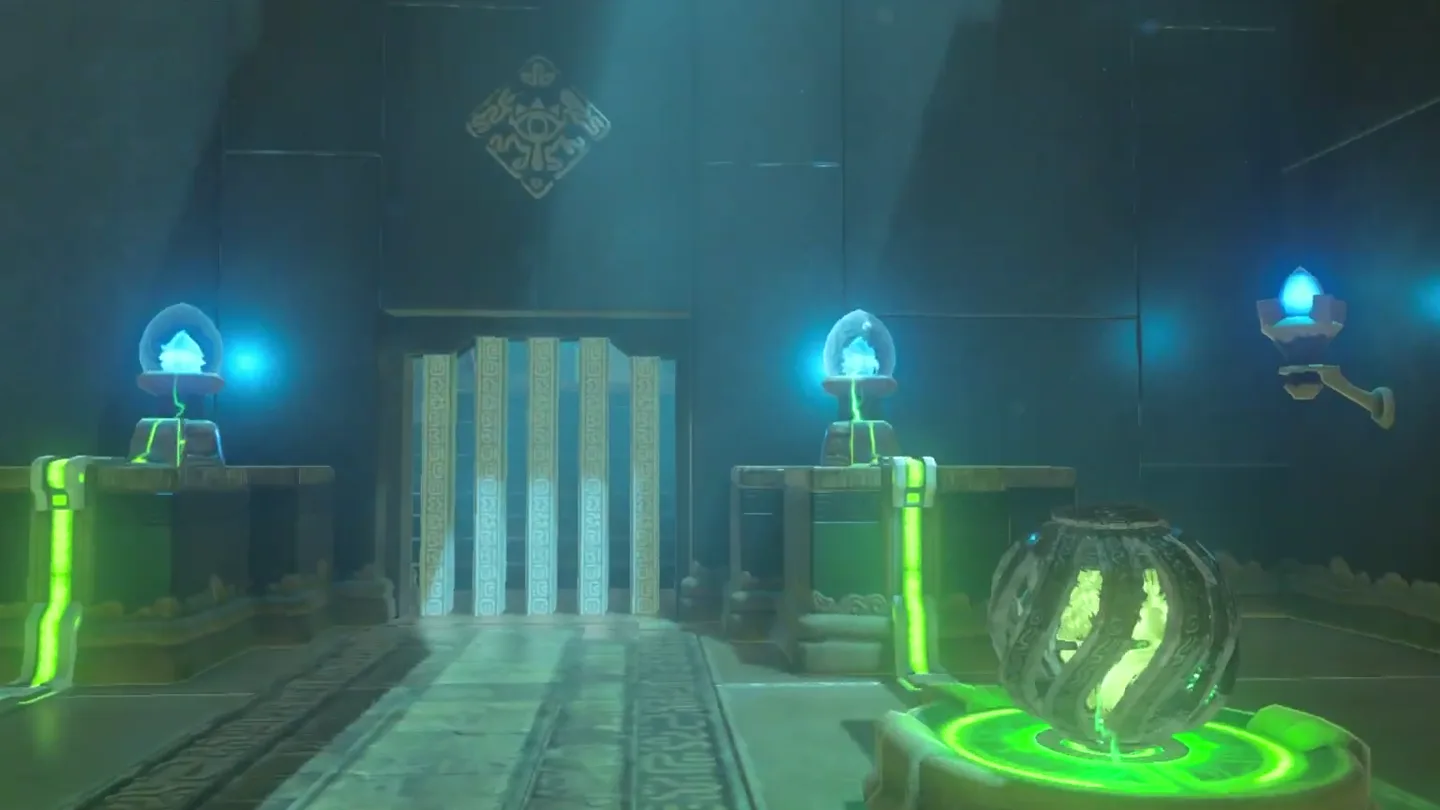
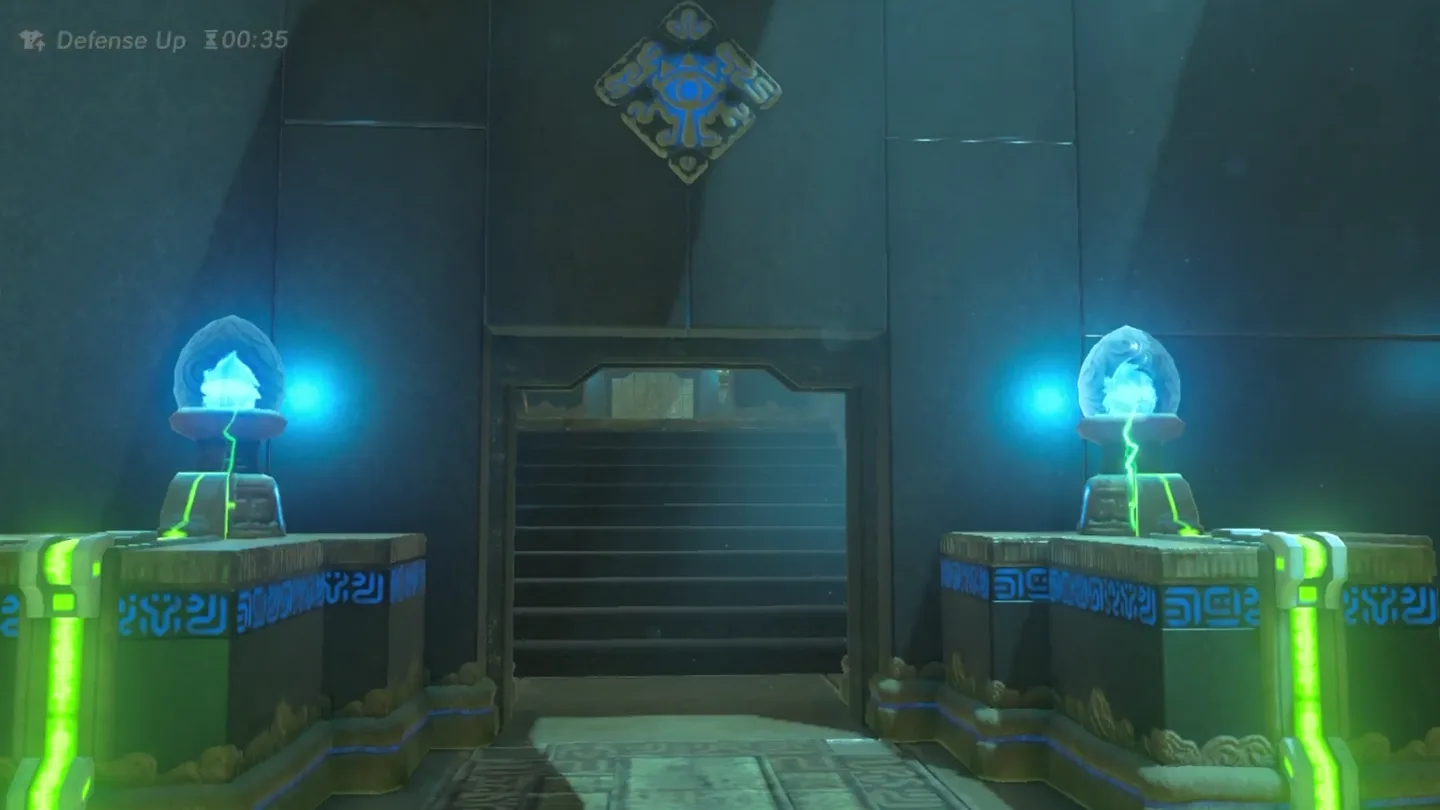
In the first room, a ball is already seated on the left platform, and an electrically charged ball rests on the middle platform. Take the middle ball and move it to the right platform, in line with the left one — the circuit completes, electricity flows, and the gate at the back of the room opens.
2. Get the Small Key via the conveyor belt path
Head through into the second room, where the path splits at a fork. Take the right path first.
Defeat the Guardian Scout on the right path — it’s very weak, so any weapon makes short work of it.
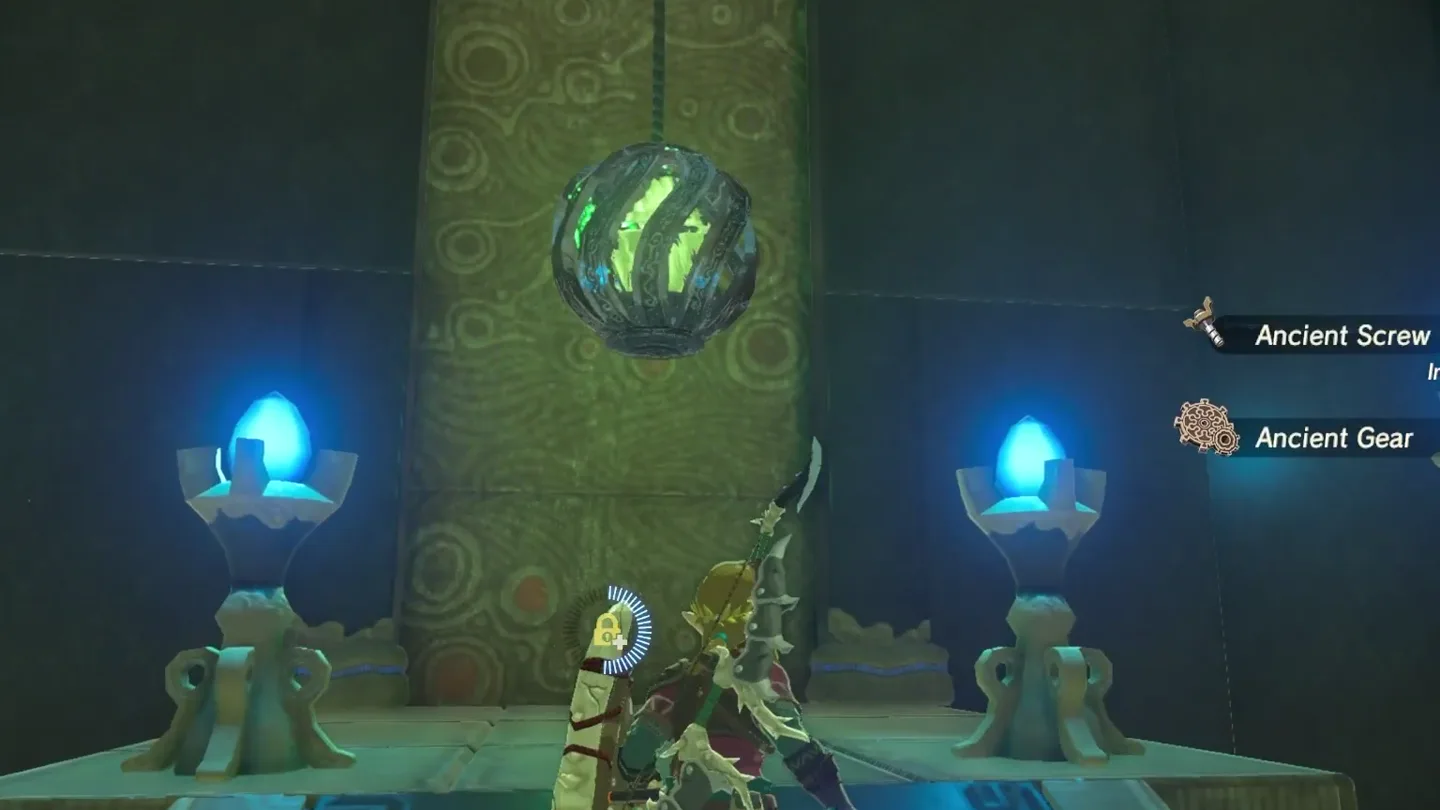
Look up: an electric ball hangs from the ceiling on a chain, out of reach. Shoot the chain with an arrow (or perform a jump slash) to cut it, then pick up the fallen ball.
Carry the ball back to the left side of the fork and place it in the uncharged slot on the left platform. The conveyor belt there turns on, sliding the big cube that’s in the way into the gap and creating a path to walk across.
Ride the conveyor belt to the end and jump to the rock cube — there’s a gap, and if you keep walking you will fall.
If you do fall, don’t worry: just go up the ladder at the bottom and try the jump again.
Open the treasure chest past the gap for the Small Key, which you’ll need to finish the shrine.
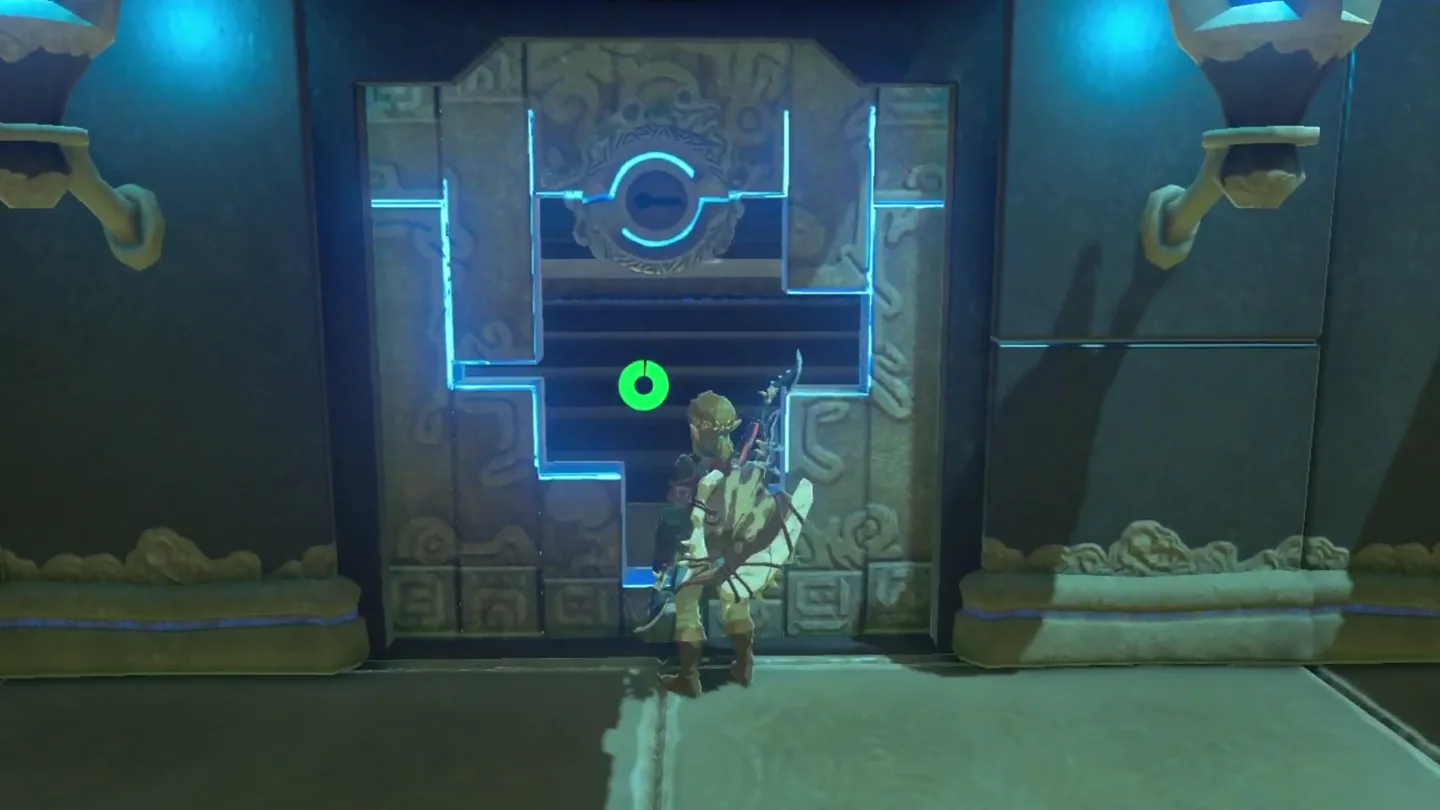
Return to the locked door near the fork and open it with the Small Key.
Defeat the Guardian Scout right behind the door, then continue into the final room.
3. Solve the water pool cube puzzle
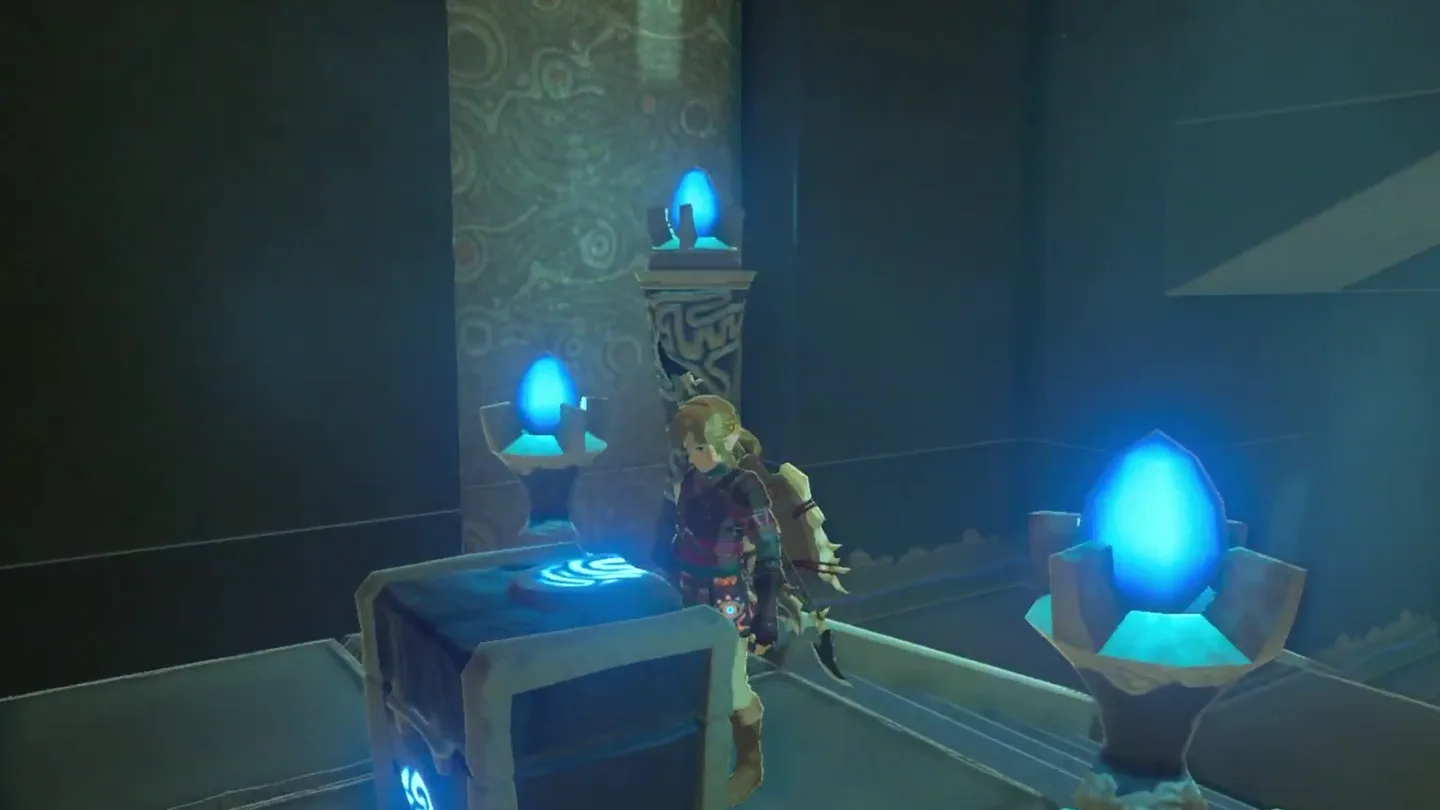
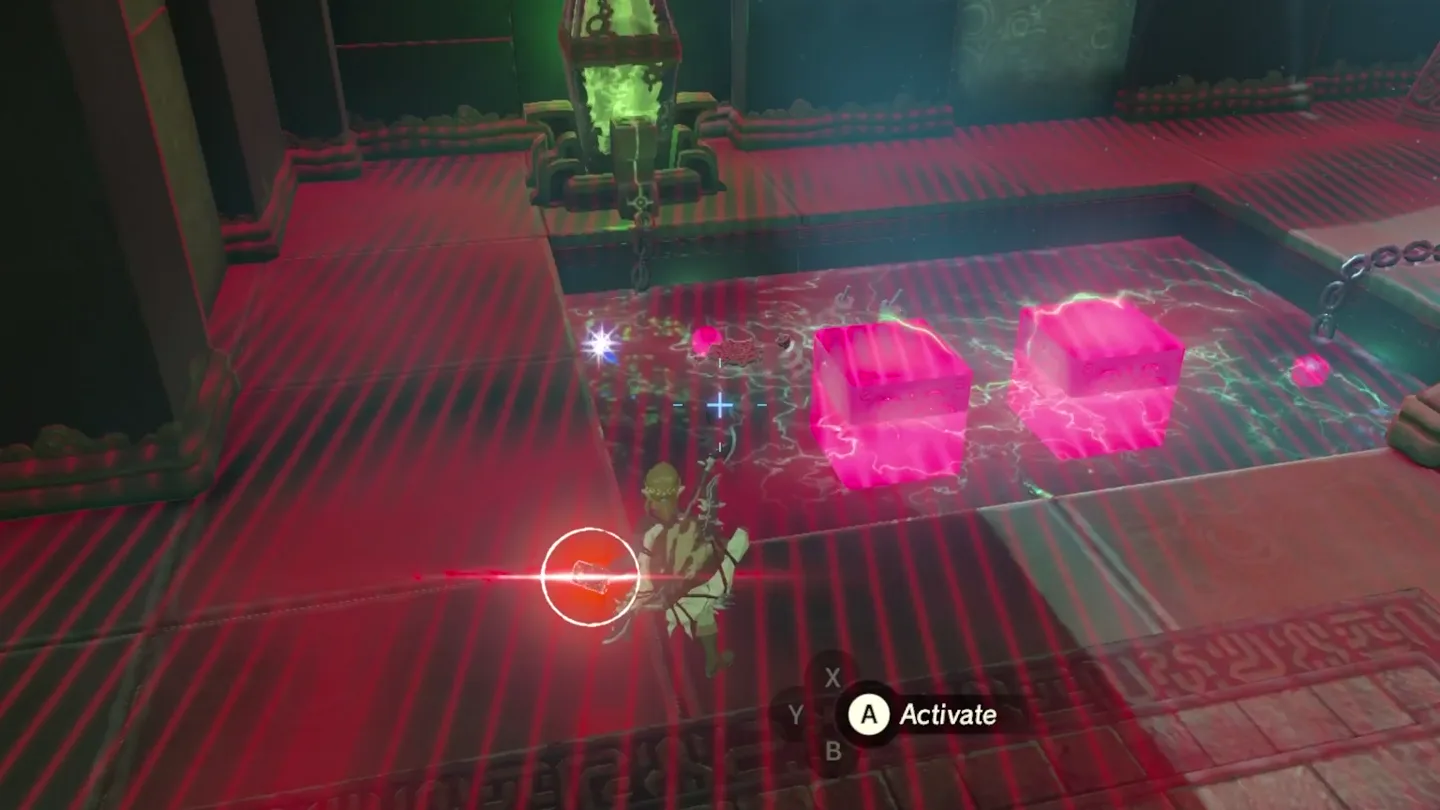
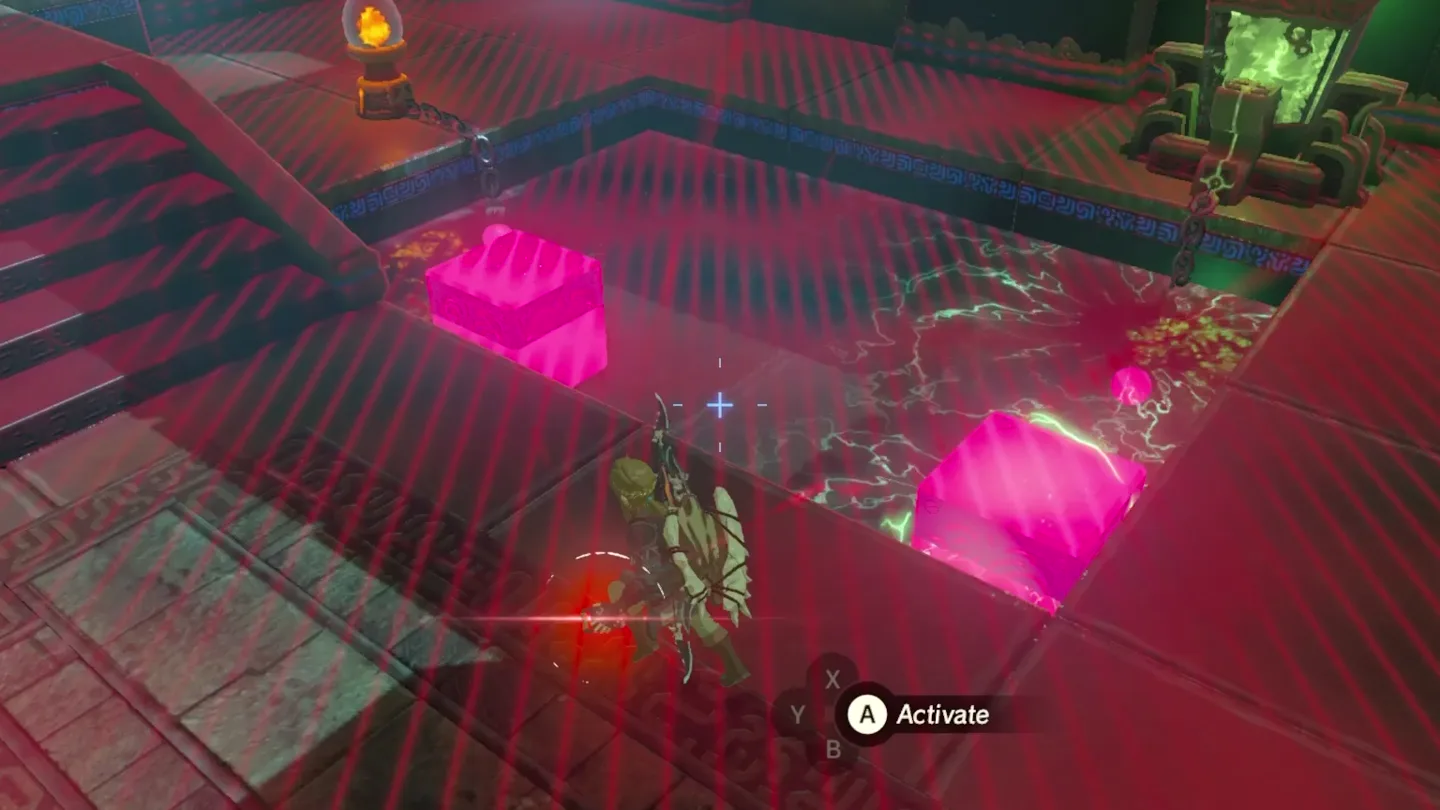
The final puzzle is a water pool: fixed metal blocks on the left, four loose metal cubes on the right, fed by green power sources leading to switches. Use Magnesis to shuffle the right-side cubes so they mimic the left-side arrangement, conducting the current through the water. Charging both switches opens the way to the final room.
4. Collect the Gerudo Scimitar and claim the Spirit Orb
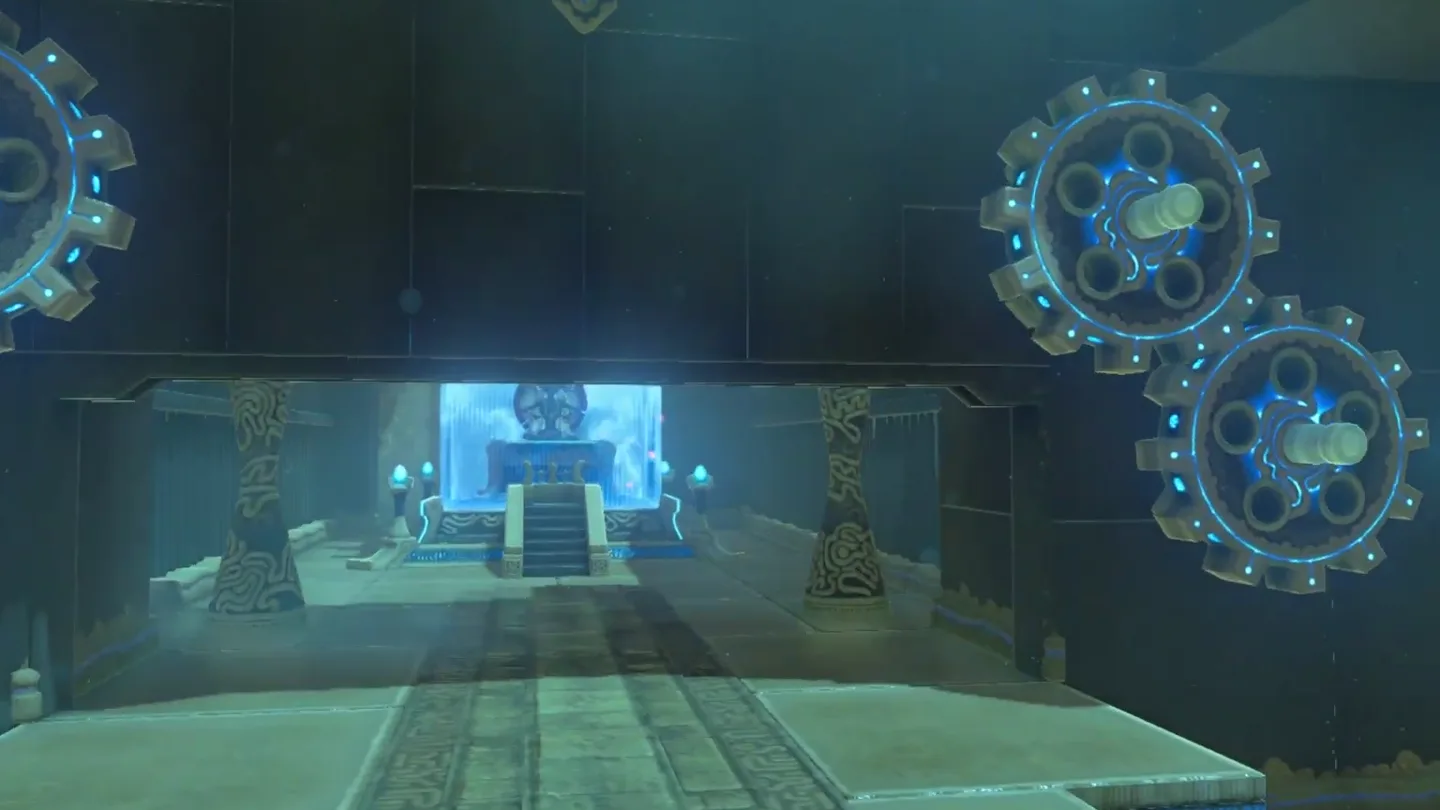
Once the puzzle is solved, go up the stairs and turn the camera around. A metal chest sits high on a ledge above the entrance of the room — pull it down with Magnesis for the Gerudo Scimitar.
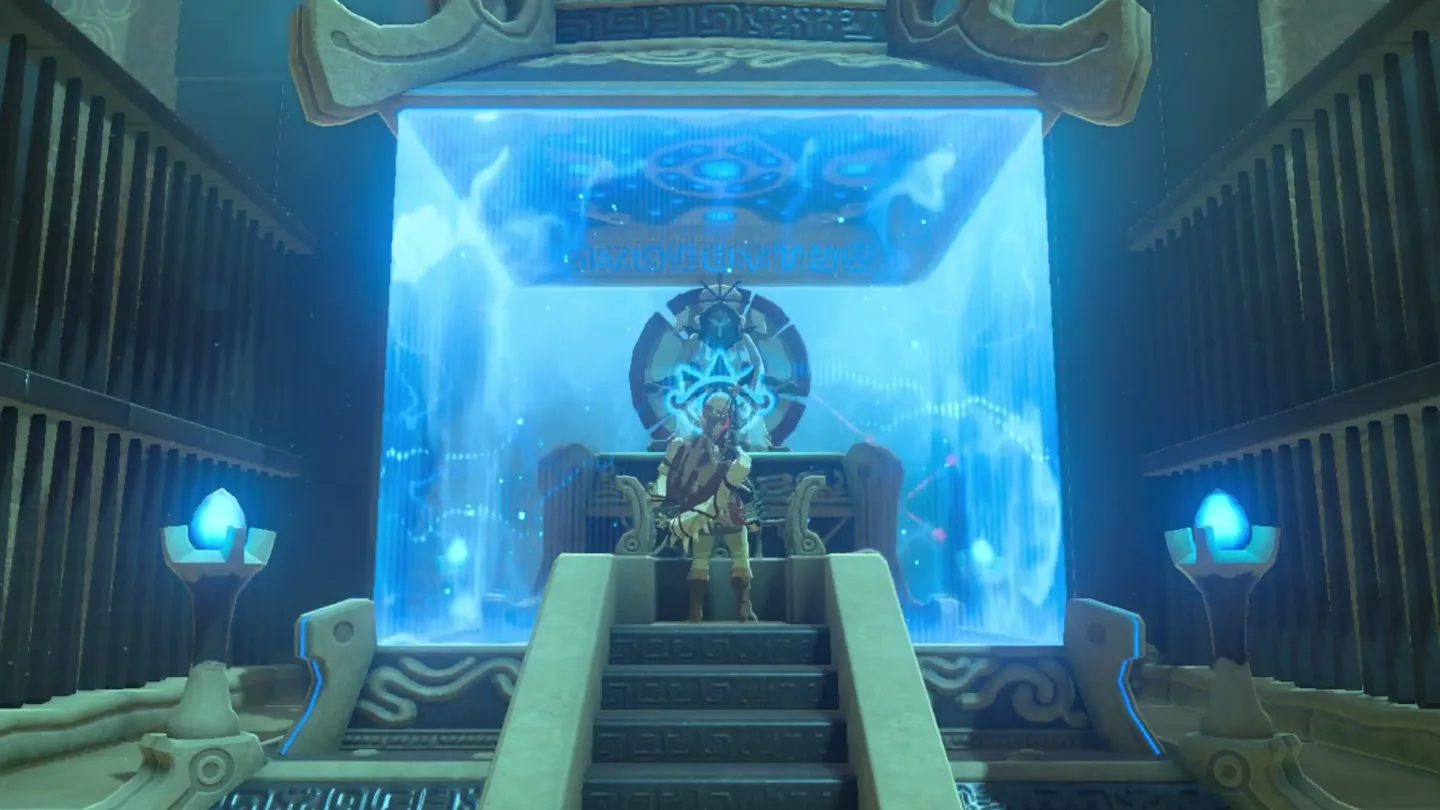
Go through the opened way to the Monk’s Pedestal and approach Kay Noh. He rewards your resourcefulness with a Spirit Orb, wishes you well, and fades away.
What is in each chest?
| Chest | Contents | How to get it |
|---|---|---|
| 1 | Small Key | On the far side of the conveyor-belt gap in the second room. Slot the ball into the left platform, ride the belt, jump the gap to the rock cube, and open the chest there. Use the key on the locked door back near the fork. |
| 2 | Gerudo Scimitar | A metal chest on a ledge above the entrance of the final water room. Solve the cube puzzle, go up the stairs, turn around, and pull it down with Magnesis before visiting the monk. |
What do people miss here?
- The Gerudo Scimitar chest only comes into view after you’ve solved the water puzzle: go up the stairs and whirl the camera around, and you’ll spot it on a ledge high above the entrance — easy to walk straight past on your way to the monk.
- The end of the conveyor belt looks like a dead end because of the gap. It’s jumpable — leap onto the rock cube. If you fall in, the ladder at the bottom returns you to the top for another try.
- Going left at the fork first gets you nowhere: the slot there is uncharged because the ball is hanging from the ceiling on the right path. Cut it down first, then bring it back.
- If you’re out of arrows, you can still cut the chained ball down with a jump slash instead.
- The locked door near the fork won’t budge without the Small Key — it’s not hidden in the main room; it’s in the chest past the conveyor-belt gap.
What else is nearby?
| Shrine | Direction | Straight-line distance | Region |
|---|---|---|---|
| Dako Tah Shrine | west | 525 | Wasteland |
| Korsh O’hu Shrine | south | 526 | Wasteland |
| Sasa Kai Shrine | northwest | 825 | Gerudo |
Which guides help next?
FAQ
How do I open the first gate in Kay Noh Shrine?
Where is the Small Key in Kay Noh Shrine?
How do I cut down the ball hanging from the ceiling?
Where is the Gerudo Scimitar chest?
How do I solve the metal cube water puzzle?
Related Articles
guides
Breath of the Wild Captured Memories: All 13 Locations and Rewards
All 12 photo locations from Zelda's album plus the 13th memory in Impa's painting, with coordinates, nearby shrines, the Champion's Tunic and the extra ending scene.
guides
Breath of the Wild Great Fairy Fountains: Locations, Costs and Horse God
Where the four Great Fairy Fountains and the Horse God Malanya are in Breath of the Wild, what each fairy costs to release, and how many you need per armor upgrade.
guides
Hyrule Castle Walkthrough: Entry Routes, Hylian Shield and Final Prep
How to get into Hyrule Castle in Breath of the Wild: five entry routes, the Hylian Shield and other loot by room, and what to prepare before the final battle.
Was this helpful?
Thanks for the feedback!