

Keo Ruug Shrine Walkthrough: Fateful Stars Puzzle Solution & Chest
Step-by-step Keo Ruug Shrine guide: count the constellations, place the orbs (5-3-1-2), unlock the side gate (4-2-2-1) and claim the Knight's Claymore chest.
Where is Keo Ruug Shrine?
The shrine stands in the middle of Korok Forest in the Woodland Region, on the east side of the Great Deku Tree and a short walk northeast of the Pedestal of the Master Sword. It becomes available the moment you enter Korok Forest — no shrine quest or other unlock is required. Keo Ruug greets you as you set foot inside, and the trial is formally titled ‘Fateful Stars’.
| Item | Detail |
|---|---|
| Trial | Fateful Stars |
| Tower region | Woodland |
| Map-marker coordinates | 0471, 2168, 0263 |
| Shrine quest | None |
| Chests | 1 |
| Names | Keo Ruug Shrine · 基耀‧烏神廟 · 基耀·乌神庙 |
What should you bring?
Nothing at all — no runes, weapons, or armor come into play. This is a pure logic puzzle: read a mural, count constellations, and carry the Ancient Orbs by hand into the numbered slots. The room can look complicated at first glance, but the solution is super simple.
Video walkthrough

How do you solve Keo Ruug Shrine?
The entire trial is counting: each of the four constellation shapes on the far mural appears a set number of times, and that number tells you which lantern-numbered slot receives an orb.
1. Observe the room and clues
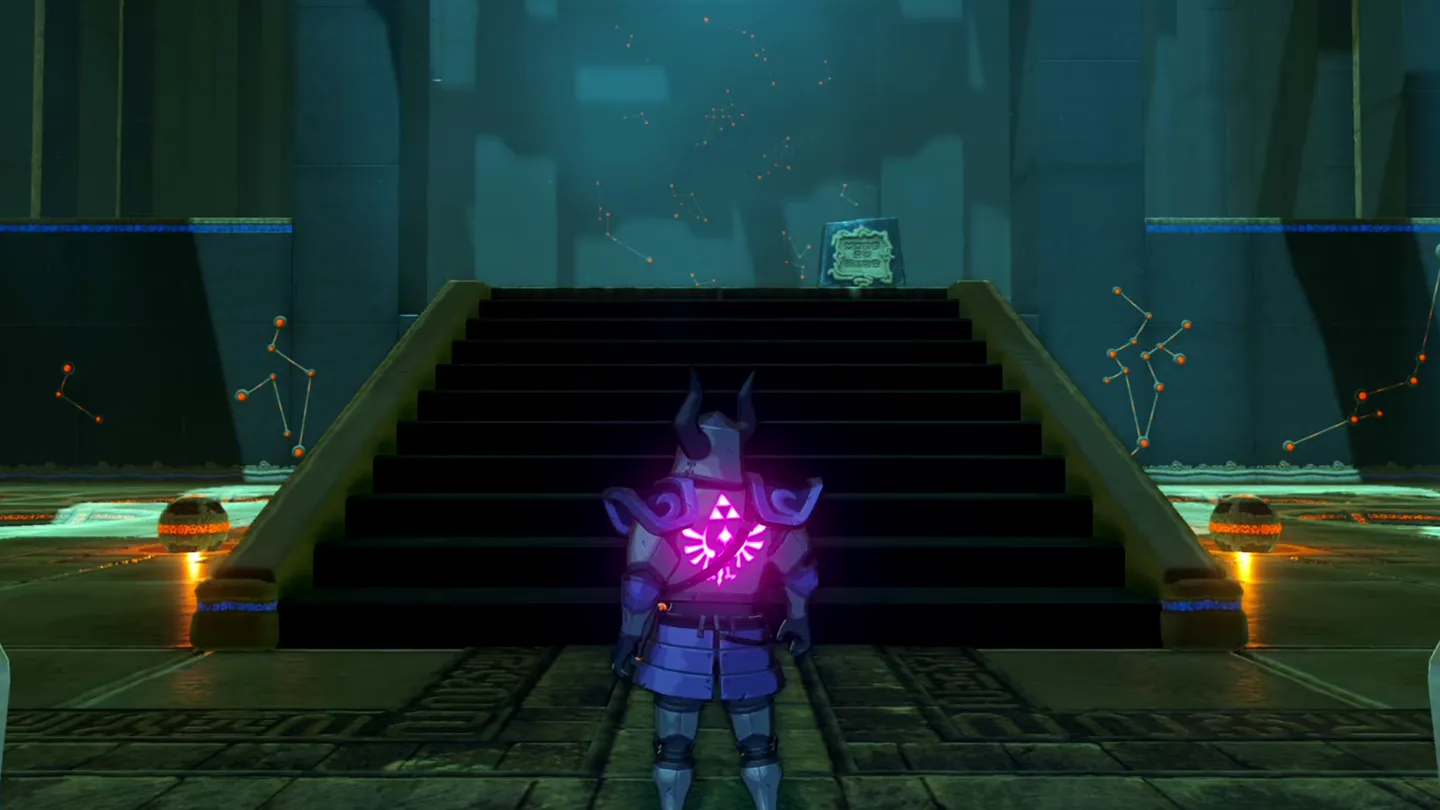
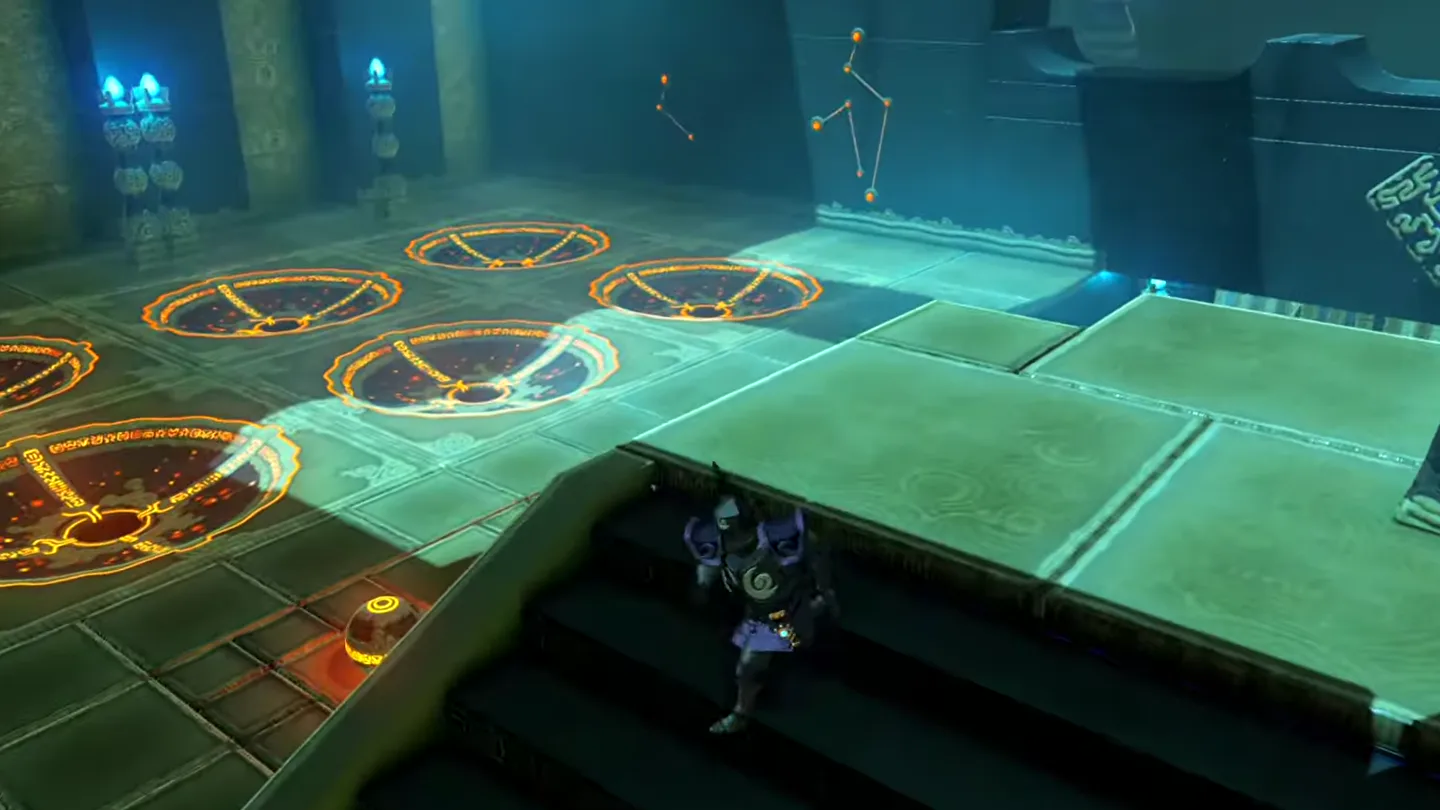
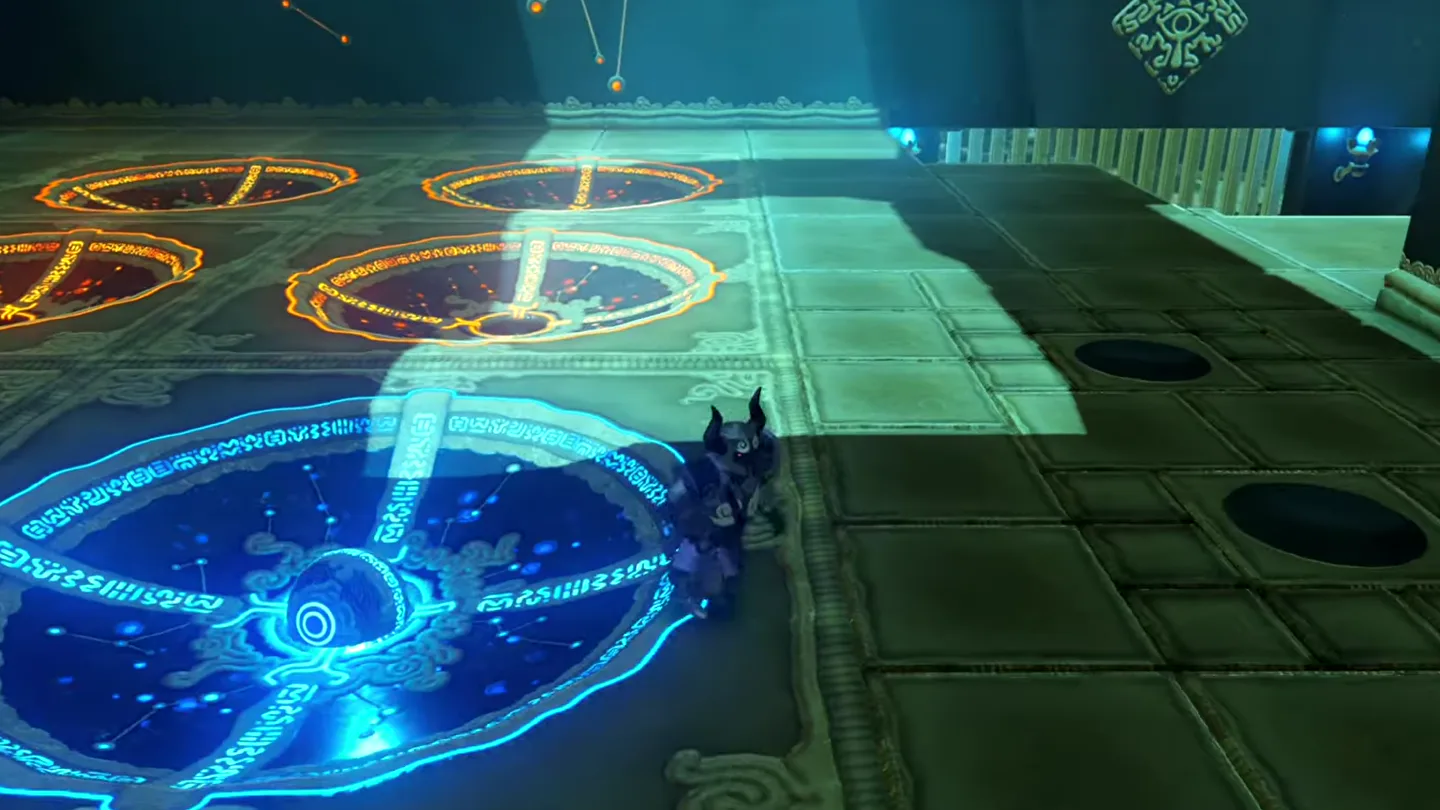
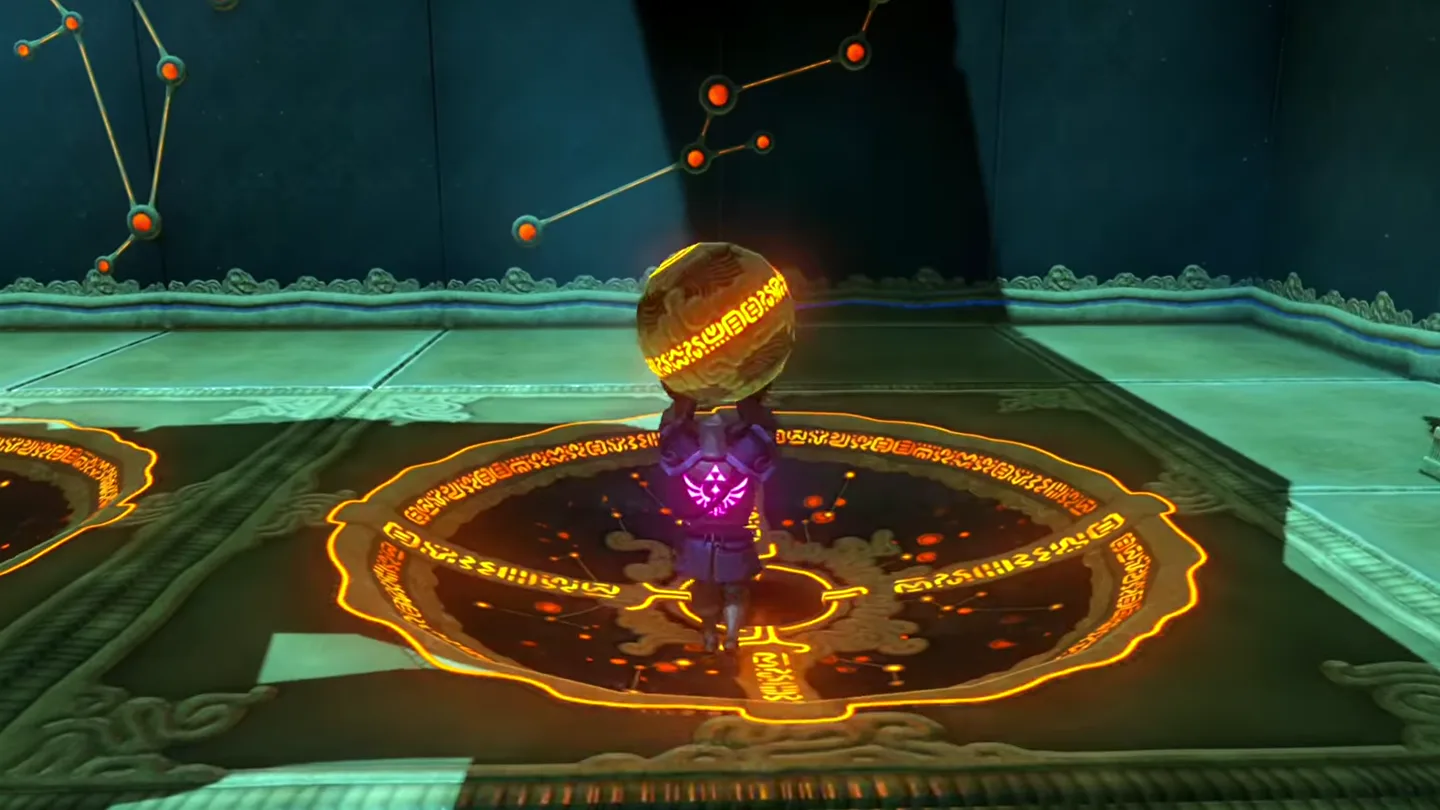
Walk in and take in the room: five concave slots across each of four rows in the floor, Ancient Orbs resting beside them, tall blue lanterns flanking the slots on each side, and a large star mural on the far wall opposite the entrance.
Read the sign near the entrance: ‘Look to the stars for guidance. The constellations are the key.’
Check the lanterns first — the number of blue lights beside each slot is what numbers the holes 1 through 5. The slot flanked by three lights is hole #3, the one beside five lights is hole #5, and so on.
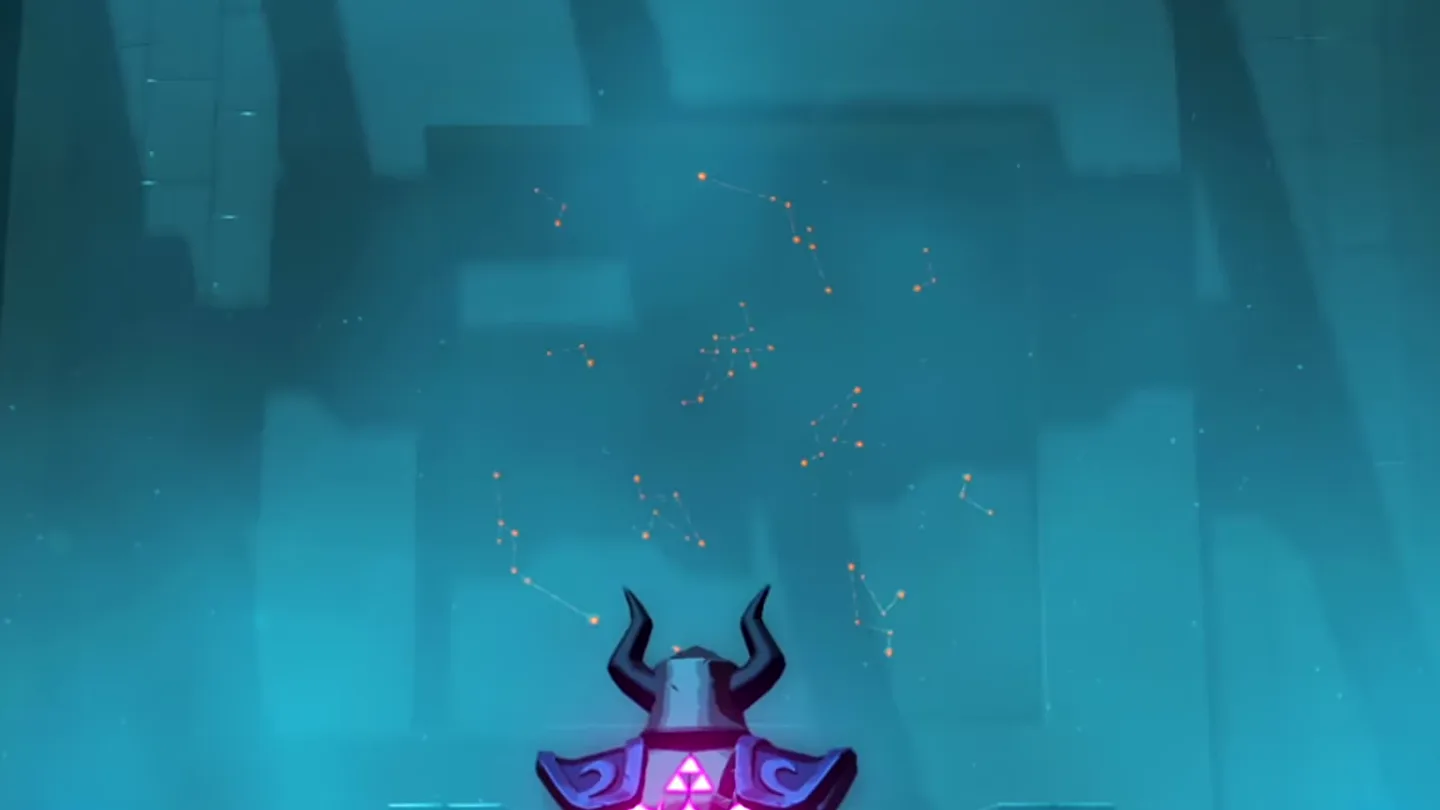
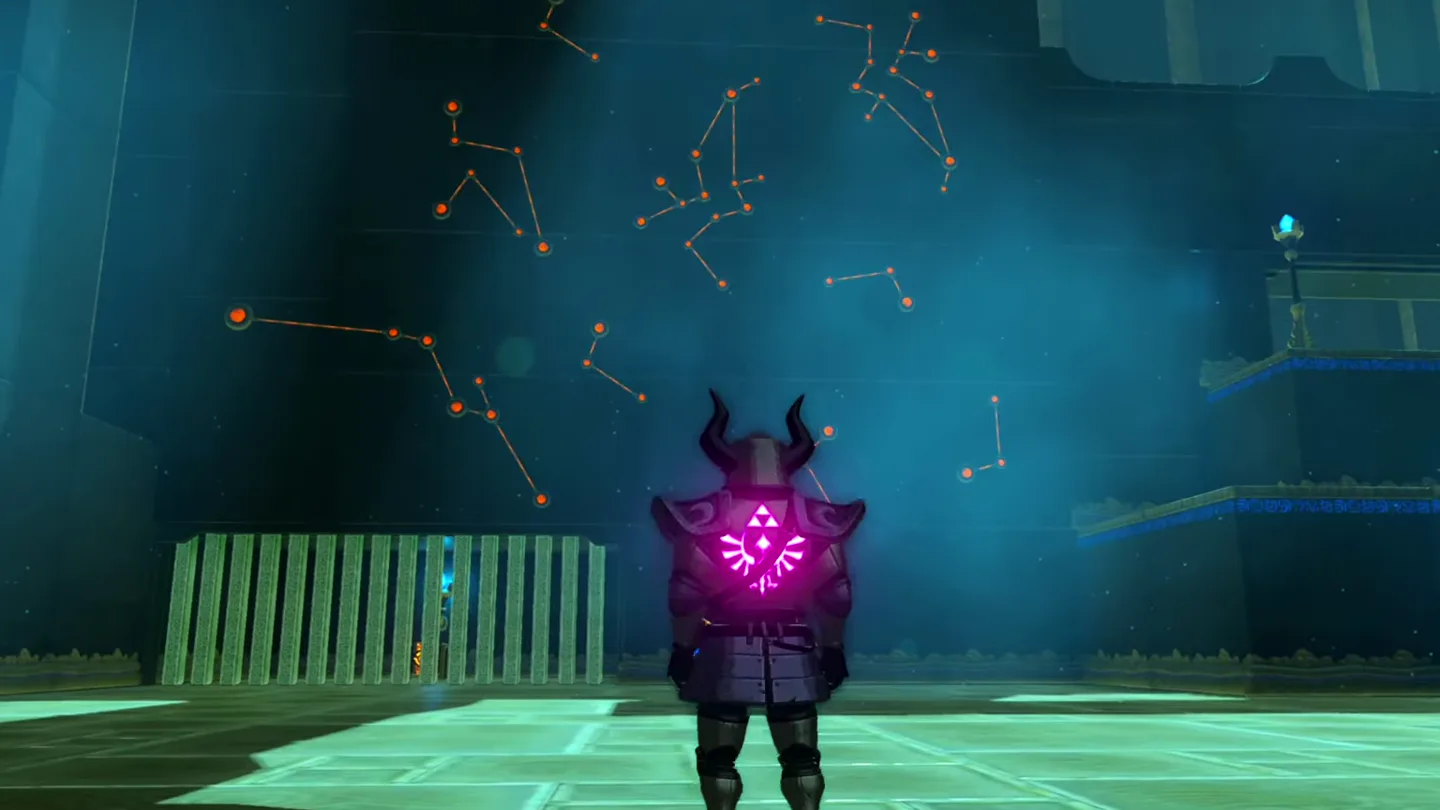
Now study the far-wall mural: it shows four distinct constellation shapes, each one repeated several times across the wall. Your job is to count each shape’s repetitions.
2. Solve the first constellation puzzle
Count every repetition of the far-left shape — it appears 5 times, so pick up an orb and drop it into the slot beside five lanterns (hole #5).
Count the center-left shape — it appears 3 times; place an orb in hole #3.
Count the center-right shape — it appears only once; place an orb in hole #1.
Count the far-right shape — it appears 2 times; place the last orb in hole #2.
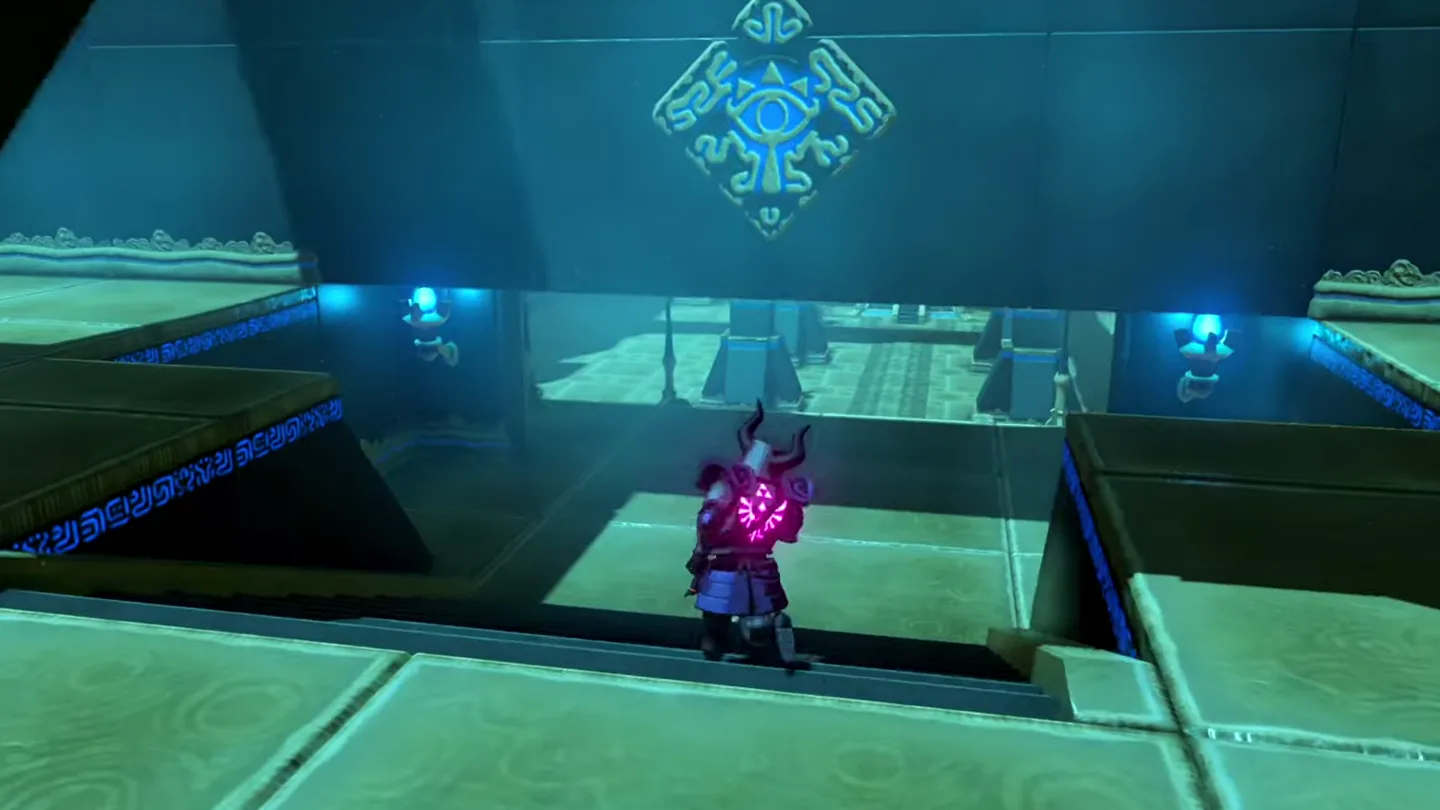
With all four orbs seated, the large portcullis blocking the Monk’s Pedestal rises permanently. Don’t rush through it just yet.
3. Solve the second constellation puzzle
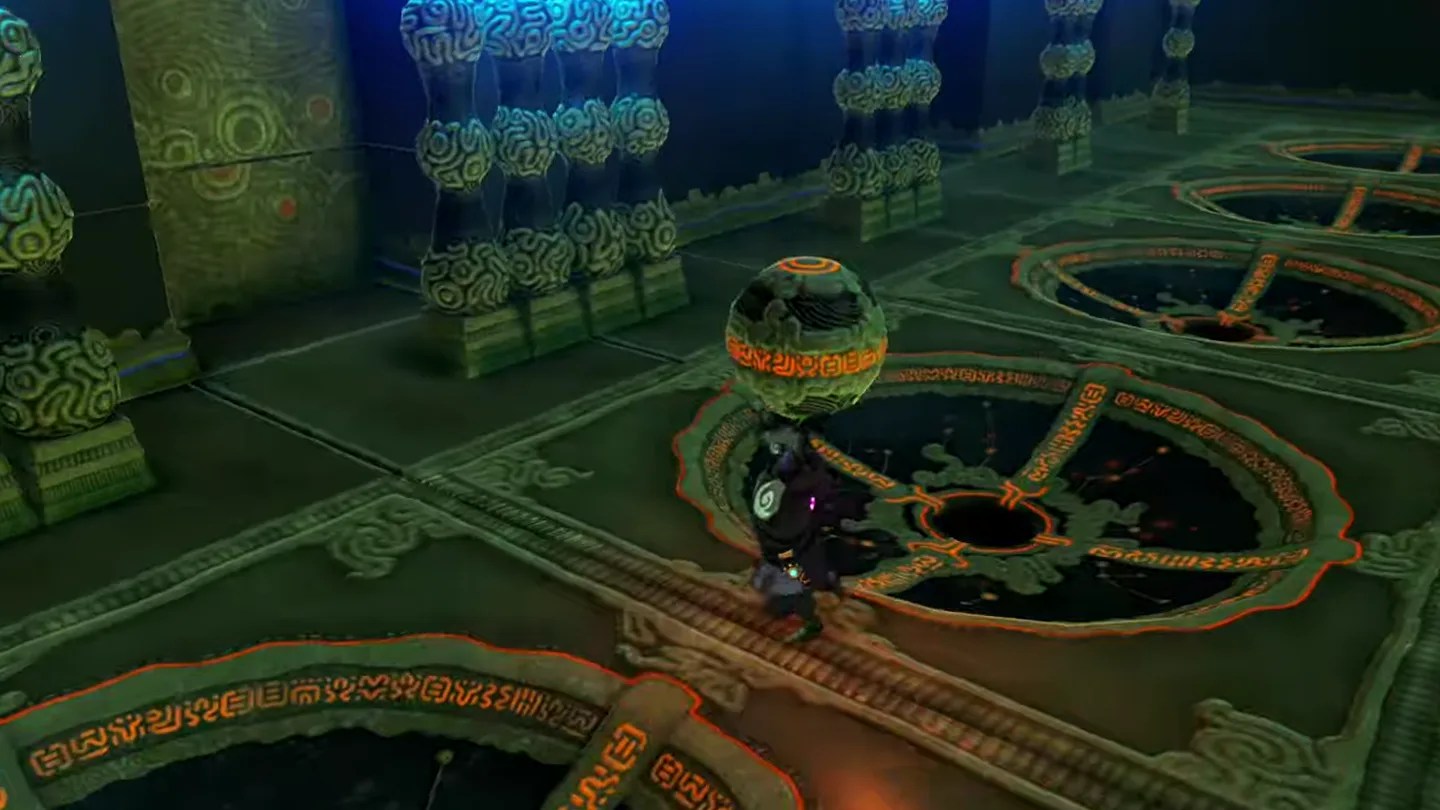
Facing the newly opened gate, look to its right: a second gate is still locked, with the treasure chamber hidden on the back side of the wall separating the front and rear of the shrine. Another constellation mural sits above that gate — the same four shapes as in the main room, but in different quantities.
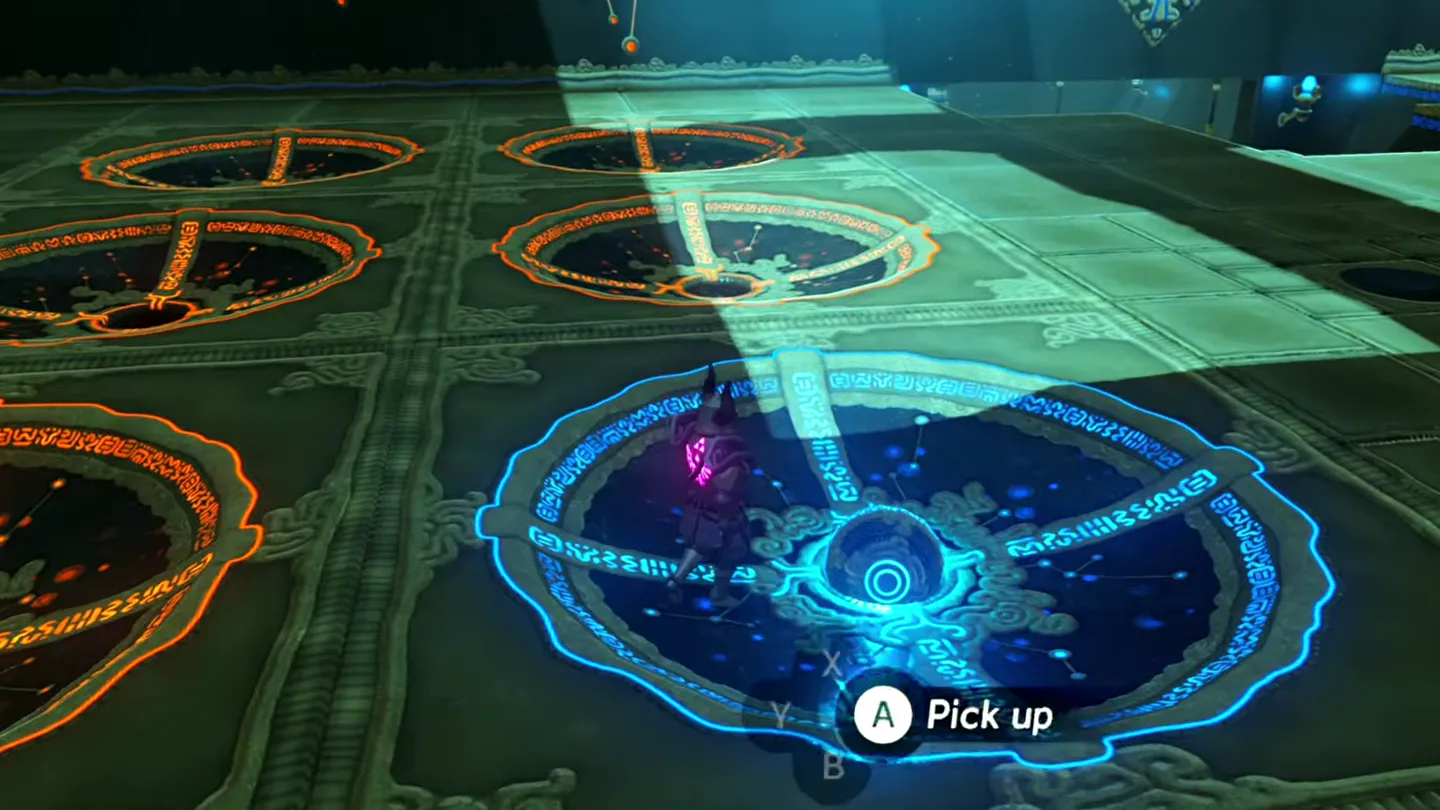
Re-count the new mural: far-left shape appears 4 times (hole #4), center-left 2 times (hole #2), center-right 2 times (hole #2 again), and far-right once (hole #1).
Pick the orbs back up and switch them to the new numbers; the treasure gate slides open.
4. Open the treasure chest
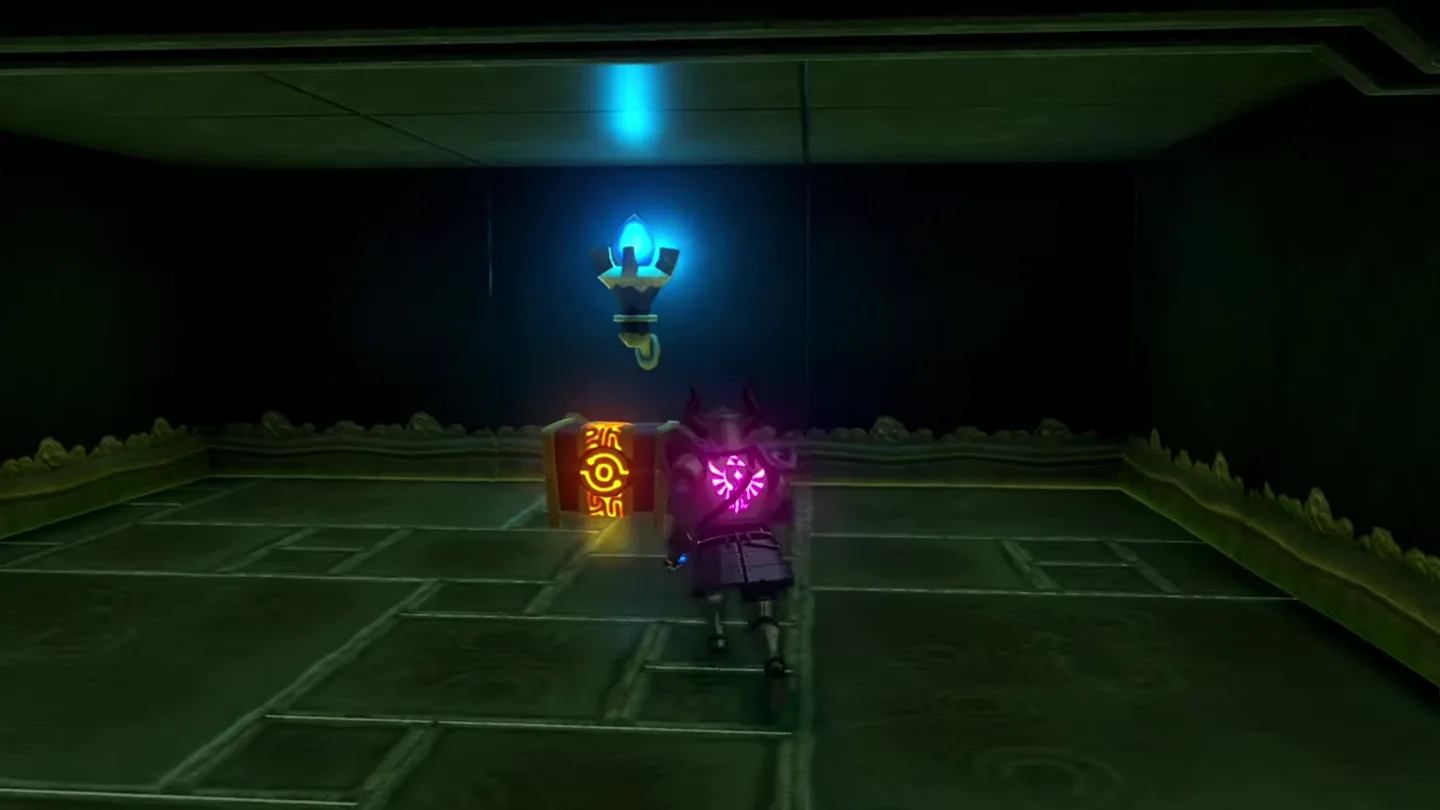
Step into the chamber and open the chest for a Knight’s Claymore.
5. Complete the trial
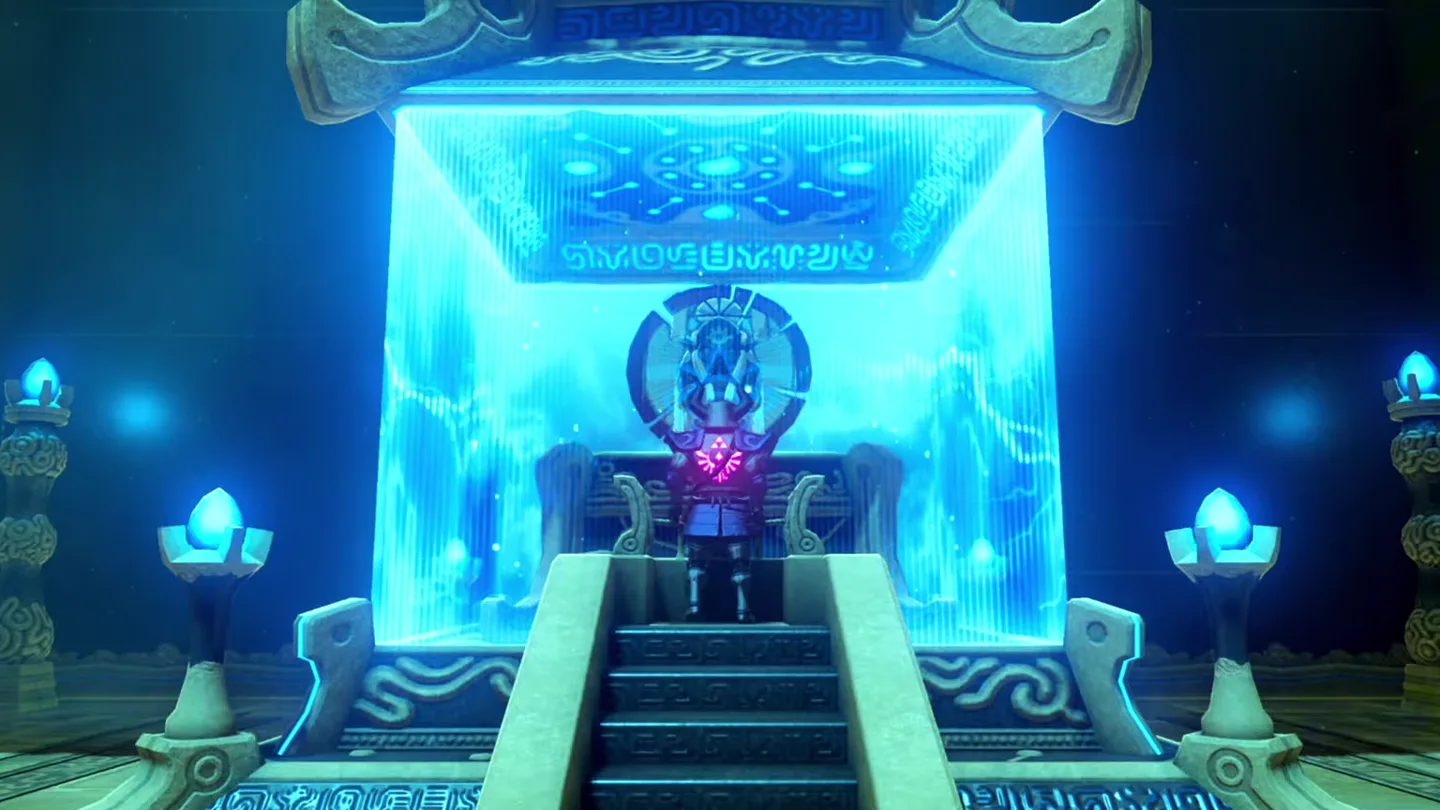
Now walk through the main gate to the Monk’s Pedestal and speak with Keo Ruug, who rewards you with a Spirit Orb for completing the trial and wishes you well before fading away.
What is in the chest?
| Chest | Contents | How to get it |
|---|---|---|
| 1 | Knight’s Claymore | Behind the second locked gate to the right of the gate you opened, in a chamber on the back side of the dividing wall. Count the alternate constellation mural above that gate (4-2-2-1 from left to right) and rearrange the orbs into the matching lantern-numbered slots to open it. |
What do people miss here?
- The chest is the big miss: it’s easy to walk straight through the open gate to the monk. The treasure gate is to the right of the one you opened, and its mural is above the gate itself — remember to look up.
- The main portcullis rises permanently once the orbs are placed, so moving them again for the chest puzzle never seals you off. You can even claim the Spirit Orb first and double back for the chest before leaving.
- You are counting repetitions, not shapes: each of the four constellations appears multiple times on the mural, and the total count — not the shape’s position on the wall — decides which hole gets the orb.
- The lanterns are the only numbering system: the blue lights beside a slot tell you its number, so count them before assuming which hole is which.
- The chest mural reuses the same four constellations with new counts — the center-left and center-right shapes now both appear twice, so two orbs end up in the #2 slots. Don’t just repeat the 5-3-1-2 solution and expect the side gate to open.
What else is nearby?
| Shrine | Direction | Straight-line distance | Region |
|---|---|---|---|
| Maag Halan Shrine | northeast | 443 | Woodland |
| Kuhn Sidajj Shrine | southwest | 505 | Woodland |
| Daag Chokah Shrine | northwest | 575 | Woodland |
Which guides help next?
FAQ
What is the Keo Ruug Shrine orb solution?
How do I open the second gate with the chest in Keo Ruug Shrine?
What's in the Keo Ruug Shrine treasure chest?
Can I still get the chest after the main gate opens or after talking to the monk?
Where exactly is Keo Ruug Shrine?
Related Articles
guides
Breath of the Wild Captured Memories: All 13 Locations and Rewards
All 12 photo locations from Zelda's album plus the 13th memory in Impa's painting, with coordinates, nearby shrines, the Champion's Tunic and the extra ending scene.
guides
Breath of the Wild Great Fairy Fountains: Locations, Costs and Horse God
Where the four Great Fairy Fountains and the Horse God Malanya are in Breath of the Wild, what each fairy costs to release, and how many you need per armor upgrade.
guides
Hyrule Castle Walkthrough: Entry Routes, Hylian Shield and Final Prep
How to get into Hyrule Castle in Breath of the Wild: five entry routes, the Hylian Shield and other loot by room, and what to prepare before the final battle.
Was this helpful?
Thanks for the feedback!