

Mo'a Keet Shrine Walkthrough: Metal Makes a Path – Breath of the Wild
Full Mo'a Keet Shrine guide: freeze boulders with Stasis, shield yourself with the iron ball, and claim the Knight's Broadsword and hidden Ruby chests.
Where is Mo’a Keet Shrine?
Mo’a Keet Shrine sits atop a cliff to the east of Foothill Stable in Eldin Canyon, southeast of Eldin Tower — from the stable, look east and up. It shares Eldin Canyon with several other Ancient Shrines (Daqa Koh, Gorae Torr, Kayra Mah, Mirro Shaz, Qua Raym, Sah Dahaj, Shora Hah and Tah Muhl), so you can sweep several in one trip.
| Item | Detail |
|---|---|
| Trial | Metal Makes a Path |
| Tower region | Eldin |
| Map-marker coordinates | 2723, 1165, 0298 |
| Shrine quest | None |
| Chests | 2 |
| Names | Mo’a Keet Shrine · 摩阿‧基希托神廟 · 摩阿·基希托神庙 |
What should you bring?
You need the Stasis and Magnesis runes (both earned on the Great Plateau) and any weapon to knock the frozen boulder aside. No special armor, elixirs, or resistances are required — the only hazards inside are the boulders and the iron ball themselves. Bomb arrows are an optional shortcut for the hidden chest, but the iron ball does the job fine.
Video walkthrough

How do you solve Mo’a Keet Shrine?
The entire trial hinges on the iron ball: Stasis gets you up the first ramp, but from there you haul the metal sphere around with Magnesis — to clear a chest run, smash a hidden ceiling, and finally bulldoze through the boulder gauntlet to the monk. The shrine stacks three floors of these ramps, each fed by a chute that drops boulders down into the lava, and performing a trick incorrectly can knock you off the path, so pay attention to the positioning.
1. Climb the First Ramp
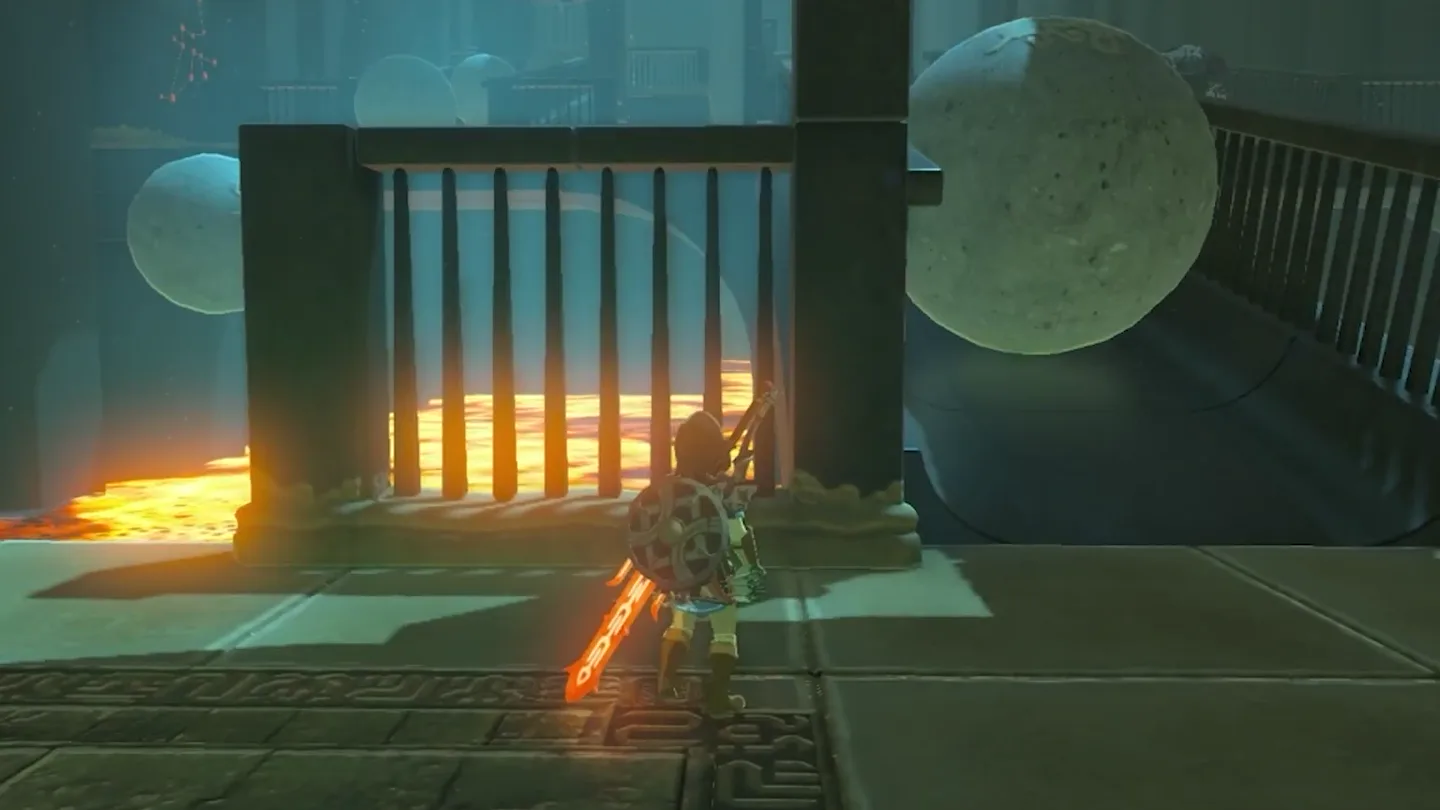
Step inside — the Monk Mo’a Keet greets you — and look to your right: a ramp climbs upward while a stone boulder drops from a chute at the top, rolls down, and plunges into the lava below. The shrine is three floors of ramps like this, and a fresh boulder drops as soon as the last one is gone.
Use Stasis on the boulder as it comes down the ramp (it rolls fast, so the button timing can take a few tries), then hit the suspended boulder with any weapon to knock it away and run up safely.
Prefer not to swing at it? Freeze the boulder the instant it drops from the chute, before it lands, and simply run underneath while it hangs in the air.
2. Get the Iron Ball and Clear the Left Ramp
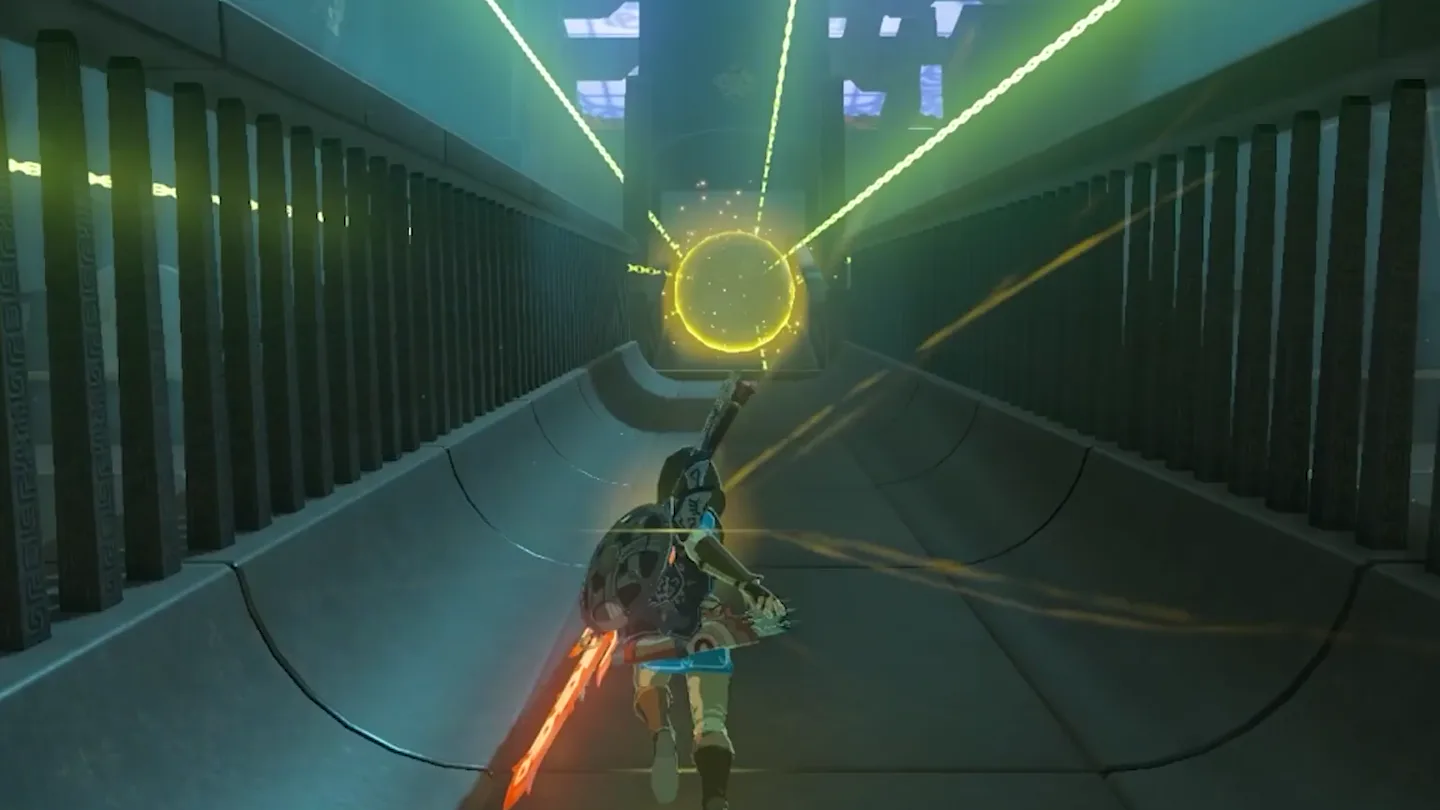
At the top, go slightly right to the next ramp: the second platform splits into two ramps. The left one (which leads to the monk) has three boulders rolling down in a row, while the right one has a single iron ball cycling down it.
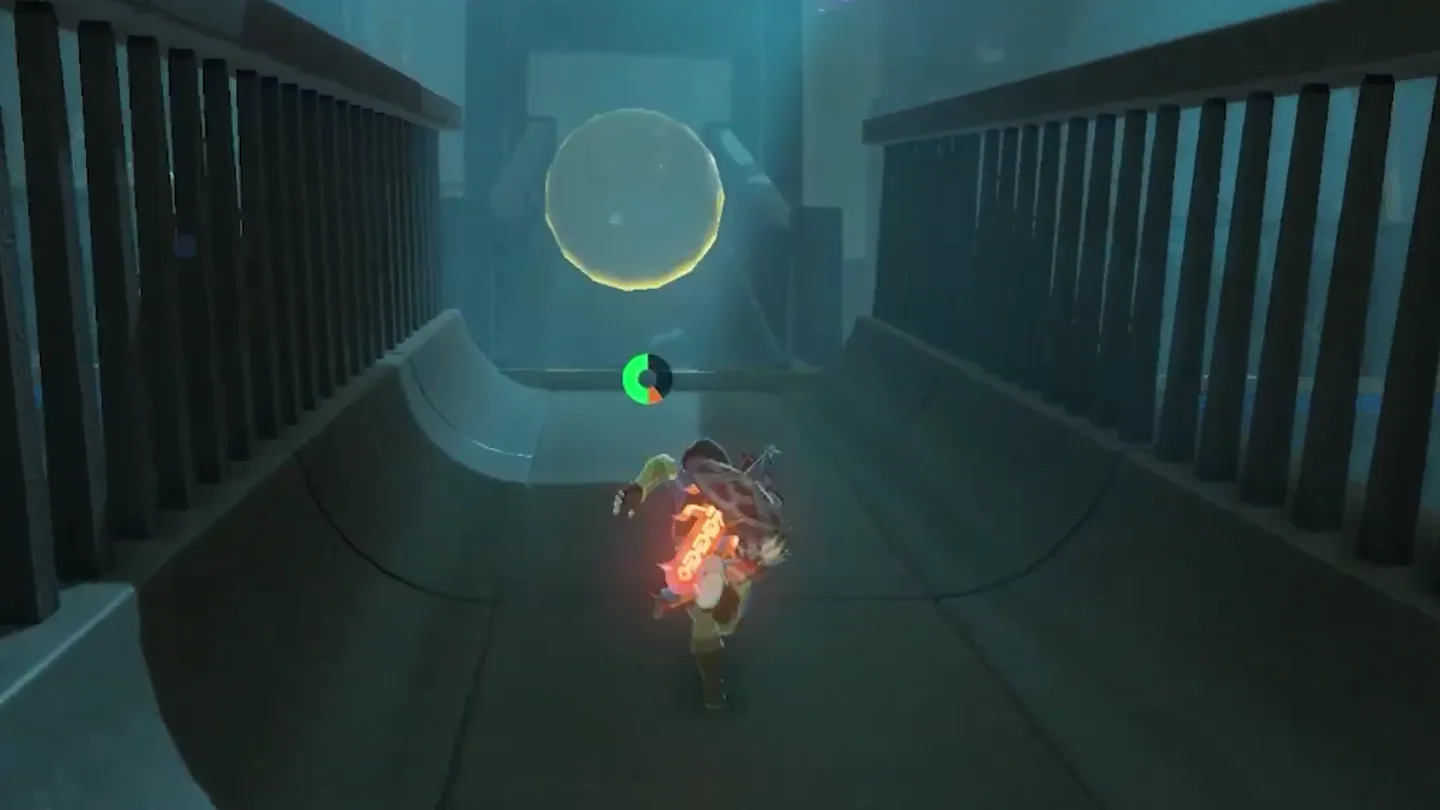
Stand at the bottom of the right ramp, directly in the iron ball’s path so your Magnesis doesn’t miss. Magnesis needs a beat to reach out, so lock onto the ball just before it gets to you — hesitate and it will crush you.
Swing the iron ball off to the side and set it down gently, somewhere it won’t roll away — you’ll need it twice more.
Run up the now-cleared right ramp and open the chest there for a Knight’s Broadsword.
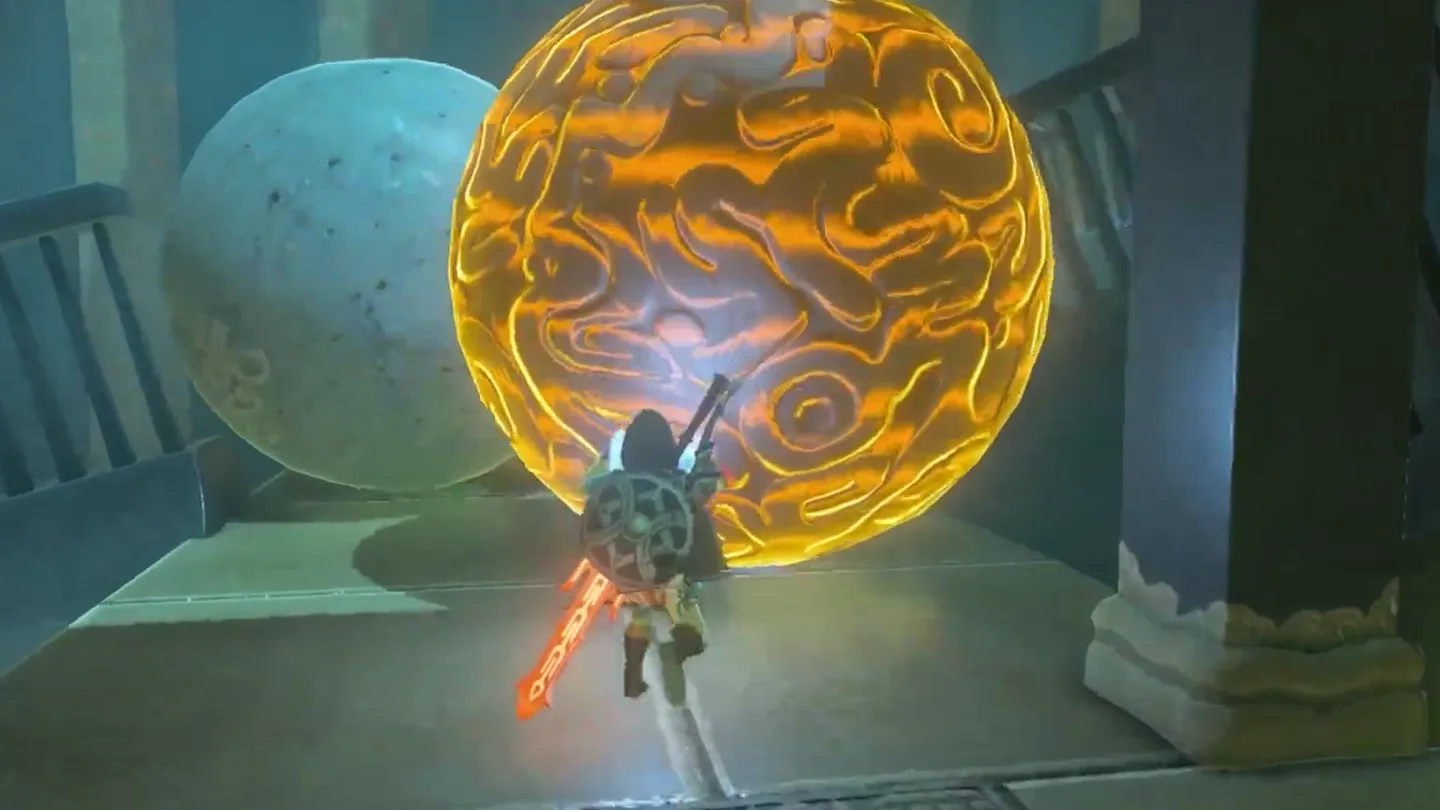
Pick the iron ball back up with Magnesis and carry it back toward the entrance, holding it in front of you as a shield so the first ramp’s boulder hits it instead of you.
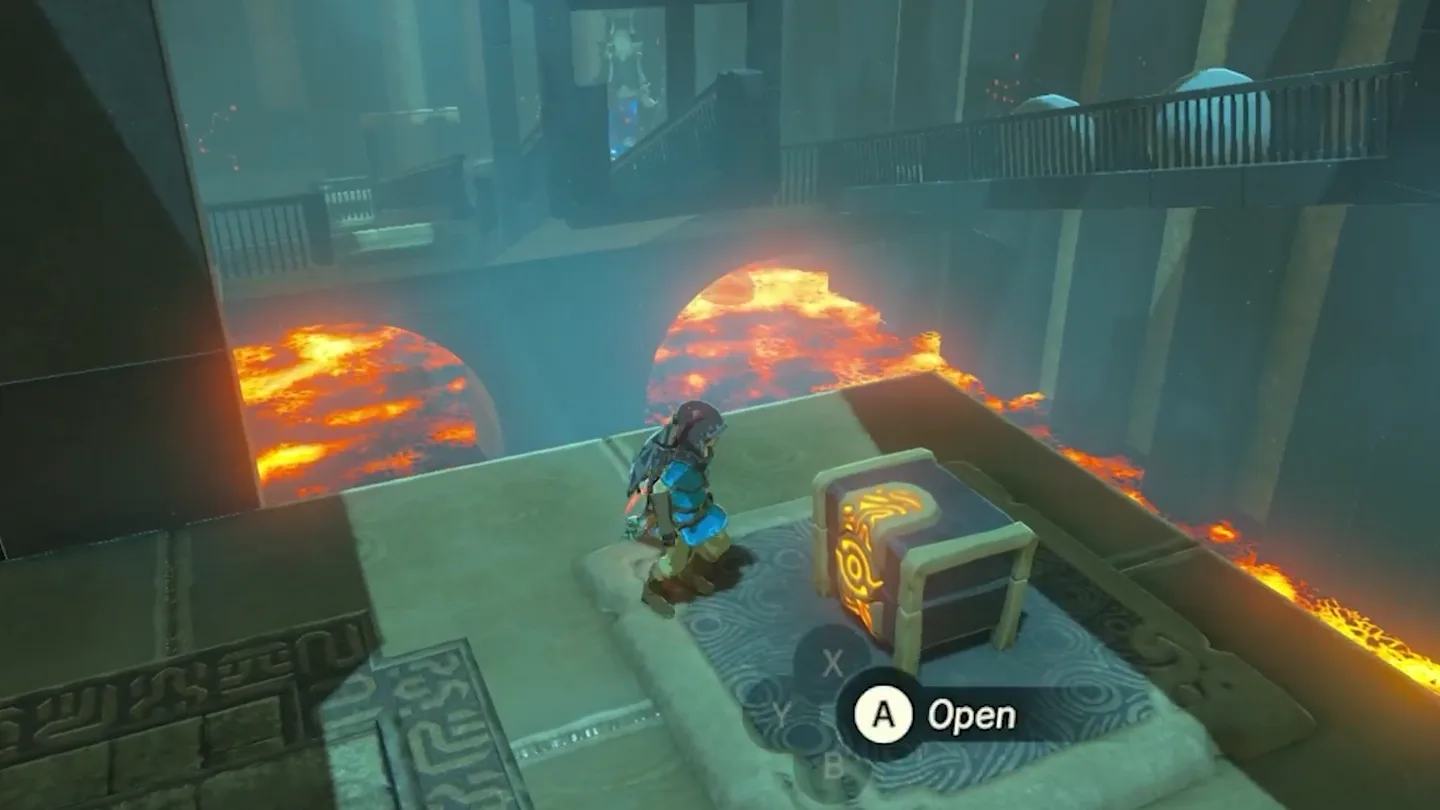
Just inside the entrance, look at the ceiling above the arrangement of four tiles (on your right as you face into the shrine): four cracked blocks there conceal a chest in a hidden recess.
Slam the iron ball into the cracked blocks with Magnesis until they shatter and the chest comes down. Open it for a Ruby — bomb arrows work too if you have them.
Haul the iron ball back up to the second platform (shielding yourself with it on the first ramp again), then take the left ramp, where the boulders continually roll down.
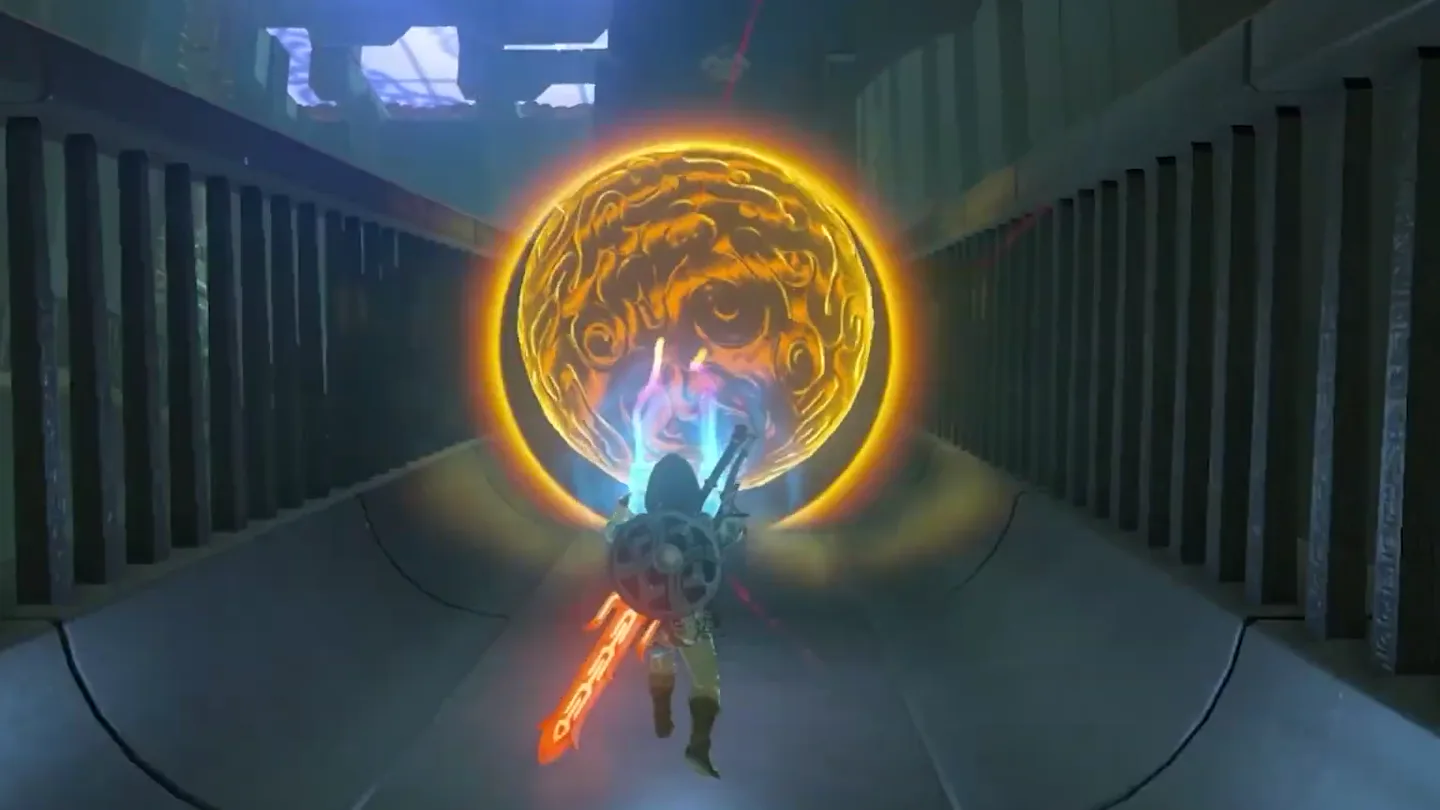
Hold the iron ball far out in front of you — not close to your body — and walk up the left ramp, letting the ball meet each boulder and shove it aside into the monk’s chamber before it ever reaches you. That pushing shield is the ‘metal makes a path’ the trial is named for.
3. Receive the Spirit Orb
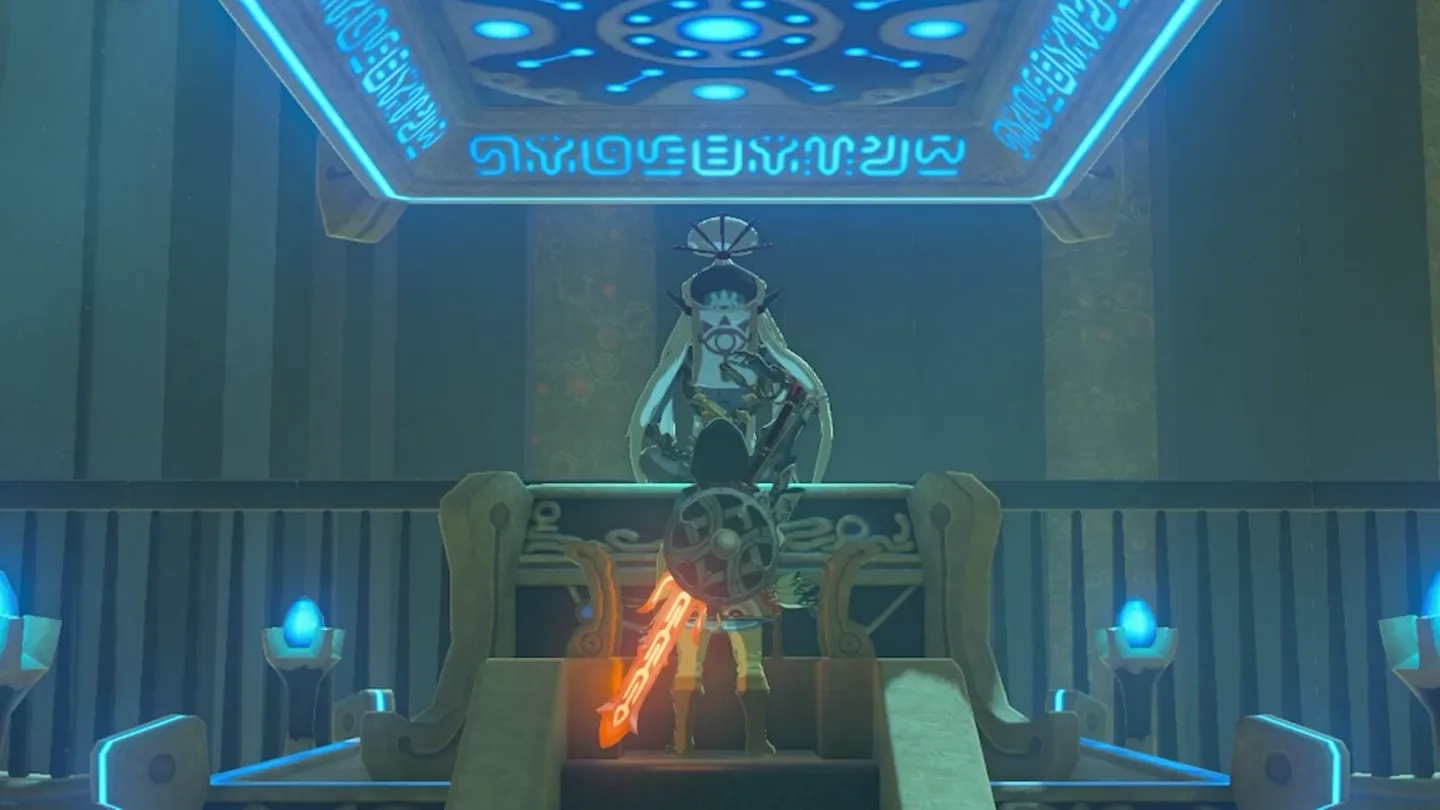
At the top of the left ramp is the monk’s pedestal: talk to Mo’a Keet — he commends your resourcefulness, bestows a Spirit Orb, wishes you well, and fades away.
What is in each chest?
| Chest | Contents | How to get it |
|---|---|---|
| 1 | Knight’s Broadsword | On the right-hand ramp of the second platform — the one the iron ball rolls down. Stand directly in the ball’s path, grab it with Magnesis as it comes at you, park it gently to the side, then run up the empty ramp to the chest. |
| 2 | Ruby | Hidden in a recess behind four cracked ceiling blocks near the entrance, above the four-tile pattern. Carry the iron ball there with Magnesis and slam it through the blocks to knock the chest loose (bomb arrows also work). |
What do people miss here?
- The Ruby chest sits in a hidden recess and is completely invisible until you break the ceiling — four cracked blocks near the entrance hide it, and most players walk right underneath it.
- Don’t skip the iron-ball ramp on the second platform thinking it’s pure hazard — the Knight’s Broadsword chest sits at the top of it.
- When you set the iron ball down, do it gently and well to the side. You need it twice more (the hidden chest and the final ramp), so don’t let it roll away from you.
- On the final left ramp, the classic mistake is holding the ball too close to your body — you get knocked off the path along with the boulders. Distance is the entire trick; push it out as far in front of you as you can.
- If the first ramp keeps flattening you, remember the alternative: Stasis the boulder at the chute before it lands and simply run under it, no weapon swing needed.
What else is nearby?
| Shrine | Direction | Straight-line distance | Region |
|---|---|---|---|
| Sah Dahaj Shrine | north | 418 | Eldin |
| Tah Muhl Shrine | southwest | 477 | Eldin |
| Ze Kasho Shrine | northeast | 588 | Akkala |
Which guides help next?
FAQ
How do I get past the boulders in Mo'a Keet Shrine?
Where is the hidden chest in Mo'a Keet Shrine?
Where do I find the Knight's Broadsword chest?
Can I use Stasis instead of the iron ball on the last ramp?
Do I need any special gear or armor for Mo'a Keet Shrine?
Related Articles
guides
Breath of the Wild Captured Memories: All 13 Locations and Rewards
All 12 photo locations from Zelda's album plus the 13th memory in Impa's painting, with coordinates, nearby shrines, the Champion's Tunic and the extra ending scene.
guides
Breath of the Wild Great Fairy Fountains: Locations, Costs and Horse God
Where the four Great Fairy Fountains and the Horse God Malanya are in Breath of the Wild, what each fairy costs to release, and how many you need per armor upgrade.
guides
Hyrule Castle Walkthrough: Entry Routes, Hylian Shield and Final Prep
How to get into Hyrule Castle in Breath of the Wild: five entry routes, the Hylian Shield and other loot by room, and what to prepare before the final battle.
Was this helpful?
Thanks for the feedback!