Some terrain tiles could not load. Switch to the coordinate grid or retry.
Start at the base of Great Plateau Tower. After you descend, the Old Man leads you to a nearby hill and points out the glowing shrine across a small lake. Use that visible building as your destination. For the wider area, open the BotW shrine location table.
Item
Detail
Trial
Magnesis Trial
Tower region
Great Plateau
Map-marker coordinates
-0672, -1514, 0186
Type
Magnesis tutorial puzzle; not a Test of Strength
Shrine quest
None
Chests
1
English name
Oman Au Shrine
Traditional Chinese name
瑪‧奧努神廟
Simplified Chinese name
玛·奥努神庙
What should you bring?
Nothing special is required: Magnesis is unlocked at the pedestal inside the shrine itself, so no rune, armor, or resistance is needed beforehand — just arrive with the Sheikah Slate. Do carry any weapon, because a Guardian Scout I must be fought inside; it has very little health, so even an early find like a Bokoblin Club is enough. This shrine is part of the Great Plateau main-quest progress and is normally visited right after the Old Man points it out from the tower.
Magnesis is obtained inside. The route uses it to move metal objects, including the floor panels, wall block, bridge, chest and doors.
1. Obtain the Magnesis Rune
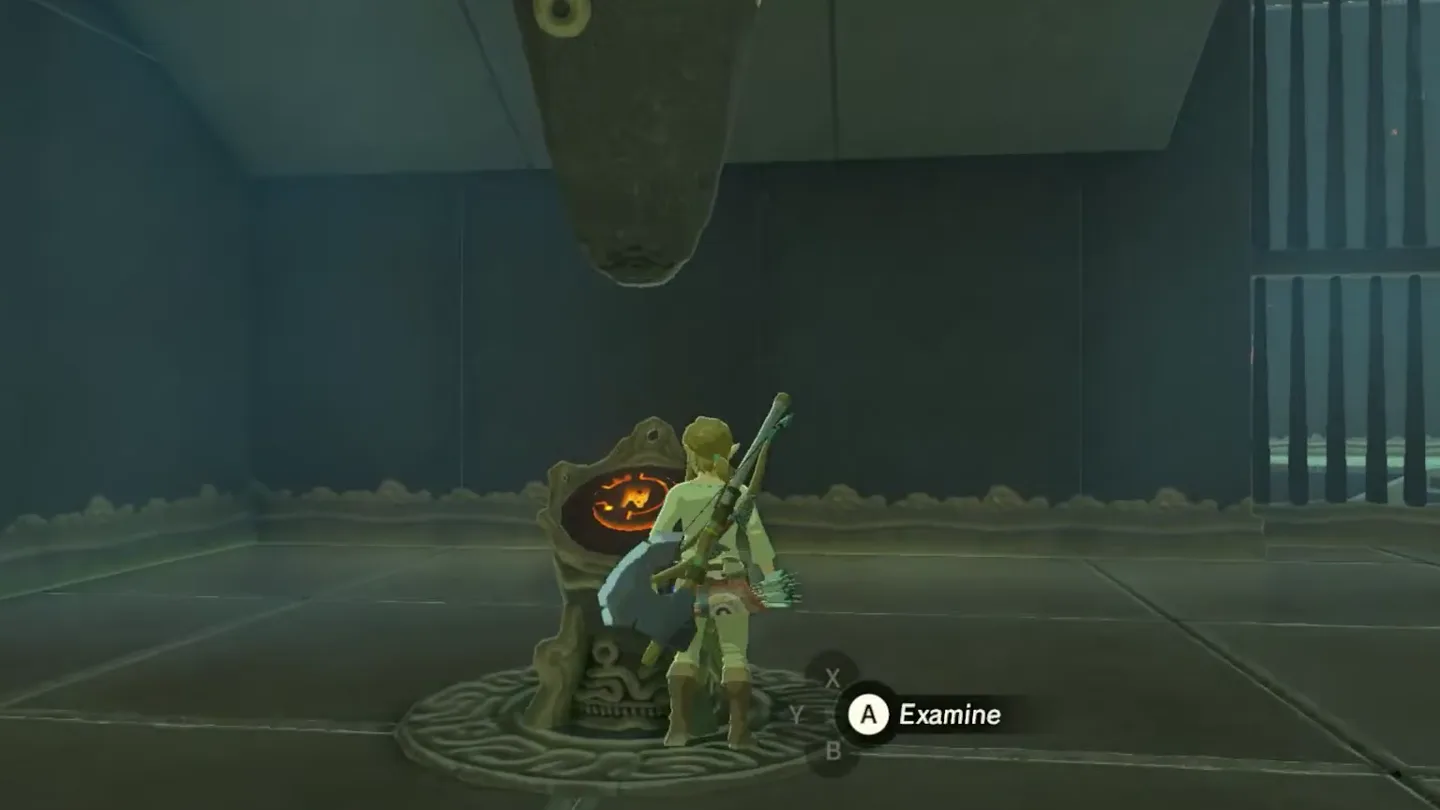
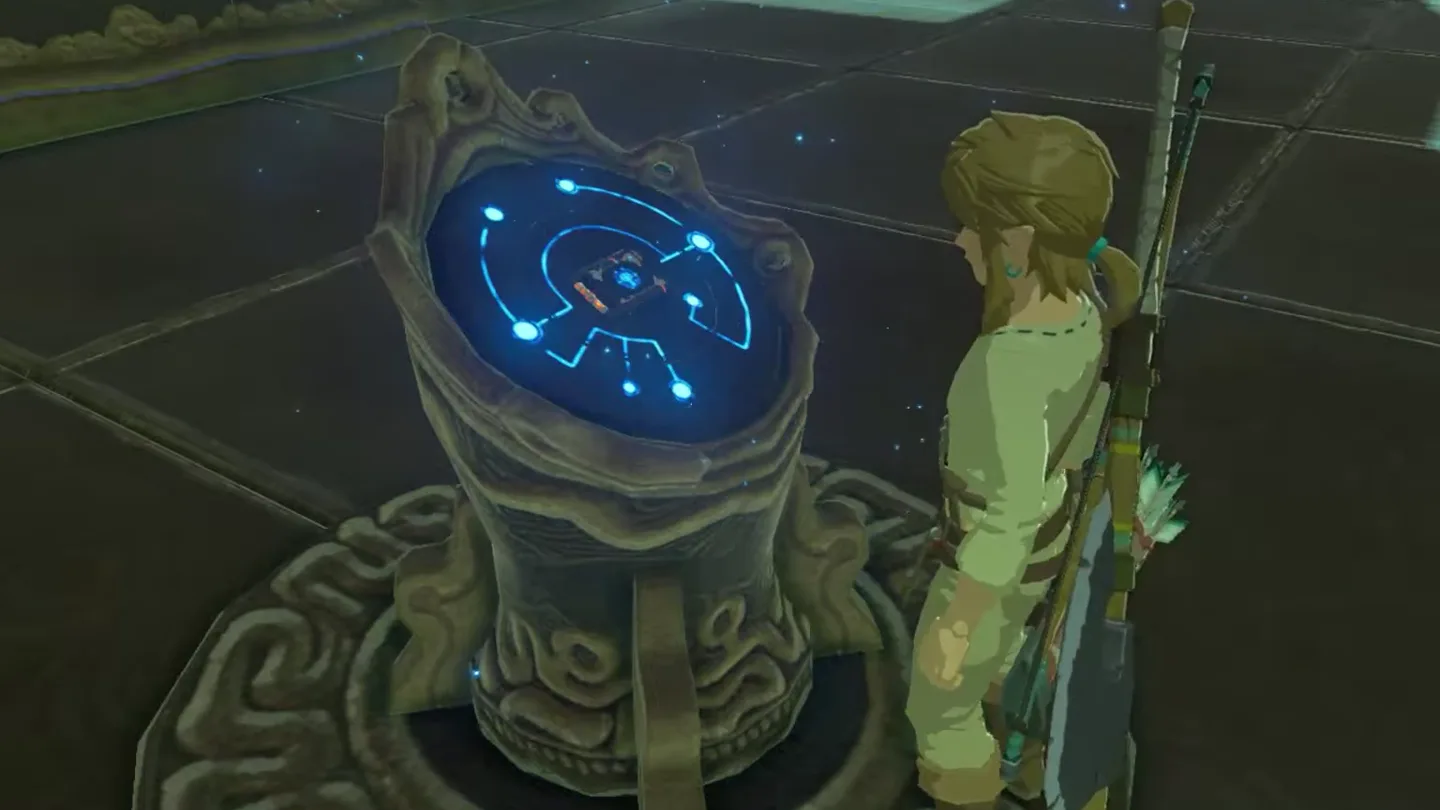
Collect Magnesis. Interact with the pedestal in the corner of the entrance chamber using the Sheikah Slate.
Use the pedestal ① in the corner of the entrance room to get Magnesis. Screenshot (cropped) from Proximus Gaming
· CC BY When the pedestal turns blue, Magnesis is on your Sheikah Slate. Screenshot (cropped) from Proximus Gaming
· CC BY
2. Clear the Blocked Passage
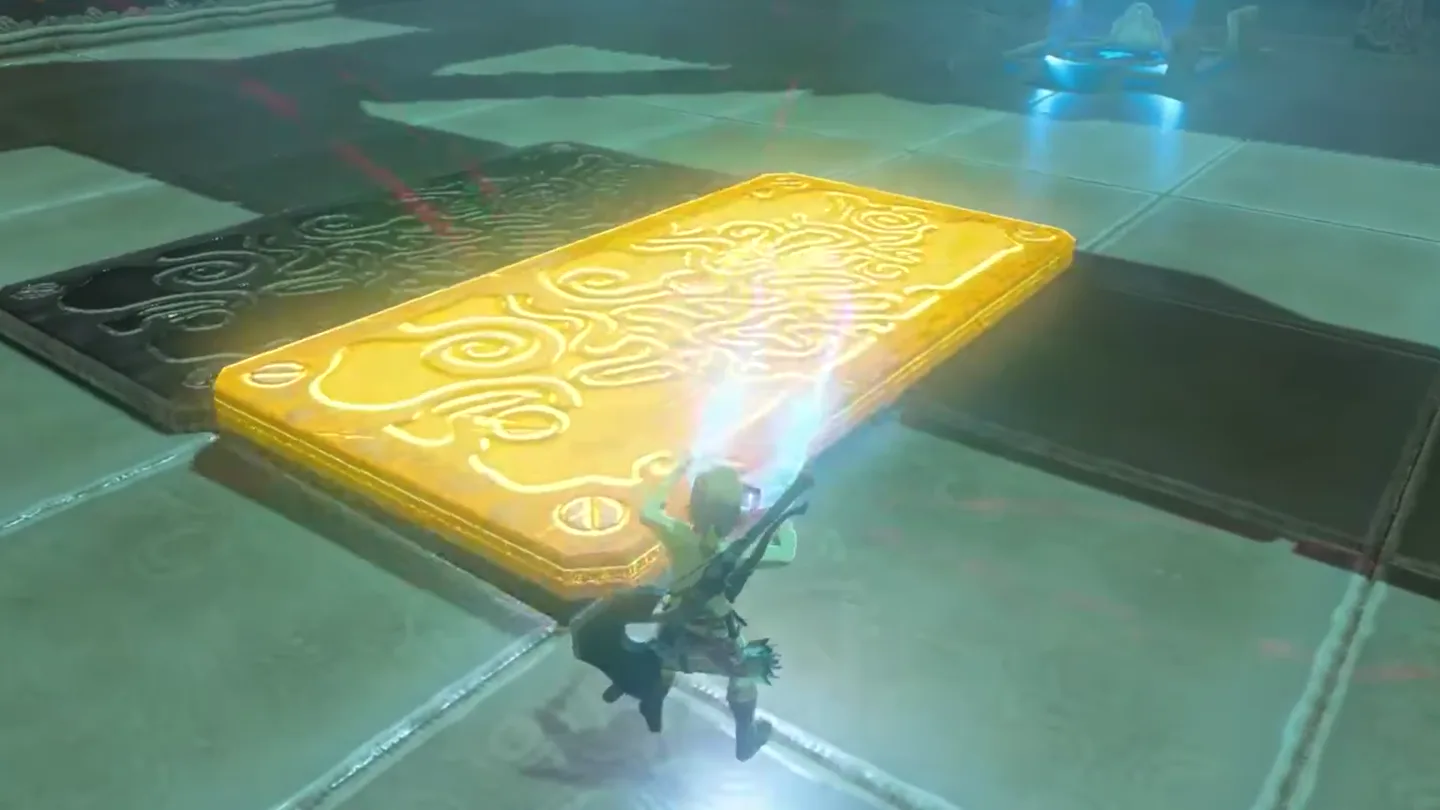
Uncover the passage. Lift the metal floor panels with Magnesis, then follow the passage underneath into the next chamber.
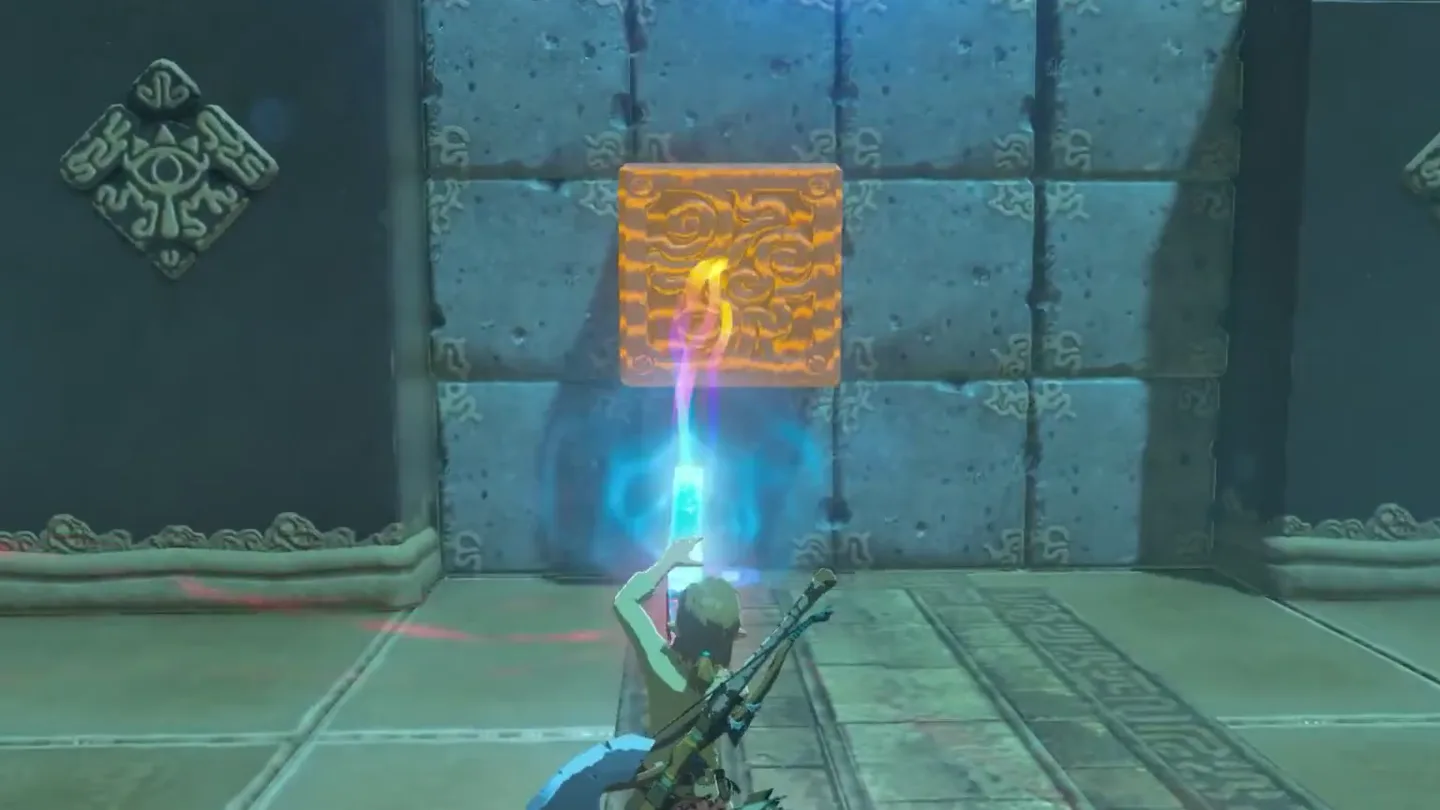
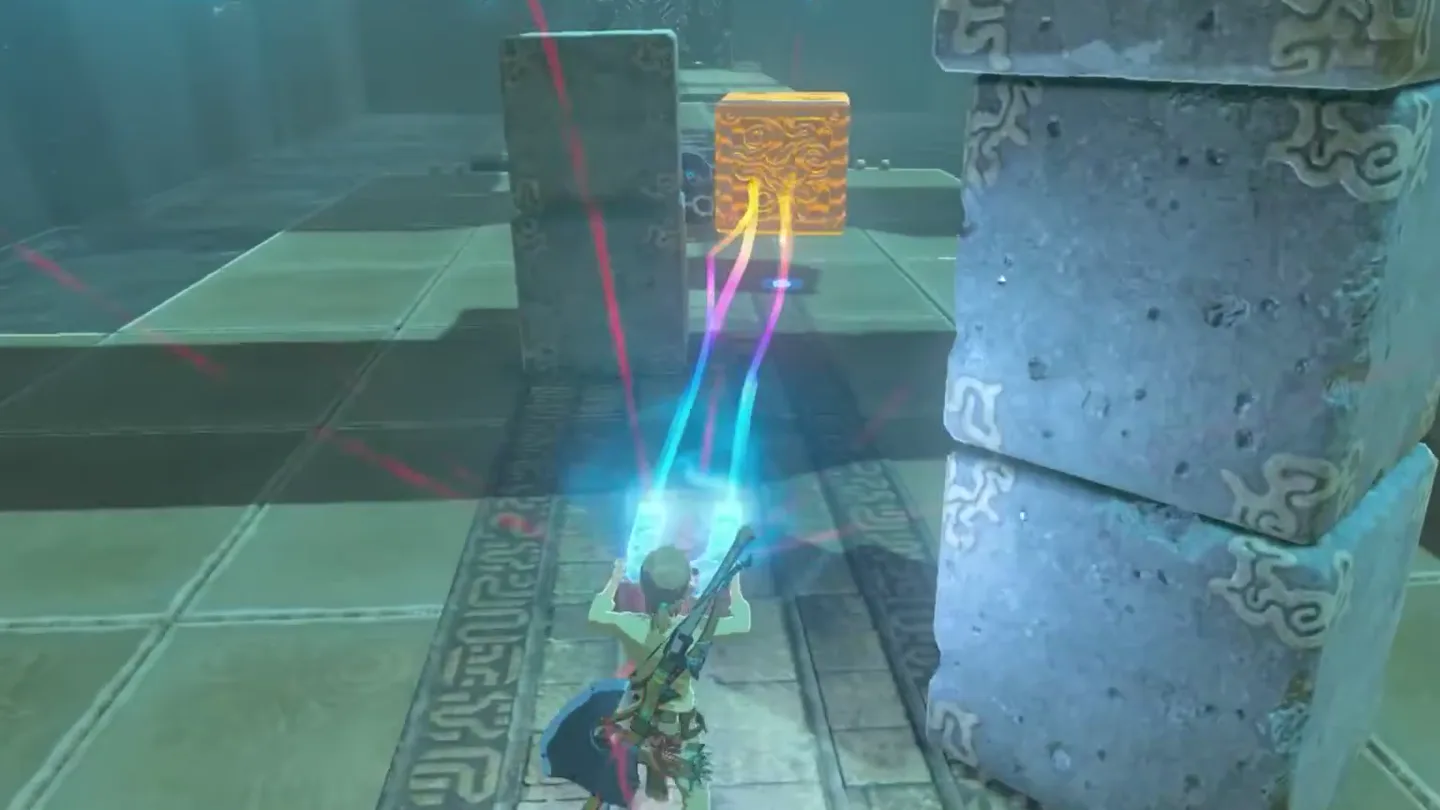
Break through the block wall. Pull out its metal cube and use that cube to push the stone blocks out of your way.
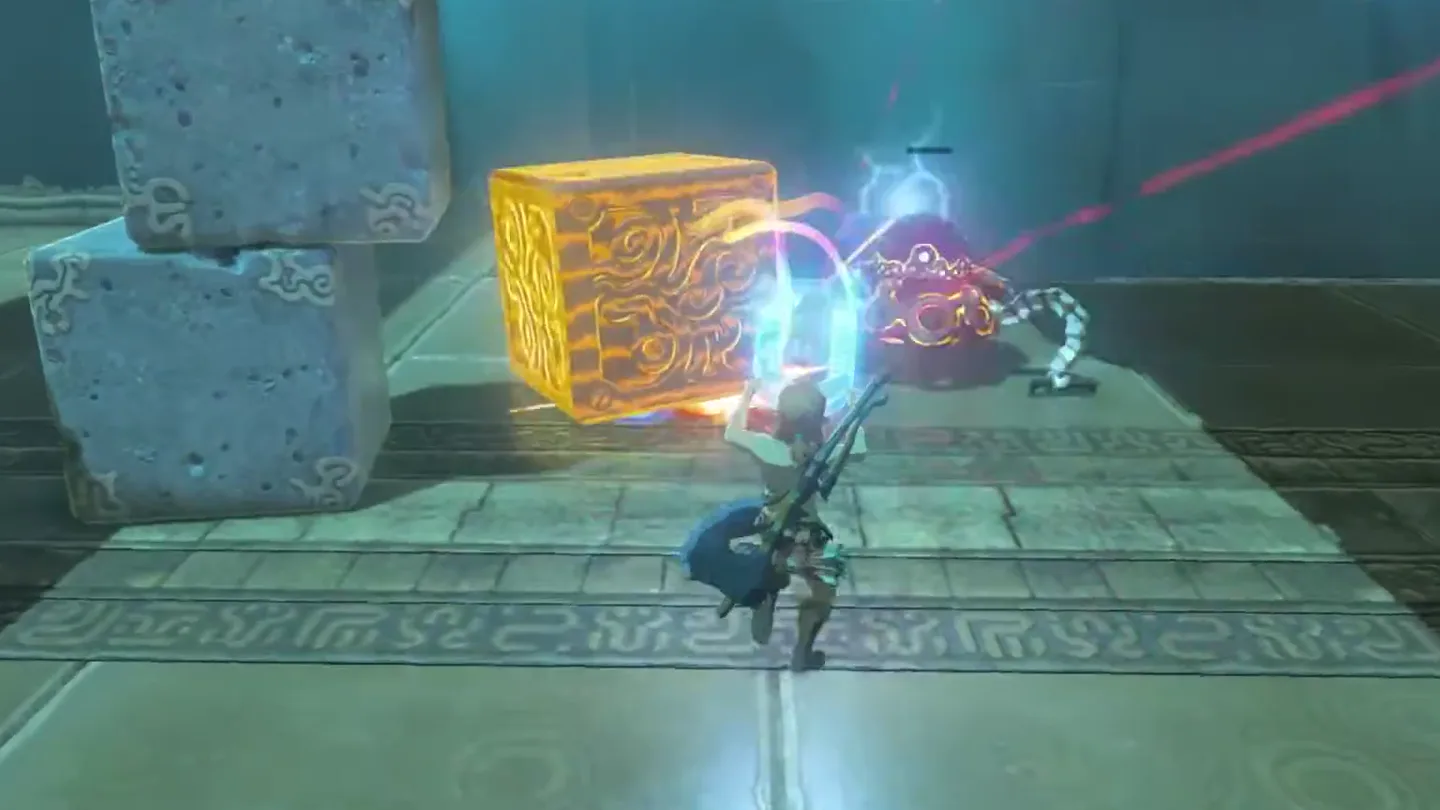
Deal with the Guardian Scout I. It fires beams from beyond the wall. You can use Magnesis to move the metal cube into it and inflict damage before continuing.
Lift metal plate ① off the floor with Magnesis to open the passage below. Screenshot (cropped) from Proximus Gaming
· CC BY Pull metal cube ① out of the wall with Magnesis. Screenshot (cropped) from Proximus Gaming
· CC BY Swing cube ① into the stone blocks ② to knock them down. Screenshot (cropped) from Proximus Gaming
· CC BY Ram the Guardian Scout ② with cube ① until it breaks. Screenshot (cropped) from Proximus Gaming
· CC BY
3. Bridge the Gaps with the Metal Slab
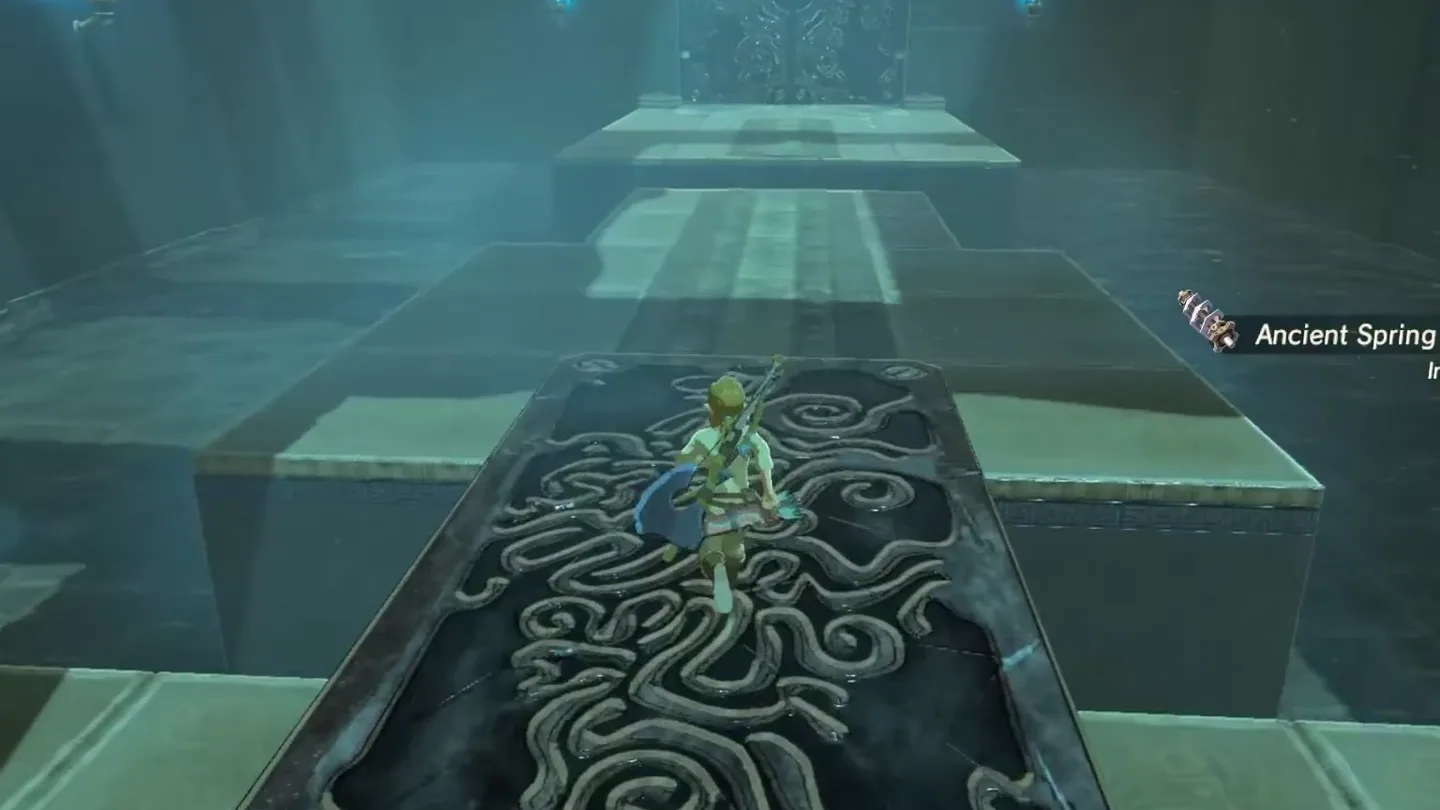
Cross the existing bridge. Walk over the metal slab to the middle platform before picking it up.
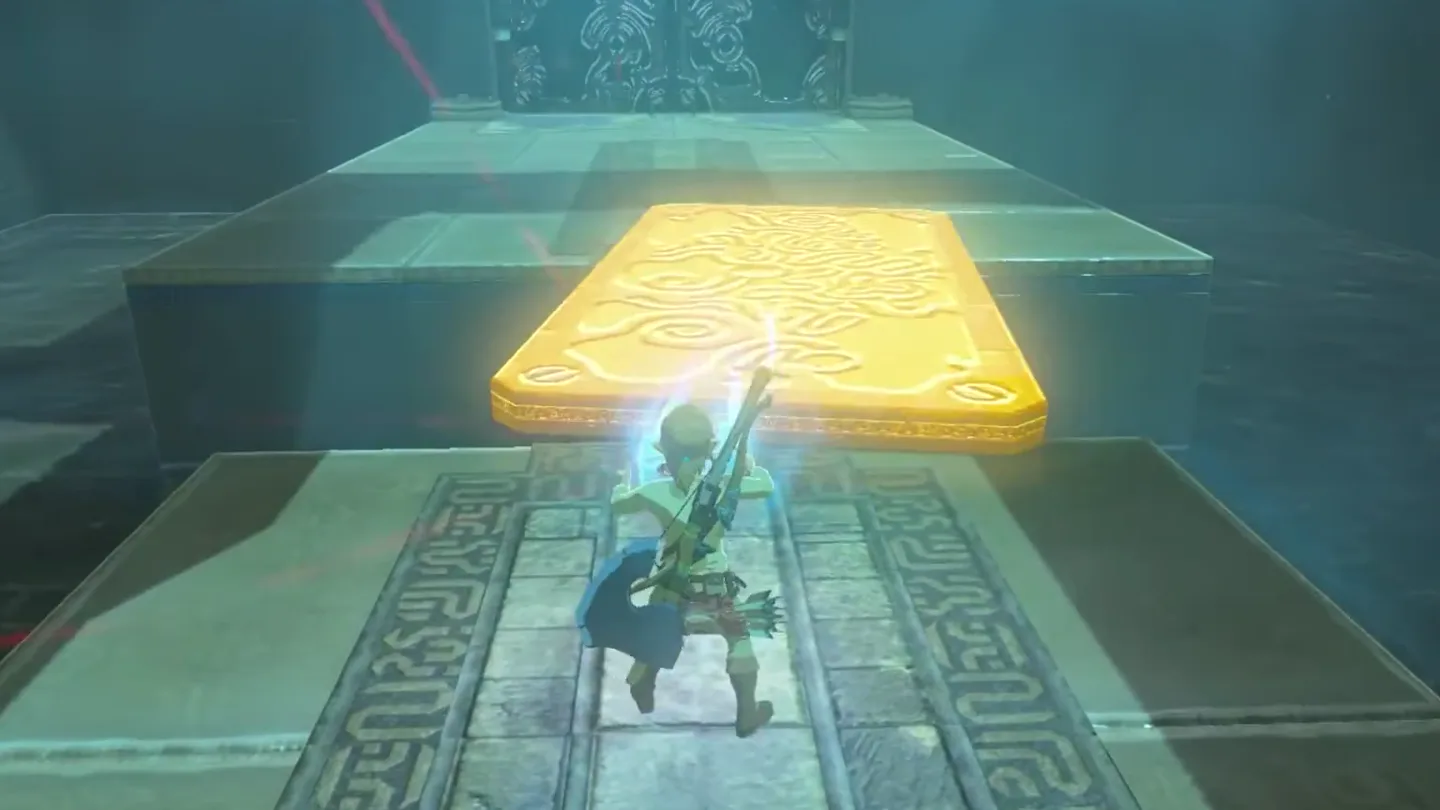
Reuse the bridge ahead. From the middle platform, grab the slab behind you with Magnesis and lay it across the remaining gap to the door platform. Walk across.
Walk across the slab bridge to the middle platform first. Screenshot (cropped) from Proximus Gaming
· CC BY From the middle, carry slab ① forward and lay it across the gap to the door platform. Screenshot (cropped) from Proximus Gaming
· CC BY
4. Open the Doors and Complete the Trial
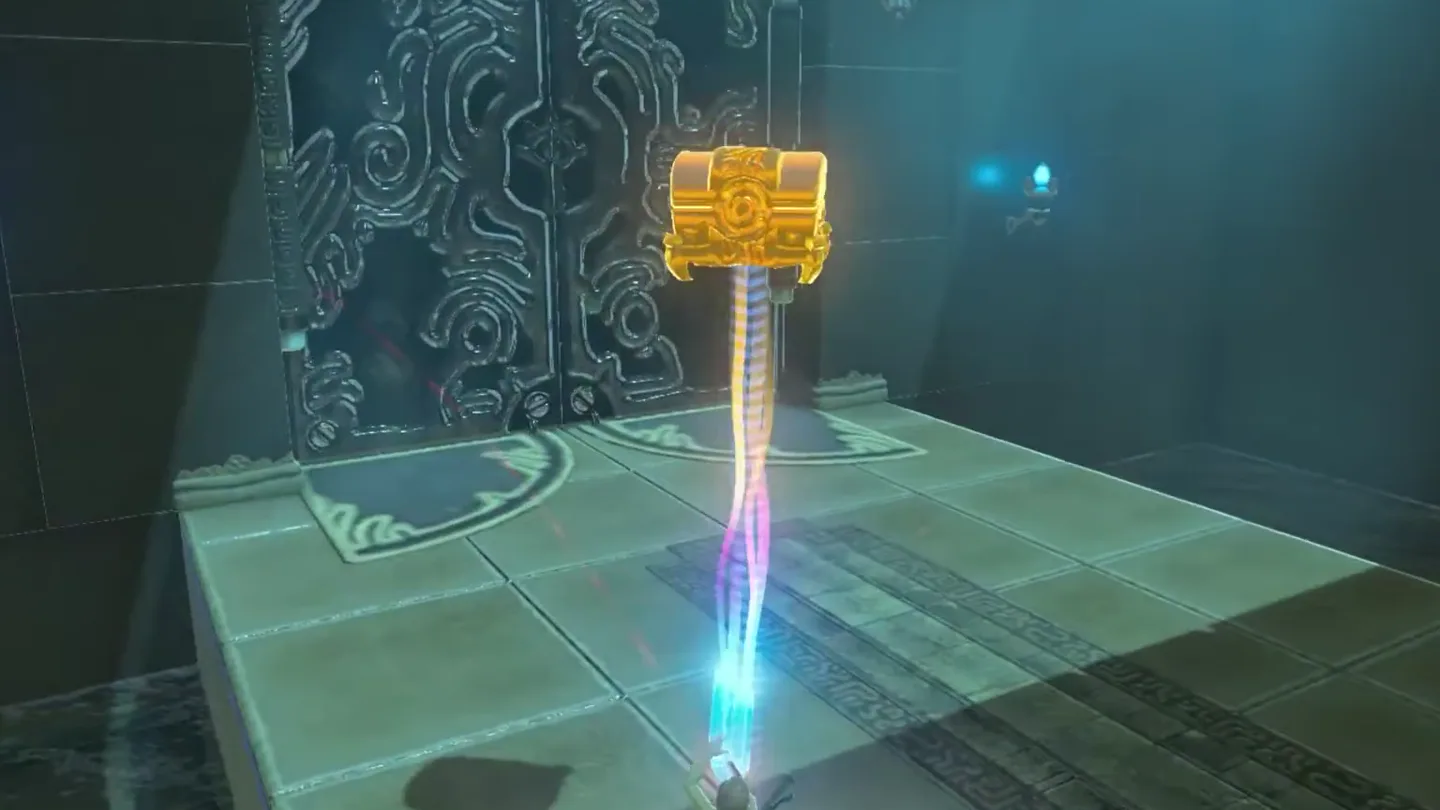
Retrieve the chest. Look up at the raised ledge in this hall, grab the metal chest with Magnesis, and lower it onto reachable ground. Open it for the Traveler’s Bow.
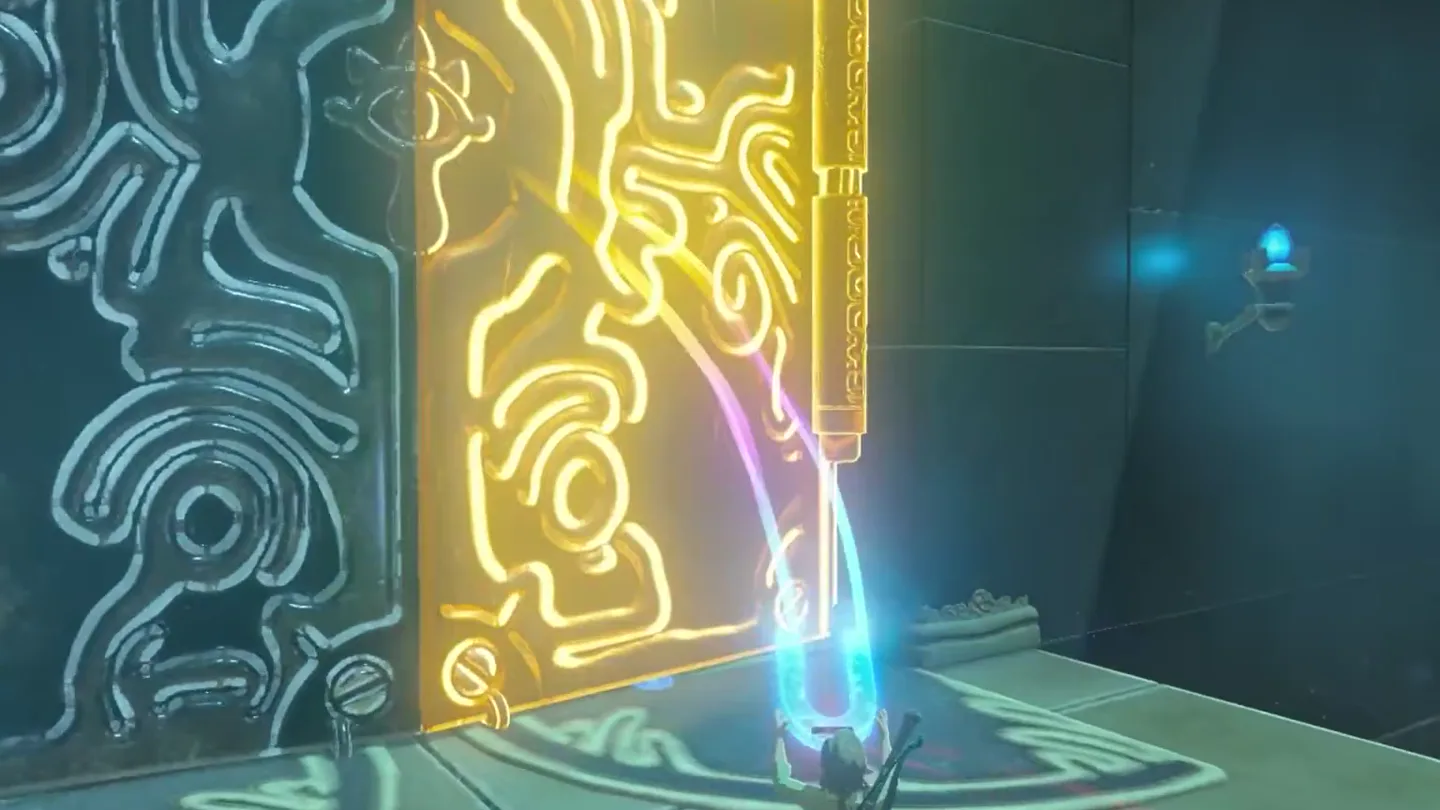
Pull open the metal doors. Use Magnesis on the large doors to reveal the route to the altar.
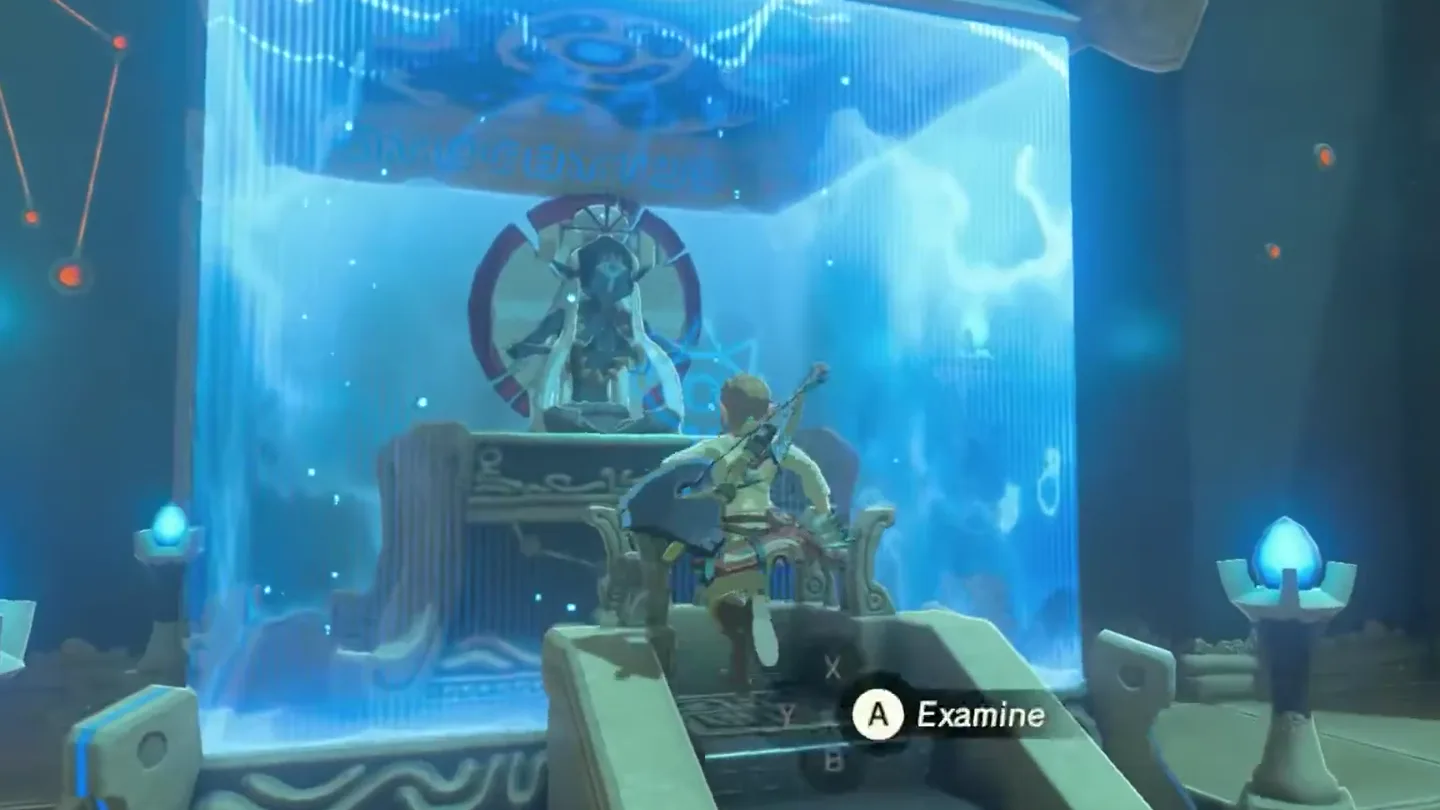
Speak to the monk. Interact at the altar to receive the Spirit Orb and finish the trial.
Pull treasure chest ① down from the high ledge and open it for a Traveler’s Bow. Screenshot (cropped) from Proximus Gaming
· CC BY Grab door panel ① with Magnesis and pull it open. Screenshot (cropped) from Proximus Gaming
· CC BY Go to the altar and receive the Spirit Orb. Screenshot (cropped) from Proximus Gaming
· CC BY
Where is the chest, and what does it contain?
Chest
Contents
How to get it
1
Traveler’s Bow
Find the metal chest on the raised ledge in the hall before the monk. Lower it with Magnesis and open it on reachable ground.
What do people miss here?
The metal chest is the big miss: it sits on a raised ledge to the left while the two giant metal doors pull your attention forward, so it is easy to walk straight past it. The Traveler’s Bow inside is invaluable this early — bows and arrows matter a lot in this game — and although it is outclassed later, it is worth holding onto for the early game.
The Guardian Scout I must be defeated to progress, but do not let it intimidate you: it has very little health and its beam is its only attack, so whatever weapon you are carrying is enough.
Remember to pick up what the Guardian Scout drops. Materials like the Ancient Screw may seem to have little use now, but you will want them later.
Order does not matter: the Old Man points you to this shrine first and asks you to fetch him any treasure inside, but it is not required to complete Oman Au Shrine before the others — the four Great Plateau shrines can be done in any order. Either way, this is one of the four mandatory shrines: without its Spirit Orb you cannot obtain the Paraglider or leave the Great Plateau.
Do I need Magnesis before entering Oman Au Shrine?
No, you receive Magnesis from the pedestal inside the shrine. Use it to move the metal floor panels and reveal the passage onward.
How do I cross the water in Oman Au Shrine?
Walk across the existing metal bridge to the middle platform first. From there, use Magnesis to move the same slab behind you into the gap ahead, then cross it again.
What is in the Oman Au Shrine chest?
The chest contains a Traveler’s Bow. Look up at the ledge in the hall before the monk, then use Magnesis to lower the metal chest onto reachable ground.
Is Oman Au Shrine a Test of Strength?
No, it is a Magnesis puzzle tutorial, although a Guardian Scout I appears beyond the block wall. The final doors open with Magnesis; use the rune to pull them apart.