Some terrain tiles could not load. Switch to the coordinate grid or retry.
Look between Proxim Bridge and East Post Ruins. From the bridge, head toward the ruins to find the entrance between these landmarks. Use the BotW shrine location table to plan your next stop.
Item
Detail
Trial
The Wind Guides You / 風之引導
Tower region
Dueling Peaks
Map coordinates (X, Y, Z)
0087, -1658, 0136
Type
Paraglider puzzle, not a Test of Strength
Shrine quest
None
Chests
2
English name
Bosh Kala Shrine
Traditional Chinese name
瓦希‧遼科神廟
Simplified Chinese name
瓦希·辽科神庙
What should you bring?
The Paraglider is the only thing you need to bring. Every puzzle in this shrine is about riding wind currents blown by fans, so no Sheikah Slate runes, no specific weapon, and no armor or resistance buffs are required. There is no fighting inside, and since the shrine sits close to the Great Plateau, it works as a first stop — and good Paraglider practice — right after you leave the plateau.
Bring the Paraglider. This route needs no rune or specific weapon; the important skill is ending a glide above solid ground.
1. Collect the Amber chest
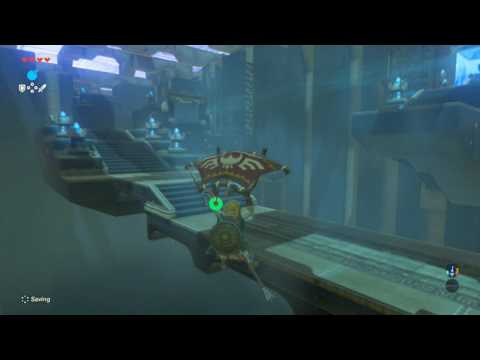
Take the entrance chest. Climb the left platform, jump into the wind, and open the Paraglider to reach the chest containing Amber.
Climb the left platform, jump into the wind and open the Paraglider to reach the chest ledge. Screenshot (cropped) from DuoNerd
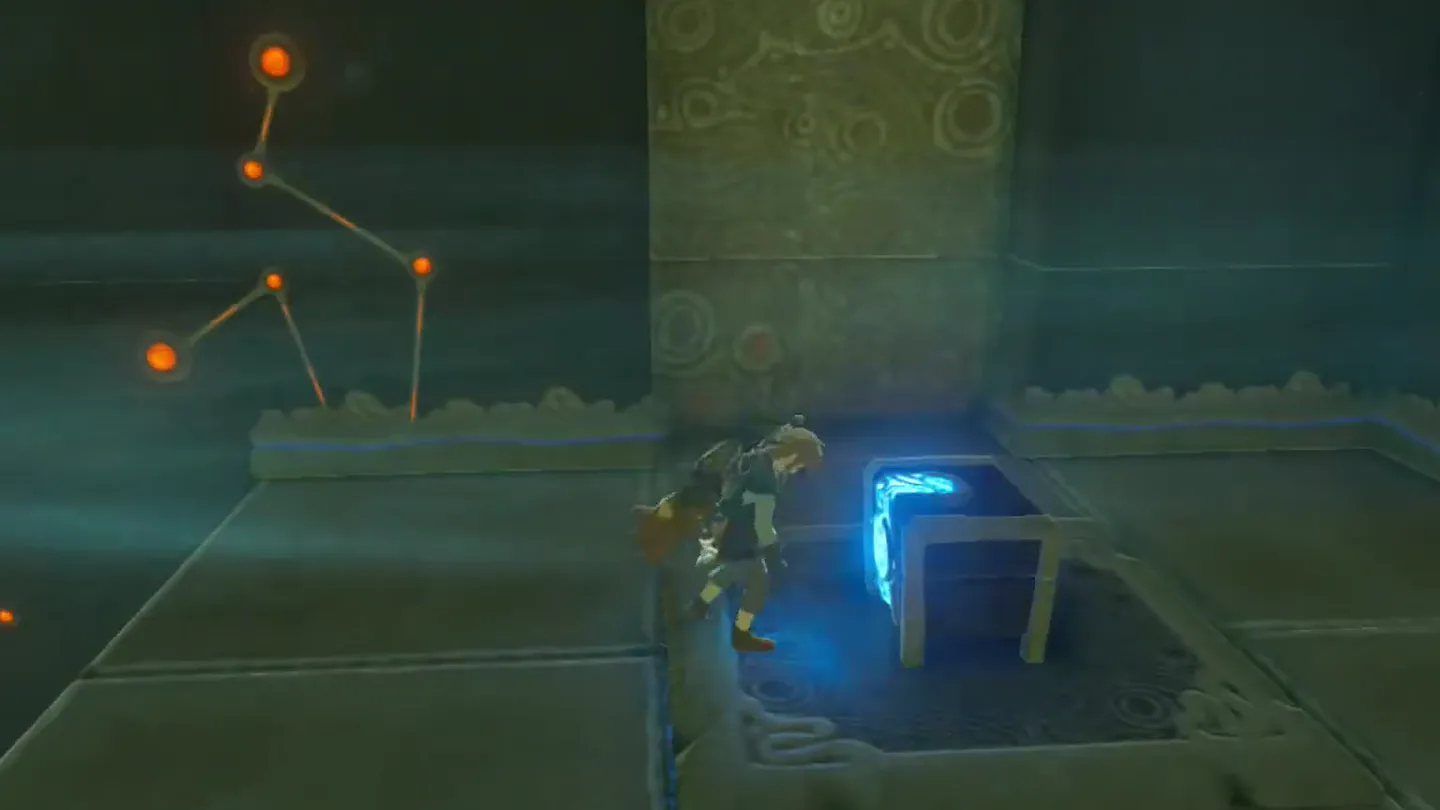
· CC BY Open chest ① on the ledge for Amber. Screenshot (cropped) from DuoNerd
· CC BY
2. Glide through the wind to the monk’s platform
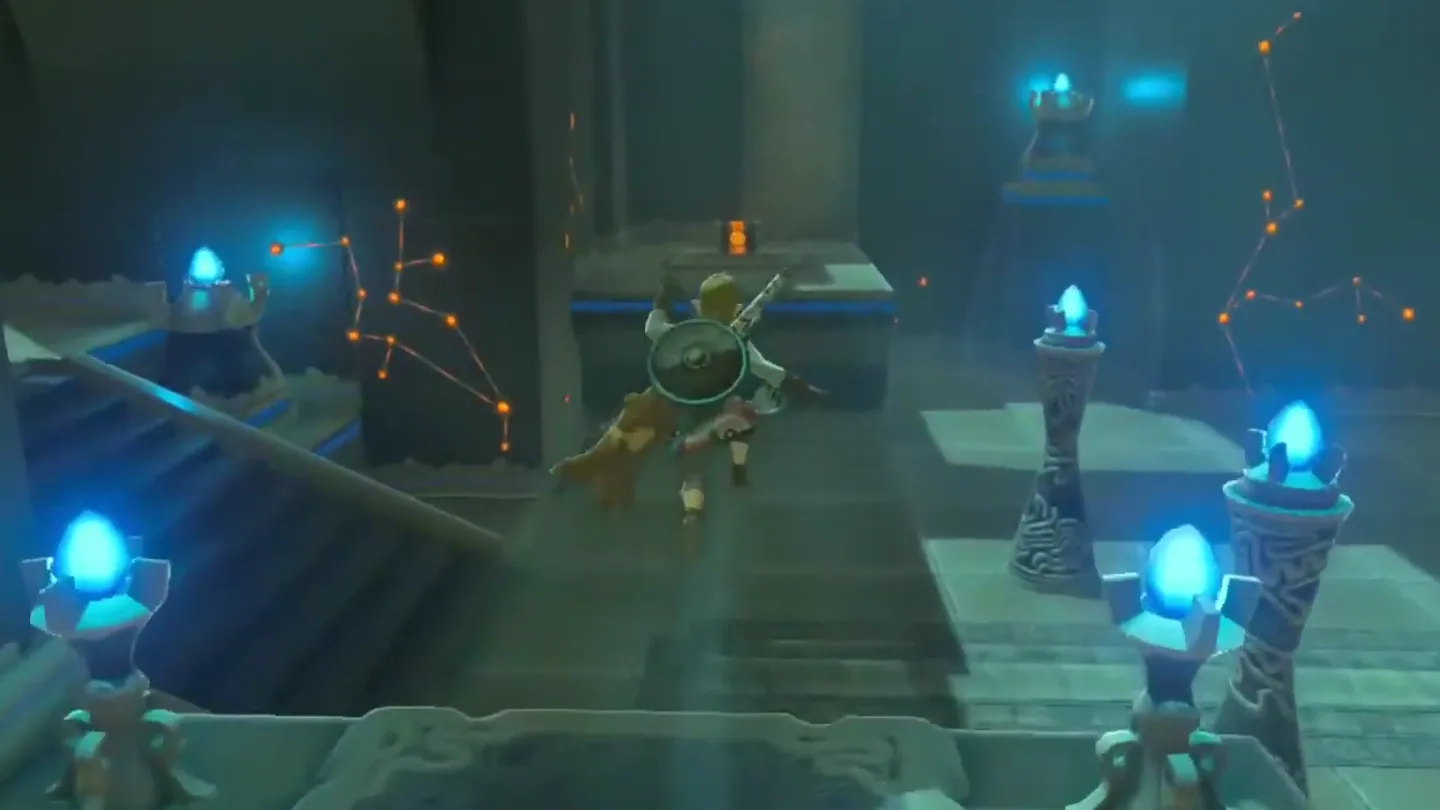
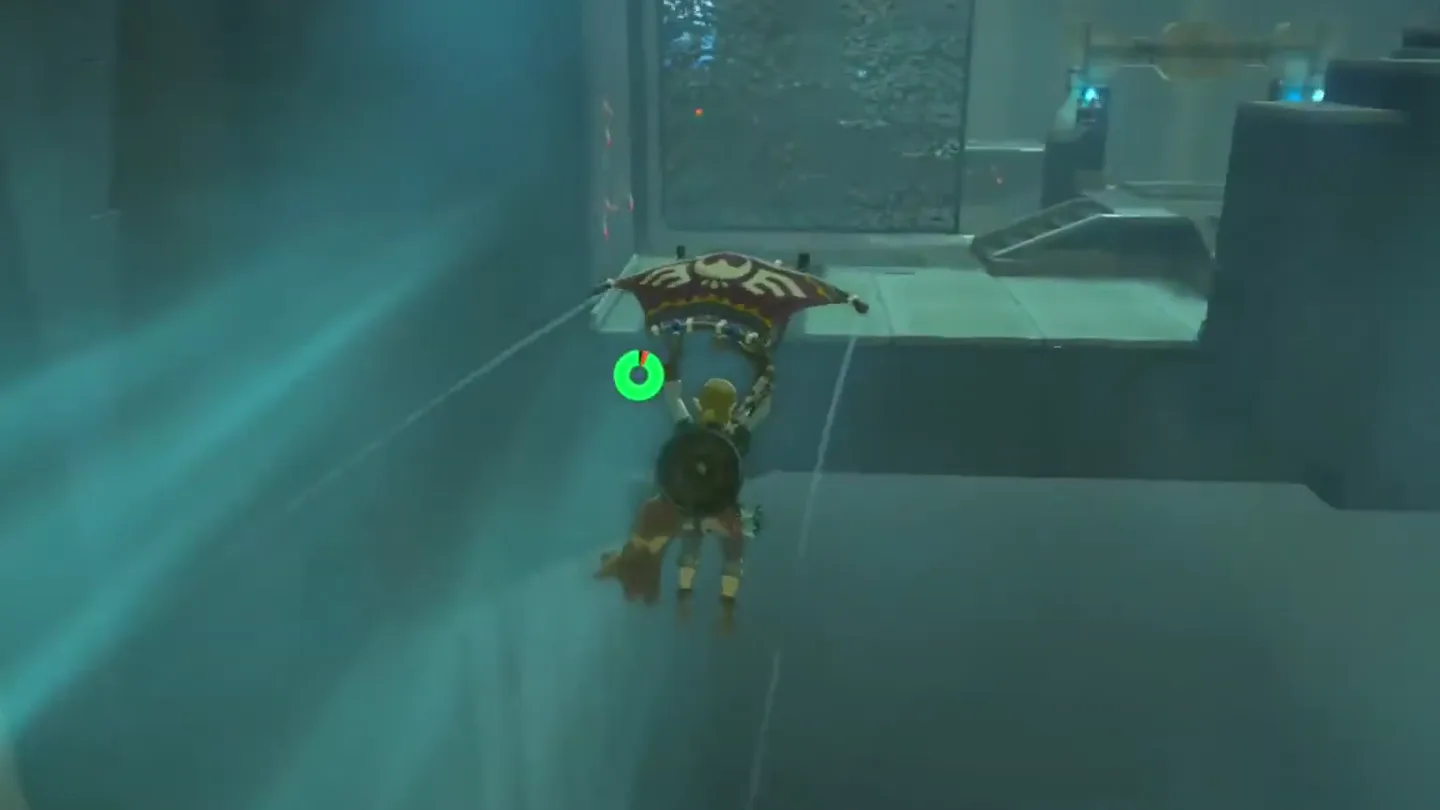
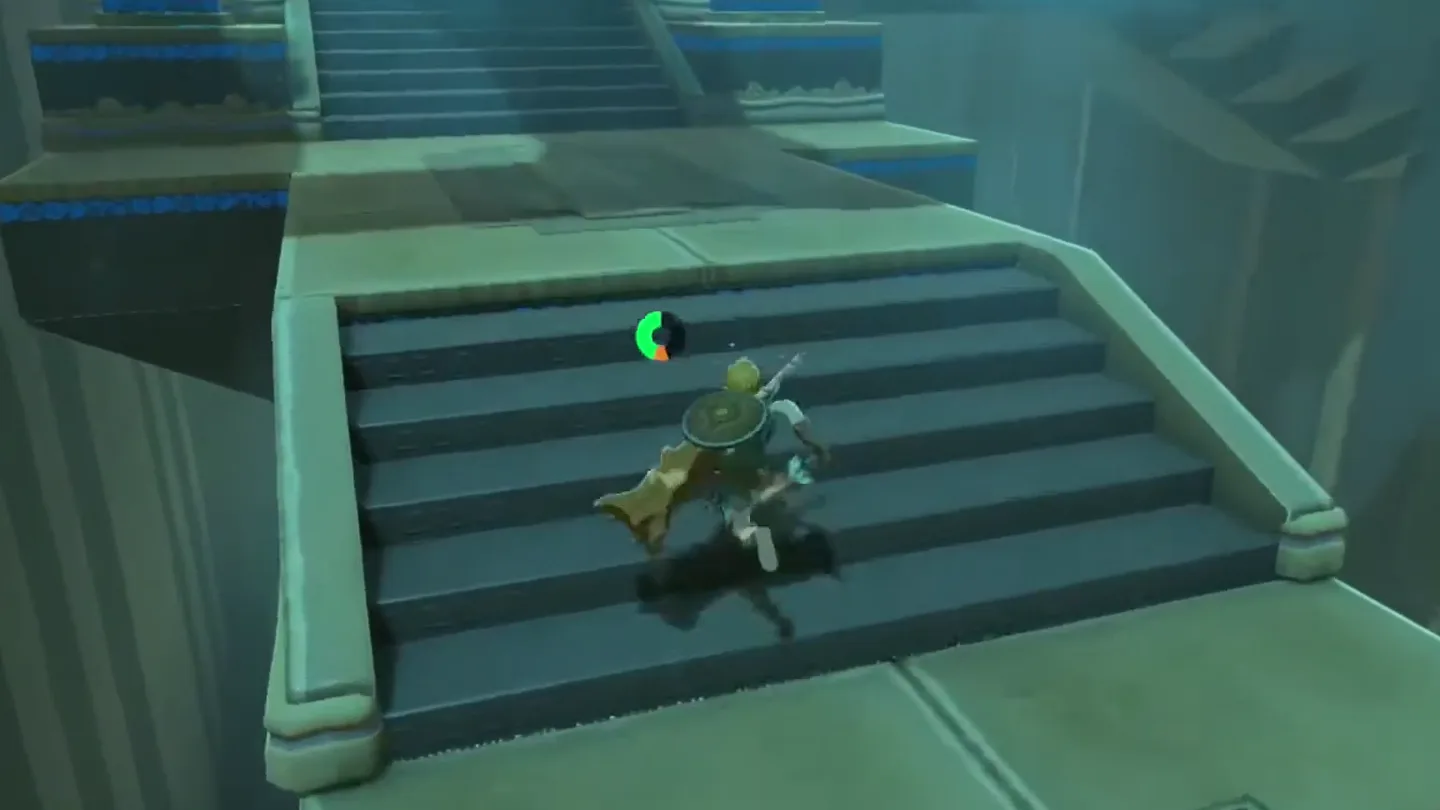
Follow the central stairs. Drop down, climb the large staircase, turn left, and glide straight along the next current.
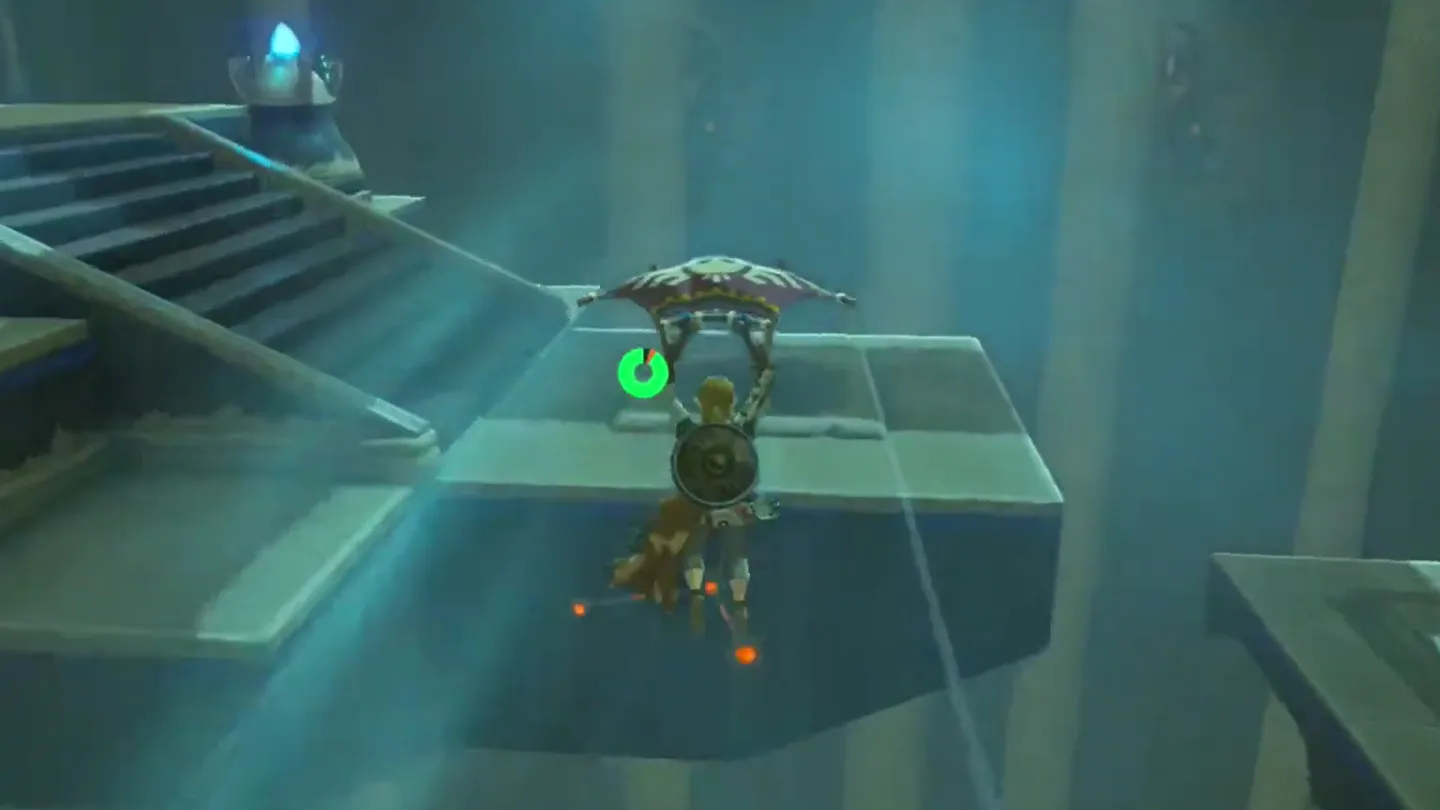
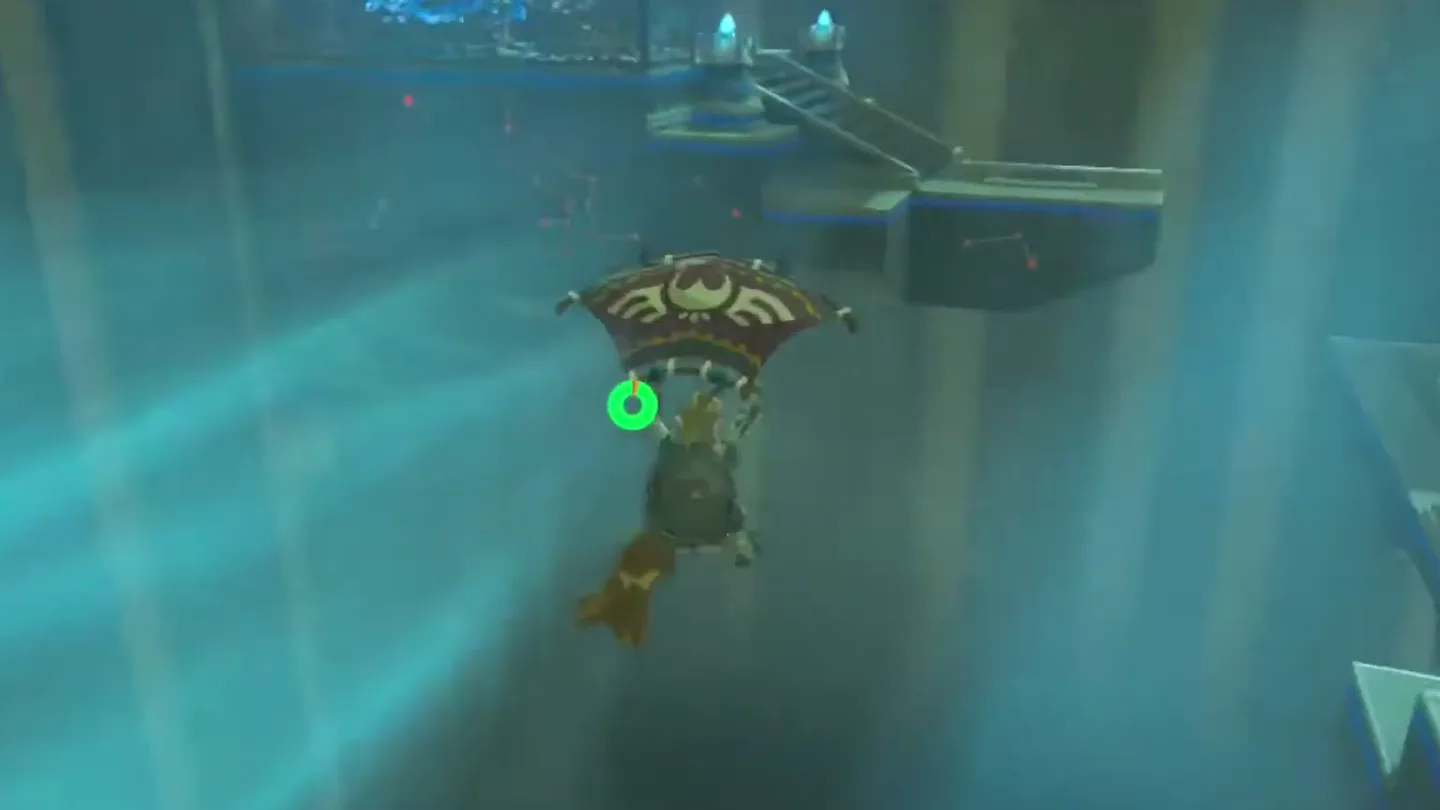
Land near the monk. Go up to the next launch platform and glide again. Press B above the safe platform to stop before the wind carries you too far; the monk is to your left.
Drop down and climb the large central staircase, then turn left. Screenshot (cropped) from DuoNerd
· CC BY Open the Paraglider in front of the fan and glide straight along the current. Screenshot (cropped) from DuoNerd
· CC BY From the next launch platform glide again, and press B above the safe platform to land. Screenshot (cropped) from DuoNerd
· CC BY
3. Detour for the Soldier’s Claymore and return
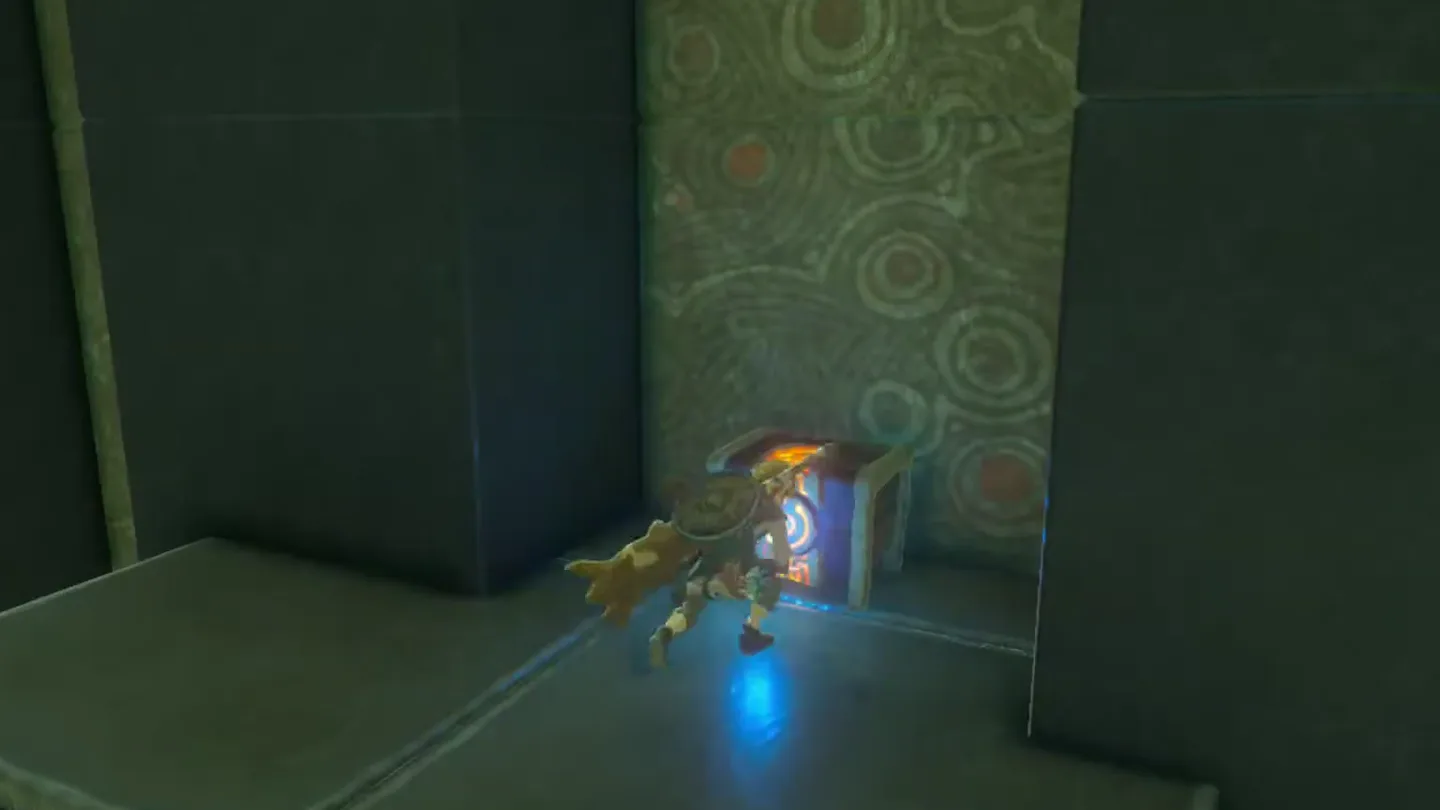
Detour for the sword. Back up for a running jump, then glide to the opposite chest ledge for the Soldier’s Claymore.
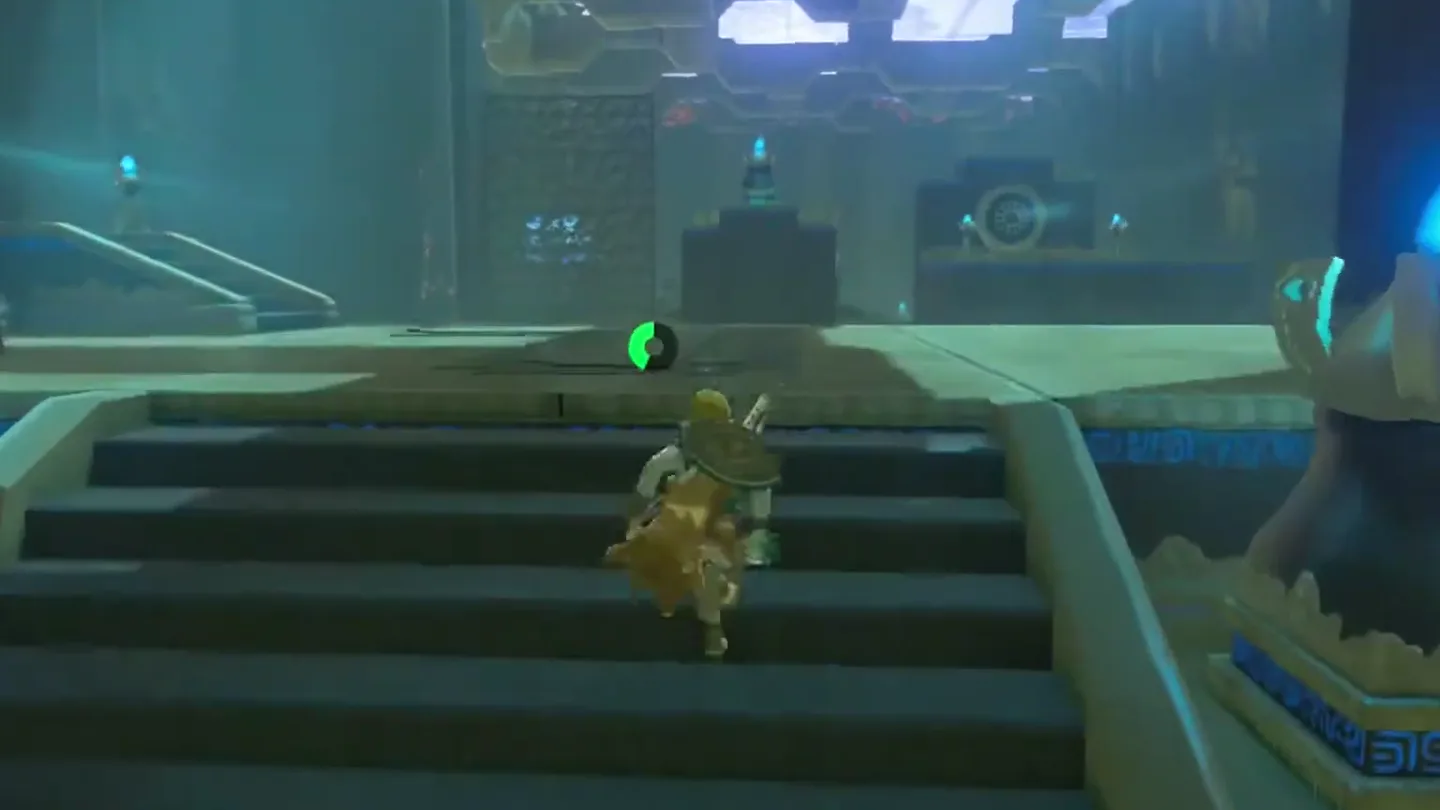
Return by the lower platform. Glide down from the chest ledge and climb the stairs.
Back up, take a running jump and glide to the opposite chest ledge. Screenshot (cropped) from DuoNerd
· CC BY Open chest ① for the Soldier’s Claymore. Screenshot (cropped) from DuoNerd
· CC BY Glide down to the lower platform and climb the stairs back up. Screenshot (cropped) from DuoNerd
· CC BY
4. Final crossing and complete the trial
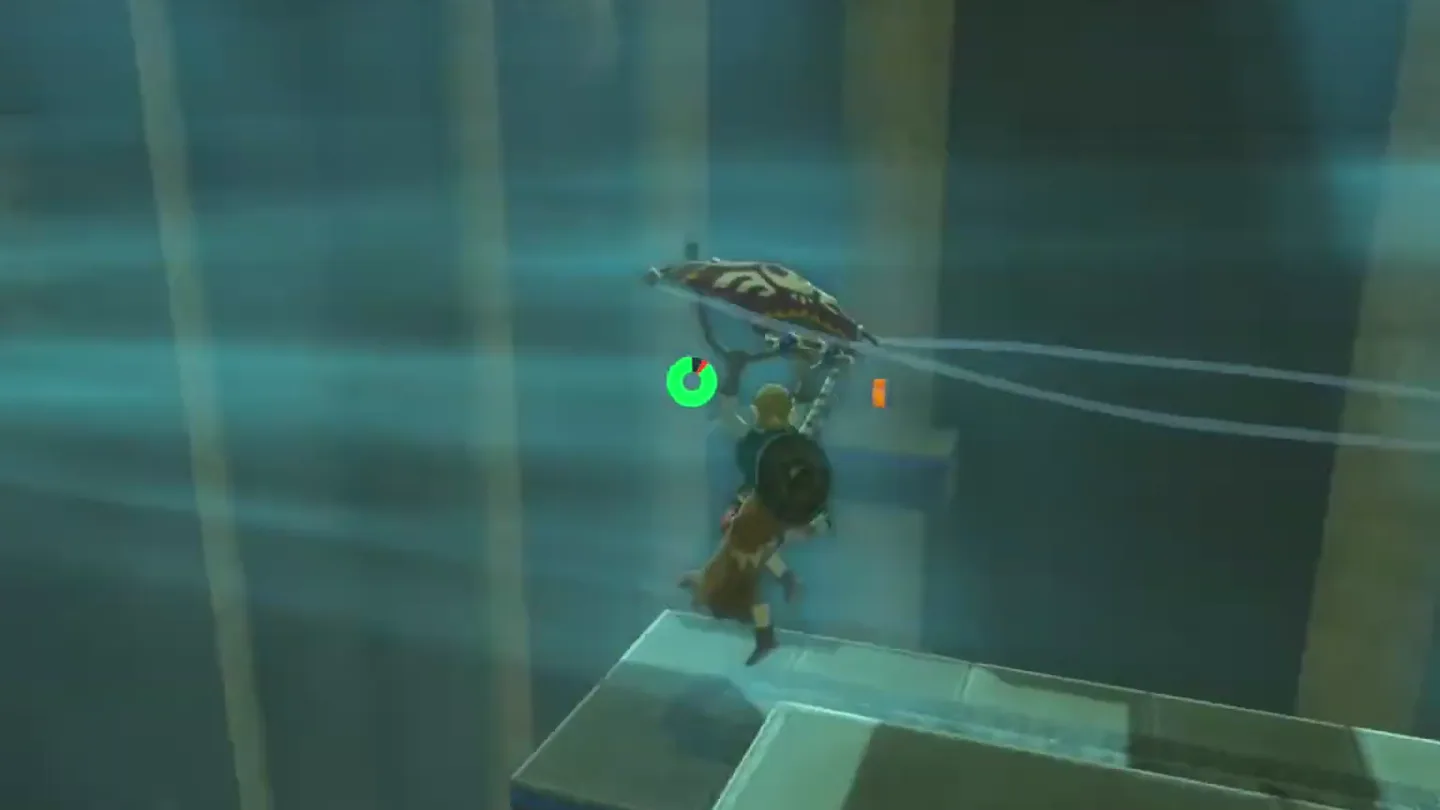
Repeat the final crossing. Ride the wind again and close the Paraglider above the safe platform.
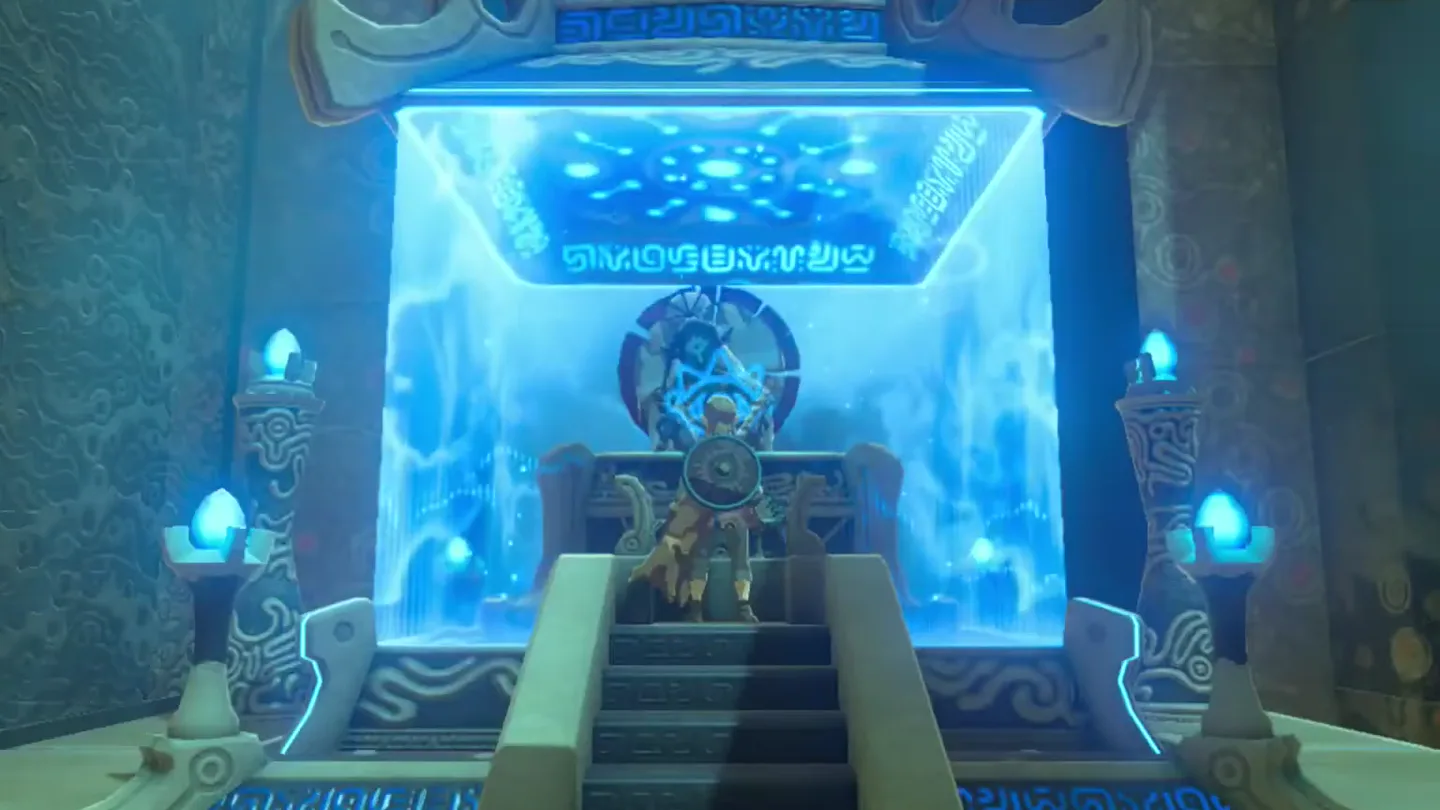
Finish at the altar. Turn left and approach the monk to complete the trial.
Ride the wind again and close the Paraglider above the safe platform. Screenshot (cropped) from DuoNerd
· CC BY Turn left and approach the monk to complete the trial. Screenshot (cropped) from DuoNerd
· CC BY
Chests
Chest
Contents
How to reach it
1
Amber
Glide from the left-hand platform near the entrance to the chest ledge.
2
Soldier’s Claymore
From the monk’s platform, take a running jump and glide to the opposite ledge. Return via the lower platform and stairs.
The sword chest is a detour from the altar route. Collect it before approaching the monk if you want to finish with all the shrine’s treasure.
What do people miss here?
All the wind comes from four fans built into the shrine, and you can only catch a current by standing directly in front of one and opening the Paraglider there.
The glide after the central staircase looks like it ends in a crash into the far end of the room, but the metal wall is a safe backstop — you can stow the Paraglider mid-flight (B) or simply let the wall stop you.
The final crossing toward the monk has no such backstop: ride that current too far and you don’t just land somewhere awkward, you die, so the B-cancel has to happen while you are still above the safe platform.
The Soldier’s Claymore chest sits on a ledge high on the wall opposite the monk’s pedestal and only becomes obvious once you have ridden the wind to the far side — after landing it is tempting to turn left straight to the monk and never realize the chest is there.
It is between Proxim Bridge and East Post Ruins, at 0087, -1658, 0136. From the bridge, head toward the ruins and look for the shrine between these landmarks.
Why do I keep flying past the platform in Bosh Kala Shrine?
The final wind current keeps carrying you while the Paraglider is open. Press B above the safe landing platform to close it and drop onto the platform.
How do I get the Soldier’s Claymore chest?
Land on the platform near the monk, back up for a running jump, and glide to the chest ledge opposite. After opening it, glide down to the lower platform, climb the stairs, and ride the wind back to the monk’s platform.
Is Bosh Kala Shrine a Test of Strength?
No, it is a wind-and-Paraglider puzzle. The solution uses gliding and landing control, so no rune or particular weapon is needed.