

Ruvo Korbah Shrine Guide: Strength+, Key and Chests (BotW)
Clear the camp south of the Temple of Time, defeat the first Guardian, find the basement key and Giant Ancient Core, and finish Ruvo Korbah Shrine.
Where is Ruvo Korbah Shrine, and how do you reveal it?
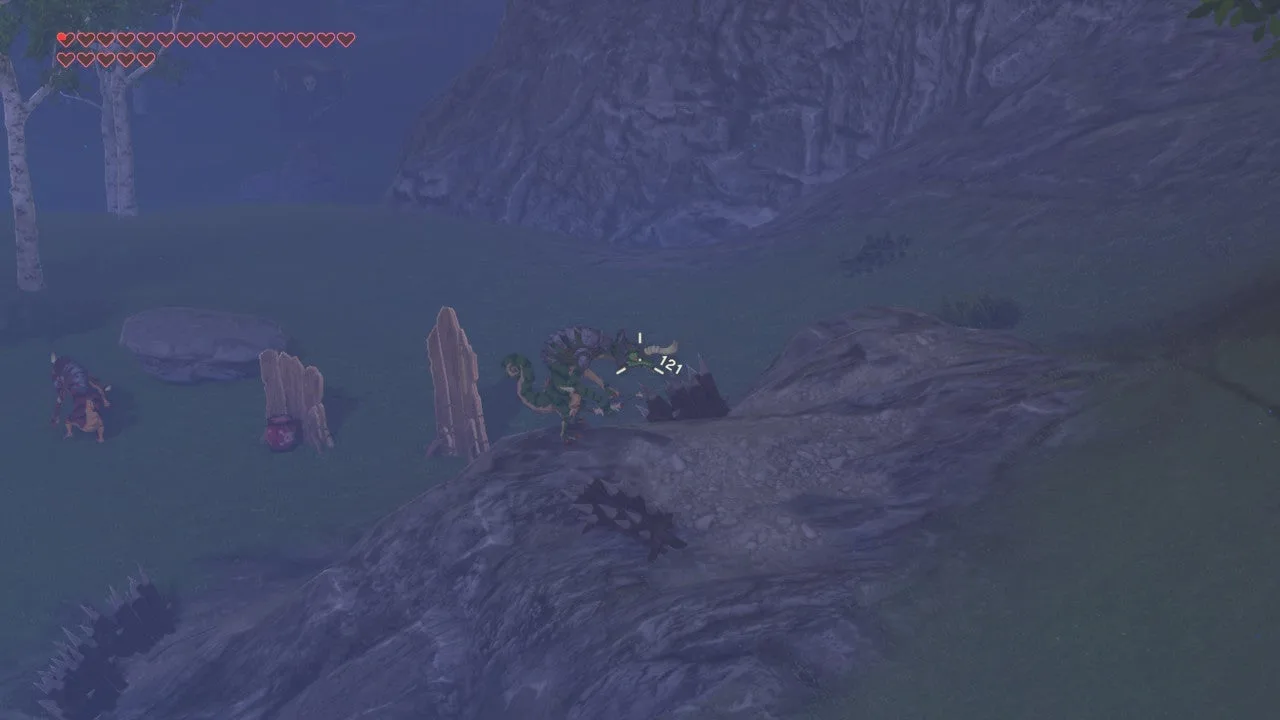
In The Legend of Zelda: Breath of the Wild, Ruvo Korbah appears in the fields south of the Temple of Time, near the old cabin. Start The Champions’ Ballad, take the One-Hit Obliterator, and clear the marked monster camp to reveal this DLC shrine.
| Detail | What to look for |
|---|---|
| Trial | A Major Test of Strength+ |
| Region | Great Plateau — south of the Temple of Time |
| Main mechanic | An arena fight, basement passages and a final group battle |
| Chests | 3, including the Small Key chest |
| Contents | Bomb Arrow ×10; Giant Ancient Core; Small Key |
This shrine is additional to the 120 base-game shrine checklist. The + matters: defeating the first Guardian is only the beginning.
How do you clear the camp south of the Temple of Time?
- Approach from the temple’s higher ground and look over the camp. Remove exposed Lizalfos archers with your bow before descending.
- Watch the mounted Bokoblins. Shoot a rider off its mount to interrupt the charge, then approach only when you have checked the other enemies’ positions.
- Draw melee Bokoblins and Moblins out of the group. A charged One-Hit Obliterator can end an isolated encounter quickly, but that does not make standing among several attackers safe.
- Back off when the weapon stops glowing. Use the terrain to break lines of sight while it recharges, then check around the marked camp for any remaining target.
What should you prepare before entering?
Bring a usable shield, a bow and a supply of arrows. Cryonis can create cover where the floors have shallow water. An upgraded Stasis can briefly stop an enemy to help you approach; the original version cannot freeze living enemies. Plan to wait in cover for your weapon to recharge between attacks.
How do you complete A Major Test of Strength+?
1. Defeat the first Guardian and find the floor switch
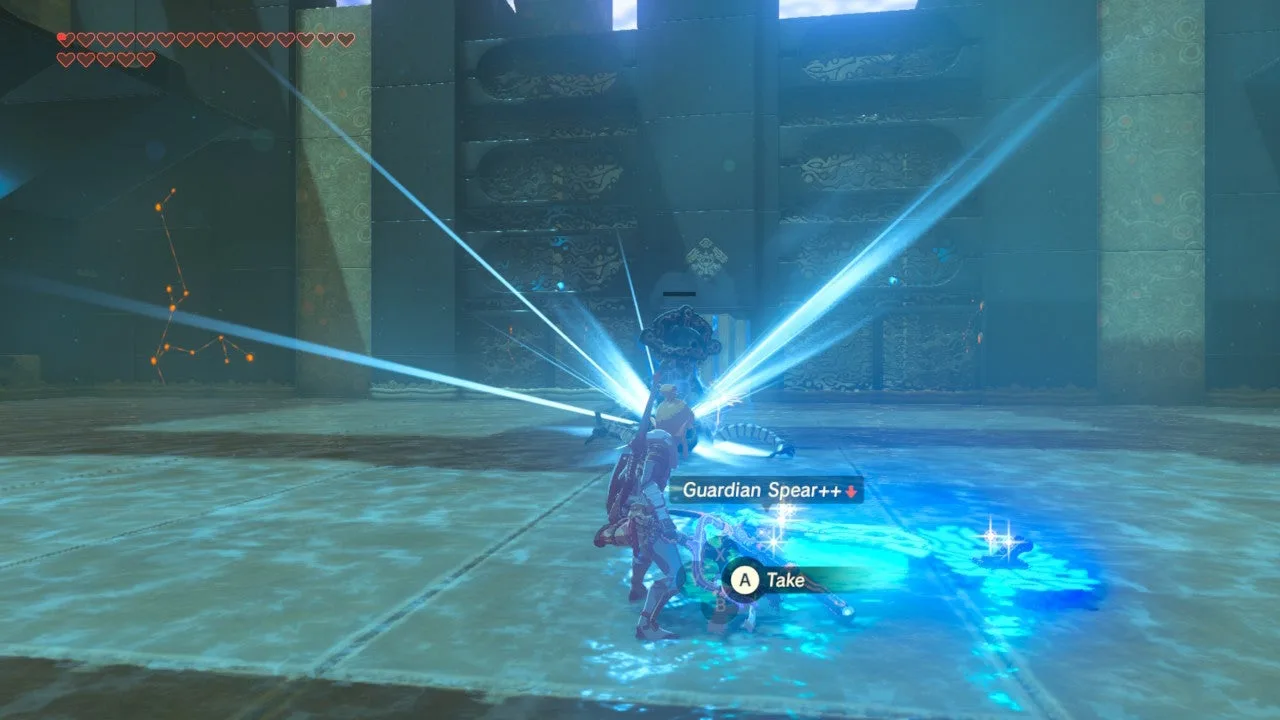
A Guardian Scout IV waits in the opening arena. Keep your shield ready and move sideways as you approach. Wait for an attack to miss, then strike with the glowing One-Hit Obliterator. If it prepares a spinning rush, a Cryonis pillar on the wet floor can stop the charge and create an opening.
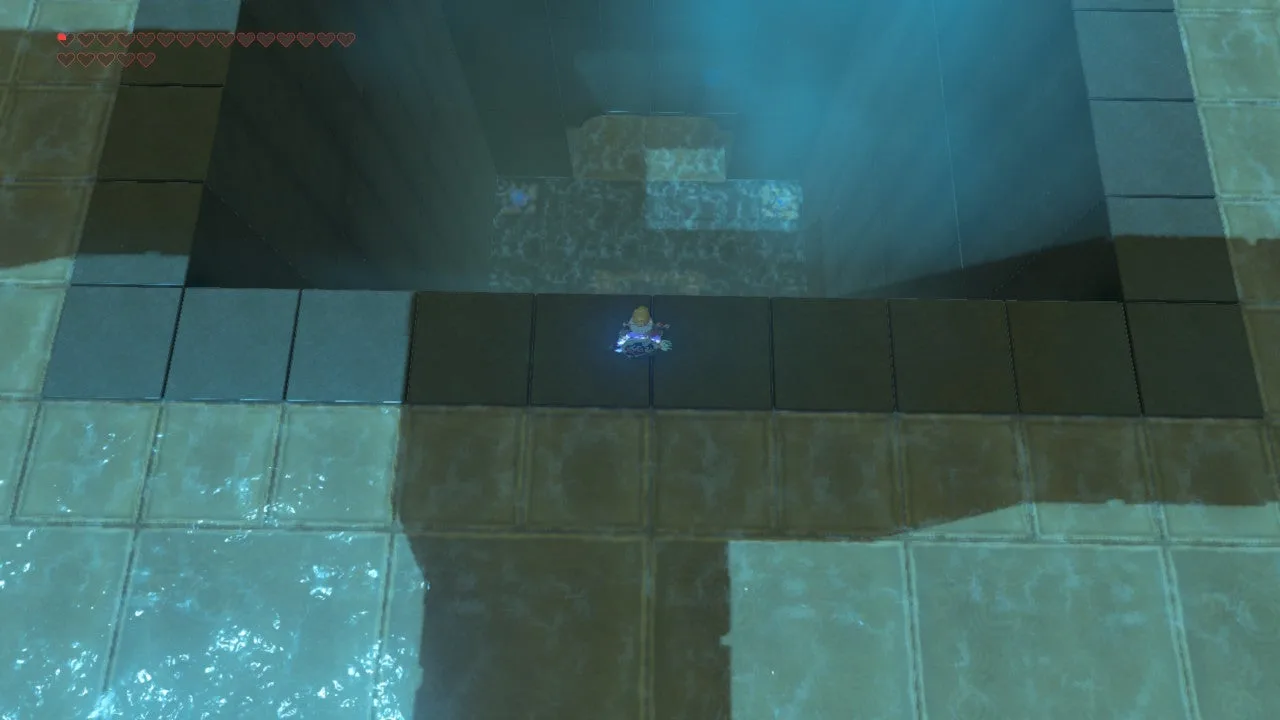
Take the ten Bomb Arrows from the back-room chest. Instead of a monk, there is a floor switch behind the chest. Step on it to lower the arena’s central platform, then return to the opening and glide down. Do not simply jump into the shaft without slowing your fall.
2. Follow the basement passage and collect the optional core
At the bottom, note the locked door ahead and the elevated chest off to the right. You cannot reach the end by going straight through the locked door yet. Turn left into the passage.
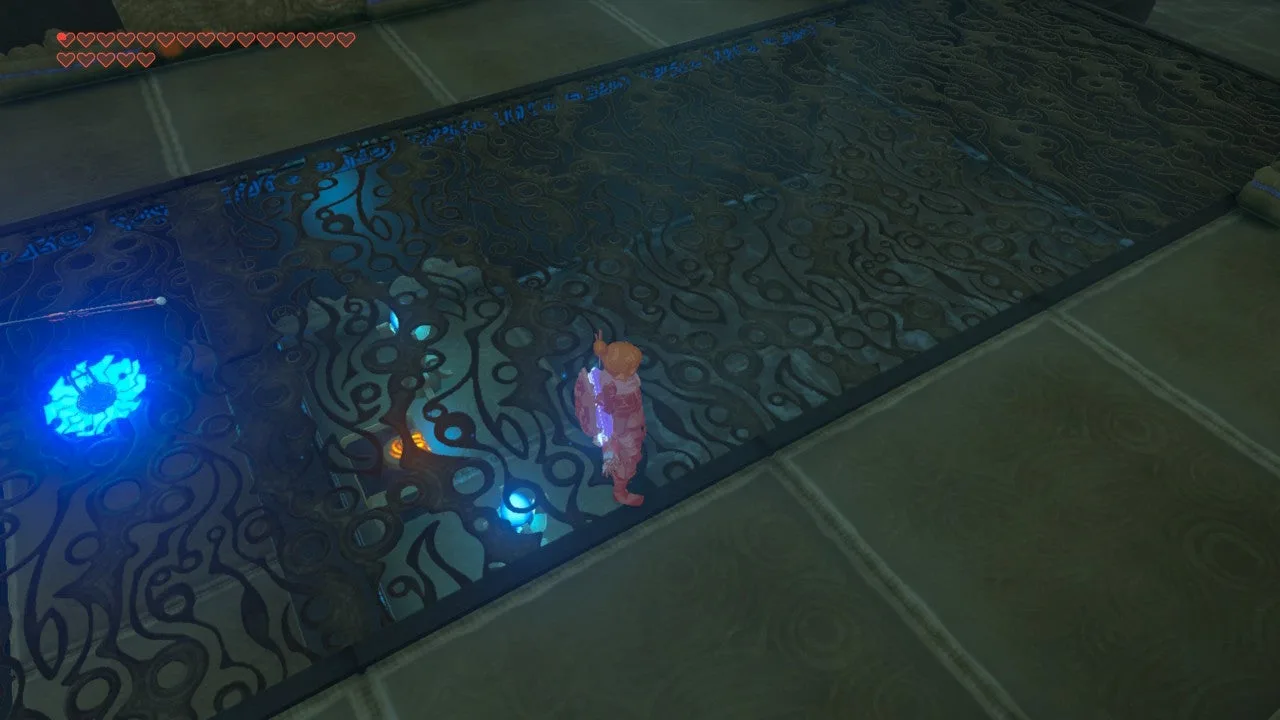
Clear the scout around the corner, then look ahead before taking the stairs to the raised walkway. More scouts cover the route, including a melee attacker. Keep walls between you and the shooters while approaching an isolated target; use the bow or upgraded Stasis if a direct approach is exposed.
Continue down the next stairs. Check both the ground level and the high ledge for scouts. Near the ladder leading up, take the ground-level side passage beneath the earlier walkway first. Follow it to the optional chest containing a Giant Ancient Core. You should still be below the walkway when collecting this chest.
3. Climb to the Small Key and return to the locked door
Return to the ladder area. Deal with the scout that can shoot down from above before climbing into its line of fire. Climb the ladder and cross the upper walkway to the chest containing the Small Key. This is a different chest from the one underneath the walkway.
Return to the locked door you noted after gliding into the basement, and use the key. Let the One-Hit Obliterator recharge before moving further into the next room.
4. Clear the final room without fighting every scout at once
Four Guardian Scouts appear in the last room, covering different levels. Avoid running straight towards the visible monk. Use a Cryonis pillar on the shallow water to block an exposed firing angle, then choose a lower-side scout you can reach without crossing the others’ shots.
After dealing with that target, use the nearby stairs and cover to approach the upper walkway. Remove the scout above, while continuing to watch the ranged attacker near the far gate. Your bow can handle a target that is unsafe to approach. Circle back for any scout on the other lower side; pause in cover whenever the weapon needs to recharge.
Only when the room’s scouts are defeated does the gate open. Cross towards the exit and speak to the monk for the Spirit Orb.
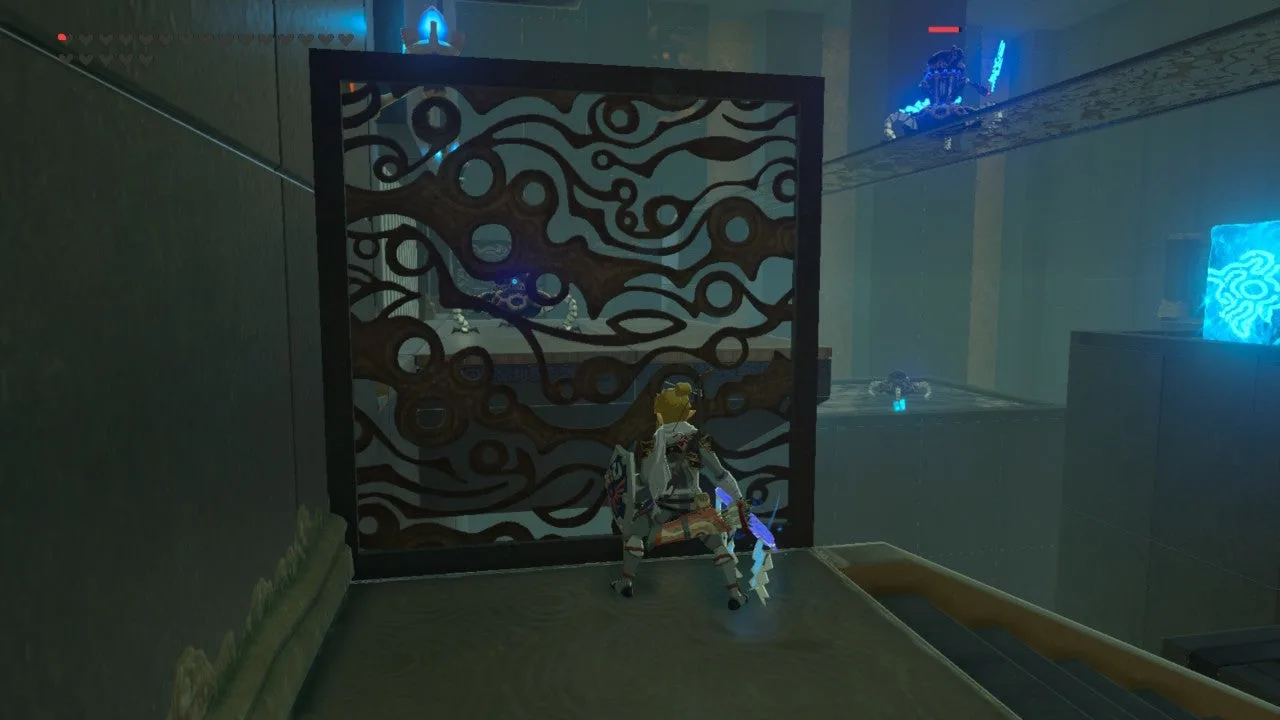
Where are all three treasure chests?
| Chest | Contents | How to collect it |
|---|---|---|
| Behind the first arena | Bomb Arrow ×10 | Defeat the first Guardian, then enter the back room |
| Under the basement walkway | Giant Ancient Core | Take the ground-level side passage before climbing the ladder |
| On the basement’s upper walkway | Small Key | Climb the ladder and follow the raised route; use the key at the locked door |
The key is required to advance. The Giant Ancient Core is an optional detour, so collect it before heading through the locked door.
What are the main dangers?
- Assuming the first fight ends the shrine. The floor switch opens the second half of the route.
- Climbing while a scout has a clear shot. Remove the threat or block its angle first.
- Confusing the two basement chests. Core below; key above.
- Charging the final room with an empty weapon. Wait in cover until it glows and avoid exposing yourself to several firing angles.
Which trial should you tackle next?
Visit Yowaka Ita for the bowl puzzle, Rohta Chigah for the spike course, or Etsu Korima for Path of Light. After all four, the Champions’ Ballad overview explains the next monuments and Champion trials.
FAQ
Why does Ruvo Korbah Shrine continue after the first Guardian?
Where is the Small Key?
Where is the Giant Ancient Core?
Related Articles
shrines
Kamia Omuna Shrine Guide: Moving Targets (BotW)
Defeat the Igneo Talus Titan at Lake Darman, time Kamia Omuna’s cannon shots, rotate the target cage, and recover its Diamond chest in Breath of the Wild.
shrines
Kee Dafunia Shrine Guide: The Melting Point (BotW)
Pass the sunrise ring, melt ice into stairs, reveal the Frostblade chest, and lift the final ice cube in Kee Dafunia Shrine in Breath of the Wild.
shrines
Keive Tala Shrine Guide: Big or Small (BotW)
Defeat the Molduking to reveal Keive Tala Shrine, connect its metal-and-water circuit, and solve the laser puzzle for a Radiant Shield in Breath of the Wild.
Was this helpful?
Thanks for the feedback!