

Ja Baij Shrine Location, Bomb Trial Solution and Chests (BotW)
Reach Ja Baij Shrine through the Eastern Abbey, solve the moving-platform and bomb-launcher puzzles, and collect the Traveler’s Claymore and Amber chests.
Where is Ja Baij Shrine?
From Great Plateau Tower, descend and head east toward the Eastern Abbey. Continue through the ruins, then climb the outer wall to reach the shrine and activate its entrance terminal. Use the BotW shrine location table to keep track of your next destination.
| Item | Detail |
|---|---|
| Trial | Bomb Trial |
| Tower region | Great Plateau |
| Map-marker coordinates (X, Y, Z) | -0448, -1990, 0193 |
| Type | Remote Bomb tutorial puzzle; not a Test of Strength |
| Shrine quest | None |
| Chests | 2 |
| English name | Ja Baij Shrine |
| Traditional Chinese name | 加‧巴希夫神廟 |
| Simplified Chinese name | 加·巴希夫神庙 |
What should you bring?
No Rune, weapon, armor, or resistance is required — the Remote Bomb rune is granted at the Guidance Stone pedestal just inside the entrance, and the bombs are unlimited, with only a short cooldown after each detonation. As one of the four Great Plateau shrines completed during ‘The Isolated Plateau,’ the trial is tuned for Link’s starting gear. There are no enemies inside; it is a pure puzzle shrine.
Video walkthrough

How do you solve the Bomb Trial?
Remote Bombs are supplied inside the shrine. The route uses the rune and the shrine’s platforms, with no specific weapon required. Square bombs stay put more readily; round bombs roll, which suits the launcher pipe.
1. Unlock Remote Bombs
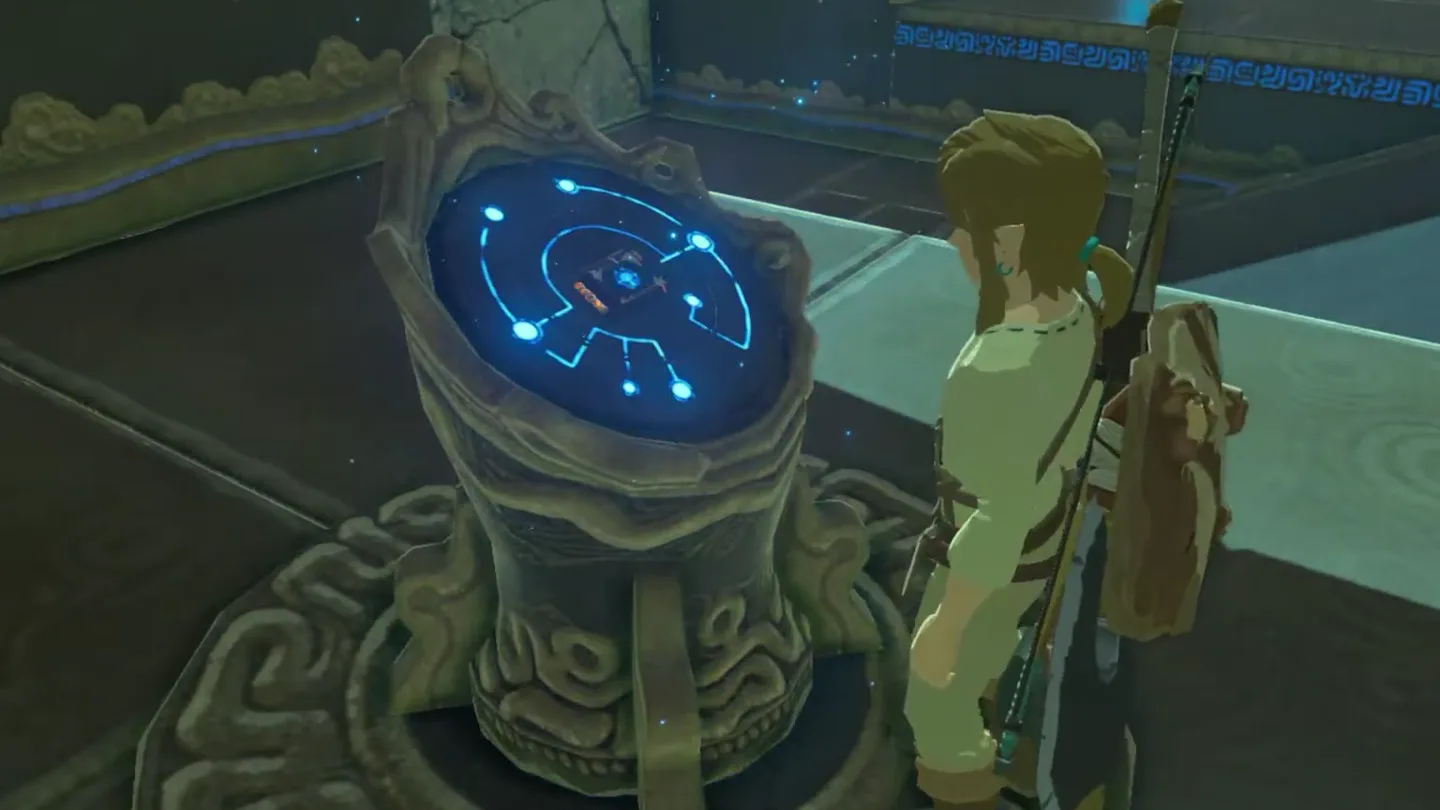
Unlock Remote Bombs. Use the terminal on your left after entering.
2. Clear the entrance passages
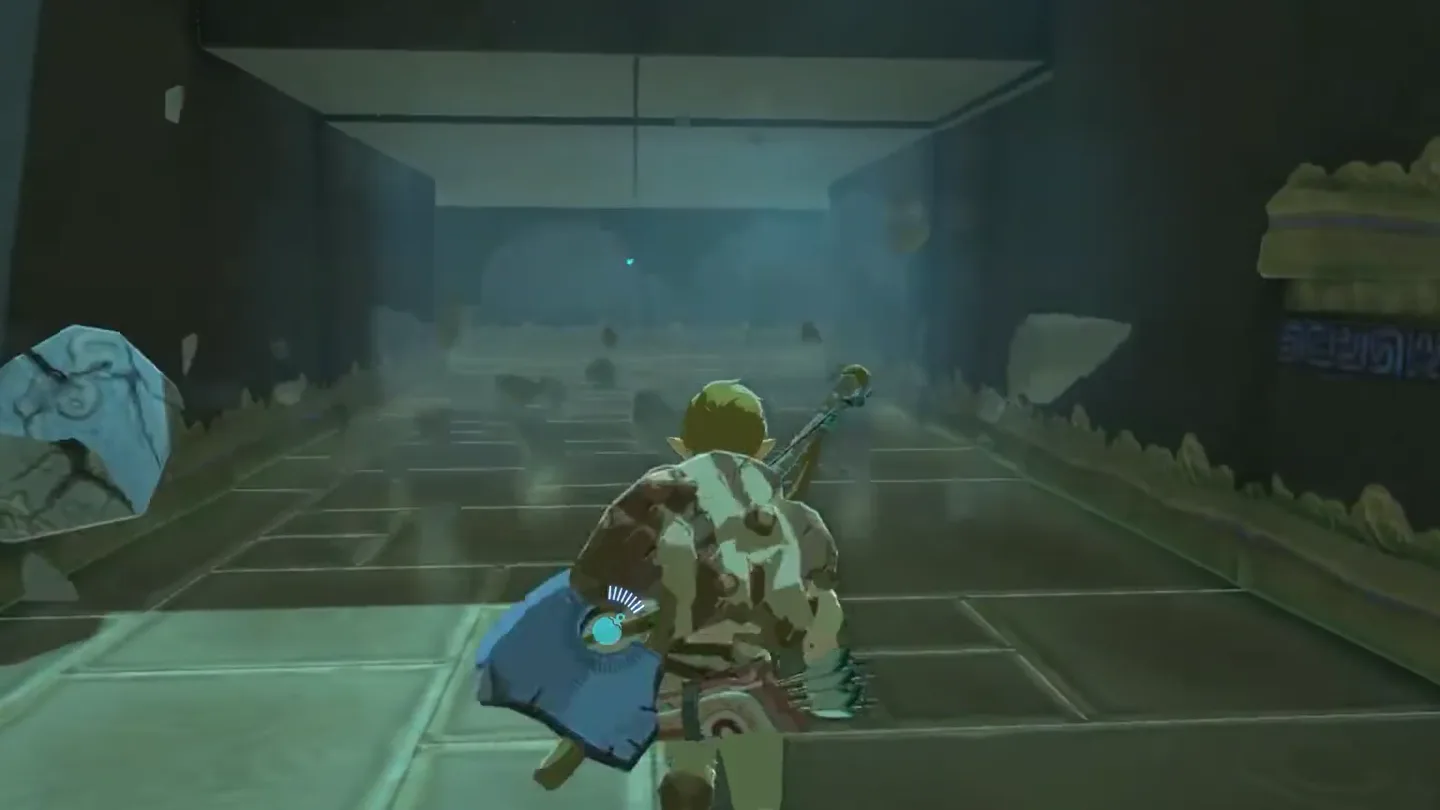
Clear the entrance passage. Put a square bomb beside the cracked blocks below the steps, move away, and detonate it.
Take the right-hand chest. In the passage beyond, bomb the cracked blocks on the right and open the chest for the Traveler’s Claymore.
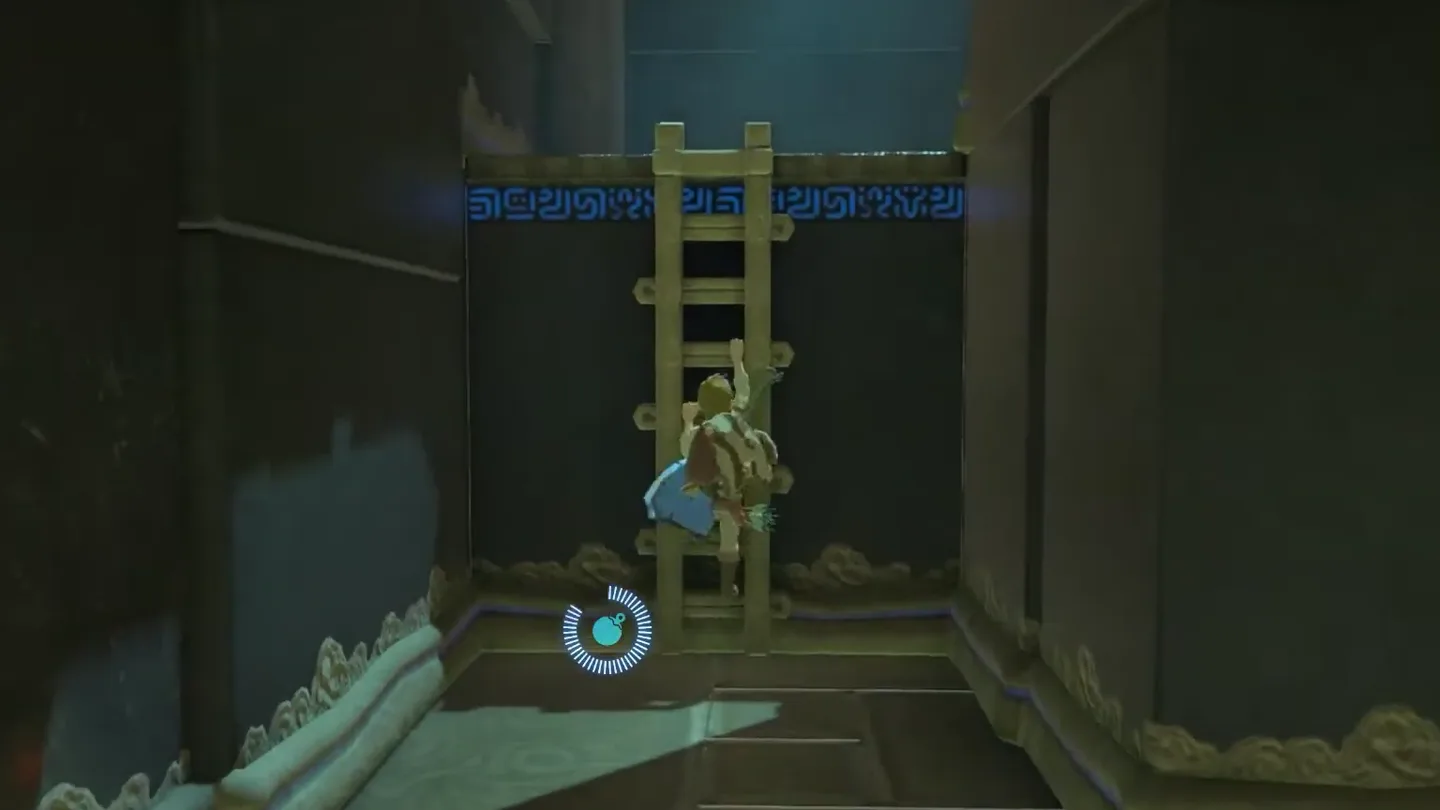
Open the left-hand route. Return to the passage, blast the blocks on the other branch, and climb the ladder beyond them.
3. Send a bomb across on the moving platform
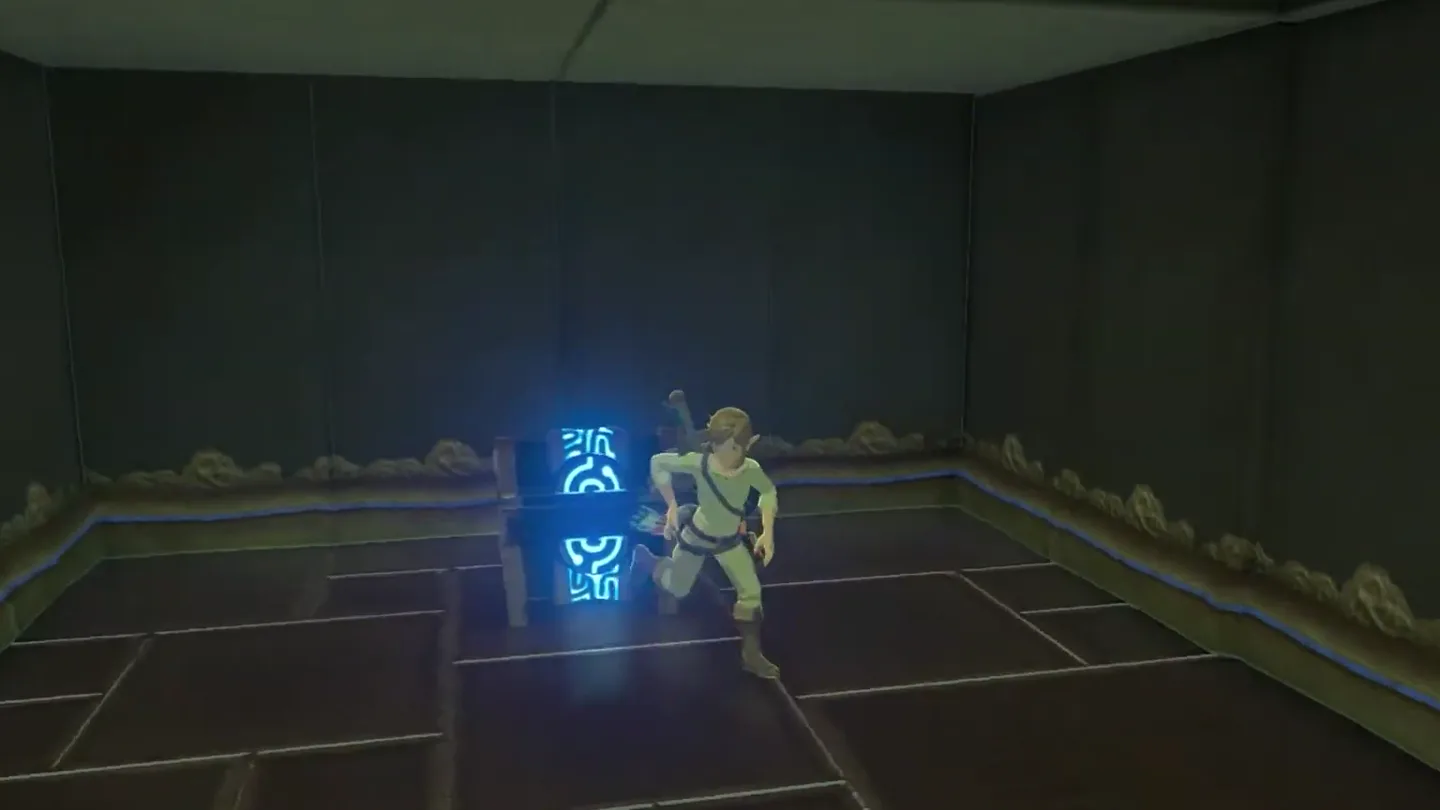
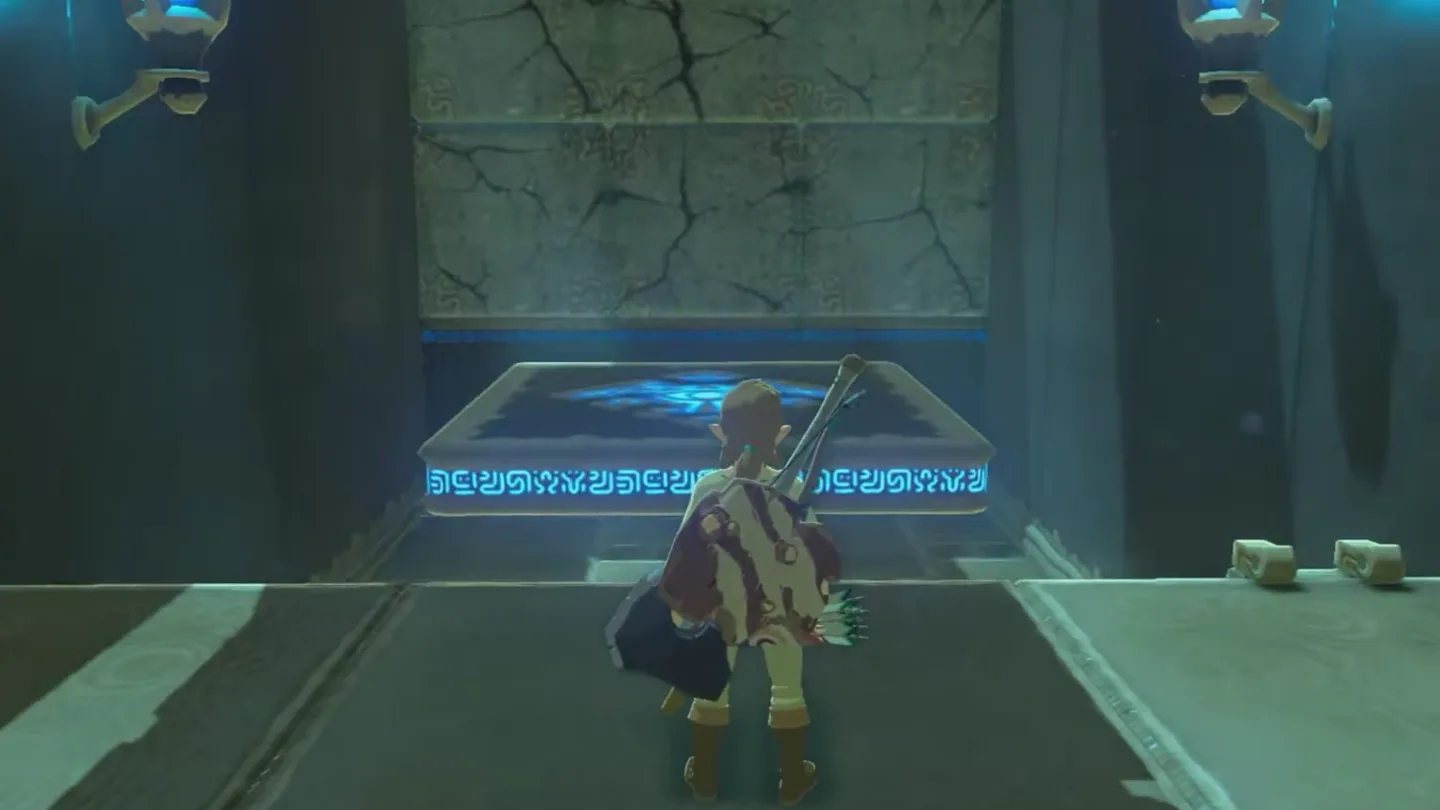
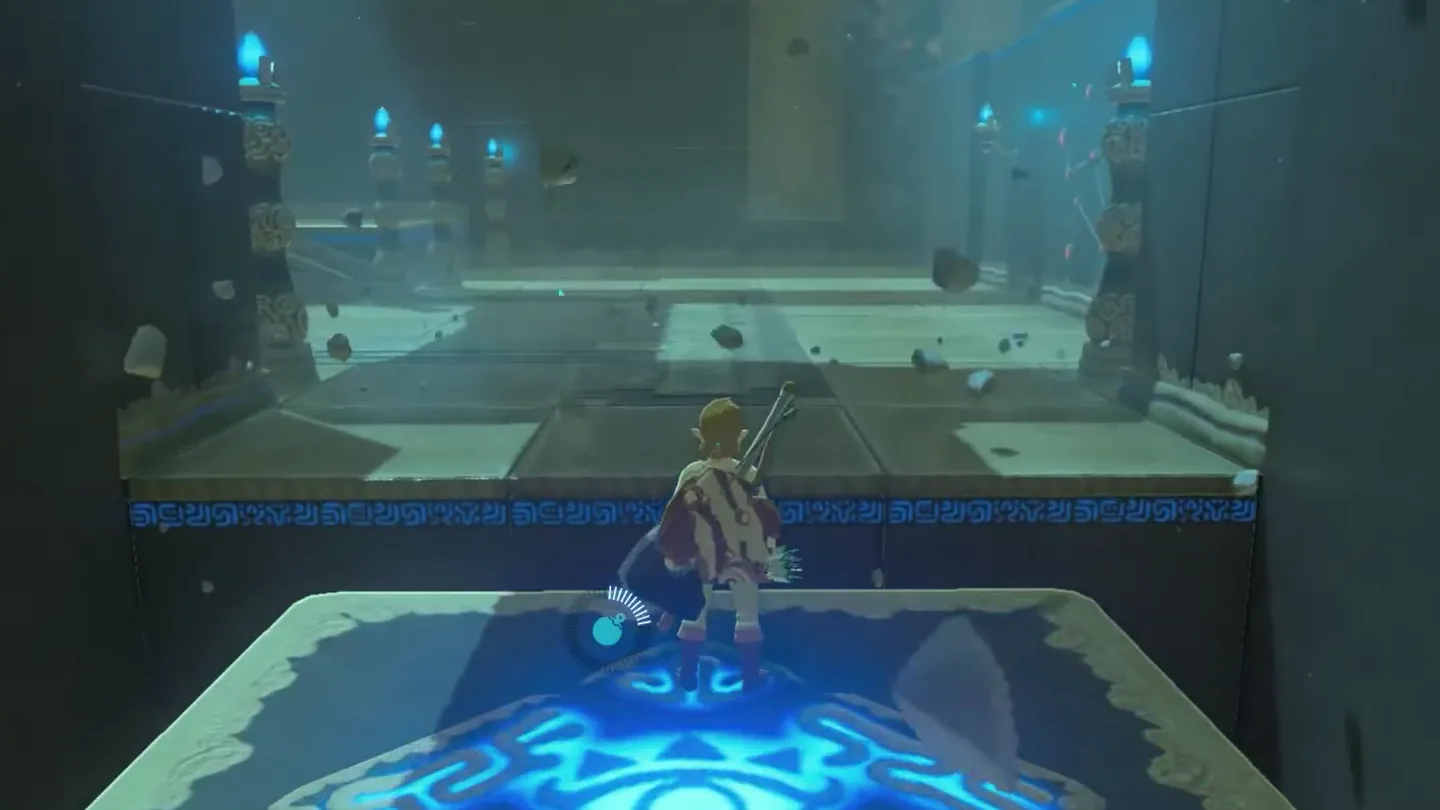
Send a bomb ahead. Place a square bomb at the forward end of the moving platform, step back onto solid ground, and detonate it when it reaches the blocks across the gap.
Ride across. Once the obstruction is gone, use the moving platform to reach the chamber with the launchers.
4. Load and detonate the launcher bomb
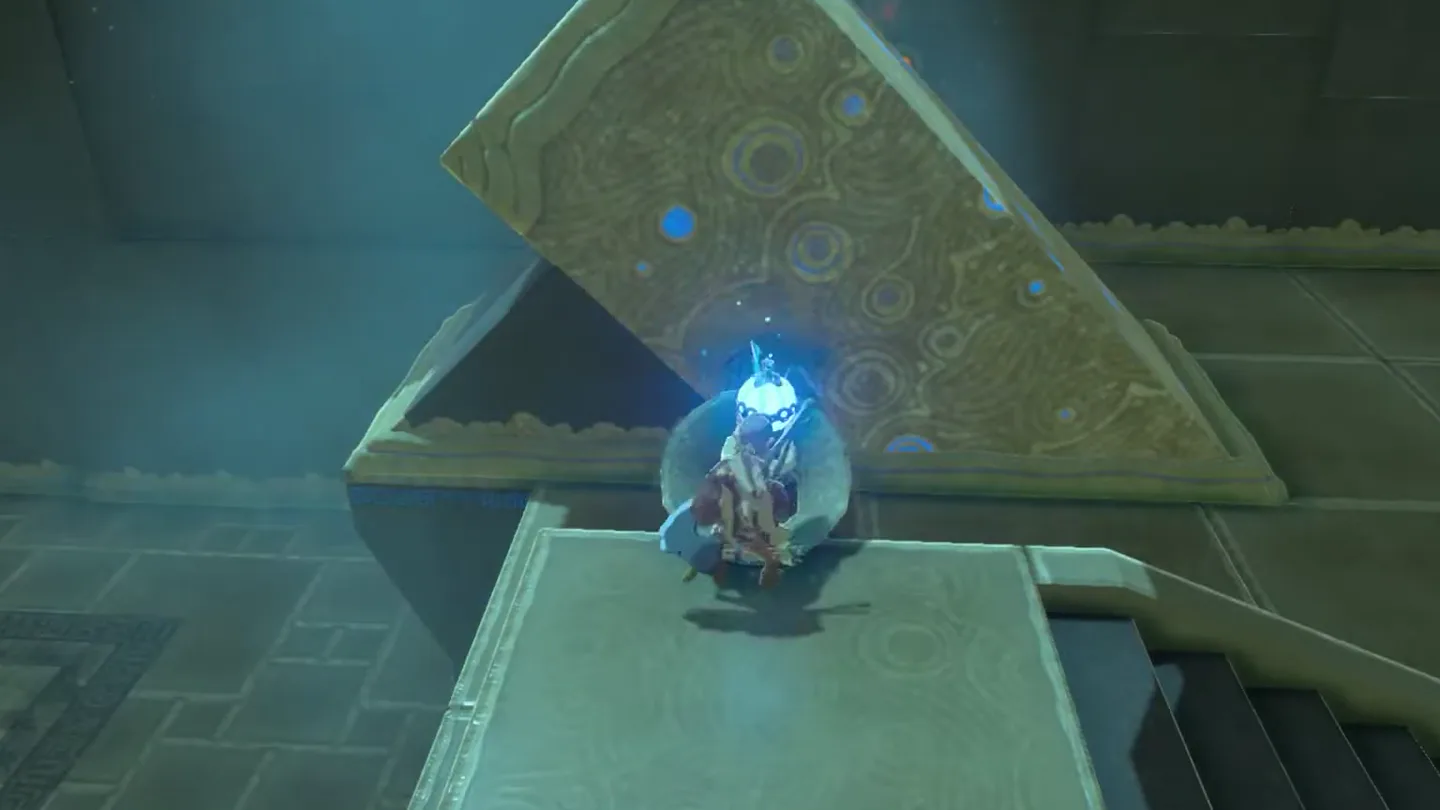
Load the right-hand pipe. Go up the steps, select a round bomb, and drop it into the pipe feeding the launcher on the right.
Detonate at the destination. Let the launcher send the bomb across, then explode it beside the cracked blocks to uncover the ladder toward the altar.
5. Launch to the Amber chest
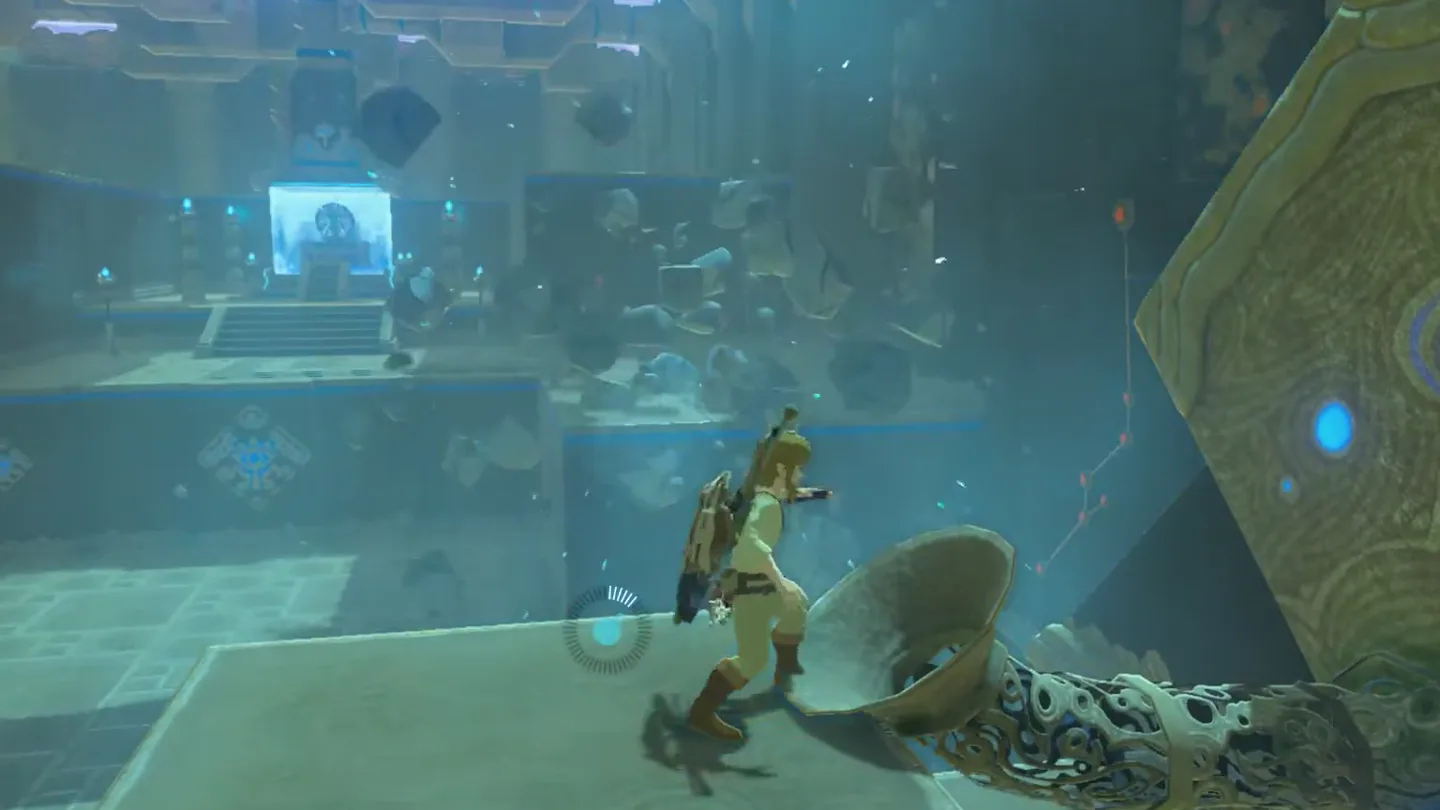
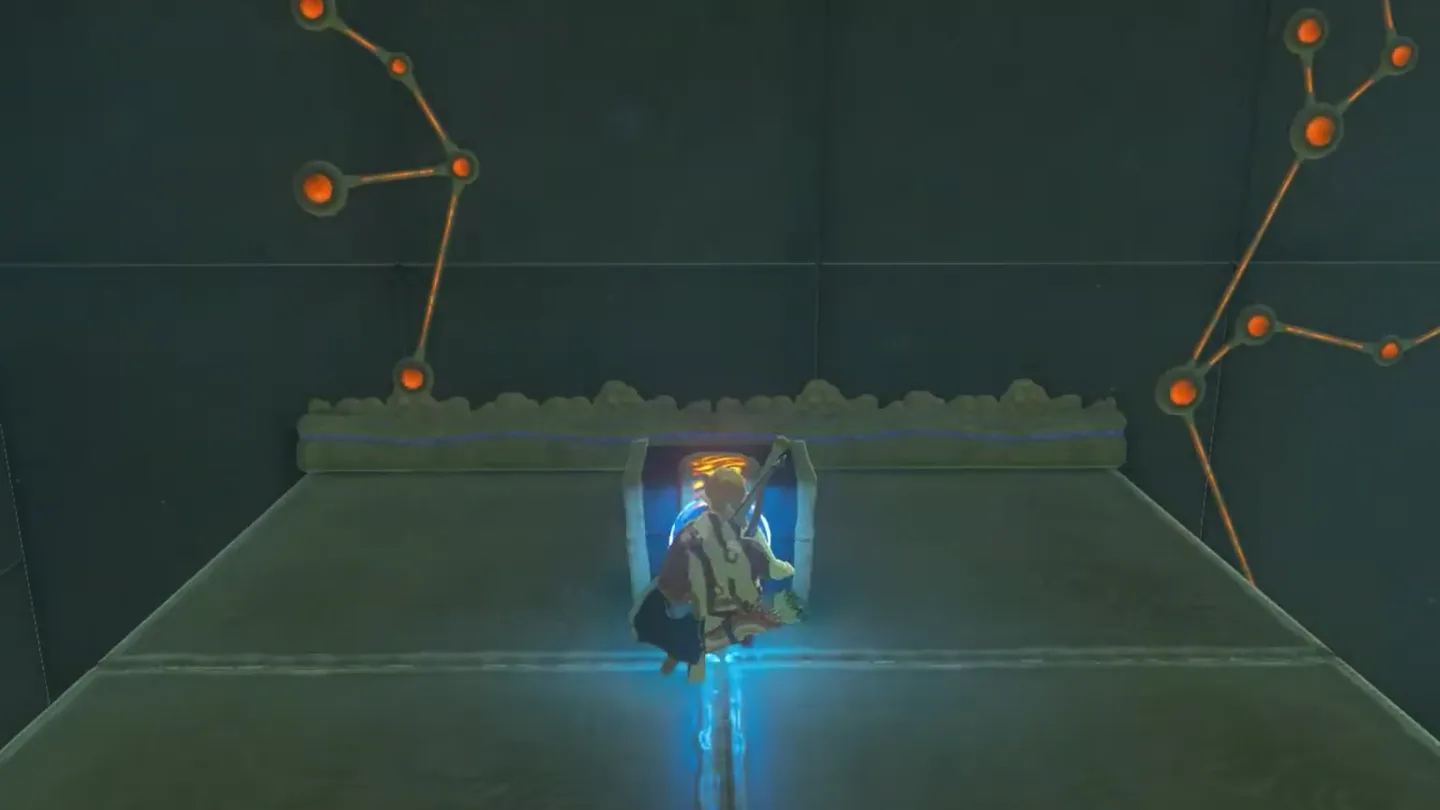
Launch Link to the Amber chest. Go to the far-left launcher and stand on it; let it propel you to the chest ledge, then collect the Amber.
6. Finish at the altar
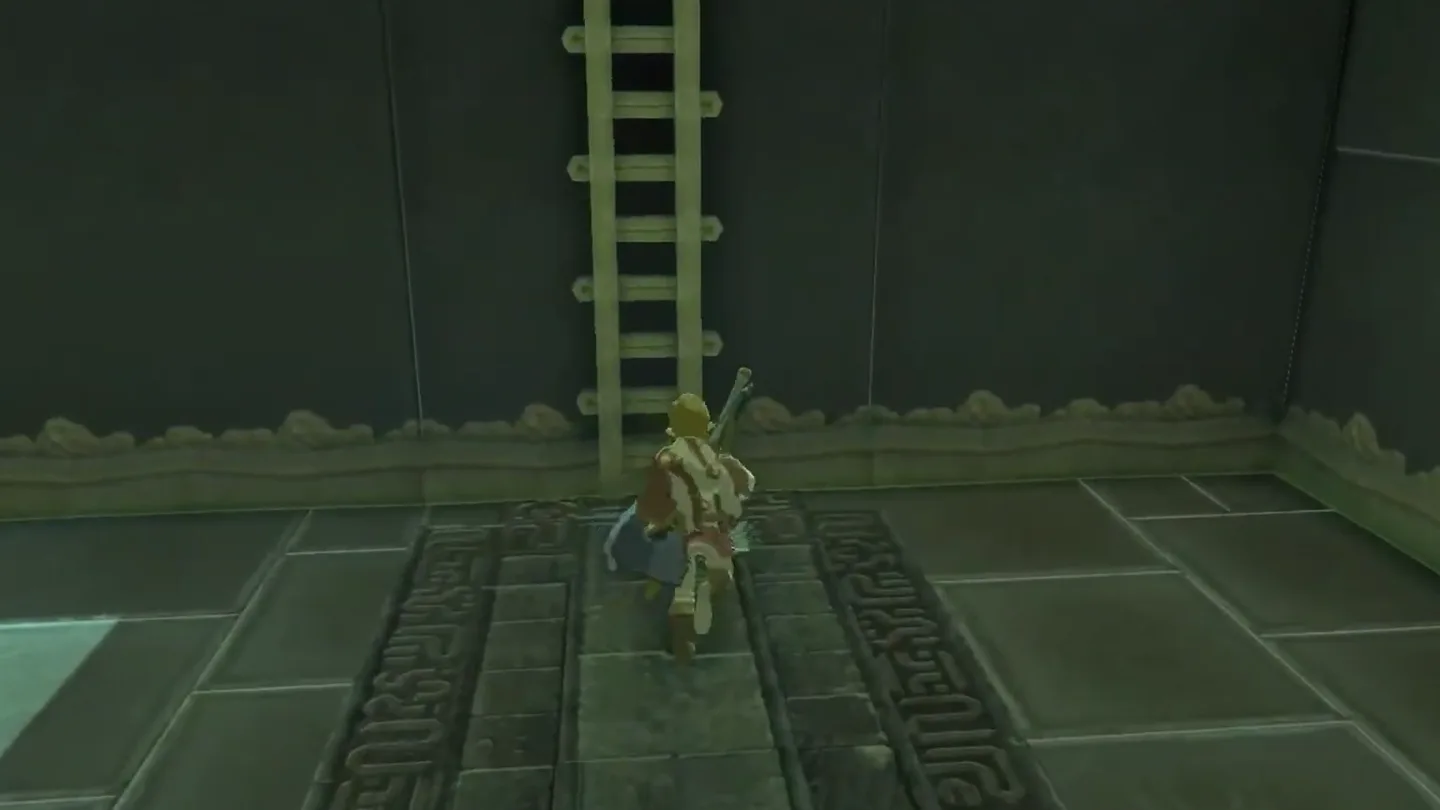
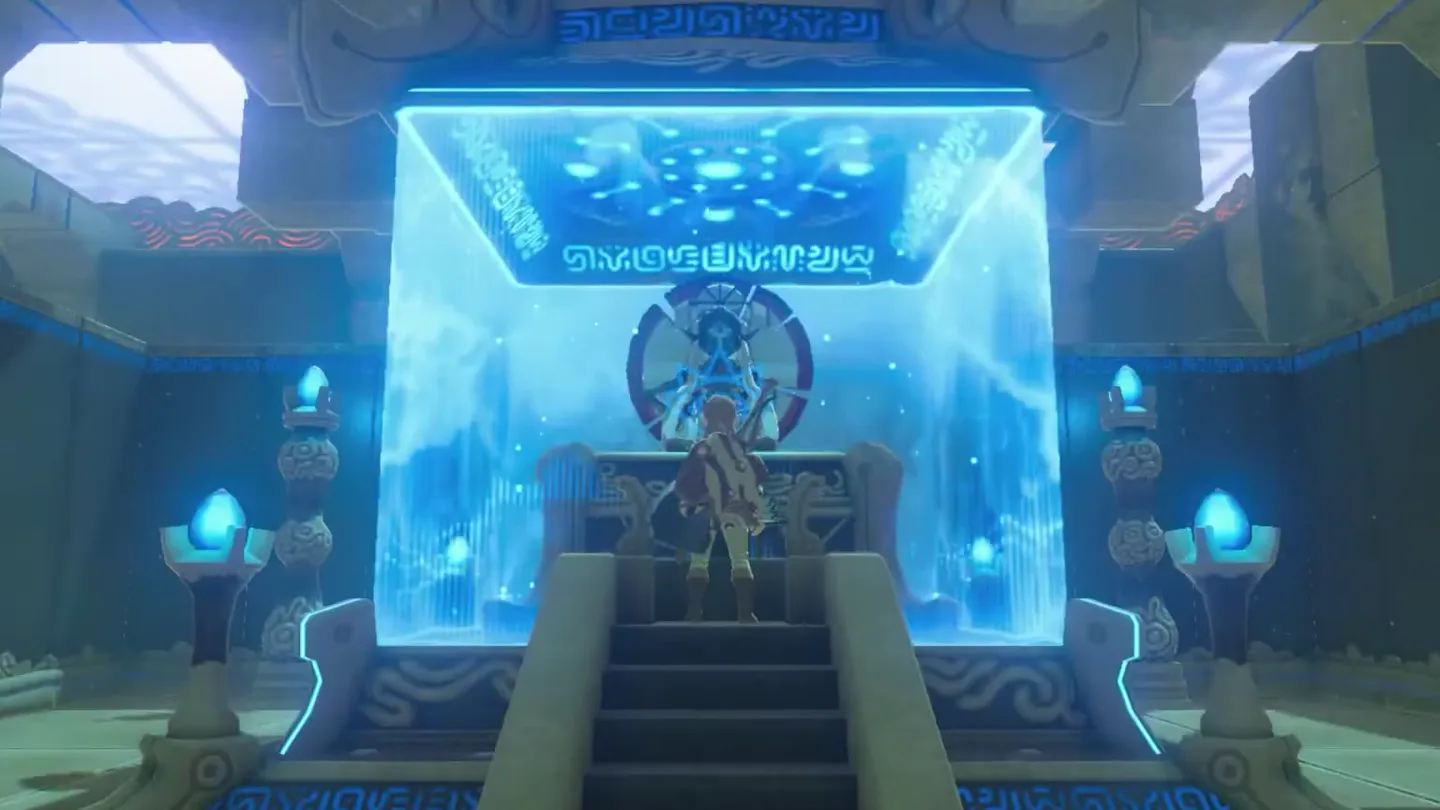
Finish at the altar. Drop back down into the chamber, cross to the cleared ladder, climb it, and interact with the altar’s symbol.
Where are the chests, and what is inside?
| Chest | Contents | How to get it |
|---|---|---|
| 1 | Traveler’s Claymore | After clearing the entrance blocks, bomb the right-hand tunnel’s cracked blocks and open the chest behind them. |
| 2 | Amber | In the launcher chamber, use the far-left launcher to propel Link to the raised chest ledge. |
The right-hand pipe carries a bomb toward the blocked ladder. The far-left launcher carries Link toward the chest. Check that you have collected the Amber before heading up to the altar.
What do people miss here?
- The shrine’s entrance is itself sealed by a Cracked Wall. Besides climbing over the surrounding wall, you can bait the Decayed Guardian’s laser into that cracked wall to blast it open — handy because you don’t own the Remote Bomb rune yet while standing at the door.
- The two launchers on the left that endlessly bounce an Ancient Orb back and forth are only a demonstration of how the machines work — there is no puzzle to solve there and no chest to find. The launchers won’t damage your health; they simply hurl whatever is placed in front of them a fixed distance, bombs and Link included.
- Every detonation puts the Remote Bomb rune on a short cooldown. A bomb popped too early on the moving platform or in the launcher pipe means waiting out that cooldown before you can spawn another one, so a mistimed blast costs you the attempt plus the wait.
- Don’t waste the Traveler’s Claymore on red Bokoblins. Remote Bombs kill very low-health enemies without spending weapon durability or arrows, so save the claymore for bulkier foes once you can finally leave the Great Plateau.
What else is nearby?
| Shrine | Direction | Straight-line distance | Region |
|---|---|---|---|
| Oman Au Shrine | northwest | 526 | Great Plateau |
| Owa Daim Shrine | southwest | 580 | Great Plateau |
| Ya Naga Shrine | south | 621 | Lake |
Which related guides help next?
- All BotW shrine locations: browse the regional checklist.
- How to find BotW shrines: plan your search for missing shrines.
- Oman Au Shrine: a nearby shrine northwest of Ja Baij.
- Tears of the Kingdom vs. Breath of the Wild: compare the games when choosing which guide to follow.
FAQ
Do I need bombs before entering Ja Baij Shrine?
How do I get the bomb across the moving platform?
How do I use the bomb launcher in Ja Baij Shrine?
Where are the Ja Baij Shrine chests?
Is Ja Baij Shrine a Test of Strength?
Related Articles
guides
Breath of the Wild Captured Memories: All 13 Locations and Rewards
All 12 photo locations from Zelda's album plus the 13th memory in Impa's painting, with coordinates, nearby shrines, the Champion's Tunic and the extra ending scene.
guides
Breath of the Wild Great Fairy Fountains: Locations, Costs and Horse God
Where the four Great Fairy Fountains and the Horse God Malanya are in Breath of the Wild, what each fairy costs to release, and how many you need per armor upgrade.
guides
Hyrule Castle Walkthrough: Entry Routes, Hylian Shield and Final Prep
How to get into Hyrule Castle in Breath of the Wild: five entry routes, the Hylian Shield and other loot by room, and what to prepare before the final battle.
Was this helpful?
Thanks for the feedback!