

Rohta Chigah Shrine Guide: Stop to Start and Chest (BotW)
Clear the Eastern Abbey camp and cross Rohta Chigah’s spike floor, gears, conveyors and swinging balls. Includes the Forest Dweller’s Shield chest.
Where is Rohta Chigah Shrine, and how do you reveal it?
In The Legend of Zelda: Breath of the Wild, Rohta Chigah is a DLC shrine north of Eastern Abbey and south of the Great Plateau Tower. Start The Champions’ Ballad, take the One-Hit Obliterator, and clear the marked camp here to make it appear.
| Detail | What to look for |
|---|---|
| Trial | Stop to Start |
| Region | Great Plateau — north of Eastern Abbey |
| Main mechanic | Magnesis platforms and timed movement past spikes |
| Chest | Forest Dweller’s Shield |
| Availability | The Champions’ Ballad DLC |
This additional shrine is separate from the 120 base-game shrine checklist.
How do you approach the camp with the One-Hit Obliterator?
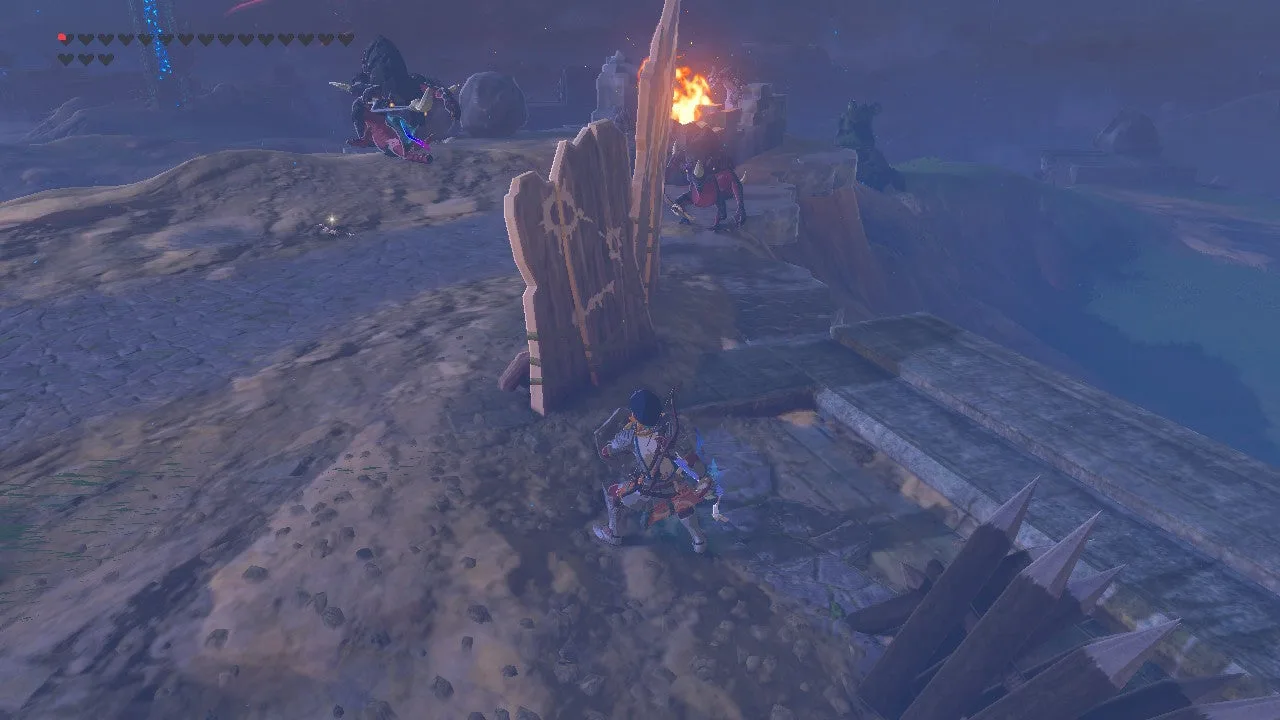
- Use the high ground around the Great Plateau Tower to observe the camp. Find the elevated Lizalfos archers first, then attack from range or glide towards a clear landing spot.
- Keep the ruins between you and distant attacks. A Decayed Guardian in the area can make an exposed approach dangerous; watch its line of fire rather than focusing only on the nearby Lizalfos.
- Lure melee Lizalfos away from the group. Let an isolated enemy approach your cover, strike while the weapon glows, and retreat to recharge when needed.
- Avoid lingering below loose rocks or beside fire. Once the marked enemies are defeated, the shrine rises nearby.
What should you prepare before entering?
Bring a bow and ordinary arrows. You will use Magnesis for the metal platforms and Stasis for moving machinery or a hanging ball. Your health remains restricted inside: brushing a spike is enough to fail, and the One-Hit Obliterator cannot remove these traps.
How do you solve Stop to Start?
1. Build a route to the first room’s chest
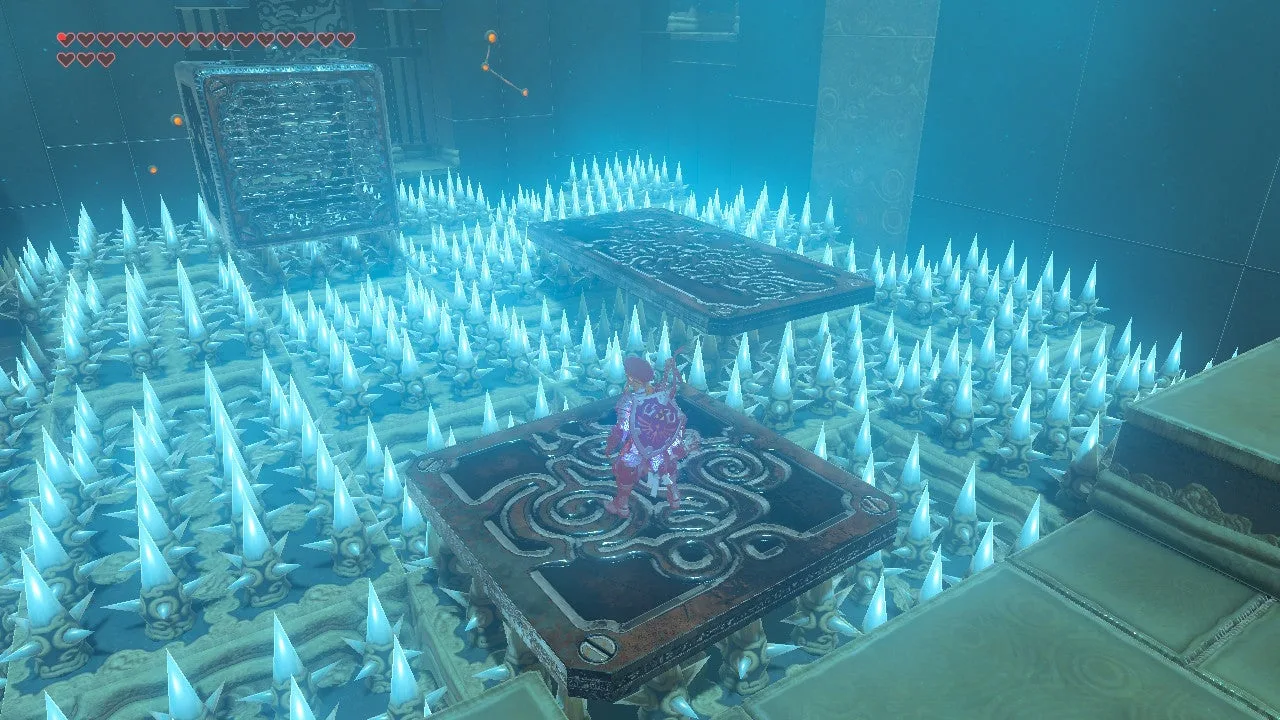
Use Magnesis to position the metal plates over the spiked floor. Place them close enough that you can step or make a short jump between them. The floor moves, so check that each plate is resting securely before committing.
For the chest, aim towards the raised alcove on the right. Position the metal cube as the final step, bridge to it with a plate, then climb onto it and reach the alcove. Open the chest for a Forest Dweller’s Shield. Reposition the pieces from safe footing to continue to the opposite doorway; you can move a plate from behind you to the front.
2. Cross the gears and conveyor belts
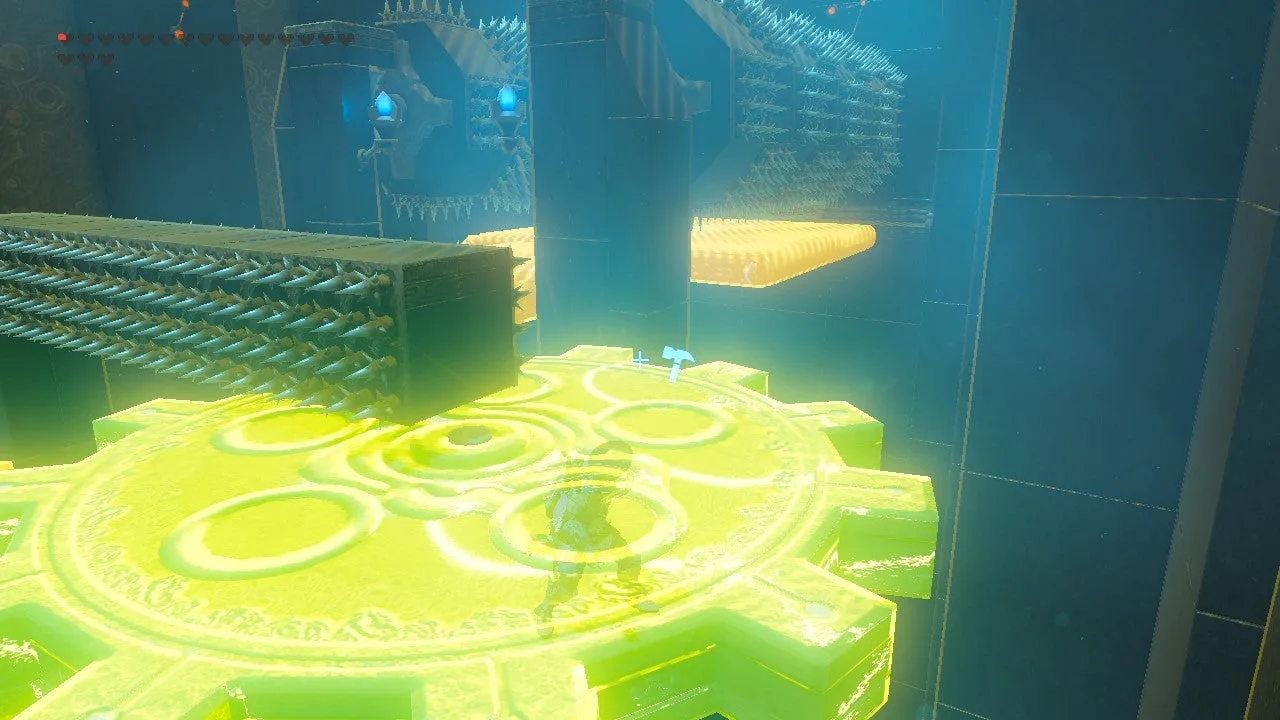
The rotating gears carry you towards spikes at their edges. Keep towards their centres and walk against the rotation where necessary. Use Stasis on the gear you are about to cross if you need a stable step; do not stand at its outer edge waiting for the rune to recharge.
Beyond the gears, conveyor belts push you towards more spikes. Stop on safe ground to inspect their direction, then cross the narrow course without drifting sideways. Stasis can pause a belt, but it only holds one target at a time: do not plan a route that requires both a gear and a belt to stay frozen.
3. Clear the hanging balls before gliding
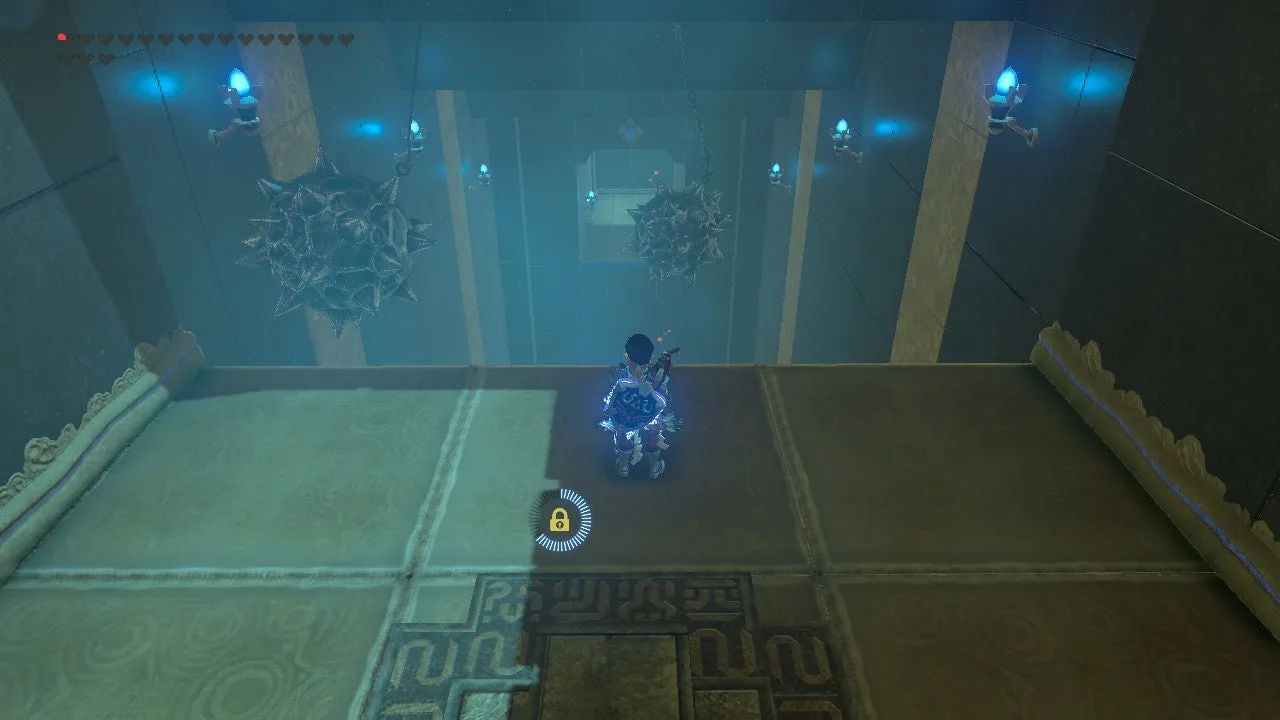
At the gap, aim at the rope above the first spiked ball and shoot it to drop the obstacle. Observe the remaining swings before jumping. Freeze one ball when it is out of your intended path, then glide through the opening to the far ledge. Excessive sideways movement costs forward distance and can leave you short of the landing.
4. Trigger the final wall and pass each trap deliberately
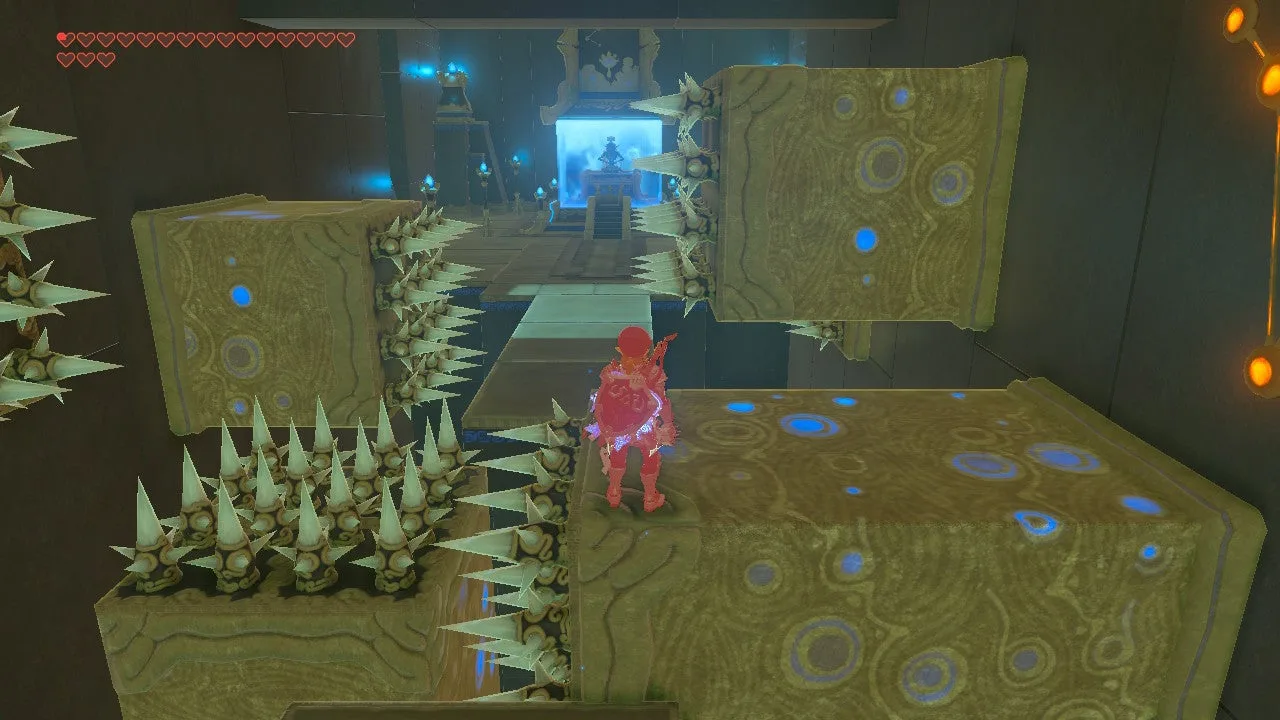
Drop onto the floor switch. A spike wall starts advancing from behind, but this is not a cue to sprint blindly. Keep the camera facing the route ahead and move steadily along the narrow walkway.
Approach the stone blocks carefully. Wait briefly for the side spikes to reveal their movement, then walk around the safe side of each block. Do not immediately climb over a block when a side trap appears: another trap can strike over its top.
At the final gap, use the bare climbable surface of the right-hand extending block, keeping clear of its spiked face, to gain height. Jump or glide onto the exit ledge. Approach the monk for the Spirit Orb.
Where is the treasure chest?
| Chest | Contents | How to collect it |
|---|---|---|
| First room, raised right-hand alcove | Forest Dweller’s Shield | Move the plates and cube into a route across the spikes, then climb to the ledge |
Take it before leaving the first room so you do not need to repeat the course for the reward.
What are the main dangers?
- A badly placed metal plate can wobble when the spikes underneath move. Reposition it before stepping on.
- A frozen ball is still a physical obstacle. Stop it outside the path you want to glide through.
- Stasis can expire during a hesitation. Choose a safe waiting place before starting a machinery section.
- The last corridor punishes panic: watch the forward and side traps as well as the chasing wall.
Which trial should you tackle next?
Yowaka Ita uses a metal bowl, Etsu Korima hides its traps in darkness, and Ruvo Korbah tests careful Guardian combat. Return to the Champions’ Ballad overview when all four are complete.
FAQ
Where is the Rohta Chigah Shrine chest?
How do you cross the swinging spike balls?
Should you sprint through the final spike corridor?
Related Articles
shrines
Kamia Omuna Shrine Guide: Moving Targets (BotW)
Defeat the Igneo Talus Titan at Lake Darman, time Kamia Omuna’s cannon shots, rotate the target cage, and recover its Diamond chest in Breath of the Wild.
shrines
Kee Dafunia Shrine Guide: The Melting Point (BotW)
Pass the sunrise ring, melt ice into stairs, reveal the Frostblade chest, and lift the final ice cube in Kee Dafunia Shrine in Breath of the Wild.
shrines
Keive Tala Shrine Guide: Big or Small (BotW)
Defeat the Molduking to reveal Keive Tala Shrine, connect its metal-and-water circuit, and solve the laser puzzle for a Radiant Shield in Breath of the Wild.
Was this helpful?
Thanks for the feedback!