

Etsu Korima Shrine Guide: Path of Light and Chest (BotW)
Clear the Mount Hylia camp, follow the lights past lasers and spike walls, burn down the Gold Rupee chest, and survive Etsu Korima’s dark shrine.
Where is Etsu Korima Shrine, and how do you reveal it?
In The Legend of Zelda: Breath of the Wild, this DLC shrine appears at the marked mountain camp north of Mount Hylia’s peak, above the southern side of the River of the Dead. Start The Champions’ Ballad, take the One-Hit Obliterator, and defeat the camp’s enemies to reveal it.
| Detail | What to look for |
|---|---|
| Trial | Path of Light |
| Region | Great Plateau — Mount Hylia |
| Main mechanic | Follow light sources through a dark trap course |
| Chest | Gold Rupee, worth 300 rupees |
| Availability | The Champions’ Ballad DLC |
This is an additional DLC shrine, separate from the 120 base-game shrine checklist.
How do you clear the snowy camp without being hit?
- Activate cold protection before entering the snow. Use suitable clothing or a cold-resistant food effect. With restricted health, environmental damage is as serious as an enemy attack.
- Scout from the ridge above the camp. Deal with nearby Ice Keese and Ice Chuchus at range so they cannot hit you while you aim into the camp; stay clear of an Ice Chuchu’s icy burst.
- Prioritize the Blizzrobe. Attack it with Fire Arrows from your vantage point before its magic disrupts the approach.
- Separate the Ice-Breath Lizalfos and Moblins. Keep out of the archer’s line of sight while drawing melee attackers towards you. Strike with the glowing One-Hit Obliterator, then back away to recharge instead of chasing another enemy into the group.
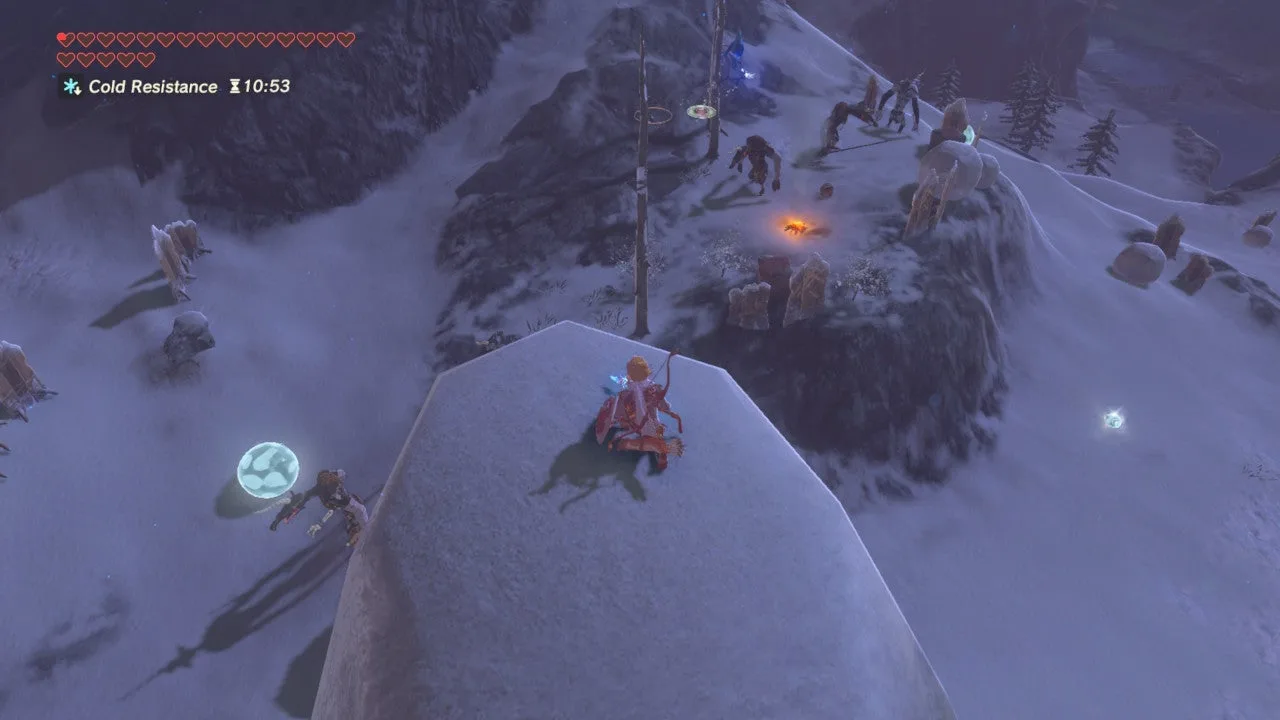
What should you prepare before entering?
Keep your bow and arrows ready. A Fire Arrow is convenient for the optional chest, although you can also ignite an ordinary arrow at a fixed flame. Do not plan to replace the One-Hit Obliterator with a torch. Use the shrine’s lights and the glow from your weapon or runes to read the immediate surroundings.
How do you solve Path of Light?
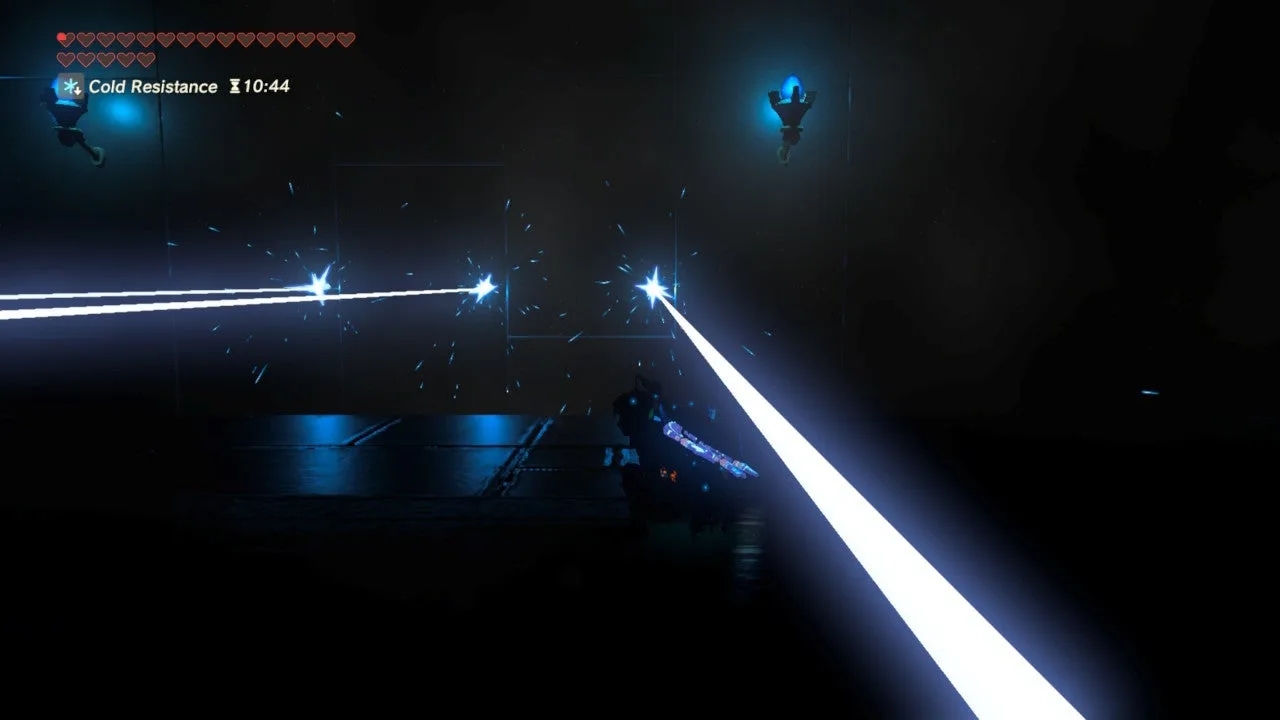
1. Walk around the vertical lasers and crouch under the low beams
Follow the lit route until laser beams block the corridor. Walk around the vertical beams, then crouch under the fixed horizontal beams. Pause before the final moving beam: watch its height change and pass when there is clearance. The correct response depends on the beam’s direction, so do not try to crouch through the entire room without looking.
2. Follow the lights between the rotating spike walls
Turn into the next room and stop where you can see the rotating walls. Use the fixed flames as landmarks, and wait outside a wall’s sweep before following behind it. Both sides can carry spikes; an edge moving away does not mean the whole passage is safe.
Work towards the far side in short sections. Before crossing between rotating walls, wait until their movement leaves a clear opening. Recheck your surroundings at each light rather than running directly towards the next one.
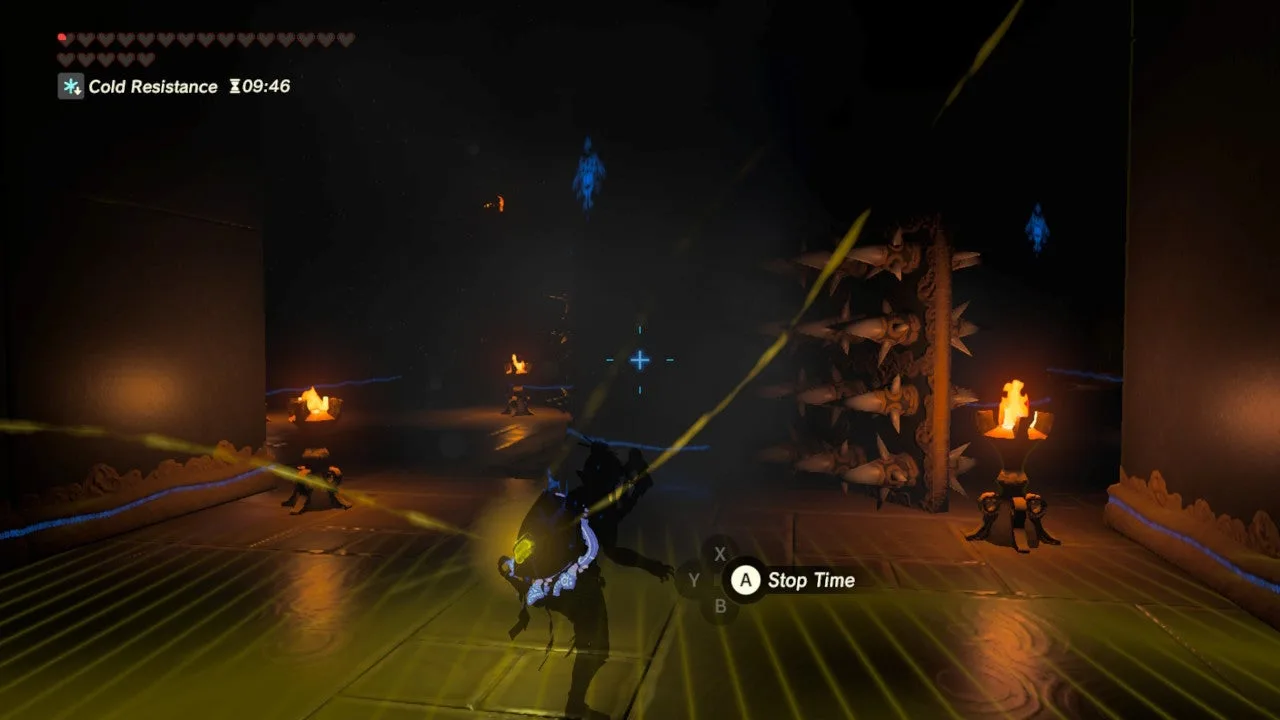
3. Burn down the chest before leaving this room
Near the end of the rotating-spike room, look up to the left. Dry foliage leads towards a wooden platform supporting a chest. Shoot it with a Fire Arrow, or light an ordinary arrow using a nearby fixed flame and fire that instead.
Wait away from the spreading fire until the support burns and the chest falls. Open it for a Gold Rupee worth 300 rupees, then return to the onward route. The chest is easy to miss if you watch only the floor.
4. Pass the flame jets, then check behind the final room’s walls
At the flame corridor, watch each set of jets complete a cycle. Move through an opening while its jets are off, then stop at the next safe gap and reassess. Do not assume the next flames follow the same timing as the ones you just passed.
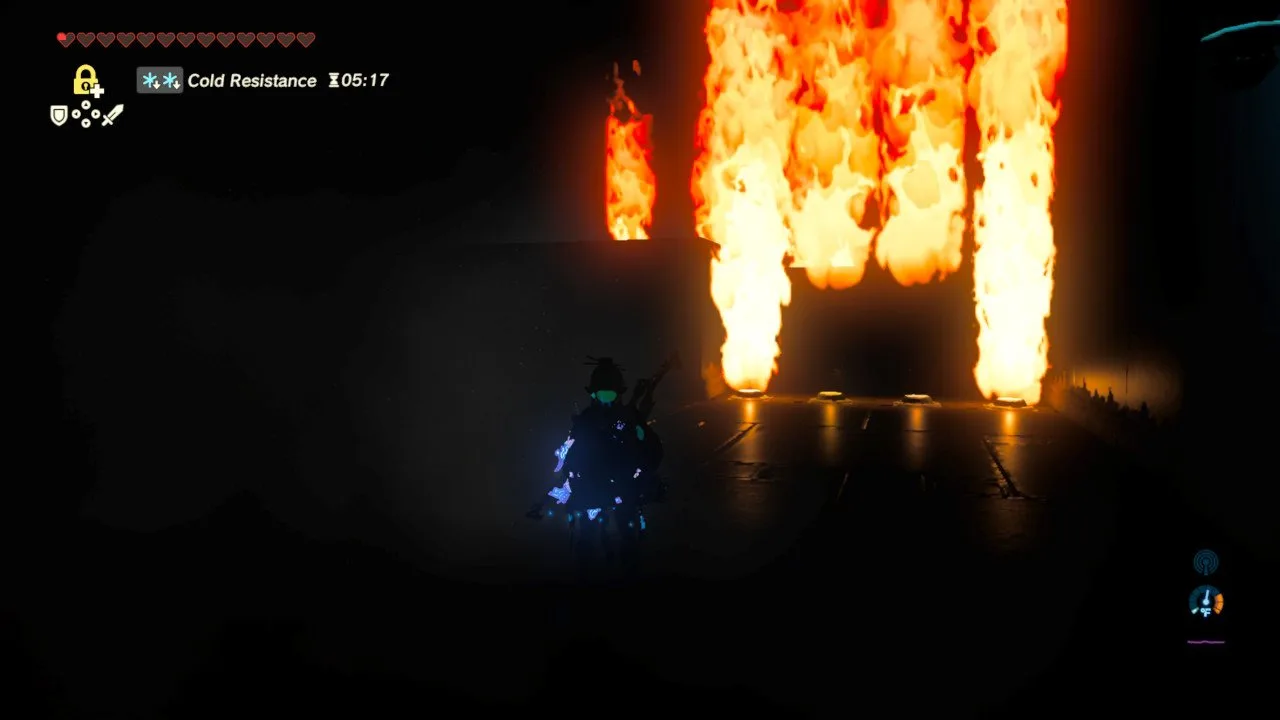
Beyond the corridor, three Guardian Scouts wait in the dark; some are hidden behind walls. Use cover and your bow to avoid engaging the whole room at once. Approach an isolated scout only after checking the other firing angles, then finish it with the charged One-Hit Obliterator. Keep your shield ready while changing position.
After the threat is cleared, climb the long staircase towards the light and speak to the monk for the Spirit Orb.
Where is the treasure chest?
| Chest | Contents | How to collect it |
|---|---|---|
| Raised wooden platform near the end of the rotating-spike room | Gold Rupee, 300 rupees | Burn the foliage and wooden support, then open the fallen chest |
What are the main dangers?
- Cold outside the shrine. Refresh an expiring food effect before it runs out, or use suitable clothing.
- Treating every light as an immediately safe destination. Rotating spikes may sweep across the route between lights.
- Standing under the burning chest platform. Shoot from a safe position and let the fire subside before collecting it.
- Rushing the final room. Look behind the walls and check different heights for enemies before approaching the stairs.
Which trial should you tackle next?
The remaining plateau routes are Yowaka Ita’s rolling orbs, Rohta Chigah’s spike course, and Ruvo Korbah’s extended combat trial. Follow the Champions’ Ballad overview into the Champion branches after finishing all four.
FAQ
How do you see inside Etsu Korima Shrine?
Where is the Etsu Korima Shrine chest?
How much is the Gold Rupee worth?
Related Articles
shrines
Kamia Omuna Shrine Guide: Moving Targets (BotW)
Defeat the Igneo Talus Titan at Lake Darman, time Kamia Omuna’s cannon shots, rotate the target cage, and recover its Diamond chest in Breath of the Wild.
shrines
Kee Dafunia Shrine Guide: The Melting Point (BotW)
Pass the sunrise ring, melt ice into stairs, reveal the Frostblade chest, and lift the final ice cube in Kee Dafunia Shrine in Breath of the Wild.
shrines
Keive Tala Shrine Guide: Big or Small (BotW)
Defeat the Molduking to reveal Keive Tala Shrine, connect its metal-and-water circuit, and solve the laser puzzle for a Radiant Shield in Breath of the Wild.
Was this helpful?
Thanks for the feedback!