

Owa Daim Shrine Location and Solution (Breath of the Wild)
Reach Owa Daim Shrine on the Great Plateau, solve the Stasis Trial with the gear and boulders, and collect the Traveler’s Shield chest.
Where is Owa Daim Shrine?
Look for the high cliff on the southern edge of the Great Plateau. A route starts at the old man’s woodcutter hut: take the axe inside if needed, fell a tree beside the gap so its trunk spans it, and cross the trunk. Climb the high cliff beyond the gap, bearing right toward the upper part of the climb. At the top, use the Sheikah Slate on the shrine’s entrance terminal.
| Item | Detail |
|---|---|
| Trial | Stasis Trial |
| Tower region | Great Plateau |
| Coordinates (X, Y, Z) | -0925, -2320, 0287 |
| Type | Stasis tutorial puzzle; not a Test of Strength |
| Shrine quest | None |
| Chests | 1 |
| English name | Owa Daim Shrine |
| Traditional Chinese name | 瓦‧摩達伊神廟 |
| Simplified Chinese name | 瓦·摩达伊神庙 |
The coordinates use this site’s shrine-marker convention. For the regional checklist, open all BotW shrine locations.
What should you bring?
Nothing is required. Stasis is downloaded from the terminal just inside the entrance, so you cannot bring it with you, and the Iron Sledgehammer used on the final boulder is provided on the route. There is no combat in this shrine — the only hazard is a rolling boulder — so no weapons, armor, or resistances are needed. On the way in, the axe for felling the tree bridge can simply be picked up at the woodcutter hut.
Video walkthrough

Solution
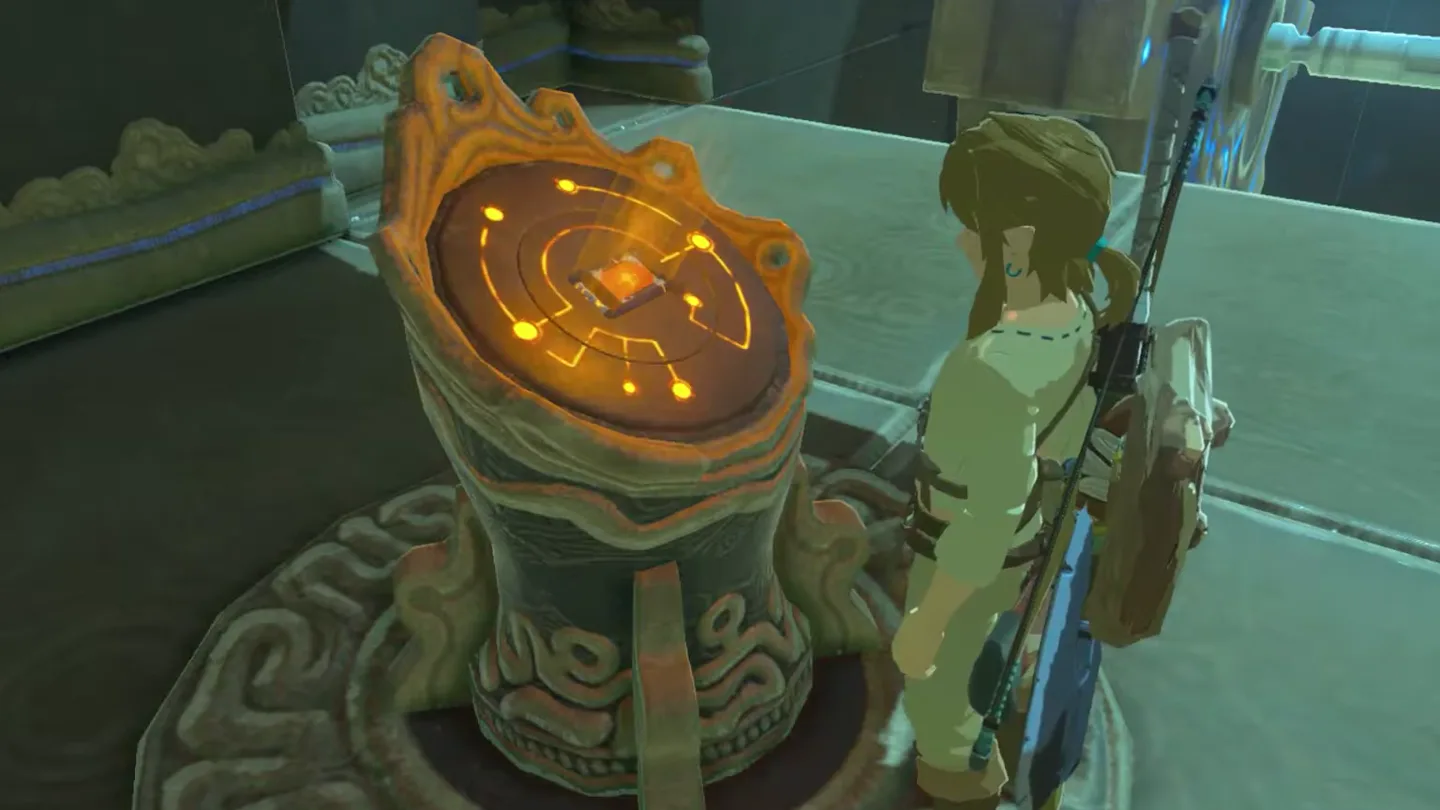
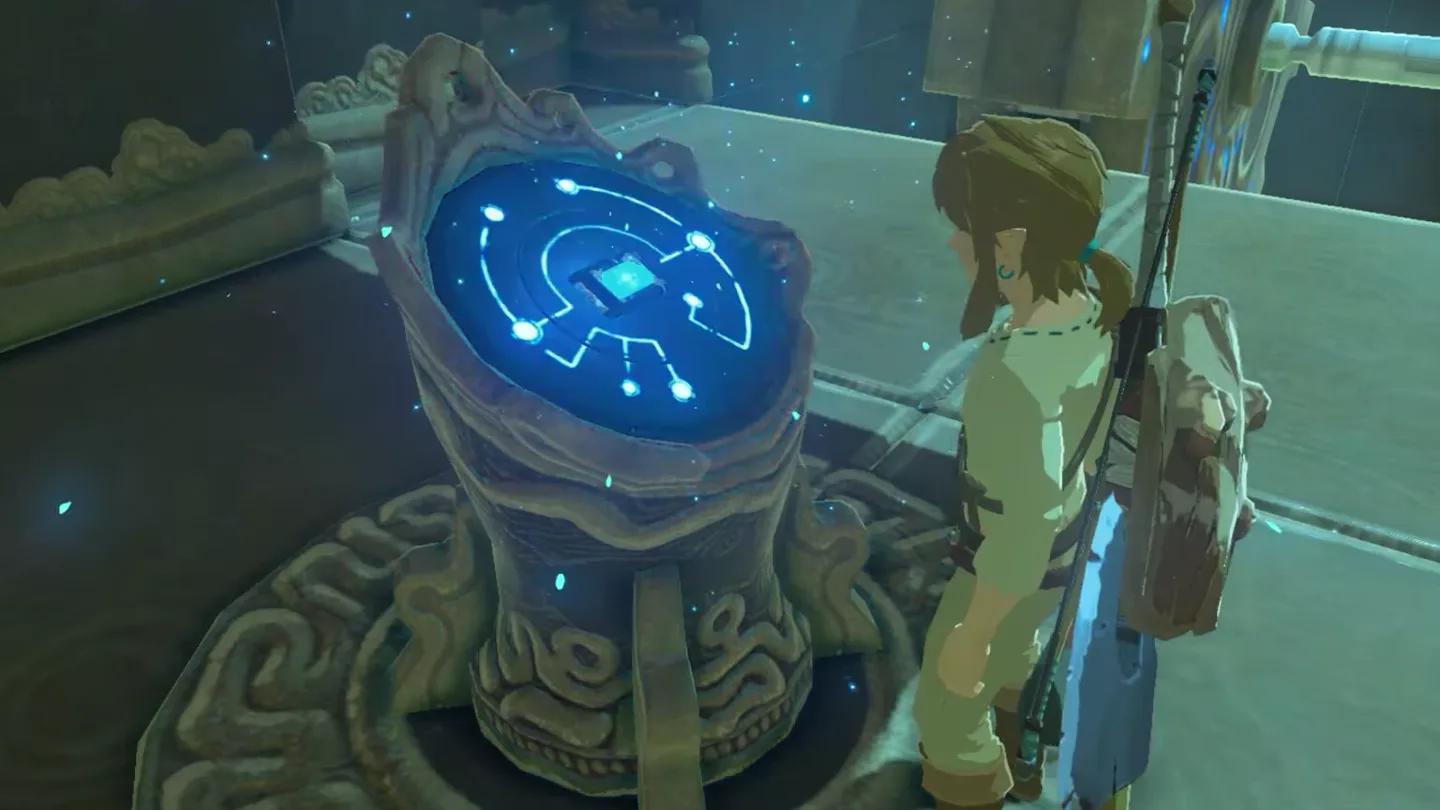
Stasis is obtained inside this shrine. The indoor route uses it to stop moving objects and store force in a stationary boulder. Use the Iron Sledgehammer provided along the route; there is no Guardian fight to prepare for.
1. Obtain the Stasis Rune
Download Stasis. Use the terminal on your left after entering to add the rune to the Sheikah Slate.
2. Cross the Spinning Gear Bridge
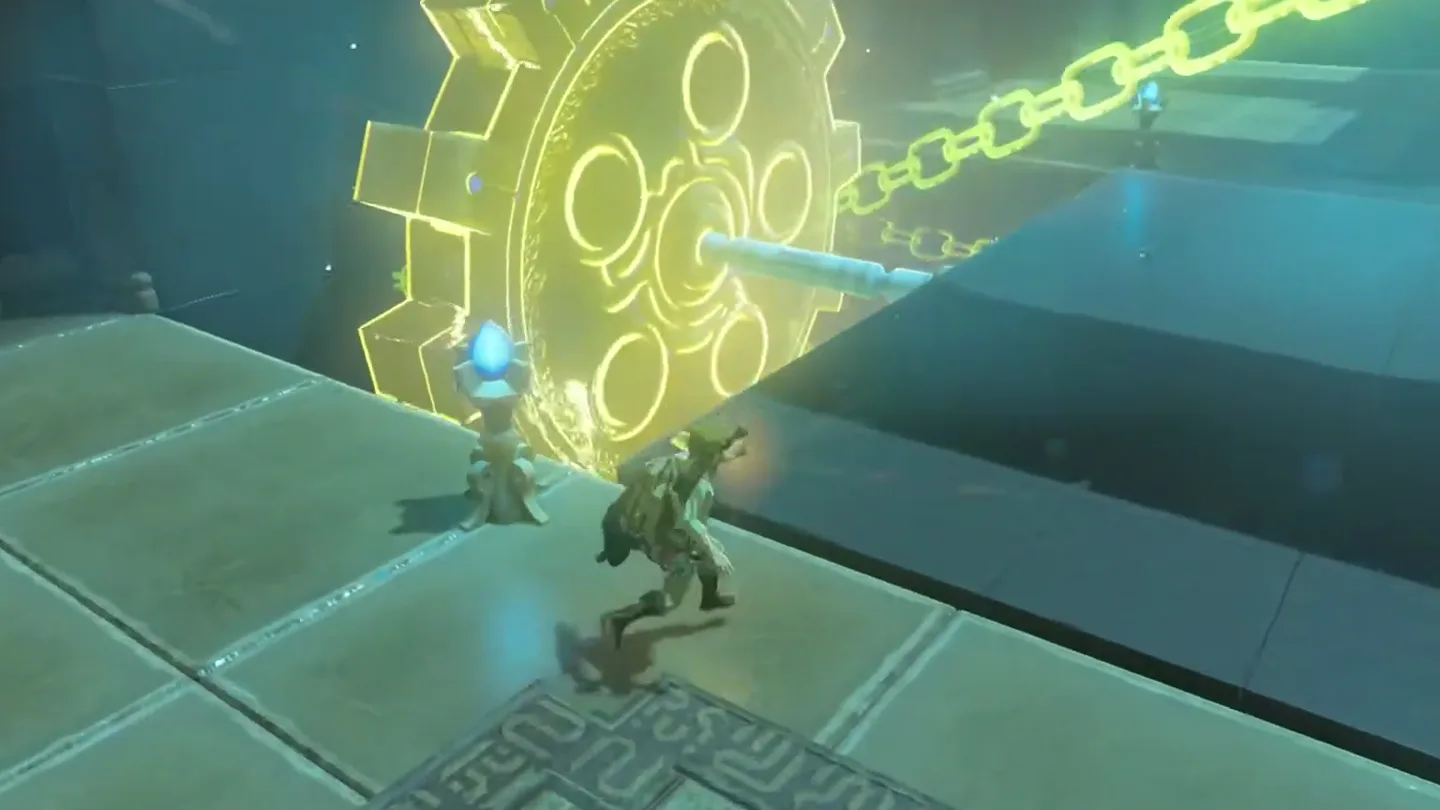
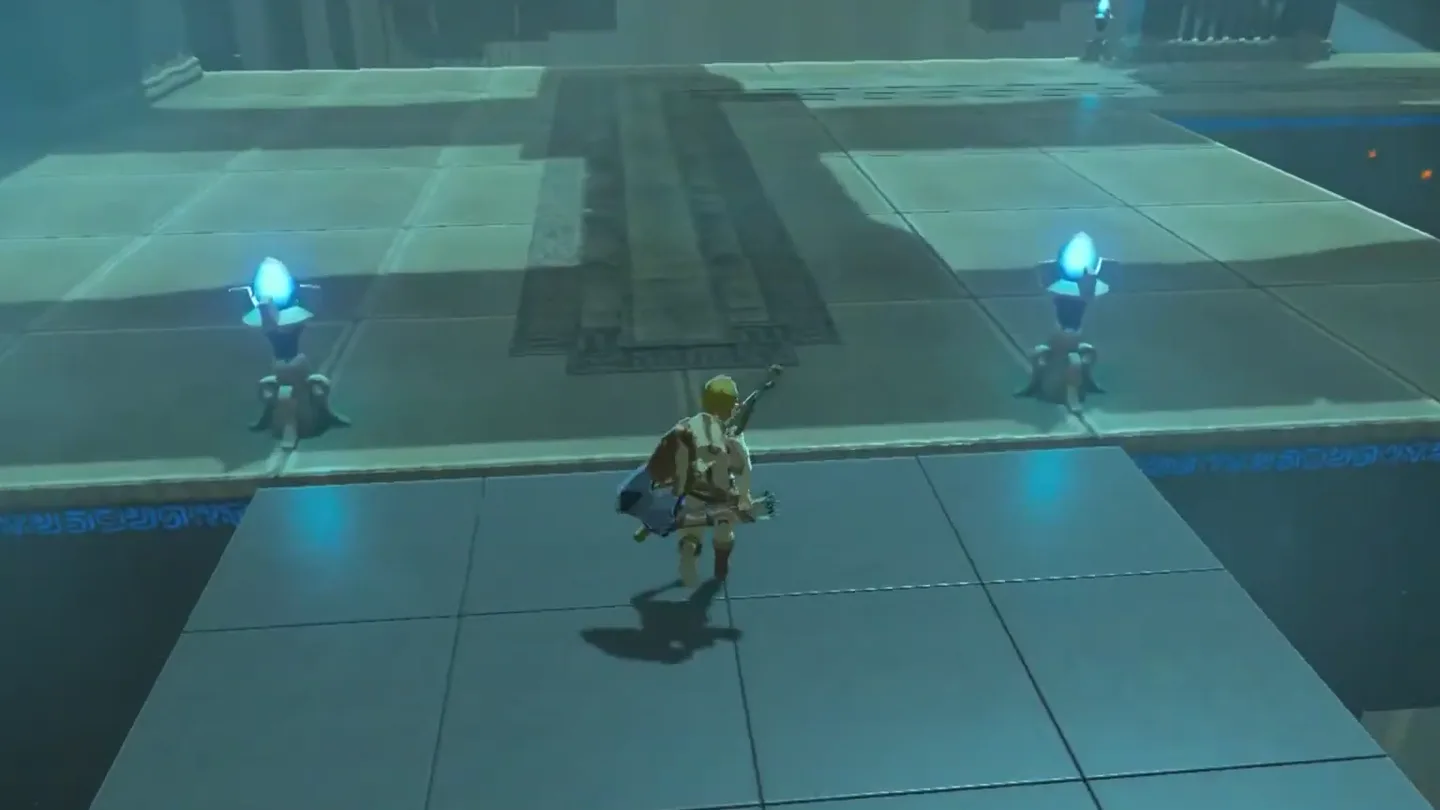
Freeze the gear with the slab horizontal. Aim at the spinning gear, activate Stasis when the attached slab forms a level bridge, and walk across before it starts moving again.
3. Navigate the Rolling Boulder Slope
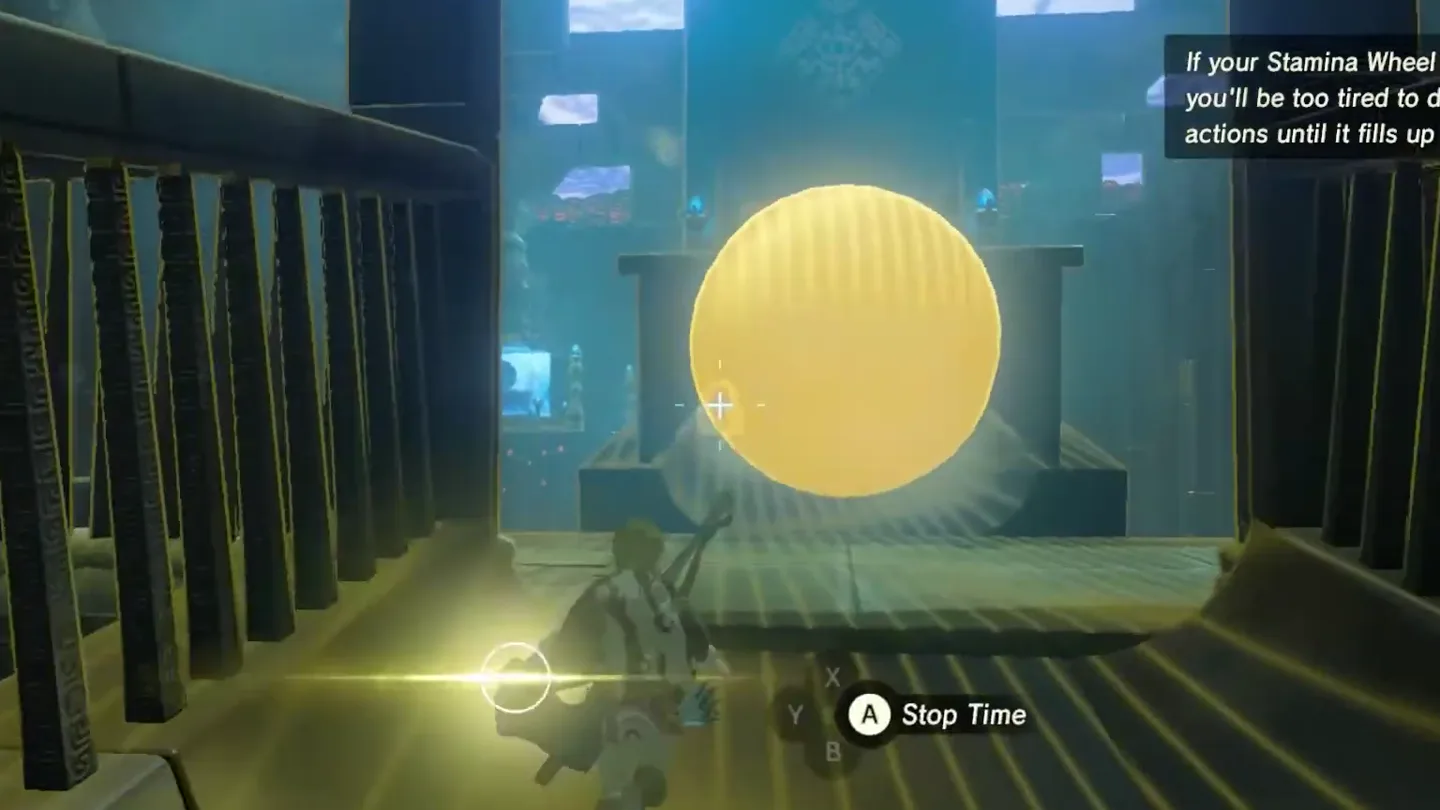
Pass the rolling boulder. Turn right toward the slope. Stop a boulder near the top or bottom of its run with Stasis, move past it, and use the side landing partway up the slope to get out of its path.
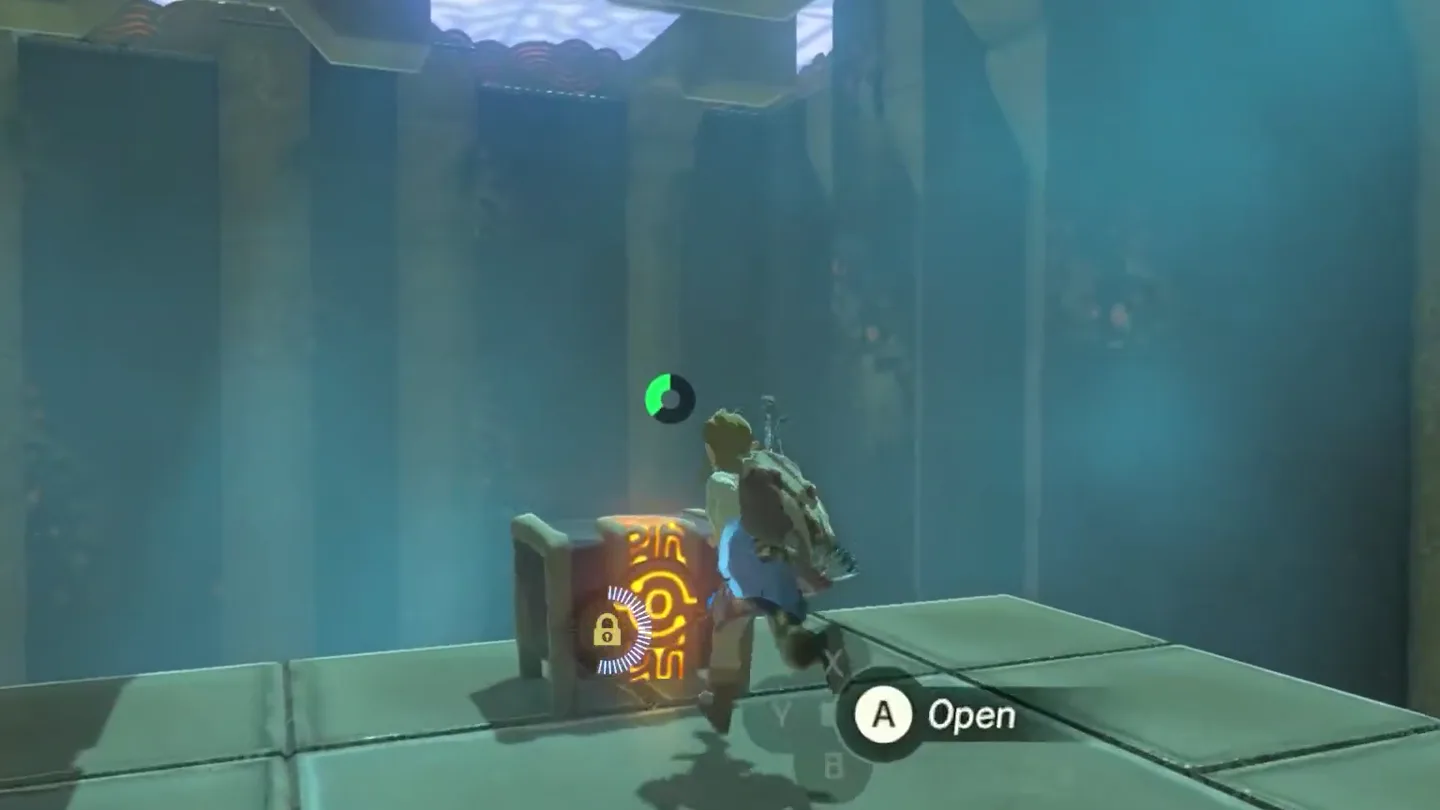
Continue uphill for the chest. Watch for the next rolling boulder and use Stasis to make another opening. Go to the top of the slope and open the chest behind the boulder drop for the Traveler’s Shield.
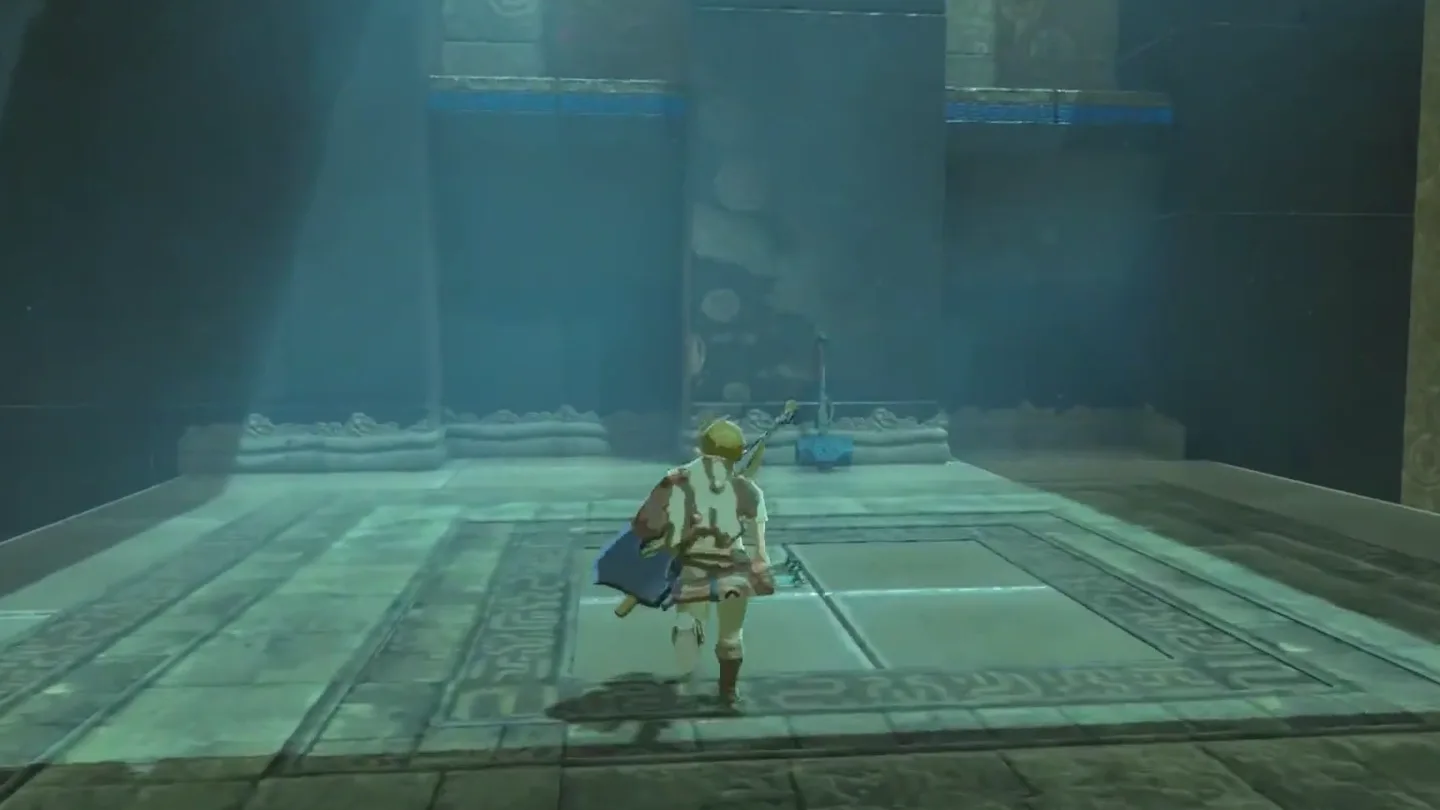
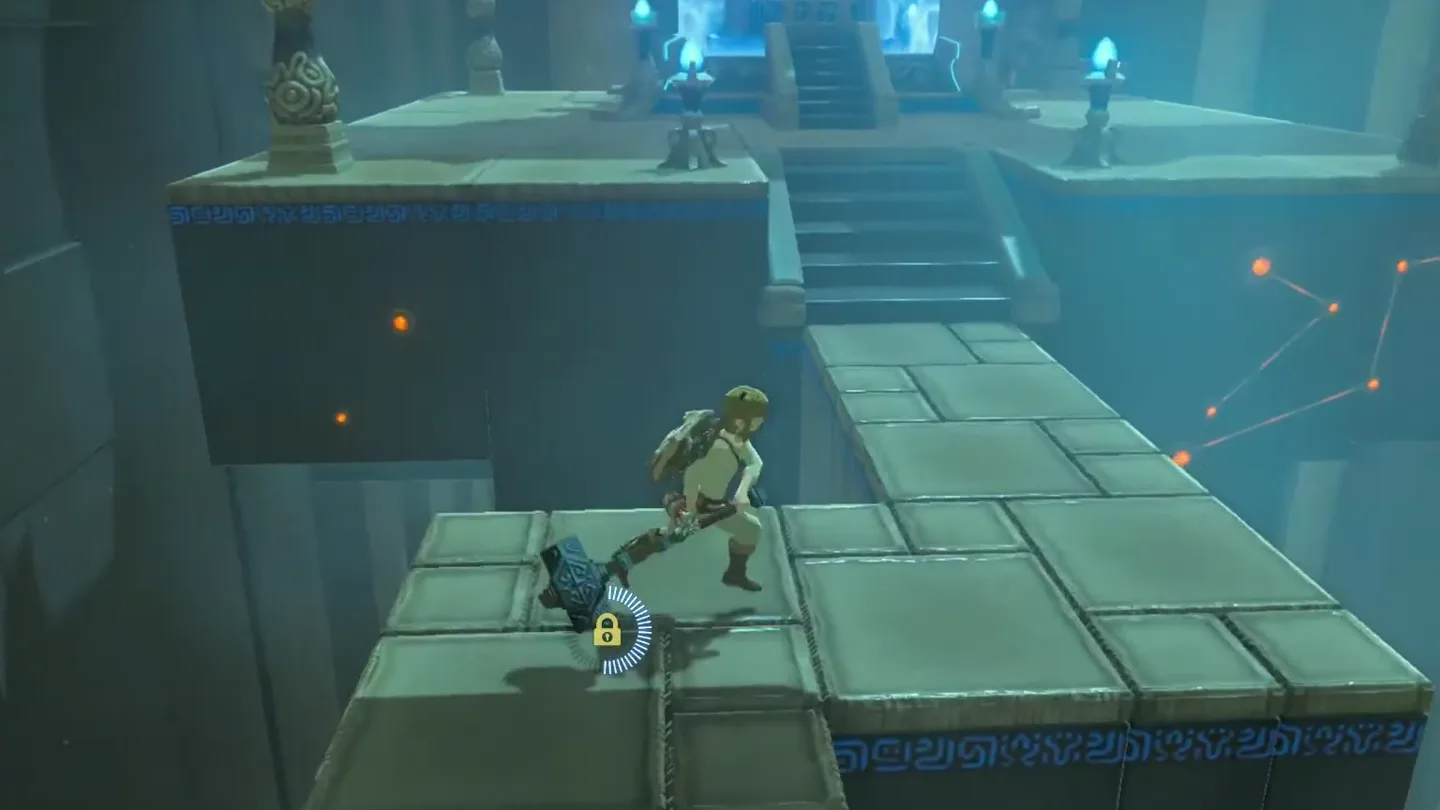
Return to the side route and collect the hammer. Go back down to the intermediate landing, leave the rolling-boulder lane, and pick up the Iron Sledgehammer along the path ahead.
4. Clear the Path and Reach the Altar
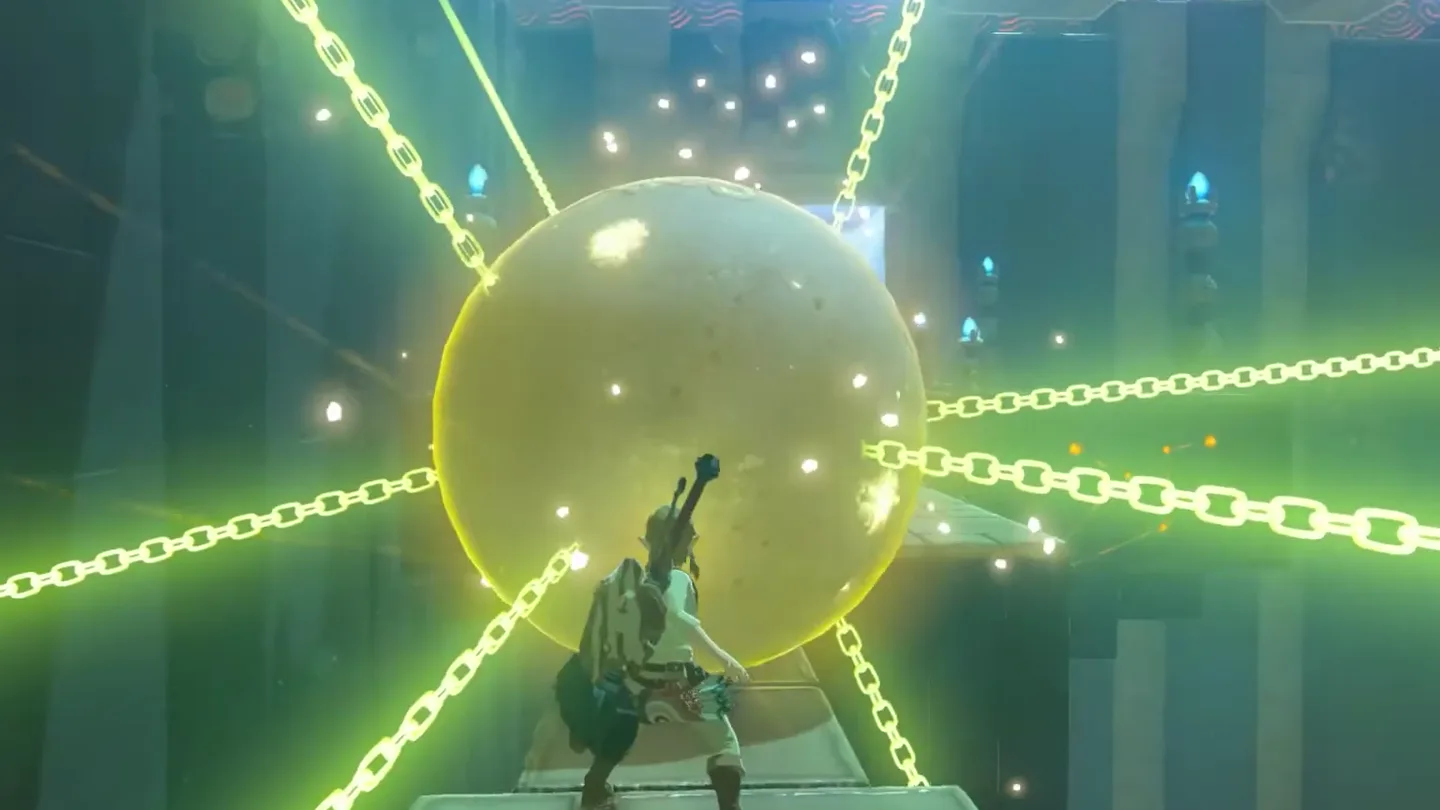
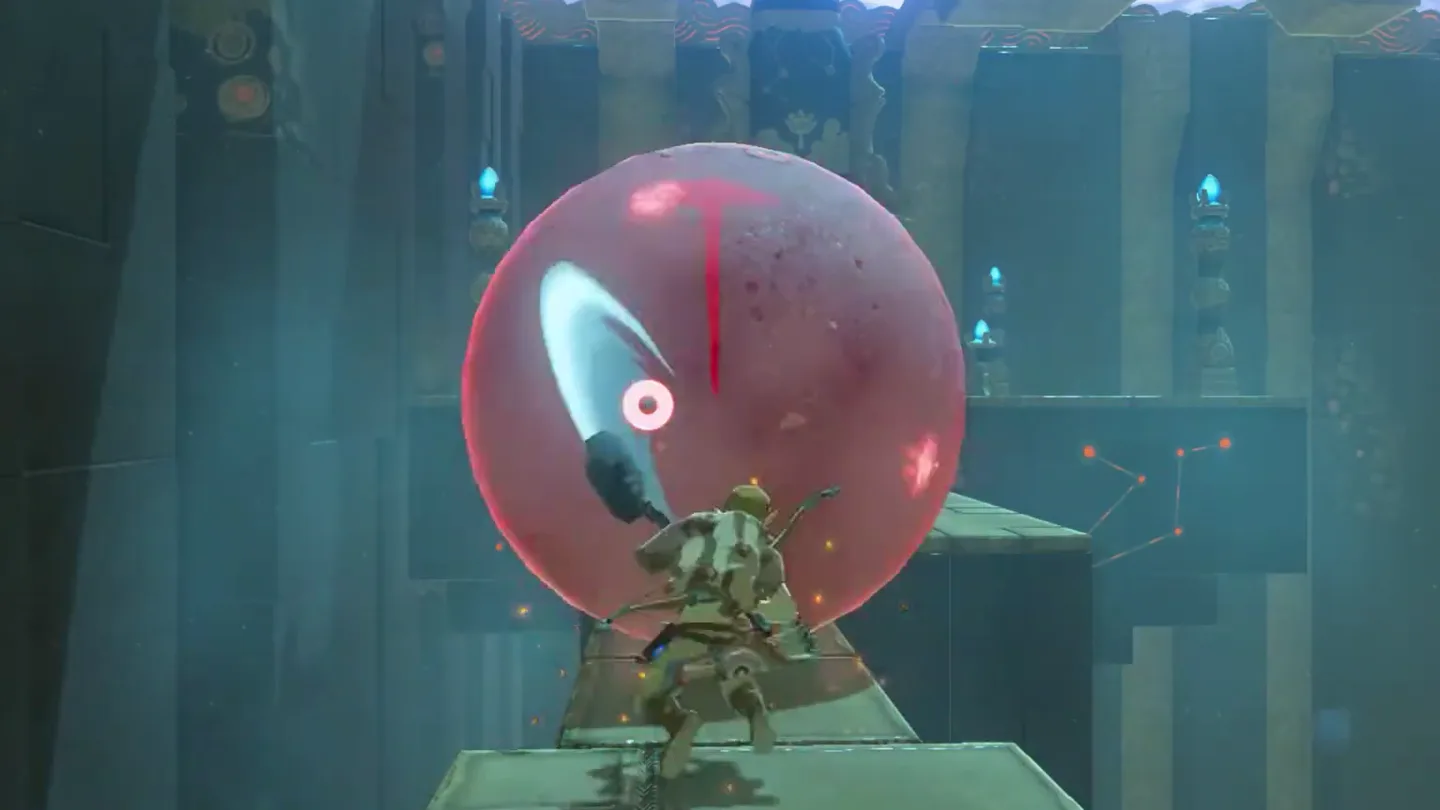
Freeze and strike the blocking boulder. On the narrow route toward the altar, use Stasis on the stationary boulder. Hit it with the hammer while it is frozen; when the effect ends, the stored force launches it out of the way.
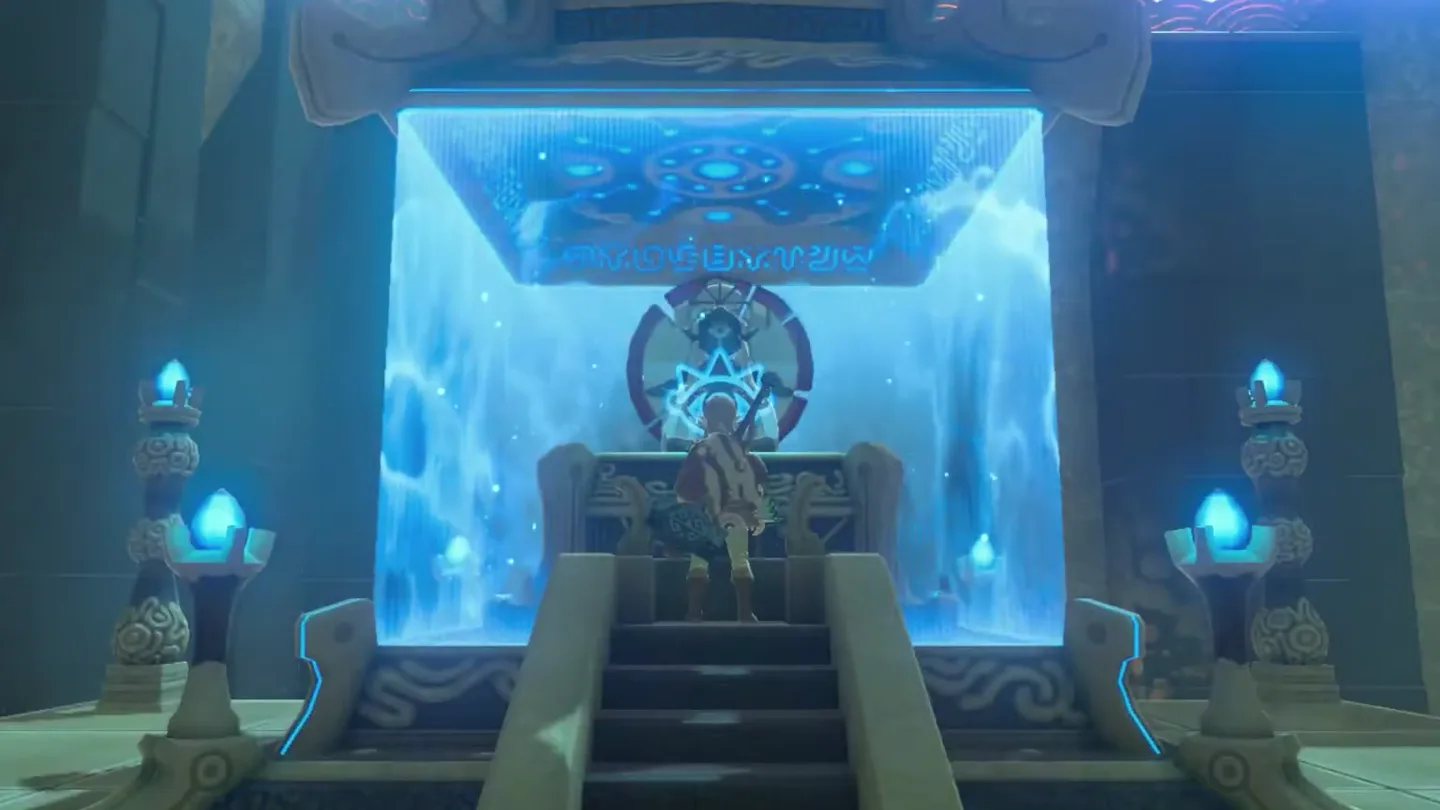
Reach the altar. Follow the cleared path and interact with the Sheikah symbol to finish the trial.
Chests
| Chest | Contents | How to get it |
|---|---|---|
| 1 | Traveler’s Shield | Continue up the rolling-boulder slope past the side landing. Use Stasis to pass the hazard and open the chest at the top, behind the boulder drop. |
The Iron Sledgehammer is a loose pickup on the side route, separate from the chest reward. Collect the shield before committing to the path toward the altar.
What do people miss here?
- Don’t skip the chest because you already have a shield: the Traveler’s Shield is more durable than a Pot Lid or a Bokoblin Shield, so it is still an upgrade even if one of those is currently equipped.
- Freezing a rolling boulder also stops the next one from dropping — no new boulder spawns while the current one is held in Stasis — so the frozen boulder is your entire window to climb, not just an obstacle to sidestep.
- Don’t head for the altar without the Iron Sledgehammer: it is what you need to launch the final boulder, and it is only safe to skip if you are already carrying one. Miss it and you will reach the blocked path empty-handed and have to double back through the rolling boulders.
- When you strike the frozen boulder, an arrow appears and grows longer with each hit — that is the stored-force gauge confirming the launch is building, so keep swinging rather than stopping after one hit.
- This is one of the four shrines the old man requires: he only hands over the Paraglider once you have taken a Spirit Orb from all four, so the Great Plateau cannot be left without finishing this one.
What else is nearby?
| Shrine | Direction | Straight-line distance | Region |
|---|---|---|---|
| Ja Baij Shrine | northeast | 580 | Great Plateau |
| Keh Namut Shrine | northwest | 606 | Great Plateau |
| Ya Naga Shrine | southeast | 658 | Lake |
Related
- All BotW shrine locations: use the Great Plateau section to plan the next shrine.
- How to find BotW shrines: track discoveries and work through missing entries.
- Tears of the Kingdom vs. Breath of the Wild: compare the games if you arrived looking for a different set of abilities.
FAQ
How do I get up to Owa Daim Shrine?
How do I stop the bridge in Owa Daim Shrine?
Where is the chest in Owa Daim Shrine?
How do I move the last boulder in Owa Daim Shrine?
Related Articles
guides
Breath of the Wild Captured Memories: All 13 Locations and Rewards
All 12 photo locations from Zelda's album plus the 13th memory in Impa's painting, with coordinates, nearby shrines, the Champion's Tunic and the extra ending scene.
guides
Breath of the Wild Great Fairy Fountains: Locations, Costs and Horse God
Where the four Great Fairy Fountains and the Horse God Malanya are in Breath of the Wild, what each fairy costs to release, and how many you need per armor upgrade.
guides
Hyrule Castle Walkthrough: Entry Routes, Hylian Shield and Final Prep
How to get into Hyrule Castle in Breath of the Wild: five entry routes, the Hylian Shield and other loot by room, and what to prepare before the final battle.
Was this helpful?
Thanks for the feedback!