

Shae Mo'sah Shrine Walkthrough (Swinging Flames) – Eldin, BotW
Step-by-step guide to Shae Mo'sah Shrine (Swinging Flames) in Eldin near Goron City: burn vines, drop barrels on switches, claim Stone Smasher, Ruby, Ice Arrows.
Where is Shae Mo’sah Shrine?
From Goron City, go to the Boss’s House and take the upward path from there; the shrine sits on a cliff in the northern part of the city, along the way to the Abandoned North Mine. Once activated, it doubles as a handy fast-travel point for Goron City. For orientation, Daqa Koh Shrine is the closest neighbour to the southeast, with Shora Hah Shrine farther north.
| Item | Detail |
|---|---|
| Trial | Swinging Flames |
| Tower region | Eldin |
| Map-marker coordinates | 1757, 2562, 0548 |
| Shrine quest | None |
| Chests | 4 |
| Names | Shae Mo’sah Shrine · 希摩‧依托塞神廟 · 希摩·依托塞神庙 |
What should you bring?
No special armour, gear or abilities are required — Magnesis does the heavy lifting. Do bring a serviceable weapon: the second chamber holds two Guardian Scout Is and one Guardian Scout II wielding a Guardian Sword. A few arrows are handy but optional, since Bombs or Stasis can substitute for every fire-based step if you run dry.
Video walkthrough

How do you solve Shae Mo’sah Shrine?
Every puzzle in Swinging Flames runs on the same trick: swinging or dropped lamps set vines alight, burning vines destroys wooden platforms, and what falls off those platforms — stone barrels and an iron ball — is exactly what the floor switches need.
1. First Room: Burn the Vines and Hold the Gate
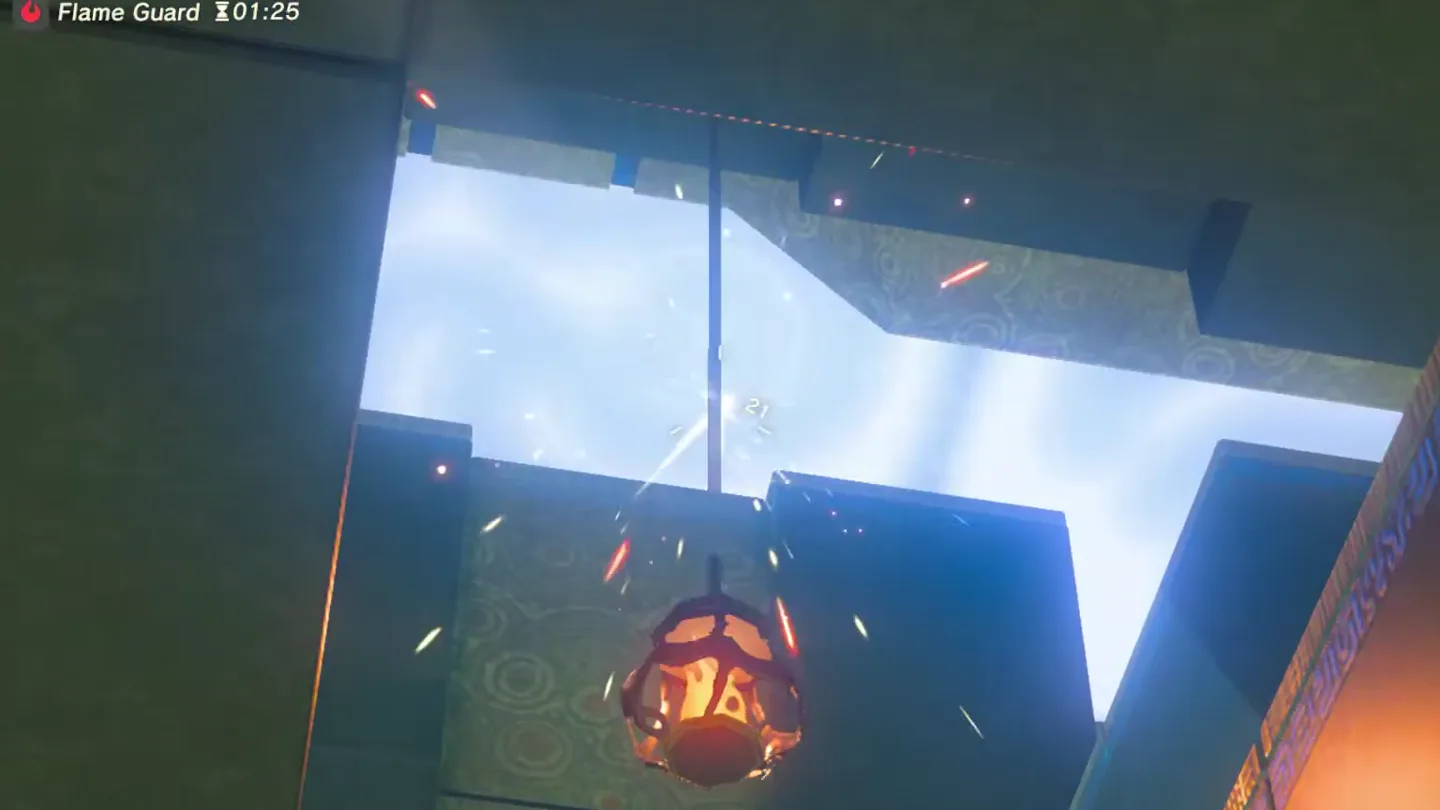
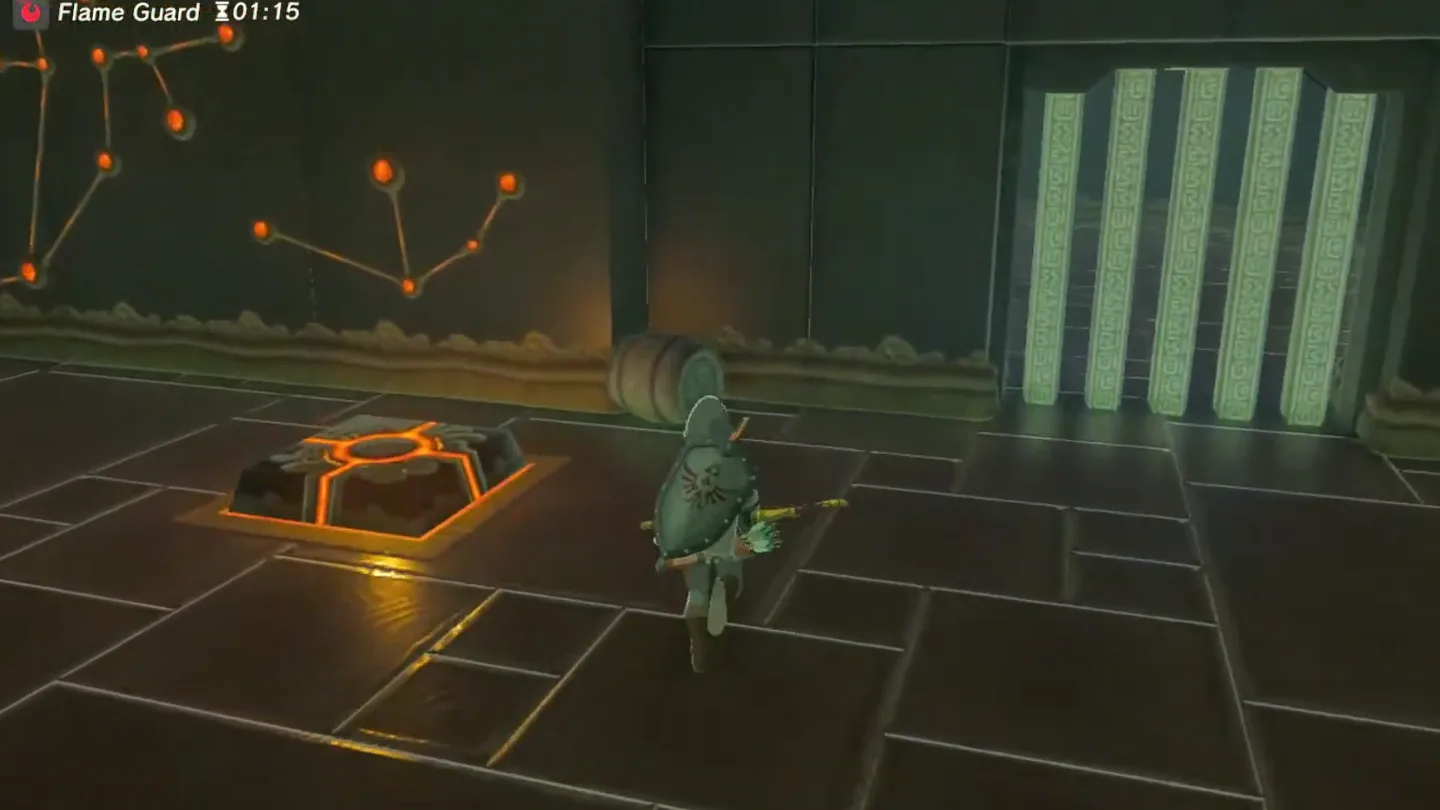
In the first room you’ll see a barred gate and a floor switch that only holds the gate open while you stand on it. Look for a hanging lamp in the ceiling opening above the vines — shoot it down (snap its cable) so it falls and sets the vines on fire.
The flames burn away the vines and the wooden shelf, dropping a stone barrel. Pick the barrel up and place it on the floor switch so the gate stays open permanently. (Out of arrows? A well-timed Bomb, or Stasis on the switch while you stand on it, works too.)
2. Second Chamber: Loot and Defeat Guardian Scouts
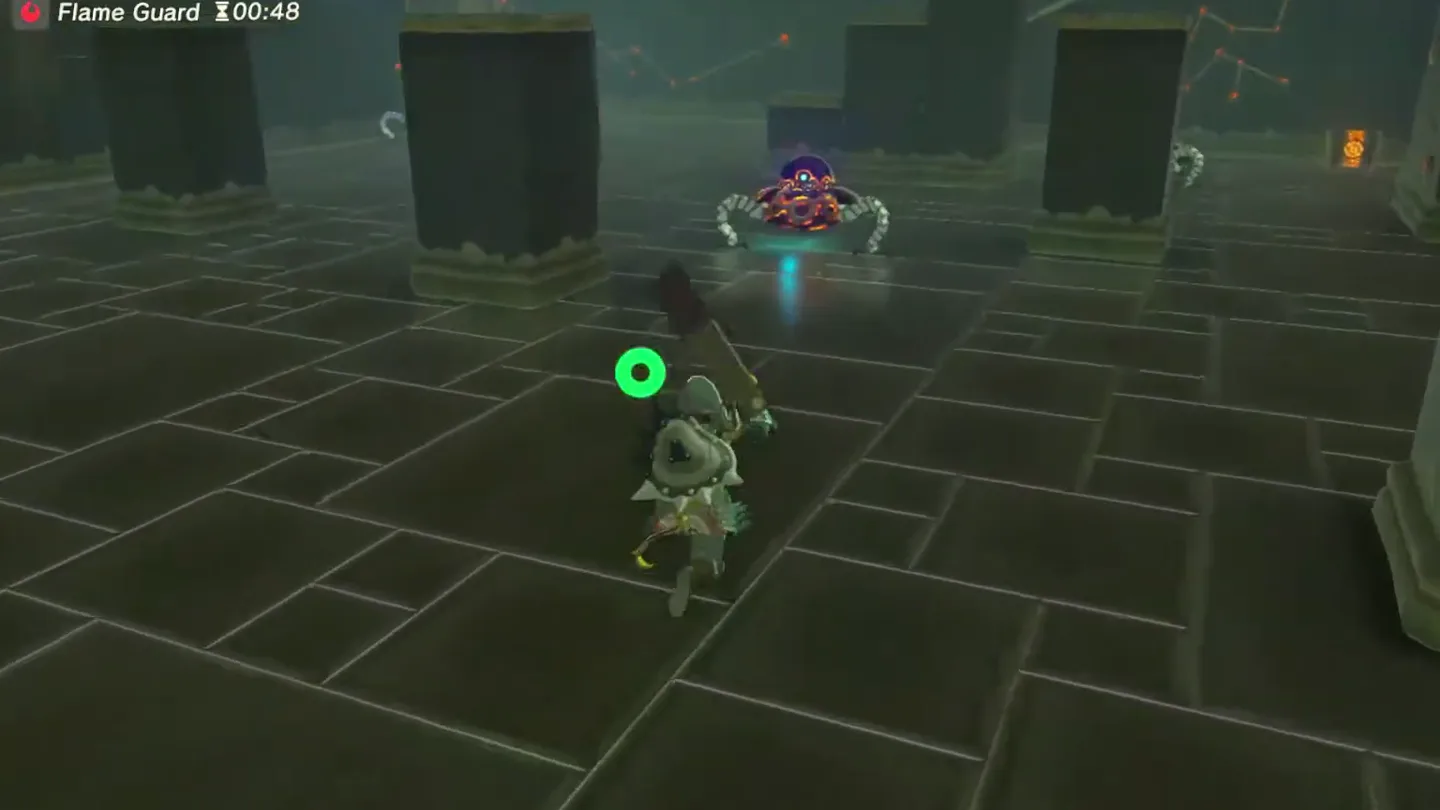
Head through into the large second chamber. As you enter, open the chest to your left for a Stone Smasher — a powerful but slow weapon that’s handy to have.
Defeat the Guardian Scouts patrolling the chamber: two Scout Is and one Scout II armed with a Guardian Sword.
Once they’re down, open the chest in the corner of the room past them for a Ruby.
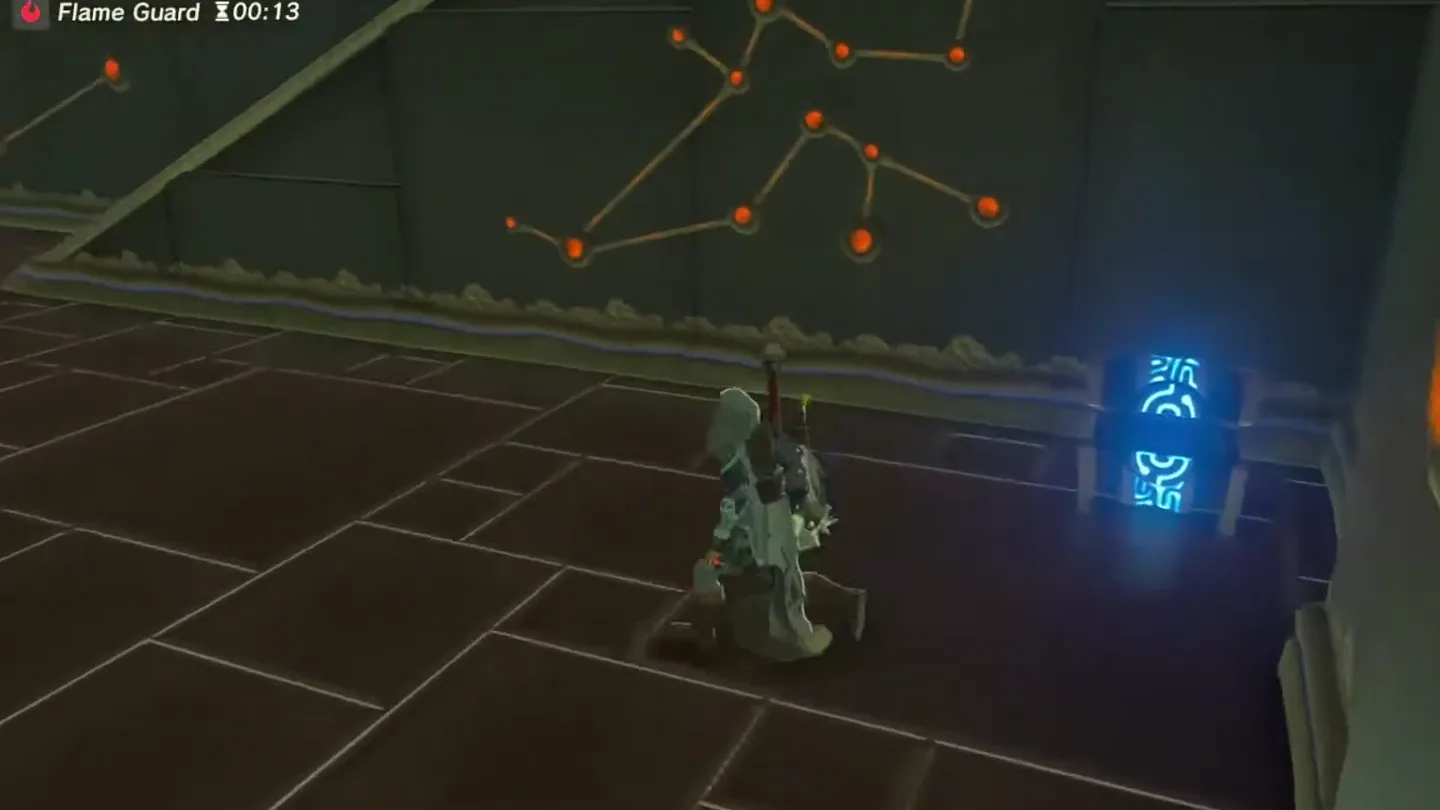
3. Third Chamber: Swing the Lamp and Roll the Iron Ball
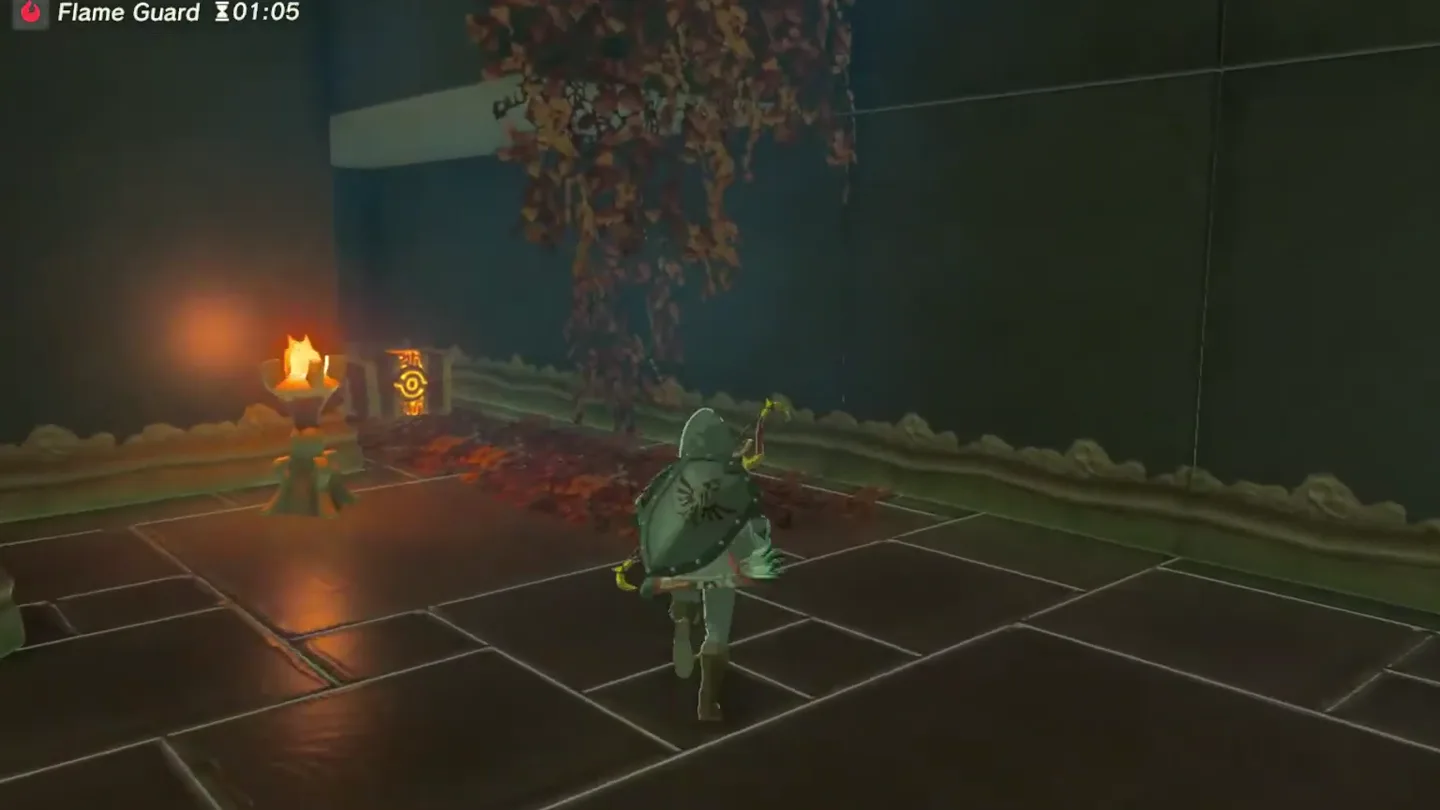
Run up the nearby ramp, turn right, then go up another set of stairs into the third chamber. A floor switch sits ahead — the chest containing 10 Ice Arrows is right behind it, below the chute that deposits the lamp. Open it.
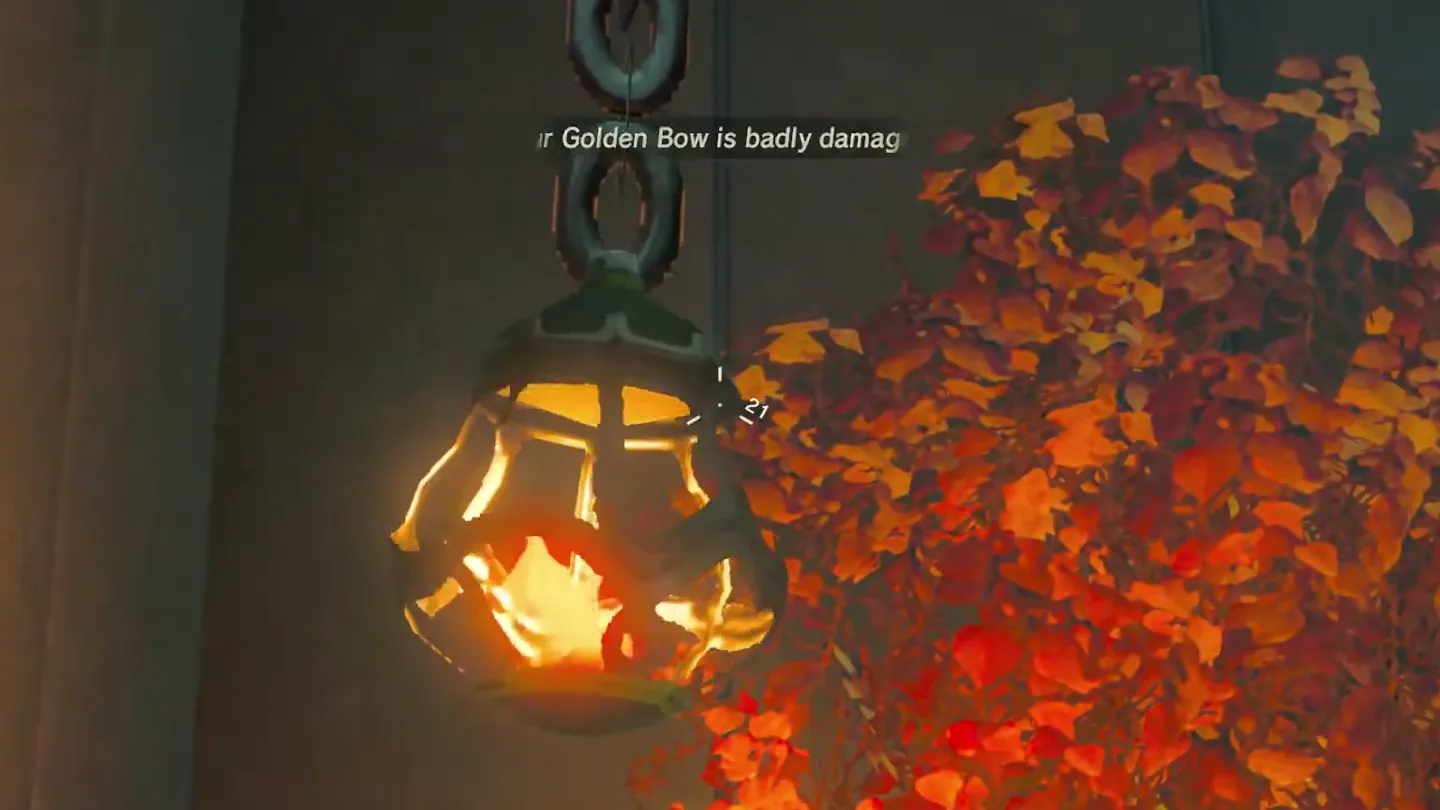
Step on that floor switch to lower a lamp hanging from a chain.
Swing the lamp into the wall’s vines — knock it back with an Arrow or shove it with Magnesis — until it catches them alight. The fire releases a small iron ball.
Follow the ball around the corner. Step on the next floor switch to open the barred gate blocking its path; the ball rolls through, turns the large wheel you passed earlier, and that opens another door.
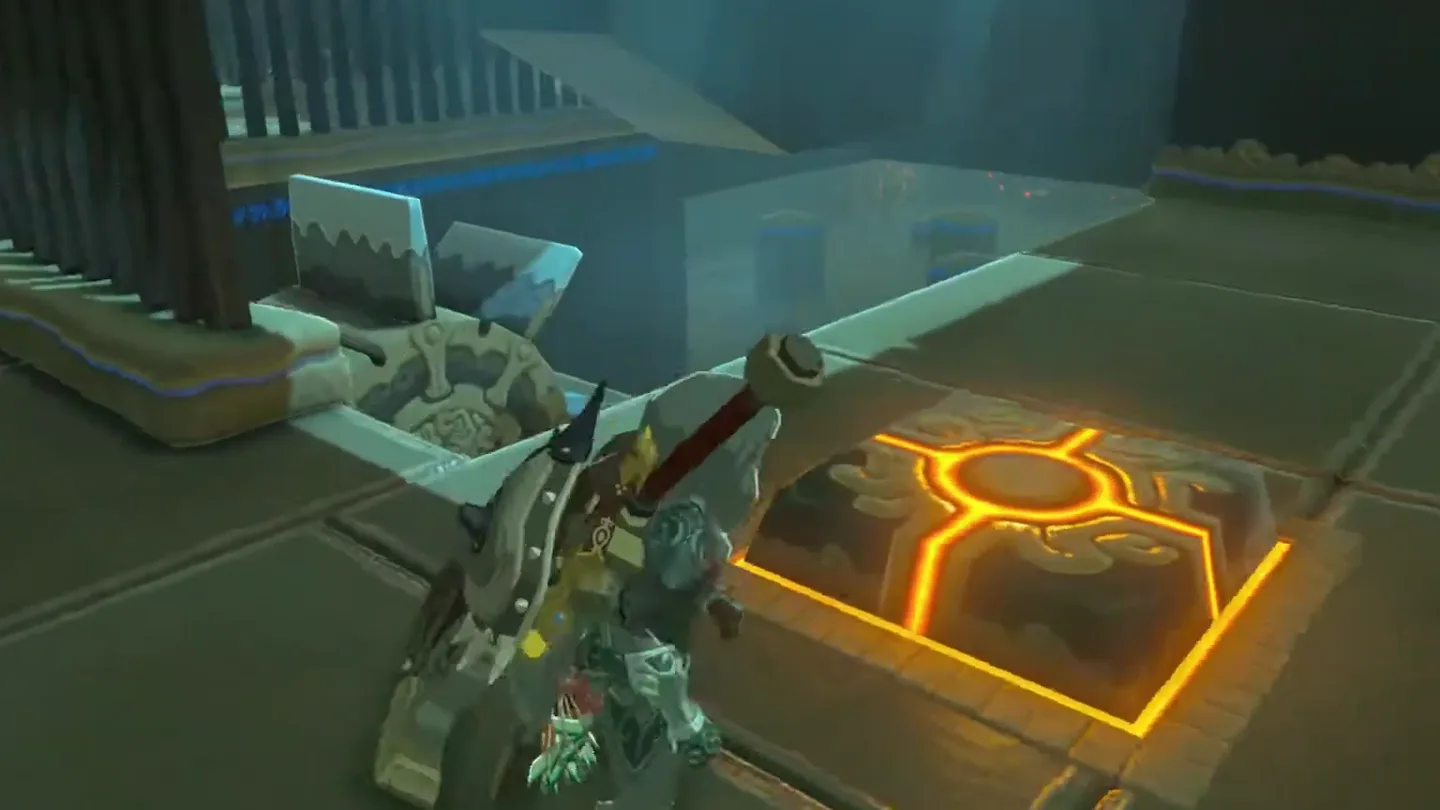
4. Get the Small Key and Unlock the Door
In the newly opened room, open the chest immediately to your right for the Small Key, then go up the ramp, drop down, and return to the third chamber.
Use the Small Key on the locked door to the left of the first ramp — the one you walked past on the way in.
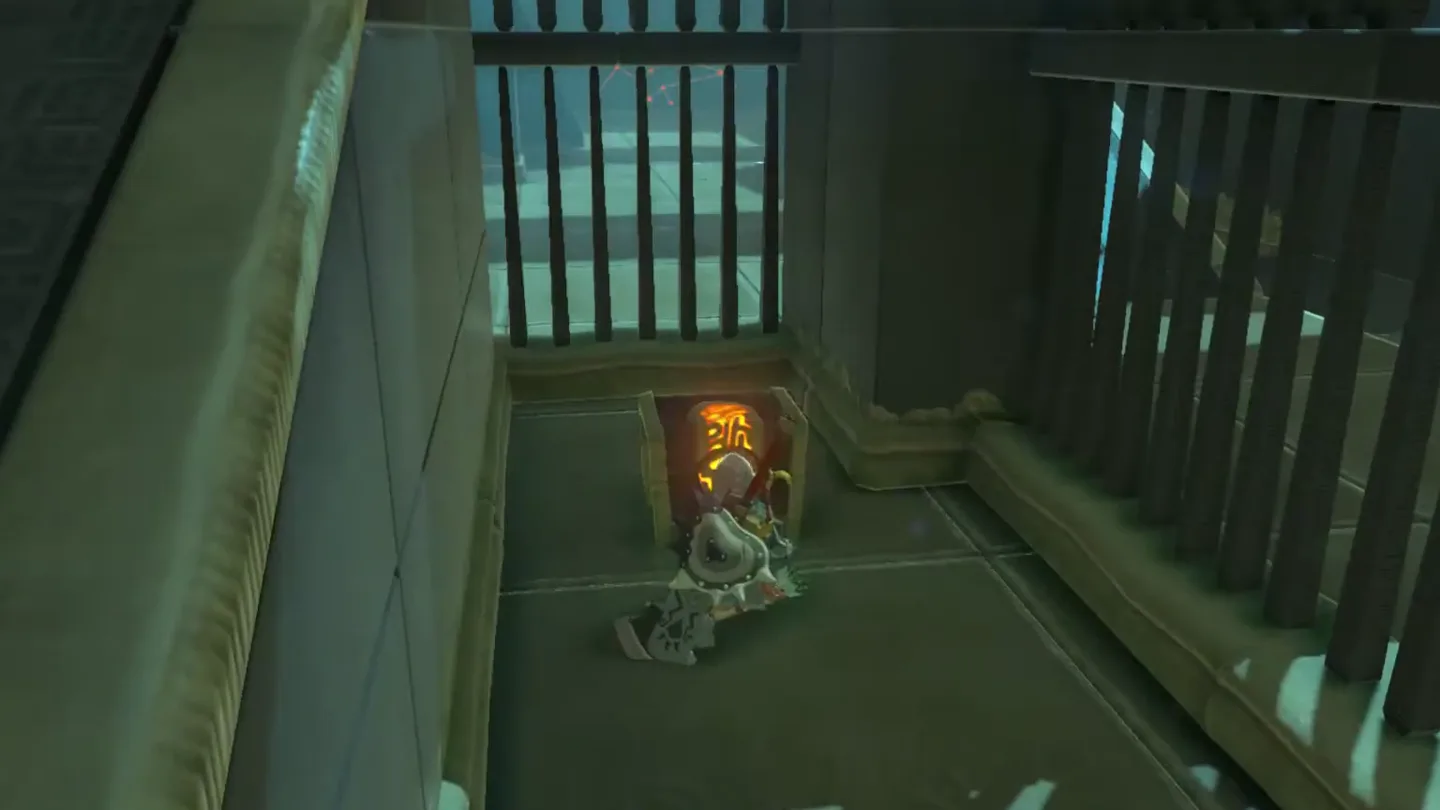
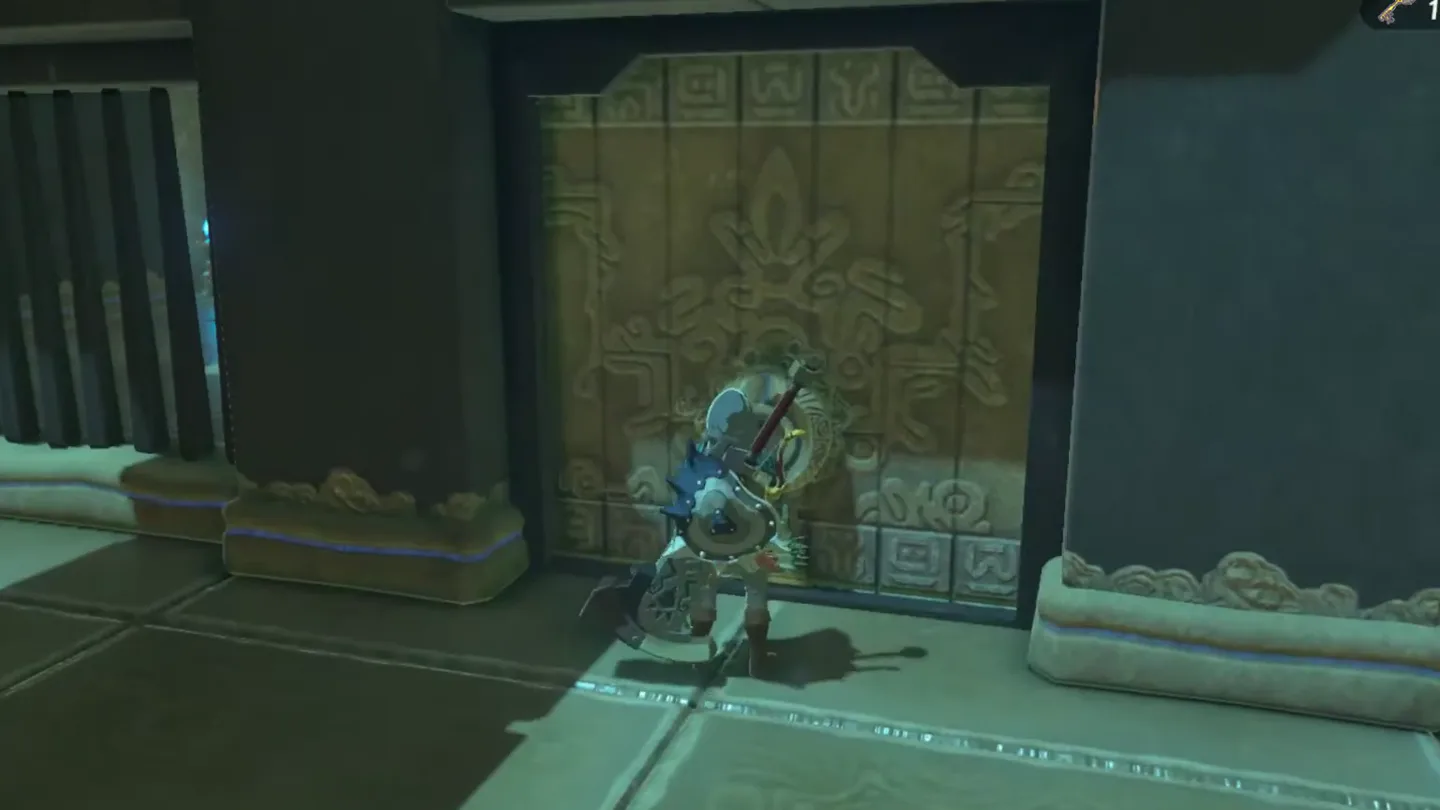
5. Fourth Chamber: Final Barrel Puzzle and the Monk
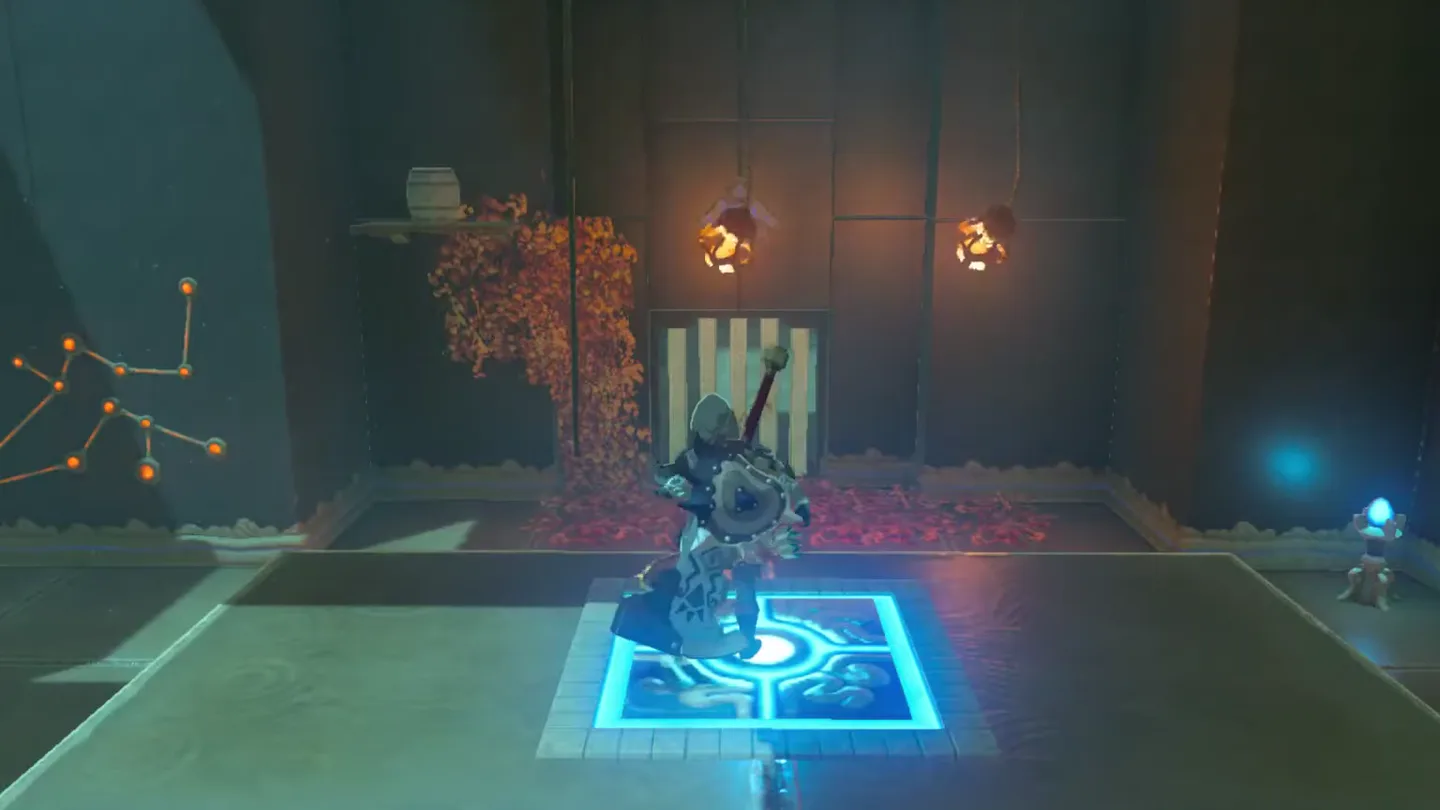
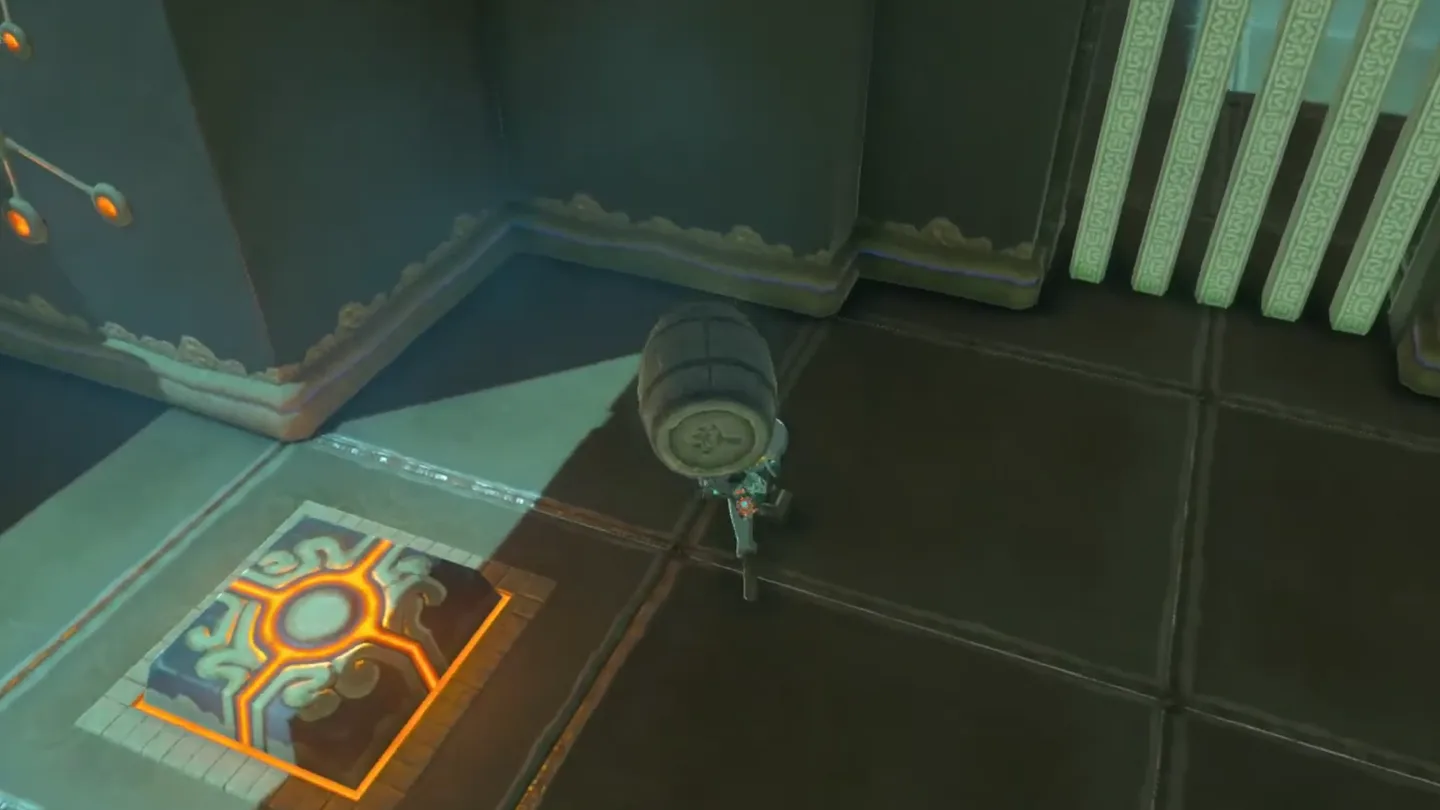
In the fourth chamber, step on the floor switch on the raised platform to lower two more lamps. Swing one with Magnesis and cut its cable so it lands in the vines below; the fire destroys the wooden platform and drops another stone barrel.
Place the barrel on the second floor switch to open the portcullis at the back of the chamber — or Stasis the switch while standing on it and dash through.
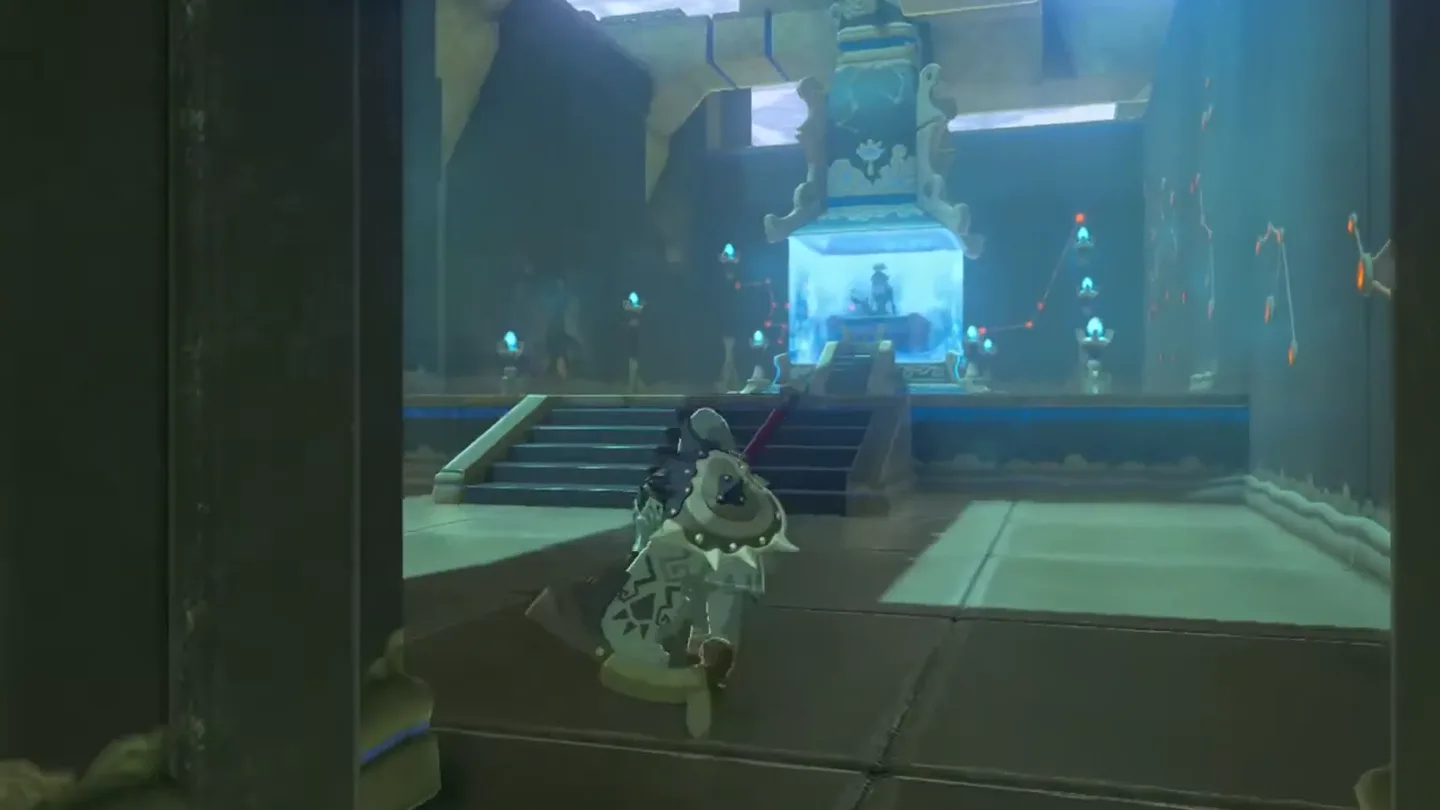
Head through the portcullis, speak with Monk Shae Mo’sah, and claim your Spirit Orb.
What is in each chest?
| Chest | Contents | How to get it |
|---|---|---|
| 1 | Stone Smasher | Immediately to your left as you enter the large second chamber — grab it before dealing with the Guardian Scouts. |
| 2 | Ruby | In the corner of the second chamber, just past the Guardian Scouts and before the ramp up to the third chamber. |
| 3 | Ice Arrows ×10 | In the third chamber, right behind the first floor switch you see, below the chute where the lamp drops. |
| 4 | Small Key | In the room that opens after the iron ball turns the wheel — the chest is immediately to your right as you enter. Needed to unlock the final locked door. |
What do people miss here?
- The Small Key chest is in a side room you only reach after the iron ball turns the wheel — skip it and the locked door left of the first ramp will never open, blocking the Spirit Orb.
- The Stone Smasher chest sits to your left the moment you enter the big chamber; most players sprint straight toward the Guardian Scouts and never notice it.
- The 10 Ice Arrows chest hides behind the floor switch in the third chamber, right under the lamp chute — it’s off the direct line to the monk, so check behind the switch.
- The Ruby chest is tucked into the corner past the Guardian Scouts; running straight for the ramp after the fight makes it easy to leave behind.
- Once activated the shrine is a fast-travel point for Goron City, so you can warp back inside later and grab anything you skipped.
What else is nearby?
| Shrine | Direction | Straight-line distance | Region |
|---|---|---|---|
| Daqa Koh Shrine | southeast | 386 | Eldin |
| Shora Hah Shrine | north | 597 | Eldin |
| Kayra Mah Shrine | southeast | 611 | Eldin |
Which guides help next?
FAQ
How do I keep the first gate open in Shae Mo'sah Shrine?
Where is the Small Key in Shae Mo'sah Shrine?
What do the chests in Shae Mo'sah Shrine contain?
Do I need arrows or fire weapons for the Swinging Flames trial?
Where exactly is Shae Mo'sah Shrine?
Related Articles
guides
Breath of the Wild Captured Memories: All 13 Locations and Rewards
All 12 photo locations from Zelda's album plus the 13th memory in Impa's painting, with coordinates, nearby shrines, the Champion's Tunic and the extra ending scene.
guides
Breath of the Wild Great Fairy Fountains: Locations, Costs and Horse God
Where the four Great Fairy Fountains and the Horse God Malanya are in Breath of the Wild, what each fairy costs to release, and how many you need per armor upgrade.
guides
Hyrule Castle Walkthrough: Entry Routes, Hylian Shield and Final Prep
How to get into Hyrule Castle in Breath of the Wild: five entry routes, the Hylian Shield and other loot by room, and what to prepare before the final battle.
Was this helpful?
Thanks for the feedback!