

Daka Tuss Shrine Walkthrough: Sunken Scoop (BotW)
Daka Tuss Shrine guide: solve Sunken Scoop in the Lanayru Wetlands by scooping orbs with the metal bowl, drain both pools, and claim the Silver Longsword chest.
Where is Daka Tuss Shrine?
Daka Tuss Shrine stands on Shrine Island in the Lanayru Wetlands, north of Kakariko Village. It is out in the open, with no shrine quest needed to enter, and it is surrounded by shallow water, so expect to wade the last stretch of the approach. Conditions are mild here — the shrine registers about +23°C / +73°F — so weather is never a concern.
| Item | Detail |
|---|---|
| Trial | Sunken Scoop |
| Tower region | Lanayru |
| Map marker | Show on map |
| Shrine quest | None |
| Chests | 1 |
| Names | Daka Tuss Shrine · 達塔‧庫斯神廟 · 达塔·库斯神庙 |
What should you bring?
All you need is the Magnesis rune, earned back at Oman Au Shrine on the Great Plateau. The entire trial is bowl-work: no combat, no special gear, and no elixirs required. Without Magnesis you cannot lift the metal bowl, and the Ancient Orbs can only be ferried inside it, so there is no way through without the rune.
Video walkthrough

How do you solve Daka Tuss Shrine?
The whole trial turns on one tool: a metal bowl you drive with Magnesis. It serves both as a scoop for carrying orbs over grates and as the weight for an underwater Floor Switch, so never leave it behind. As you enter, the monk Daka Tuss offers you the trial in the name of the Goddess Hylia.
1. Room One: Scoop Orb and Open Gate
Walk in and size up room one: a square pool holds three Ancient Orbs and a metal bowl, and to the left of the pool, behind a short metal grate, sits a Concave Slot.
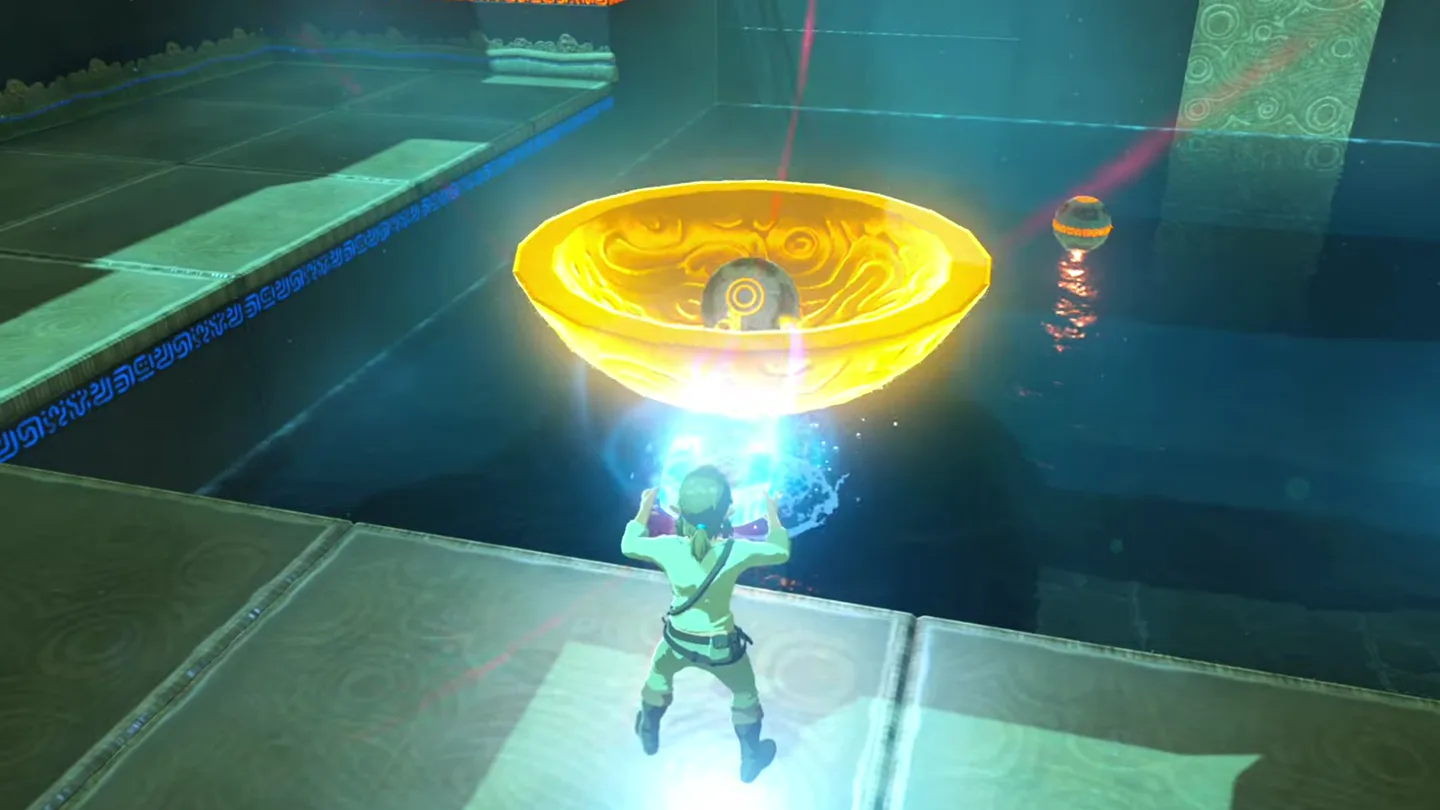
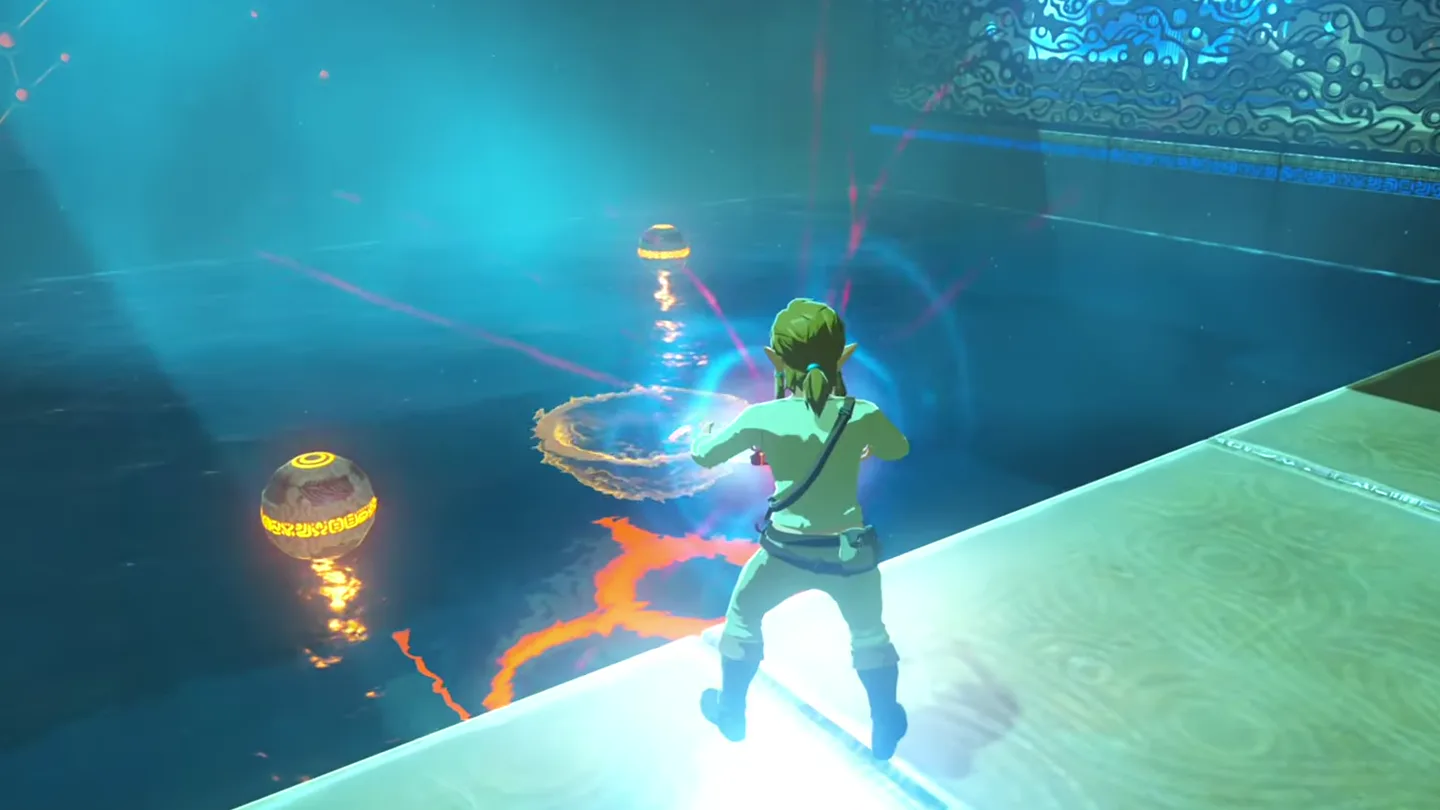
Aim Magnesis at the metal bowl in the water and lift it out.
Lower the bowl into the pool so it scoops up one of the orbs.
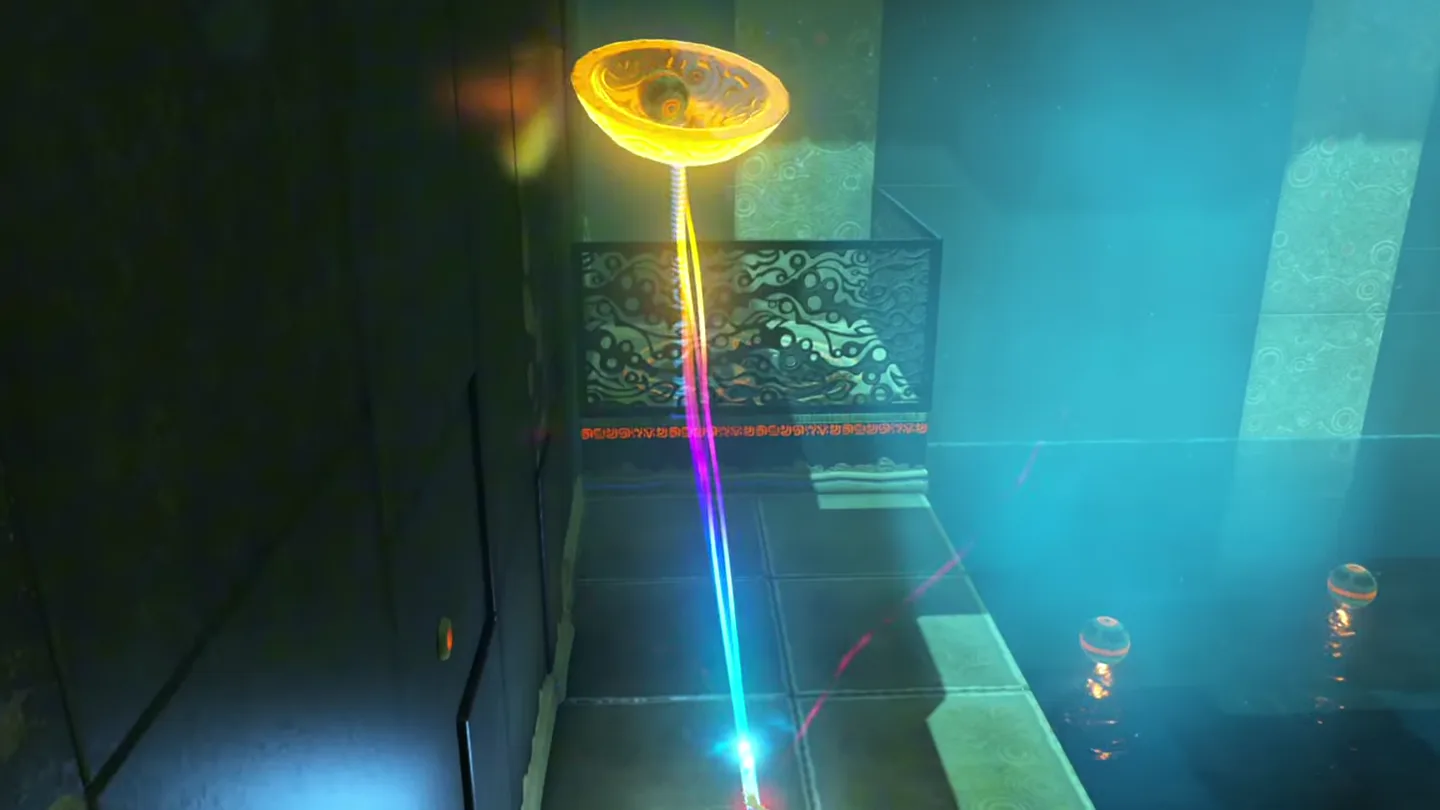
Carry the bowl left, hover it over the short grate, and drop the orb into the Concave Slot. With the orb inserted, the gate by the entrance opens.
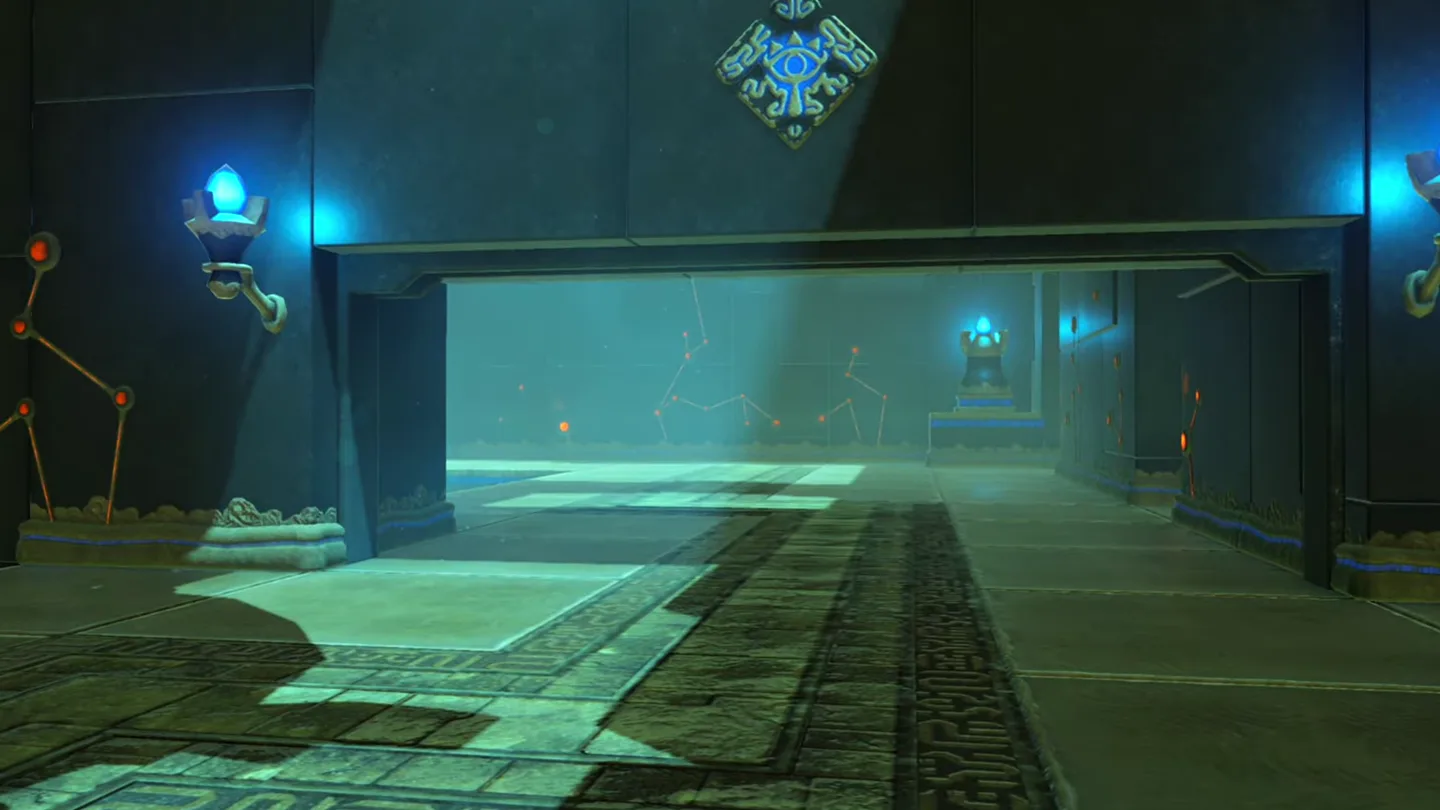
Do not walk off yet — bring the metal bowl with you, dragging it through the open gate with Magnesis. Room two cannot be solved without it.
2. Room Two: Park Orb, Press Switch, Drain Water
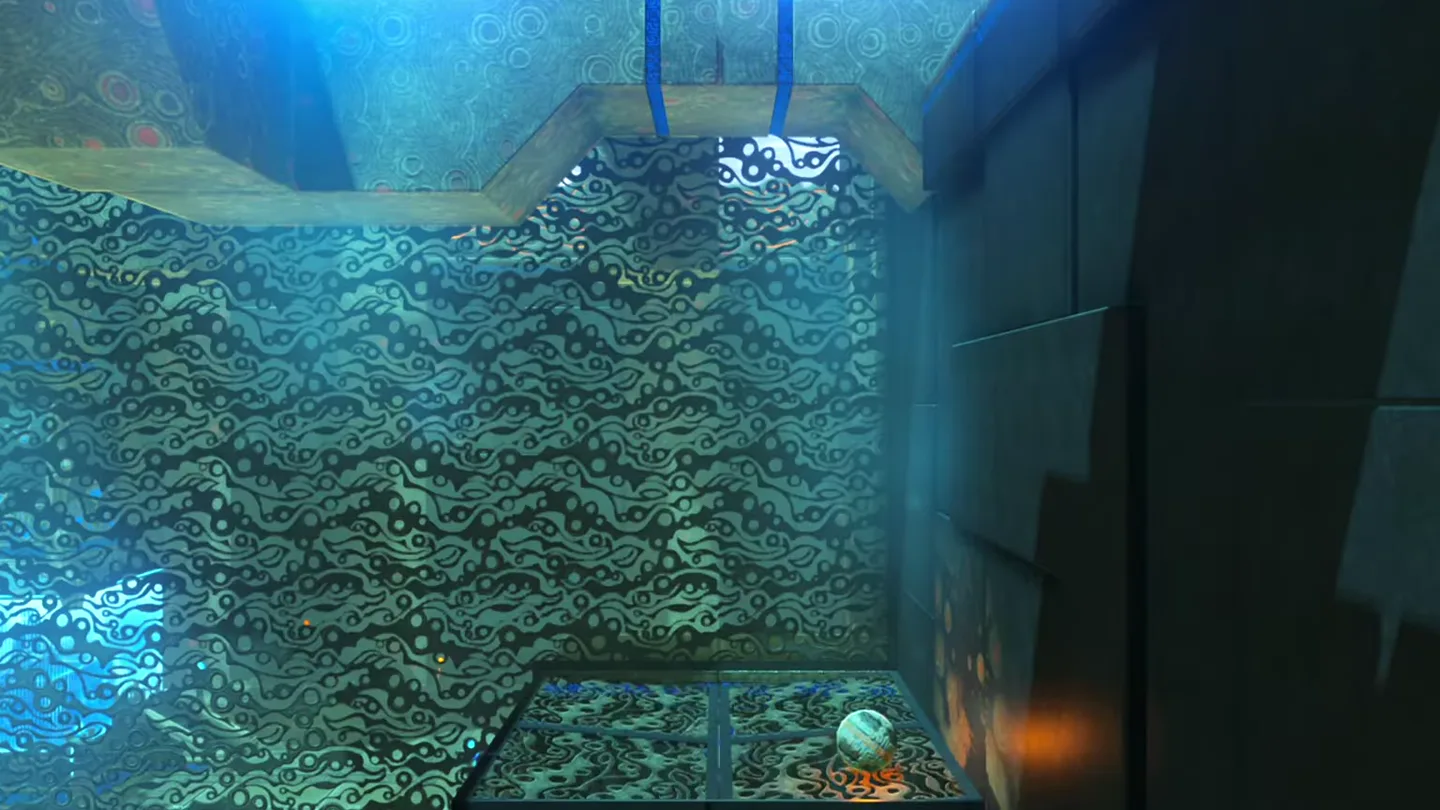
Room two holds another square pool with three more Ancient Orbs and a submerged Floor Switch at the bottom; behind the pool, a large metal grate seals off the Monk’s Pedestal.
Look to the right of the pool: a second Concave Slot hides behind a grate there, but its top is covered, so an orb cannot be dropped straight in.
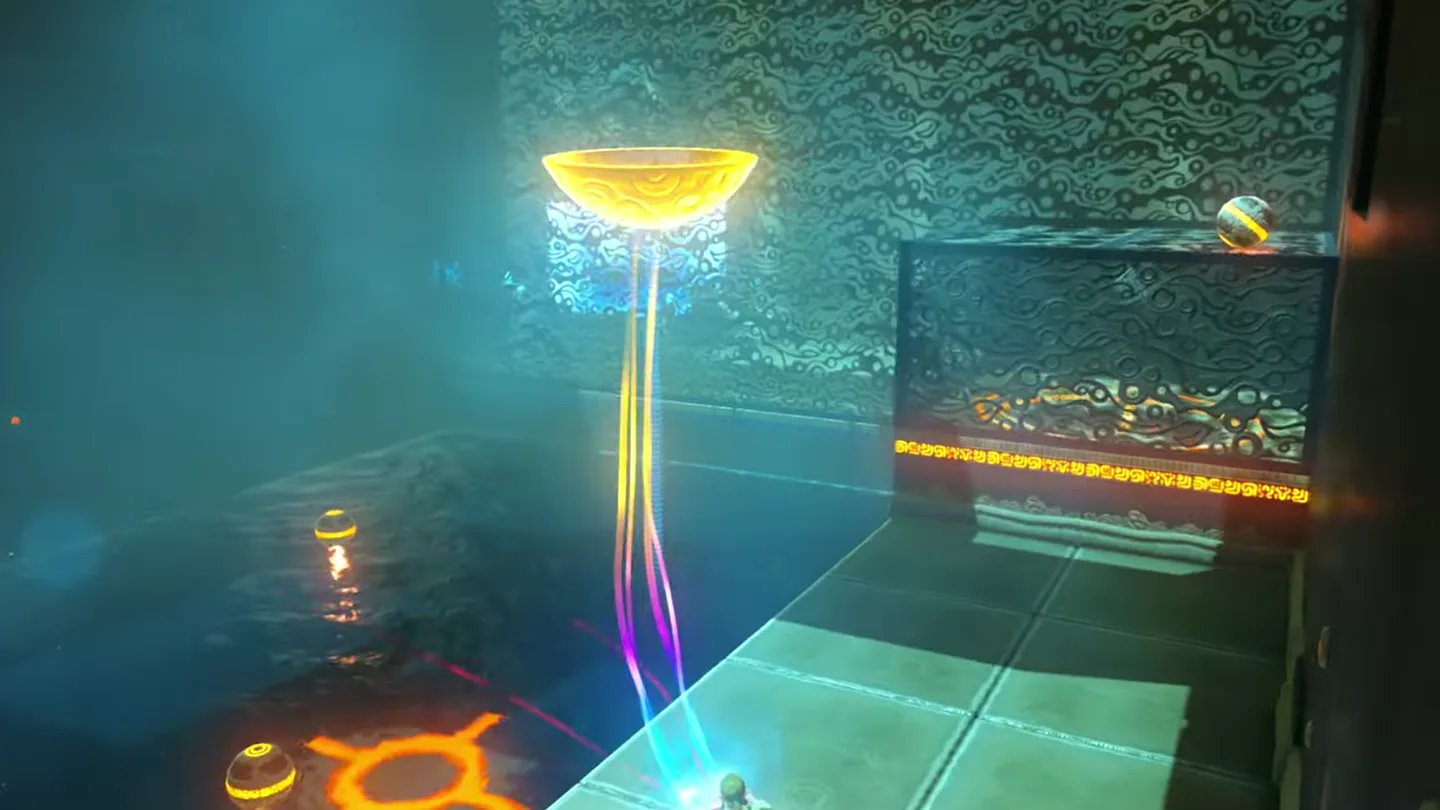
Scoop up an orb with the bowl, carry it to the right side, and rest it on top of the covered grate above the slot. It simply sits there for now.
Drop the metal bowl onto the submerged Floor Switch at the bottom of the pool — Link cannot press it himself underwater.
The switch triggers: the cover over the Concave Slot opens, your parked orb falls into the slot, and the water drains from both rooms. The cover only stays open while the switch is held down, which is exactly why the orb had to be parked on top first.
3. Collect Chest and Meet the Monk
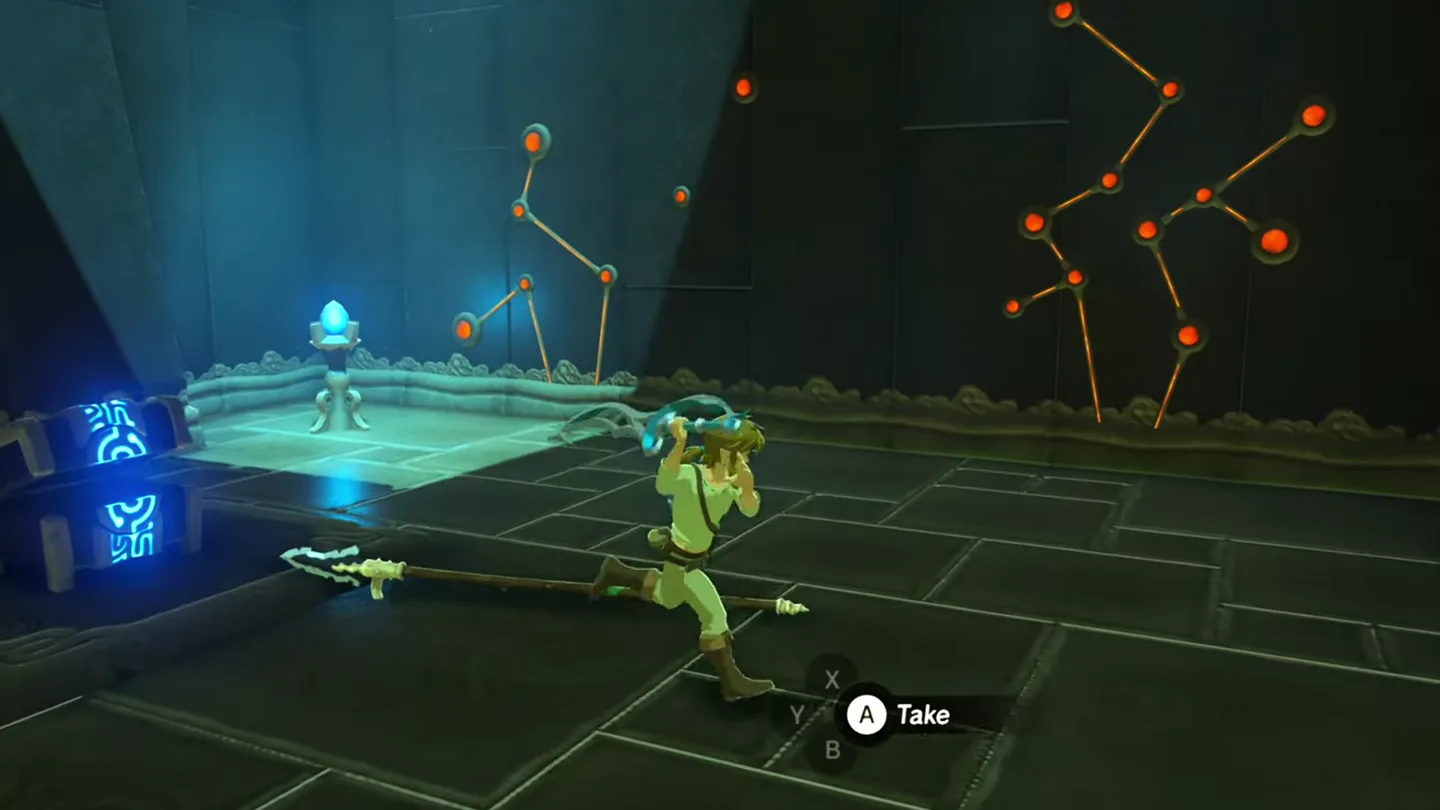
Before chasing the monk, double back to room one: with the pool drained, a hidden chamber at the bottom is now exposed, holding a Stone Chest with a Silver Longsword. Open it.
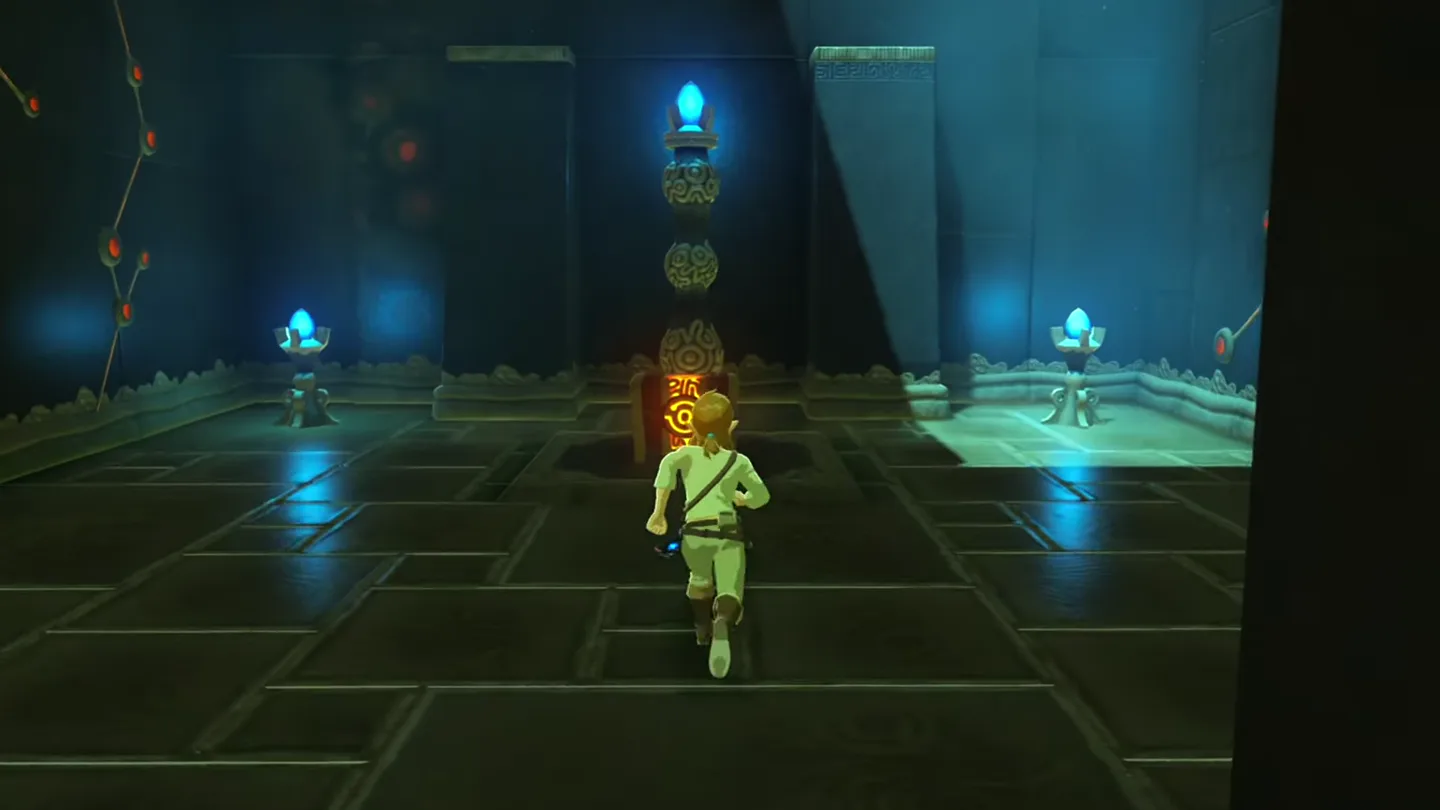
Head down into the drained lower level, follow the revealed passageway, and climb the flight of stairs — you surface on the far side of the large grate wall at the Monk’s Pedestal.
Approach Daka Tuss: he bestows a Spirit Orb for overcoming the trial, wishes you well — “May the Goddess smile upon you” — and fades away.
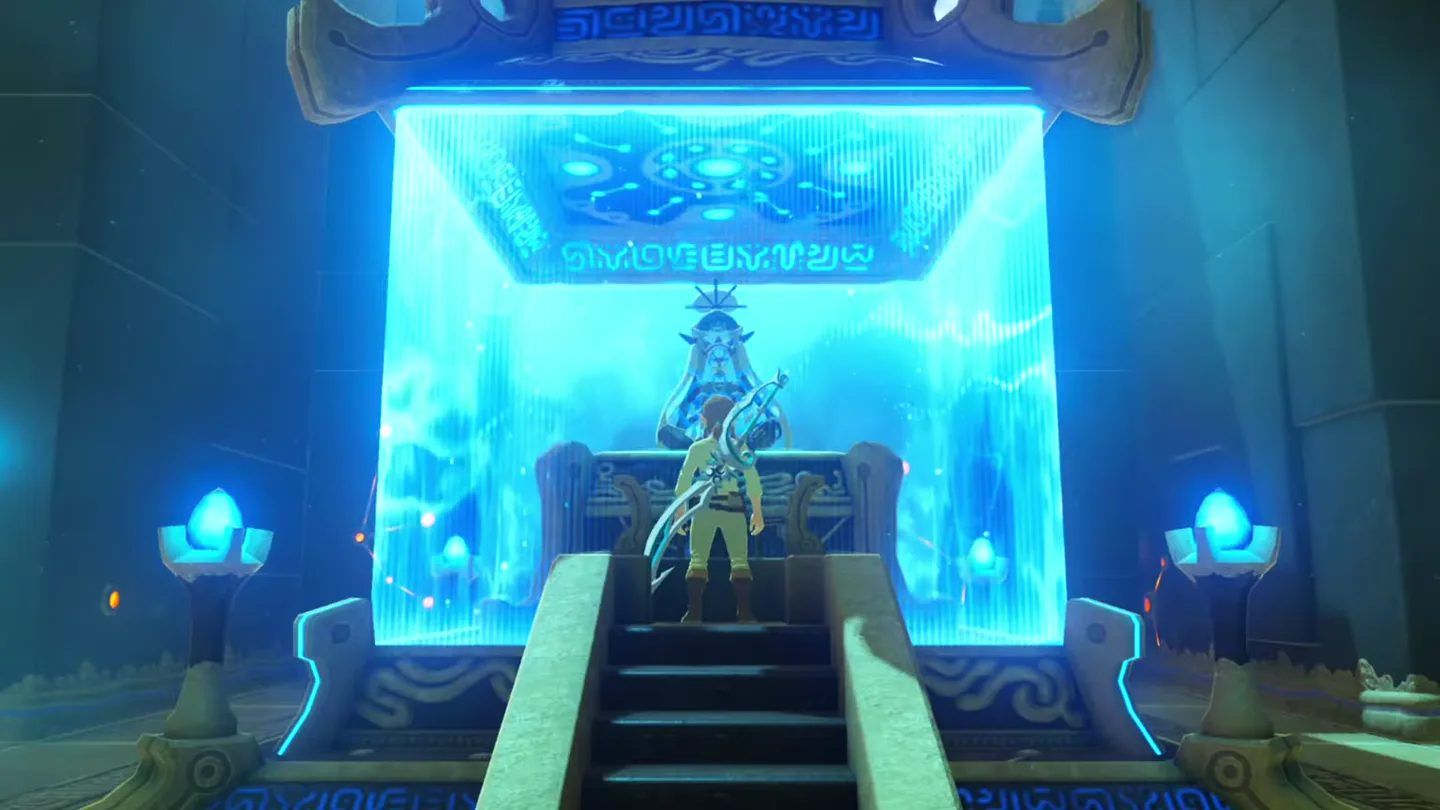
What is in the chest?
| Chest | Contents | How to get it |
|---|---|---|
| 1 | Silver Longsword | Inside a Stone Chest in a hidden chamber at the bottom of the first room’s pool. It is unreachable until the water drains, so solve room two first, then walk back to room one and drop into the exposed pool bed to open it. |
What do people miss here?
- The Silver Longsword chest is the classic miss here: it sits at the bottom of the FIRST pool and only becomes reachable after the water drains. Most players beeline up to the monk — if you left without it, you can re-enter the shrine any time to grab it.
- Leaving the metal bowl in room one. The Floor Switch in room two is underwater and Link cannot press it himself, so the bowl is the only weight that works. If you forgot it, walk back through the gate and drag it along with Magnesis.
- Doing room two in the wrong order: if you drop the bowl on the switch before an orb is resting on top of the covered slot, the cover opens but nothing falls in, because it only stays open while the switch is held down. Scoop an orb, park it on the grate, then re-place the bowl on the switch.
- Trying to shortcut the orbs. The grates block you from carrying orbs over by hand, and the only method that works is scooping them with the metal bowl — it is the tool for both rooms, so route everything through it.
What else is nearby?
| Shrine | Direction | Straight-line distance | Region |
|---|---|---|---|
| Ta’loh Naeg Shrine | southeast | 490 | Dueling Peaks |
| Lakna Rokee Shrine | southeast | 671 | Dueling Peaks |
| Kaya Wan Shrine | west | 824 | Lanayru |
Which guides help next?
FAQ
Where is the Daka Tuss Shrine?
What's in the chest in Daka Tuss Shrine?
Why won't the orb drop into the socket in the second room?
Can I leave the metal bowl behind in the first room?
Do I need anything to complete Daka Tuss Shrine?
Related Articles
guides
BotW Luminous Stone Gathering: 10 Stones for 2 Diamonds
Luminous Stone Gathering in Breath of the Wild: where Ledo is in Zora's Domain, where to mine luminous stones, the two-diamond reward and the repeat trade.
guides
BotW Lynel Safari: Ploymus Mountain Lynel Photo, Zora Greaves
Lynel Safari in Breath of the Wild: where Laflat is in Zora's Domain, which Lynel counts, how to photograph the one on Ploymus Mountain, and the reward.
guides
TotK The Blue Stone: Raft a Stone to Ledo for the Zora Fabric
The Blue Stone in Tears of the Kingdom: raft one blue stone from the Reservoir Lakefront Cavern back to Ledo at East Reservoir Lake and get the Zora Fabric.
Was this helpful?
Thanks for the feedback!