

Hila Rao Shrine: Drifting Solution and Chests (BotW)
Reach Hila Rao Shrine without stepping on flowers, cross its drifting platforms, collect the Opal and Ice Arrows, and bomb the cracked exit wall.
Where is Hila Rao Shrine?
Look for Floret Sandbar northeast of Riverside Stable. Once on the island, follow the bare ground between the flower beds to the shrine entrance. Use the BotW shrine location table to match the map marker before approaching.
| Item | Detail |
|---|---|
| Trial | Drifting |
| Tower region | Dueling Peaks |
| Coordinates (X, Y, Z) | 0854, -0839, 0130 |
| Entrance landmark | Floret Sandbar, northeast of Riverside Stable |
| Type | Water-current puzzle; not a Test of Strength |
| Chests | 2 |
| Names (EN / zh-TW / zh-CN) | Hila Rao Shrine / 席羅‧席拉神廟 / 席罗·席拉神庙 |
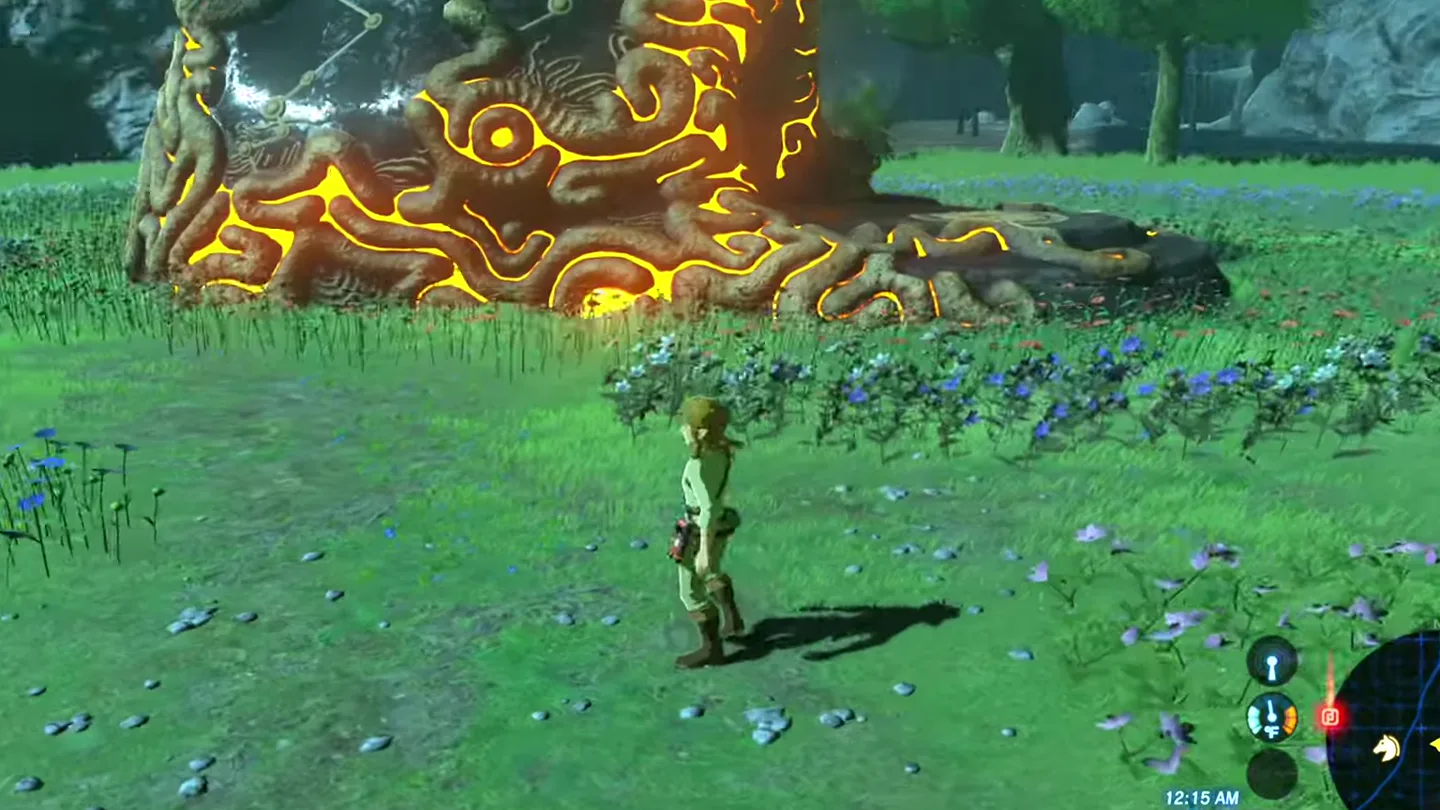
Talk to Magda beside the flowers to start Watch Out for the Flowers. Reach and activate the shrine without trampling her plants to finish it. This is an approach challenge around an already visible shrine; no quest makes the building appear.
What should you bring?
Nothing exotic is required: the only essentials are Sheikah Slate runes you already have from the Great Plateau — Cryonis, Magnesis, and Remote Bombs (Stasis is never needed here). There is no combat inside, so weapons, armor, and resistance gear are all optional. The Paraglider isn’t strictly required either, but it lets you glide off your ice pillar at the end instead of swimming.
Shrine entrance
Video walkthrough

How do you solve Drifting?
Bring Cryonis, Magnesis, and Remote Bombs for the route below. There is no Guardian duel or required weapon. Cryonis can also replace the moving platforms if the jumps are awkward.
1. Cross the Pools
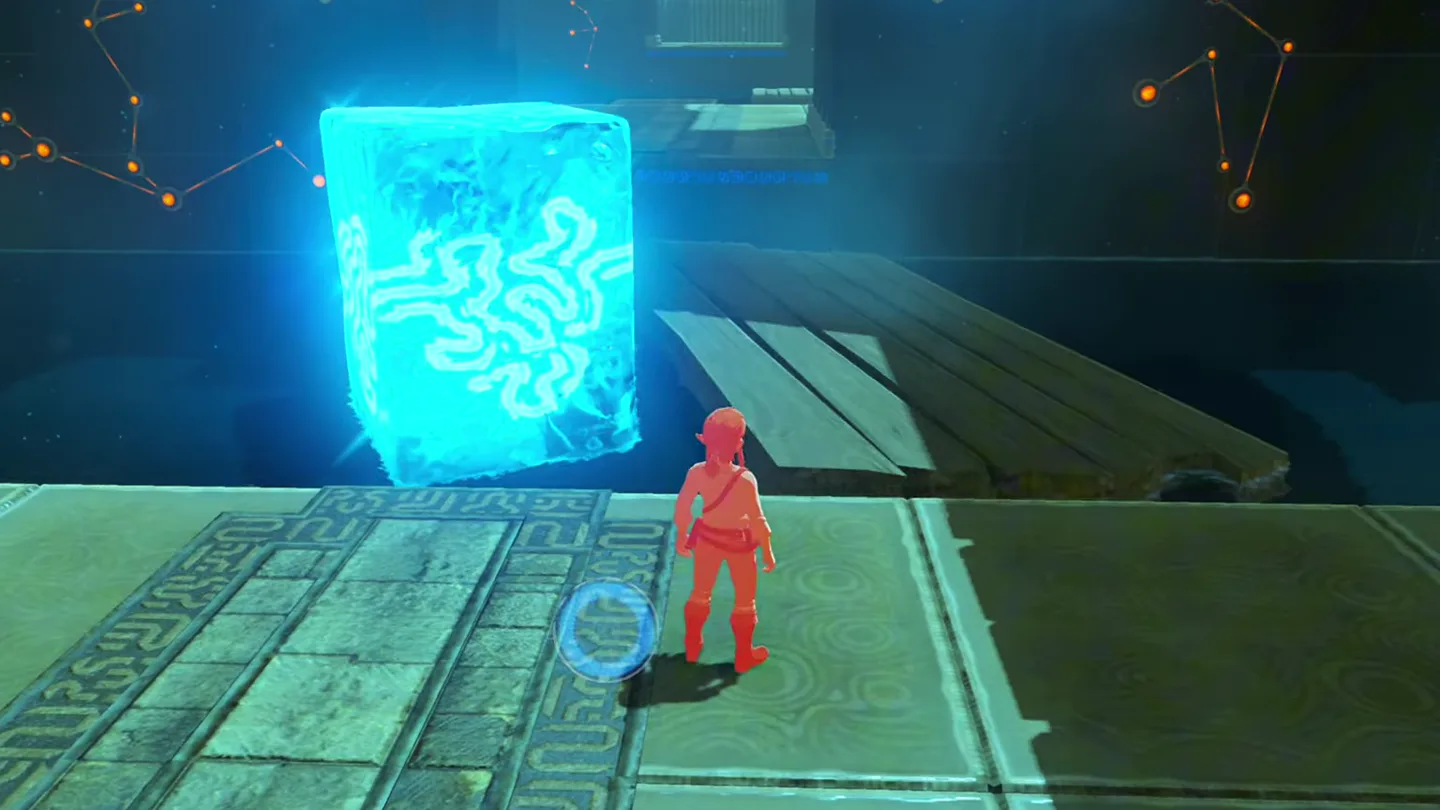
Cross the entrance pool. Wait for the wooden platform to drift within reach, jump onto it, and continue to the opposite bank. Ice pillars are an alternative crossing.
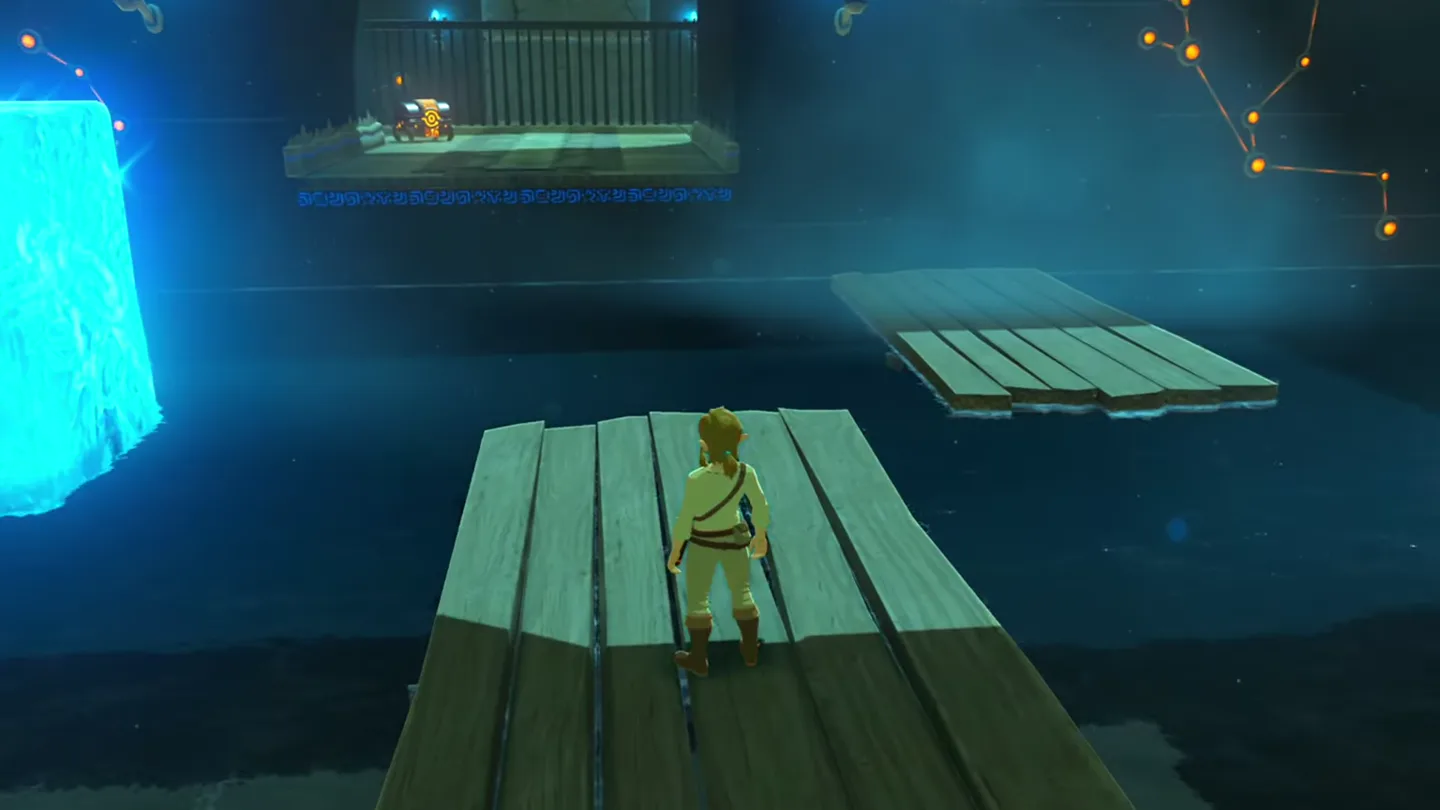
Cross the wider pool. Jump between its drifting platforms toward the far bank, or build a crossing with Cryonis.
2. Retrieve the Chests
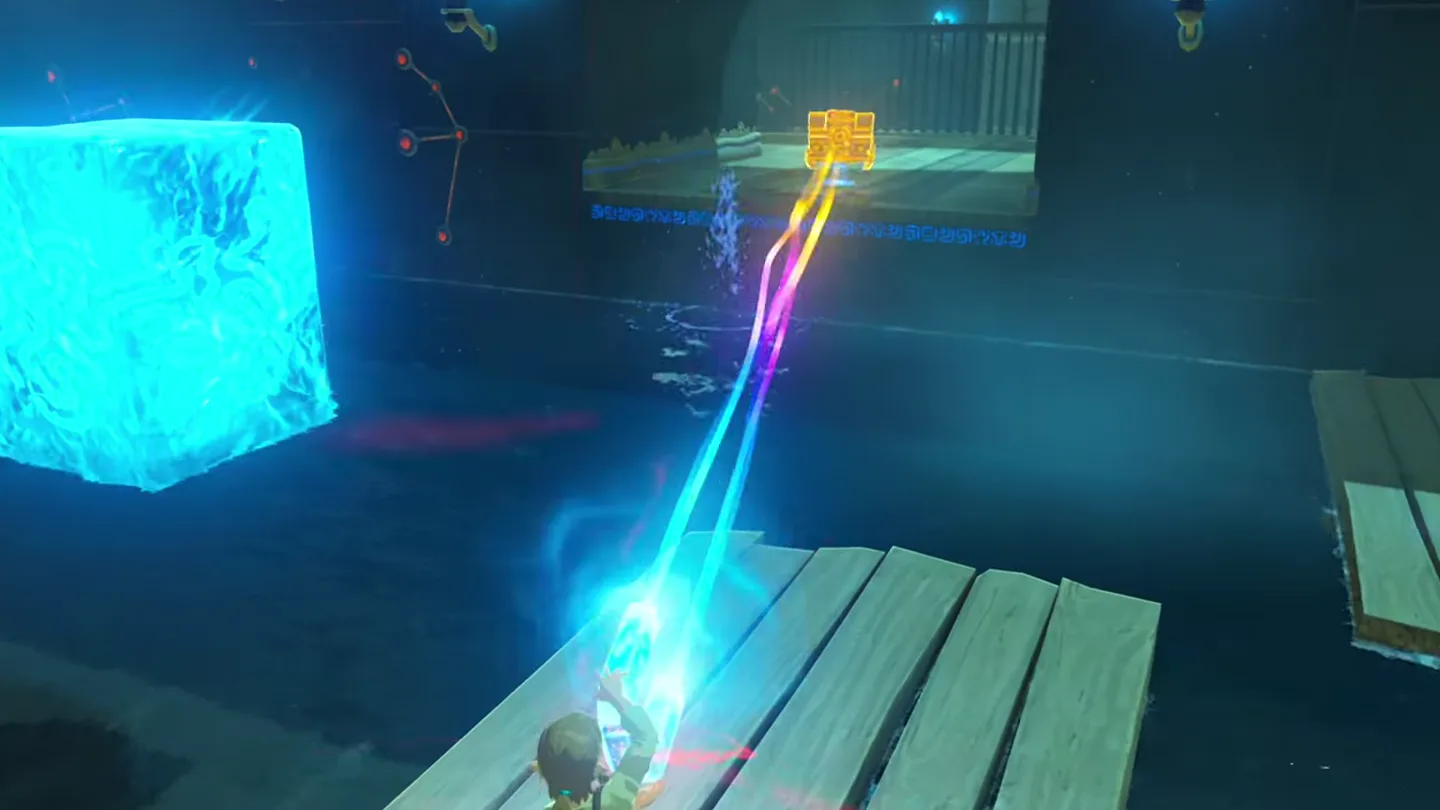
Retrieve the submerged chest. Look underwater near the far wall of this wider pool, then use Magnesis to bring the metal chest onto dry ground and open it.
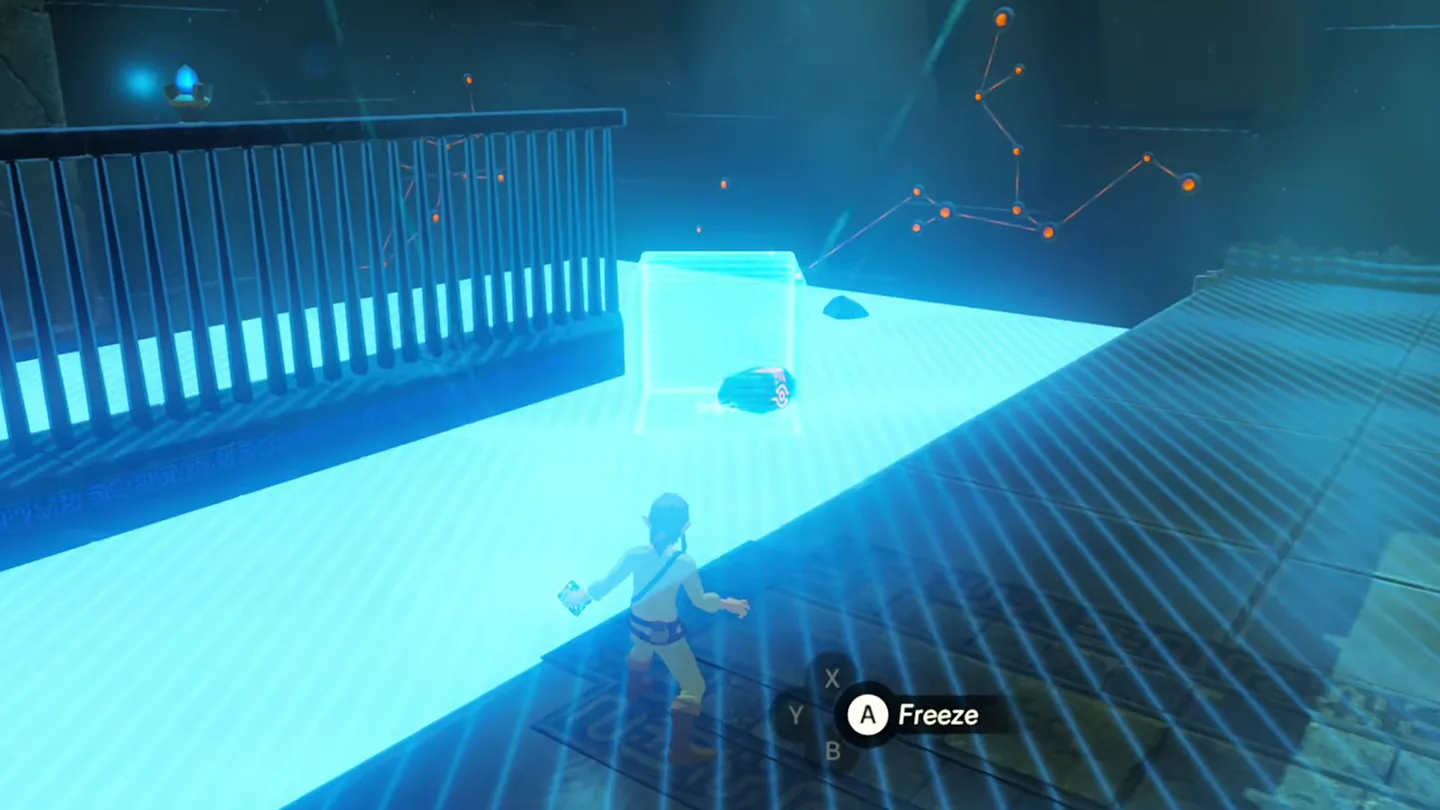
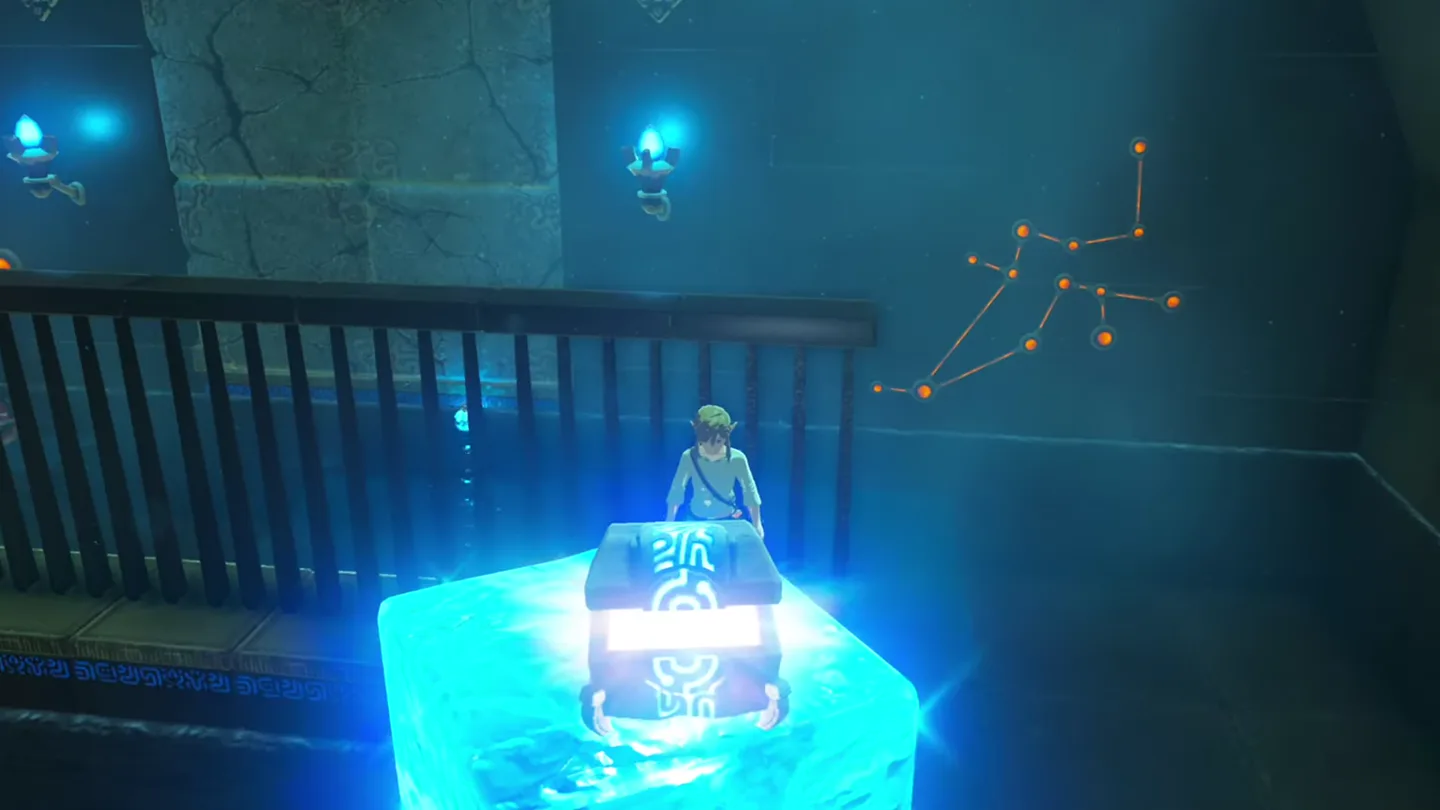
Lift the floating chest. At the final, circular-current pool, wait for the wooden chest to pass within reach. Create a Cryonis pillar directly underneath it, climb up, and open it.
3. Clear the Exit and Finish
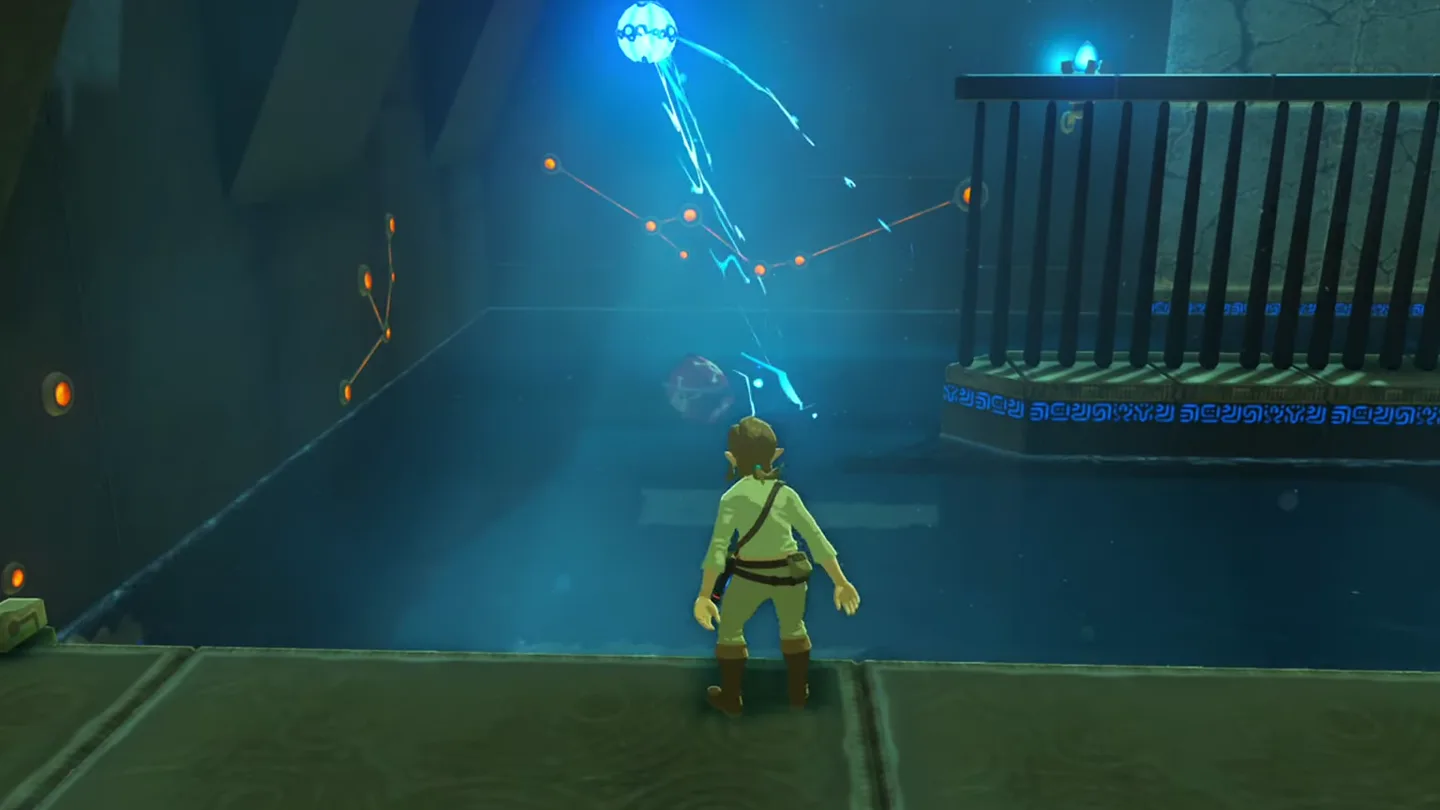
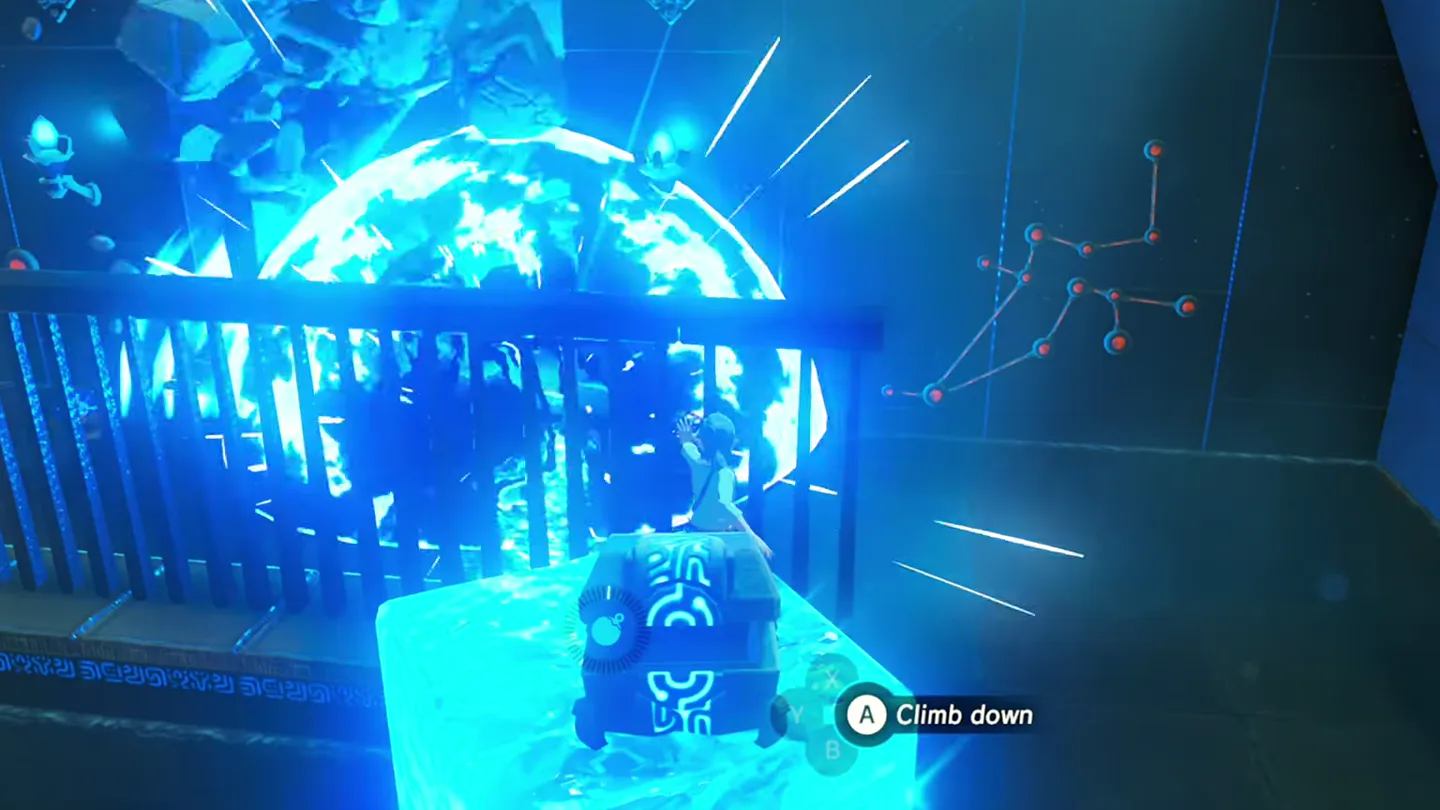
Bomb the cracked exit wall. Return to the bank and throw a Remote Bomb into the water. Let it drift toward the cracked blocks across the pool, then detonate it beside them.
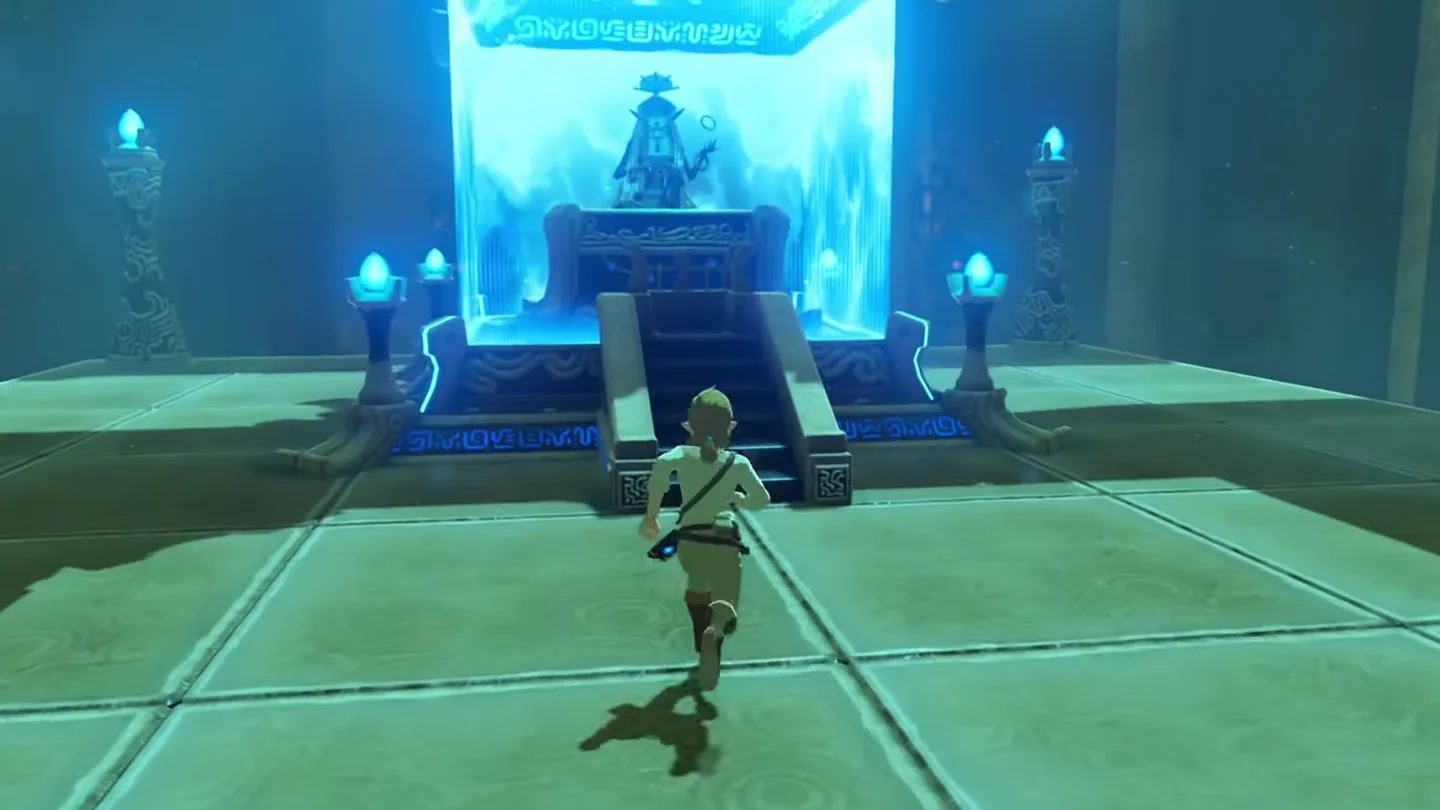
Go through the cleared exit. Swim across after the wall is destroyed, pass through the opening, and interact with the monk at the altar for the Spirit Orb.
Where are the chests, and what do they contain?
The submerged metal chest and the drifting wooden chest need different runes. Check the wider pool before moving on to the circular current.
| Chest | Contents | How to get it |
|---|---|---|
| 1: submerged metal chest | Opal ×1 | Near the far wall of the wider pool; pull it onto dry ground with Magnesis |
| 2: drifting wooden chest | Ice Arrows ×5 | In the final circular current; raise a Cryonis pillar beneath it, climb up, and open it |
What do people miss here?
- The wooden planks drift downstream and then vanish for good — if your ride floats out of reach, don’t swim after it. A new platform always appears on the right, so just wait on the bank.
- Fish the sunken metal Opal chest out while you’re still standing on the middle platform: Magnesis it out of the water and toss it into the hallway ahead, then open it at leisure once you’re across — easier than hauling it onto land from the far bank.
- The final circular current carries bomb barrels along with the wooden Ice Arrow chest. Before detonating your Remote Bomb at the cracked wall, check that no barrel is drifting nearby, or the extra explosion will catch you too.
- The exit is blocked by two cracked squares, but only one of them needs to shatter. Once it’s open, you can paraglide down from your Cryonis pillar instead of swimming across.
- Stepping on the flowers escalates beyond a simple reset: every trampling makes Magda angrier, and if you keep it up she will eventually attack you, leaving you with a minimum of a quarter of a heart — all before you’ve even set foot inside.
What else is nearby?
| Shrine | Direction | Straight-line distance | Region |
|---|---|---|---|
| Wahgo Katta Shrine | west | 535 | Central |
| Kaya Wan Shrine | north | 651 | Lanayru |
| Daka Tuss Shrine | northeast | 837 | Lanayru |
Which related guides should you use next?
- All BotW shrine locations: continue checking off shrines by tower region.
- How to find BotW shrines: use the map and shrine-finding guide for your next destination.
- Tears of the Kingdom vs. Breath of the Wild: compare the games before choosing your next adventure.
FAQ
How do I get into Hila Rao Shrine without stepping on flowers?
Where are both Hila Rao Shrine chests?
How do I break the wall in Hila Rao Shrine?
Is Hila Rao Shrine a Test of Strength?
Related Articles
guides
Breath of the Wild Captured Memories: All 13 Locations and Rewards
All 12 photo locations from Zelda's album plus the 13th memory in Impa's painting, with coordinates, nearby shrines, the Champion's Tunic and the extra ending scene.
guides
Breath of the Wild Great Fairy Fountains: Locations, Costs and Horse God
Where the four Great Fairy Fountains and the Horse God Malanya are in Breath of the Wild, what each fairy costs to release, and how many you need per armor upgrade.
guides
Hyrule Castle Walkthrough: Entry Routes, Hylian Shield and Final Prep
How to get into Hyrule Castle in Breath of the Wild: five entry routes, the Hylian Shield and other loot by room, and what to prepare before the final battle.
Was this helpful?
Thanks for the feedback!