

Dila Maag Shrine Walkthrough: Barbarian Armor & Spirit Orb
Guide to Dila Maag Shrine: cross the South Lomei Labyrinth to its heart, open the Barbarian Armor chest, and claim the Spirit Orb from the monk.
Where is Dila Maag Shrine?
Dila Maag Shrine waits at the heart of the South Lomei Labyrinth, the huge walled maze in the desert of the Wasteland region — Suma Sahma Shrine lies roughly 400 units to the east, and Jee Noh Shrine sits far to the north, so either works as a jumping-off point. The approach is impossible to miss: sheer, interlocking maze walls rising out of the sand, with the shrine tucked deep in the middle. The only obstacle on the way in is the maze itself — branching corridors and dead ends, nothing else stands between you and the entrance.
| Item | Detail |
|---|---|
| Trial | Dila Maag’s Blessing |
| Tower region | Wasteland |
| Map-marker coordinates | -1795, -3464, 0177 |
| Shrine quest | The Desert Labyrinth |
| Chests | 1 |
| Names | Dila Maag Shrine · 迪拉‧瑪神廟 · 迪拉·玛神庙 |
What should you bring?
Nothing is required — no runes, no weapons, no armor or elixirs. This is a pure Blessing shrine with no puzzles, no enemies, and no gimmicks inside, and the monk himself says that entering the place already proves your worth. Show up empty-handed and you’ll lose nothing but time to wrong turns in the labyrinth.
Video walkthrough

How do you solve Dila Maag Shrine?
The idea here is that the journey is the test: Dila Maag’s Blessing is a reward shrine with nothing to solve. Fight your way through the labyrinth to its heart, then it’s simply chest first, monk second.
1. Navigate the South Lomei Labyrinth
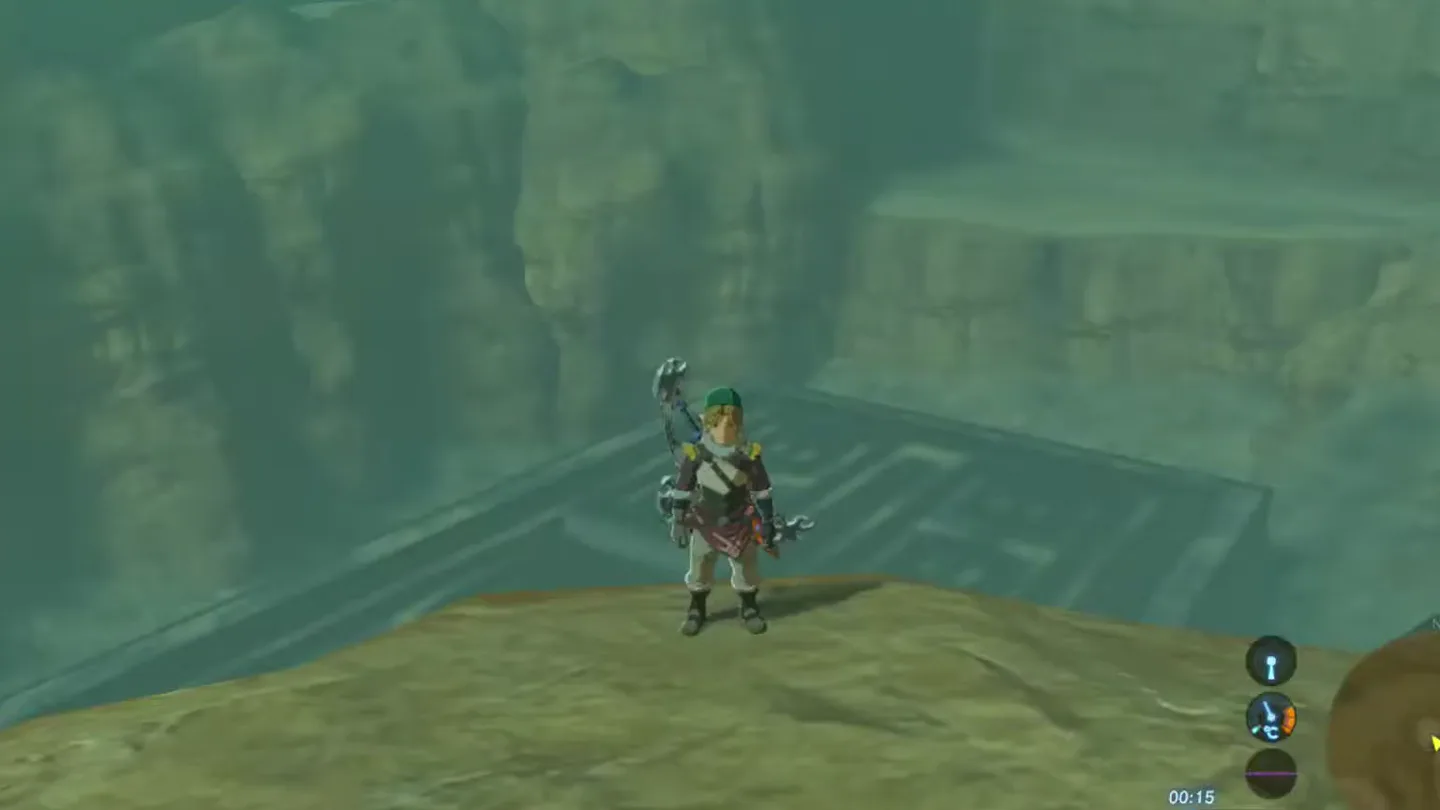
Travel into the desert and make for the South Lomei Labyrinth, the giant walled maze a short distance west of Suma Sahma Shrine (if Jee Noh Shrine to the north is your nearest travel point, head south from there).
Step through the labyrinth’s entrance. The moment you set foot inside, you hear the monk’s voice: ‘To you who sets foot here… My blessing awaits you at the labyrinth’s end.’ That’s your confirmation the shrine is active and waiting at the center.
Work through the maze corridors toward the center. Expect tall walls, branching paths, and dead ends — there is no key or mechanism, just pure navigation.
Whenever a branch dead-ends, turn around and take the other fork. Every wrong turn is recoverable, so don’t hesitate to backtrack.
Reach the heart of the labyrinth, where the Ancient Shrine sits in the open at the maze’s center.
2. Enter the shrine, open the chest and meet the monk
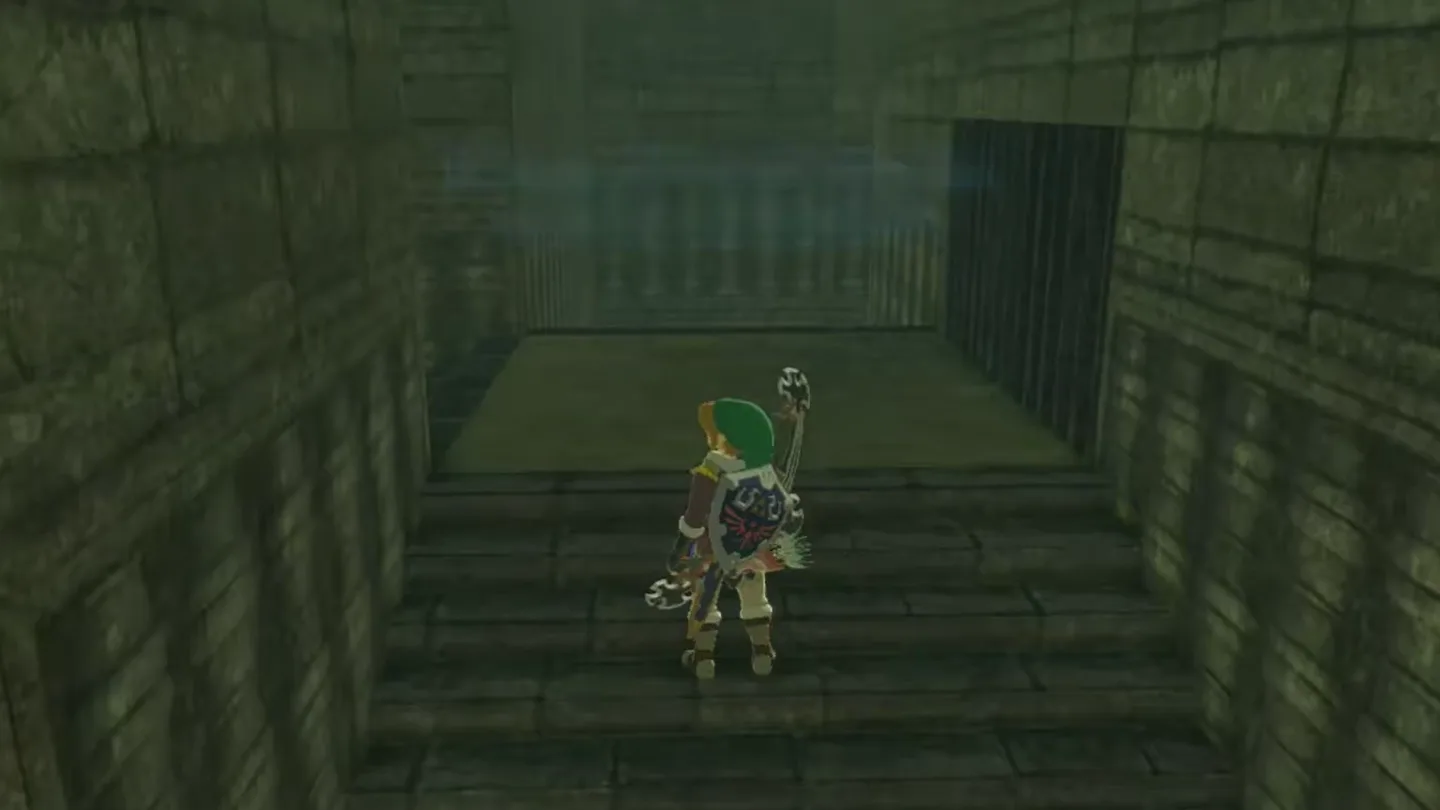
Enter Dila Maag Shrine. The monk, Dila Maag, greets you and says that by entering this place you’ve already proven your worth — that is the entire trial.
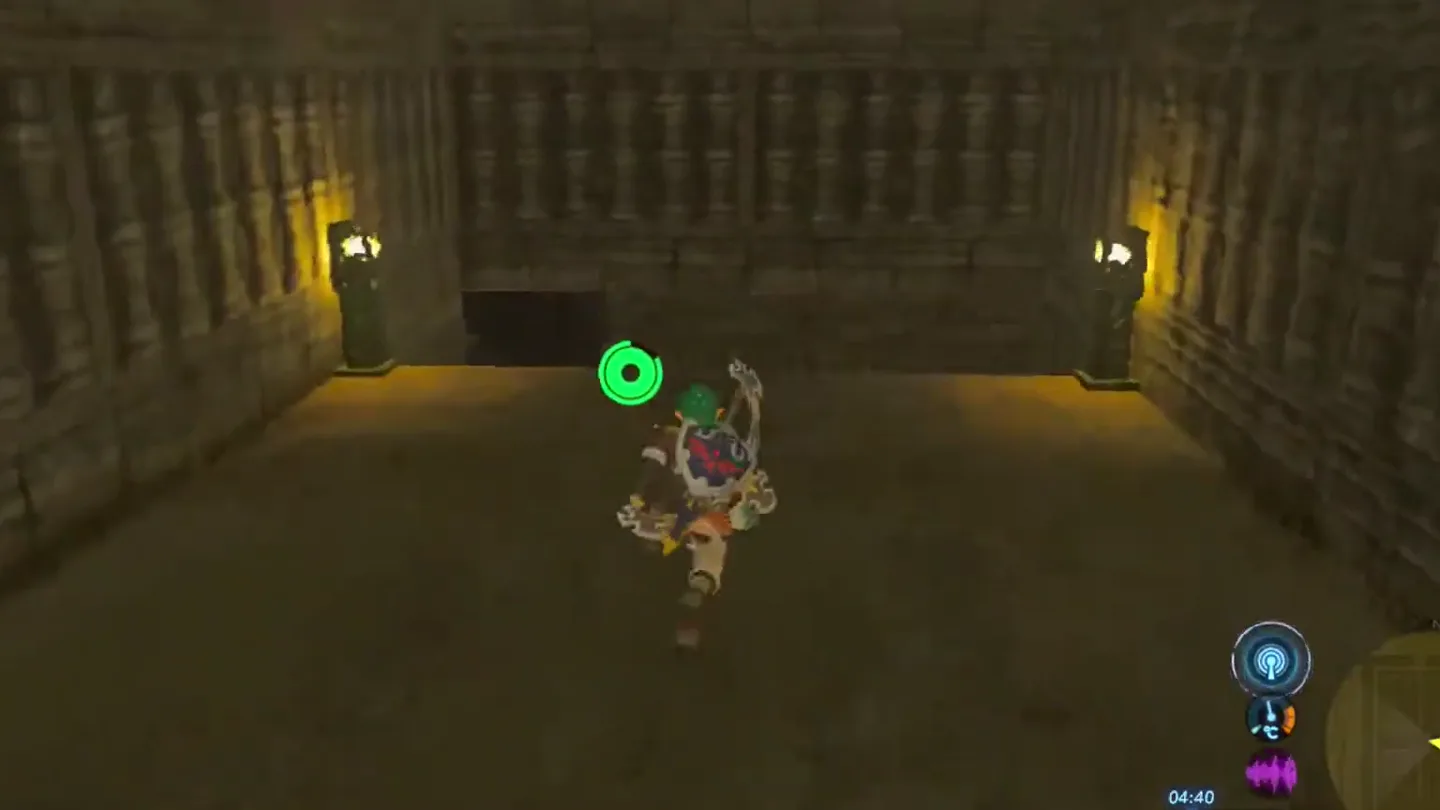
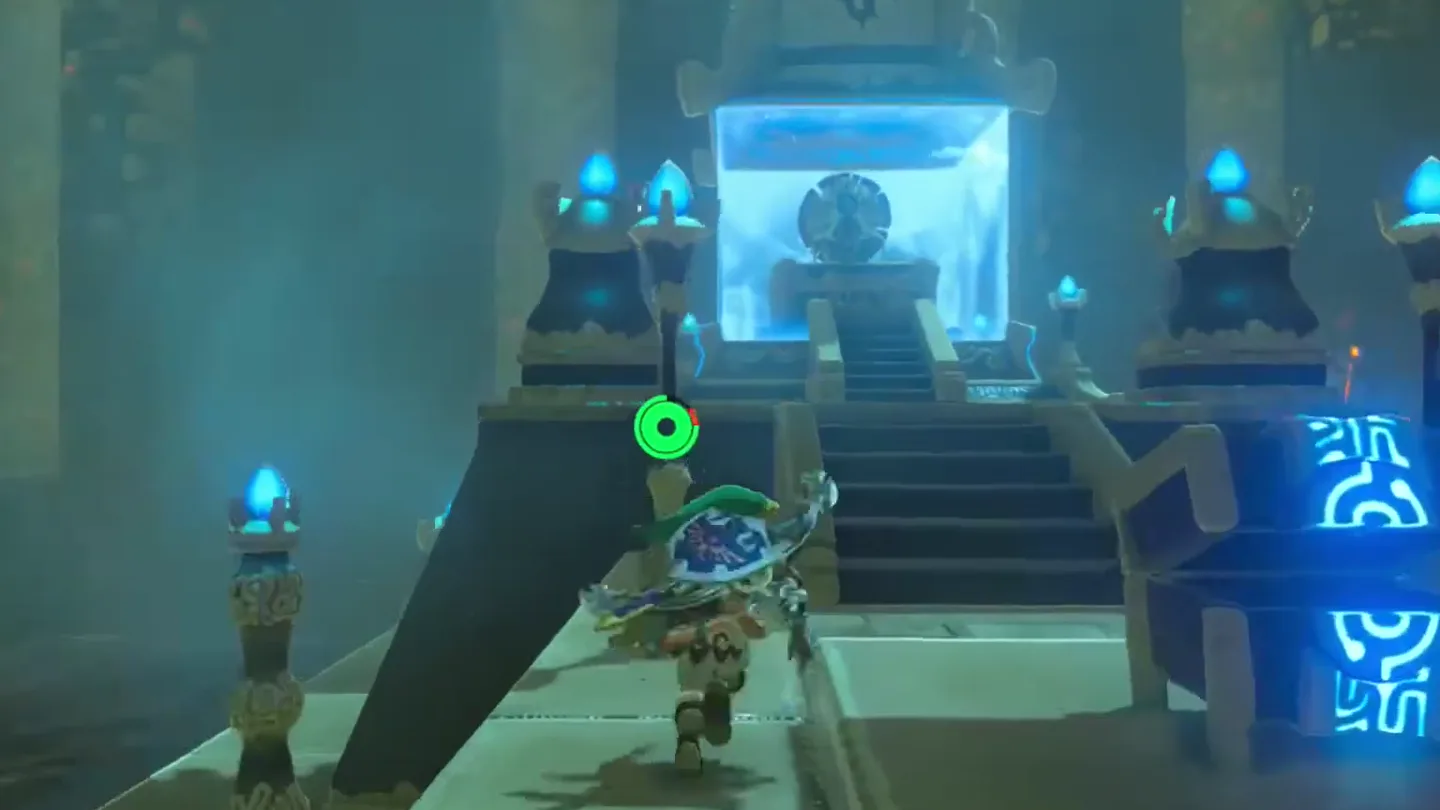
Look around and take it in: there are no puzzles and no enemies — just a single direct path leading toward the Monk’s Pedestal.
Partway along that path you’ll pass a stone Treasure Chest. Open it to claim the Barbarian Armor, the chest piece of the Barbarian set.
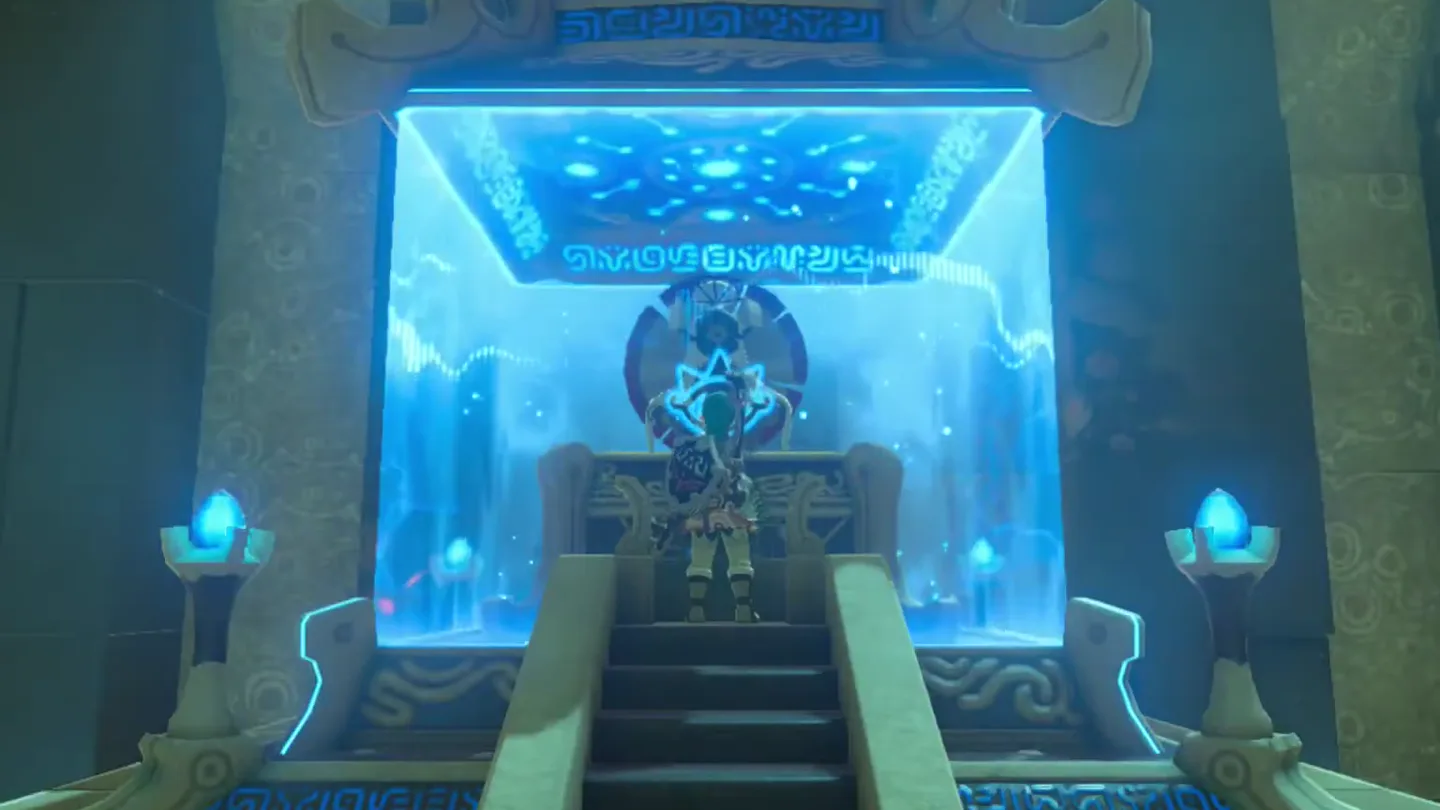
Continue down the path and approach Dila Maag on his pedestal at the far end.
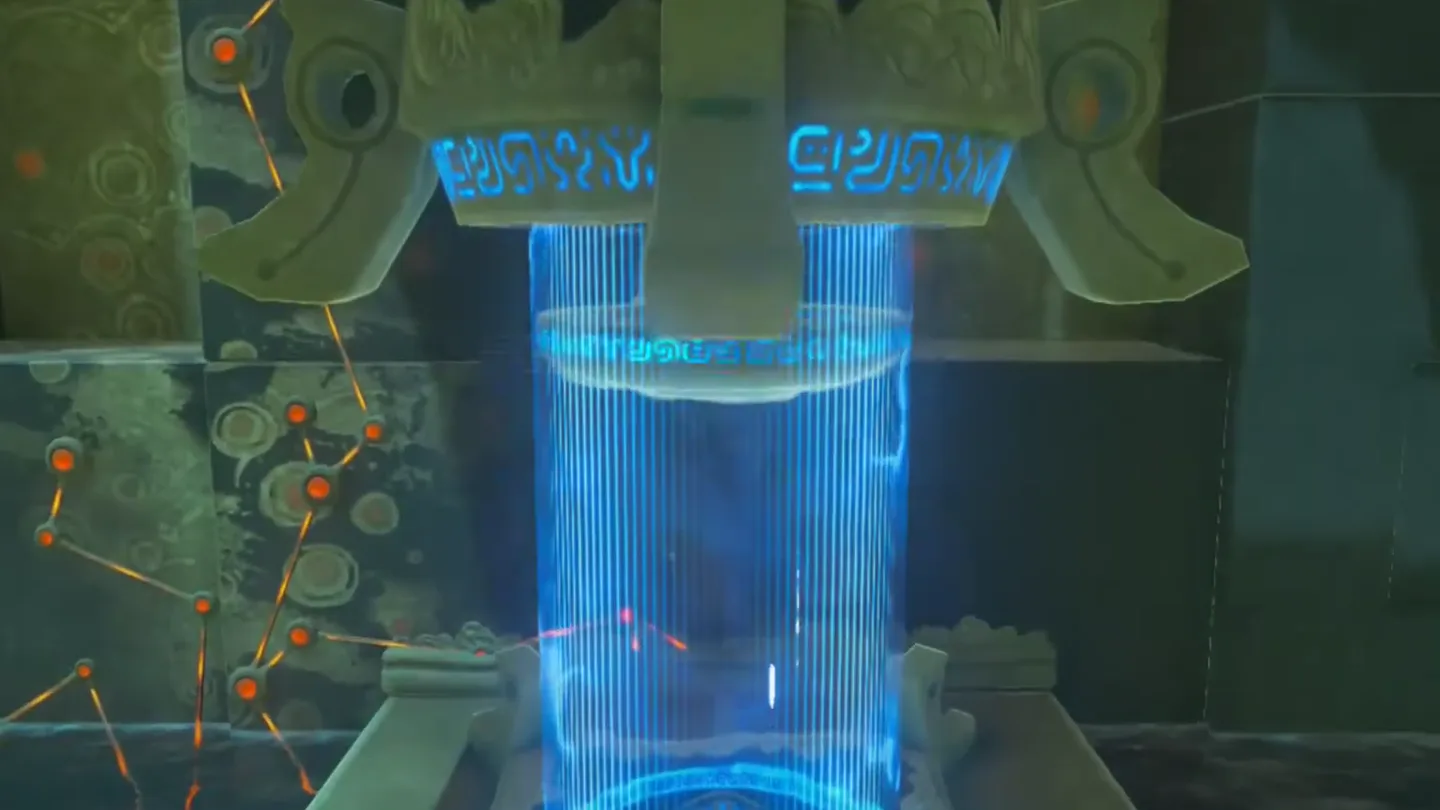
Speak with the monk and he bestows a Spirit Orb, wishes you well — ‘May the Goddess smile upon you’ — and fades away.
Note for your collection: the other two Barbarian set pieces are found in the other two labyrinths, so this visit only nets you the chest piece.
What is in the chest?
| Chest | Contents | How to get it |
|---|---|---|
| 1 | Barbarian Armor | Sits in a stone Treasure Chest along the direct path to the Monk’s Pedestal, in plain sight — open it on your way to the monk. It’s the chest piece of the Barbarian set; the other two pieces are hidden in the other two labyrinths. |
What do people miss here?
- Sprinting straight to the monk and leaving: the stone chest sits right on the path, and it’s easy to brush past in a Blessing shrine. Nothing inside changes, so you can re-enter and grab it after the fact — but don’t warp away without it.
- Expecting puzzles inside: there are none. The interior is one straight corridor to the pedestal — if you feel stuck, you’re stuck in the maze outside, not in the shrine.
- Wandering in circles in the labyrinth: the shrine is at the heart of the maze, and dead ends are part of the design. Retrace your steps and take the other fork instead of doubling deeper into a branch.
- Assuming one visit completes the Barbarian set: this chest only holds the Armor (chest piece). The remaining pieces are in the other two labyrinths elsewhere in Hyrule.
- Skipping the monk: the Spirit Orb only comes when you approach and speak to Dila Maag — looting the chest alone doesn’t count as clearing the shrine.
What else is nearby?
| Shrine | Direction | Straight-line distance | Region |
|---|---|---|---|
| Suma Sahma Shrine | east | 377 | Wasteland |
| Ishto Soh Shrine | east | 815 | Lake |
| Jee Noh Shrine | north | 1042 | Wasteland |
Which guides help next?
FAQ
Is there a puzzle inside Dila Maag Shrine?
What's in the Dila Maag Shrine treasure chest?
How do I reach Dila Maag Shrine?
Can I come back later if I missed the chest?
Do I need any runes or gear for this shrine?
Related Articles
guides
Breath of the Wild Captured Memories: All 13 Locations and Rewards
All 12 photo locations from Zelda's album plus the 13th memory in Impa's painting, with coordinates, nearby shrines, the Champion's Tunic and the extra ending scene.
guides
Breath of the Wild Great Fairy Fountains: Locations, Costs and Horse God
Where the four Great Fairy Fountains and the Horse God Malanya are in Breath of the Wild, what each fairy costs to release, and how many you need per armor upgrade.
guides
Hyrule Castle Walkthrough: Entry Routes, Hylian Shield and Final Prep
How to get into Hyrule Castle in Breath of the Wild: five entry routes, the Hylian Shield and other loot by room, and what to prepare before the final battle.
Was this helpful?
Thanks for the feedback!