

Jee Noh Shrine Walkthrough – On the Move Trial (BotW)
Full Jee Noh Shrine guide: one-arrow Stasis orb shots, dodging statue lasers, and the Opal chest in Gerudo Canyon Pass.
Where is Jee Noh Shrine?
Jee Noh Shrine sits unguarded in plain sight in Gerudo Canyon Pass, in the Gerudo Highlands in the eastern area of the Wasteland region. There is no shrine quest to trigger and nothing guarding the entrance, so you can simply walk up and enter — as you step inside, you’ll hear the voice of the monk Jee Noh greet you.
| Item | Detail |
|---|---|
| Trial | On the Move |
| Tower region | Wasteland |
| Map-marker coordinates | -1793, -2422, 0126 |
| Shrine quest | None |
| Chests | 1 |
| Names | Jee Noh Shrine · 吉諾‧耀神廟 · 吉诺·耀神庙 |
What should you bring?
Bring a bow with at least a few arrows, plus the Stasis and Magnesis runes — all of them get used here. Arrows do double duty: each orb needs exactly one well-aimed shot, and your bow is the cleanest way to deal with the two Guardian Scout I riding the second room’s belt, which fire short lasers at you (you can dodge their shots instead of fighting). As the guides warn: heads up, there are Guardian Scouts ahead.
Video walkthrough

How do you solve Jee Noh Shrine?
The shrine consists of three main rooms, and every puzzle here pairs Stasis with momentum: freeze a moving orb on its conveyor belt, strike it with exactly one arrow, and let that force carry it into its hollow.
1. First Room: Stasis Shot
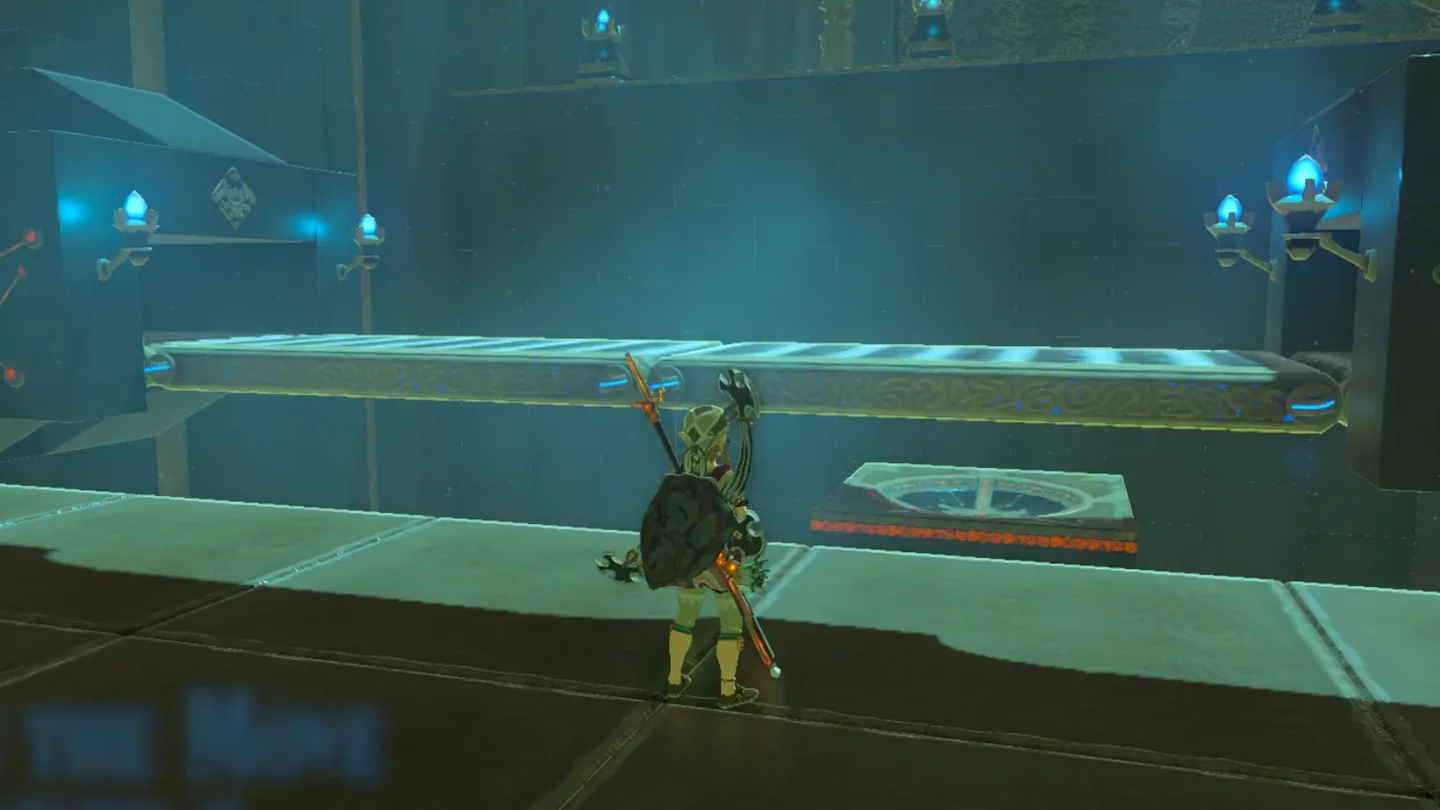
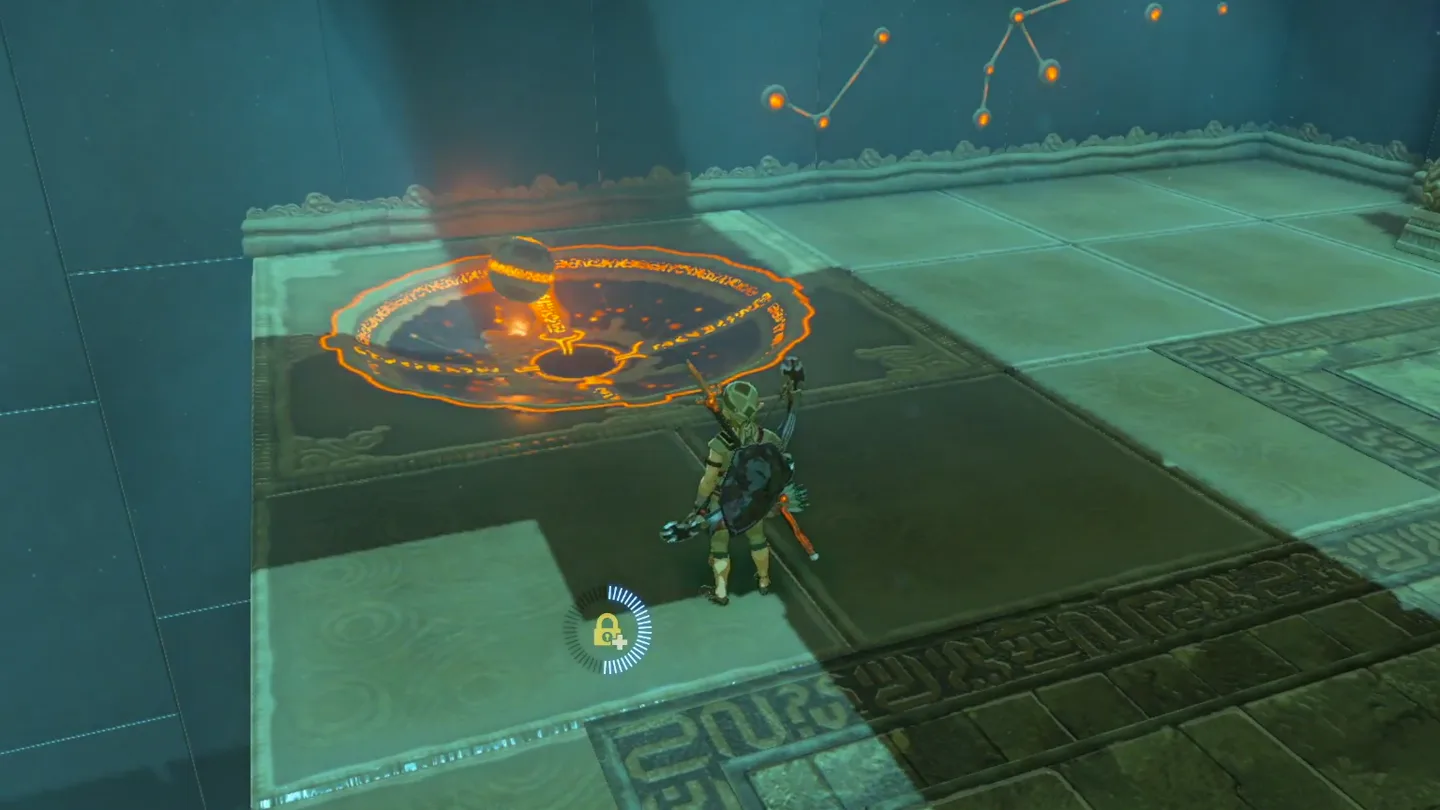
Enter the shrine. In the first room, an Ancient Orb moves across a set of conveyor belts, with an orange concave hollow set into the area behind it.
Watch the orb as it travels the belt and wait until it is directly aligned with the orange hollow — the timing is the whole trick here.
Use Stasis on the orb itself — do not Stasis the conveyor belt, which achieves nothing.
While the orb is frozen, shoot it with exactly one arrow toward the hollow. One arrow sends it rolling in and the door opens; more than one and the orb misses completely.
2. Second Room: Clear the Scouts
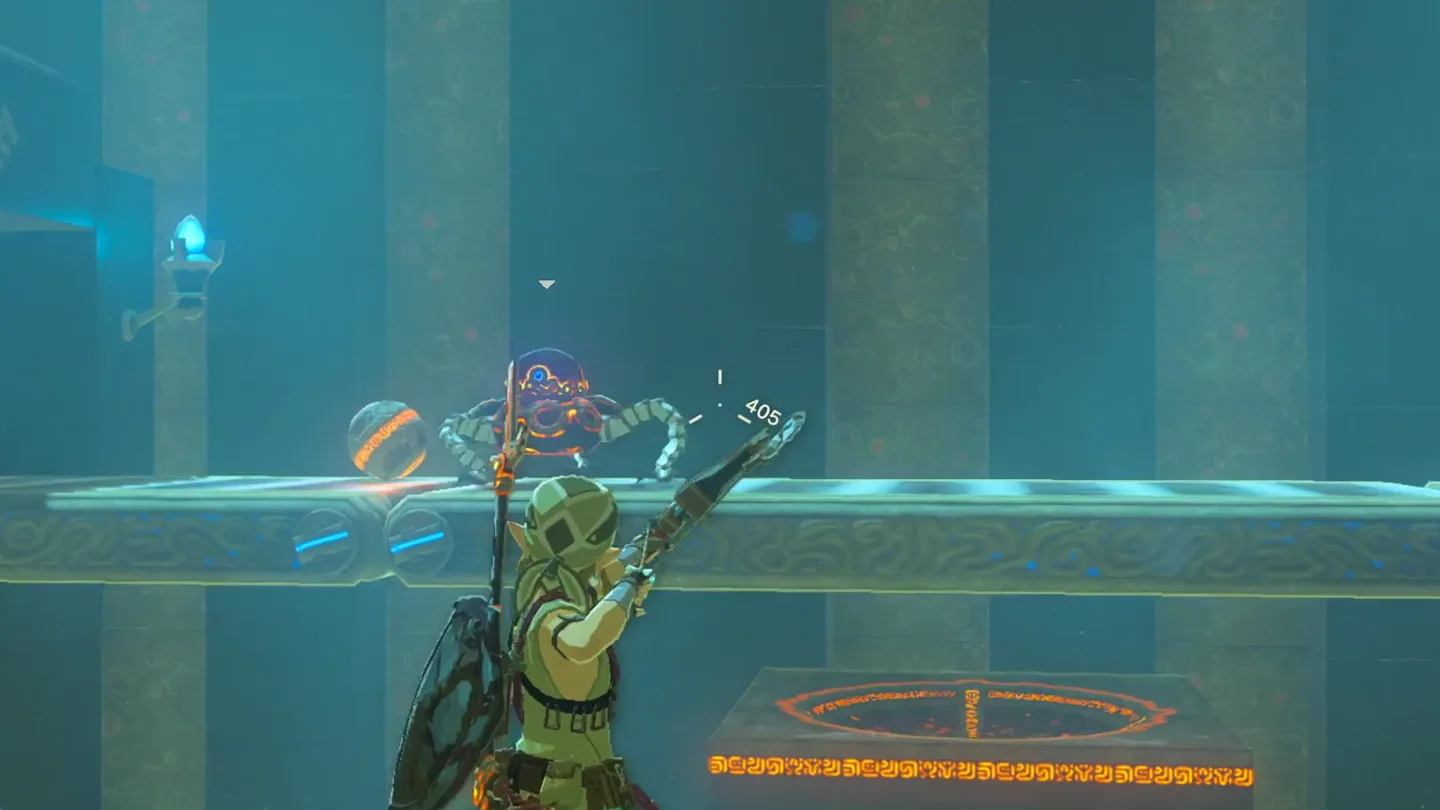
In the second room you’ll see the same orb-and-hollow setup, but two Guardian Scout I ride the conveyor belt beside the orb, firing short lasers at you.
Take out the scouts first — pick them off with your bow, or keep moving and avoid their shots — so they can’t interrupt your aim.
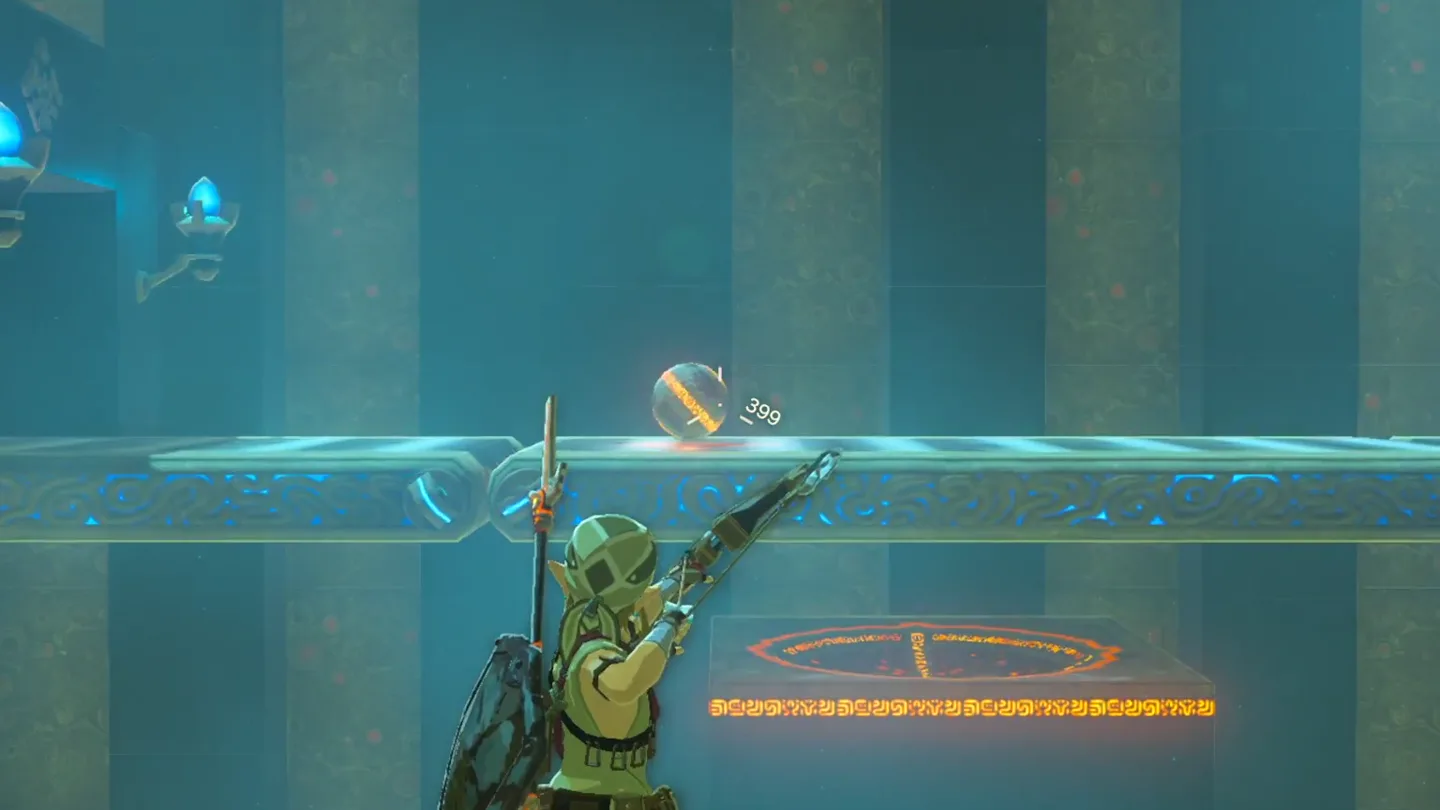
Once the coast is clear, repeat the first room’s trick: when the orb lines up with the hollow, Stasis it and knock it in with a single arrow. When it lands in its concave slot, the next door opens.
3. Third Room: Carry the Orb Past Lasers
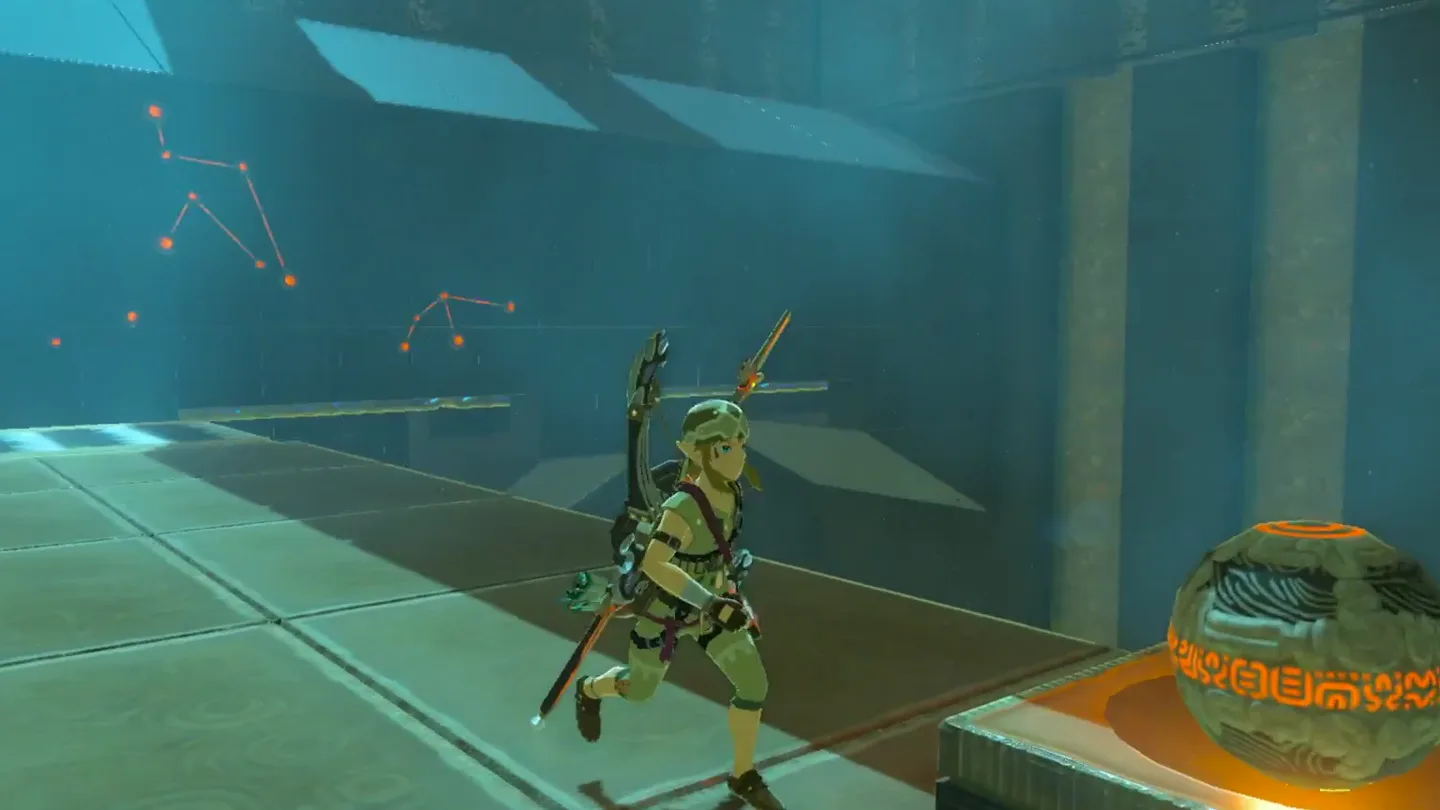
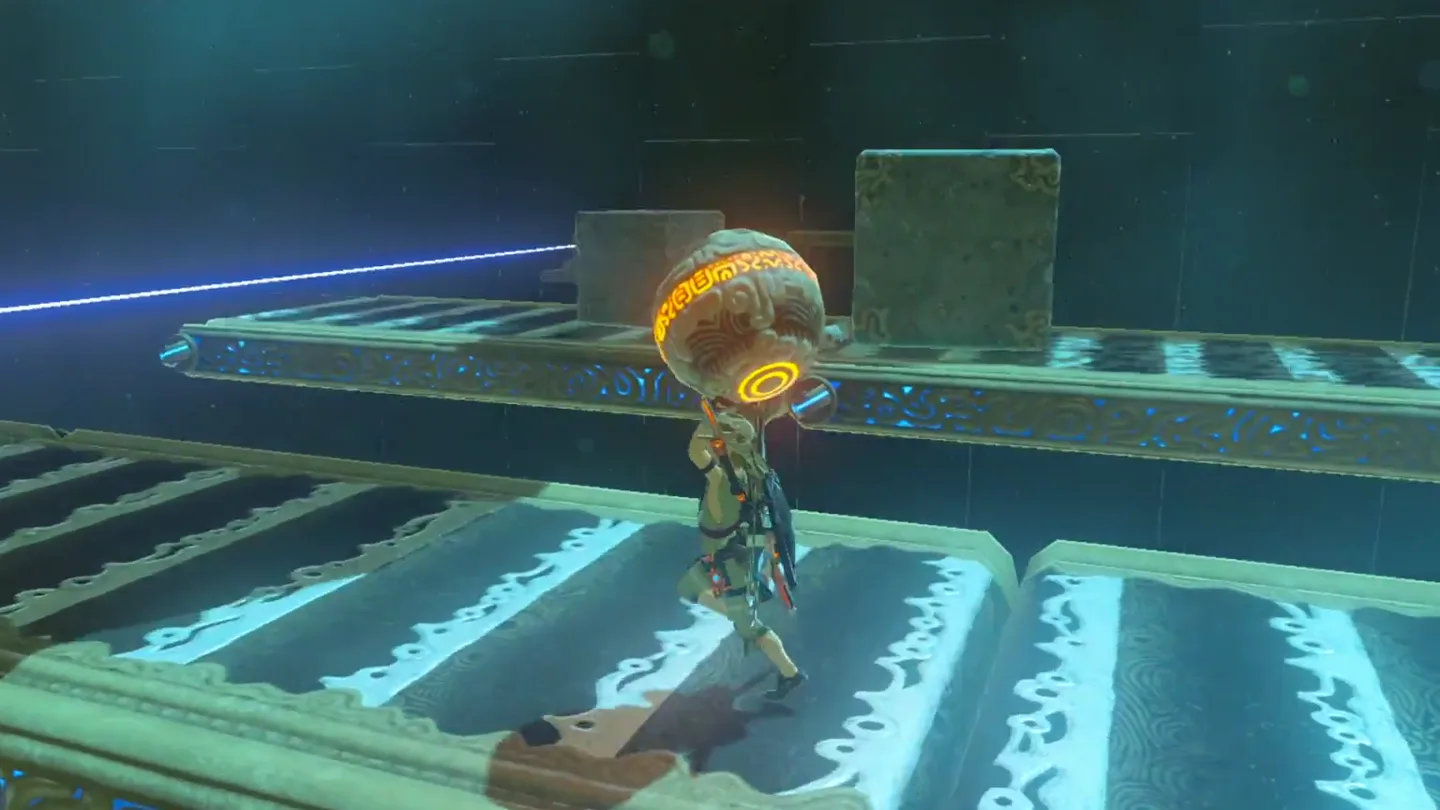
In the third room there are two sets of conveyor belts. Pick up the Ancient Orb at its starting position and carry it to its destination — the belt you cross runs against your direction of travel, slowing you down.
Look ahead: three tripwire lasers fire from nearby statues along the route, and getting hit makes you drop the orb. Stone blocks travel along the right conveyor belt and periodically block the first and third lasers — but the middle laser comes from the opposite direction, so nothing can ever block it.
Start across the belt, moving in time with the blocks, and pass the first laser just as a block rides by and shields it.
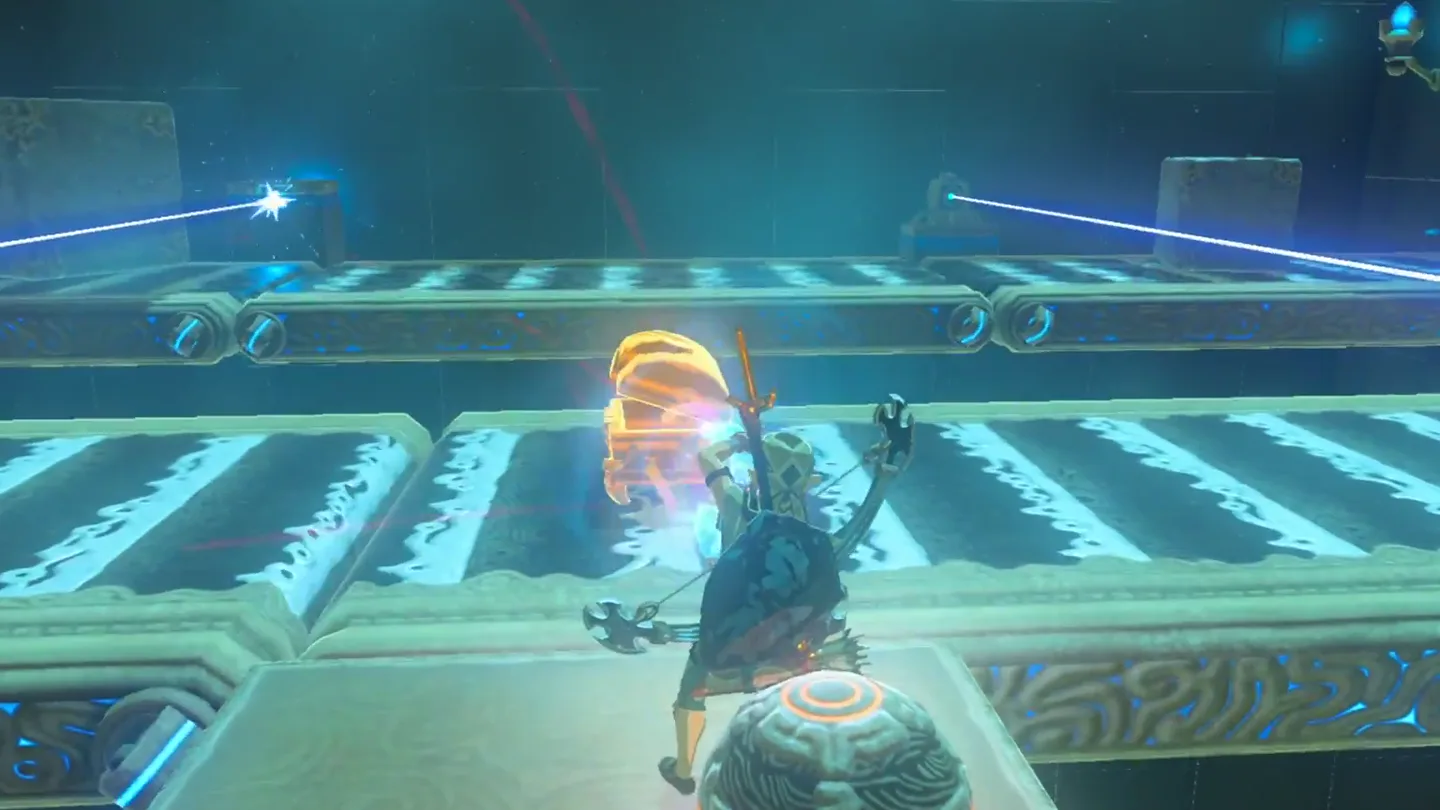
Take a break on the middle platform. The second laser fires from the opposite direction, so use Stasis on the laser emitter itself, then run past while it’s frozen.
Stay between the two lasers until a block shields the final laser, then run across to your destination. If a laser hits you, you’ll drop the orb — just pick it back up and carry on.
Place the orb in the concave hollow to open the door to the end of the shrine and Jee Noh’s chamber.
4. Claim the Reward
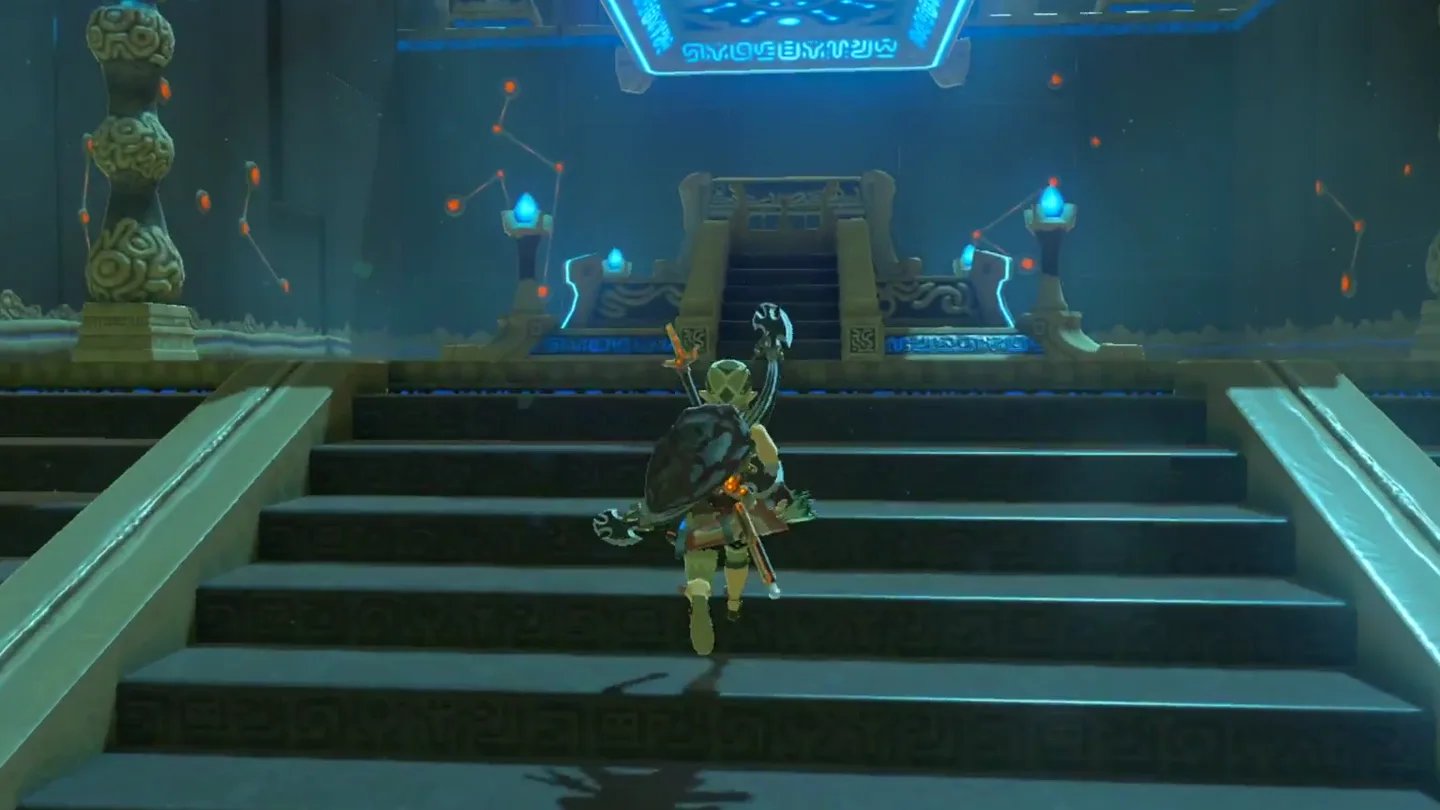
Before you leave, grab the treasure chest traveling along the distant conveyor belt across from you: stand on the belt again and pull the chest over with Magnesis (or jump across to it) and open it for an Opal. Then approach Jee Noh on the Monk’s Pedestal to receive your Spirit Orb — the monk wishes you well and fades away.
What is in the chest?
| Chest | Contents | How to get it |
|---|---|---|
| 1 | Opal | In the third room, the chest travels along the distant conveyor belt across from you. Step back onto the belt and grab it with Magnesis — don’t get nervous about falling off, just grab it quickly — or jump across to it. Open it for the Opal, which sells for a lot of rupees. |
What do people miss here?
- Firing more than one arrow at a frozen orb makes it miss the hollow completely — one arrow only, every single time.
- Stasising the conveyor belt does nothing; lock Stasis onto the orb itself.
- In the second room, take out the two Guardian Scouts before attempting the shot — their short lasers will harass you mid-aim otherwise.
- Don’t try to wait out the middle laser: it fires from the opposite side and is never blocked by the stone blocks. Stasis its emitter and run past.
- Getting hit by a statue laser makes you drop the orb — pick it back up and keep going.
- The Opal chest rides a distant conveyor belt in the third room and is easy to walk past on the way to the monk. Grab it before you leave — and don’t panic about falling off the belt while retrieving it.
What else is nearby?
| Shrine | Direction | Straight-line distance | Region |
|---|---|---|---|
| Keh Namut Shrine | northeast | 560 | Great Plateau |
| Dah Kaso Shrine | north | 727 | Central |
| Joloo Nah Shrine | north | 776 | Gerudo |
Which guides help next?
FAQ
How do I get the orb into the hollow in Jee Noh Shrine?
How do I get past the lasers in the third room?
What's in the treasure chest in Jee Noh Shrine?
Is there a shrine quest needed to reveal Jee Noh Shrine?
What enemies are inside Jee Noh Shrine?
Related Articles
guides
Breath of the Wild Captured Memories: All 13 Locations and Rewards
All 12 photo locations from Zelda's album plus the 13th memory in Impa's painting, with coordinates, nearby shrines, the Champion's Tunic and the extra ending scene.
guides
Breath of the Wild Great Fairy Fountains: Locations, Costs and Horse God
Where the four Great Fairy Fountains and the Horse God Malanya are in Breath of the Wild, what each fairy costs to release, and how many you need per armor upgrade.
guides
Hyrule Castle Walkthrough: Entry Routes, Hylian Shield and Final Prep
How to get into Hyrule Castle in Breath of the Wild: five entry routes, the Hylian Shield and other loot by room, and what to prepare before the final battle.
Was this helpful?
Thanks for the feedback!