

Muwo Jeem Shrine Location and Solution (Breath of the Wild)
Find Muwo Jeem Shrine on Cape Cales, beat its Guardian Scout III using pillars and updrafts, and collect the chest beyond the arena.
Where is Muwo Jeem Shrine?
Look for Cape Cales, east of Palmorae Ruins. Head toward the cape and climb to its upper ground; the entrance sits on the clifftop overlooking the sea. No shrine quest is required to make it appear. For help spotting and marking entrances, see how to find shrines.
| Item | Detail |
|---|---|
| Trial | A Modest Test of Strength / 力之考驗 中級 |
| Tower region | Faron |
| Coordinates | 3657, -3308, 0363 |
| Type | Combat: Guardian Scout III |
| Chests | 1 |
| English name | Muwo Jeem Shrine |
| Traditional Chinese name | 姆奧‧吉姆神廟 |
| Simplified Chinese name | 姆奥·吉姆神庙 |
What should you bring?
This is a straight duel rather than a puzzle, so pack combat gear: a melee weapon with plenty of durability (bring a spare, since the Guardian Scout III has 1500 HP), plus a bow and arrows, a shield, and the Paraglider. Guardian weapons are the premium pick here, and ice or electric weapons add freezing or stunning on top, but neither is required. Plan on defensive play: Flurry Rush the melee swings, put a pillar between you and the spin charge, ride the updraft to shoot its eye, and dodge or shield-parry the finishing beam. No runes come into play — Magnesis, Stasis, and Cryonis are never needed — and no special armor or resistance is required.
Video walkthrough
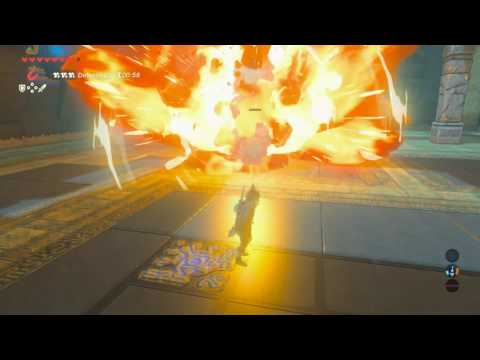
Solution: how do you defeat the Guardian Scout?
The arena opens through combat. This route needs a melee weapon, bow and arrows, and the Paraglider; it does not require a Magnesis, Stasis, or Cryonis puzzle. Guardian weapons are useful if you have them. Ice attacks can freeze the Scout, and electric attacks can stun it; neither is mandatory.
| Combat detail | What to expect |
|---|---|
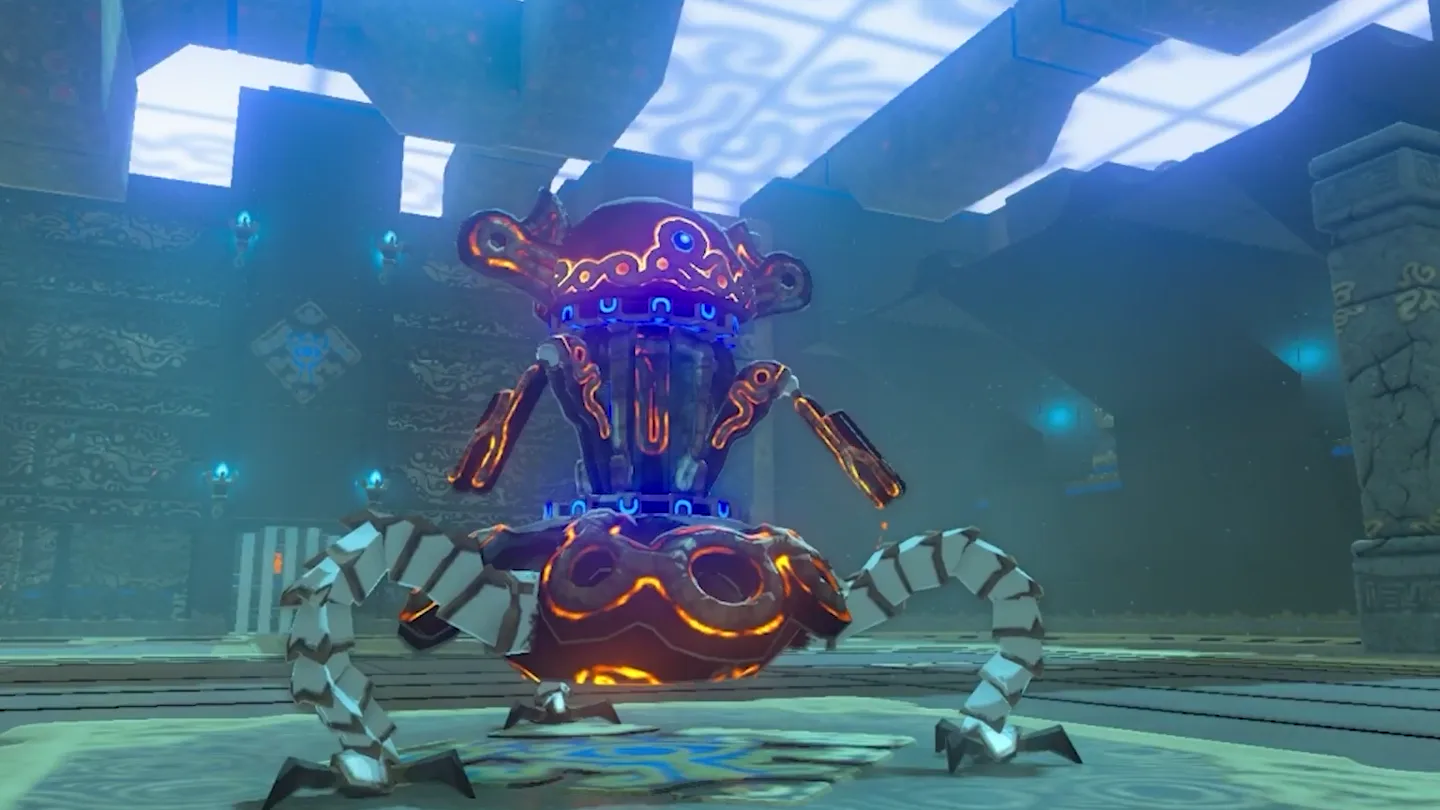
| Opponent | Guardian Scout III |
| Health | 1500 |
| Equipment | Ancient Battle Axe+ and Guardian Shield+ |
| Exit condition | Defeat the Scout to raise the rear gate |
Follow the cues below as they occur. Attacks can repeat, and defeating the Scout early can skip later patterns.
1. Defeat the Guardian Scout
Enter the central arena. Approach the middle to trigger the Scout’s arrival.
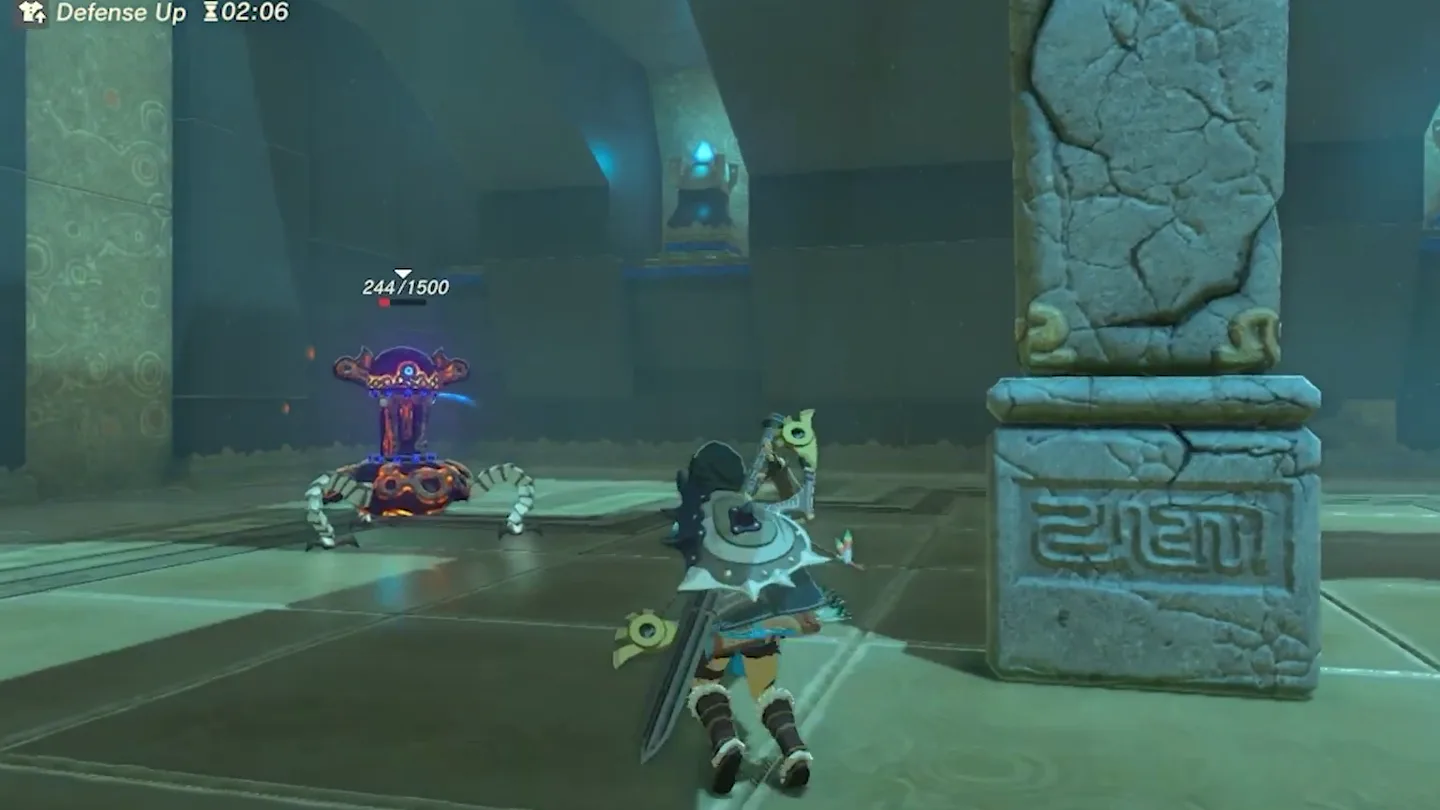
Dodge, then counterattack. Use a well-timed backflip or side hop against melee attacks to trigger a Flurry Rush; keep moving if it fires small lasers.
Block its spinning charge with a pillar. Put a standing stone pillar between you and the Scout. Attack during the brief stun after it crashes through the pillar; if no pillar is available, retreat and wait for the spin to end.
Glide over the sweeping laser. When a thin beam circles across the floor, jump and open the Paraglider in the updraft. Draw your bow in the air and aim at its eye.
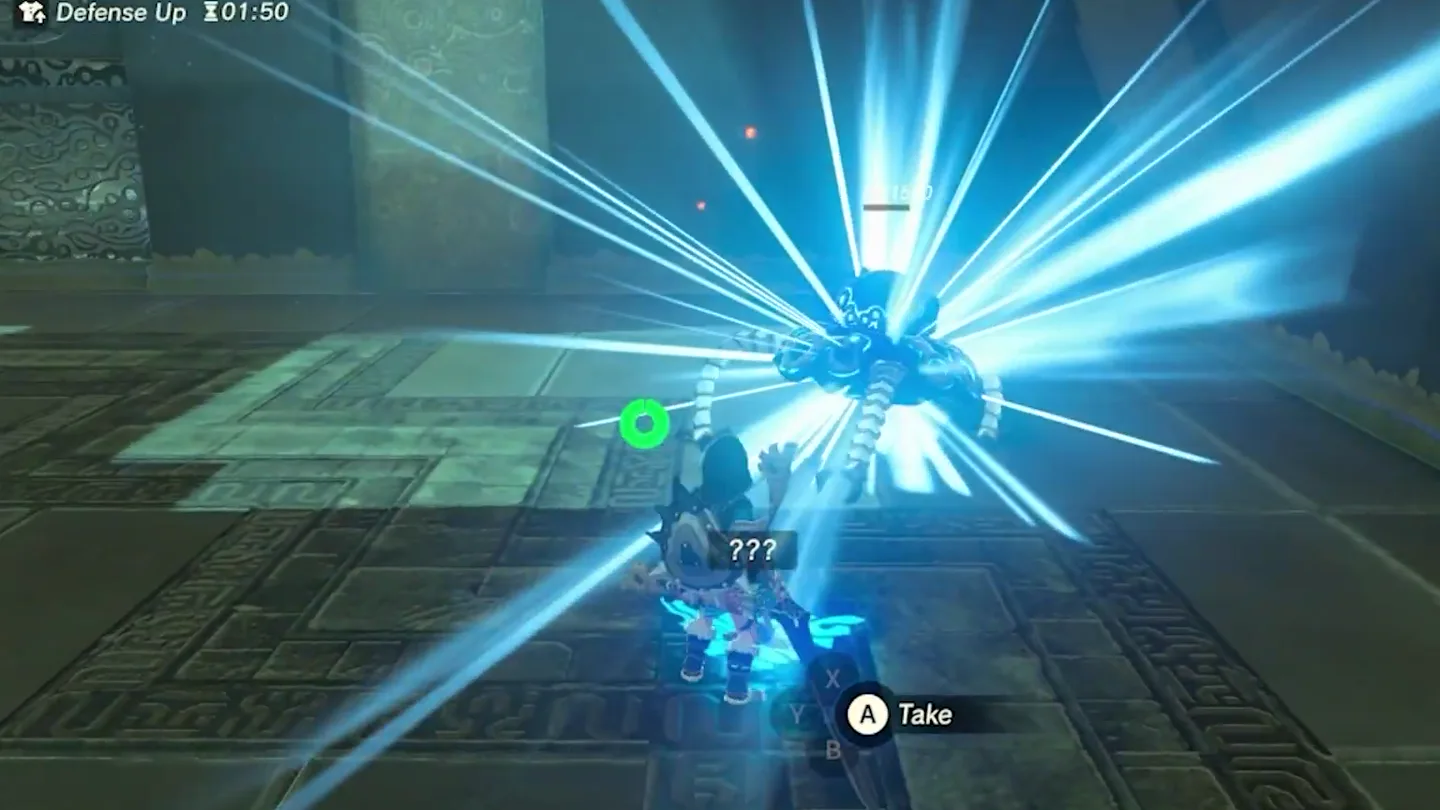
Run from the charged finishing lasers. When the weakened Scout stops to charge a powerful beam, run to evade it, or parry with a shield if you know the timing. Continue attacking in the openings until it falls.
2. Claim the reward
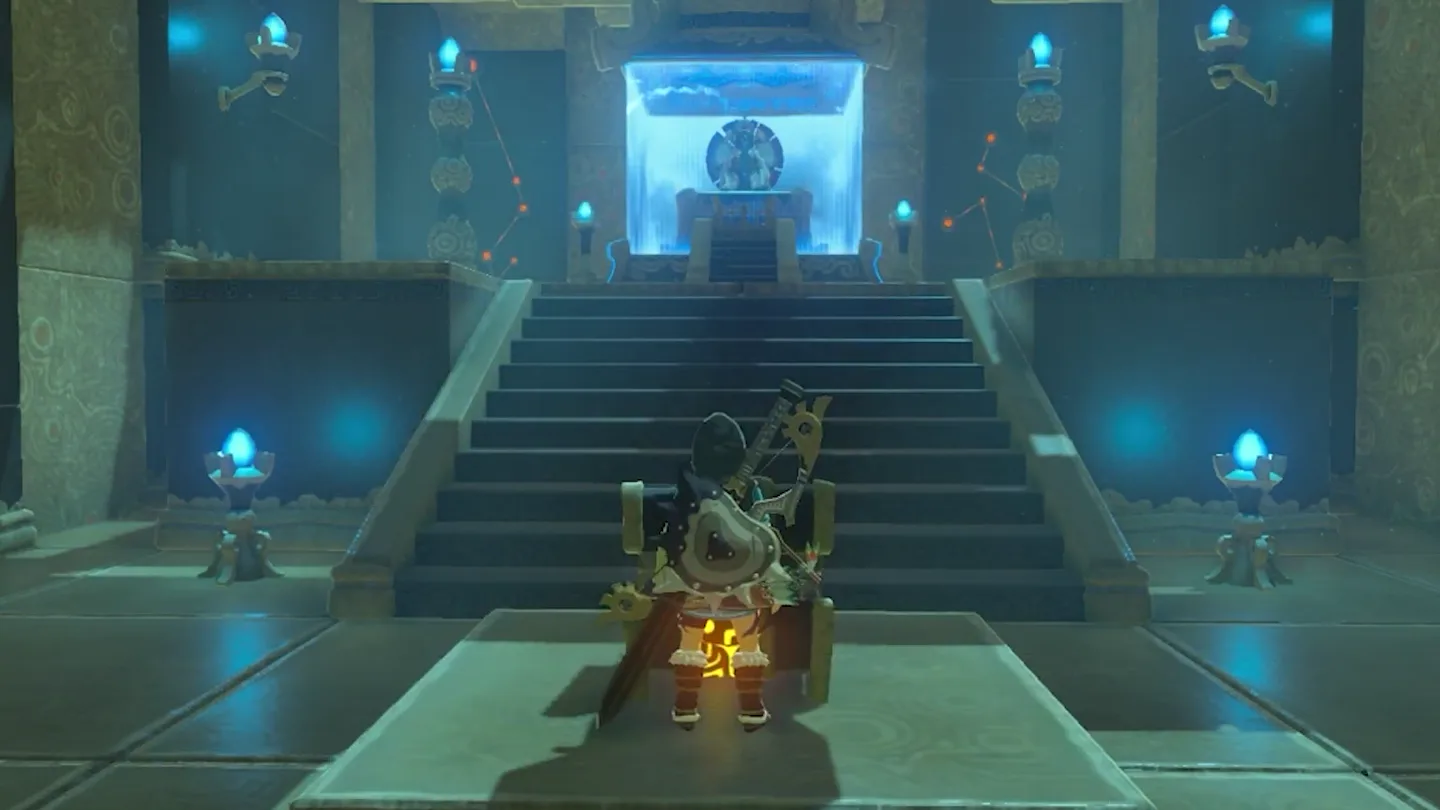
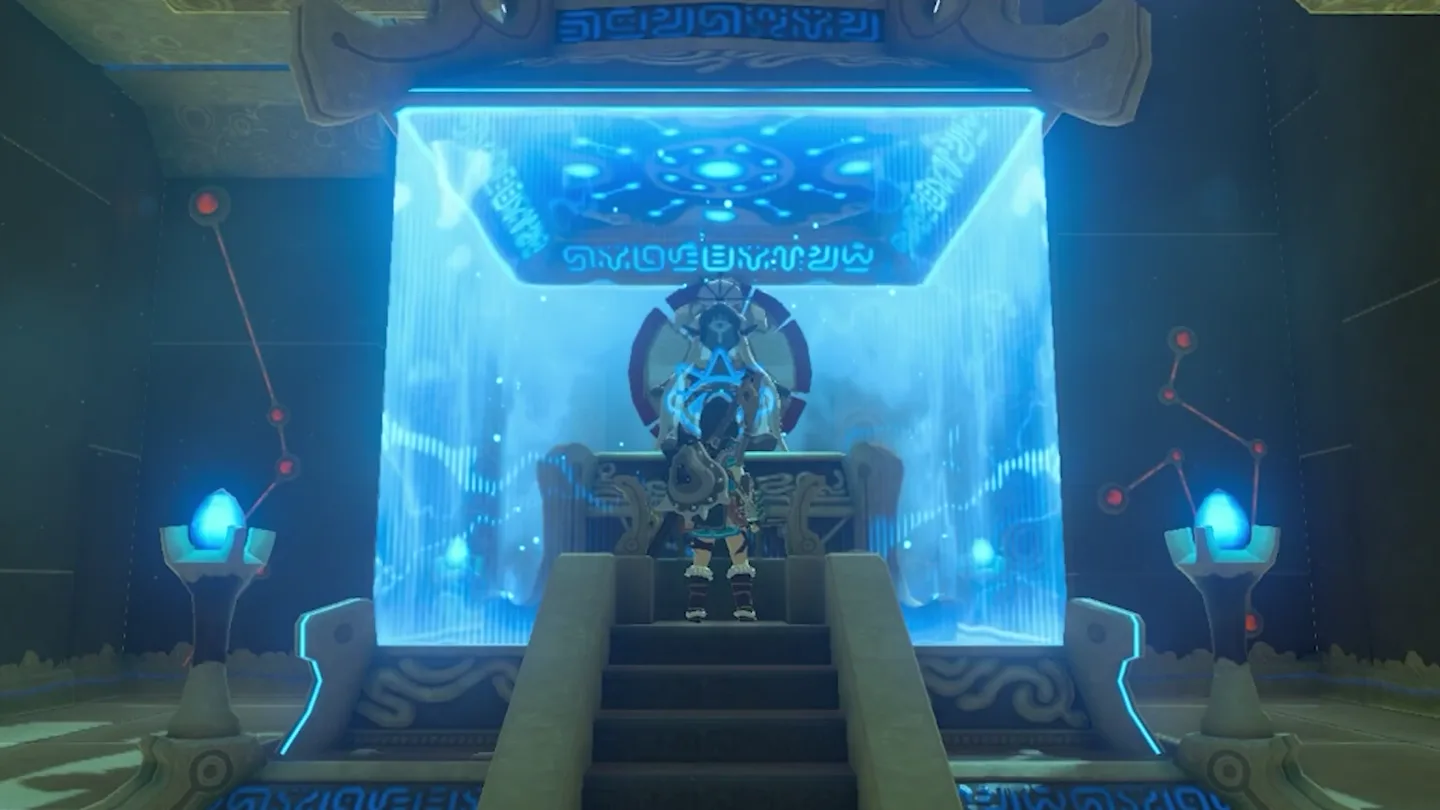
Collect the loot and open the chest. The rear gate rises after the victory. Go through it and open the chest before the monk; its reported contents are compared below.
Speak to the monk. Claim the Spirit Orb to finish the shrine.
Chests: what is behind the gate?
| Chest | Contents | How to reach it |
|---|---|---|
| 1 | Conflicting accounts: Knight’s Bow; or Royal Bow with a durability bonus | Defeat the Scout, pass through the raised rear gate, and open the chest before approaching the monk. |
What do people miss here?
- Treat the monk conversation as your exit button: once he hands over the Spirit Orb, Muwo Jeem wishes you well and fades away, so settle all looting — the chest and the battlefield drops — before you talk to him.
- The defeated Scout’s own arms are the real haul: it drops the Ancient Battle Axe+ and Guardian Shield+ it wielded, the middle-grade gear this tier of trial is known for — exactly the ‘useful Guardian weapons’ the combat notes mention. Don’t leave them lying on the arena floor.
- Don’t be fooled by the word ‘Modest’: the source walkthrough rates this as middling difficulty with middle-grade rewards and stresses arriving prepared — an under-geared visit turns a winnable duel into a war of attrition.
- Easily overlooked tie-in: Hyrule Warriors: Age of Calamity references this shrine through its ‘Trial of Muwo Jeem’ quest.
What else is nearby?
| Shrine | Direction | Straight-line distance | Region |
|---|---|---|---|
| Kah Yah Shrine | west | 220 | Faron |
| Chaas Qeta Shrine | northeast | 475 | Hateno |
| Yah Rin Shrine | west | 823 | Faron |
Related: where can you go next?
- All shrine locations: mark Muwo Jeem on your checklist.
- Chaas Qeta Shrine: a nearby shrine northeast of Muwo Jeem; consult its separate arrival guide before setting out.
- Tears of the Kingdom vs. Breath of the Wild: compare the games before moving between their guides.
FAQ
How do I get to Muwo Jeem Shrine?
What should I bring to Muwo Jeem Shrine?
How do I avoid the spinning attack?
Does Muwo Jeem Shrine give a Knight’s Bow or a Royal Bow?
Related Articles
guides
Breath of the Wild Captured Memories: All 13 Locations and Rewards
All 12 photo locations from Zelda's album plus the 13th memory in Impa's painting, with coordinates, nearby shrines, the Champion's Tunic and the extra ending scene.
guides
Breath of the Wild Great Fairy Fountains: Locations, Costs and Horse God
Where the four Great Fairy Fountains and the Horse God Malanya are in Breath of the Wild, what each fairy costs to release, and how many you need per armor upgrade.
guides
Hyrule Castle Walkthrough: Entry Routes, Hylian Shield and Final Prep
How to get into Hyrule Castle in Breath of the Wild: five entry routes, the Hylian Shield and other loot by room, and what to prepare before the final battle.
Was this helpful?
Thanks for the feedback!