Some terrain tiles could not load. Switch to the coordinate grid or retry.
Look for the shrine on the hill northwest of Lurelin Village, overlooking the houses. From the village, head northwest uphill to the entrance. There is no shrine quest to unlock it. Use the full shrine checklist to track your visit.
Item
Detail
Trial
A Weighty Decision / 鐵箱的審判
Tower region
Faron
Coordinates
2834, -3312, 0166
Type
Magnesis and scale puzzle; not a Test of Strength
Chests
2
Shrine quest
None
English name
Yah Rin Shrine
Traditional Chinese name
亞奧‧瑪耀神廟
Simplified Chinese name
亚奥·玛耀神庙
What should you bring?
Preparation is minimal: the trial only uses Magnesis and the paraglider, plus any serviceable weapon for the Guardian Scout II on the stairs, which will not put up much of a fight. No elemental resistance, special armor, arrows, or consumables are required at any point. If you have already made it up the hill from Lurelin Village, your gear is sufficient.
Use Magnesis for the metal block and chest, and the paraglider to change scale platforms near the end. Bring a weapon for the Guardian Scout encountered along the way.
1. Ride the entrance scale
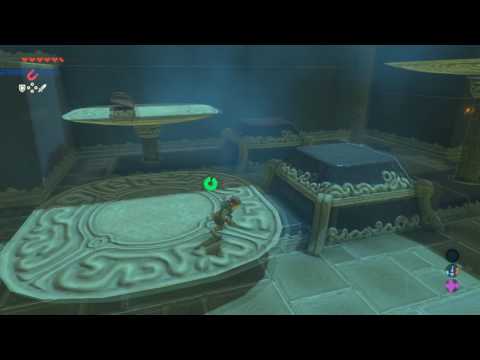
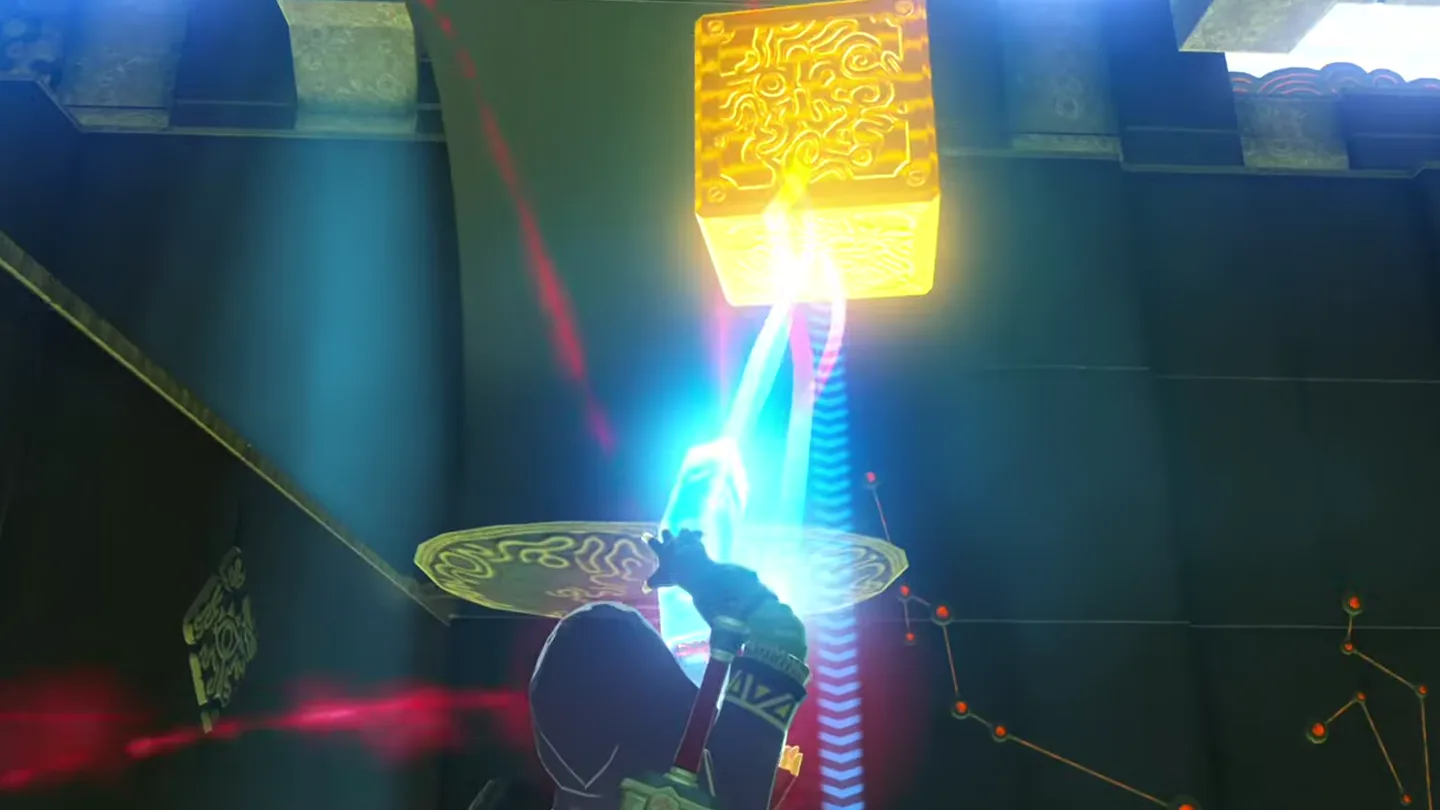
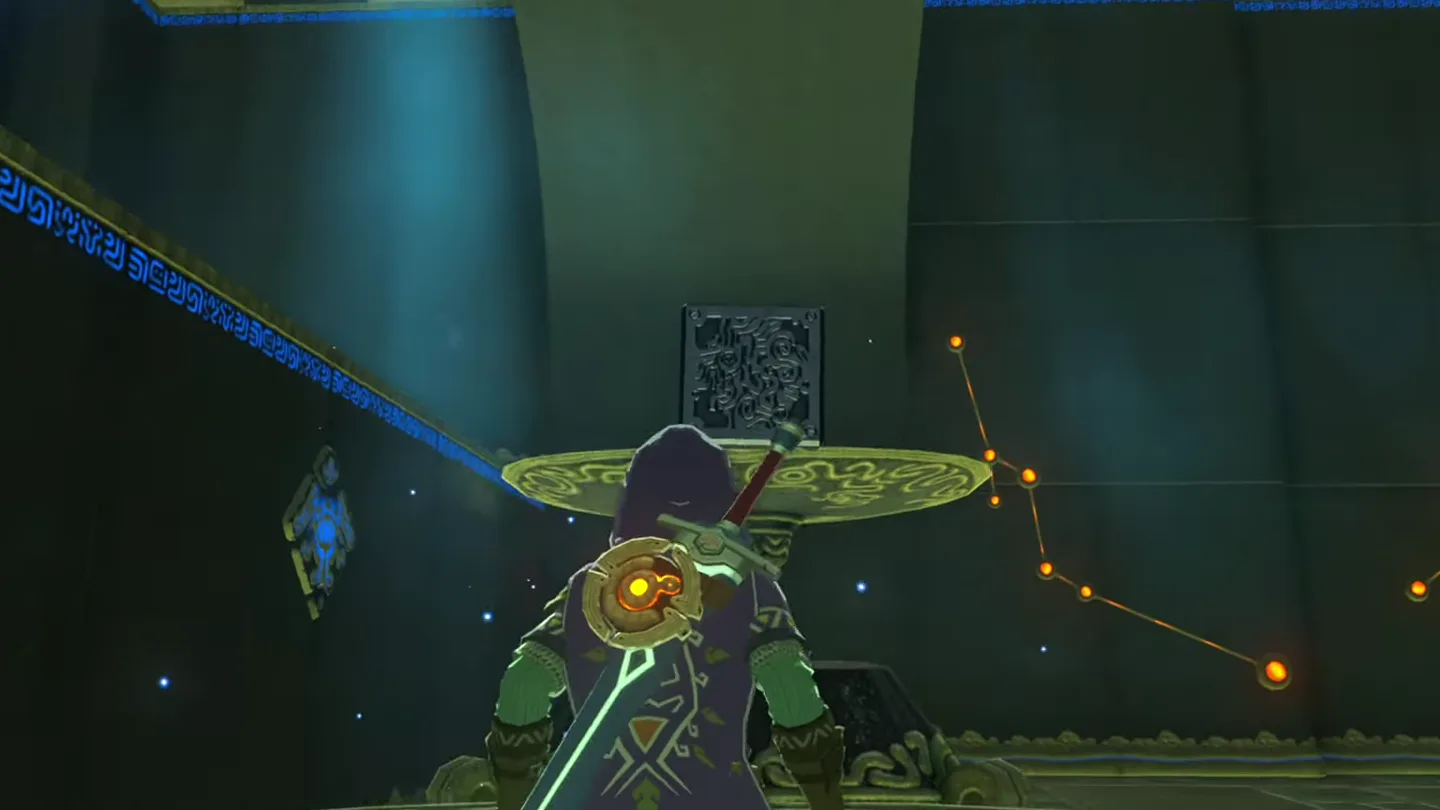
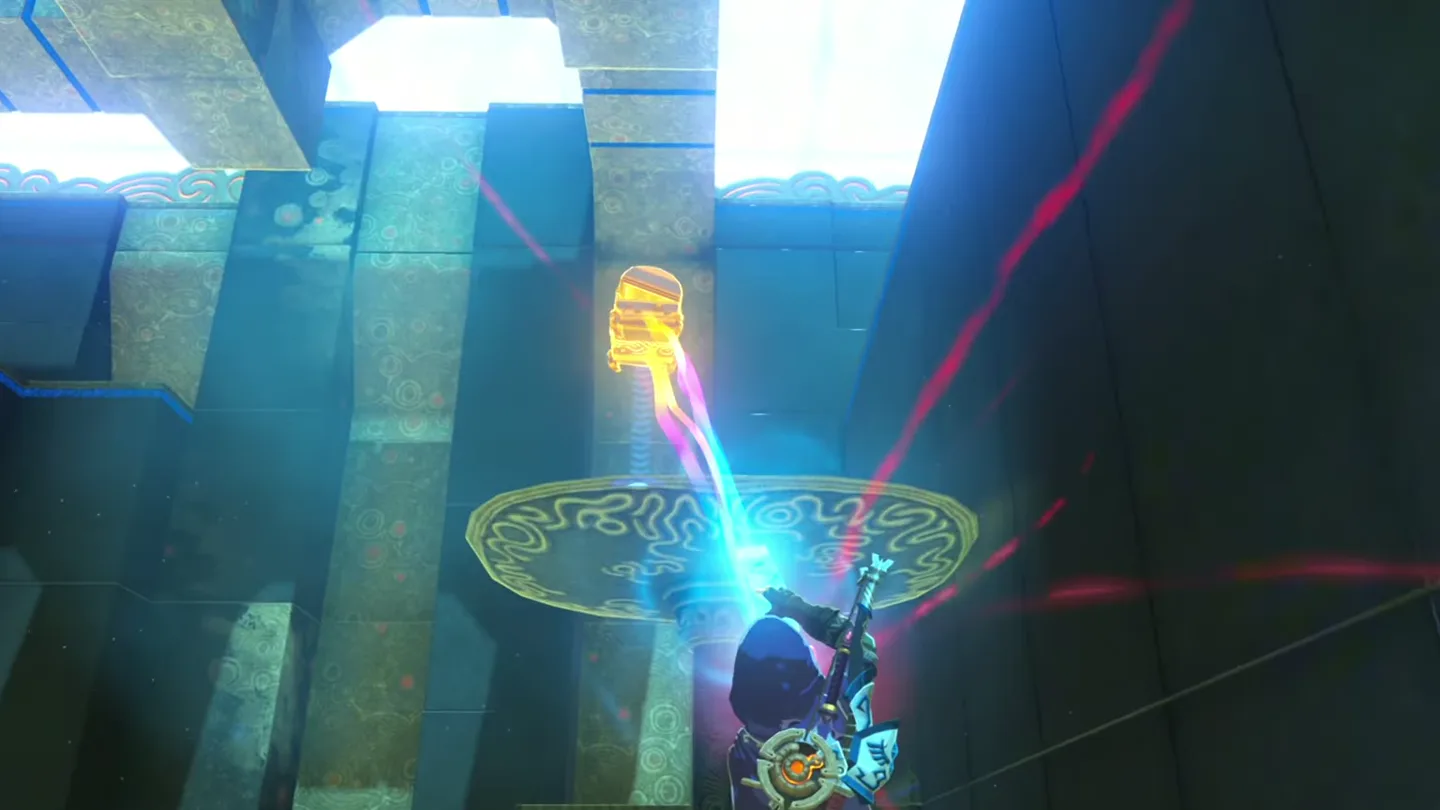
Ride the entrance scale. Stand beside the metal block on the lowered platform, then use Magnesis to move the block onto the higher platform. Your side rises so you can reach the next area.
Stand on the lowered platform and use Magnesis to move metal block ① onto higher platform ②. Screenshot (cropped) from Kingdom of Hyrule
· CC BY With the block on the other side, your platform rises to the next area. Screenshot (cropped) from Kingdom of Hyrule
· CC BY
2. Clear the stairs
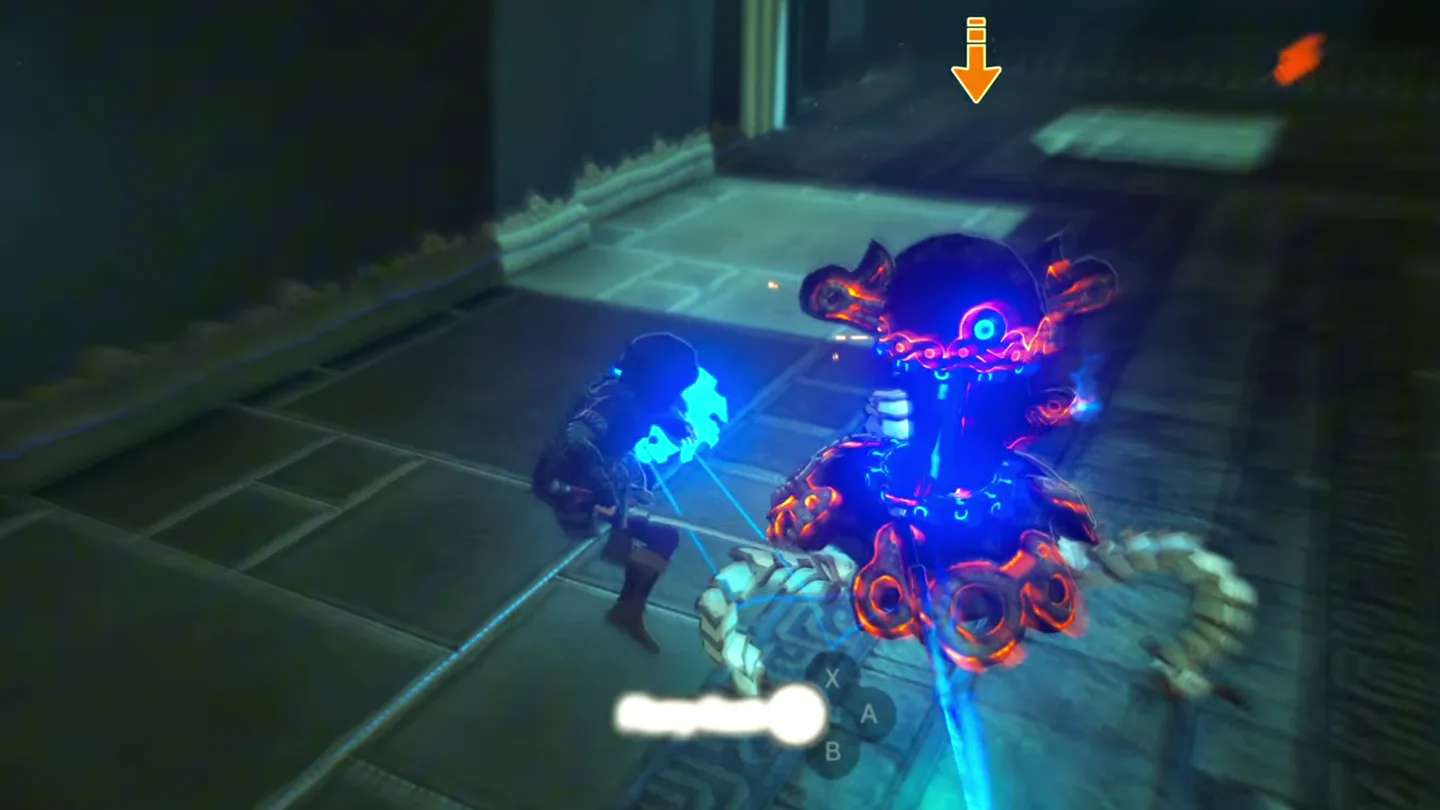
Clear the stairs. Go down and defeat the Guardian Scout.
Go down the stairs and defeat Guardian Scout ①. Screenshot (cropped) from Kingdom of Hyrule
· CC BY
3. Get the chest and open the gate
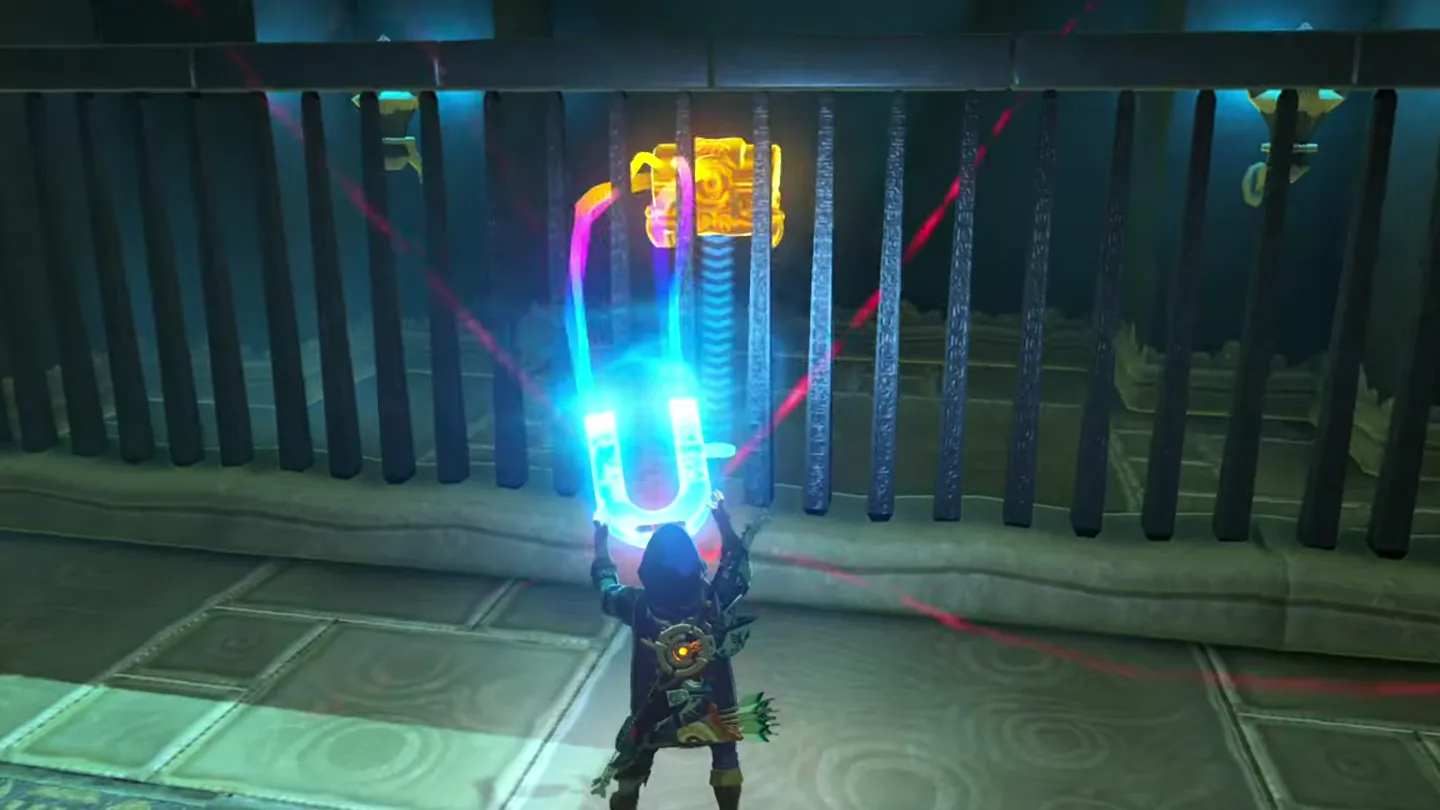
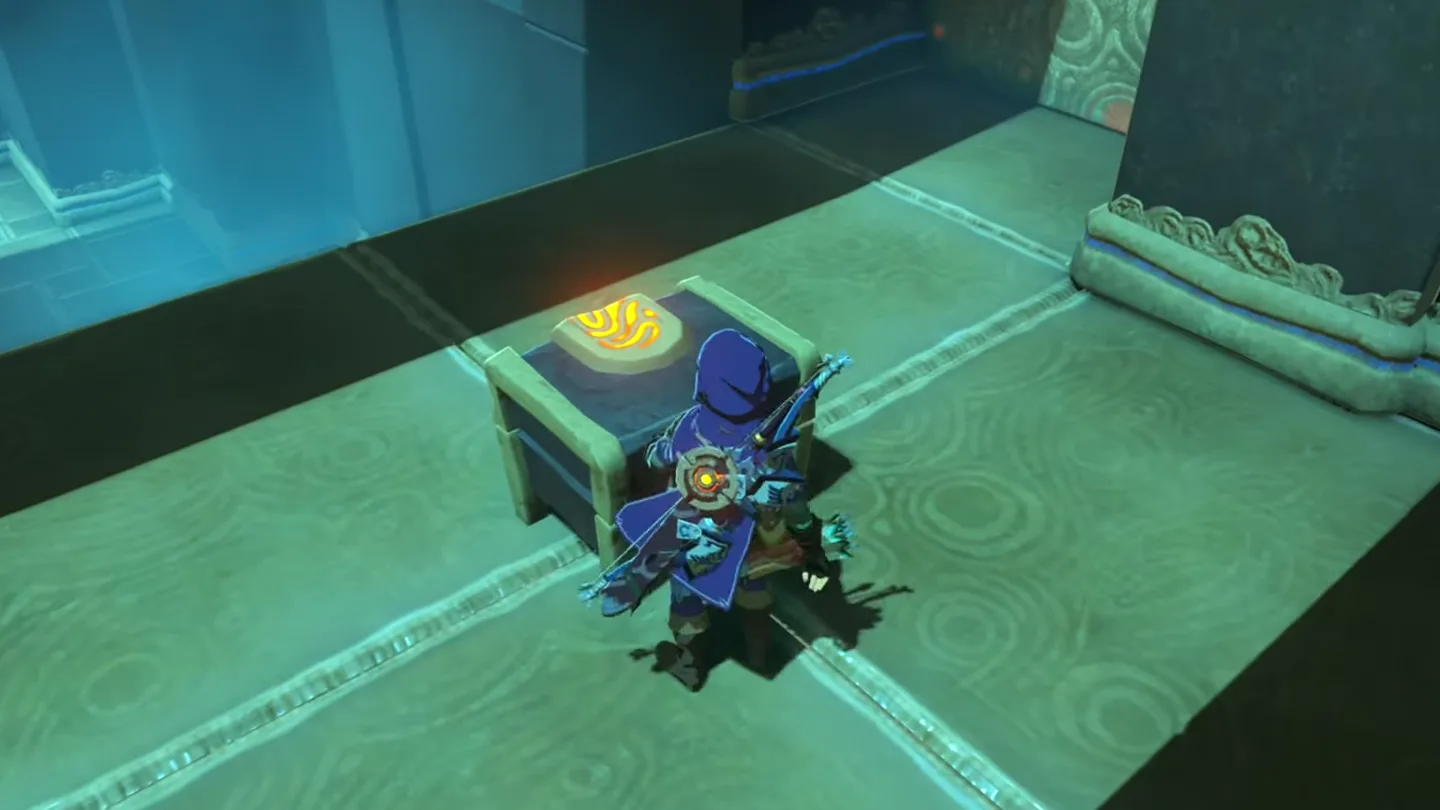
Lift out the metal chest. Use Magnesis to raise it over the bars and bring it within reach, then open it for the Knight’s Broadsword.
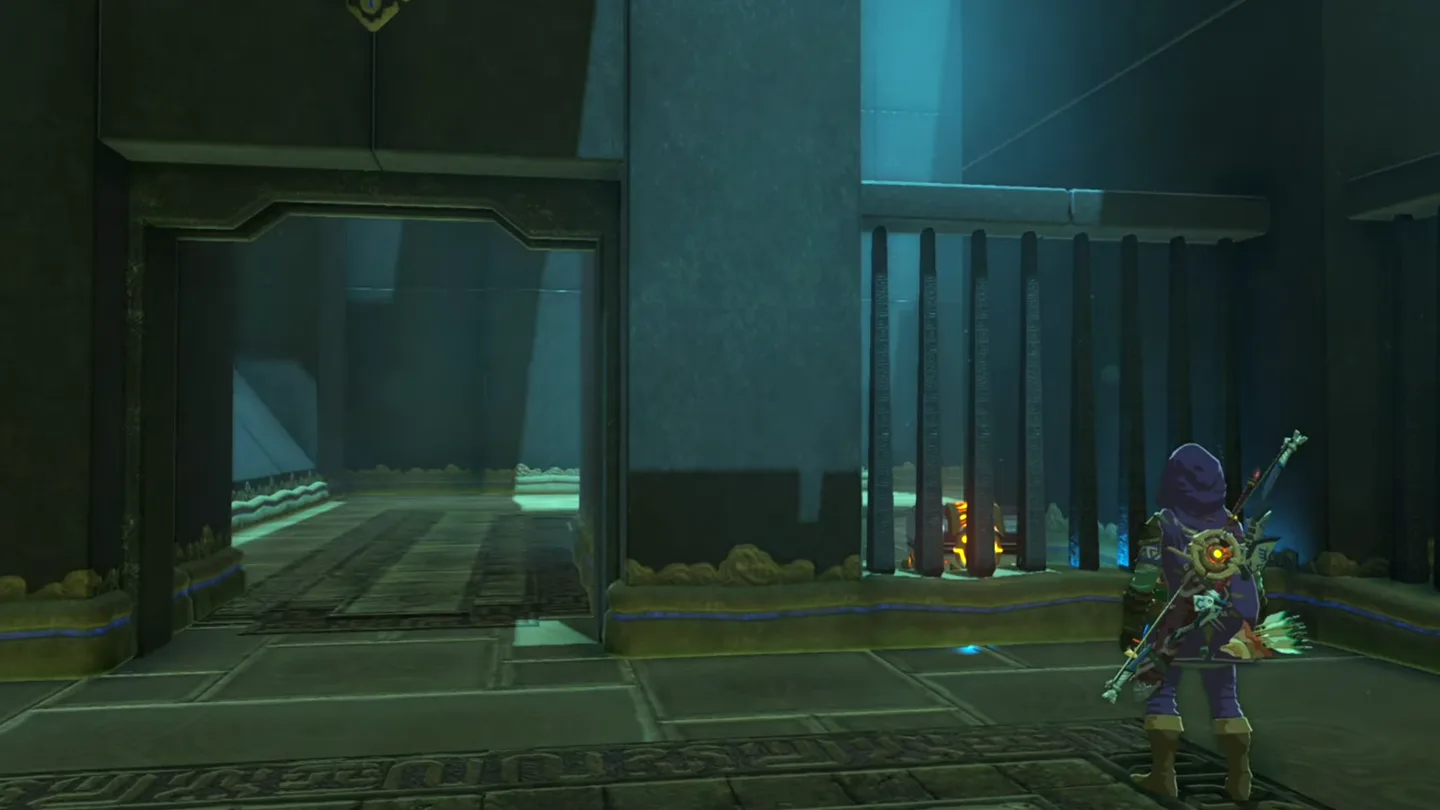
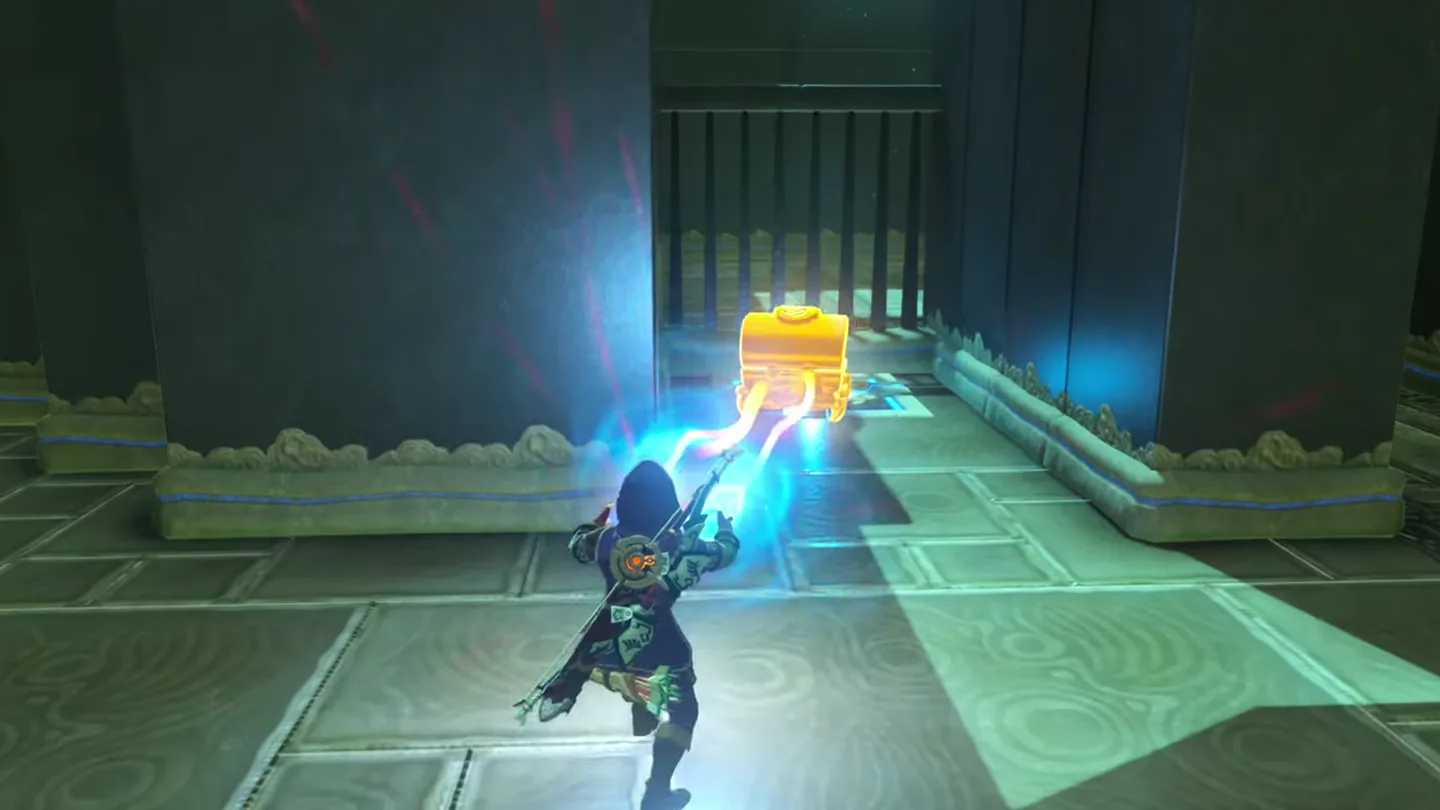
Use the chest to open the gate. Place it on the floor switch behind the bars beside the gate. Walk through, then retrieve the chest with Magnesis.
Lift metal chest ① over the bars with Magnesis and open it for the Knight’s Broadsword. Screenshot (cropped) from Kingdom of Hyrule
· CC BY Set chest ① on the floor switch behind the bars; gate ② opens. Screenshot (cropped) from Kingdom of Hyrule
· CC BY Walk through the gate, then pull chest ① back out with Magnesis. Screenshot (cropped) from Kingdom of Hyrule
· CC BY
4. Cross the Scale Room
Lower the front-left scale platform. Facing into the next room from the gate, put the chest on the left side of the front scale, then step onto that lowered side.
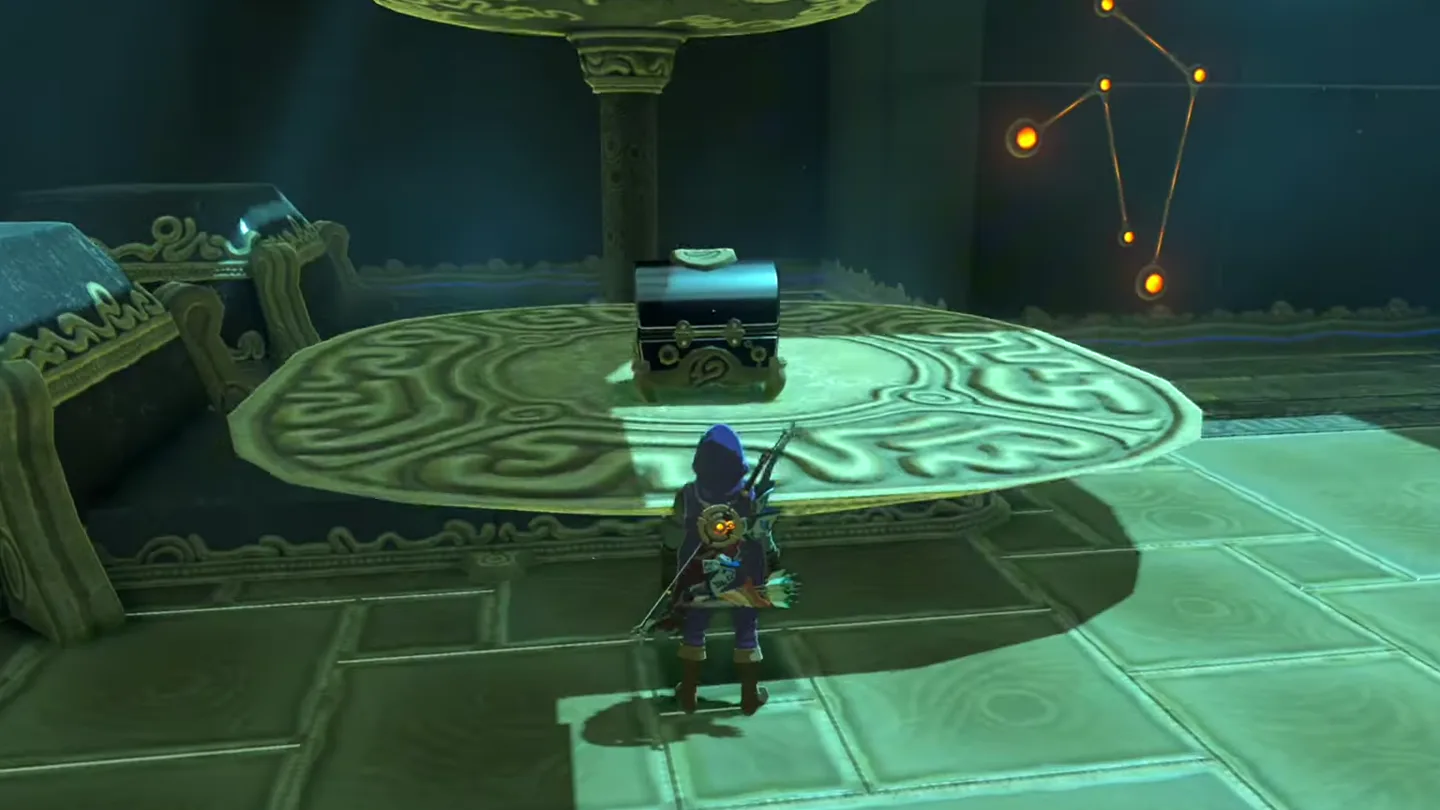
Raise the wall-side scale for the Opal. Move the chest to the opposite side, ride upward, and step onto the wall-side scale now level with you. Transfer the chest to that scale’s opposite side to rise again, then jump onto the treasure ledge and open the Opal chest.
Return to the raised wall-side platform. Repeat the scale transfers after collecting the Opal: board the lowered platform, shift the chest across, step onto the wall-side scale, and move the chest to its opposite side.
Change sides and lift again. Glide down to the opposite platform holding the metal chest, then transfer the chest back to the platform you just left. Your side rises toward the exit.
Put chest ① on the left side of the front scale, step onto it, then keep shifting the chest to the opposite side to rise. Screenshot (cropped) from Kingdom of Hyrule
· CC BY Jump onto the ledge and open the chest for the Opal. Screenshot (cropped) from Kingdom of Hyrule
· CC BY After gliding down to the chest, move chest ① back onto platform ② so your side rises toward the exit. Screenshot (cropped) from Kingdom of Hyrule
· CC BY
5. Reach the monk
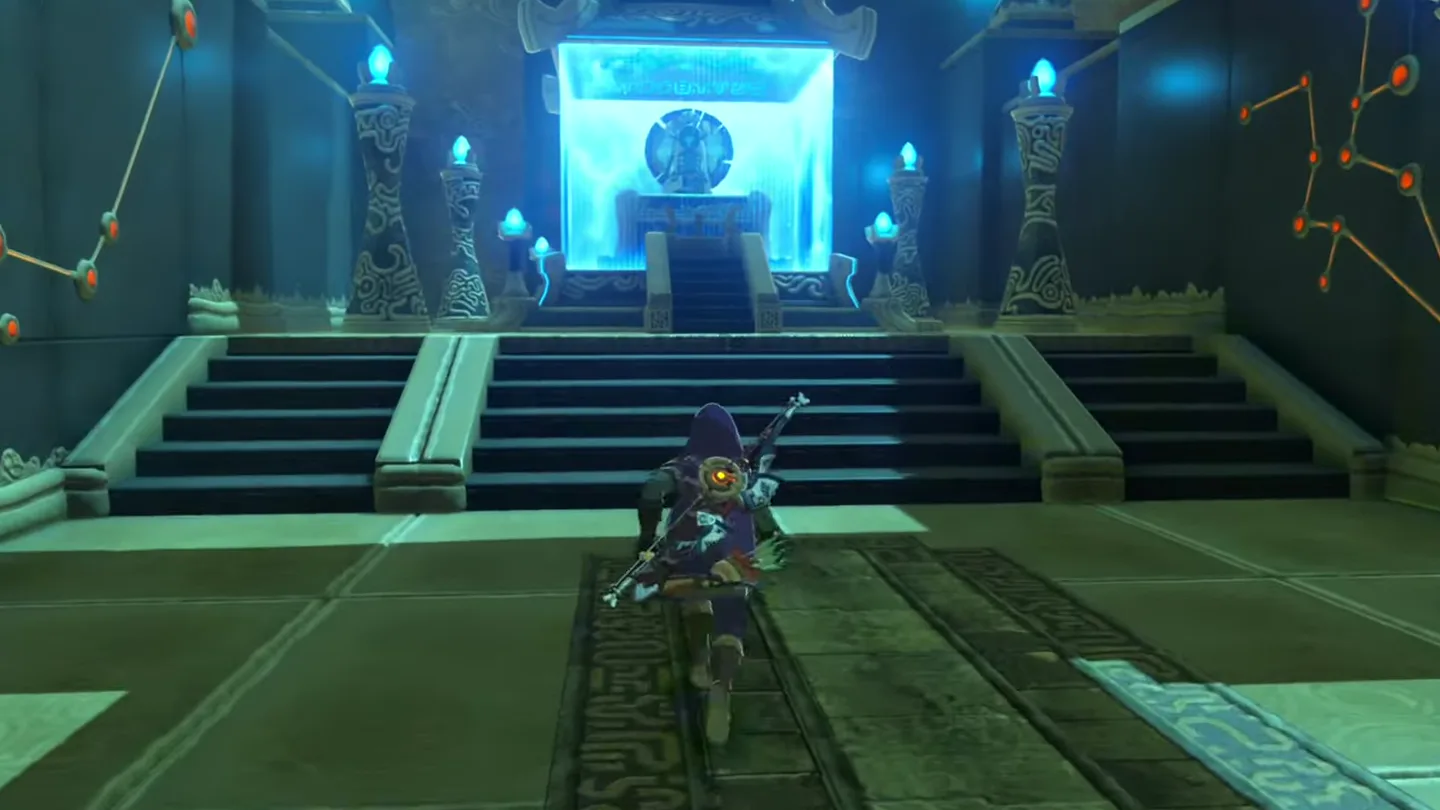
Reach the monk. Step off into the final area and interact with Yah Rin to receive the Spirit Orb.
From the raised platform, walk to Yah Rin to receive the Spirit Orb. Screenshot (cropped) from Kingdom of Hyrule
· CC BY
Chests: what is inside and how do you reach them?
Chest
Contents
How to obtain
1: metal chest behind the bars
Knight’s Broadsword
Lift it over the bars with Magnesis after the Guardian Scout encounter; keep the opened chest for the switch and scales
2: stone chest on the raised ledge
Opal
Use the metal chest to raise the front scale, then the wall-side scale, and jump to the ledge; the direct-glide description is noted above
What do people miss here?
Open the metal chest for the Knight’s Broadsword the moment you lift it over the bars. It immediately goes on to double as the floor-switch weight and then the scale counterweight, so it is easy to reach the monk before realizing the chest itself was never looted.
The stone chest holding the Opal sits on a raised ledge that is unconnected to the route toward the exit — head straight for the monk after passing the gate and you can clear the entire shrine without ever seeing it.
The Opal ledge is a dead end with no onward path. After looting it you redo the chest-and-scale transfers from the lowered platform back up to the raised one; it can feel like a softlock, but the way forward is simply repeating the sequence.
Remember the scale rule: the side you stand on only rises when the chest sits on the opposite tray. If your platform sinks when you step on, do not hunt for a hidden switch or a second weight — move the chest across with Magnesis instead.
It is on a hill northwest of Lurelin Village, overlooking the settlement. From the village, head northwest up to the shrine; no shrine quest is required.
How do you open the gate in Yah Rin Shrine?
Use Magnesis to lift the metal chest over the bars, then place it on the floor switch behind the bars beside the gate. After passing through, retrieve the chest with Magnesis for the scale puzzle.
What is in the Yah Rin Shrine chests?
The metal chest behind the bars contains a Knight’s Broadsword. The stone chest on the raised platform contains an Opal; transfer the counterweight between scales to gain height and reach its ledge.
Is Yah Rin Shrine a Test of Strength?
No, it is a Magnesis and counterweight puzzle, although a Guardian Scout waits along the route. Bring a weapon for that encounter and use the paraglider when changing scale platforms near the end.