

Korgu Chideh Shrine: Eventide Island Solution (BotW)
Reach Korgu Chideh Shrine on Eventide Island, place every orb in Stranded on Eventide, move the altar slab, and collect the Gold Rupee chest.
Where is Korgu Chideh Shrine?
The entrance is on Koholit Rock on Eventide Island, in the southeastern Necluda Sea. It stays buried until you finish Stranded on Eventide. A mainland approach is to glide from Muwo Jeem Shrine toward the island; check the preparation note below before committing to the crossing. For broader route planning, see how to find shrines.
| Item | Detail |
|---|---|
| Trial | Korgu Chideh’s Blessing |
| Tower region | Faron |
| Coordinates | 4737, -3772, 0227 |
| Type | Blessing after an outdoor shrine quest; not a Test of Strength |
| Shrine quest | Stranded on Eventide |
| Shrine chests | 1 |
| English name | Korgu Chideh Shrine |
| Traditional Chinese name | 庫古‧齊德神廟 |
| Simplified Chinese name | 库古·齐德神庙 |
| Glide preparation reference | At least 2 full stamina wheels for the Muwo Jeem approach; landing position and flight path still matter |
What should you bring?
The shrine interior is a straight blessing with no puzzle and no combat, so nothing is required inside — all preparation is for the crossing and the island trial. For the glide from Muwo Jeem Shrine, have at least two full stamina wheels, or carry stamina-replenishing food as the alternative to upgrades. Don’t stock up on weapons, armor, or supplies for the island itself: they are confiscated the moment you land, and only the Sheikah Slate remains, so Cryonis, Stasis, and Remote Bombs — plus whatever you scavenge — are your real kit.
Video walkthrough

Solution
The island is the puzzle. Fill the altars, then enter the blessing shrine. The route below uses Cryonis, Stasis, the paraglider, and a scavenged weapon for striking the altar slab. Remote Bombs help with weaker enemies and conserve weapon durability.
| Objective | Orb location | Altar used in this route |
|---|---|---|
| Beach camp | Wooden platform in the eastern shore camp | Northern altar just offshore |
| Sleeping Hinox | Necklace of the giant below Koholit Rock | Southwestern hilltop camp |
| Koholit Rock camp | Platform in the southeastern hilltop camp | Nearby altar beneath a large slab |
| Completion target | 3 orbs | 3 filled altars |
1. Eastern Beach Altar with Cryonis
Land and let the challenge begin. The monk speaks automatically; no NPC conversation is needed beforehand. Gather branches, food, and usable equipment around the island.
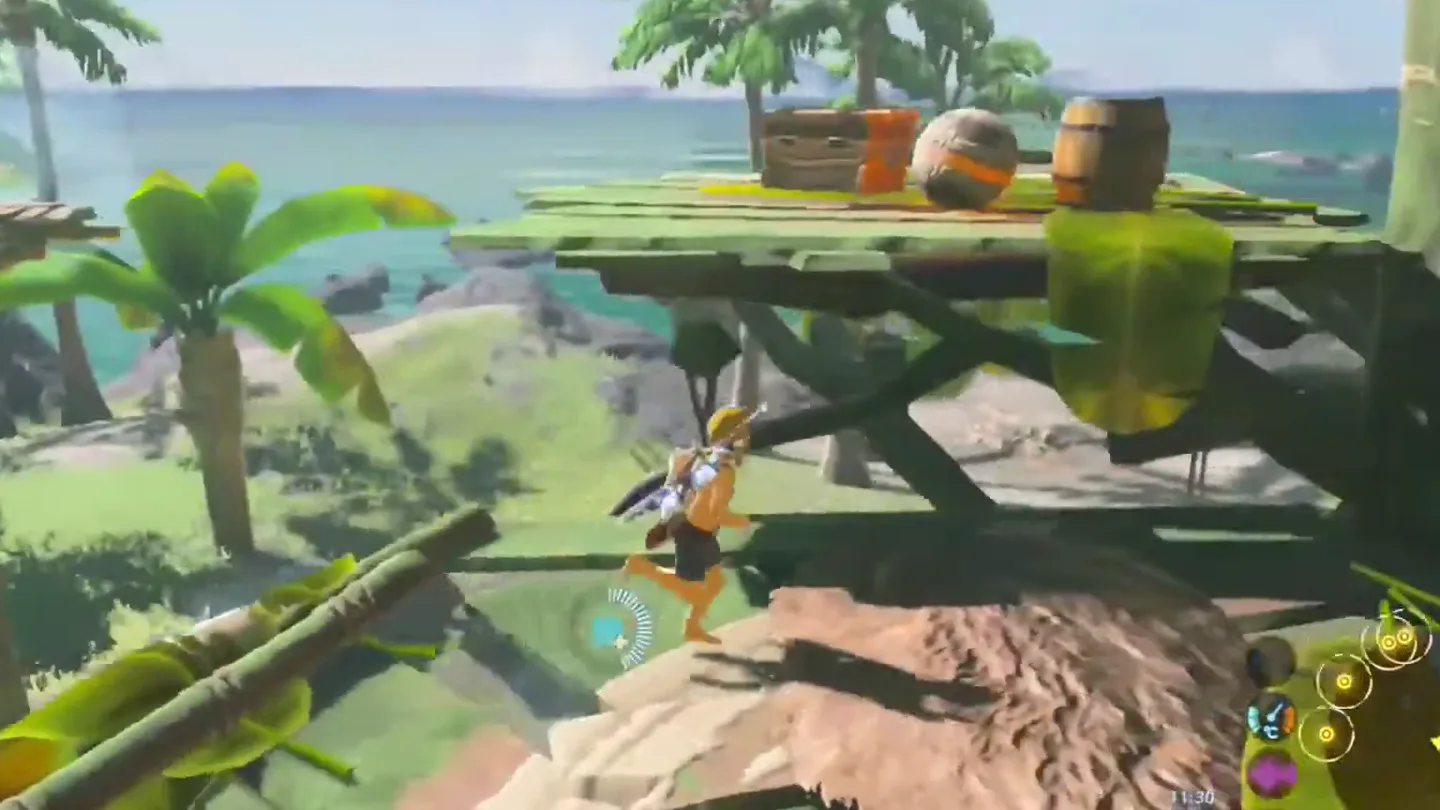
Take the eastern beach camp’s orb. Deal with or avoid the enemies, collect the orb from the wooden platform, and carry it north toward the offshore altar.
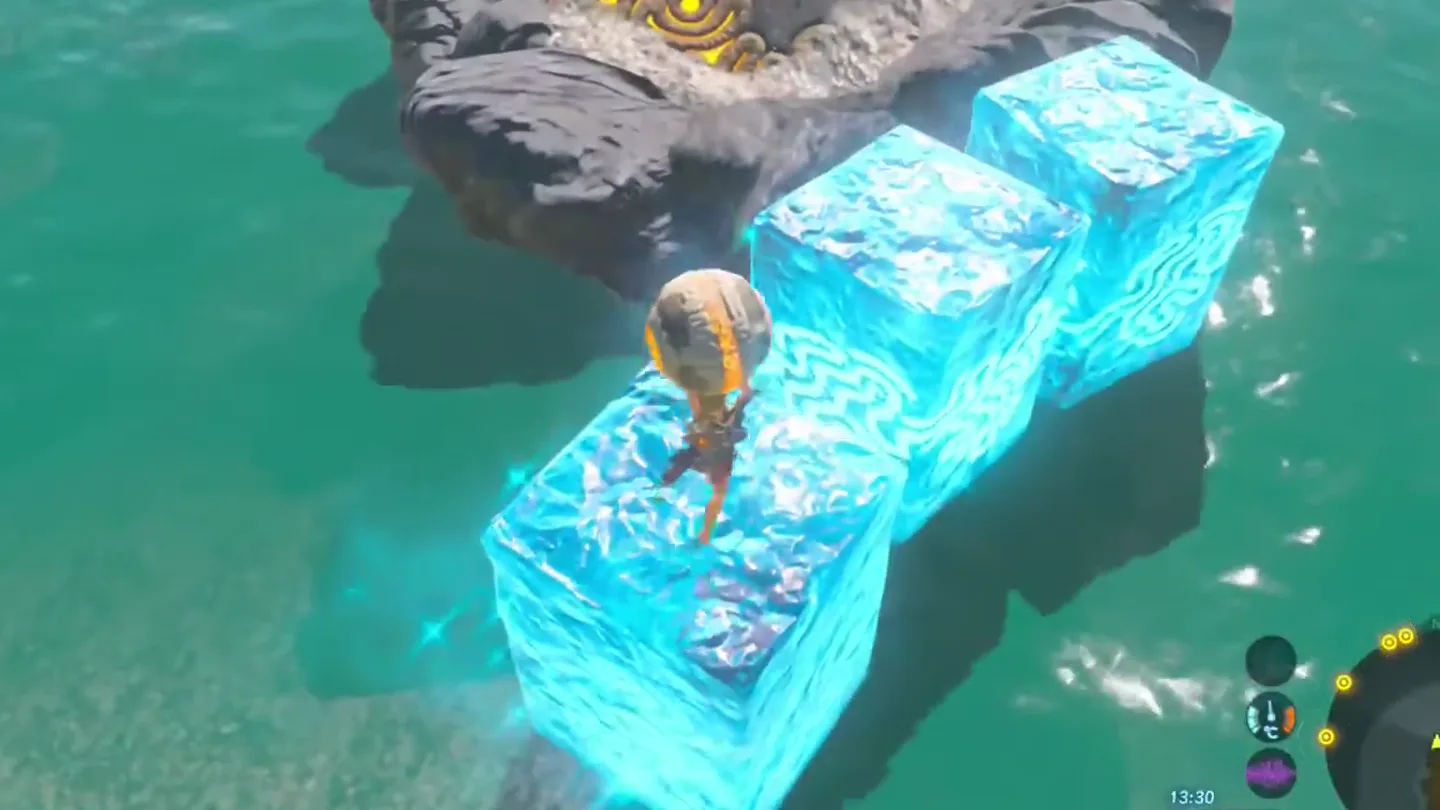
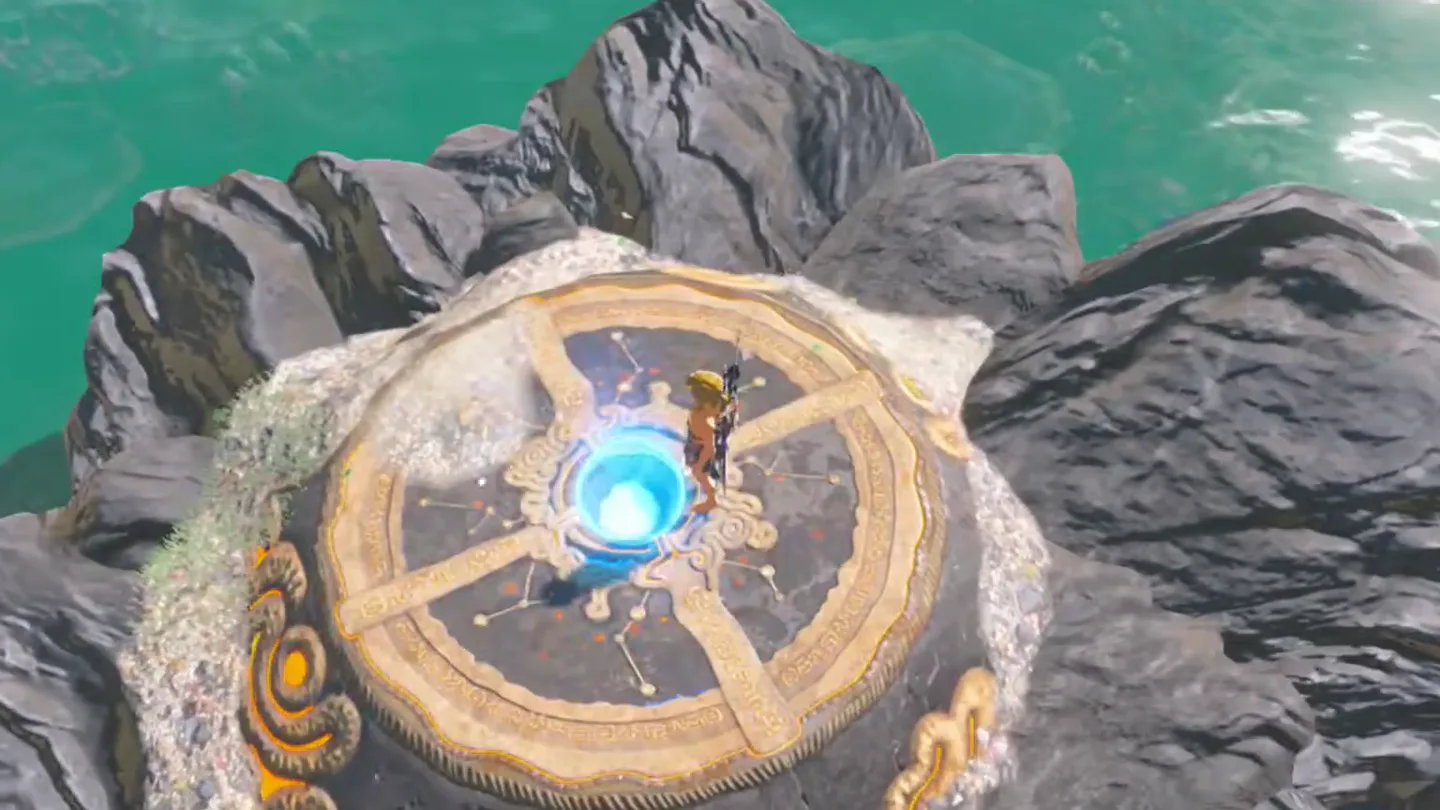
Lift the orb with Cryonis. Throw it into the water near the altar, make an ice pillar beneath it, climb up, then throw it onto the altar platform and place it in the socket.
2. Hinox Orb to Southwestern Hilltop
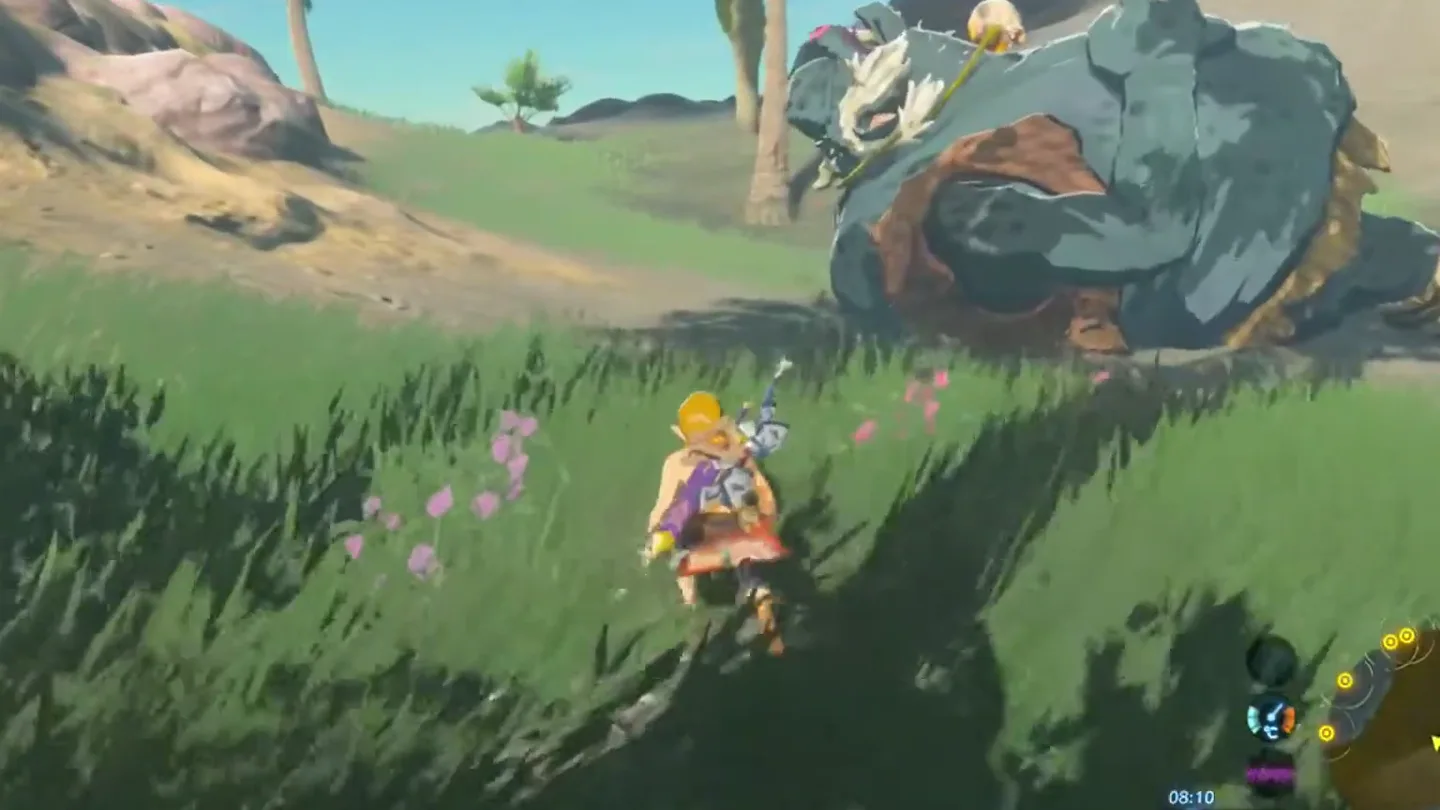
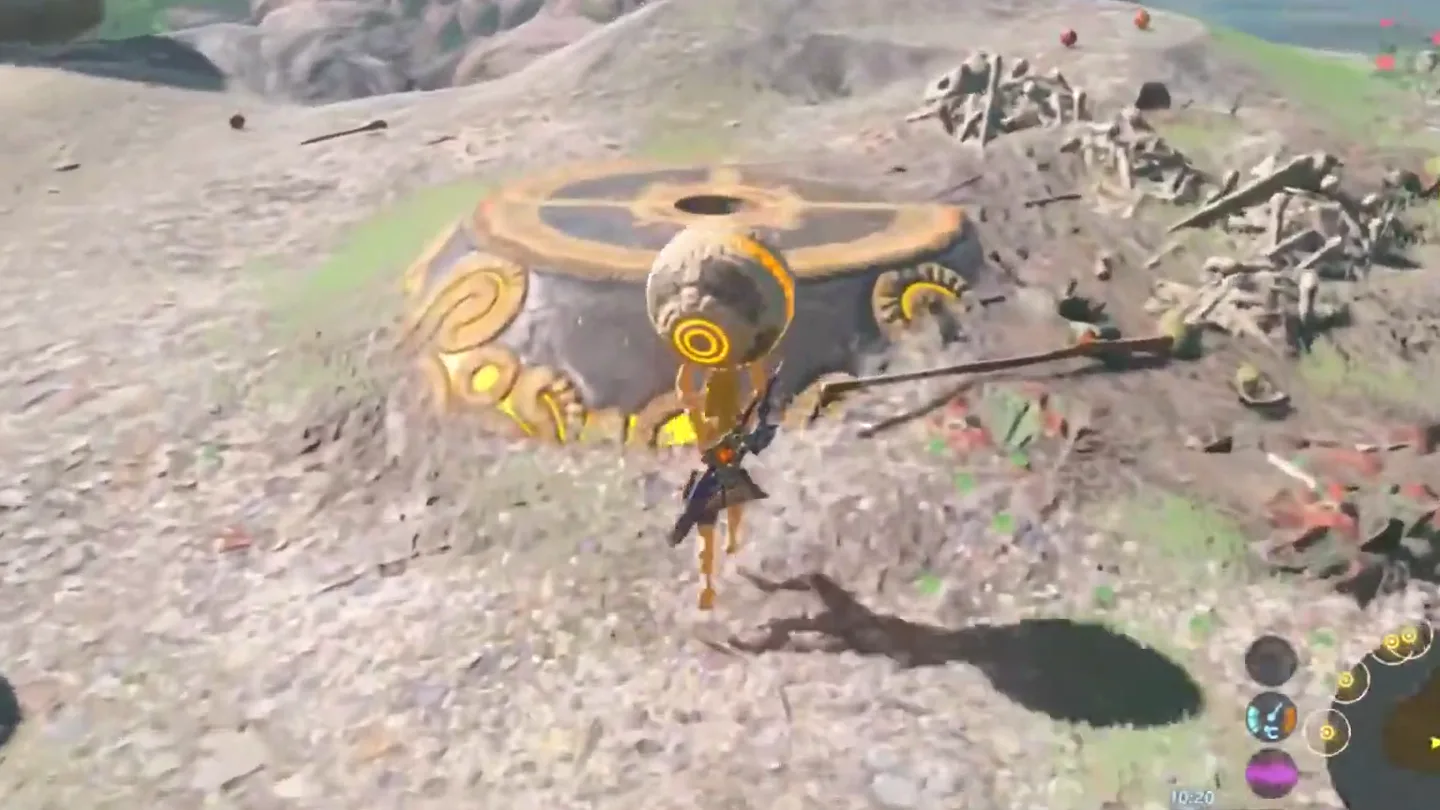
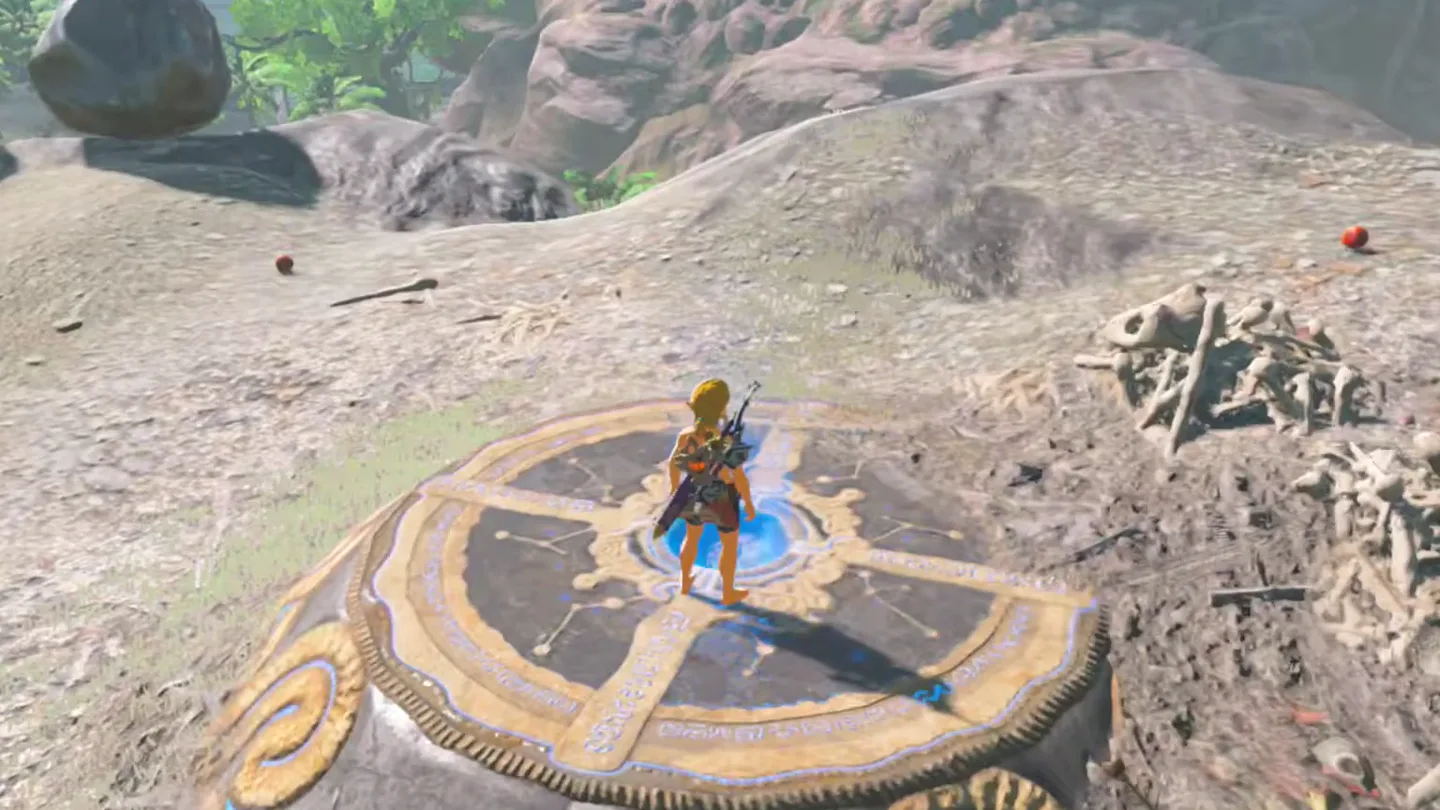
Take the sleeping Hinox’s necklace orb. From nearby high ground, glide onto the giant below Koholit Rock and collect the orb. Defeating it is an alternative, not a requirement.
Carry that orb to the southwestern hilltop altar. Put it in the socket at the camp, completing this part of the route.
3. Southeastern Camp Altar with Stasis
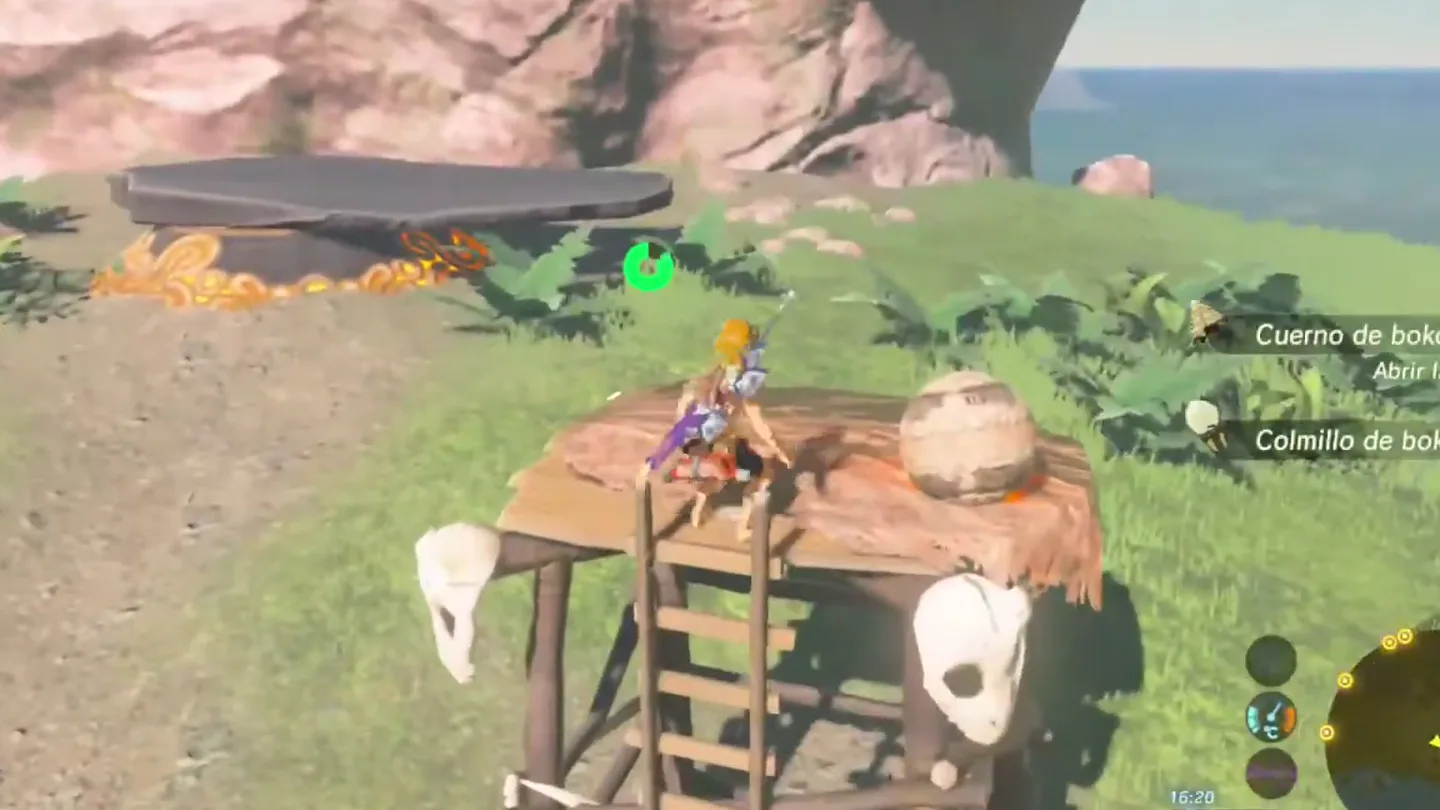
Go to the southeastern camp on Koholit Rock. Deal with the Moblin guarding the camp, take the platform’s orb, and set it beside the covered altar.
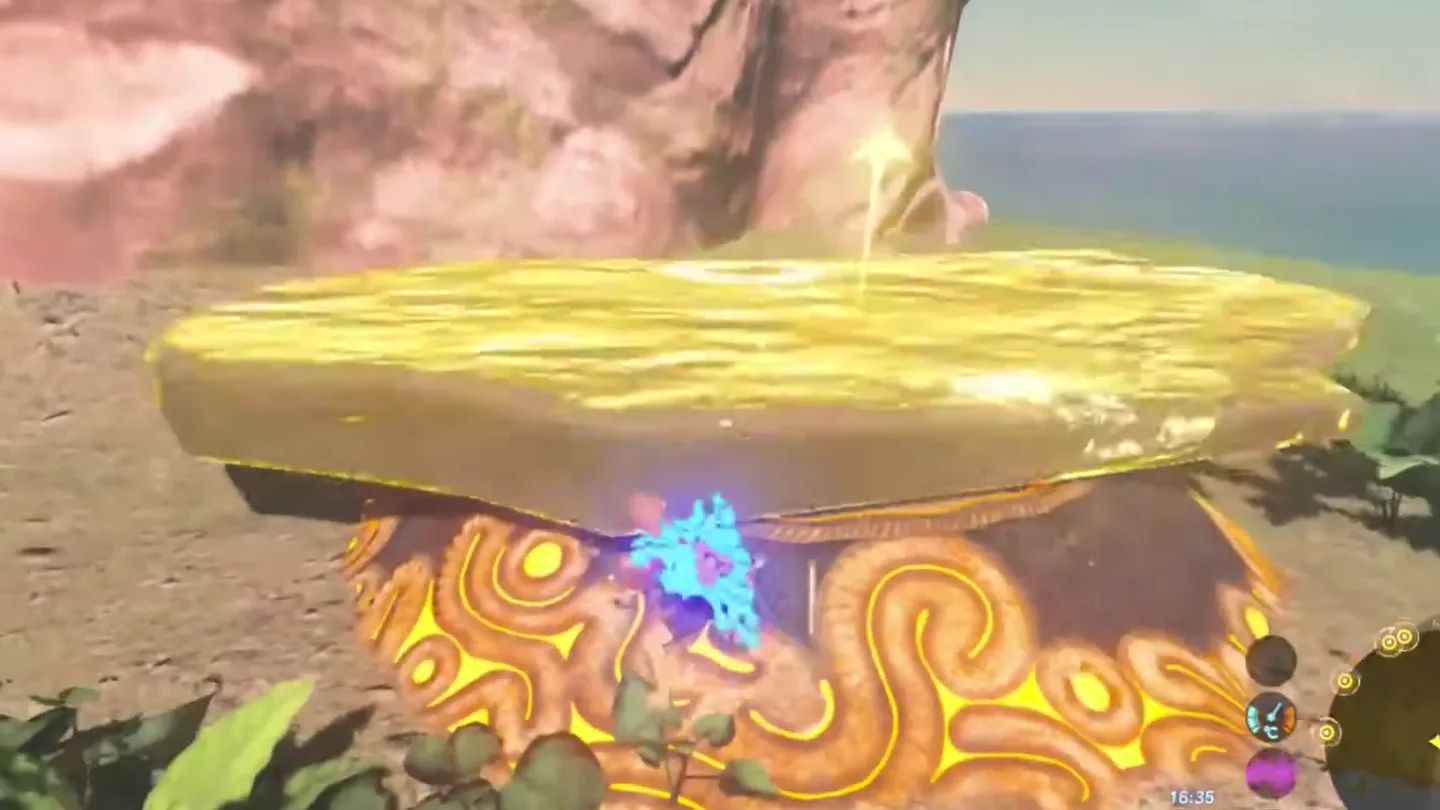
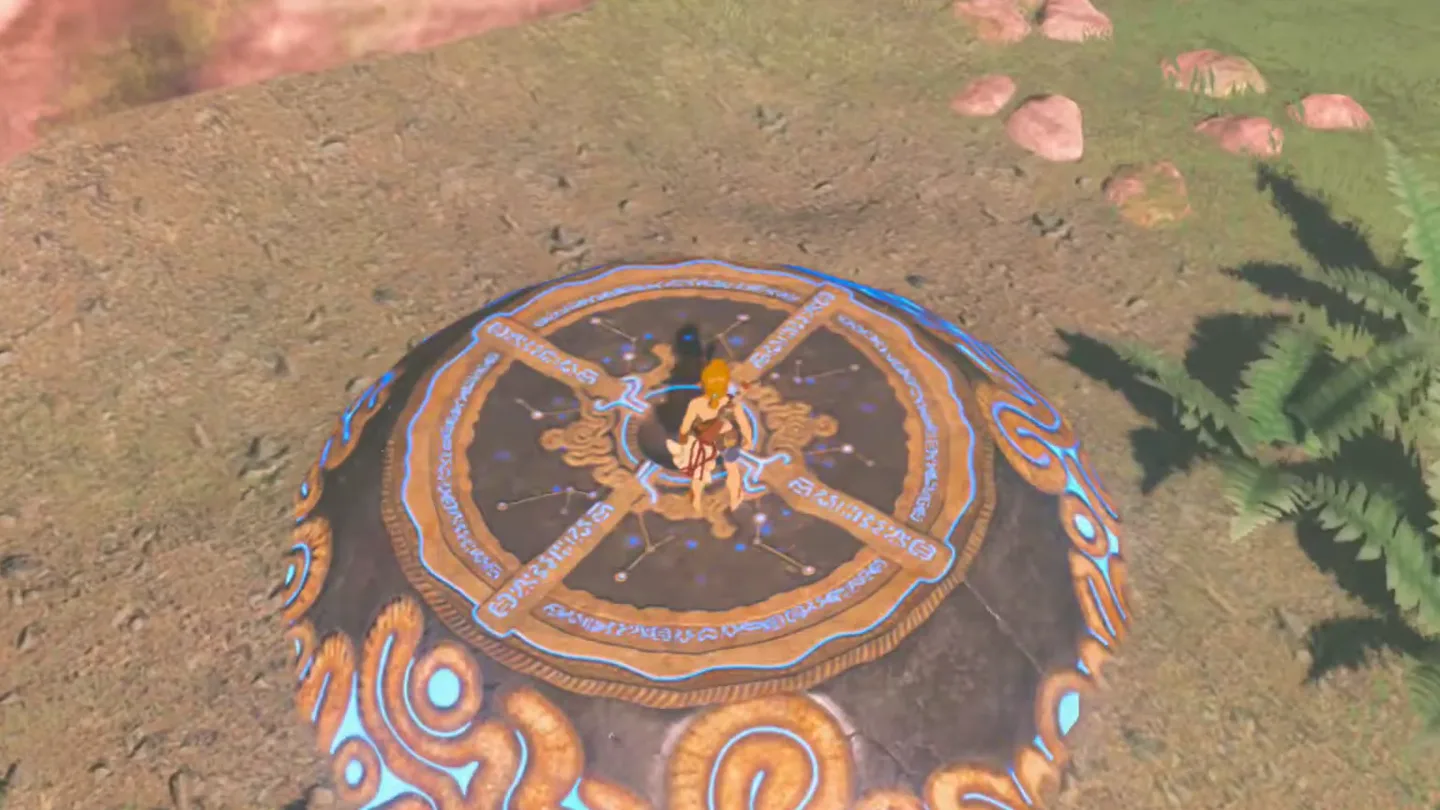
Use Stasis on the slab covering the altar. Strike the frozen slab to build up force and move it off the socket, then place the orb in the exposed altar.
4. Enter Shrine and Collect Reward
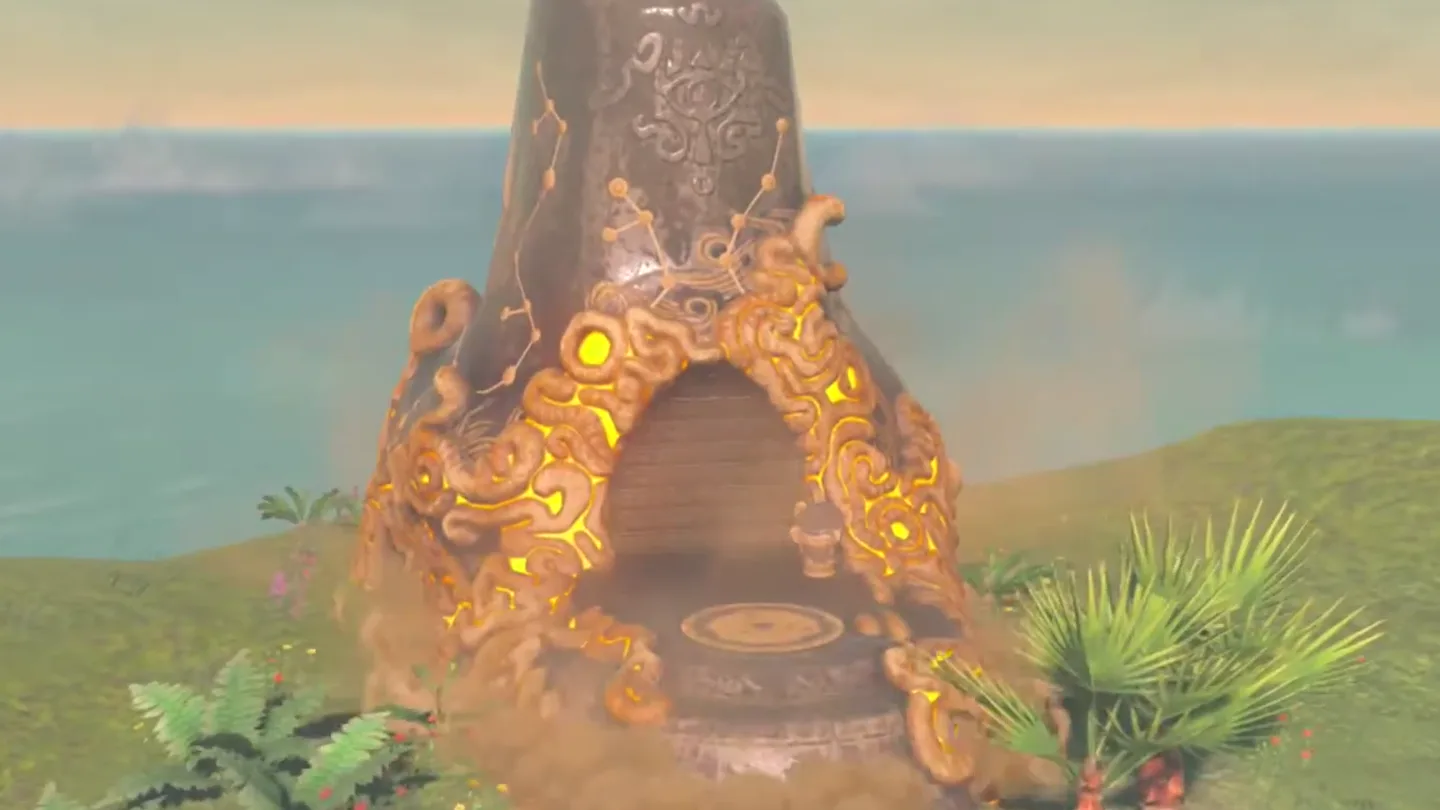
Wait for the shrine to appear and your gear to return. With all altars filled, head to the newly revealed entrance on top of Koholit Rock.
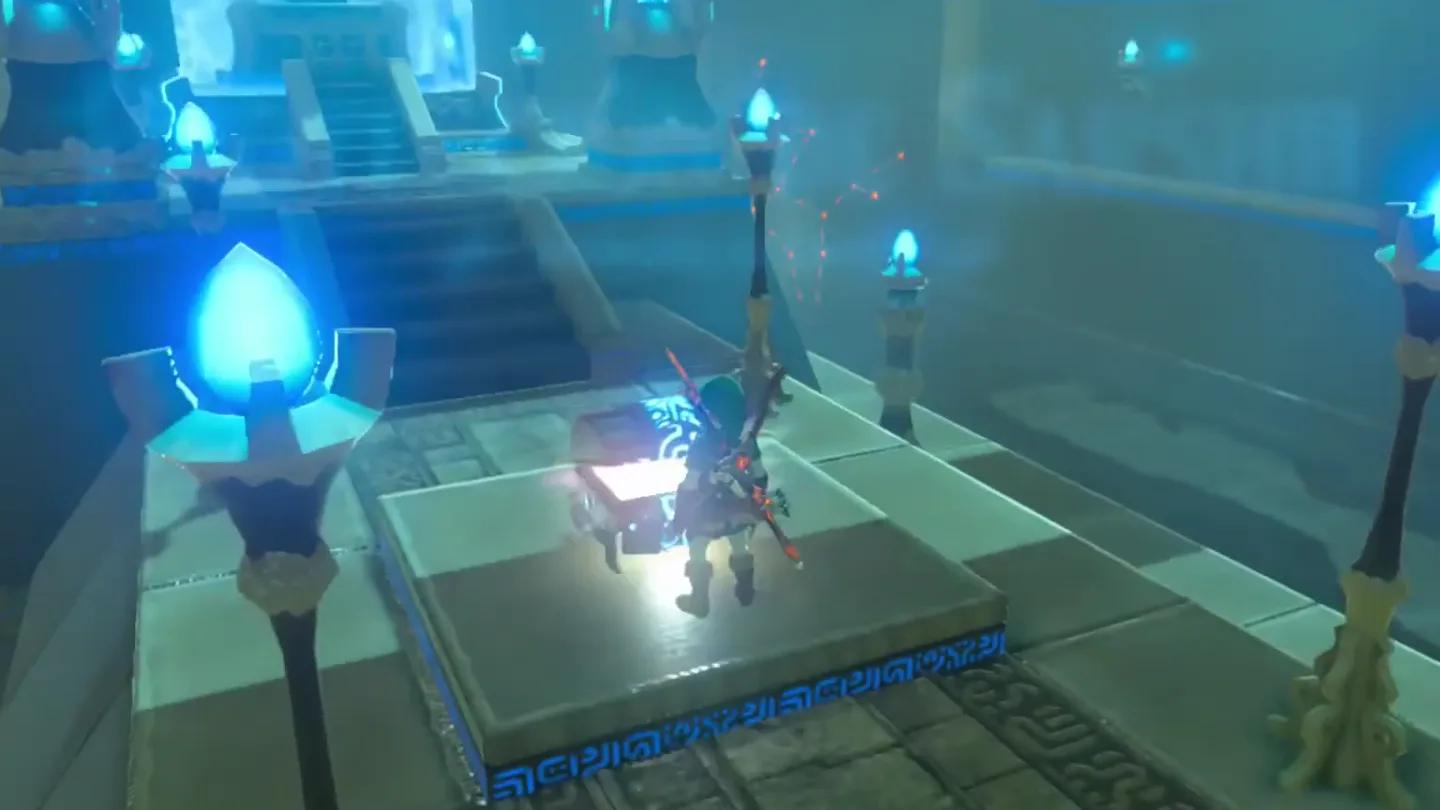
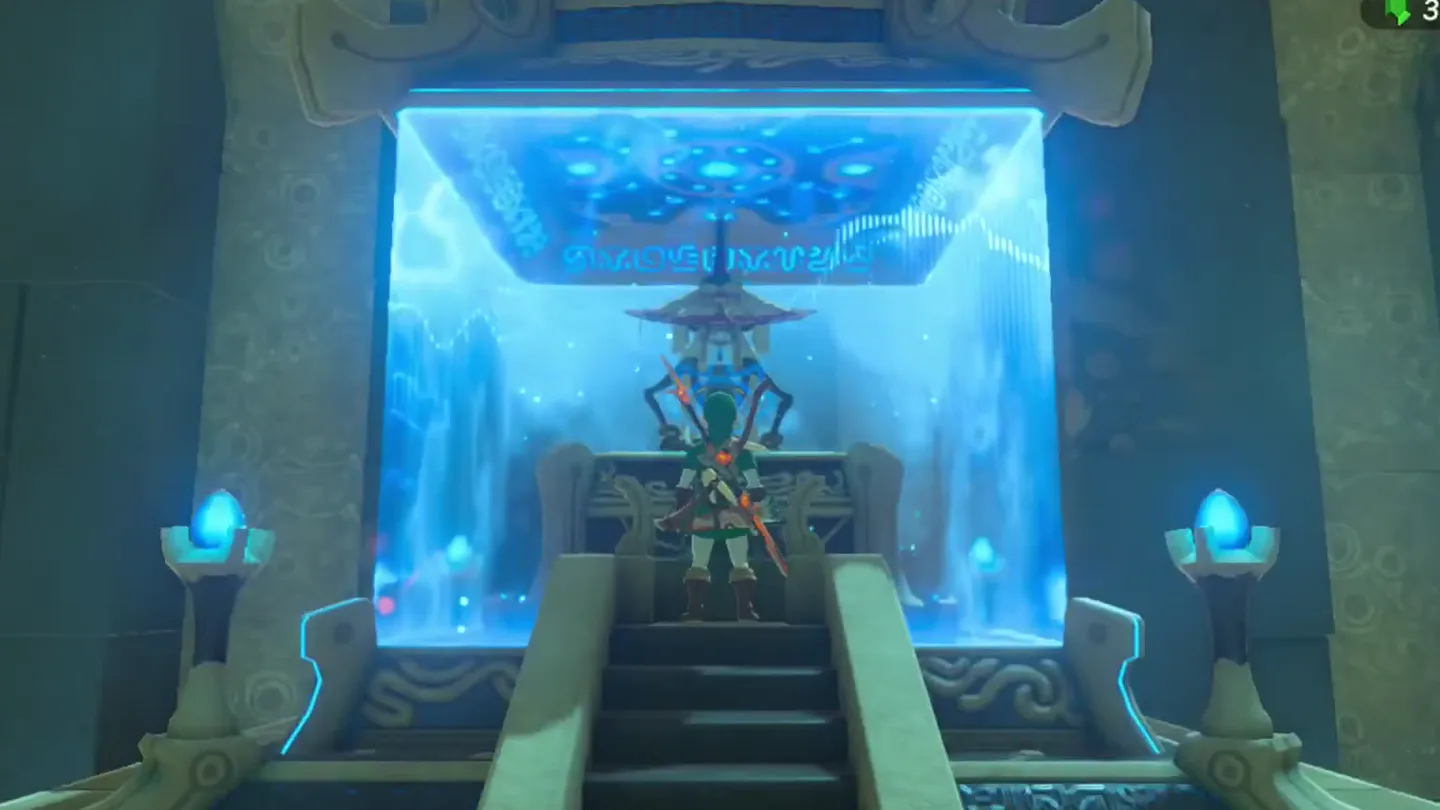
Open the chest before speaking to the monk. The interior is a straight reward path with no extra puzzle or Guardian fight; collect the chest, then finish at the monk’s pedestal.
Chests
| Chest | Contents | How to get it |
|---|---|---|
| 1 | Gold Rupee, worth 300 rupees | After revealing the shrine, enter and open the chest on the straight path before the monk. |
Outdoor supply chests belong to the island challenge and are separate from this shrine-interior checklist.
What do people miss here?
- The crossing does not require upgraded stamina wheels: stamina-replenishing food is a direct substitute for the Muwo Jeem cliff glide, so don’t postpone Eventide until you’ve earned stamina upgrades.
- The giant sleeping at the foot of Koholit Rock is specifically a Blue Hinox. If you’d rather fight it than take the orb from its necklace, remember you’ll only have whatever you’ve scavenged on the island.
- Region bookkeeping: although the island sits in the southeastern Necluda Sea, this shrine is filed under the Faron tower region — if you’re ticking shrines off tower by tower, don’t hunt for it on a Necluda list.
- The no-warp and reset rules only hold while the trial is active, and the trial ends the moment the third orb is socketed — your gear returns then, before you even step inside the shrine. Leaving after that point and coming back later for the chest and Spirit Orb costs you nothing.
What else is nearby?
| Shrine | Direction | Straight-line distance | Region |
|---|---|---|---|
| Chaas Qeta Shrine | northwest | 1067 | Hateno |
| Muwo Jeem Shrine | northwest | 1175 | Faron |
| Kah Yah Shrine | west | 1377 | Faron |
Related
- All BotW shrine locations: mark this island shrine on your checklist.
- Shrine-finding guide: plan the next leg of your search.
- Chaas Qeta Shrine: another offshore shrine northwest of Korgu Chideh.
- Tears of the Kingdom vs. Breath of the Wild: compare the games before switching adventures.
FAQ
Why is Korgu Chideh Shrine not appearing?
Do I have to kill the Hinox on Eventide Island?
How do I get the Eventide orb onto the altar in the sea?
Can I leave Eventide Island and get my gear back?
Related Articles
guides
Breath of the Wild Captured Memories: All 13 Locations and Rewards
All 12 photo locations from Zelda's album plus the 13th memory in Impa's painting, with coordinates, nearby shrines, the Champion's Tunic and the extra ending scene.
guides
Breath of the Wild Great Fairy Fountains: Locations, Costs and Horse God
Where the four Great Fairy Fountains and the Horse God Malanya are in Breath of the Wild, what each fairy costs to release, and how many you need per armor upgrade.
guides
Hyrule Castle Walkthrough: Entry Routes, Hylian Shield and Final Prep
How to get into Hyrule Castle in Breath of the Wild: five entry routes, the Hylian Shield and other loot by room, and what to prepare before the final battle.
Was this helpful?
Thanks for the feedback!