

Shee Venath Shrine Solution and Chest (Breath of the Wild)
Find Shee Venath Shrine, solve Twin Memories with an orientation-safe ball table, and glide to the hidden chest containing a Serpentine Spear.
Where is Shee Venath Shrine?
Look below the summit of the northern Dueling Peak, on a ledge facing the valley. A useful starting landmark is Shee Vaneer, high on the southern peak: leave its entrance and paraglide north and slightly west, across the river valley to the lower Shee Venath entrance.
| Item | Detail |
|---|---|
| Trial | Twin Memories / 雙子的記憶 |
| Tower region | Dueling Peaks |
| Coordinates (X, Y, Z) | 1245, -1850, 0456 |
| Type | Ball-pattern puzzle; not a Test of Strength |
| Shrine quest | None |
| Chests | 1 |
| English name | Shee Venath Shrine |
| Traditional Chinese name | 希貝‧尼亞斯神廟 |
| Simplified Chinese name | 希贝·尼亚斯神庙 |
The coordinates follow our BotW shrine location table.
What should you bring?
Nothing special is required — this is a pure logic puzzle, not a Test of Strength. The Ancient Orbs are carried entirely by hand, so no runes (Magnesis, Stasis, Cryonis, bombs), no particular weapon, and no resistance gear come into play. The paraglider is the one tool you’ll actually use, both to glide across from Shee Vaneer and to reach the chest. Bring some way to record the orb layout (screenshot or sketch), since the twin shrines hold each other’s answers.
Video walkthrough

Solution
Each shrine holds the other shrine’s answer. Preserve Shee Venath’s starting layout before moving anything if you also want to solve Shee Vaneer yourself. For this shrine, the target table below supplies the pattern you would record in Shee Vaneer.
You move the balls by hand. No Magnesis, Stasis, Cryonis, bombs, or particular weapon is needed; the paraglider is for travel and the chest.
1. Record Pattern and Collect Chest
Record the starting layout. Turn right after entering the chamber, ride the moving platform up, and screenshot or sketch the ball positions from above.
Collect the chest while above the floor. Paraglide to the high wall ledge opposite the viewing platform and open the chest, then return to the puzzle floor.
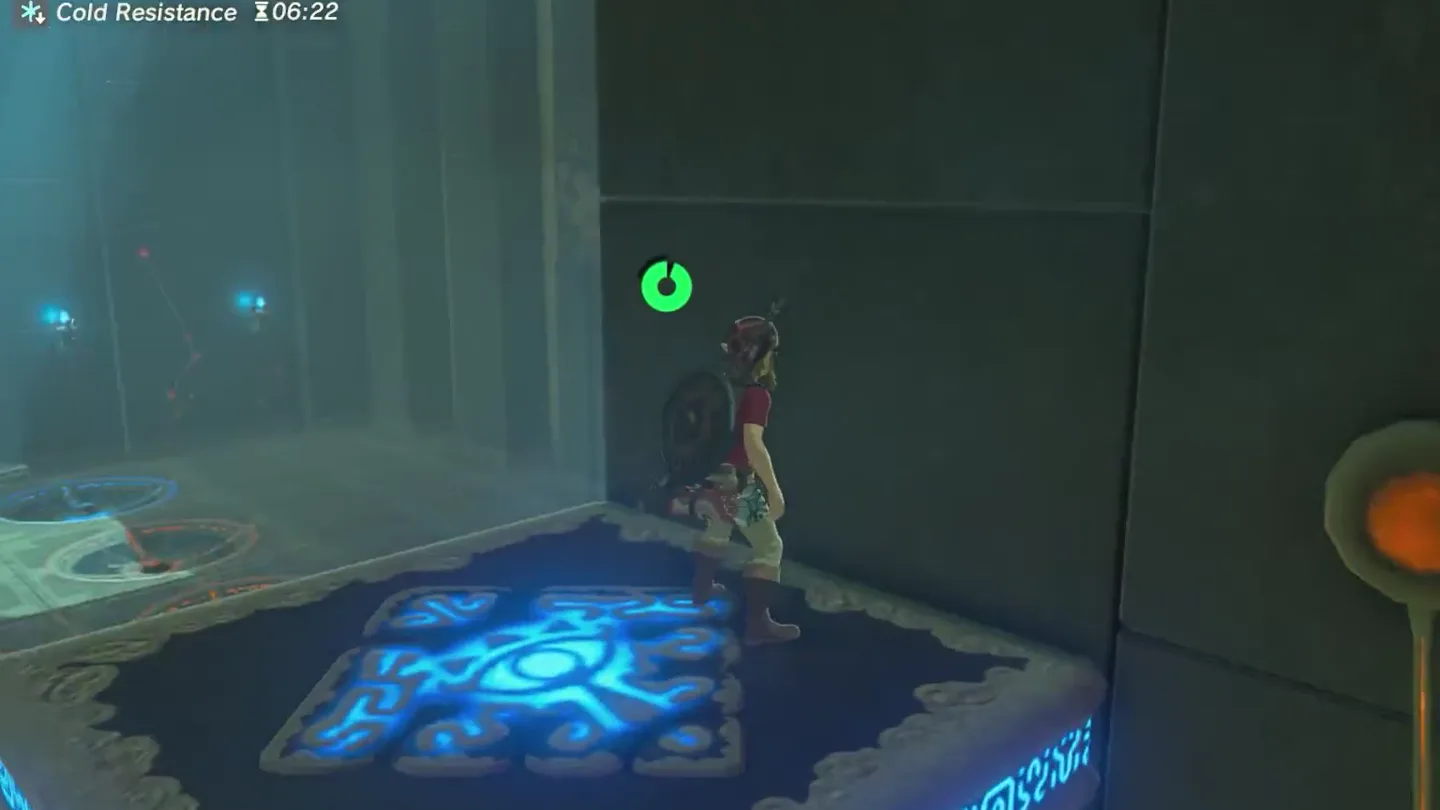
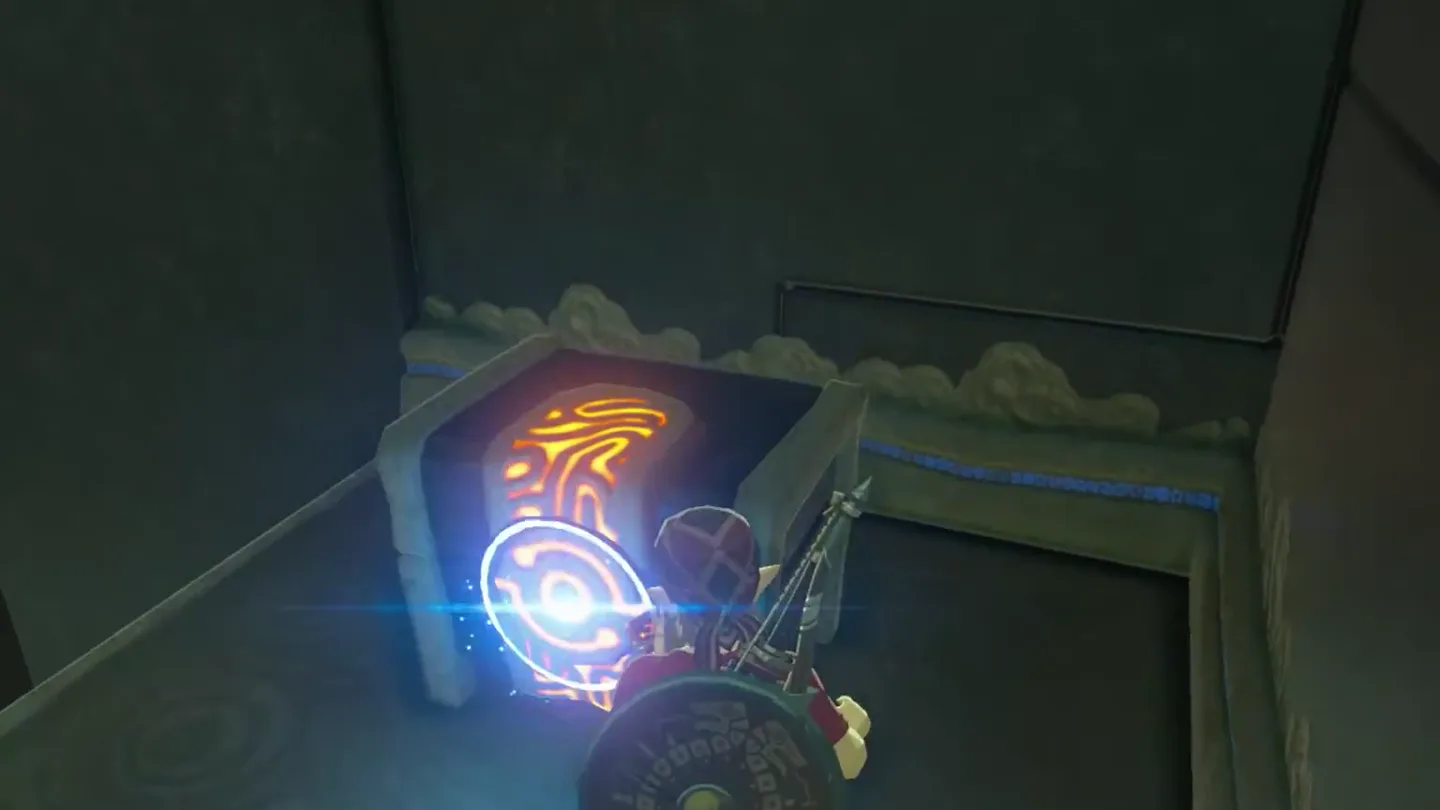
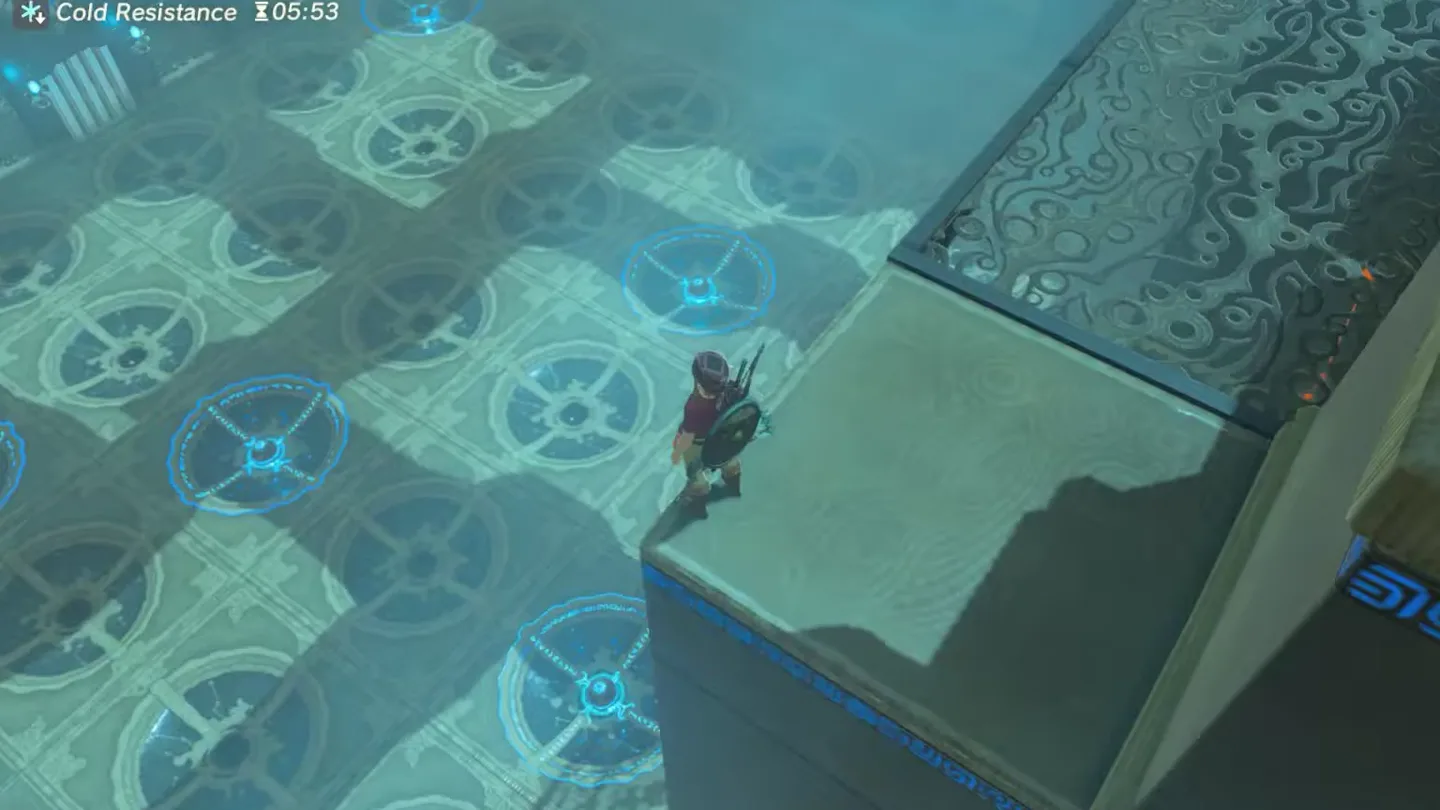
2. Place Balls in Target Sockets
Carry the balls into the target sockets. Use the table below, keeping the viewing-platform orientation even while walking around the grid.
Check the pattern until the gate opens. Compare occupied sockets row by row; copying this shrine’s original layout will not solve its own puzzle.
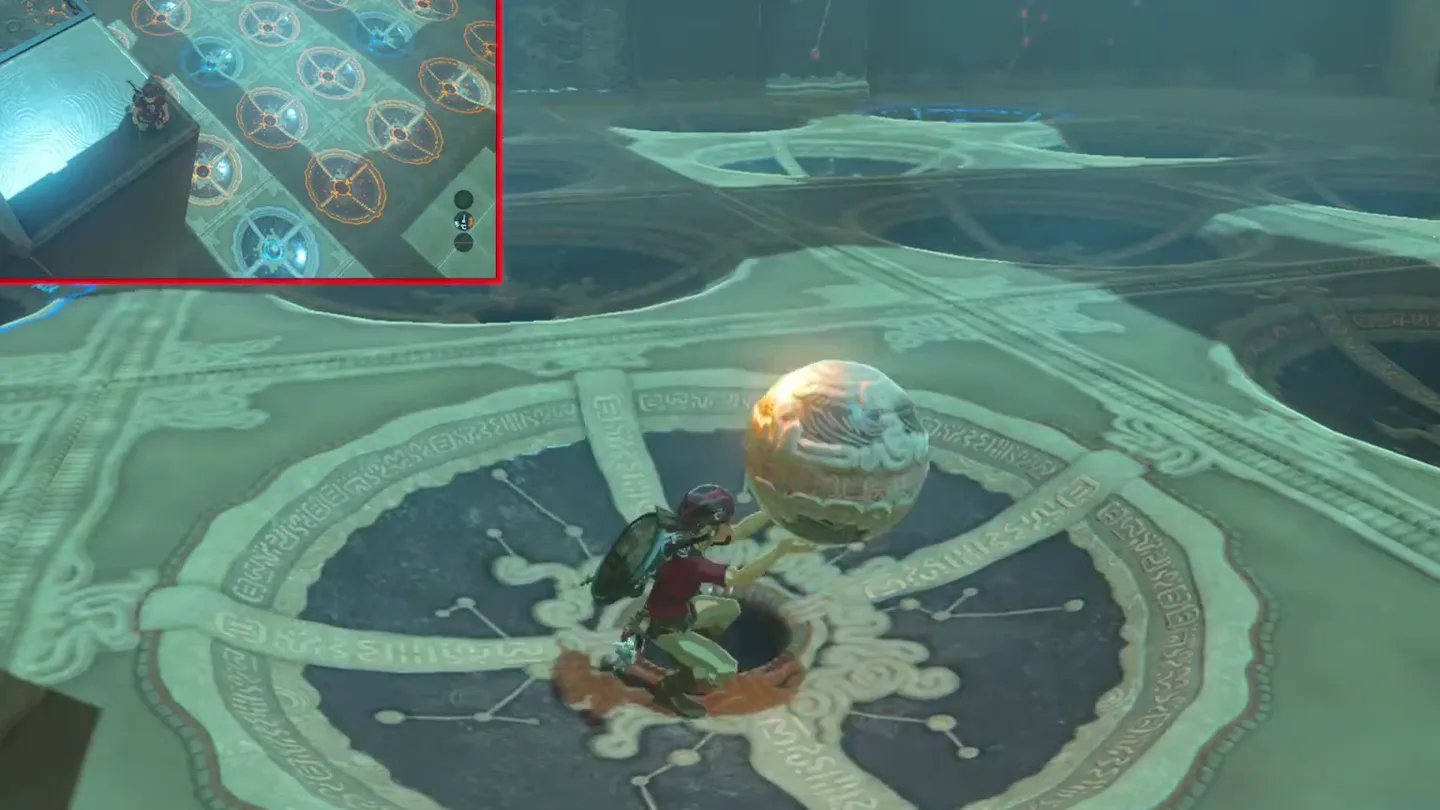
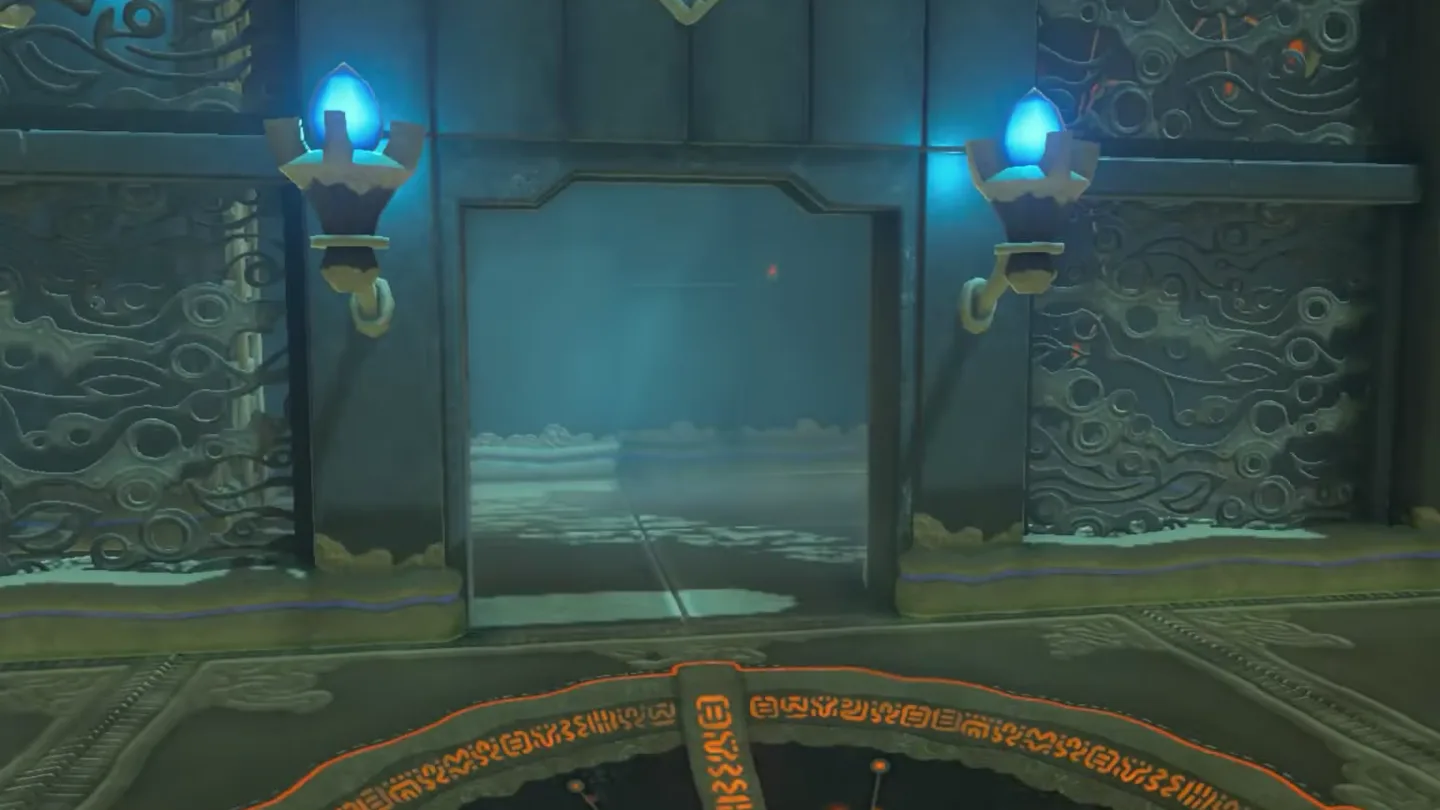
3. Climb to the Altar
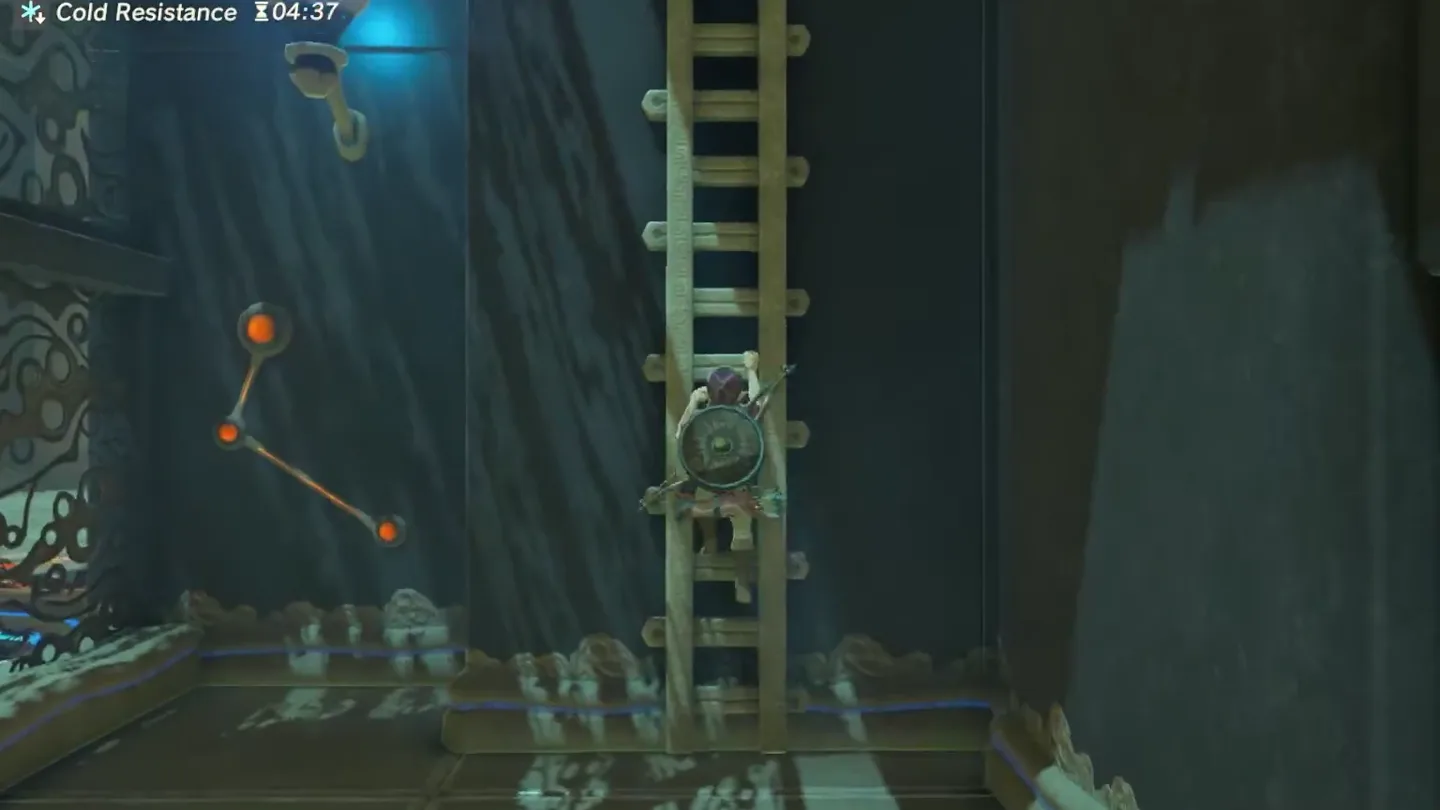
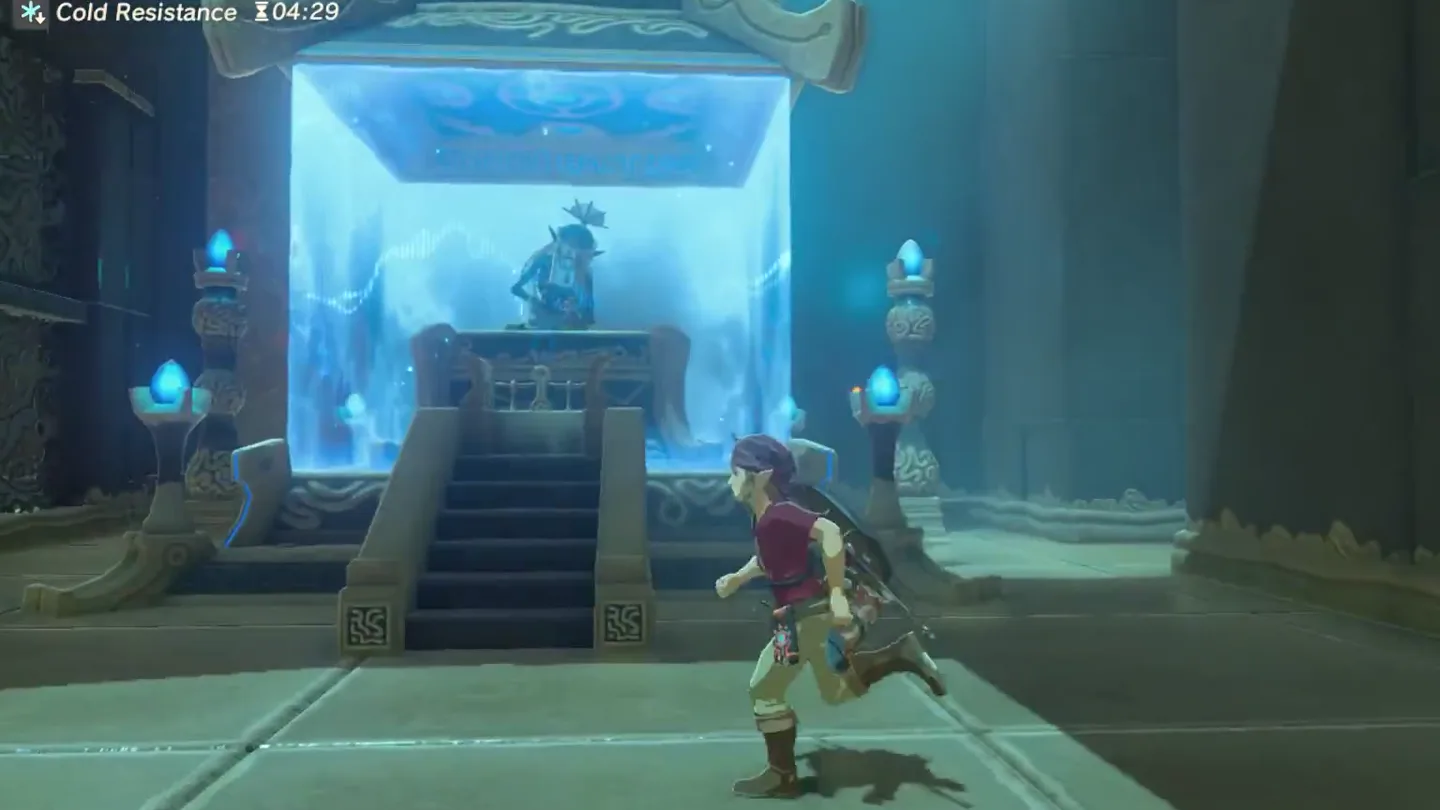
Pass through the gate and climb the ladder. Turn left beyond the opening and climb to the altar to finish.
Stand on the raised viewing platform facing the grid. Rows run from the far wall toward you, and columns run left to right.
| Row, farthest to nearest | Column to place the ball |
|---|---|
| 1, farthest from the platform | 2 |
| 2 | 4 |
| 3 | 1 |
| 4 | 3 |
| 5, nearest the platform | 5 |
The grid is 5×5, with 5 balls; each row gets 1 ball in its listed socket.
Chests
| Chest | Contents | How to reach it |
|---|---|---|
| 1 | Serpentine Spear | Ride up to the viewing platform, then paraglide to the high ledge on the opposite wall and open the chest. |
What do people miss here?
- The stone tablet near the entrance is easy to run straight past, but it spells out the twin mechanic: the shrines atop these peaks share a connection, with one’s memory being the other’s answer — commit it to memory before you start.
- Photograph or sketch the starting layout before touching a single orb. The five Ancient Orbs begin already seated in the Concave Slots, and that opening arrangement is the in-game answer for Shee Vaneer — once you’ve rearranged them, the clue is gone and you’re relying on memory or a guide.
- The chest is the classic miss here. The main route after solving — through the gate, up the ladder, to the Spirit Orb — never goes near it: it’s a stone chest on the ledge in the opposite wall, and gliding over from the upper platform is the only way to reach it.
- Pair this shrine with Shee Vaneer in a single trip. The two entrances are just one paraglide apart across the valley, so record both shrines’ starting layouts first, then solve each using the other’s pattern — otherwise you’ll end up climbing the two peaks twice.
What else is nearby?
| Shrine | Direction | Straight-line distance | Region |
|---|---|---|---|
| Ree Dahee Shrine | east | 28 | Dueling Peaks |
| Shee Vaneer Shrine | south | 91 | Dueling Peaks |
| Ha Dahamar Shrine | east | 424 | Dueling Peaks |
Related
- All BotW shrine locations: find Shee Vaneer across the valley on the southern peak.
- Shee Vaneer Shrine: the higher shrine across the valley on the southern peak, paired with this puzzle.
- How to find and track shrines: organize the rest of your shrine search.
- Tears of the Kingdom vs. Breath of the Wild: compare the games and their different abilities.
FAQ
Where is the entrance to Shee Venath Shrine?
What is the ball order for Shee Venath Shrine?
Where is the chest in Shee Venath Shrine?
Do I need a rune or a weapon to solve Twin Memories?
Related Articles
guides
Breath of the Wild Captured Memories: All 13 Locations and Rewards
All 12 photo locations from Zelda's album plus the 13th memory in Impa's painting, with coordinates, nearby shrines, the Champion's Tunic and the extra ending scene.
guides
Breath of the Wild Great Fairy Fountains: Locations, Costs and Horse God
Where the four Great Fairy Fountains and the Horse God Malanya are in Breath of the Wild, what each fairy costs to release, and how many you need per armor upgrade.
guides
Hyrule Castle Walkthrough: Entry Routes, Hylian Shield and Final Prep
How to get into Hyrule Castle in Breath of the Wild: five entry routes, the Hylian Shield and other loot by room, and what to prepare before the final battle.
Was this helpful?
Thanks for the feedback!