

Ta'loh Naeg Shrine: Combat Tutorial and Chests (BotW)
Find Ta'loh Naeg Shrine above Kakariko Village, complete its dodge, parry and charged-attack lessons, and collect every chest along the way.
Where is Ta’loh Naeg Shrine?
From Kakariko Village, head toward the hill on the village’s eastern edge and make your way uphill to the shrine overlooking the houses. No shrine quest is needed to reveal it. Use the BotW shrine location table to place it within your route.
| Item | Detail |
|---|---|
| Trial | Ta’loh Naeg’s Teaching |
| Tower region | Dueling Peaks |
| Map-marker coordinates | 1841, -0891, 0273 |
| Type | Combat tutorial with a Guardian Scout II; not a graded Test of Strength |
| Shrine quest | None |
| Chests | 3 |
| English name | Ta’loh Naeg Shrine |
| Traditional Chinese name | 塔羅‧尼席神廟 |
| Simplified Chinese name | 塔罗·尼席神庙 |
What should you bring?
You don’t need to bring anything: no Sheikah Slate rune, ability, or resistance comes into play — this is pure combat training — and the two chests beside the entrance hand you a melee weapon and a shield even if you arrive empty-handed. The one worthwhile preparation is a spare melee weapon, since attacks during the lessons deal no actual damage to the Guardian Scout while your weapons can still break, which halts training until you equip another. The finishing charged attack also runs on stamina, so walk in with a reasonably full stamina wheel.
Video walkthrough
![[Zelda BotW] Ta'loh Naeg Shrine Guide (All Chests)](https://i.ytimg.com/vi/drgusMnT6O4/hqdefault.jpg)
How do you complete Ta’loh Naeg’s Teaching?
You need a melee weapon and a shield. The entrance chests provide both; the solution uses combat inputs rather than rune puzzles. The controls below assume the default button layout.
1. Equip the training gear
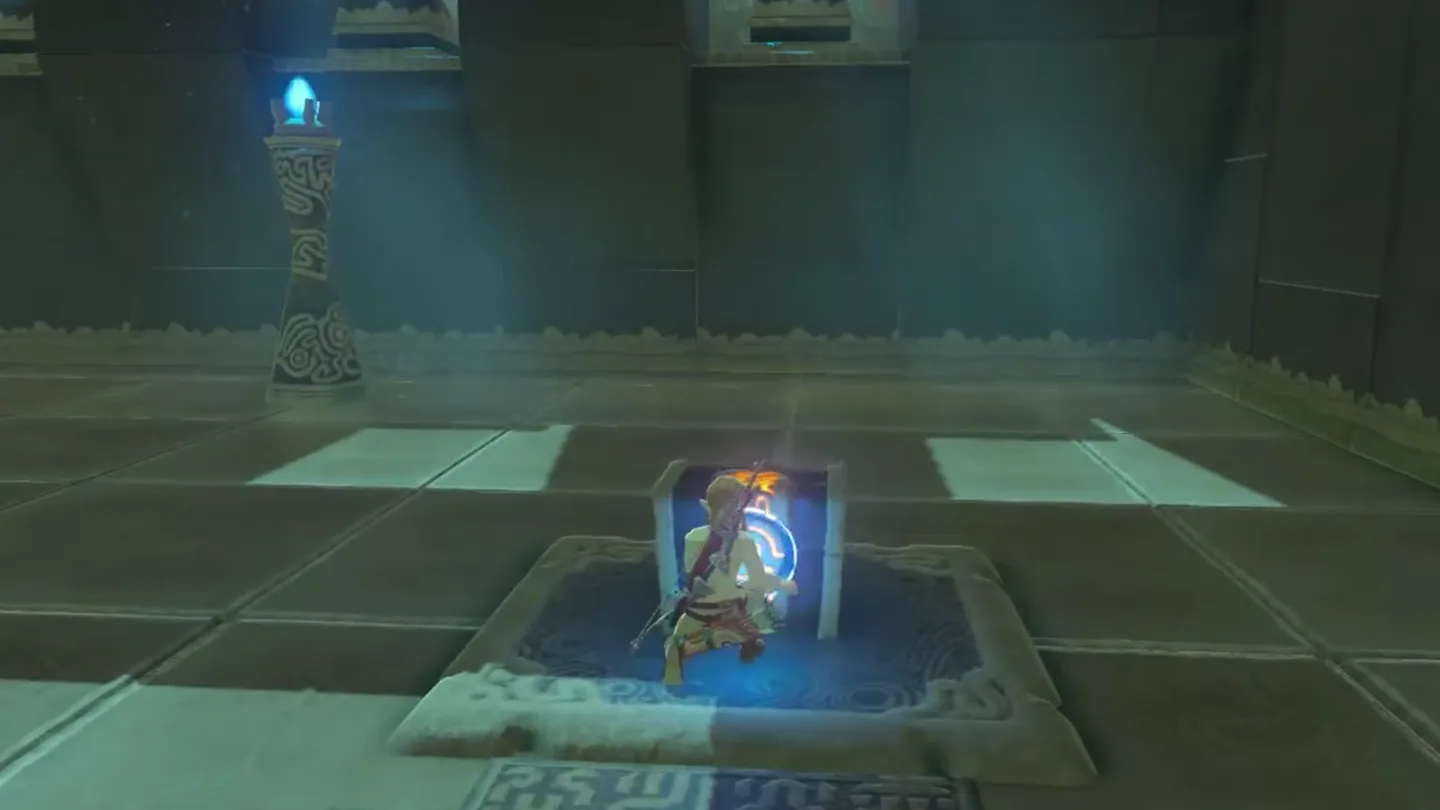
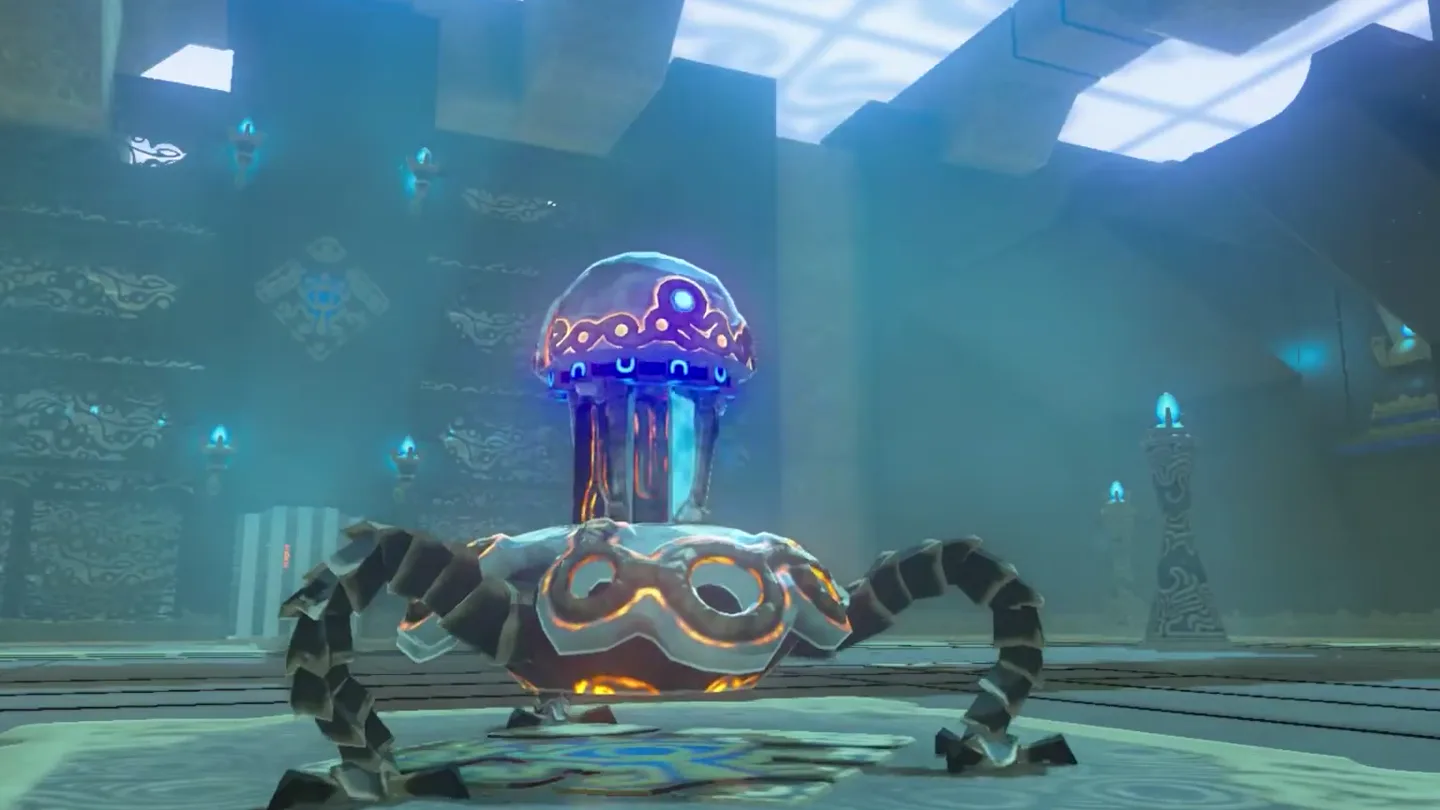
Equip the entrance gear. Open the chests beside the entrance, then approach the center to begin training.
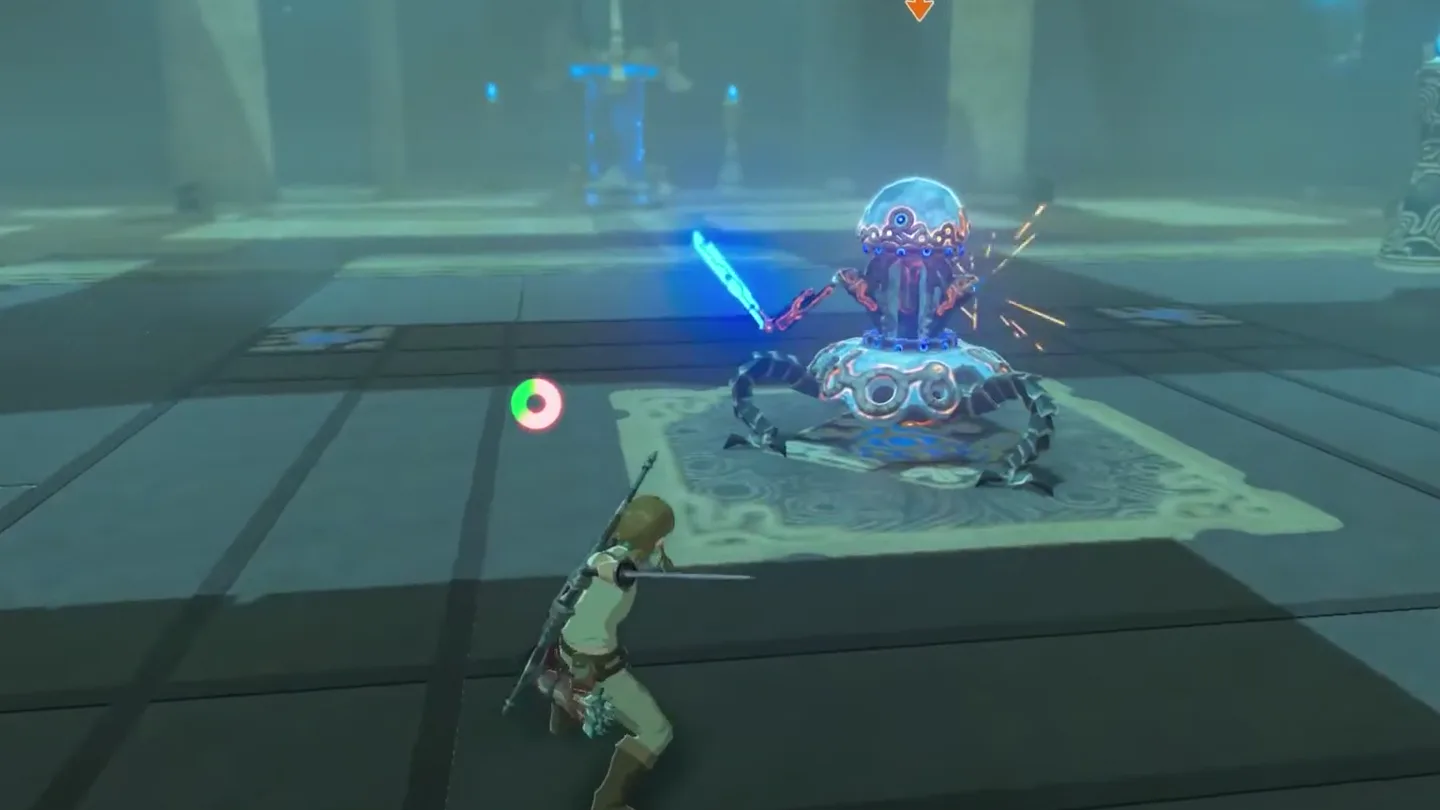
2. Complete the combat training
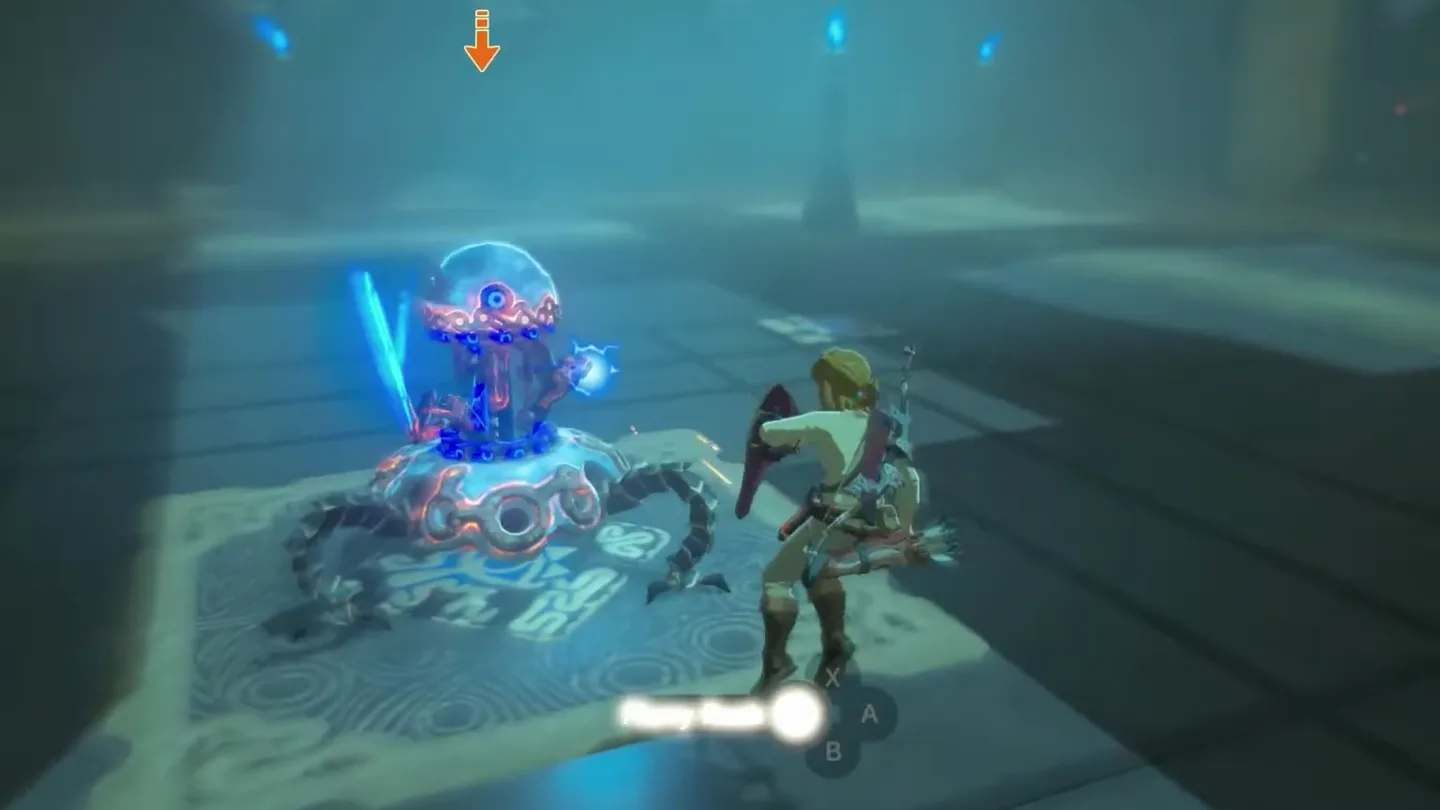
Side-hop and counter. Jump left or right just before the incoming blow connects. When time slows, follow the Flurry Rush prompt to attack; merely jumping clear will not advance the lesson.
Backflip and counter. Hold ZL, pull the left stick backward and press X as the attack approaches. Trigger slow motion, then perform the prompted Flurry Rush again.
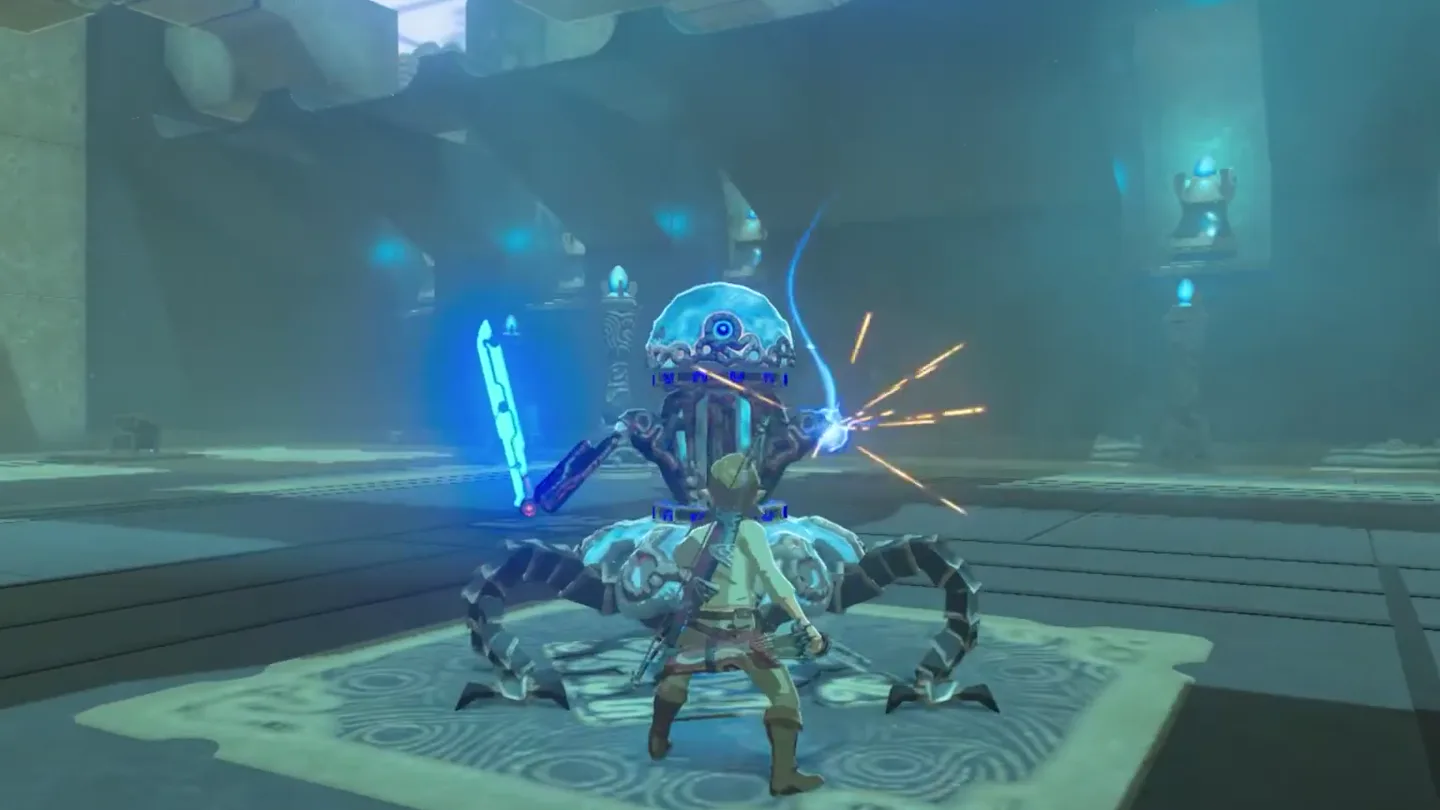
Parry with your shield. Ready the shield and press A at the moment the attack reaches you. The lesson requires a perfect guard, not an ordinary block.
Land a charged attack. With the supplied blade, hold the attack button, then release the charged swing within reach of the target. Landing it finishes the training and opens the rear gate.
3. Collect the reward
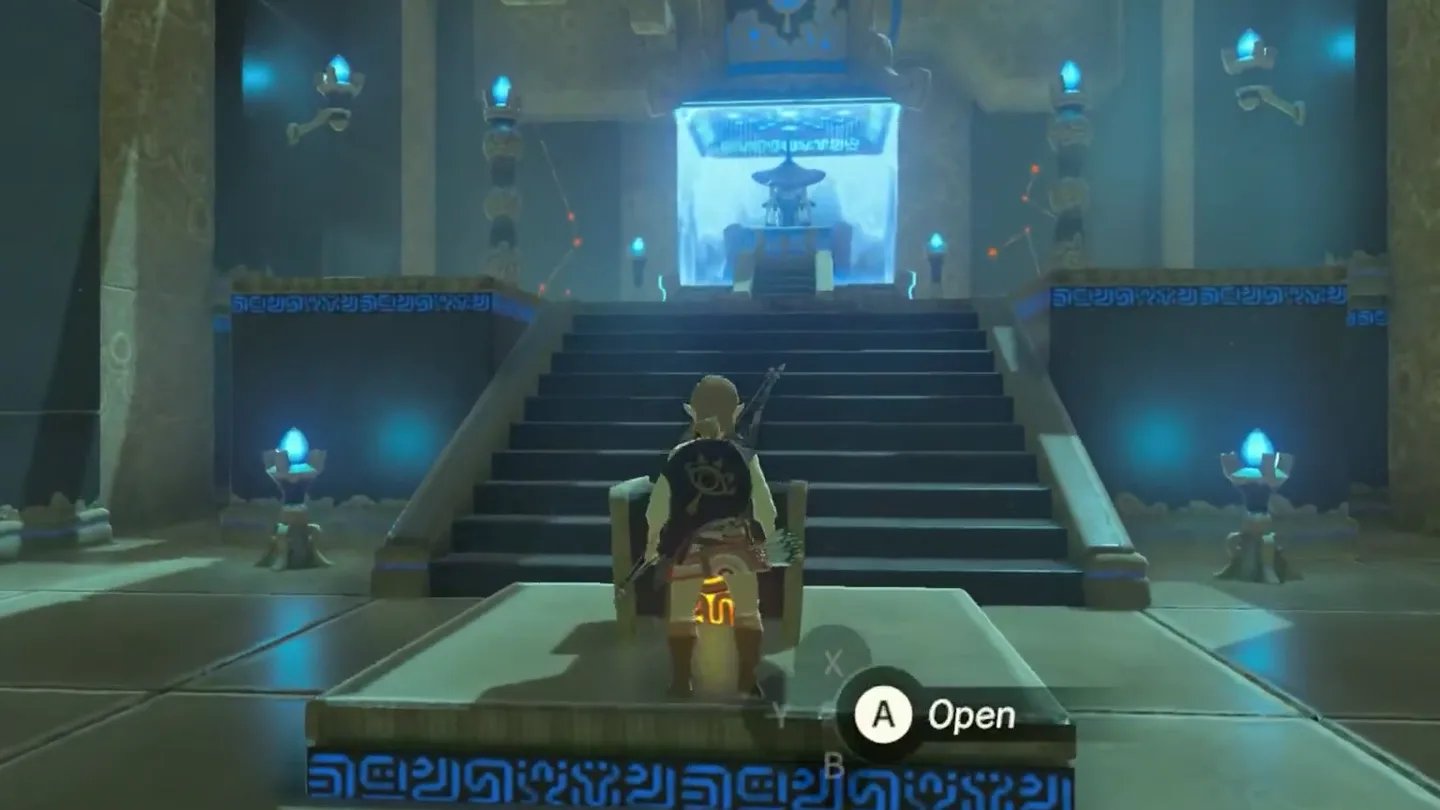
Open the chest beyond the gate. Collect the Opal before walking to the altar.
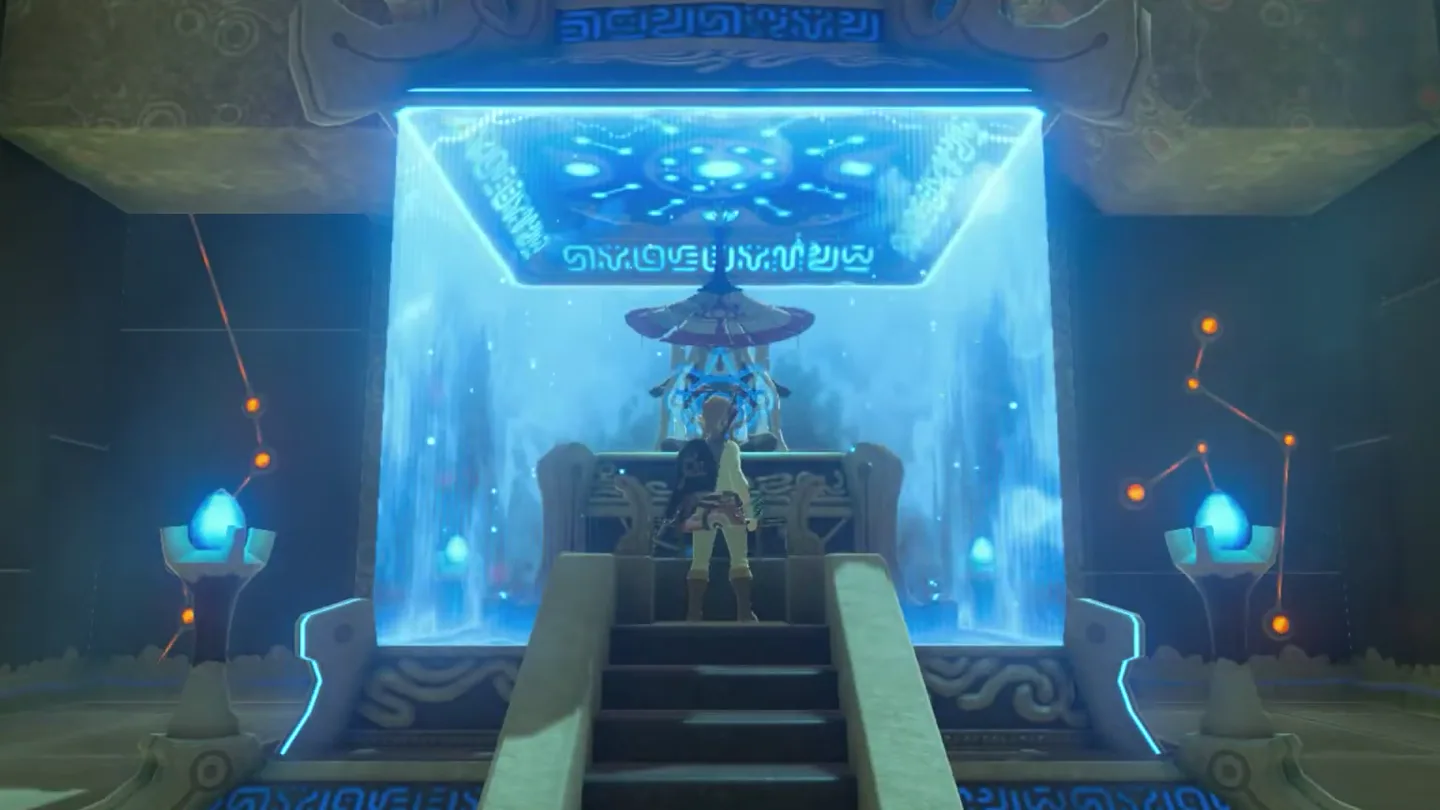
Speak to the monk. Interact at the altar to receive the Spirit Orb.
Where are the chests, and what is inside?
Left and right below are viewed from the entrance elevator, facing into the room.
| Chest | Contents | How to get it |
|---|---|---|
| 1 | Eightfold Blade | Open the left entrance chest before starting the lesson. |
| 2 | Shield of the Mind’s Eye | Open the right entrance chest before starting the lesson. |
| 3 | Opal | Finish the charged-attack lesson, pass through the opened gate and open the chest before the altar. |
What do people miss here?
- If the parry lesson seems impossible, check that you’re locked on with ZL — when Link isn’t targeting the Guardian Scout, he won’t hold up his shield at all, so the perfect guard can never trigger.
- Don’t burn a good weapon trying to end the fight early: during the lessons the Guardian Scout cannot take any actual damage, yet every swing still chips weapon durability. Only the final charged attack is meant to destroy it.
- The shield parry taught here is the same technique that reflects some projectiles, such as Guardian laser beams — and a Guardian struck by its own beam takes massive damage. That’s arguably the most valuable takeaway from this shrine for the rest of the game.
- Left the shrine feeling you ‘wasted’ the tutorial? You can come back and repeat this trial whenever you like, so it works as a free practice room for side hops, backflips, and parries.
- It’s easy to overlook that this shrine serves as the fast-travel point for Kakariko Village — once activated, it’s your warp anchor for coming and going from the village up on the hill.
What else is nearby?
| Shrine | Direction | Straight-line distance | Region |
|---|---|---|---|
| Lakna Rokee Shrine | east | 214 | Dueling Peaks |
| Daka Tuss Shrine | northwest | 490 | Lanayru |
| Kam Urog Shrine | southeast | 896 | Hateno |
Which related guides help next?
- All BotW shrine locations: browse the Dueling Peaks section for your next destination.
- How to find shrines: plan the search between marked locations.
- Tears of the Kingdom vs. Breath of the Wild: compare the games before switching walkthroughs.
FAQ
Why won't Ta'loh Naeg Shrine accept my dodge?
How do I parry in Ta'loh Naeg Shrine?
What are the Ta'loh Naeg Shrine chest rewards?
Is Ta'loh Naeg Shrine a Test of Strength?
Related Articles
guides
Breath of the Wild Captured Memories: All 13 Locations and Rewards
All 12 photo locations from Zelda's album plus the 13th memory in Impa's painting, with coordinates, nearby shrines, the Champion's Tunic and the extra ending scene.
guides
Breath of the Wild Great Fairy Fountains: Locations, Costs and Horse God
Where the four Great Fairy Fountains and the Horse God Malanya are in Breath of the Wild, what each fairy costs to release, and how many you need per armor upgrade.
guides
Hyrule Castle Walkthrough: Entry Routes, Hylian Shield and Final Prep
How to get into Hyrule Castle in Breath of the Wild: five entry routes, the Hylian Shield and other loot by room, and what to prepare before the final battle.
Was this helpful?
Thanks for the feedback!