

Ree Dahee Shrine Location and Solution (Breath of the Wild)
Find Ree Dahee Shrine from Dueling Peaks Stable, time each tilting-platform puzzle, and use a metal barrel to reach the Climber’s Bandanna chest.
Where is Ree Dahee Shrine?
From Dueling Peaks Stable, head west along the north bank of the river into the gap between the mountains. Continue past the ore and camp area, then climb onto the low rock ledge beneath the northern peak. The entrance is down in the valley, so this route does not take you to a summit.
| Item | Detail |
|---|---|
| Trial | Timing Is Critical / 機不可失 |
| Tower region | Dueling Peaks |
| Coordinates (X, Y, Z) | 1273, -1844, 0151 |
| Type | Floor-switch and rolling-ball puzzle; not a Test of Strength |
| Shrine quest | None |
| Chests | 1 |
| Names (EN / zh-TW / zh-CN) | Ree Dahee Shrine / 利‧達席神廟 / 利·达席神庙 |
Use the all-shrine checklist to track this stop, or the shrine-finding guide when planning your approach.
What should you bring?
This is a pure timing-and-physics puzzle with no enemies inside, so you do not need any weapons, arrows, armor, or resistances. The only ability involved is Magnesis, and only for the optional chest—have it unlocked (it comes from the Oman Au Shrine on the Great Plateau) if you want the Climber’s Bandanna. The metal barrel used to hold the switch is found inside the shrine itself, so there is nothing to carry in.
Video walkthrough

Solution
The floor switches control the slopes. A ball reaching its socket activates the moving platform for the next crossing. The main route needs switch timing; the chest route below adds Magnesis and a metal barrel found inside. It does not require spending arrows or using a particular weapon.
1. Cross the first two moving platforms
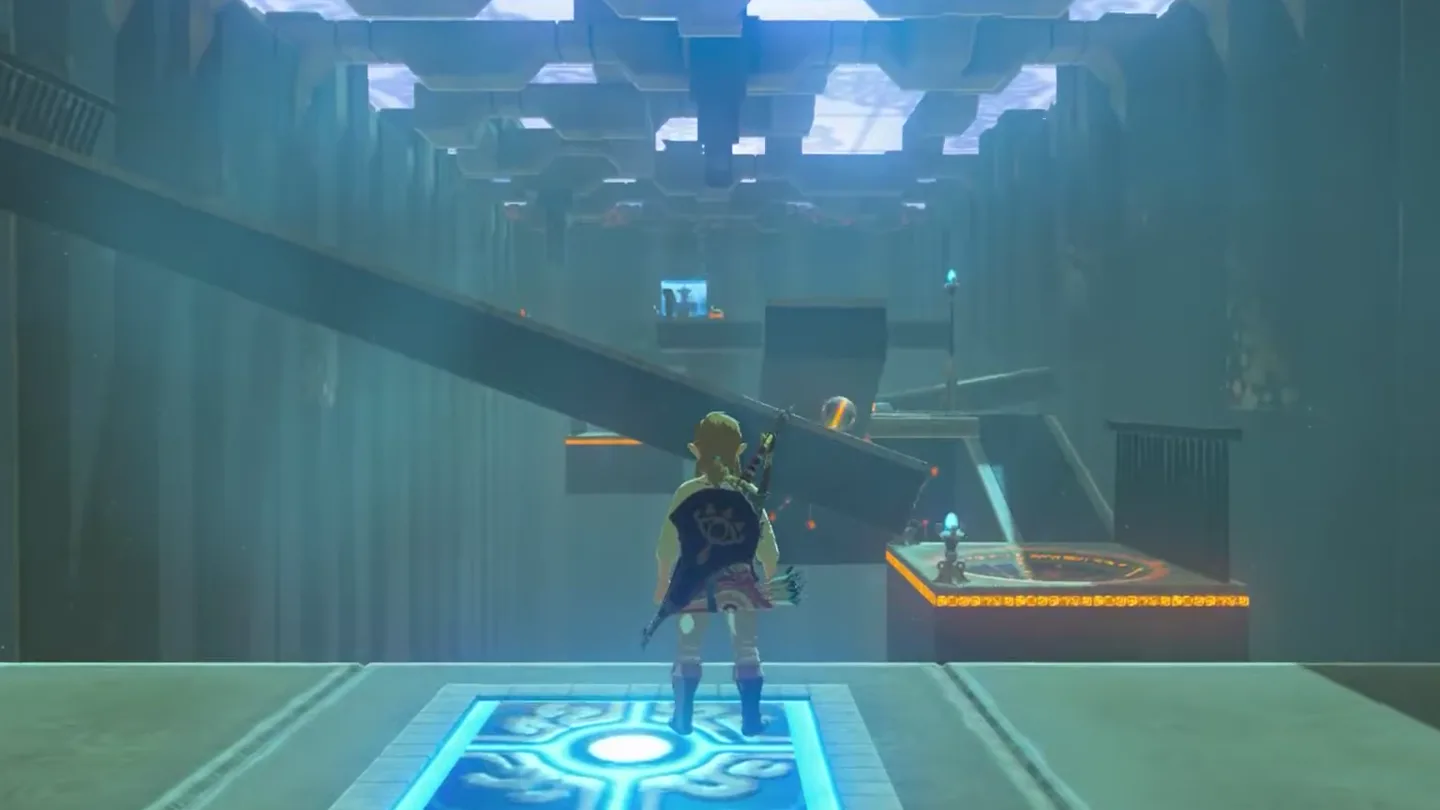
Hold the entrance switch. Let the ball roll down the tilted platform into its socket, then ride the activated moving platform across.
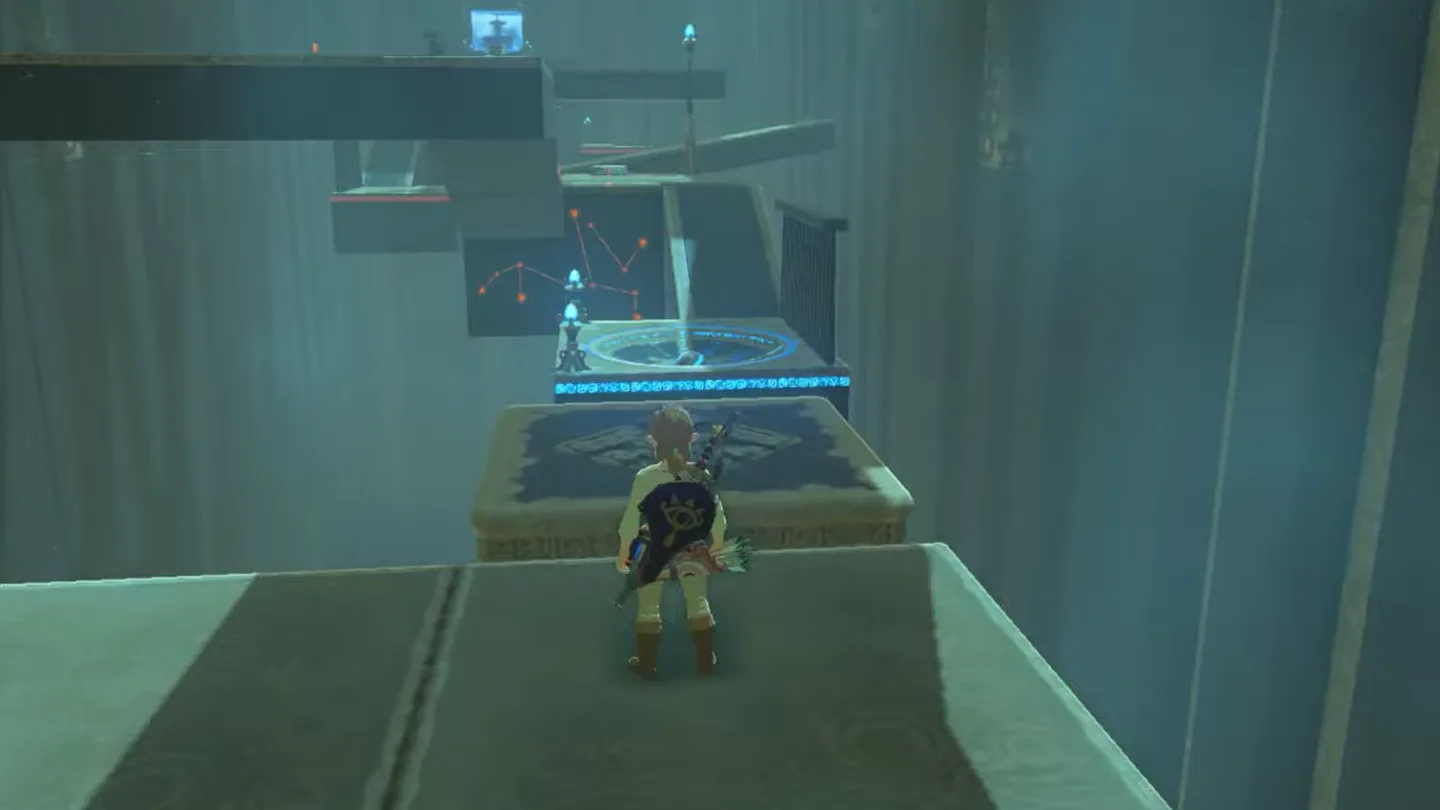
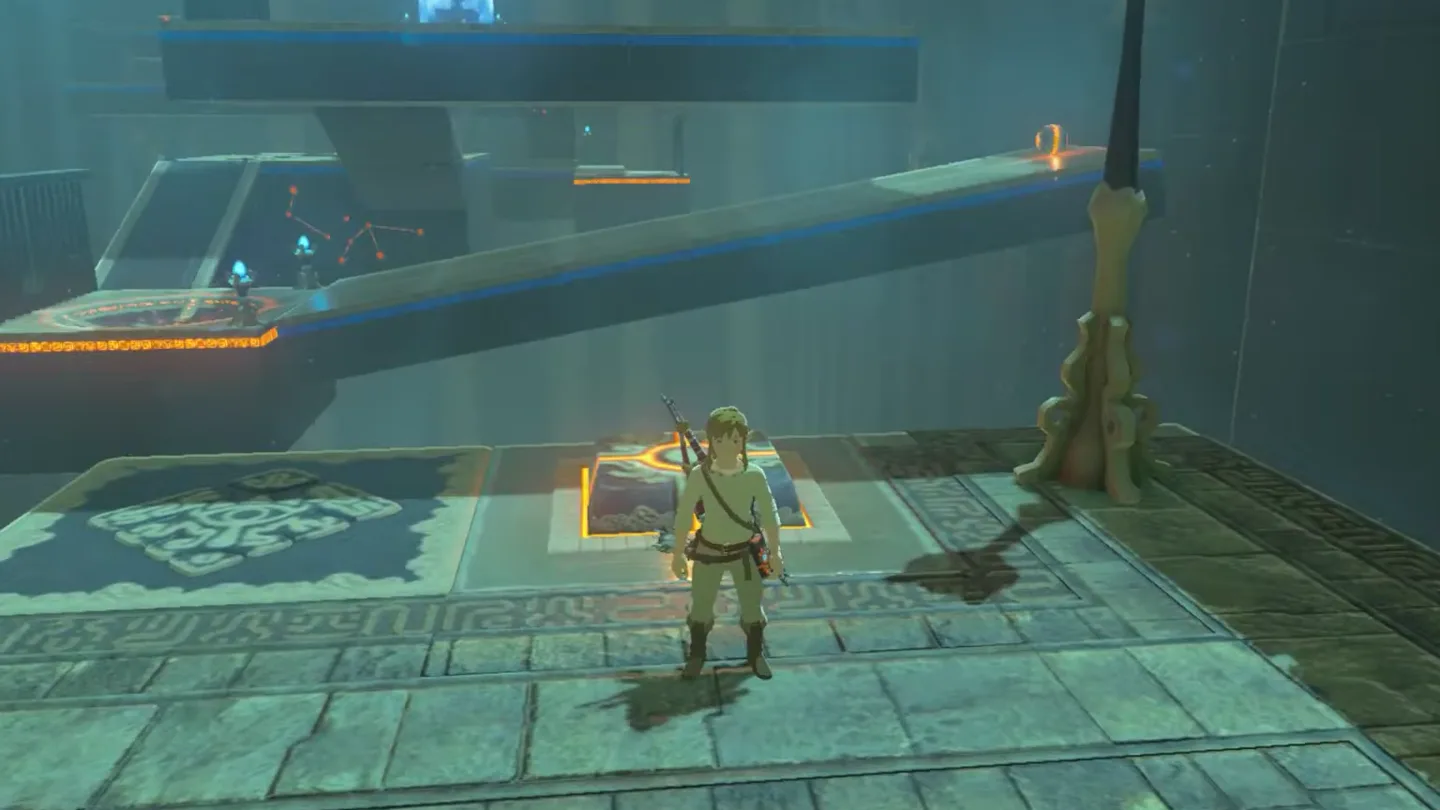
Start the middle ball rolling. Stand on the next switch to tilt the upper and lower platforms.
Step off as the ball leaves the upper edge. It should drop onto the lower platform instead of overshooting, then roll into the socket. Take the newly activated platform onward and descend the steps.
2. Flick the final ball into its socket
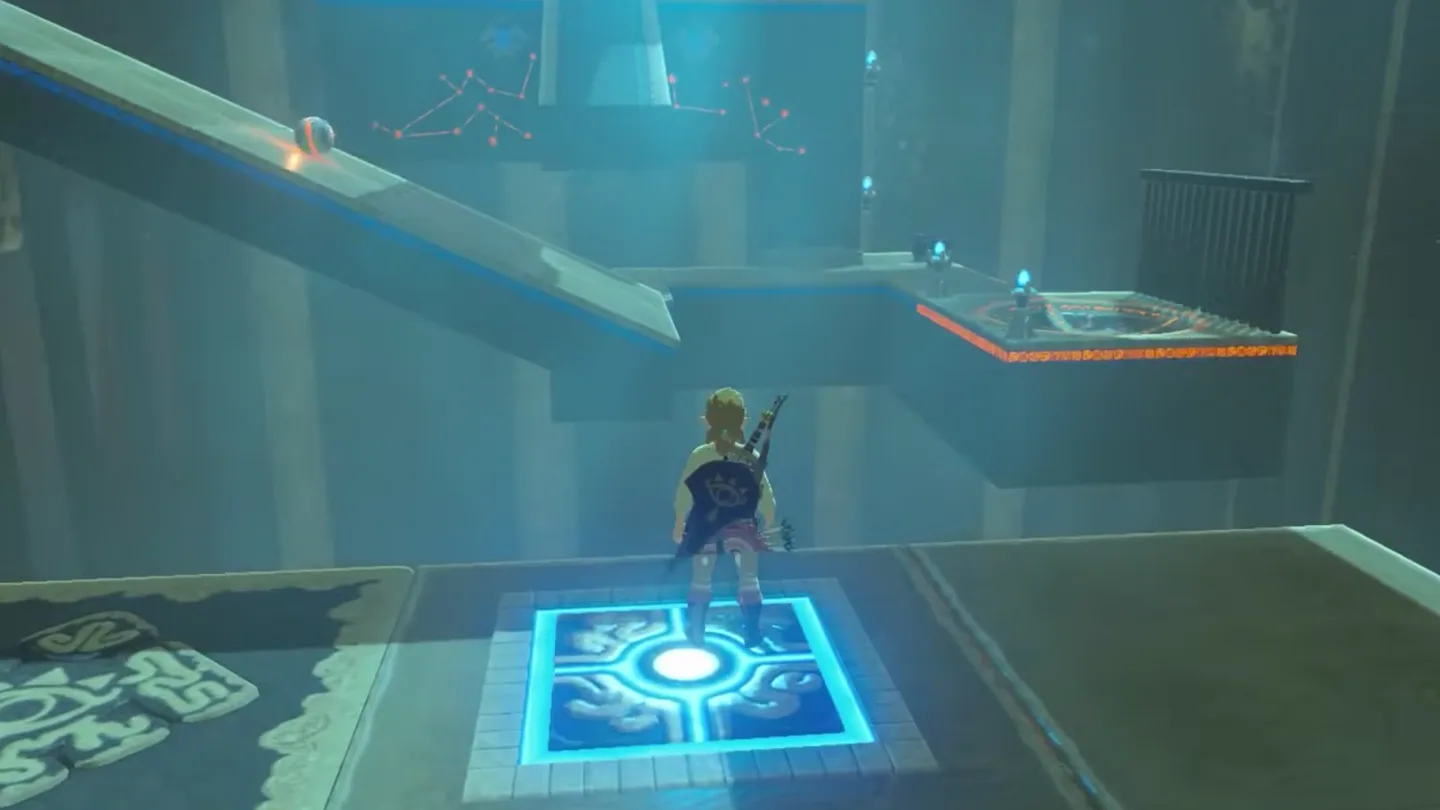
Roll the final ball toward the edge. Stand on the last switch and watch the ball approach the end of the slope.
Release the switch at the edge. Step off so the platform springs back and flicks the ball into its socket, then ride the final moving platform across.
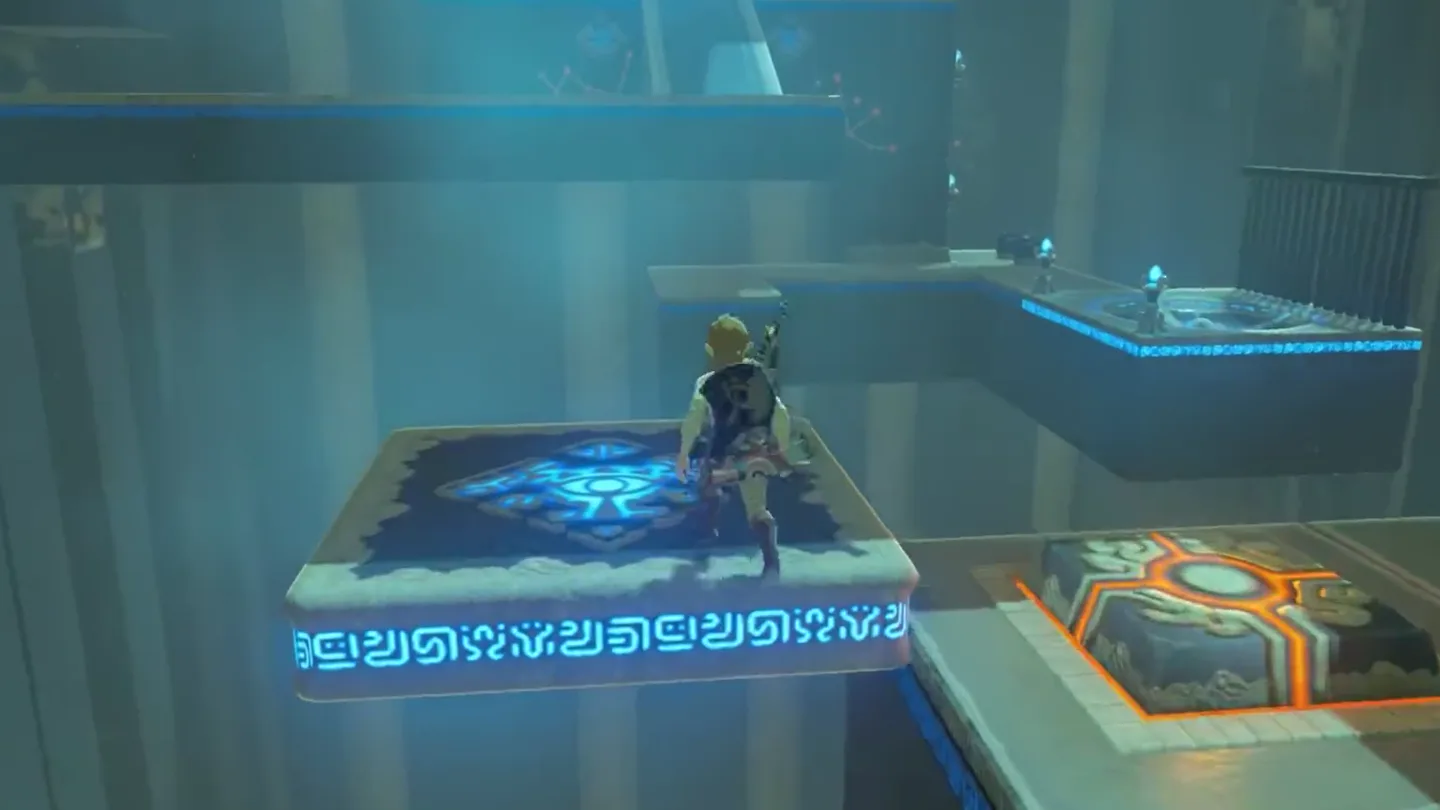
3. Retrieve the chest with a barrel
Bring back a barrel for the chest. Look down to the right on the far side, lift a metal barrel with Magnesis, then carry it back on the moving platform and set it on the last floor switch.
Use the held slope as your path. Cross again and climb the tilted platform toward the chest ledge on the left. Open it for the Climber’s Bandanna.
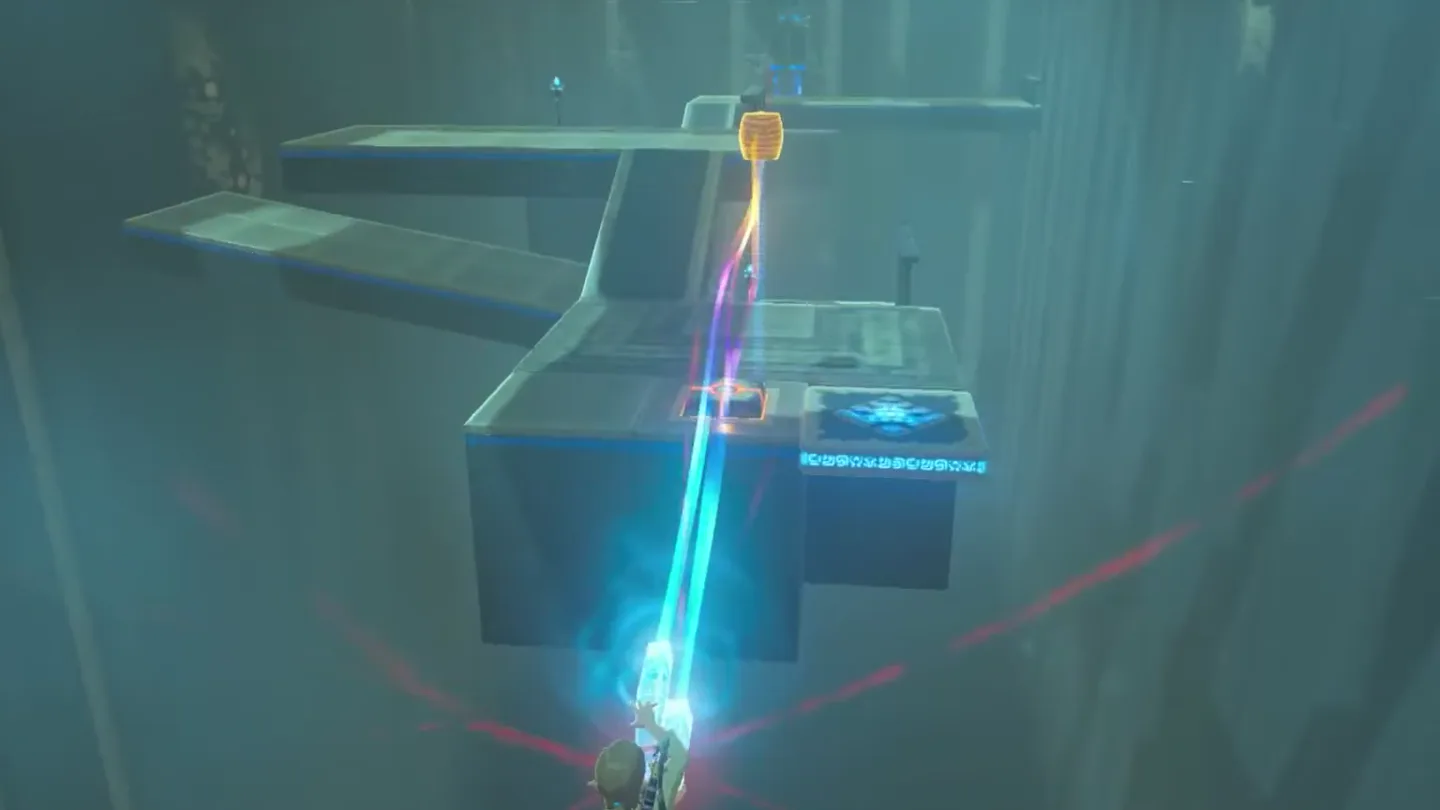
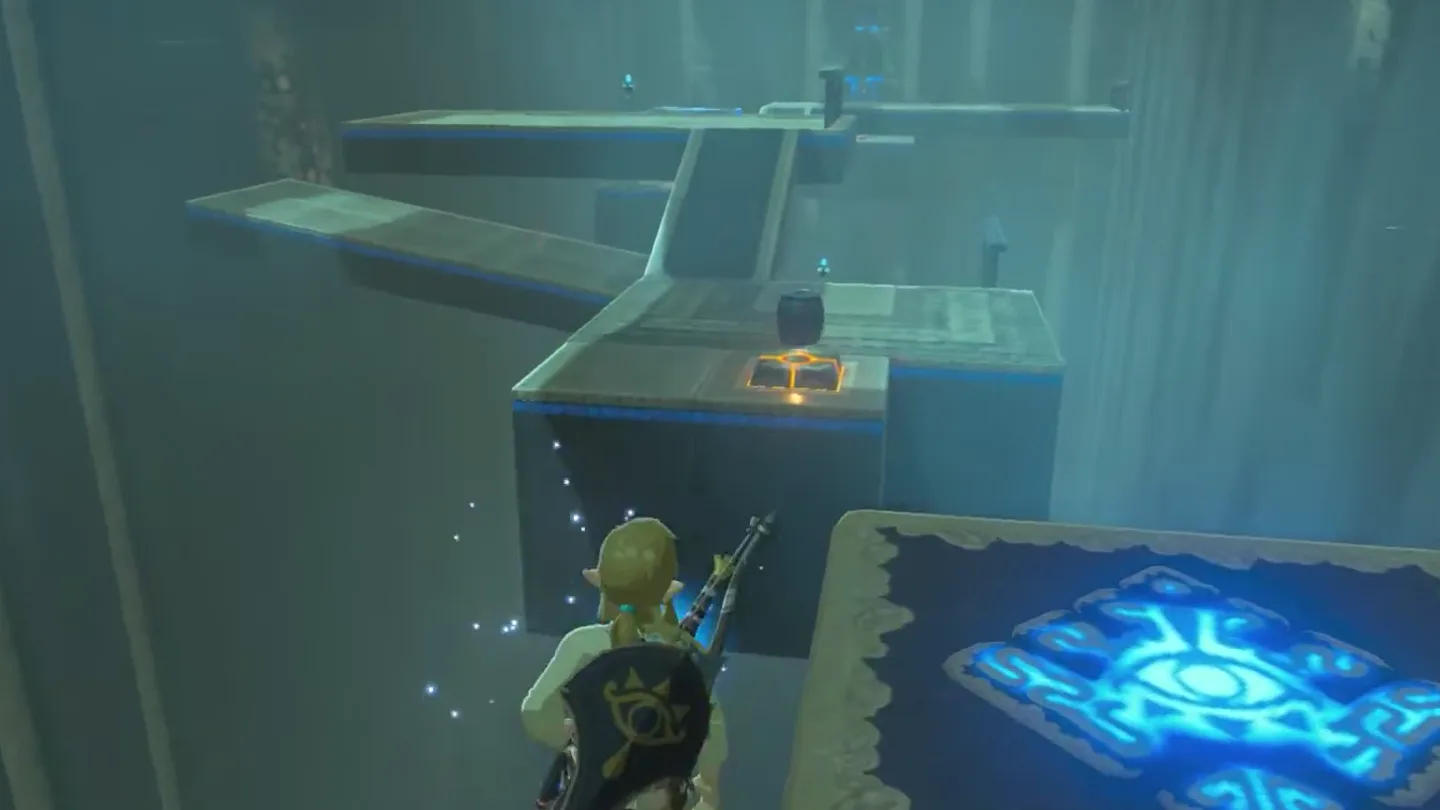
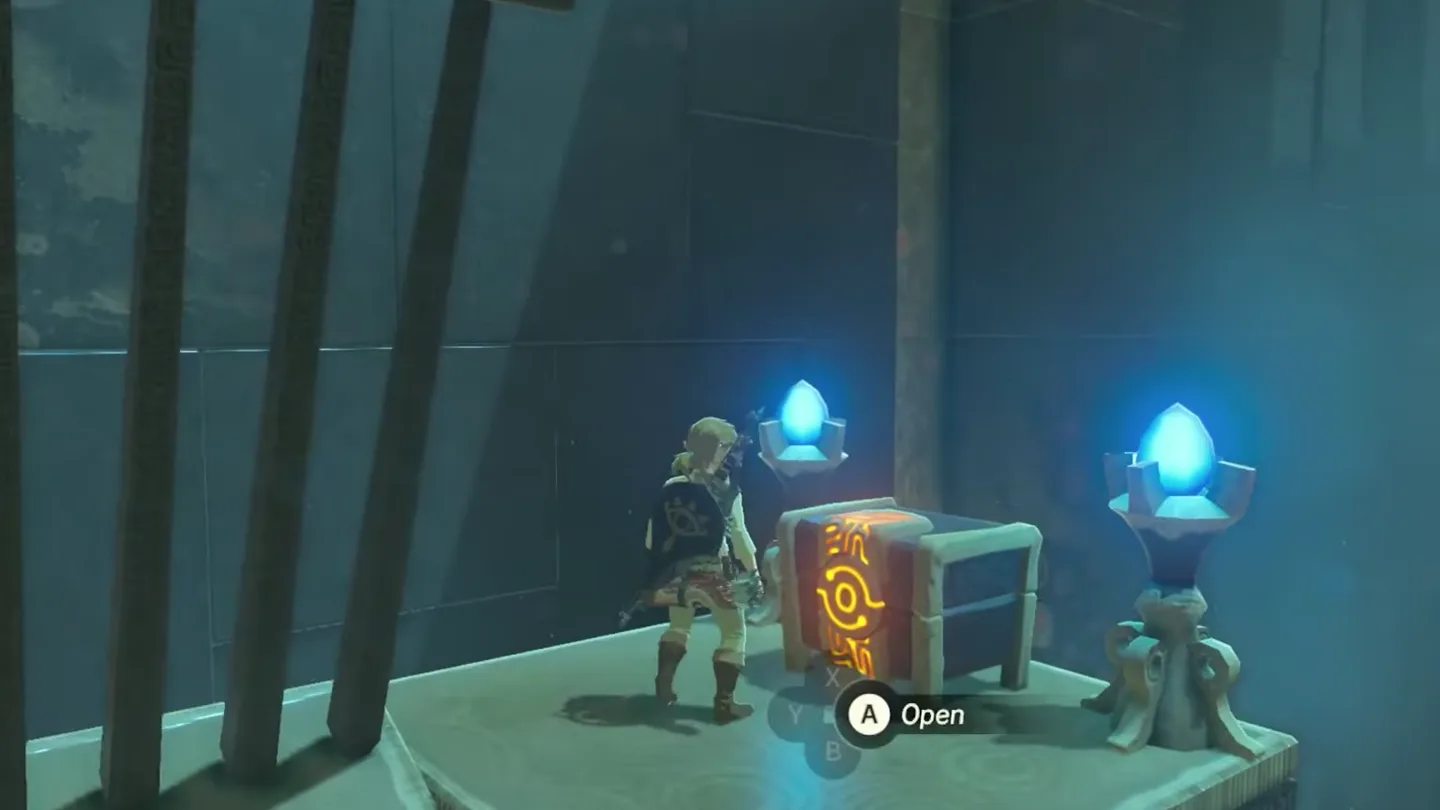
4. Complete the trial at the altar
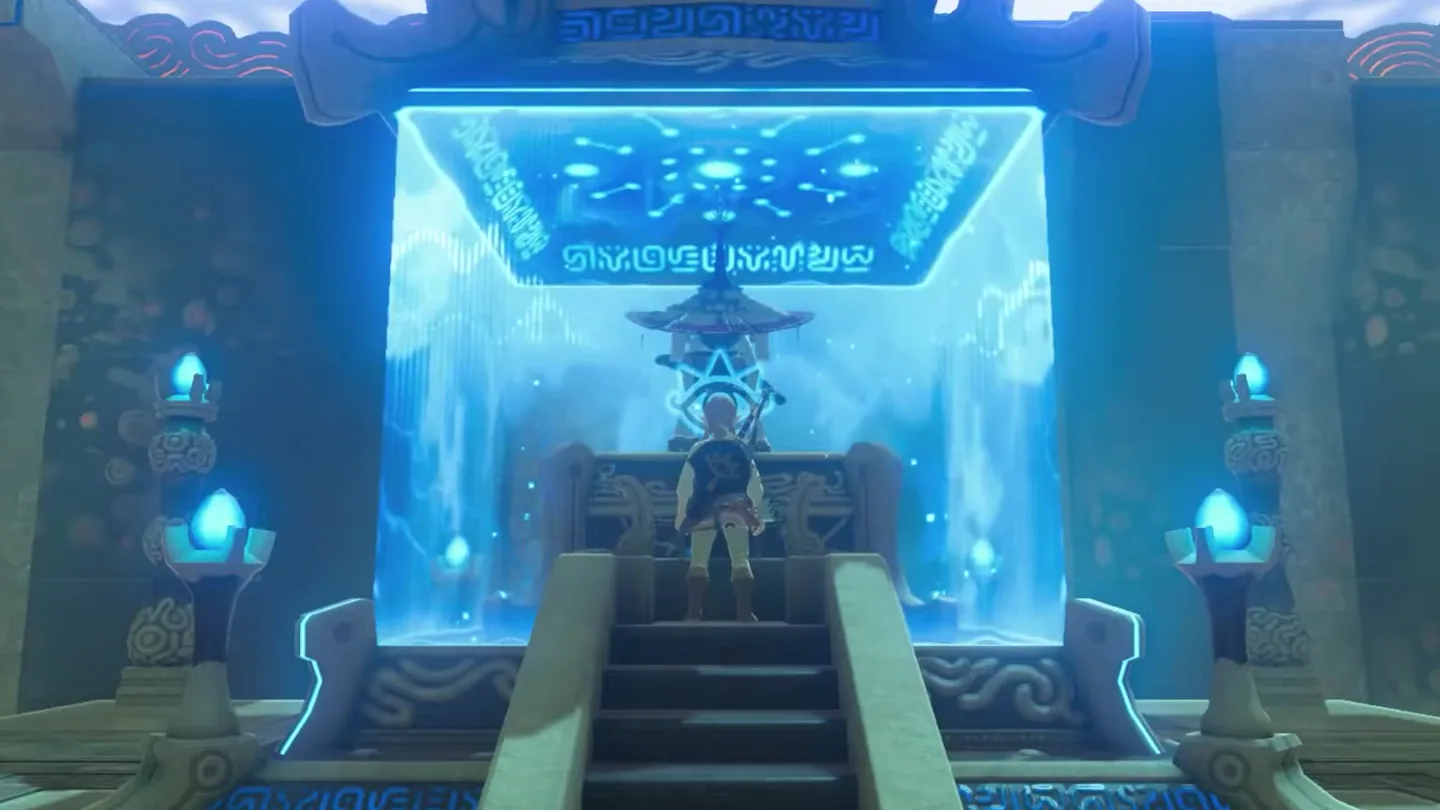
Finish at the altar. Descend the slope, head left and climb the ladder to the monk.
Chests
| Chest | Contents | How to reach it |
|---|---|---|
| 1, above the final tilting platform | Climber’s Bandanna | Retrieve a metal barrel from below the far side with Magnesis. Carry it back to hold down the last switch, cross again and use the tilted platform to reach the left-hand ledge. |
What do people miss here?
- You can spot the chest from partway through the trial, sitting on a ledge that looks unreachable—many players walk straight to the altar, collect the Spirit Orb, and leave without it. Don’t: it contains the Climber’s Bandanna, which stretches your stamina further while climbing.
- The metal barrel below the far side sits at nearly the maximum range of Magnesis. If the ability won’t grab it, move to the very edge of the platform and try again.
- After opening the chest, the barrel is still holding down the last floor switch. Remove it before continuing to the monk—Magnesis it away, or paraglide from the highest point of the ramp and shove it off by hand.
- There is no combat anywhere in this shrine, and the main route to the altar never uses Magnesis—only the chest route does. That is exactly why the chest is this shrine’s most common miss: you can finish the trial without ever realizing you skipped a piece of climbing gear.
What else is nearby?
| Shrine | Direction | Straight-line distance | Region |
|---|---|---|---|
| Shee Venath Shrine | west | 28 | Dueling Peaks |
| Shee Vaneer Shrine | south | 95 | Dueling Peaks |
| Ha Dahamar Shrine | east | 397 | Dueling Peaks |
Related
- Ha Dahamar Shrine: east of Ree Dahee, near Dueling Peaks Stable.
- All shrine locations: check the Dueling Peaks entries before your next stop.
- How to find shrines: plan a route when a shrine is difficult to spot.
- Tears of the Kingdom vs. Breath of the Wild: compare the games before switching guide collections.
FAQ
How do I get to Ree Dahee Shrine from Dueling Peaks Stable?
Why does the ball miss the lower platform in Ree Dahee Shrine?
How do I launch the last ball in Ree Dahee Shrine?
How do I get the Ree Dahee Shrine chest?
Related Articles
guides
Breath of the Wild Captured Memories: All 13 Locations and Rewards
All 12 photo locations from Zelda's album plus the 13th memory in Impa's painting, with coordinates, nearby shrines, the Champion's Tunic and the extra ending scene.
guides
Breath of the Wild Great Fairy Fountains: Locations, Costs and Horse God
Where the four Great Fairy Fountains and the Horse God Malanya are in Breath of the Wild, what each fairy costs to release, and how many you need per armor upgrade.
guides
Hyrule Castle Walkthrough: Entry Routes, Hylian Shield and Final Prep
How to get into Hyrule Castle in Breath of the Wild: five entry routes, the Hylian Shield and other loot by room, and what to prepare before the final battle.
Was this helpful?
Thanks for the feedback!