

Ha Dahamar Shrine Location and Solution (Breath of the Wild)
Enter Ha Dahamar Shrine near Dueling Peaks Stable, use Cryonis to solve The Water Guides, guide the rolling ball, and find the Purple Rupee chest.
Where is Ha Dahamar Shrine?
Start at Dueling Peaks Stable and look for the shrine in the small pool beside it, east of Dueling Peaks. Spikes block the approach on foot. Use Cryonis in the pool, climb onto the ice, and jump across the spikes to reach the entrance. Alternatively, climb the cliff west of the shrine and glide down inside the barrier.
| Item | Detail |
|---|---|
| Trial | The Water Guides |
| Tower region | Dueling Peaks |
| Coordinates (X, Y, Z) | 1663, -1922, 0129 |
| Type | Cryonis puzzle; not a Test of Strength |
| Shrine quest | None |
| Chests | 1 |
| English name | Ha Dahamar Shrine |
| Traditional Chinese name | 哈尤‧達瑪神廟 |
| Simplified Chinese name | 哈尤·达玛神庙 |
The coordinates use the shrine-marker convention in our all-shrine locations table.
What should you bring?
The only preparation is the Cryonis rune: you need it to raise an ice pillar in the spiked pool outside (or you can skip that step by gliding down from Dueling Peaks), and everything inside — crossing the water, climbing the wall waterfall, and running the ball mechanism — is Cryonis work too. There is no combat and no Test of Strength, so Magnesis, Stasis, bombs, weapons, armor, and resistance gear are all unnecessary. If you do this shrine early in the game, it doubles as good practice for getting more acquainted with Cryonis.
Video walkthrough

Solution
Cryonis handles the indoor puzzle. No Magnesis, Stasis, bombs, or special weapon is needed for this route. Use ice for your footing first, then for the ball’s route across the waterfall.
1. Cross the water and get the chest
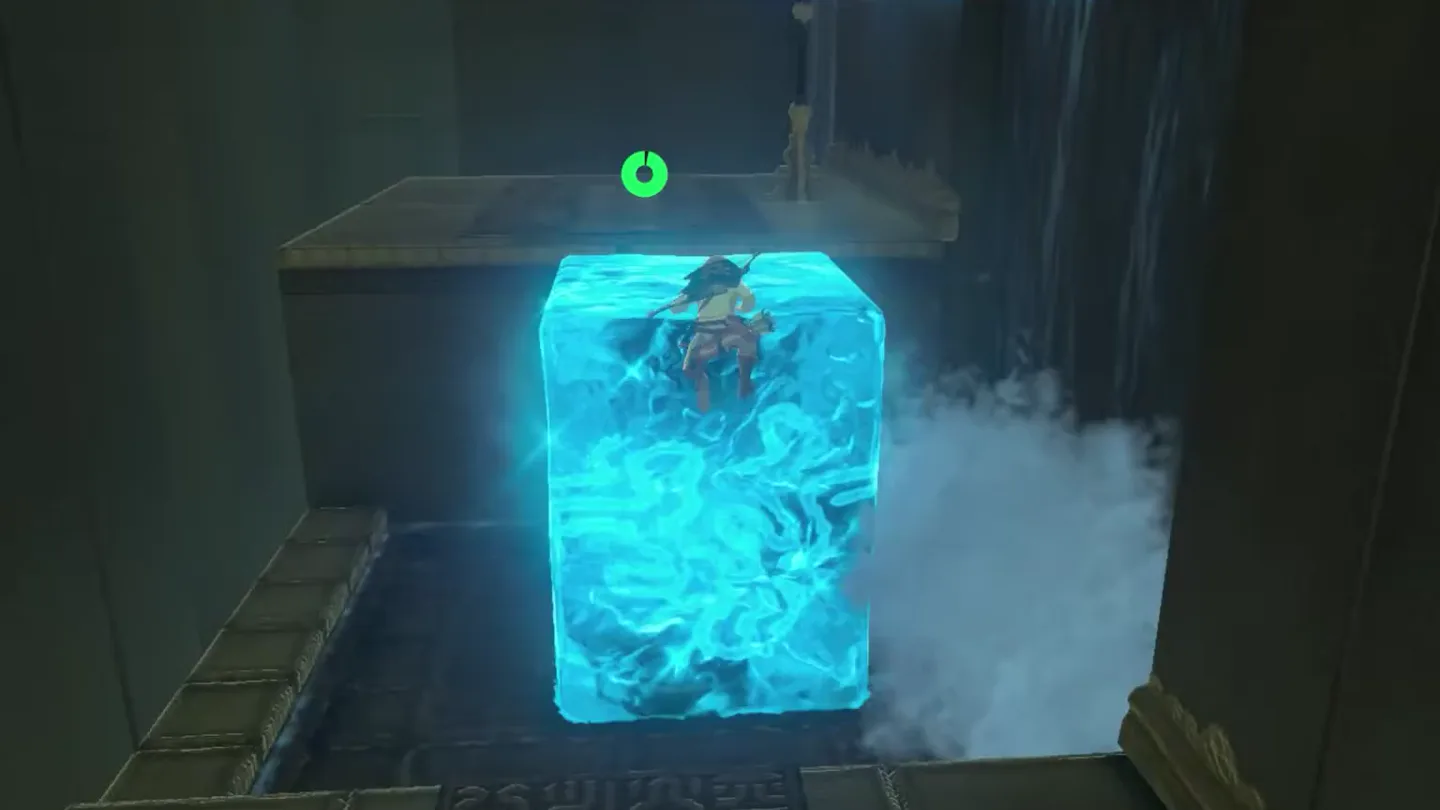
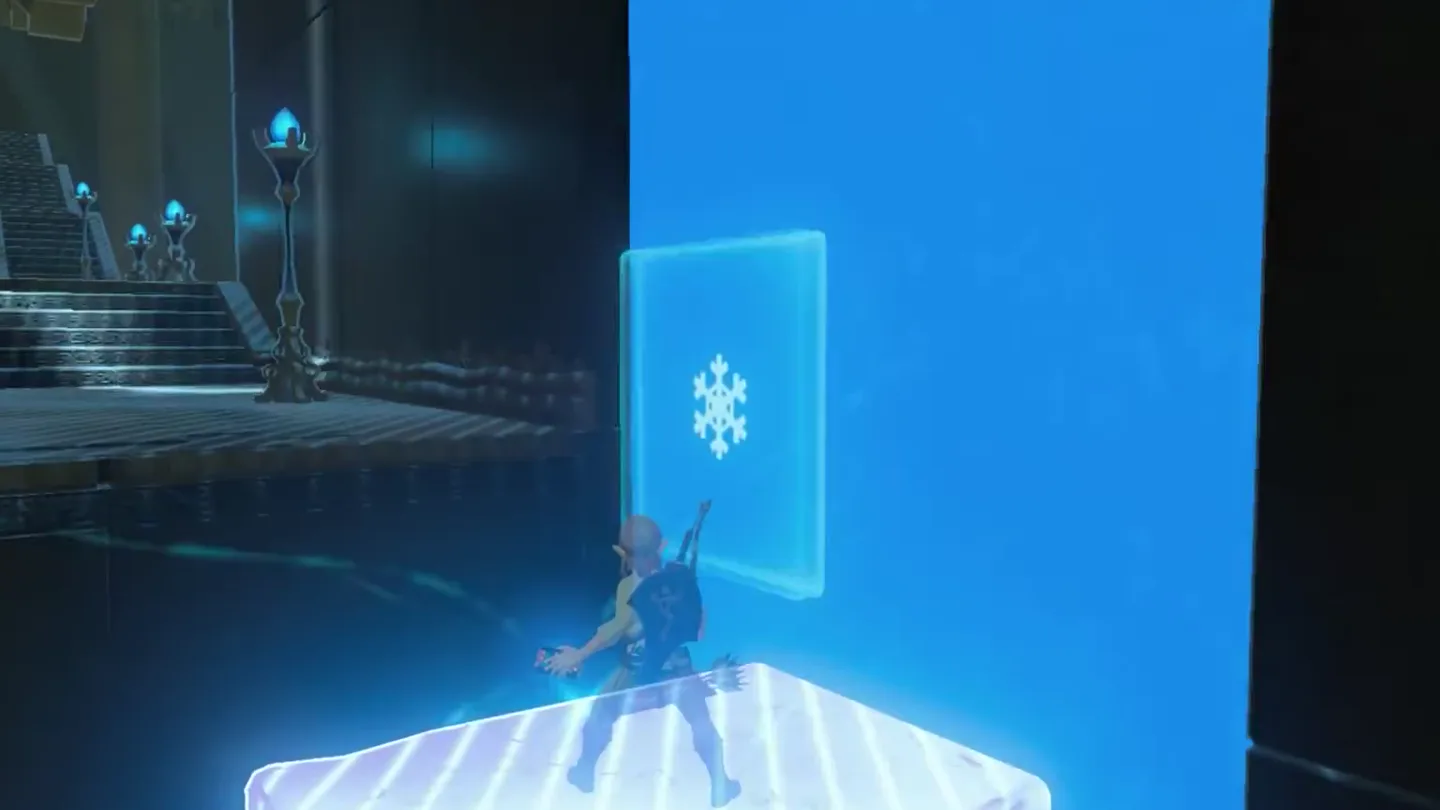
Cross the shallow pool. Follow the walkway on the right, raise an ice pillar in the water, and climb across to the platform ahead.
Freeze the wall waterfall. Aim at the water running down the wall on your right. Make a block that projects outward, then jump onto it to reach the next platform.
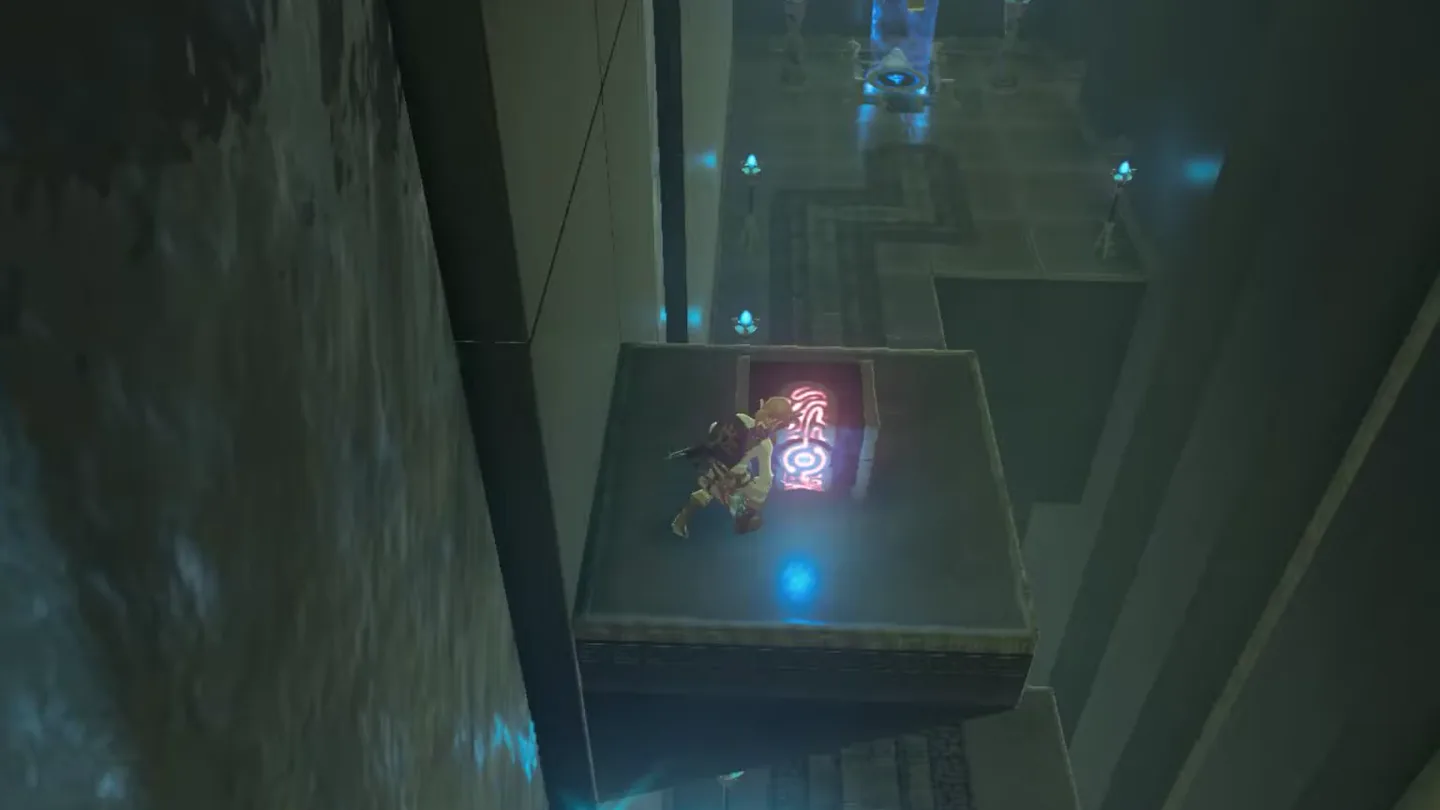
Turn back for the chest. Look above the route you just crossed. Add ice steps on the waterfall, climb to the raised platform, and collect the Purple Rupee before continuing.
2. Guide the ball into the socket
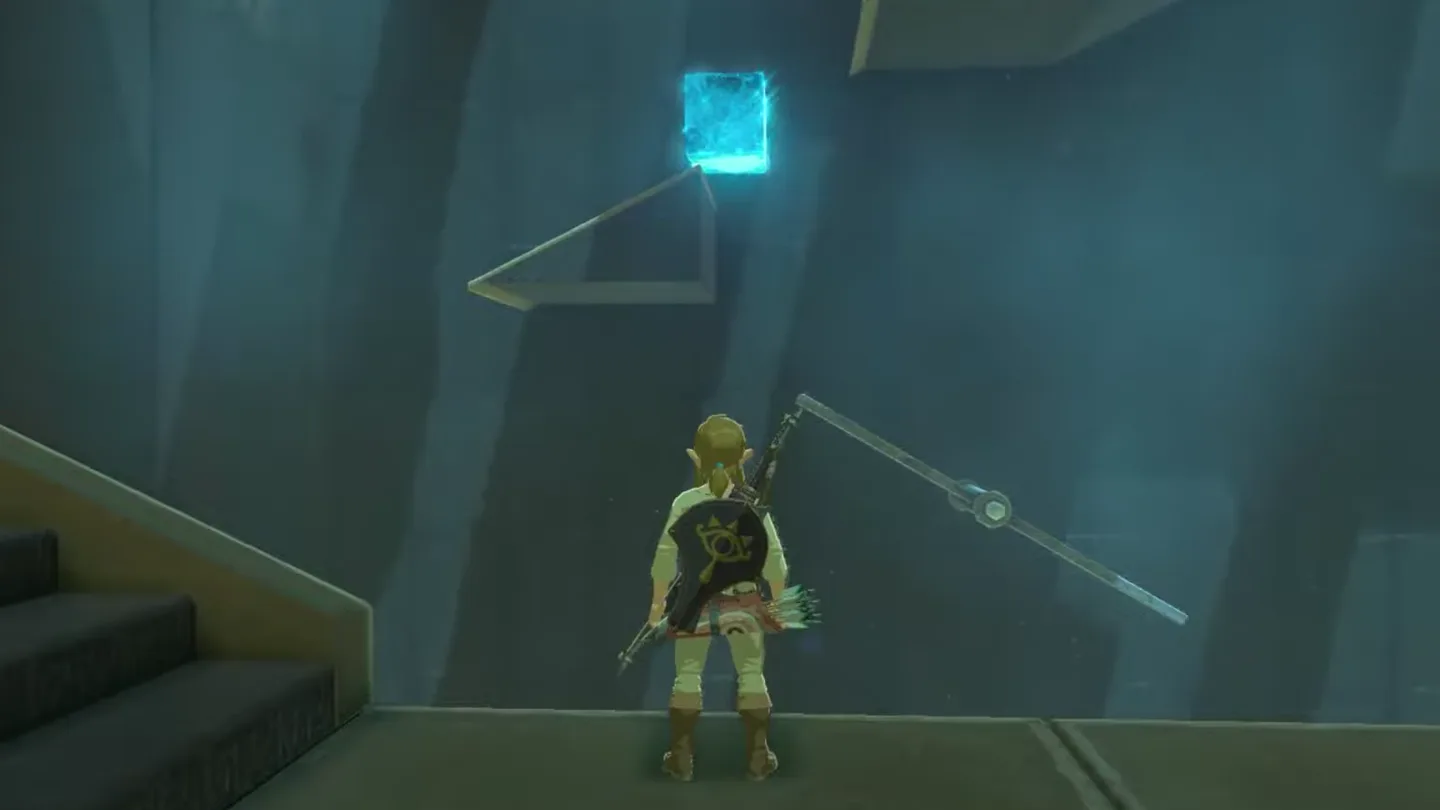
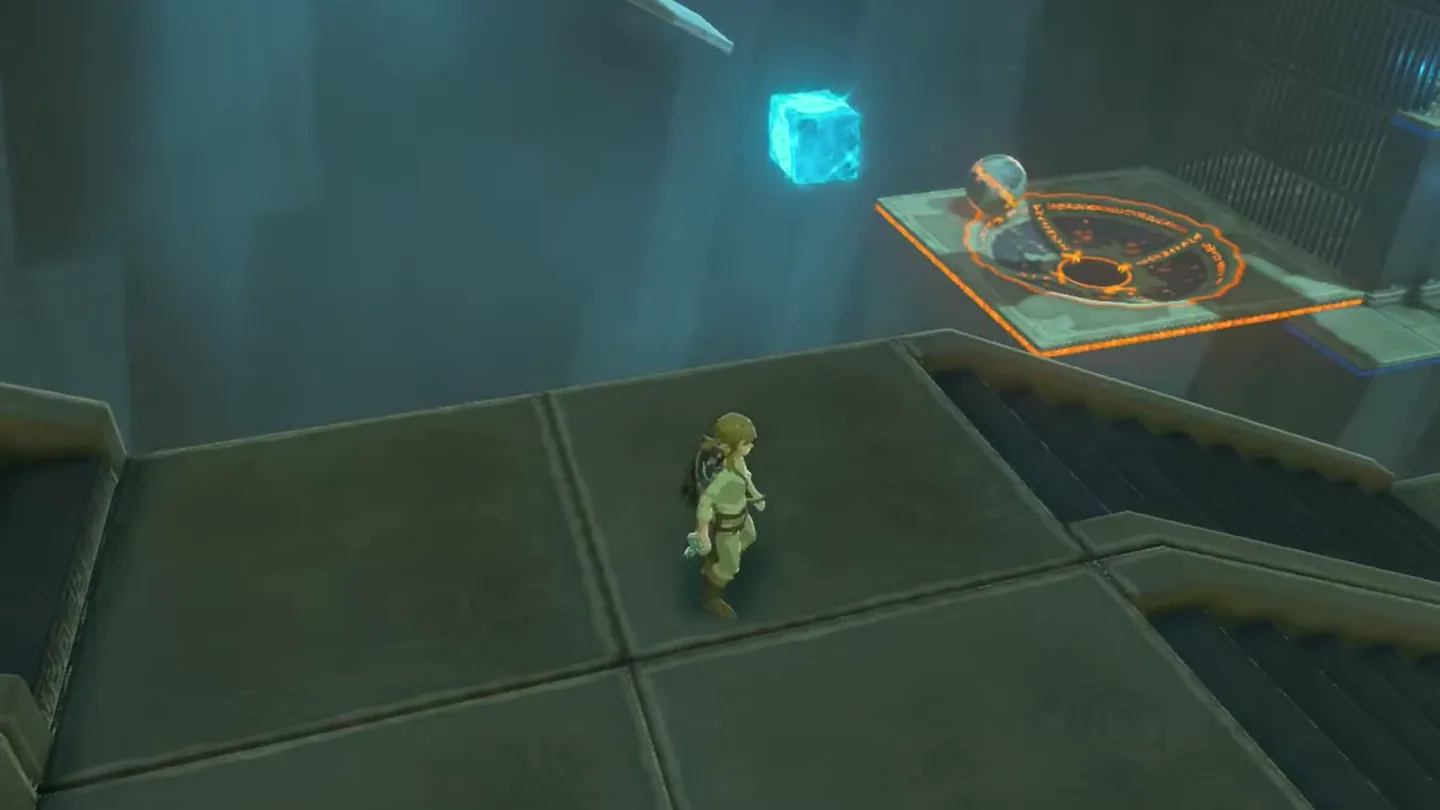
Look right from the wide stairs. Return toward the main route and climb about halfway up the stairs. Face the large waterfall with the rolling ball and seesaw.
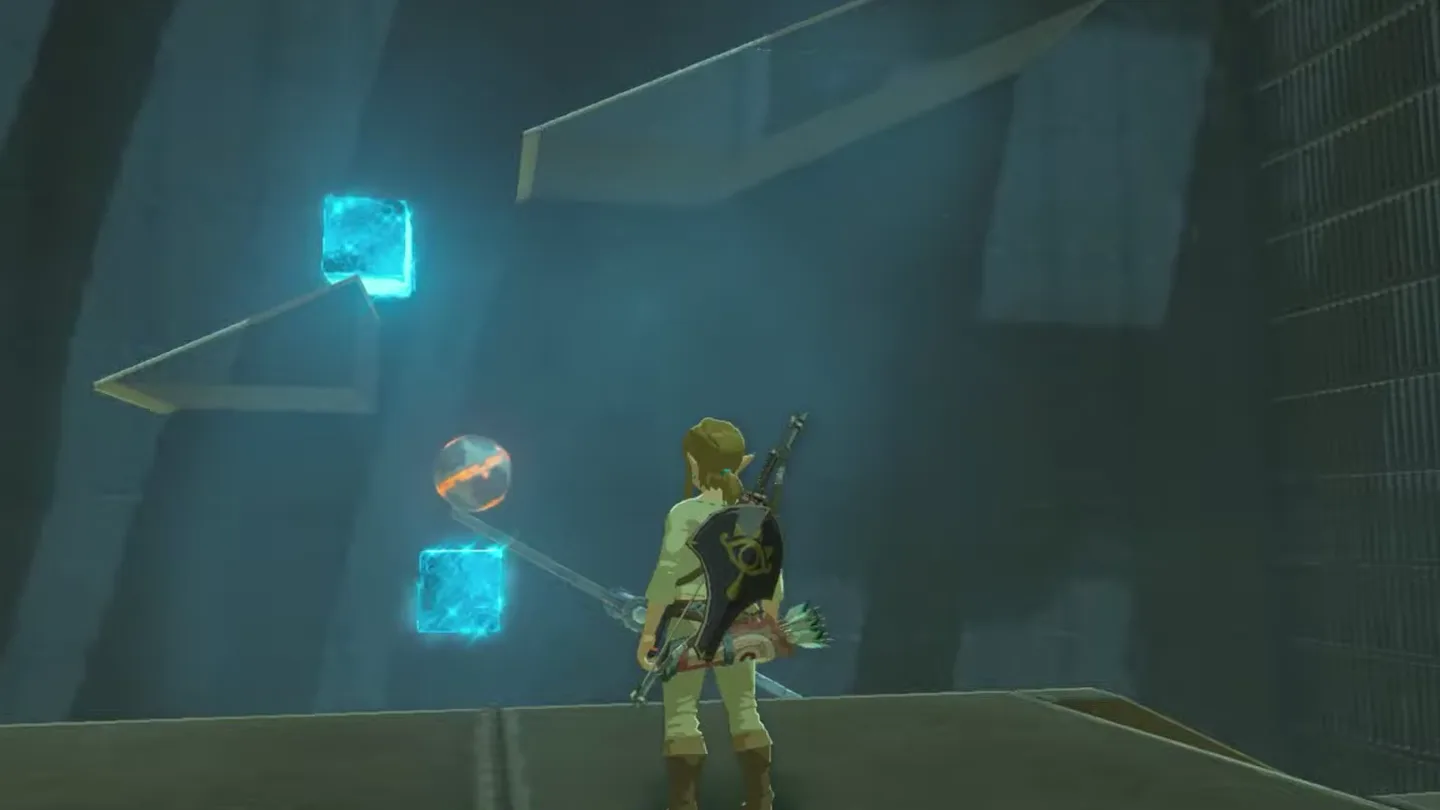
Stop the ball beyond the upper ramp. Put an ice block in its path just past the ramp’s outlet, so it drops toward the lower slope and the seesaw.
Brace the seesaw. Facing the mechanism, create ice under the seesaw’s left end. Keep the board sloping down to the right so the ball can roll toward the socket.
Give the ball a final landing block. Create ice below and beyond the seesaw’s right end. The ball should bounce off this block toward the socket at the lower right; watch the route and adjust the landing position if it misses.
3. Reach the altar
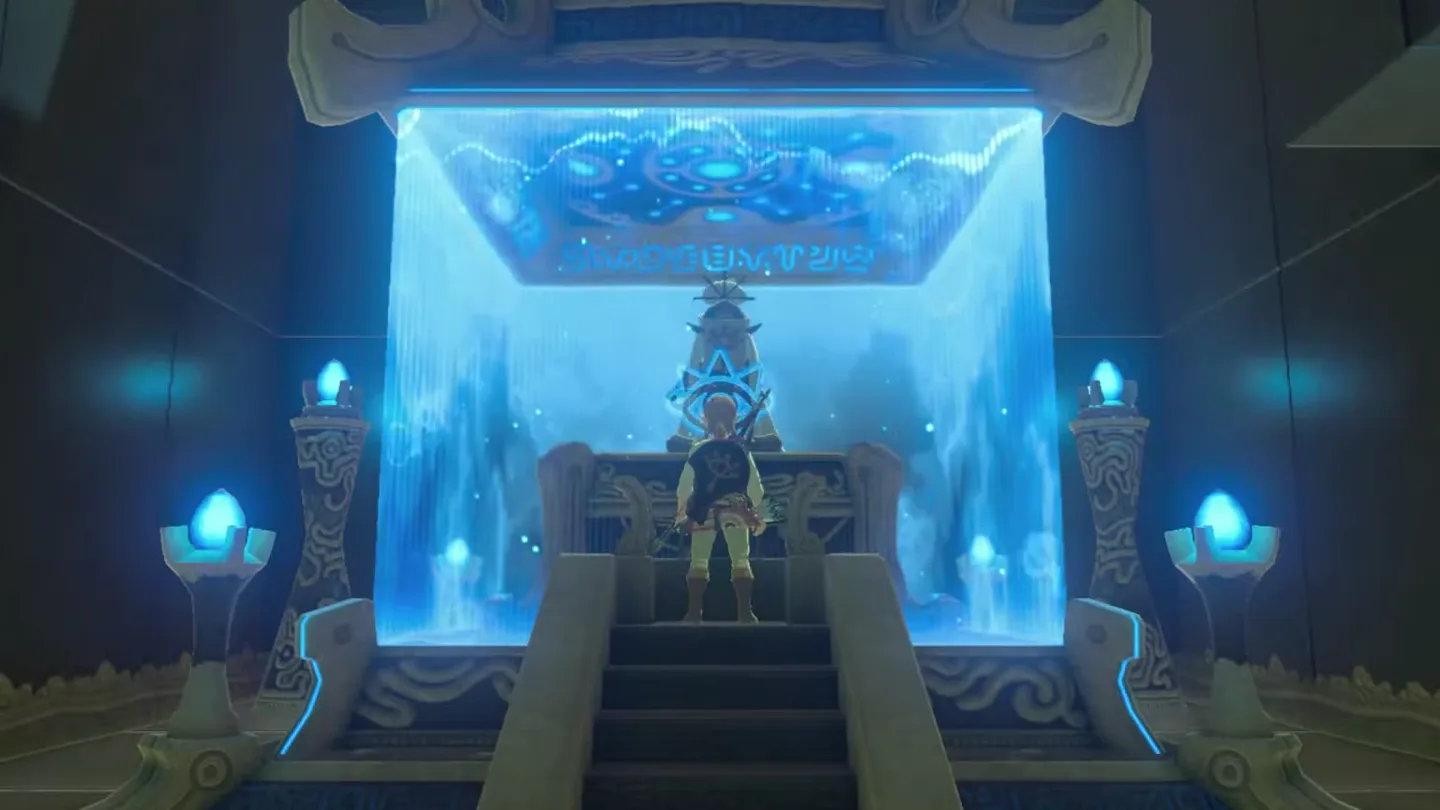
Take the opened route to the altar. Once the ball enters the socket, go back down the stairs and take the ramp on the left. Reach the altar to receive the Spirit Orb.
| Ice placement | Quantity for this route | Purpose |
|---|---|---|
| Extra waterfall steps to the chest | 2 | Climb from the crossing platform to the chest ledge |
| Final ball mechanism | 3 | Stop the ball, brace the seesaw, and bounce the ball toward the socket |
Chests
| Chest | Contents | How to get it |
|---|---|---|
| 1 | Purple Rupee, worth 50 rupees | After crossing the wall waterfall, turn back and look up. Build ice steps directly on the waterfall to climb to the elevated chest platform before the wide stairs. |
What do people miss here?
- The chest is behind you. Flip the camera around the moment you cross the wall waterfall — it sits on a raised ledge above the route you just climbed. Players who run straight ahead into the spacious chamber can clear the whole shrine without ever seeing it.
- You cannot climb walls inside a shrine. Don’t try to shortcut up to the chest ledge or any other platform by climbing — it doesn’t work here, so ice blocks are the only way up.
- The leftmost ramp drops the ball into the abyss. At the final mechanism, an unblocked ball rolls down the leftmost ramp and into the void, so the block above the middle platform is what keeps the whole run alive — place it first.
- If the ball dies right before the platform even though the upper blocker and the seesaw brace are both correct, the culprit is the missing ice block past the end of the seesaw: without it the ball lacks the momentum and distance and drops into nothing just short of the socket.
- The water won’t run you off. You can place a block anywhere on the flowing waterfall and stand on it without being swept away, so take your time repositioning blocks instead of rushing the climb — just watch your own footing so you don’t fall off.
What else is nearby?
| Shrine | Direction | Straight-line distance | Region |
|---|---|---|---|
| Shee Vaneer Shrine | west | 397 | Dueling Peaks |
| Ree Dahee Shrine | west | 397 | Dueling Peaks |
| Shee Venath Shrine | west | 424 | Dueling Peaks |
Related
- All BotW shrine locations: plan the next stop in the Dueling Peaks section.
- How to find BotW shrines: use the checklist and discovery guidance for your next search.
- Shee Vaneer Shrine: west toward Dueling Peaks, on top of the southern peak.
- Tears of the Kingdom vs. Breath of the Wild: compare the games before choosing another adventure.
FAQ
How do I get past the spikes at Ha Dahamar Shrine?
How do I solve the ball puzzle in Ha Dahamar Shrine?
Where is the Ha Dahamar Shrine chest?
Is Ha Dahamar Shrine a Test of Strength?
Related Articles
guides
Breath of the Wild Captured Memories: All 13 Locations and Rewards
All 12 photo locations from Zelda's album plus the 13th memory in Impa's painting, with coordinates, nearby shrines, the Champion's Tunic and the extra ending scene.
guides
Breath of the Wild Great Fairy Fountains: Locations, Costs and Horse God
Where the four Great Fairy Fountains and the Horse God Malanya are in Breath of the Wild, what each fairy costs to release, and how many you need per armor upgrade.
guides
Hyrule Castle Walkthrough: Entry Routes, Hylian Shield and Final Prep
How to get into Hyrule Castle in Breath of the Wild: five entry routes, the Hylian Shield and other loot by room, and what to prepare before the final battle.
Was this helpful?
Thanks for the feedback!