

Sah Dahaj Shrine Guide: Power of Fire Walkthrough (BotW)
Step-by-step Sah Dahaj Shrine walkthrough: burn the vines, drop the slab onto the switch, and claim the Knight's Bow chest.
Where is Sah Dahaj Shrine?
Sah Dahaj hides in a gorge directly north of Cephla Lake in Eldin Canyon, east of Eldin Tower — glide east from the tower’s top and descend toward the lake’s north shore. The entrance sits in the gorge wall just north of the water, so if your shrine marker points at open lakeside, step inland and scan the canyon cut into the rock.
| Item | Detail |
|---|---|
| Trial | Power of Fire |
| Tower region | Eldin |
| Map-marker coordinates | 2666, 1580, 0261 |
| Shrine quest | None |
| Chests | 1 |
| Names | Sah Dahaj Shrine · 薩‧達究神廟 · 萨·达究神庙 |
What should you bring?
Nothing is mandatory — no rune, ability, or key item gates this trial. A torch or a low-level wooden weapon (which you can light and carry like a torch) makes it faster, and a decent stock of arrows is also handy for shooting hanging lanterns down from a safe distance. You will have to fight one Guardian Scout II, so bring a weapon in serviceable condition.
Video walkthrough

How do you solve Sah Dahaj Shrine?
The trial spans three connected rooms, and one idea runs through all of them: leafy vines block every route, and fire — from the fallen torch, dropped lanterns, or your own torch — burns them away to reveal passages and destroy the two crates holding the stone slab.
1. Burn through the first vine wall
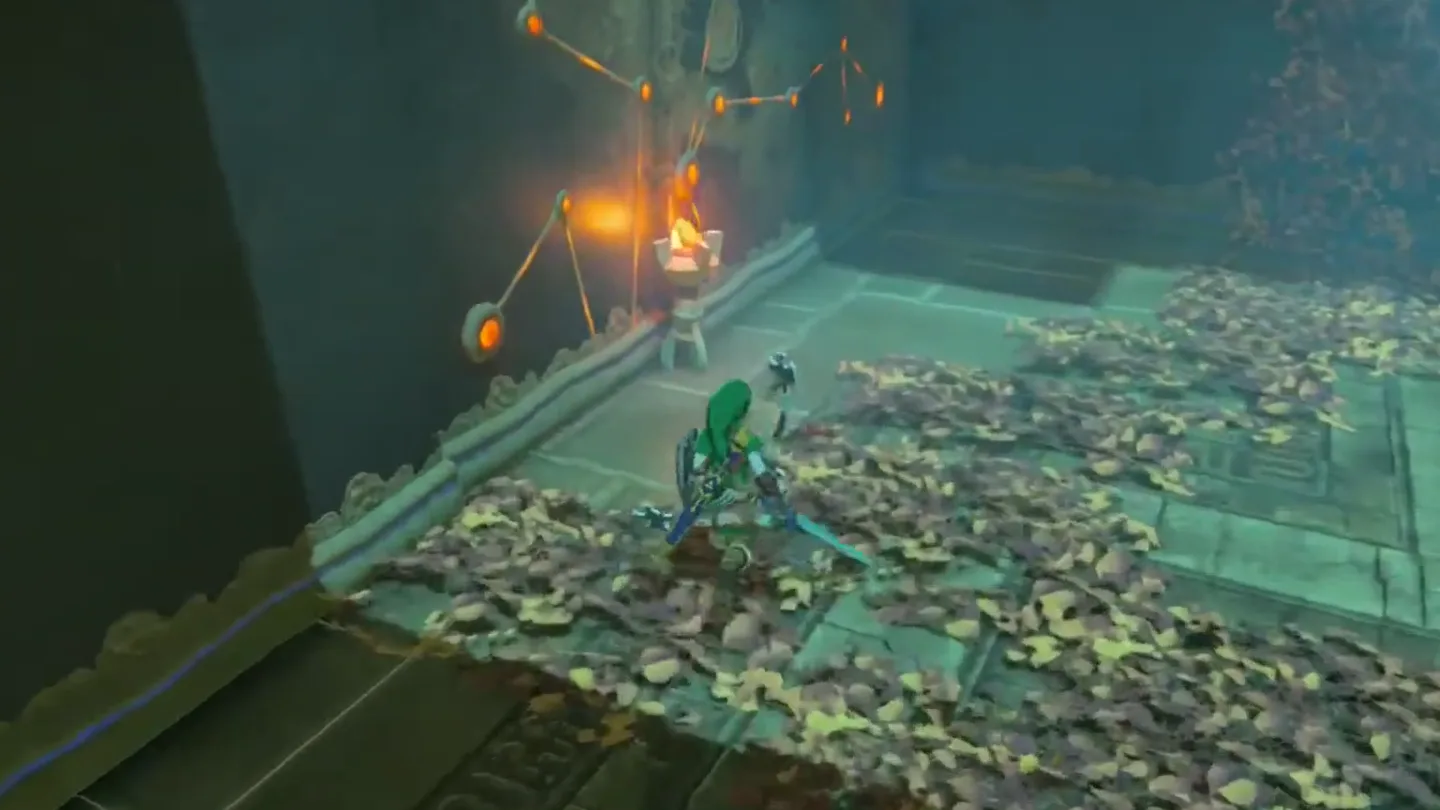
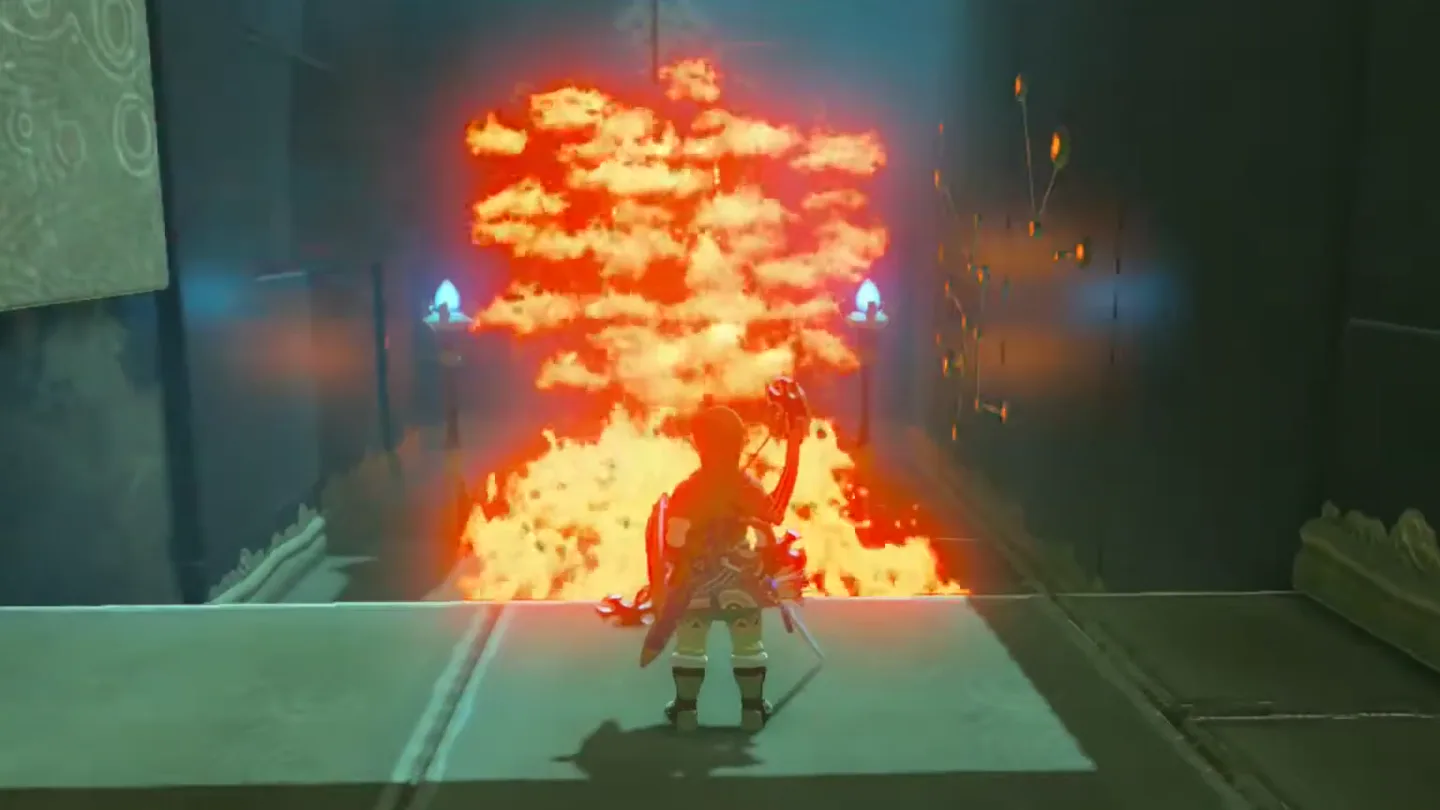
Enter the shrine and size up the first room: a wall of leafy vines conceals a passage in the wall to the next room, and two torches sit among the leaves — the lit one on the left has toppled over.
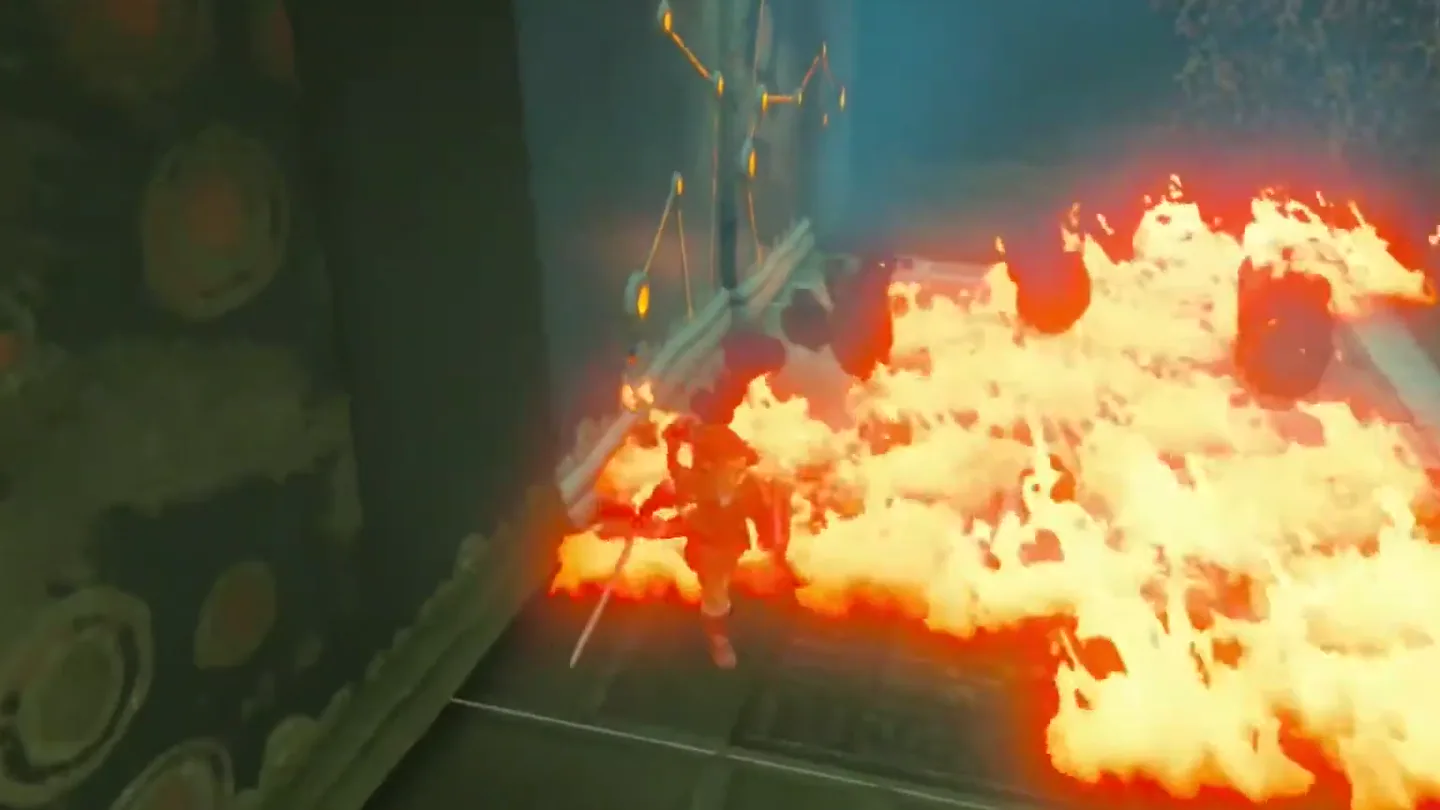
Strike the fallen lit torch with any weapon so it tumbles into the vines; the leaves catch fire and burn away, exposing the opening into the second room.
2. Defeat the Guardian Scout II
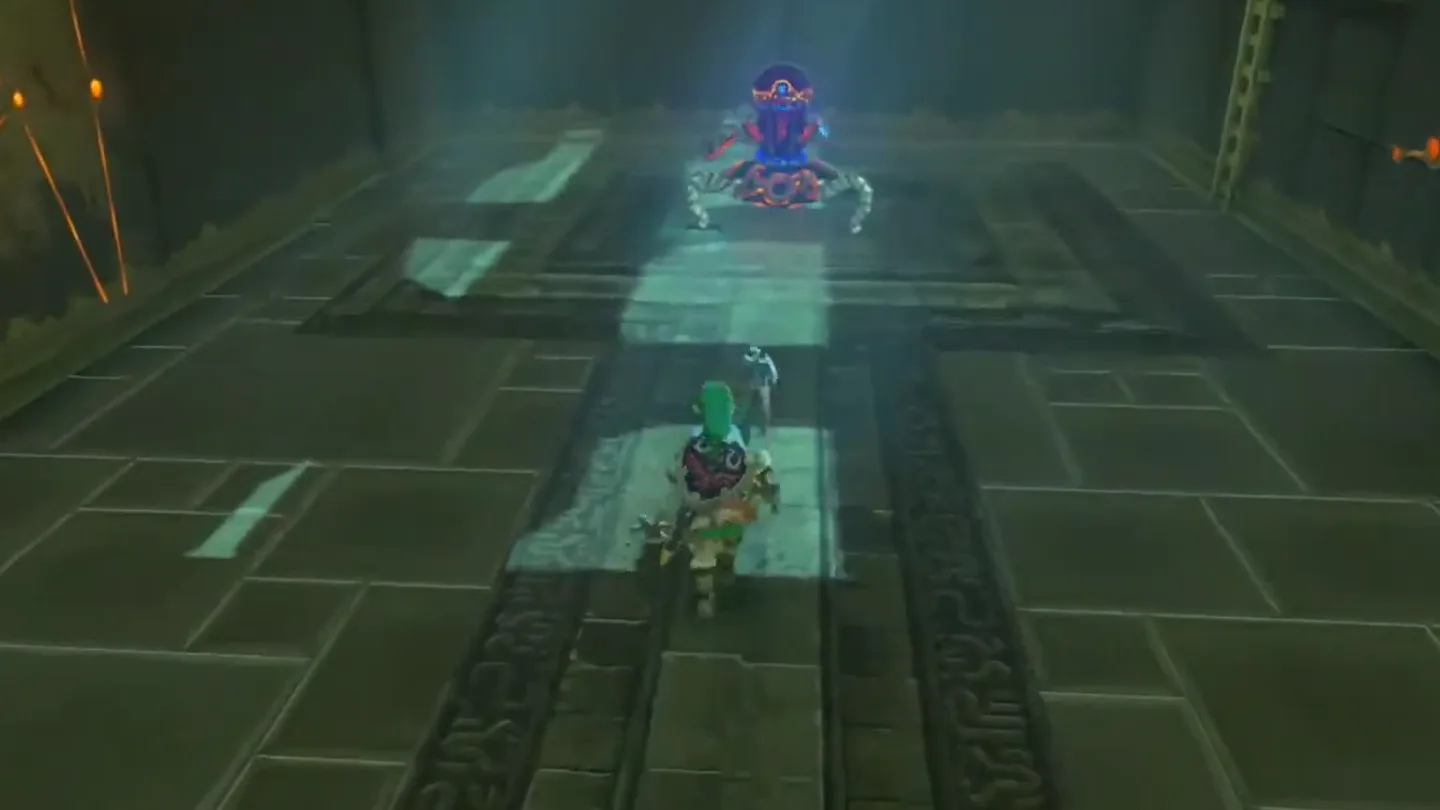
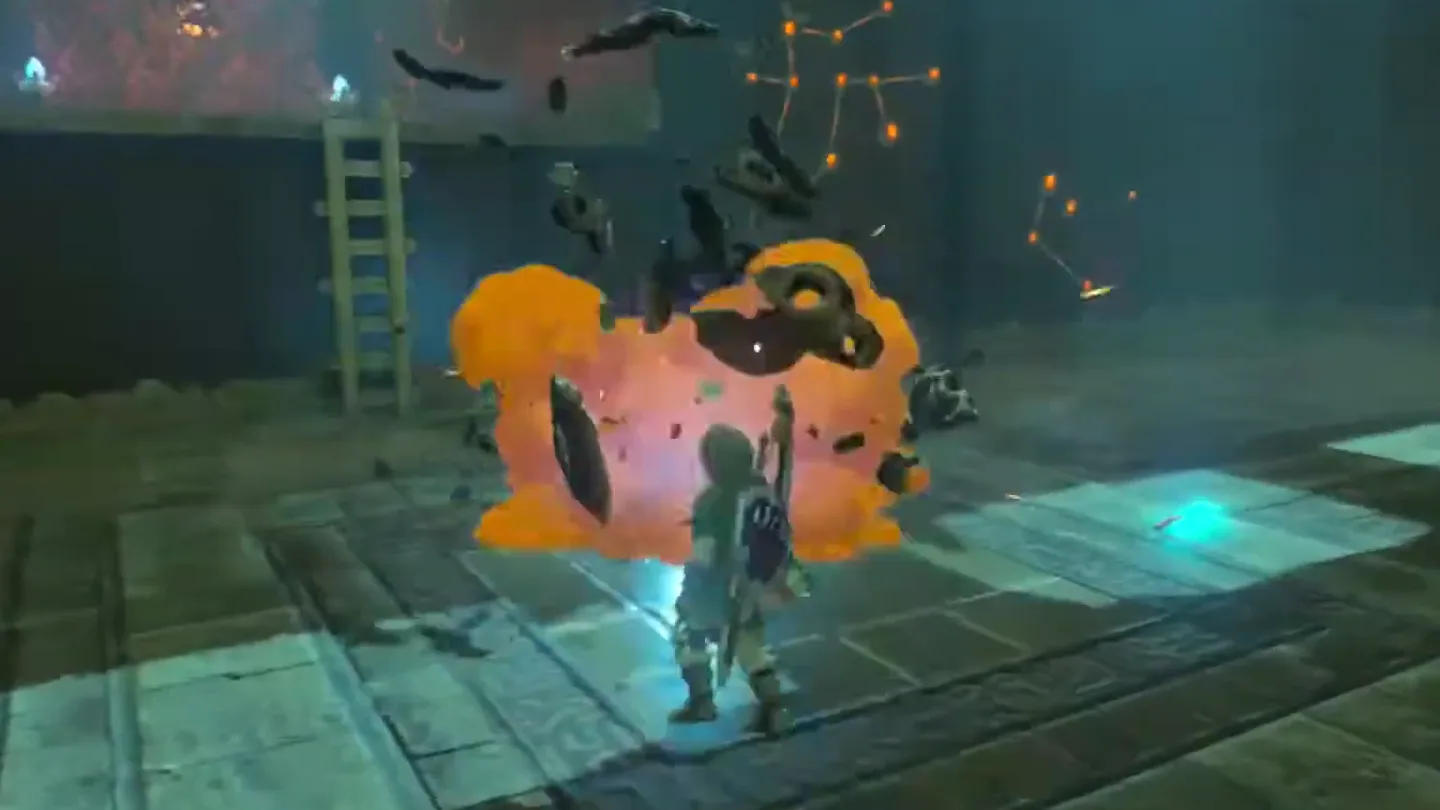
Head through and deal with the Guardian Scout II guarding the ladder into the third area — it wields a Guardian Sword, so take it out before puzzling.
3. Cut the rope to burn the second vine wall
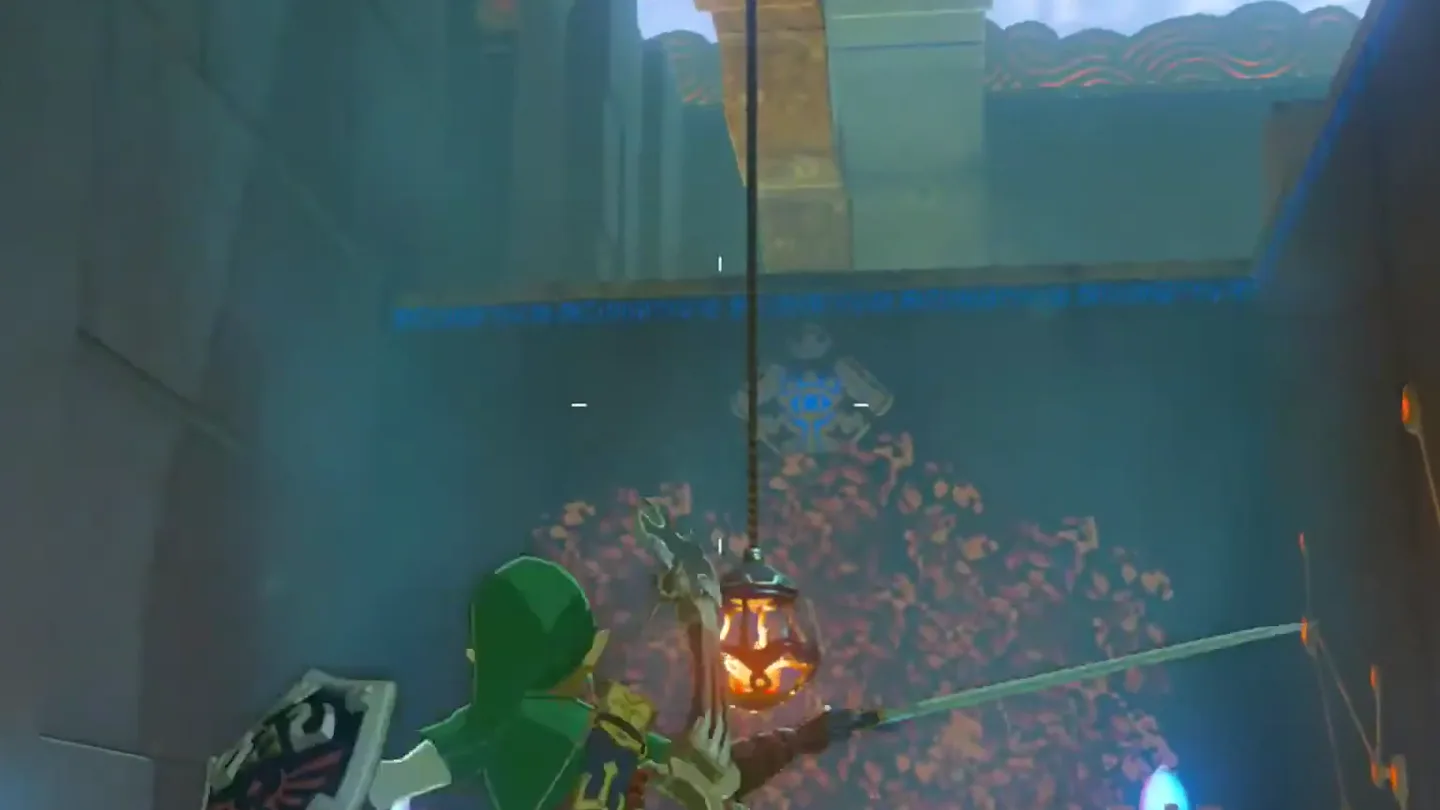
Now find the corner where another wall of vines blocks the route, with a fire lantern dangling overhead on a rope.
Snap the rope — shoot the cord with an arrow, or strike it in melee if you can reach it — so the lantern drops into the leaves, ignites them, and burns the vines away to reveal the passage.
Climb the ladder into the third and final chamber.
4. Burn the supports to drop the stone slab
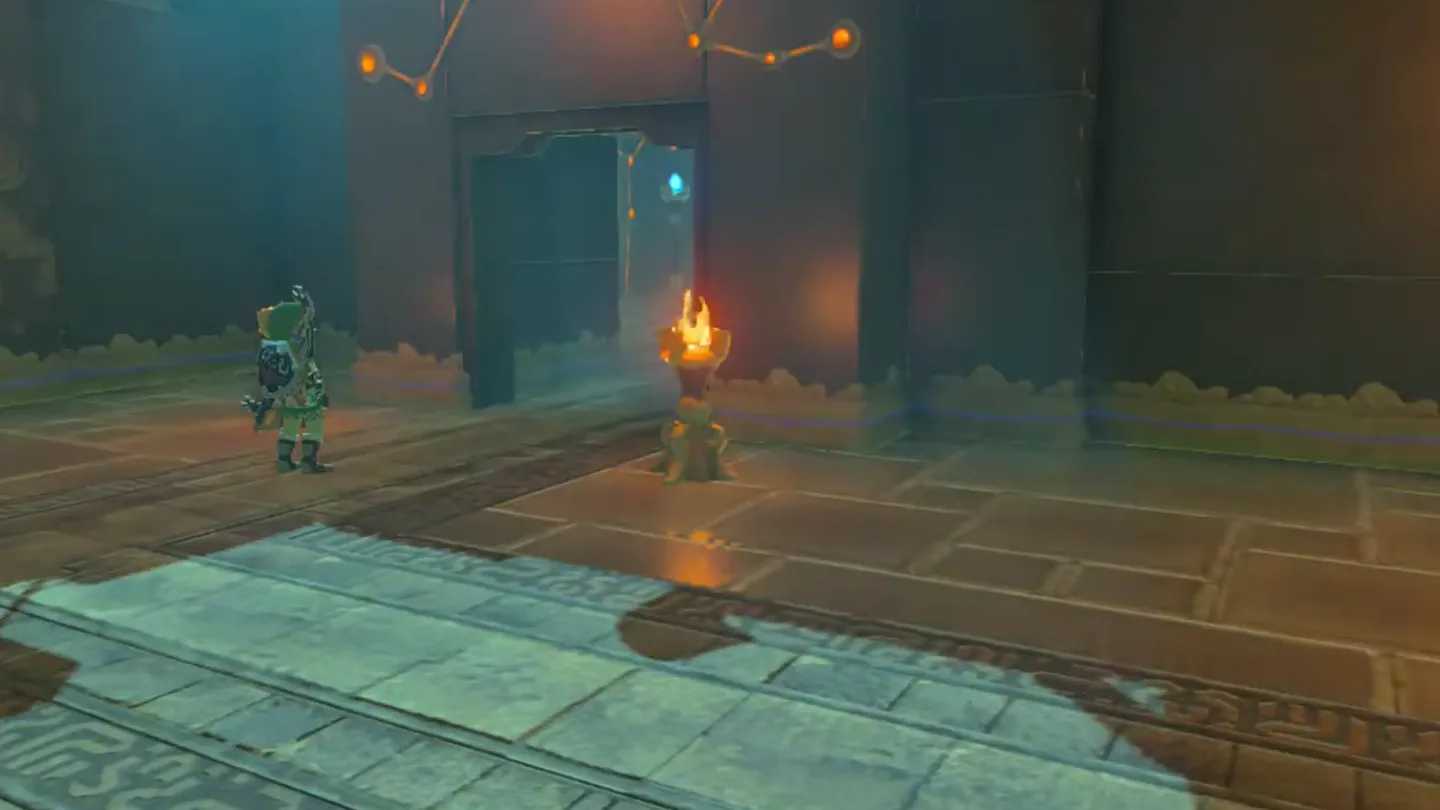
Read the room: straight ahead is a sealed door; behind the bars of a cell sits a floor switch with a stone slab suspended above it from two wooden crates, one behind each side of a fence; off to the right, in the room before the Monk’s Pedestal, a treasure chest rests on a vine-wrapped wooden platform.
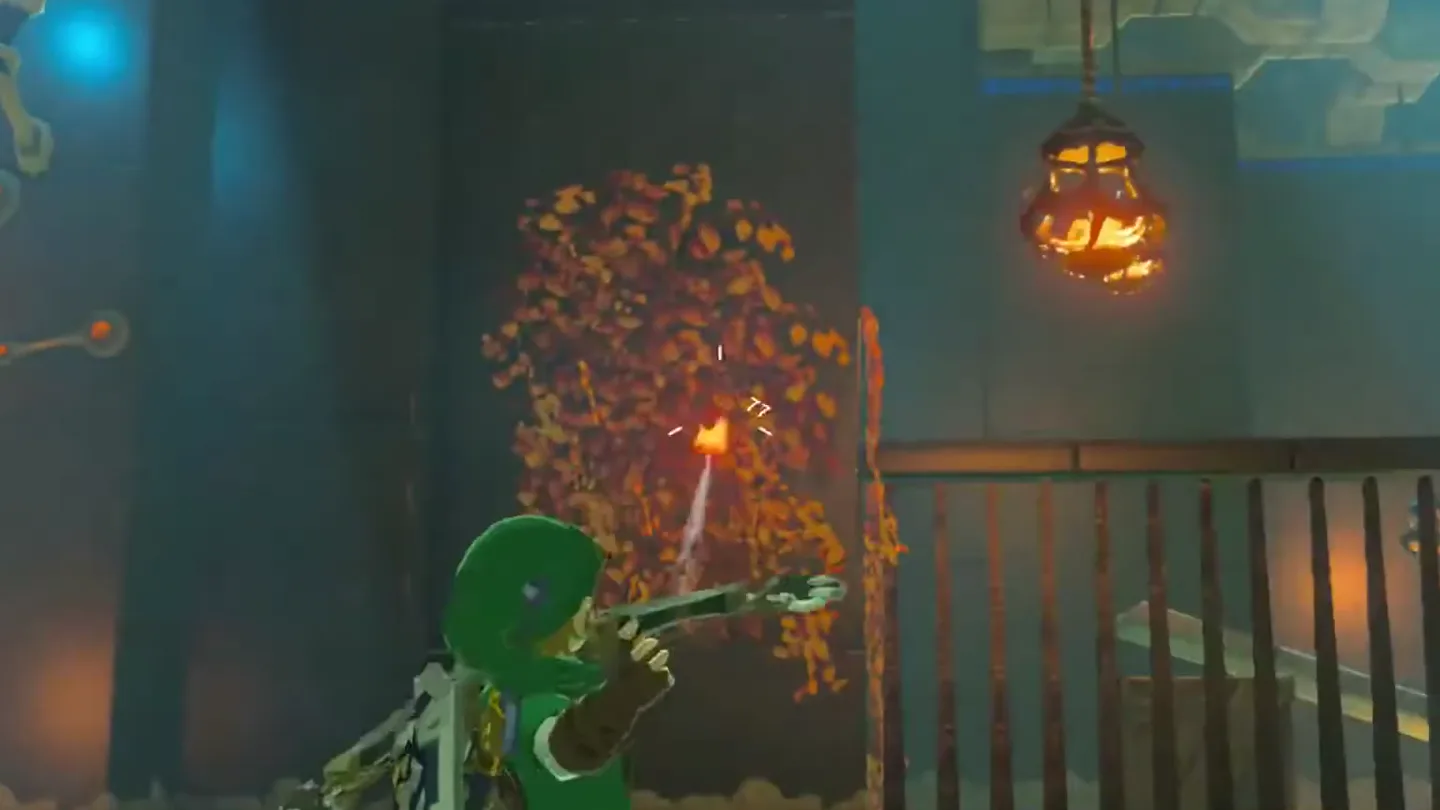
Grab the chest first: set the leaves beneath the wooden platform alight — shoot a fire lantern down onto them, or light a torch at a nearby flame and walk it up the leaves on the wall. The platform burns through and the chest drops down for you to open.
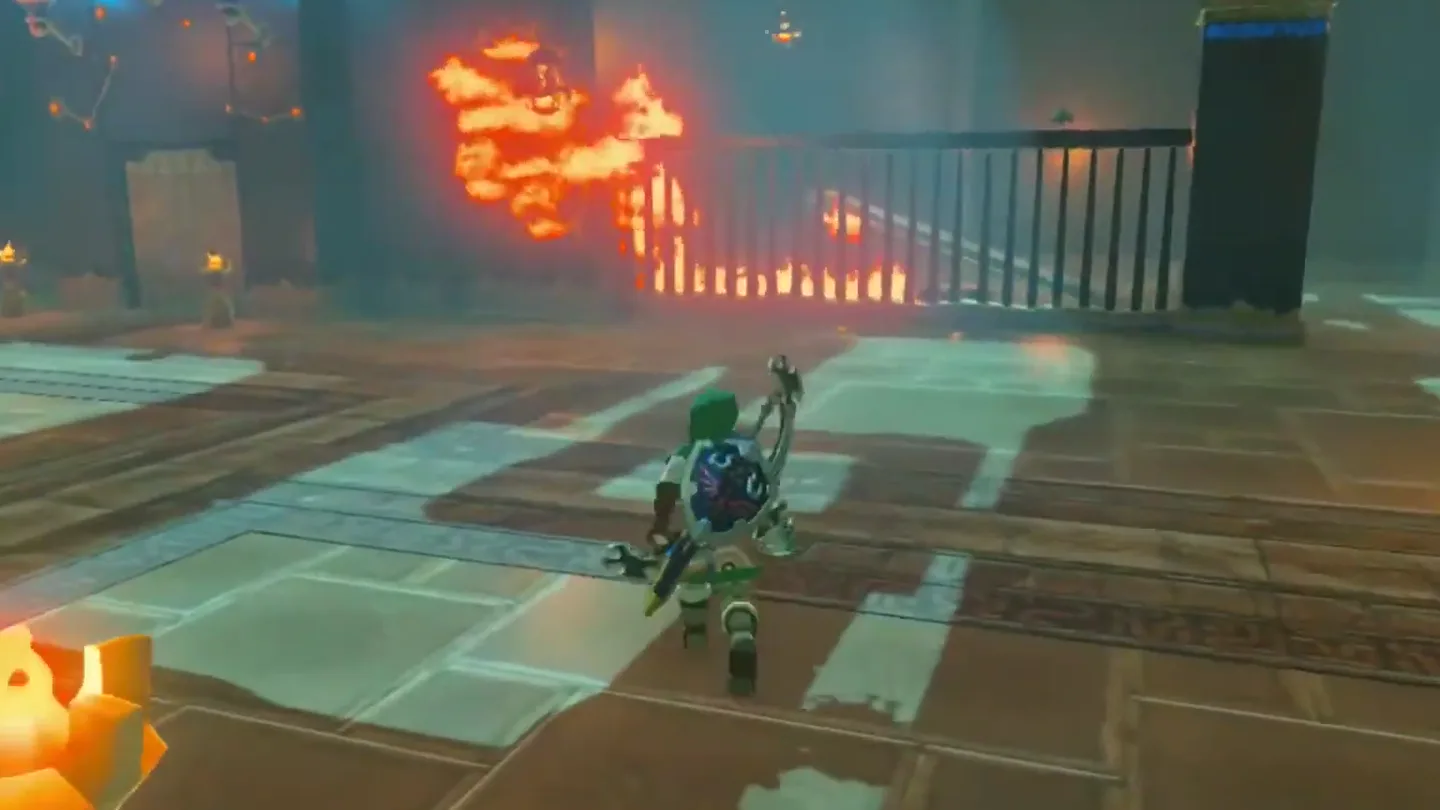
Move to the left side of the fence and light its leaves — by shooting the lantern on that side down, or with your lit torch — so the flames creep back and consume the wooden crate behind the fence, dropping the stone slab toward the button.
Repeat the process on the right side, burning that patch of leaves until the second wooden crate is destroyed.
With both crates gone, the stone slab falls onto the floor switch, and the sealed door ahead opens.
5. Receive the Spirit Orb
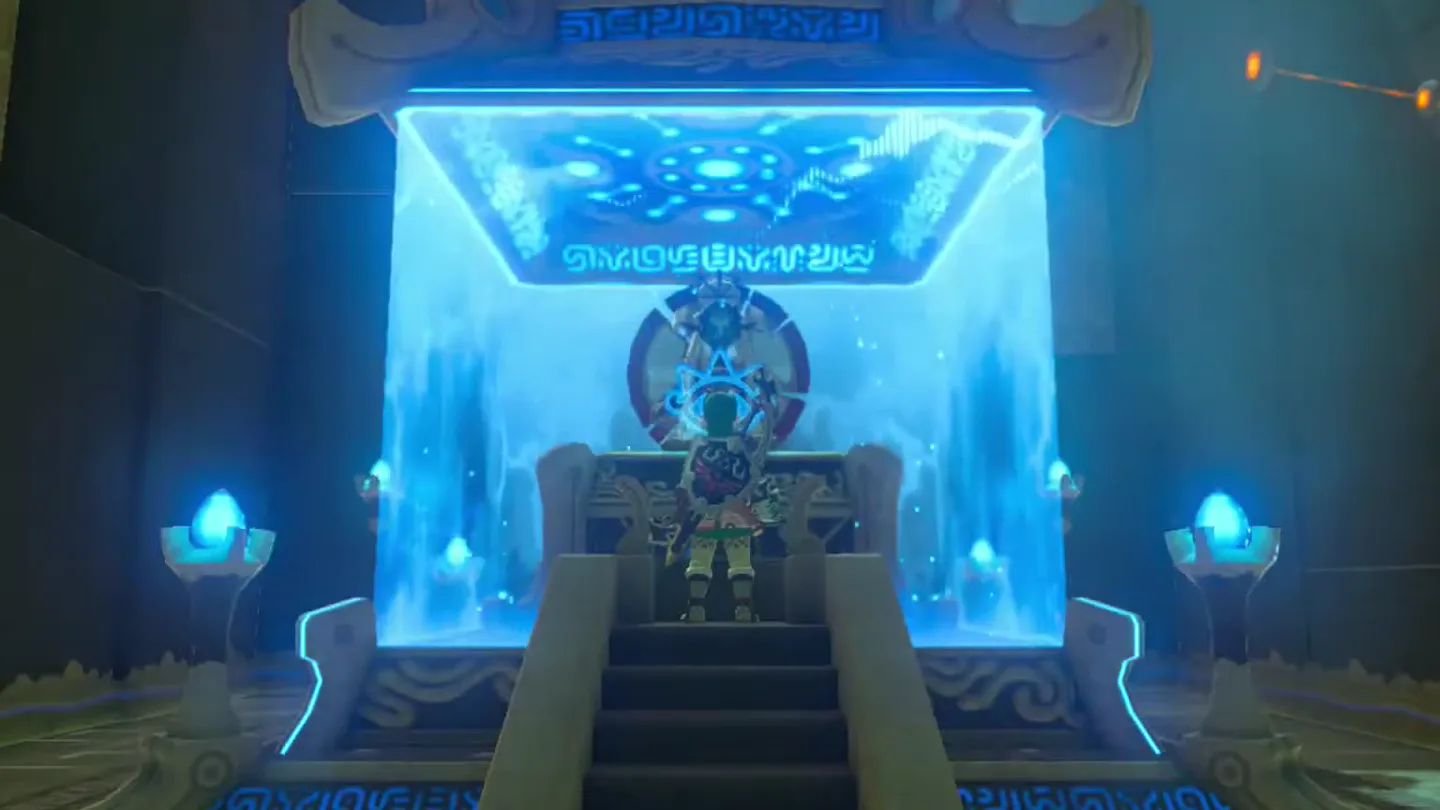
Walk through to the Monk’s Pedestal and speak with Sah Dahaj; he bestows a Spirit Orb, wishes you well, and fades away.
What is in the chest?
| Chest | Contents | How to get it |
|---|---|---|
| 1 | Knight’s Bow | In the final chamber, before the Monk’s Pedestal, the chest sits on a wooden platform to the right. Burn the leaves beneath the platform — drop a fire lantern onto them or carry a lit torch up the leaves on the wall — so it gives way and the chest falls within reach. |
What do people miss here?
- The Knight’s Bow chest is the big miss: it sits on a wooden platform to the right of the final chamber and only drops after you burn the leaves underneath — many players beeline to the switch puzzle and leave without it.
- If the stone slab won’t drop, one crate survived. Fire has to travel all the way along the leaves to the crate behind the fence — check both the left and right sides and relight whichever patch didn’t fully catch.
- You can do the whole shrine without a torch or arrows: the fallen torch in room one is moved with plain weapon swings, and the hanging lantern’s cable can be snapped by striking it. Those items just speed things up.
- Don’t underestimate the Guardian Scout II in room two — it guards the ladder into the third area and won’t move aside. Fight it with a decent weapon, or keep your distance and pepper it with arrows if your melee gear is fragile.
- Can’t find the shrine at the lake? It’s hidden in a gorge directly north of Cephla Lake — step away from the shoreline and look for the canyon cut into the rock.
What else is nearby?
| Shrine | Direction | Straight-line distance | Region |
|---|---|---|---|
| Ze Kasho Shrine | east | 372 | Akkala |
| Mo’a Keet Shrine | south | 418 | Eldin |
| Tah Muhl Shrine | southwest | 735 | Eldin |
Which guides help next?
FAQ
Do I need a torch or arrows for the Sah Dahaj Shrine?
What's in the Sah Dahaj Shrine chest?
Is there a shrine quest required to unlock Sah Dahaj?
Why isn't the gate opening after I burned the crates?
Can I come back later for the chest if I missed it?
Related Articles
guides
Breath of the Wild Captured Memories: All 13 Locations and Rewards
All 12 photo locations from Zelda's album plus the 13th memory in Impa's painting, with coordinates, nearby shrines, the Champion's Tunic and the extra ending scene.
guides
Breath of the Wild Great Fairy Fountains: Locations, Costs and Horse God
Where the four Great Fairy Fountains and the Horse God Malanya are in Breath of the Wild, what each fairy costs to release, and how many you need per armor upgrade.
guides
Hyrule Castle Walkthrough: Entry Routes, Hylian Shield and Final Prep
How to get into Hyrule Castle in Breath of the Wild: five entry routes, the Hylian Shield and other loot by room, and what to prepare before the final battle.
Was this helpful?
Thanks for the feedback!