Daqa Koh Shrine (Stalled Flight) in Eldin: ride the launching stone block, time your Stasis at the peak, glide through the gate, and grab the Silver Rupee chest.
9/22/2026 QuestFern Team Last updated: 9/28/2026 7 min read
Some terrain tiles could not load. Switch to the coordinate grid or retry.
The shrine is located off the Mountain Road to Death Mountain in Eldin (Eldin Canyon), north of Gorko Lake and shortly before the Bridge of Eldin. It is hidden between a pair of rockfaces, so if your Shrine Sensor is going off but you can’t see an entrance, check the narrow gap between the two cliff walls.
Item
Detail
Trial
Stalled Flight
Tower region
Eldin
Map-marker coordinates
2065, 2328, 0611
Shrine quest
None
Chests
1
Names
Daqa Koh Shrine · 達卡‧卡神廟 · 达卡·卡神庙
What should you bring?
No Shrine Quest gates this shrine — you can walk straight in. You do need the Stasis rune and the Paraglider, since the trial is all about paragliding and ends with a Stasis trick. The shrine itself is fairly straightforward; timing is the only thing that might take a couple of tries, so no special weapons, armor, or elixirs are called for.
The trial turns on one trick: the generator on the stone block only meets the ceiling connector at the very top of each launch, so you must freeze the block with Stasis at that exact instant to hold the exit gate open.
1. Observe the Mechanism
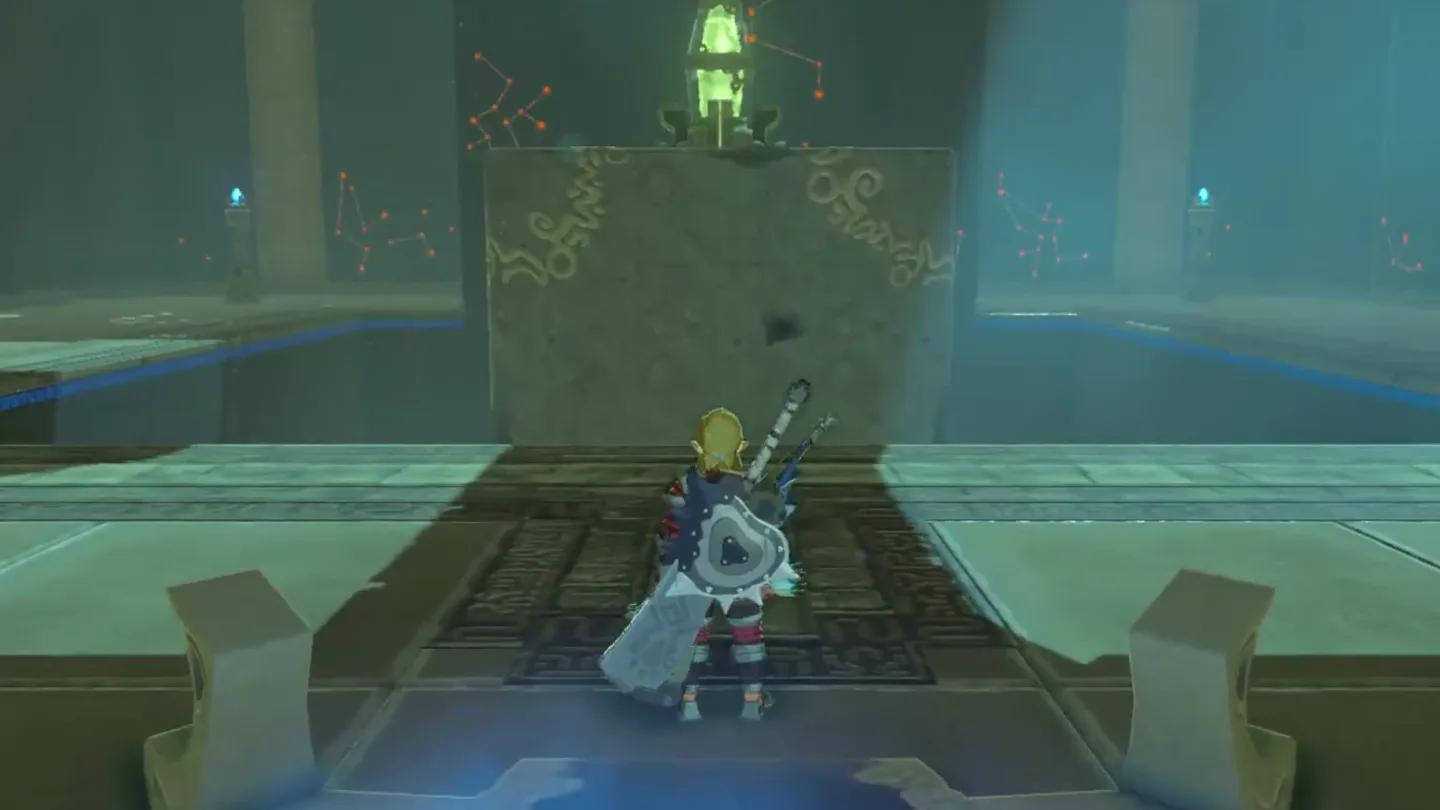
Walk in and take stock: a massive stone block sits in the center of the room with an electric generator mounted on top, and an electric connector hangs from the ceiling directly above it. The monk Daqa Koh greets you as you enter.
Spot the raised cell behind bars — the Monk’s Pedestal waits inside. The bars only open while the block’s generator is connected with the ceiling connector, and the connection is cut shortly after as the stone block falls.
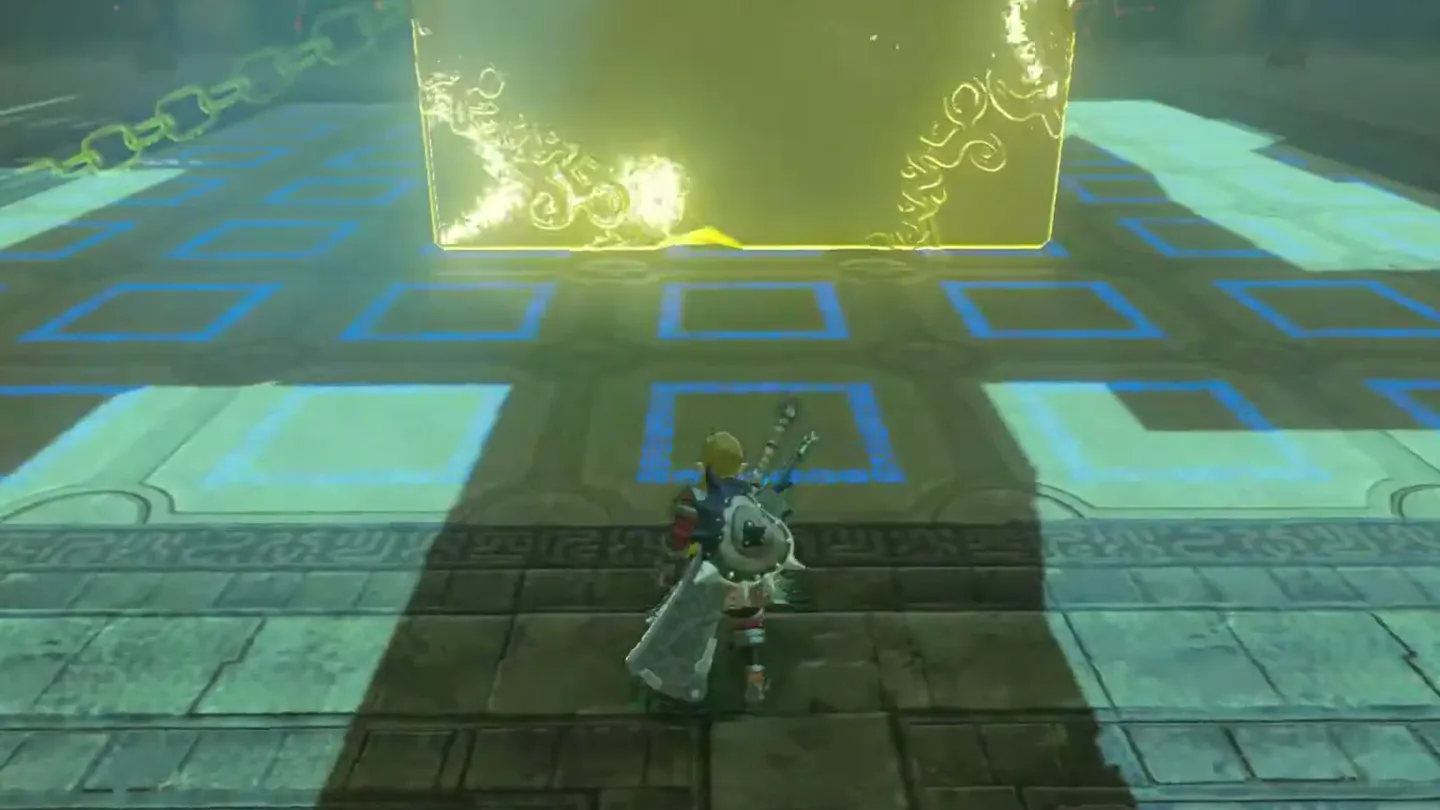
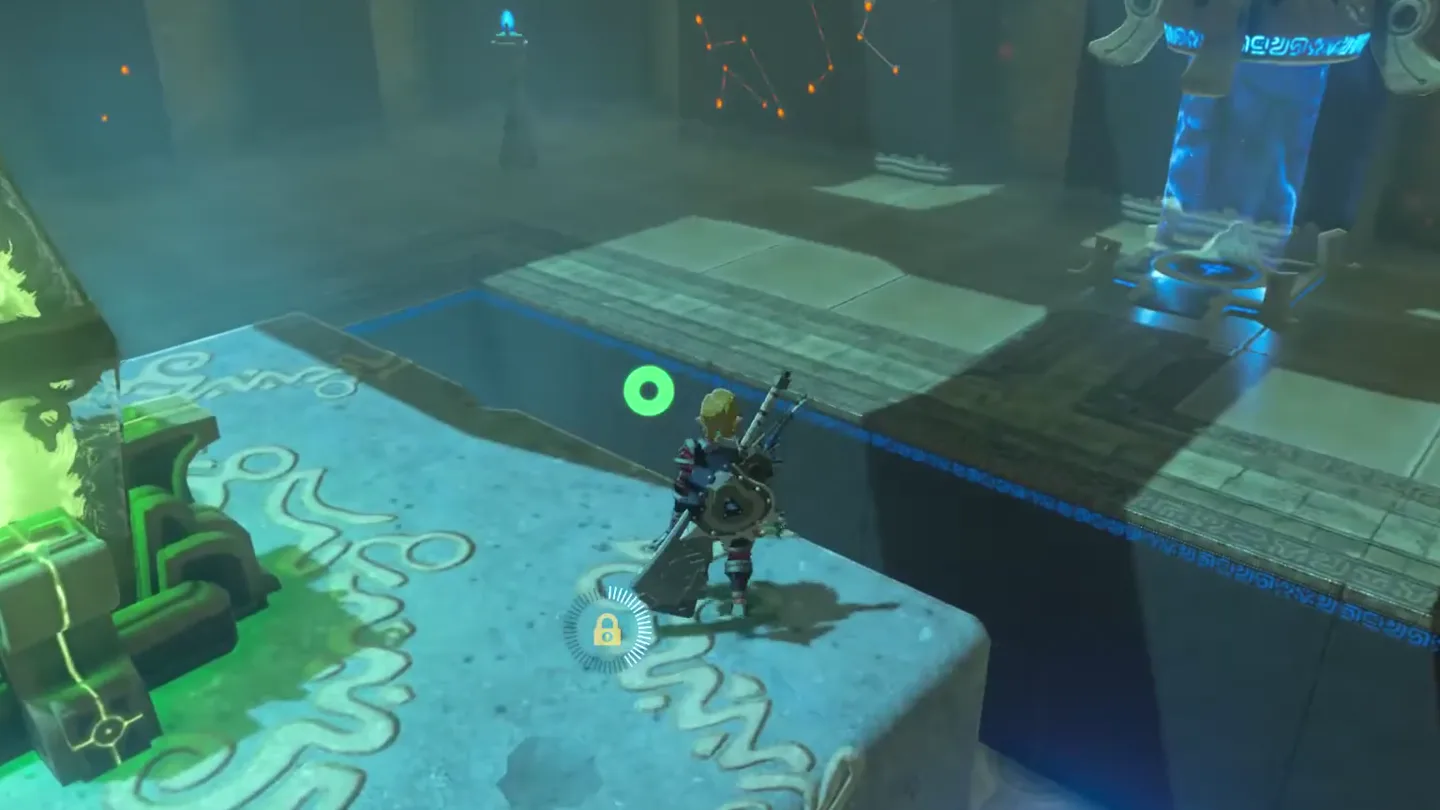
Watch one full cycle from the floor: glowing blocks beneath the stone block push it upward at stalled intervals; when it hits the highest point of its ascent, the gate to the end of the shrine momentarily opens, then the block falls and the bars close again.
The massive stone block ① in the middle carries generator ② that must reach the ceiling connector. Screenshot (cropped) from 1upPHIL
· CC BY Watch one cycle: the block is pushed up in stalled bursts, and the gate opens only at the top. Screenshot (cropped) from 1upPHIL
· CC BY
2. Launch onto the Block
Step into the hole beneath the stone block and stand on the bottom platform you find there.
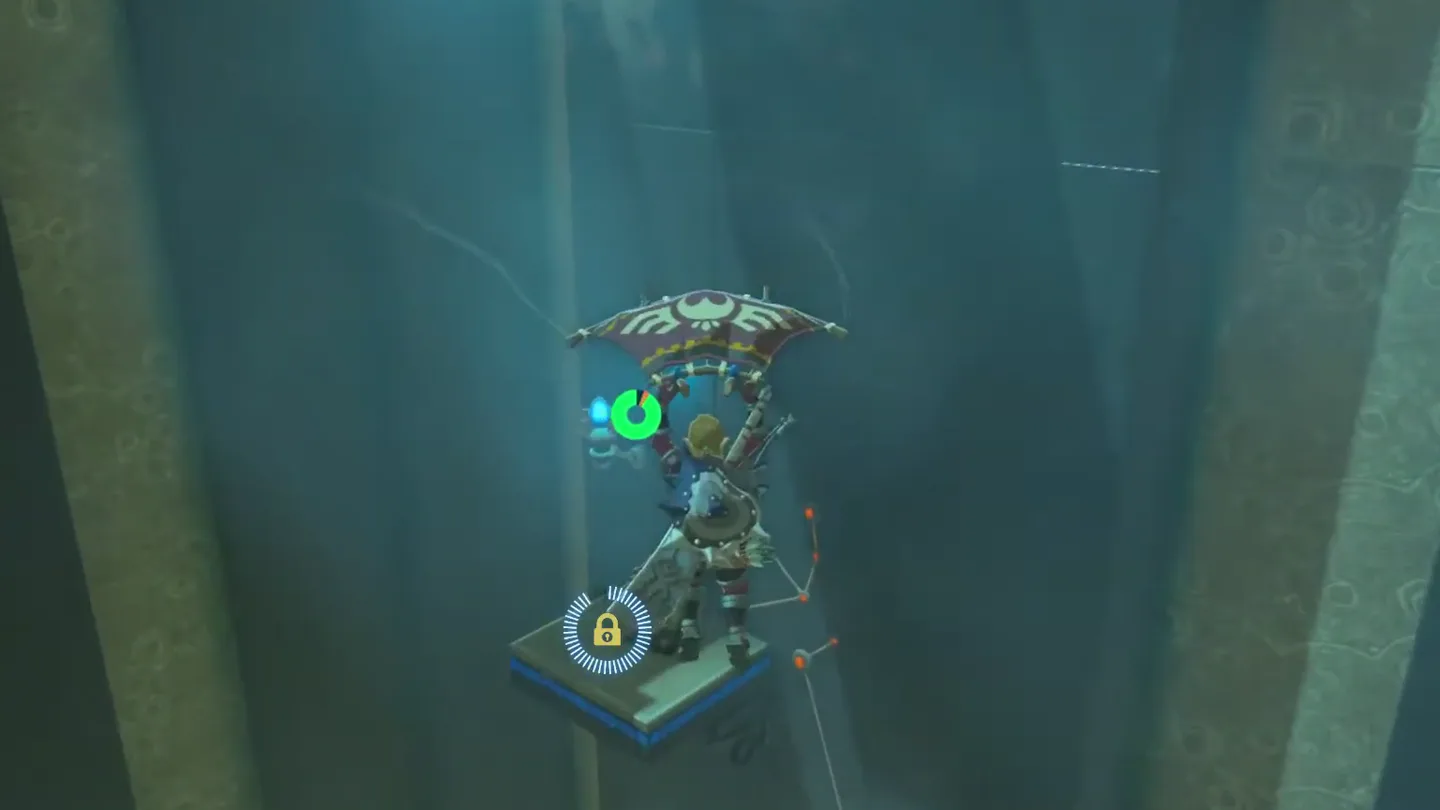
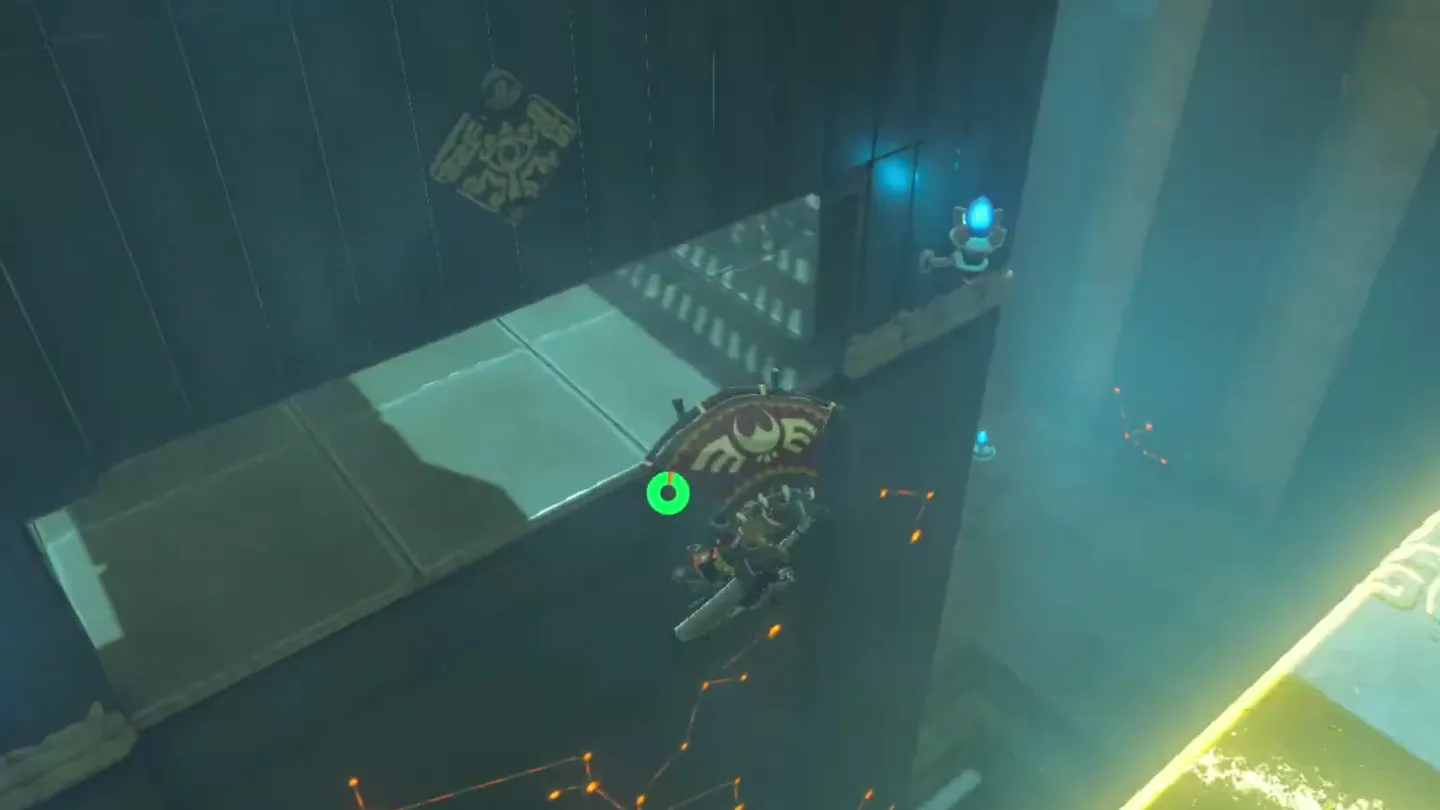
The platform flings you into the air — open your Paraglider and steer onto the top of the stone block.
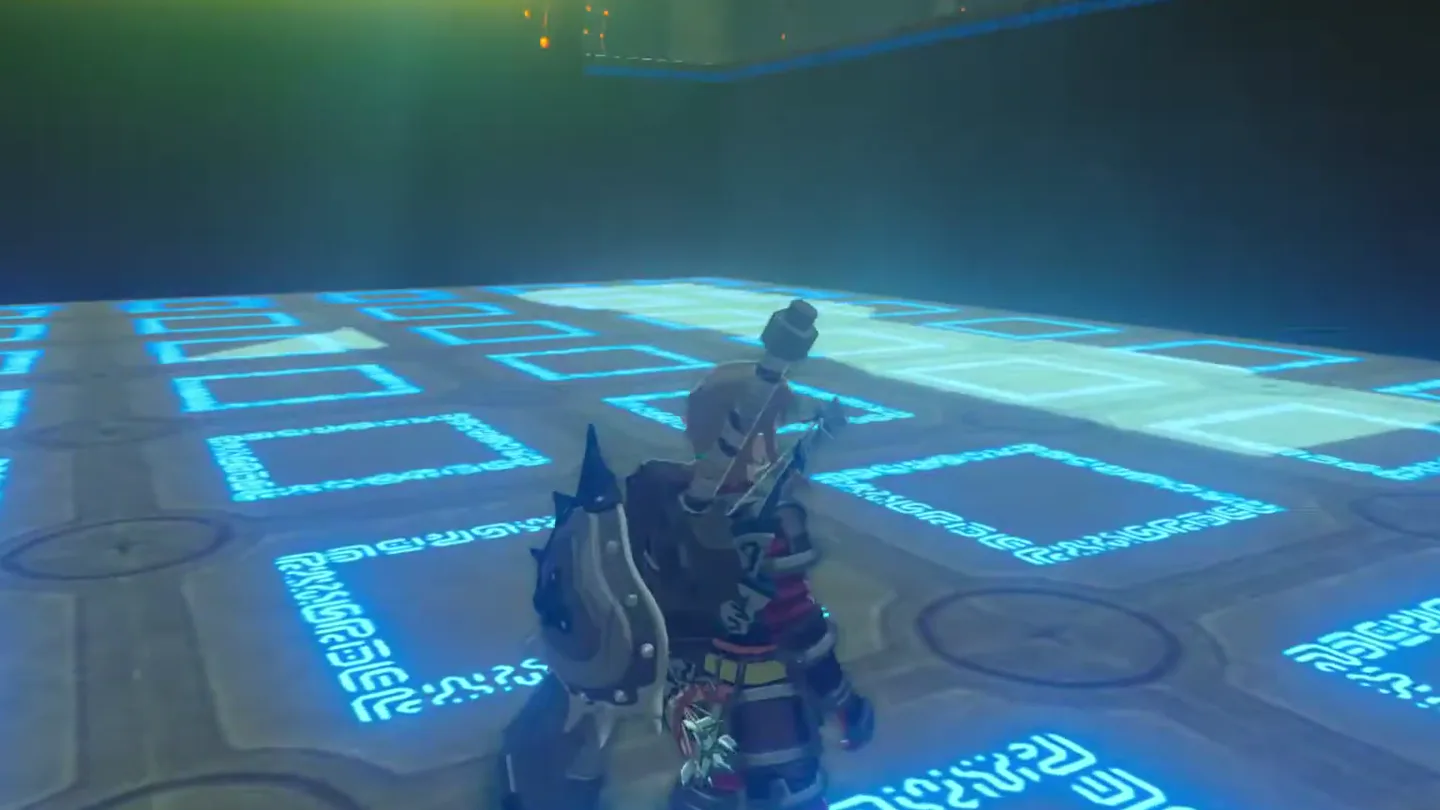
Ride the block as the glowing blocks push it up toward the ceiling.
Step into the hole under the block and stand on bottom platform ①. Screenshot (cropped) from 1upPHIL
· CC BY The platform flings you up; open the Paraglider and steer onto the block. Screenshot (cropped) from 1upPHIL
· CC BY Ride the block as it is pushed up toward the ceiling. Screenshot (cropped) from 1upPHIL
· CC BY
3. Collect the Treasure Chest
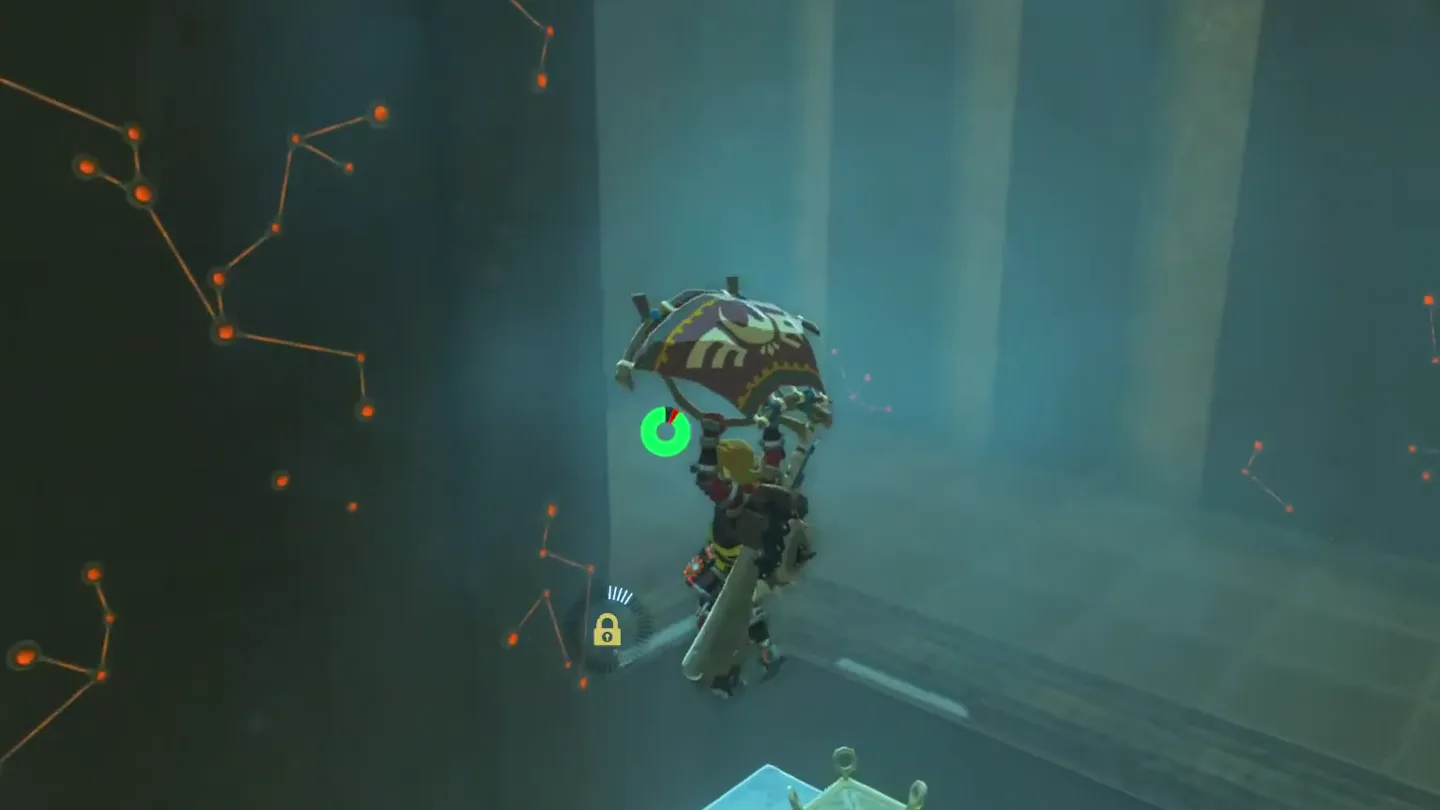
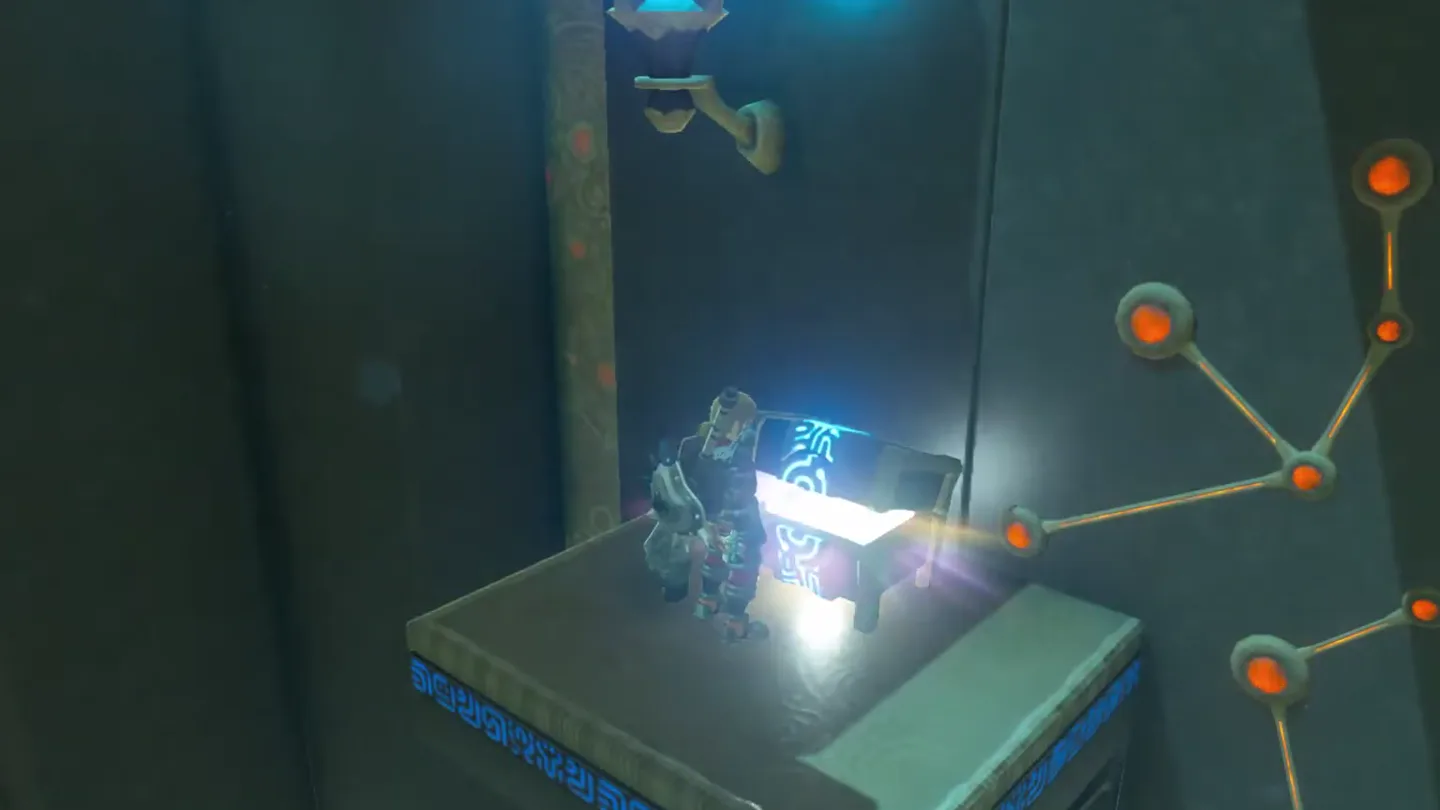
Before finishing, grab the treasure: when the block reaches its highest point, glide off toward the suspended platform in the corner of the room against the back wall and open the Treasure Chest for a Silver Rupee (worth 100 Rupees).
At the block’s highest point, glide to suspended platform ① in the corner. Screenshot (cropped) from 1upPHIL
· CC BY Open the chest for a Silver Rupee. Screenshot (cropped) from 1upPHIL
· CC BY
4. Freeze the Block and Enter
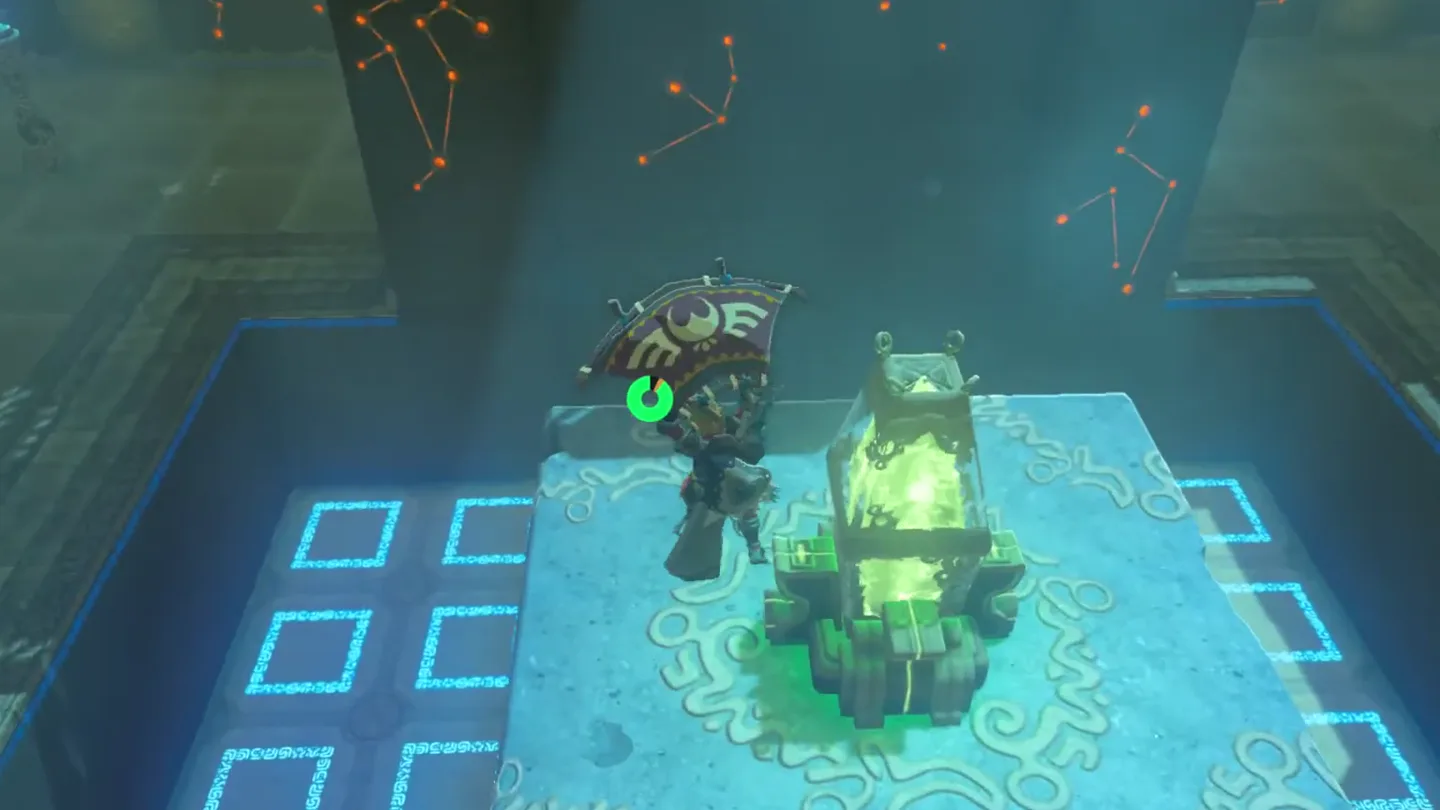
Drop back down to the floor and repeat the launch — bottom platform, fling, paraglide onto the block — to regain the top of the cube.
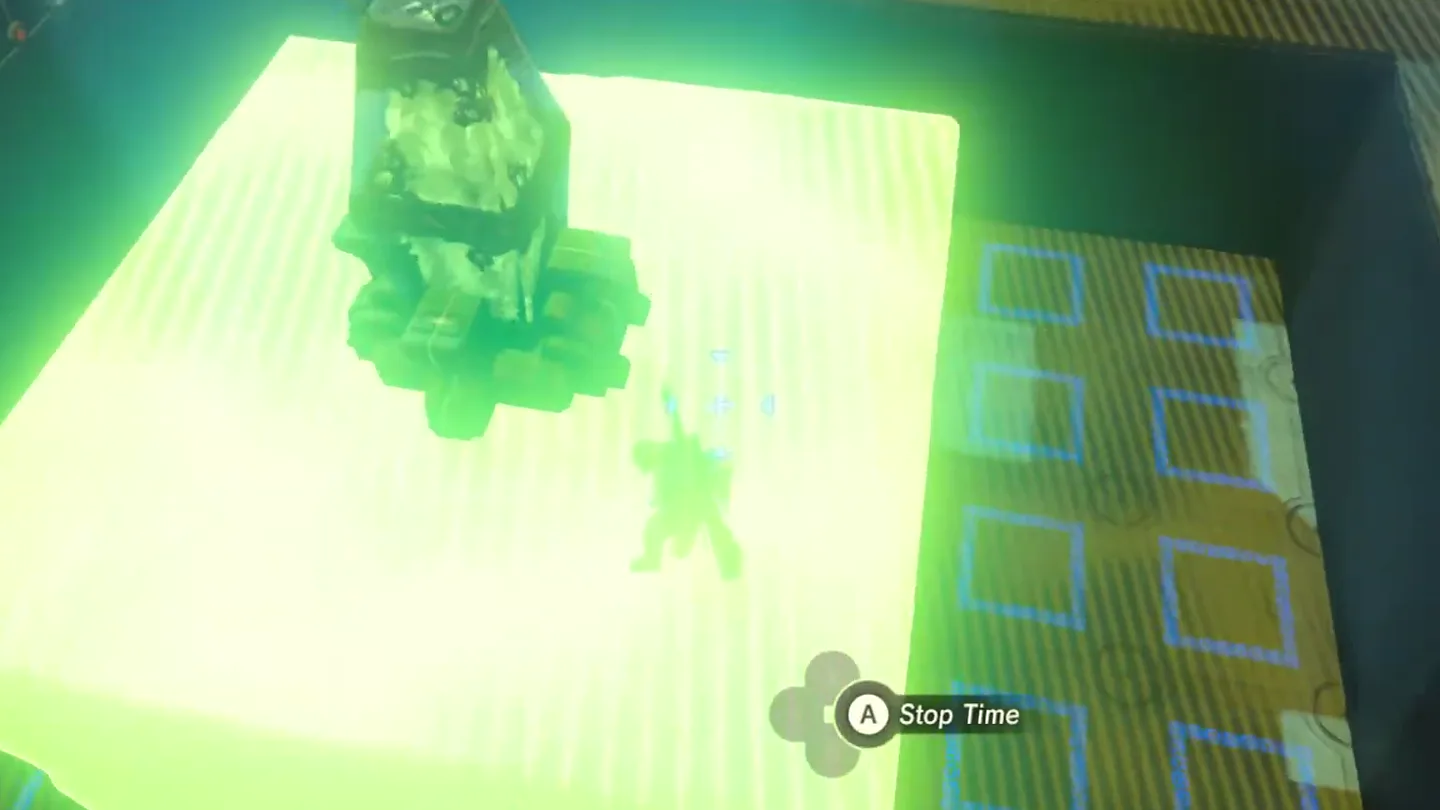
Wait on top of the block for the next ascent and cast Stasis on the stone block at the exact moment the generator connects with the ceiling connector at the top of its rise.
With the block frozen at its peak, the bars stay open — paraglide down into the raised cell before Stasis wears off.
Repeat the launch and glide back onto the top of the block. Screenshot (cropped) from 1upPHIL
· CC BY At the top of the rise, as the generator connects, cast Stasis on block ①. Screenshot (cropped) from 1upPHIL
· CC BY With the block frozen and the bars open, glide down into the raised cell. Screenshot (cropped) from 1upPHIL
· CC BY
5. Complete the Shrine
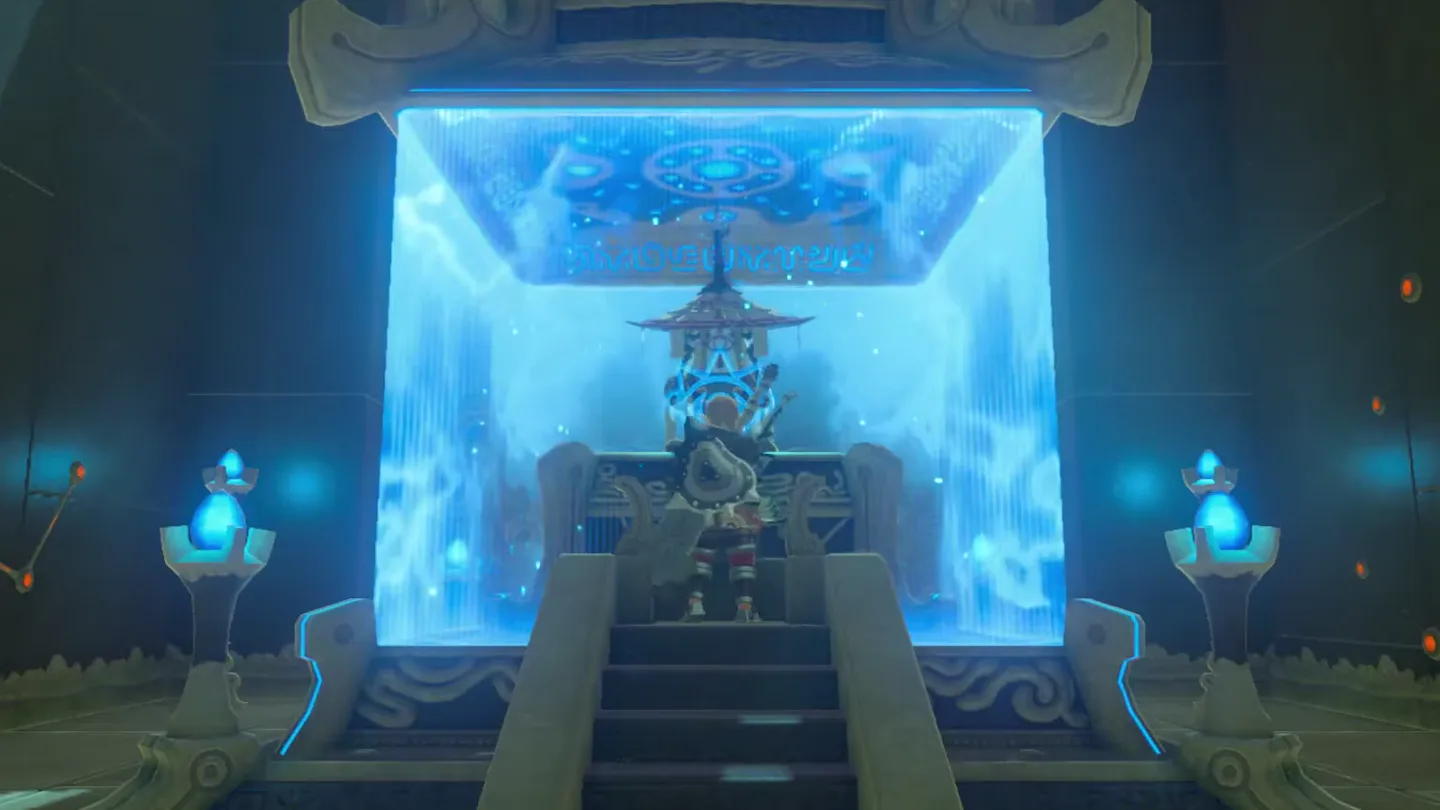
Approach the pedestal: Daqa Koh commends you for overcoming the trial and gives you a Spirit Orb, then wishes you well and fades away.
Approach the pedestal; Daqa Koh gives you a Spirit Orb. Screenshot (cropped) from 1upPHIL
· CC BY
What is in the chest?
Chest
Contents
How to get it
1
Silver Rupee
The chest rests on a suspended platform in the corner of the room, against the back wall. Glide to it from the stone block when the block is at the highest point of its launch.
What do people miss here?
The chest is the classic miss: it sits on a suspended platform in the corner, well off your line to the exit. Glide from the block at its peak to reach it — if you finish without it, you can re-enter the shrine and run the launch again.
Stasis timing may take a couple of tries to get right. Cast it too early or too late and the bars close before you can glide in; just ride the block back down and wait for the next cycle.
After looting the chest you cannot simply continue from the suspended platform — repeat the whole launch process (bottom platform, fling, paraglide) to get back on top of the cube.
Even without Stasis, the gate flickers open for a moment each time the block peaks — watch that instant to learn the connection timing before committing your Stasis cast.
Stand on top of the stone block and cast Stasis on it the moment its generator connects with the ceiling connector at the top of the launch. The frozen block holds the connection, so the bars stay open long enough to paraglide into the raised cell.
Where is the chest in Daqa Koh Shrine?
It's on a suspended platform in the corner of the room, against the back wall. Glide from the stone block when it reaches its highest point to land next to it. The chest contains a Silver Rupee.
How do I get on top of the stone block?
Stand on the bottom platform in the hole beneath the block. It flings you into the air, and you then paraglide onto the top of the block.
Where is Daqa Koh Shrine located?
In Eldin, off the Mountain Road to Death Mountain, shortly before the Bridge of Eldin and north of Gorko Lake. It's hidden between a pair of rockfaces, so look for the gap between the cliffs.
What do you get for completing Daqa Koh Shrine?
A Spirit Orb from the monk Daqa Koh, plus a Silver Rupee from the chest on the suspended platform if you grab it before you leave.