

Shora Hah Shrine (Blue Flame) Walkthrough — BotW
Complete Blue Flame walkthrough for Shora Hah Shrine: every torch puzzle, the spiked-ball trap, all 6 chests, and the final seven-torch spin.
Where is Shora Hah Shrine?
The shrine is set into the crag of the Isle of Rabac, tucked in a lava lake northwest of Death Mountain’s summit in the Eldin region. From the Abandoned North Mine, take the mine cart along the rail that curves toward the isle — propel it with Remote Bombs — or simply paraglide down to it from a nearby elevated point.
| Item | Detail |
|---|---|
| Trial | Blue Flame |
| Tower region | Eldin |
| Map-marker coordinates | 1536, 3117, 0520 |
| Shrine quest | None |
| Chests | 6 |
| Names | Shora Hah Shrine · 曉拉‧哈神廟 · 晓拉·哈神庙 |
What should you bring?
Bring a Torch — you cannot finish this trial without one (a wooden weapon or a lit arrow also carries the flame) — plus a very healthy stock of arrows, because you’ll be shooting fire-lit arrows at torches several times. Have decent combat gear for seven Guardian Scouts across two fights. Inside the shrine only the Magnesis and Stasis runes are used; Remote Bombs are only needed if you ride the mine cart in.
Video walkthrough

How do you solve Shora Hah Shrine?
The whole trial is about escorting a single blue flame through one massive lava-filled chamber without letting water spouts douse it — carrying it by Torch, relaying it between pedestals, and shooting it onto distant torches with lit arrows.
1. Enter and build the staircase
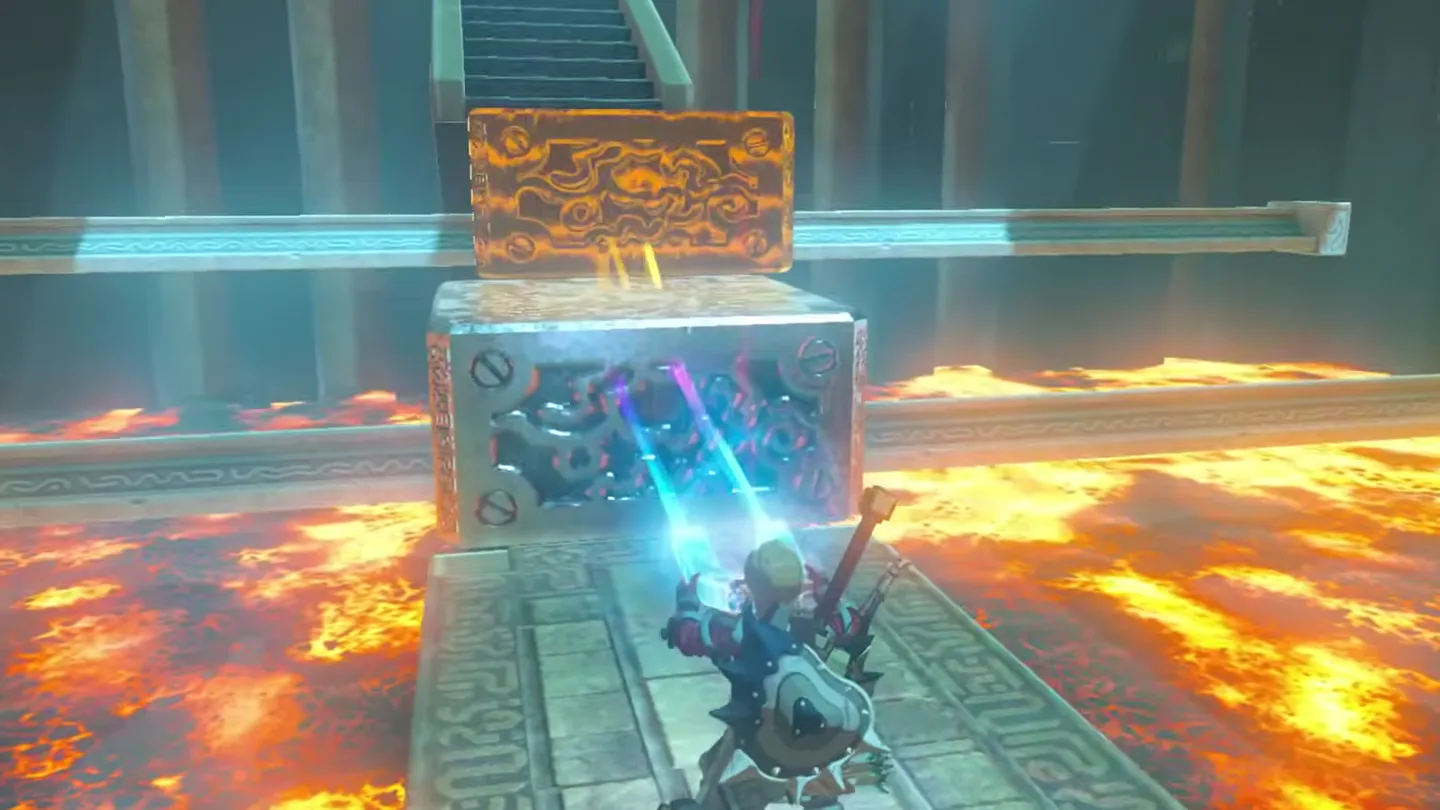
Inside, a metal block lined with floor spikes hangs on vertical rails over the walkway. Use Magnesis to lift the spiked block and keep holding it up while you walk underneath into the main chamber.
Turn left toward two raised platforms: stack the steel blocks on their rail into a staircase with Magnesis and climb up.
2. Carry the blue flame through the shrine
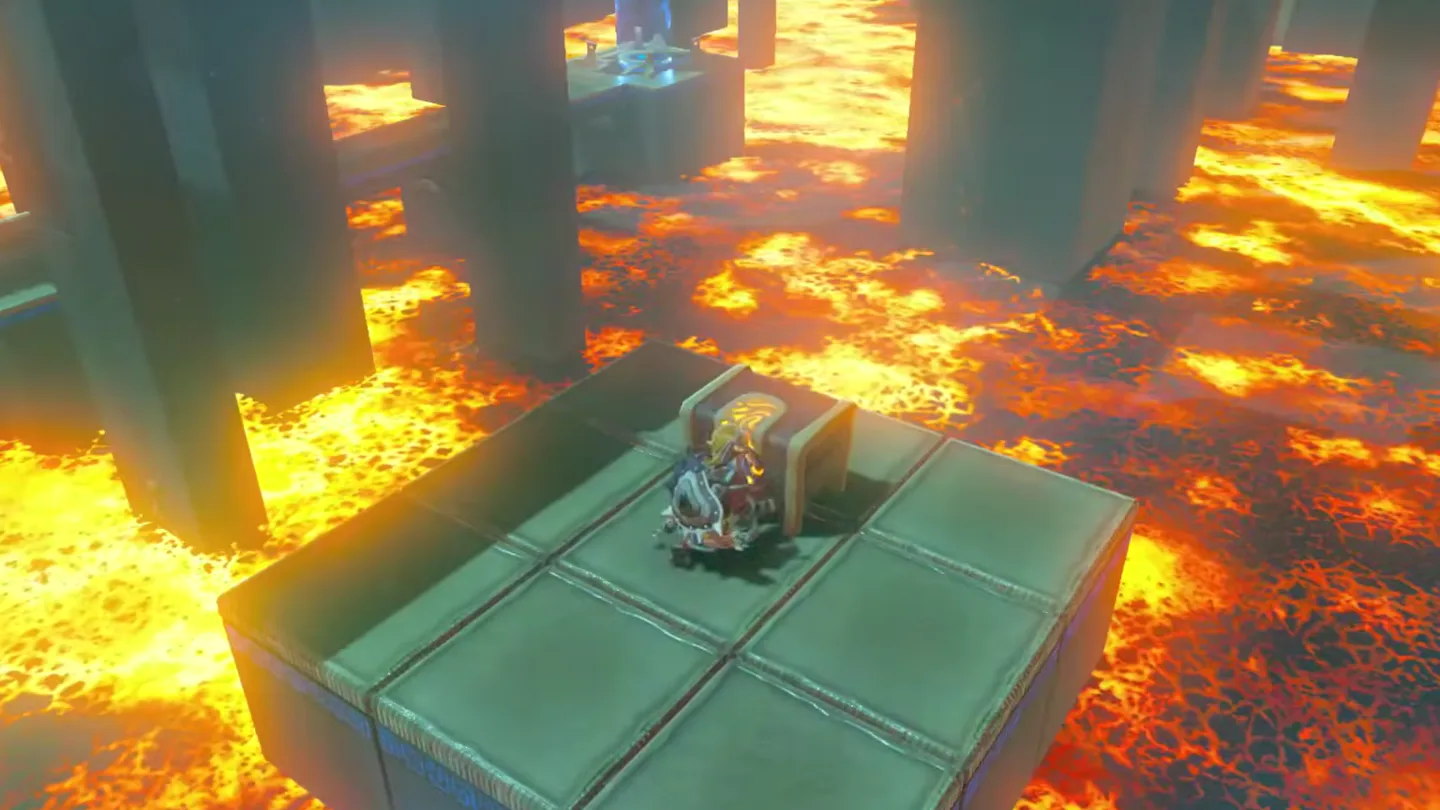
From the top, paraglide to the chest on one platform for a Royal Bow; the other platform holds a lit blue flame pedestal — climb back up and light your Torch at it.
Carry the flame back down and light the unlit pedestal in the main chamber — the barred door ahead opens.
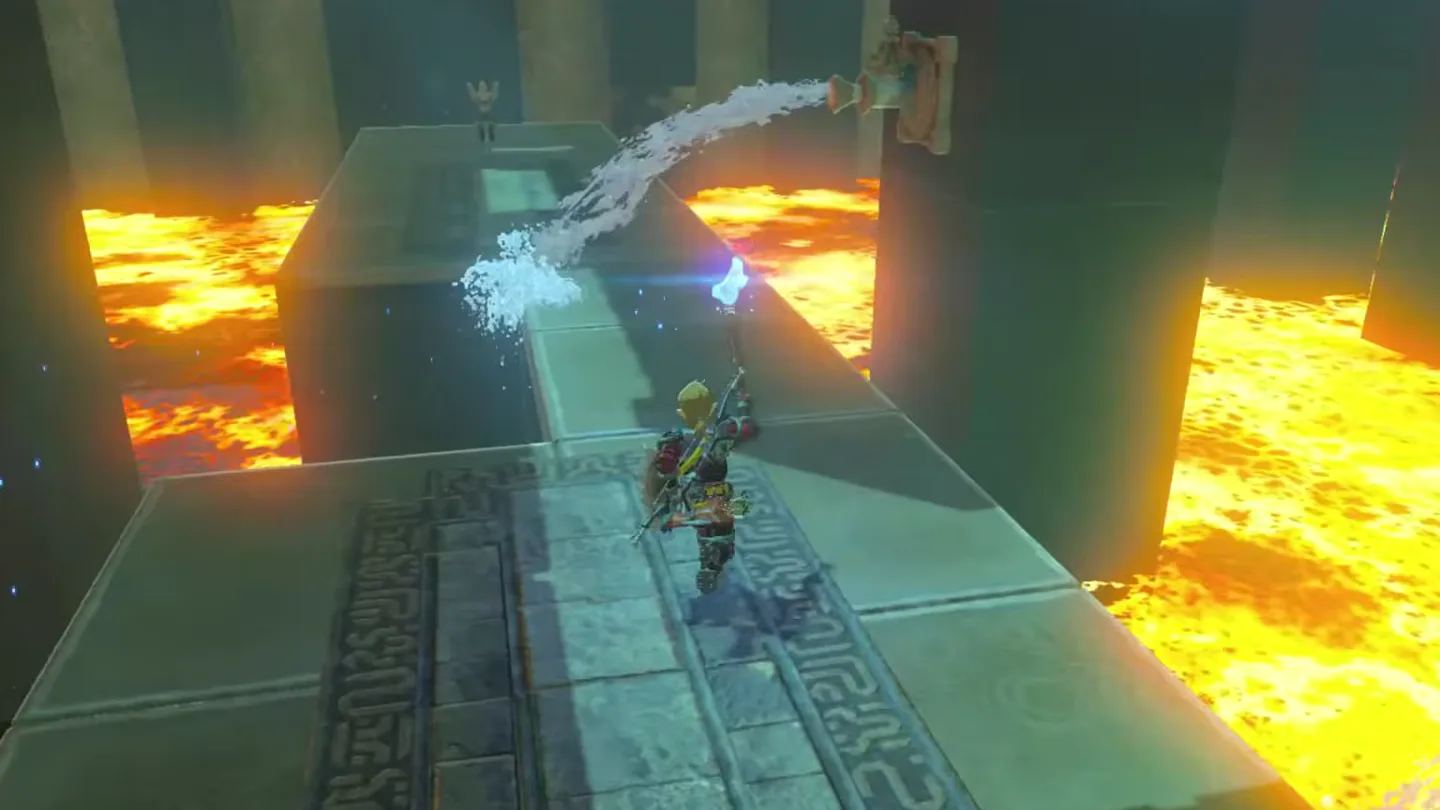
Head down the next hallway with your Torch lit, dodging the water spouts so they don’t put your fire out; for the last, tallest spout, crouch (push the left stick down) and creep under its highest point.
At the hallway’s end, light the pedestal and a platform to your left starts moving up and down. Light an arrow on your Torch and shoot the platform’s pedestal when it’s at its lowest point — stairs will appear and rise up.
3. Trigger the ball trap and clear the Guardian Scouts
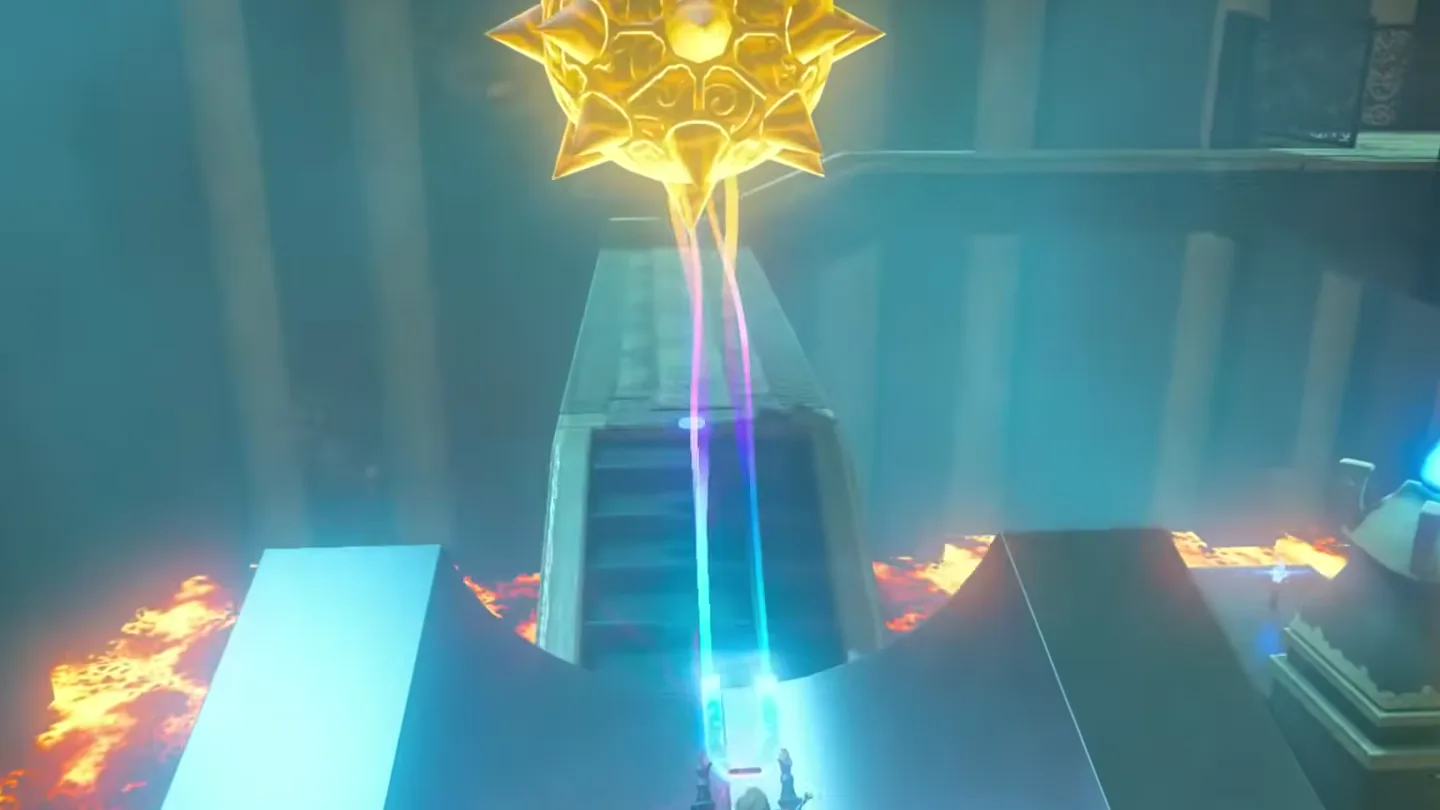
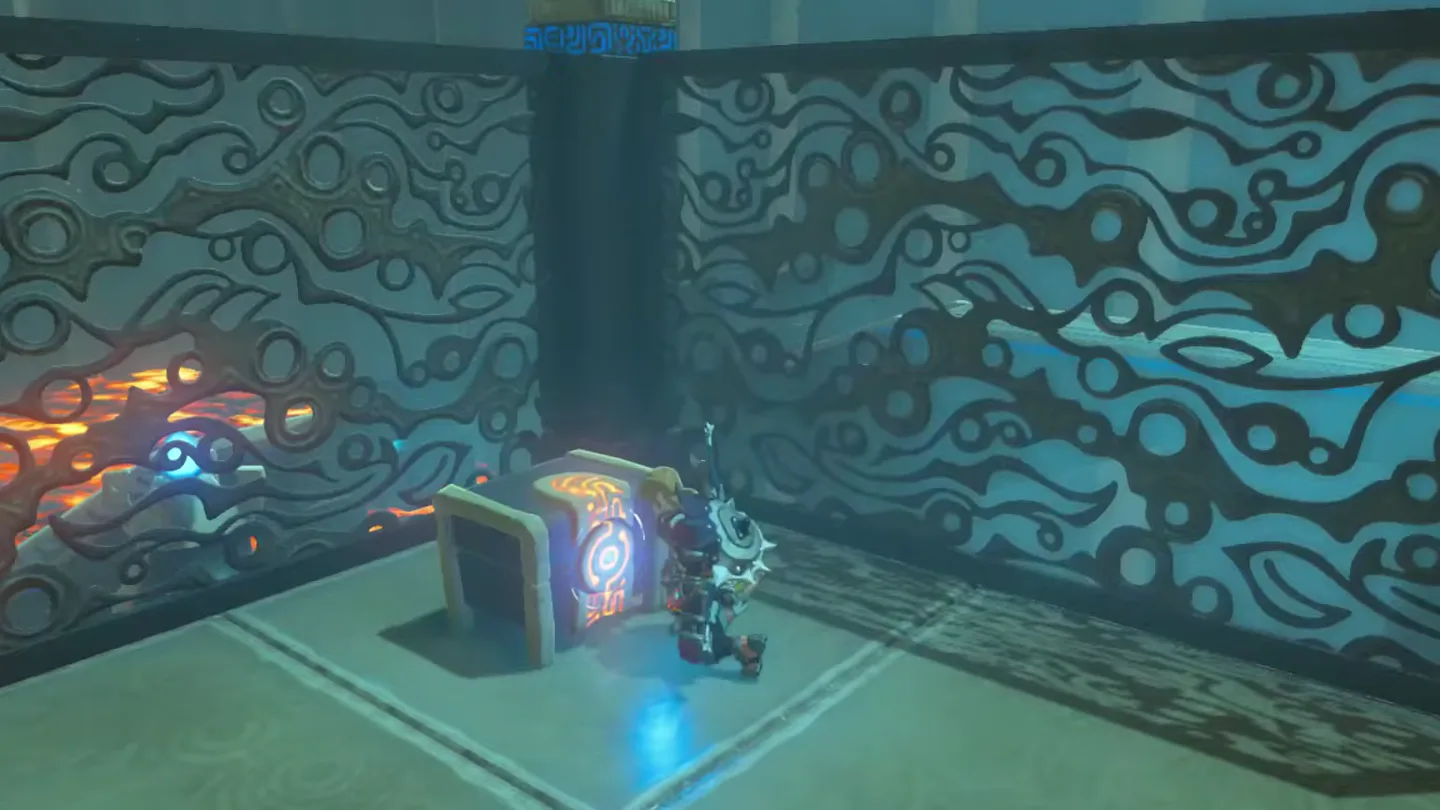
Return through the main chamber and step on the switch with Magnesis already active: a cylindrical ramp drops a giant spiked iron ball rolling straight at you — immediately grab it with Magnesis and fling it into the magma.
Defeat the four Guardian Scouts in the enclosed area (don’t let them gang up on you) and open both chests (Giant Ancient Core and Great Flameblade). Light the pedestal to open the gate, taking fire from the torch on the moving platform to save time.
4. Cross the gap using flame arrows and Magnesis
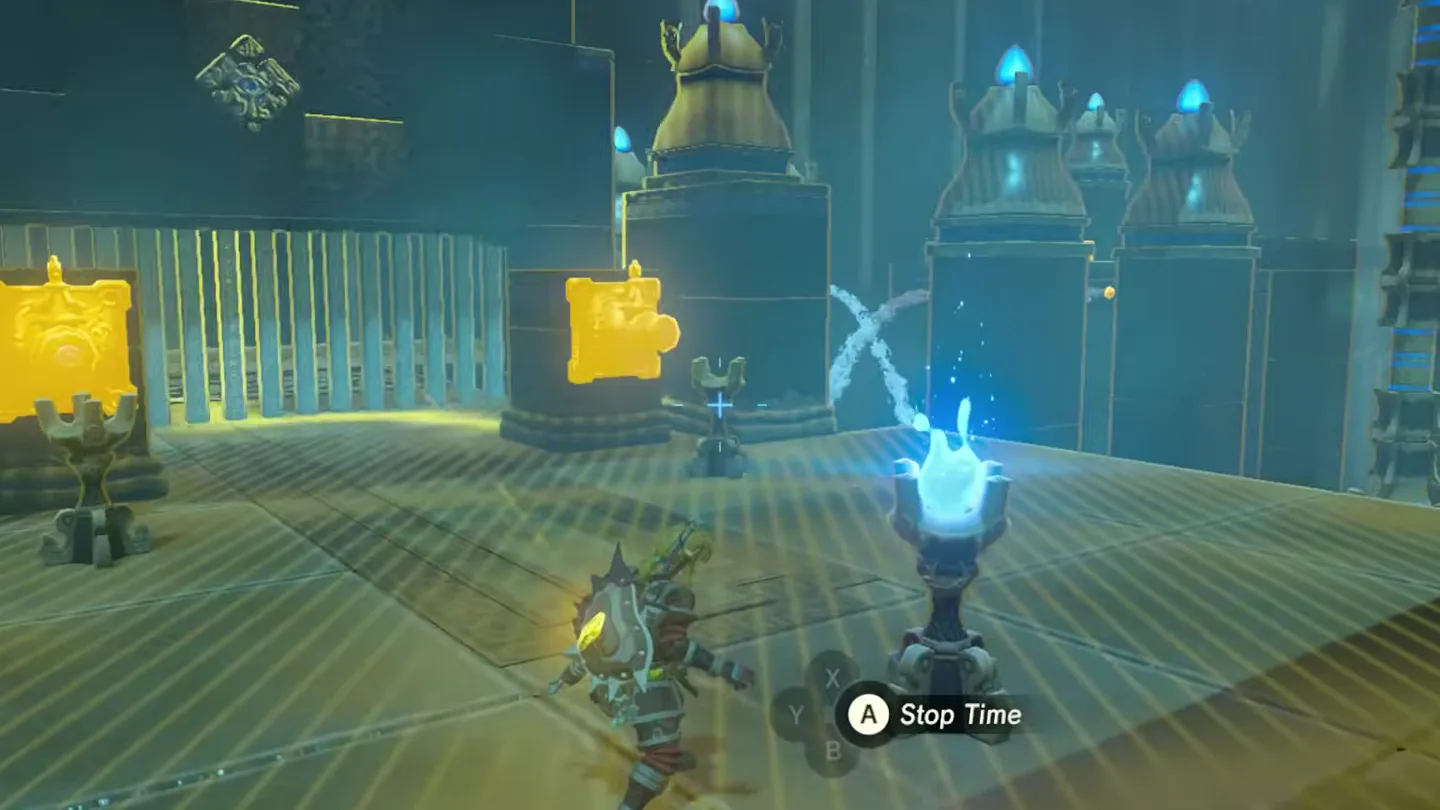
In the next room, first light your Torch from the torch in the middle. The two torches behind it sit in front of water spouts that instantly douse any flame — freeze one spout with Stasis (either one works), light the torch in front of the frozen spout, then race to light the second torch before the spouts can spit water.
Move on and light the lone torch, then fire one lit arrow through both torches on the moving platforms when they align so they light at once; also, if you can, shoot the distant torch off to the left. Updrafts start blowing across the gap.
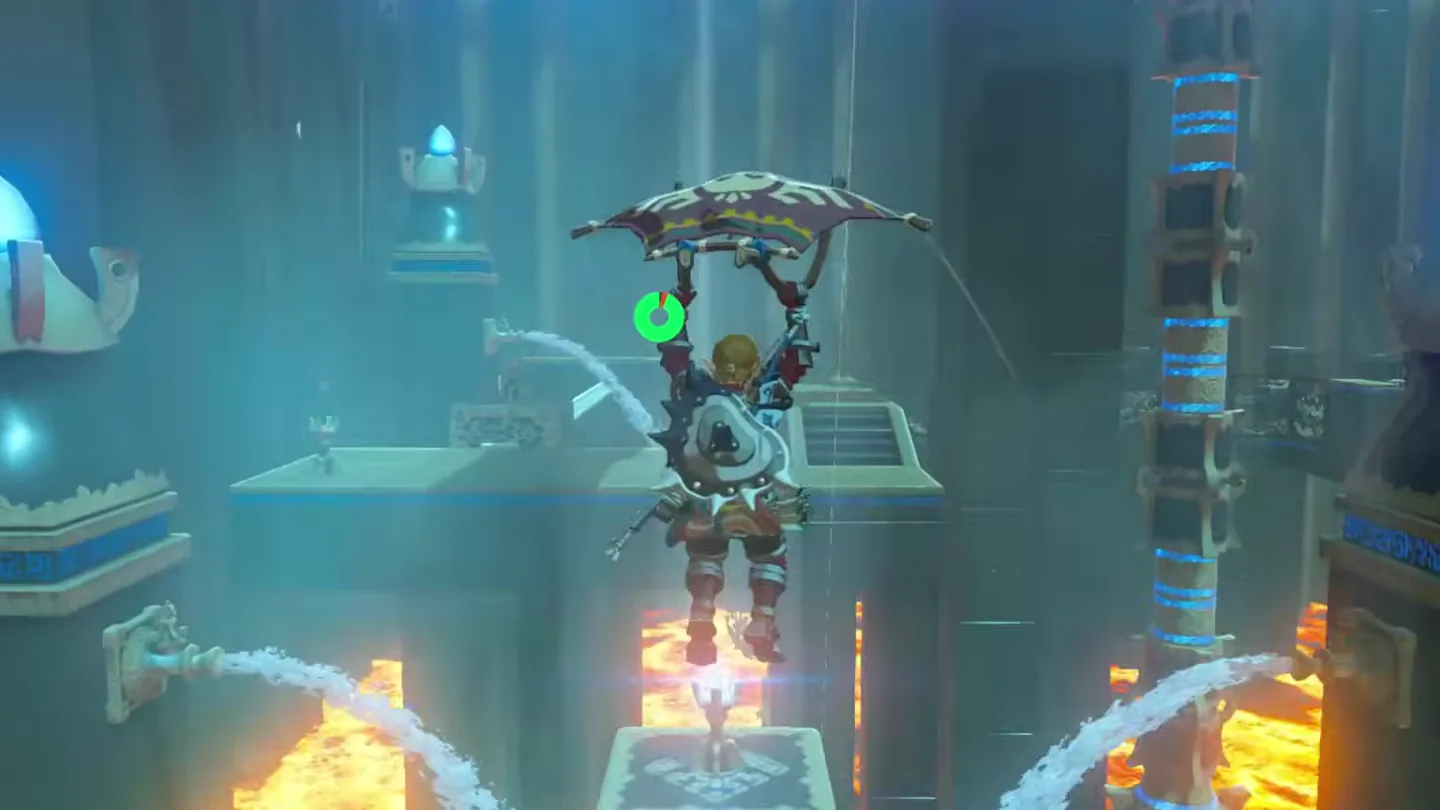
Paraglide across the updrafts to cross the gap; use the geyser up ahead to glide up to the ledge chest for a Silver Rupee.
Face the opposite ledge, glide toward the updraft, and let it carry you the rest of the way — that chest holds a Forest Dweller’s Sword.
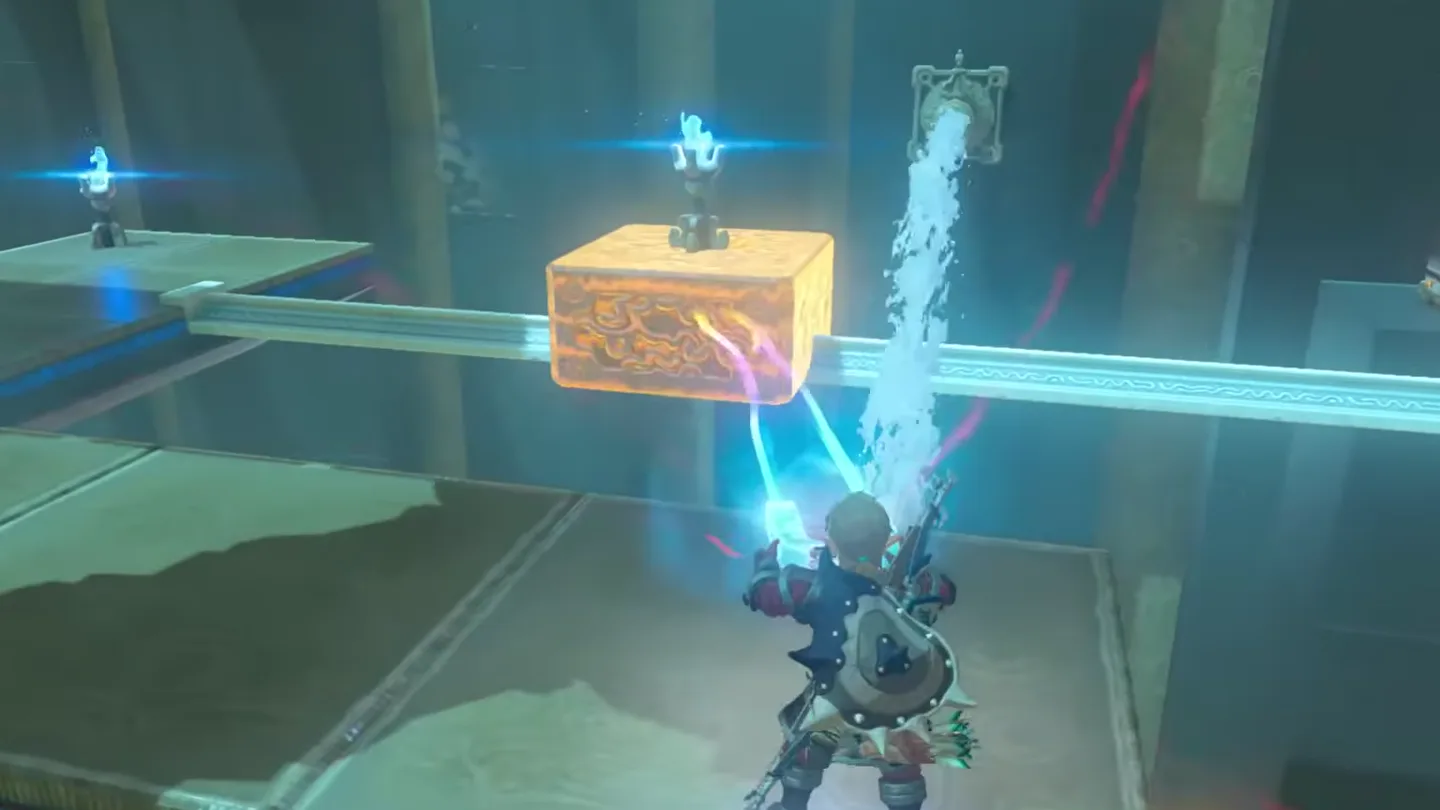
Glide back to the lower platform and light an arrow from the already-lit torch you shot earlier. Then slide the metal platform along its rail with Magnesis, away from the water, and light the torch on top of it with your flaming arrow (Stasis on the spout while shoving the block past works too). Push the block all the way to the rail’s opposite end so it touches the next platform.
5. Light all seven pedestals at once
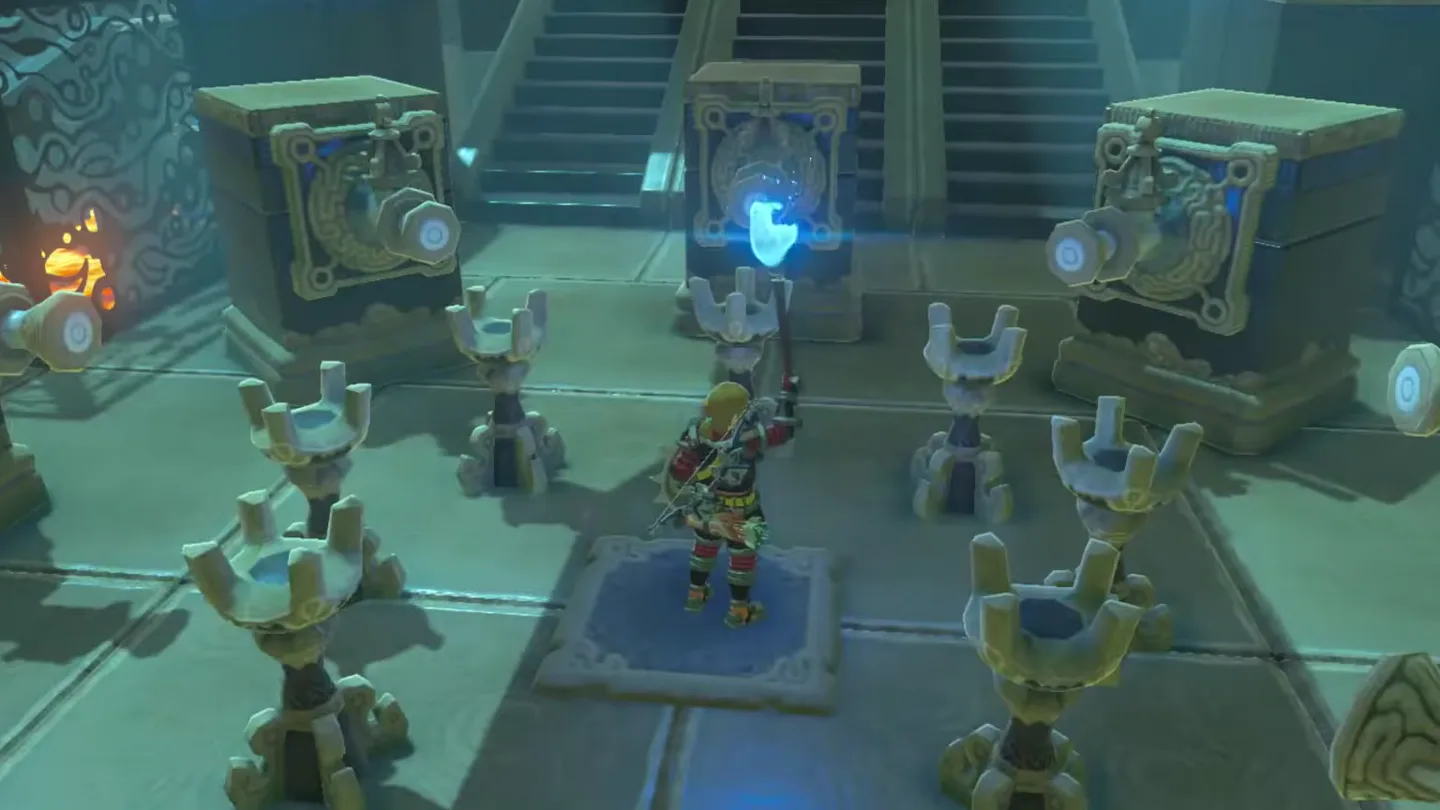
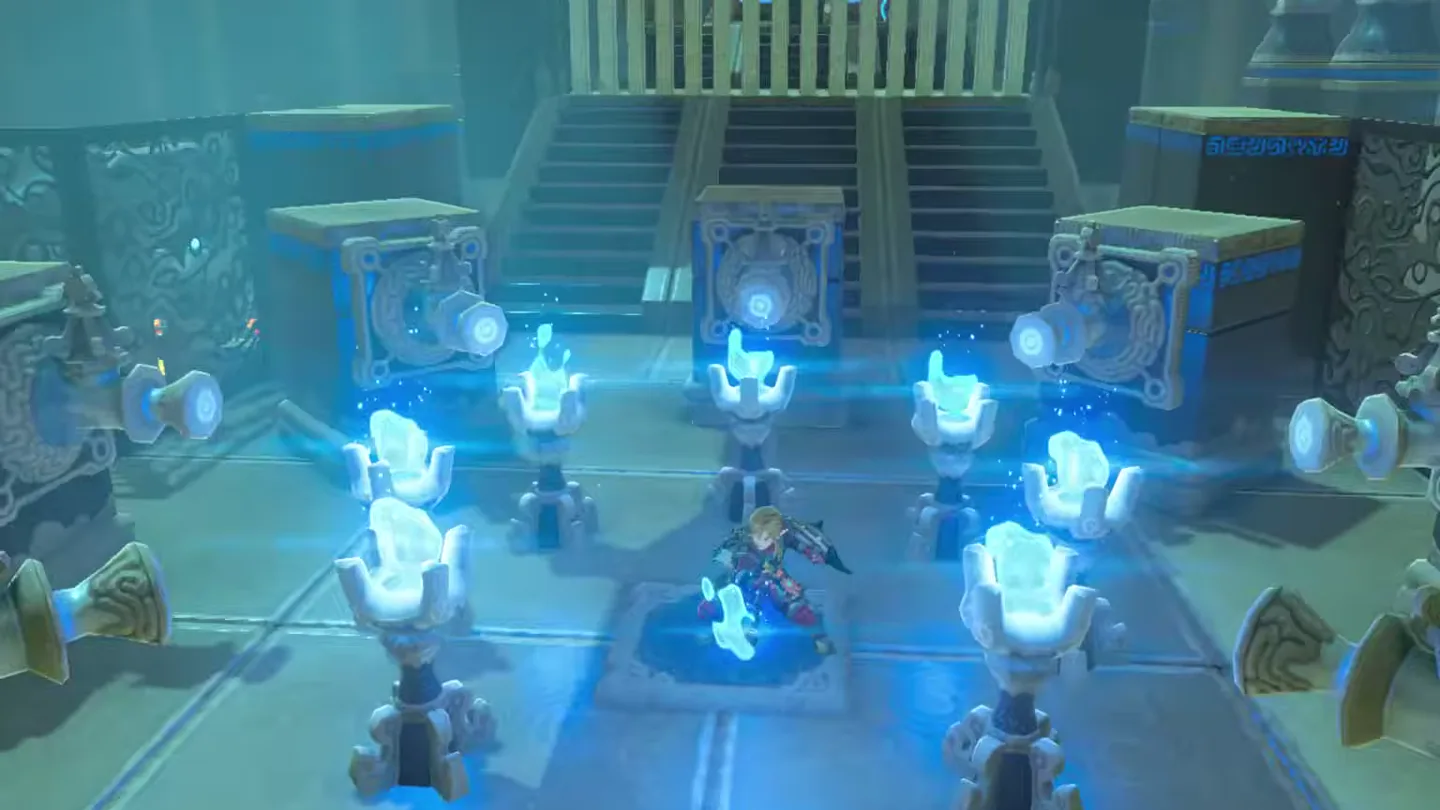
Paraglide over to that platform — below you stand three Guardian Scouts on vines, and one burning arrow into the vines kills all three. Loot their parts and drops, open the chest for 10 Ice Arrows, then walk back to the torch on the metal platform (it’s touching this platform now — that’s why you pushed it over) for fire, bring it down, and light the lone torch as a backup in case you fail the final puzzle. In the last circle, stand dead center and hold a charged spin attack with your lit Torch so you rotate and light all seven pedestals at once — the gate opens and Shora Hah bestows your Spirit Orb.
What is in each chest?
| Chest | Contents | How to get it |
|---|---|---|
| 1 | Royal Bow | After climbing the steel-block staircase near the start, paraglide to the chest on one of the two raised platforms. |
| 2 | Giant Ancient Core | In the enclosed area past the switch and spiked-ball trap; open it after clearing the four Guardian Scouts. |
| 3 | Great Flameblade | The second chest in that same enclosed Guardian Scout room. |
| 4 | Silver Rupee | After paragliding across the updrafts, use the geyser ahead to glide up to the ledge chest. |
| 5 | Forest Dweller’s Sword | From the opposite side, glide toward the updraft and let it carry you the rest of the way to the far ledge chest. |
| 6 | Ice Arrows ×10 | On the final walkway just past the three Guardian Scouts (who can be killed by burning the vines under them). |
What do people miss here?
- The Royal Bow chest is easy to walk past — it’s a short paraglide hop from the top of the starting staircase; grab it before carrying your flame back down.
- In the moving-platform room, don’t skip the distant torch on the left — that lit pedestal is your flame source on the far side, and without it you’ll be hiking back up for fire.
- Step on the floor switch with Magnesis already deployed: the spiked iron ball rolls at you immediately, and a slow reaction means damage.
- Before the final seven-torch circle, light the lone torch at the bottom as a backup — if your spin attack fails, you won’t have to run all the way back up the stairs for flame.
- The three Guardian Scouts by the Ice Arrows chest can be skipped as a fight entirely — a single fire arrow into the vines beneath them kills all three and leaves their drops for pickup.
What else is nearby?
| Shrine | Direction | Straight-line distance | Region |
|---|---|---|---|
| Shae Mo’sah Shrine | south | 597 | Eldin |
| Daqa Koh Shrine | southeast | 949 | Eldin |
| Maag Halan Shrine | southwest | 987 | Woodland |
Which guides help next?
FAQ
Do I need a Torch and arrows for Shora Hah Shrine?
How do I light the two torches behind the water spouts?
How do I light all seven torches at the end of Shora Hah Shrine?
Where are all six chests in Shora Hah Shrine?
How do I avoid fighting the three Guardian Scouts near the Ice Arrows chest?
Related Articles
guides
Breath of the Wild Captured Memories: All 13 Locations and Rewards
All 12 photo locations from Zelda's album plus the 13th memory in Impa's painting, with coordinates, nearby shrines, the Champion's Tunic and the extra ending scene.
guides
Breath of the Wild Great Fairy Fountains: Locations, Costs and Horse God
Where the four Great Fairy Fountains and the Horse God Malanya are in Breath of the Wild, what each fairy costs to release, and how many you need per armor upgrade.
guides
Hyrule Castle Walkthrough: Entry Routes, Hylian Shield and Final Prep
How to get into Hyrule Castle in Breath of the Wild: five entry routes, the Hylian Shield and other loot by room, and what to prepare before the final battle.
Was this helpful?
Thanks for the feedback!