

Tah Muhl Shrine Guide: Passing the Flame Walkthrough & All 4 Chests
Complete Tah Muhl Shrine (Passing the Flame) in Eldin: burn the vines, fish out the Small Key with Magnesis, and claim all 4 chests including the Ruby.
Where is Tah Muhl Shrine?
Tah Muhl Shrine is set into a crag in Trilby Valley, within the Eldin Canyon area of the Eldin region, a short walk southwest of Foothill Stable. At the stable, a traveler named Mayro admires the large painting on the wall and believes it depicts the Stable as seen from a southern direction; talking to him starts the optional Shrine Quest ‘A Landscape of a Stable,’ but the shrine can be accessed at any time, even if the quest has not been activated.
| Item | Detail |
|---|---|
| Trial | Passing the Flame |
| Tower region | Eldin |
| Map-marker coordinates | 2301, 0941, 0226 |
| Shrine quest | A Landscape of a Stable |
| Chests | 4 |
| Names | Tah Muhl Shrine · 塔‧姆爾神廟 · 塔·姆尔神庙 |
What should you bring?
Bring a bow and plenty of arrows — the cleanest method is lighting arrows at the torch flames and shooting the vines. A wooden weapon can be lit at a torch and swung at the vines instead, and Fire Arrows or fire-based magic gear let you skip the torches entirely. Have Remote Bombs ready for any crates that don’t catch fire, and remember you’ll need Magnesis to retrieve the Small Key.
Video walkthrough

How do you solve Tah Muhl Shrine?
Everything in Passing the Flame runs on carried fire: torch flames ignite the vines and wooden boxes, and every secret — the passages, the key, the chests, even the exit ramp — hides behind something flammable.
1. Enter the Second Room
From the entrance, follow the curving passage down and to the right until you reach the pair of lit torches at its end.
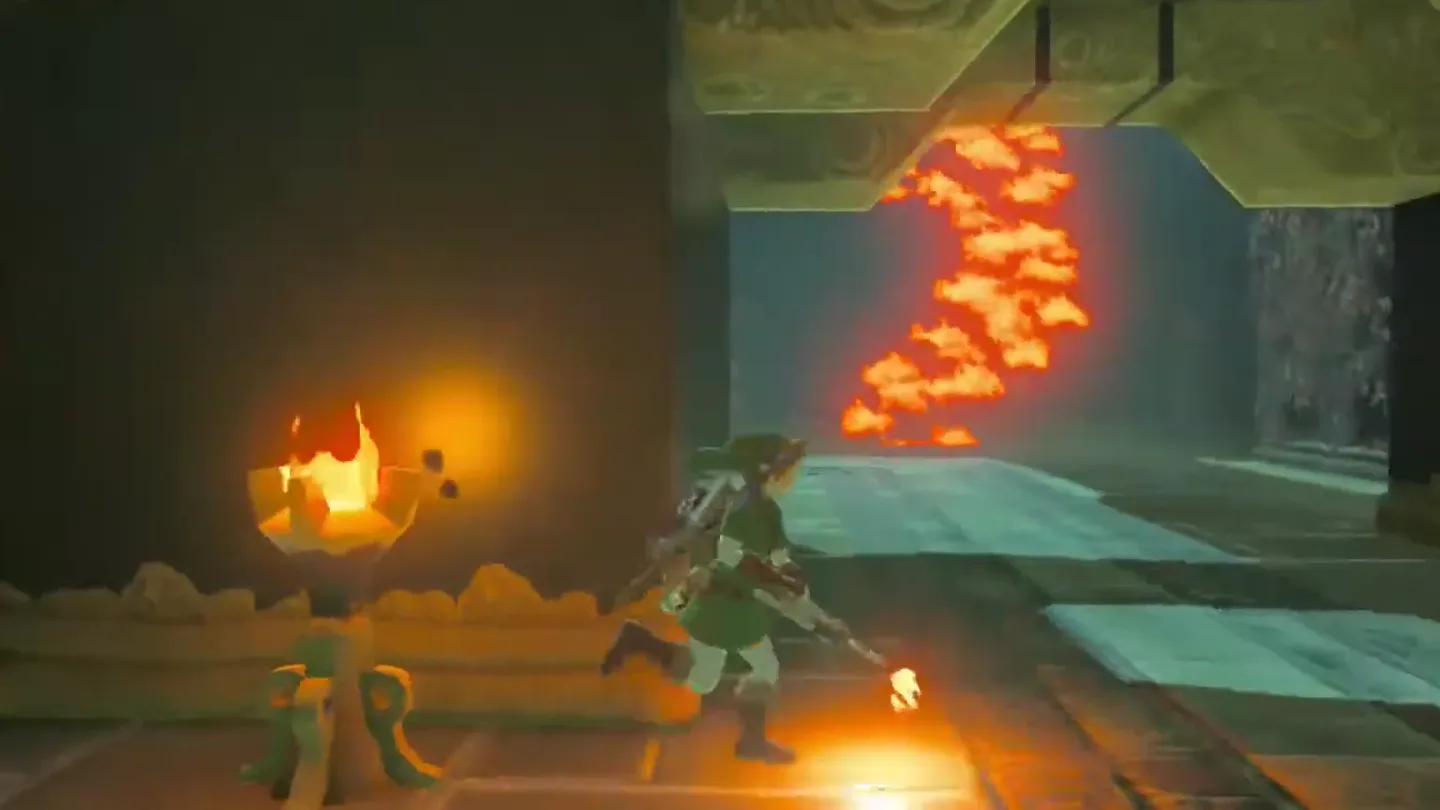
Light an arrow in the torch flame by drawing your bow near the fire — lighting a wooden weapon works too, but a lit arrow is the recommended tool.
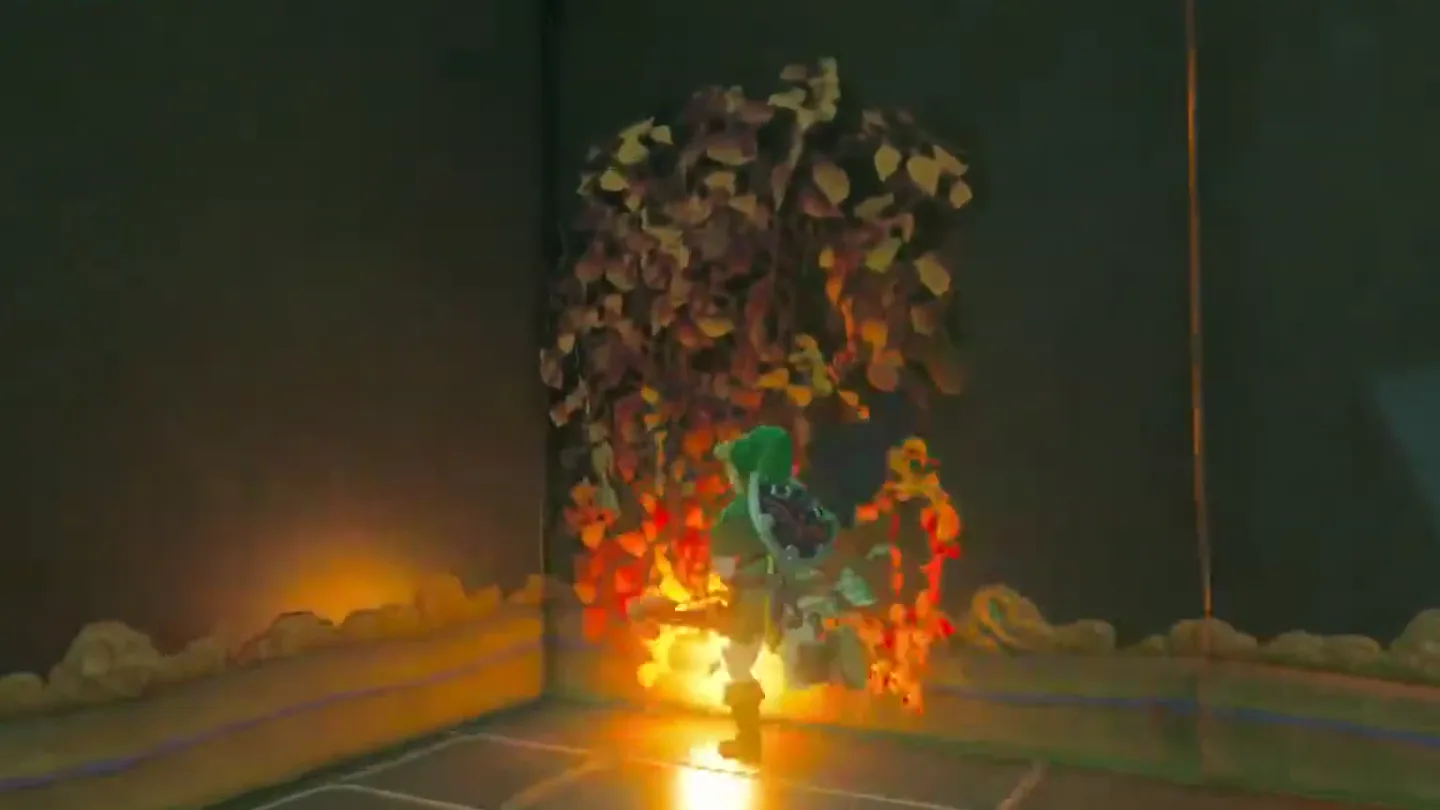
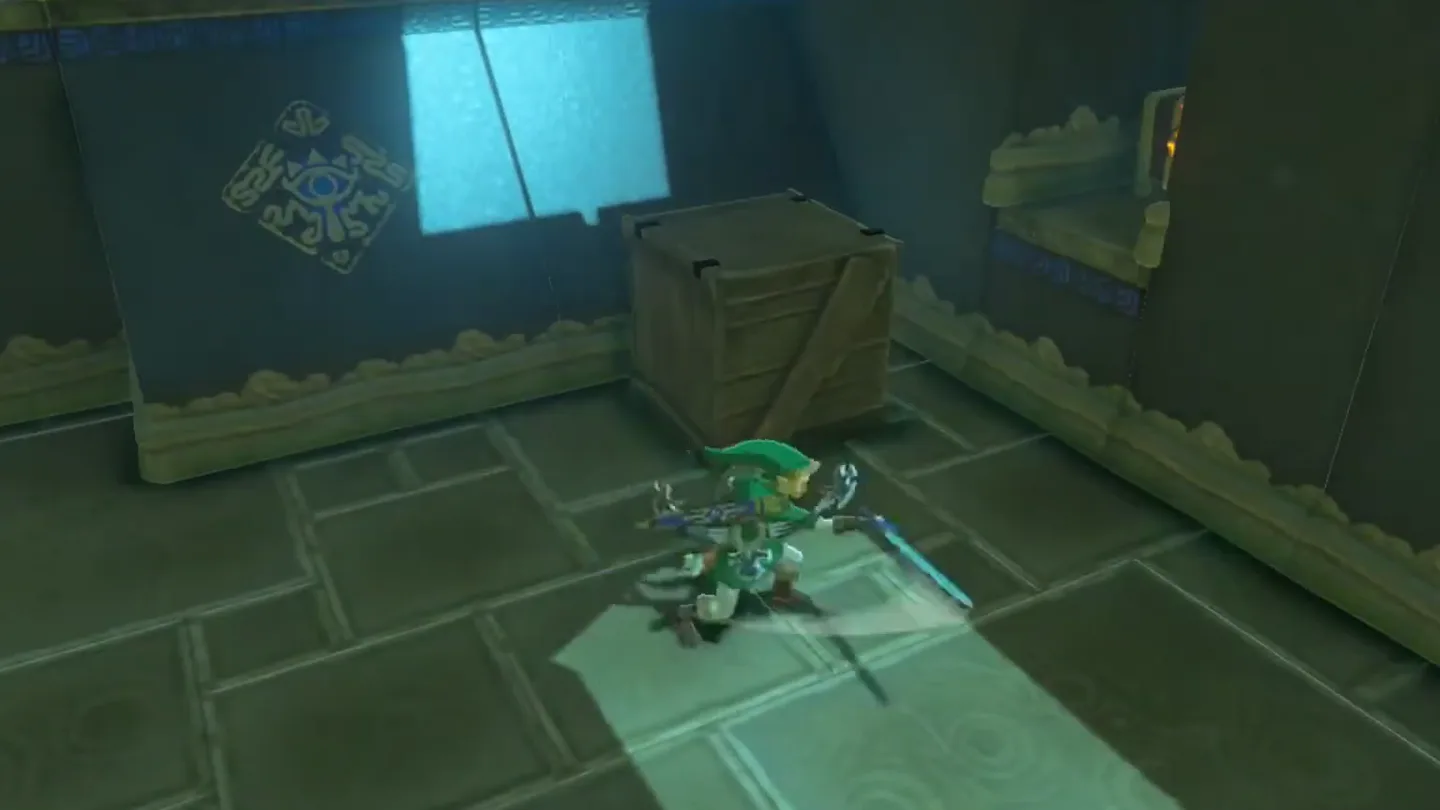
Aim at the ivy covering the walls of the main room and ignite it — the vines burn away and expose a small passage into the next room, and the wooden crates blocking it should burn along with them.
If any crates survive the blaze, detonate a Remote Bomb beside them to finish the job.
2. Find the Key and Unlock the Door
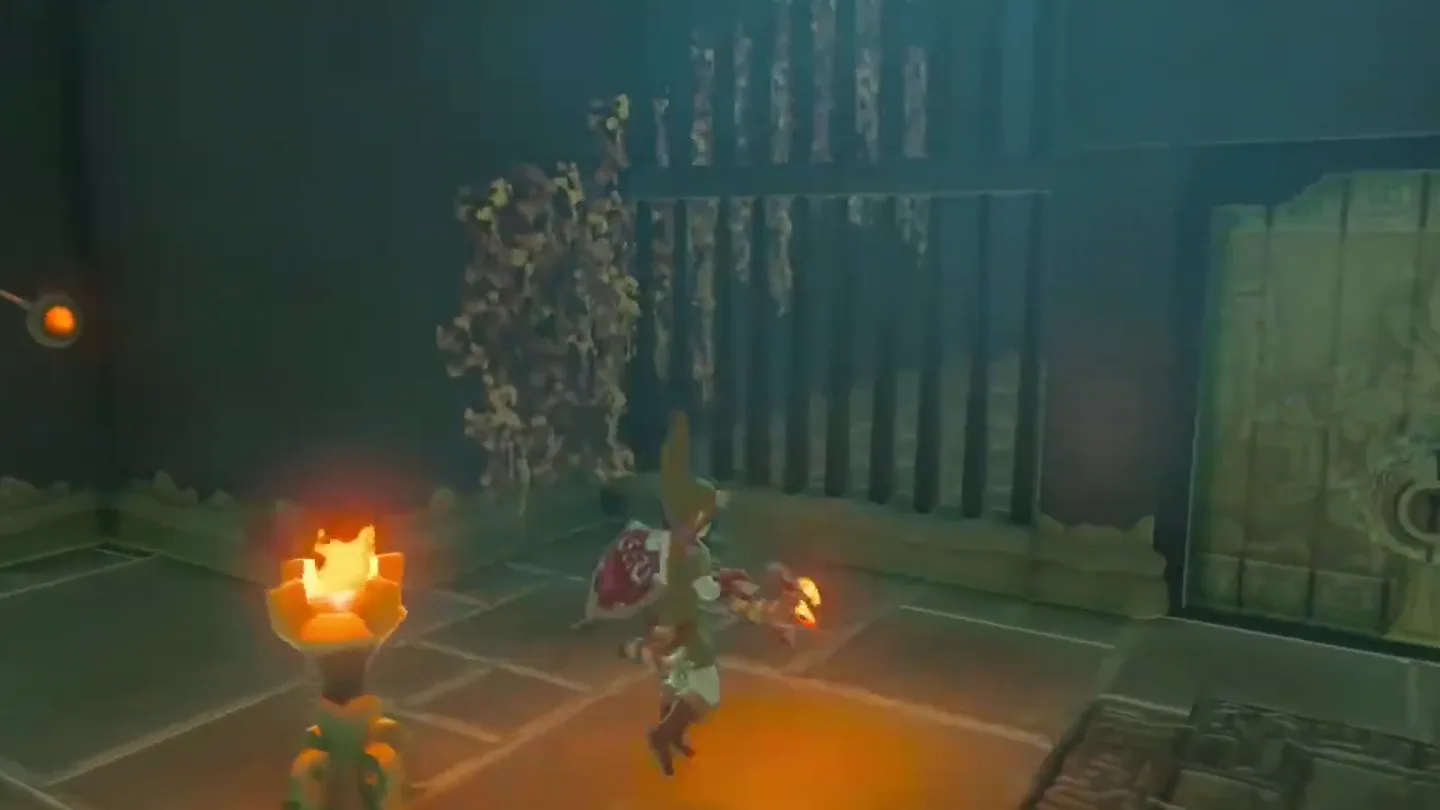
Enter the second room and relight an arrow at the lit sconce ahead — this chamber has its own pair of torches, so you don’t need to backtrack for fire (unless you brought Fire Arrows or fire-based gear).
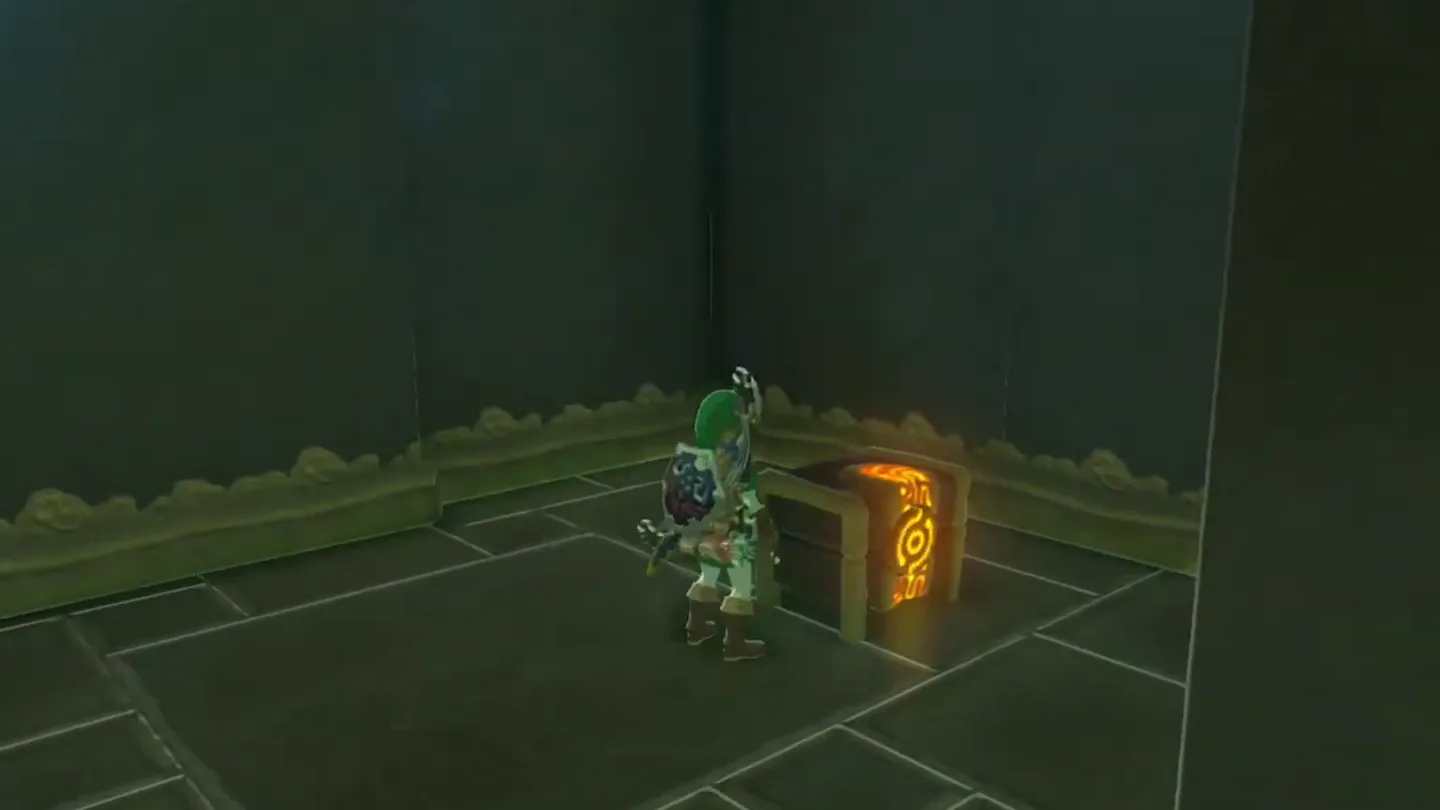
Turn around and shoot the burning arrow into the ivy on the wall you just passed through — it burns away to reveal a small alcove beside a pair of wooden boxes to the right of the Monk’s Pedestal, with a stone chest inside holding the Cobble Crusher.
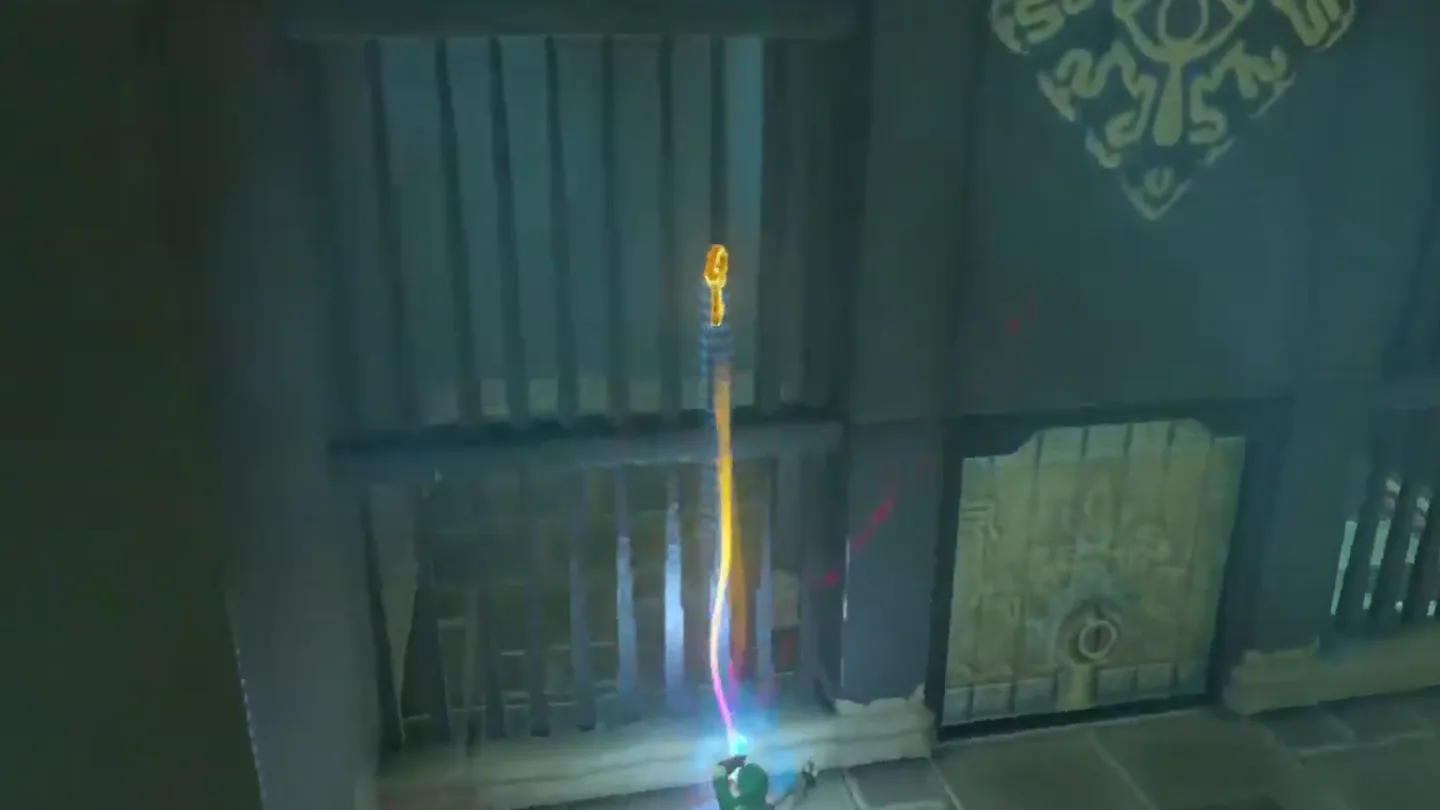
Now face the barred wall on the left and shoot another burning arrow through the bars into the ivy — the wooden platform above catches fire, the wooden chest on it burns open, and the metallic Small Key drops down behind the fence.
Use Magnesis to lift the Small Key up and over the fence to your side — you can’t reach it by hand through the bars.
Unlock the locked door with the Small Key — inside the cell, the stone chest on the right side holds a Ruby.
3. Lower the Ramp and Complete the Shrine
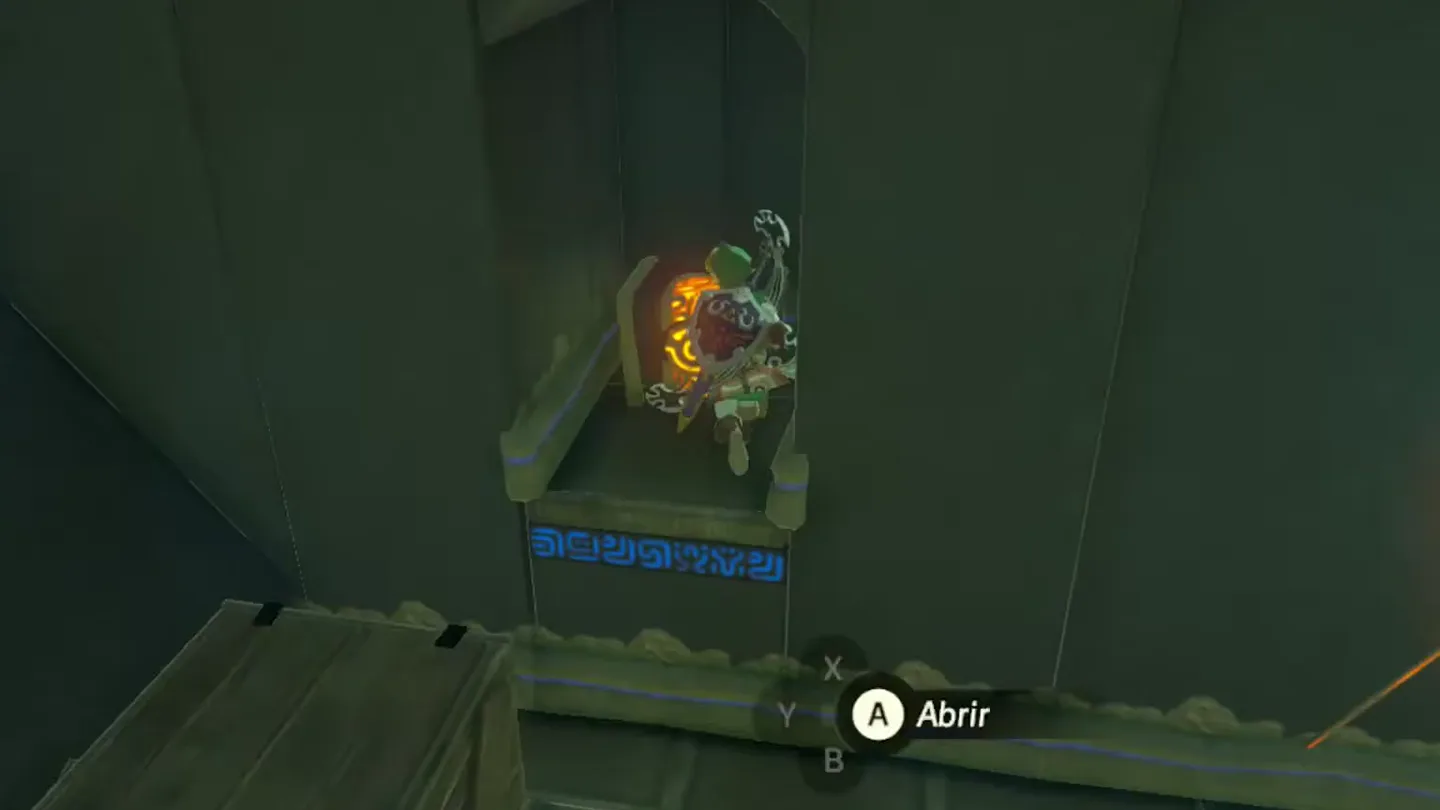
Back at the door you just opened, look at the stack of wooden crates to its left (opposite the Monk’s Pedestal): burn or bomb the crates and grab the wooden chest sitting on top for an Opal.
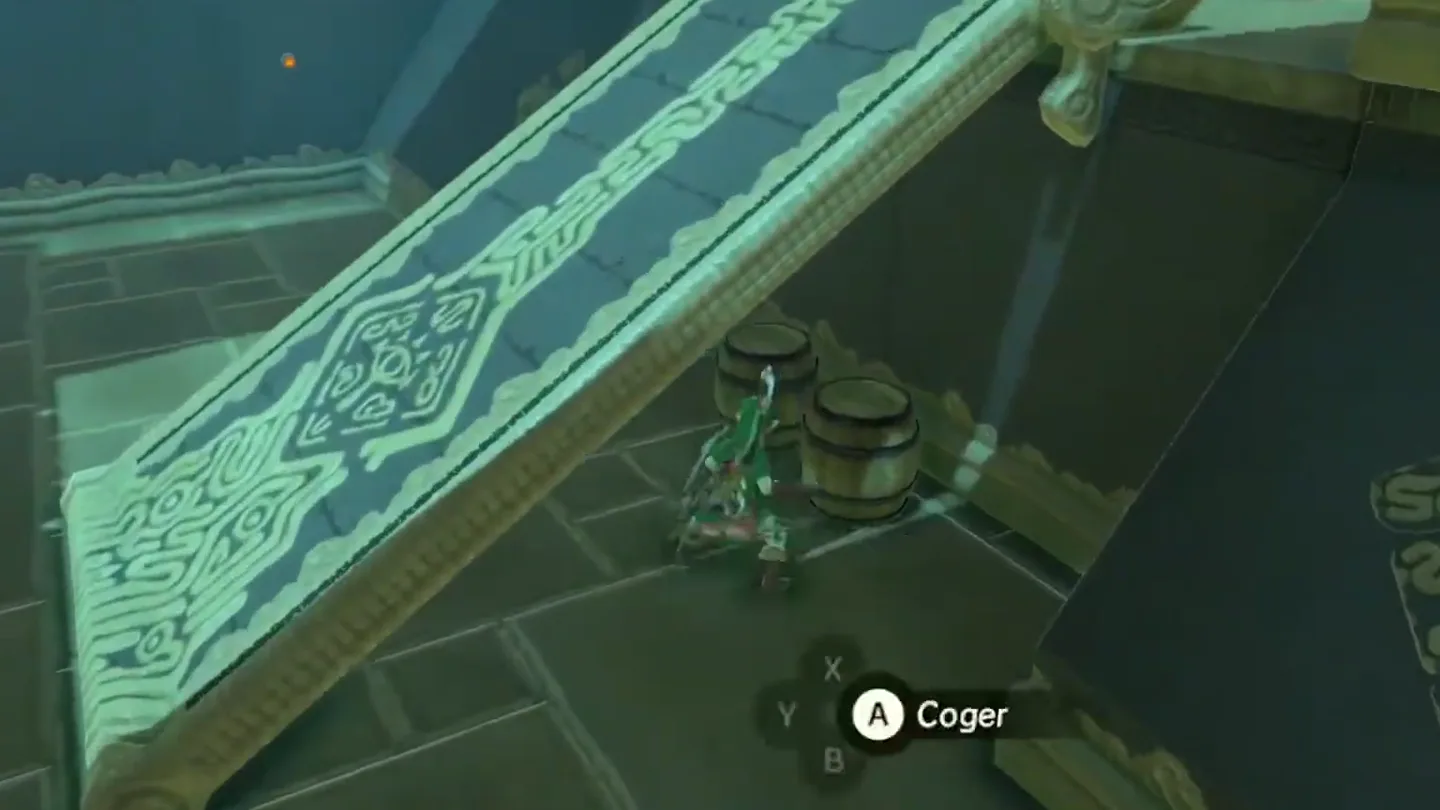
The ramp up to the Monk’s Pedestal is suspended too high to climb because it rests on four stacked wooden boxes — burn them or blow them up with a Remote Bomb and the ramp lowers into place. (Smashing them with a weapon also works but drains durability, so it’s not worth it.)
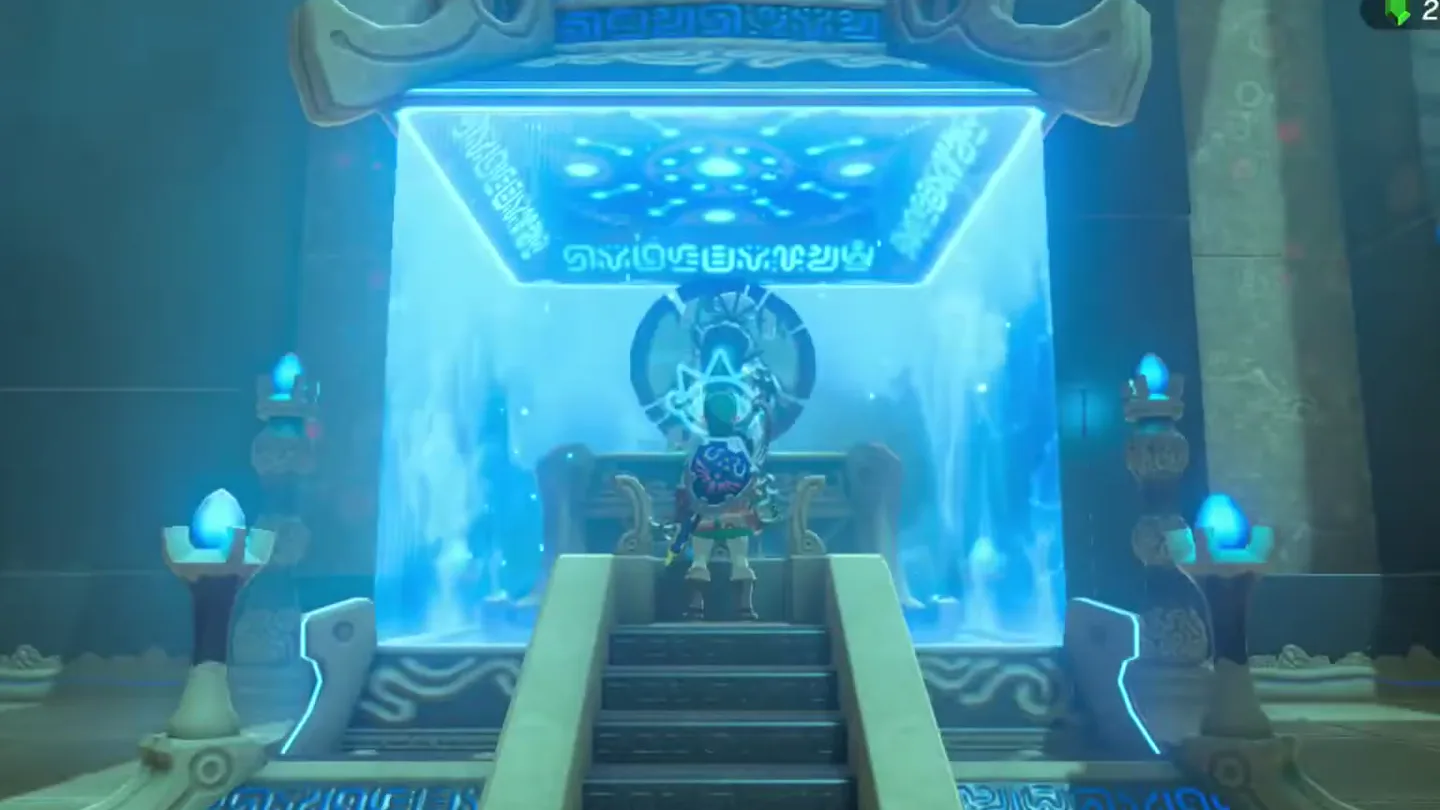
Climb the ramp to the Monk’s Pedestal and speak with Tah Muhl to receive your Spirit Orb; the Monk wishes you well and fades away.
What is in each chest?
| Chest | Contents | How to get it |
|---|---|---|
| 1 | Cobble Crusher | Stone chest in a vine-concealed alcove beside a pair of wooden boxes to the right of the Monk’s Pedestal. After entering the second room, relight an arrow at the sconce ahead, turn around, and burn the ivy on the wall you came through. |
| 2 | Small Key | Wooden chest atop a wooden platform along the left wall, behind bars. Shoot a burning arrow through the bars into the ivy so the platform burns and the chest breaks open, dropping the metallic key behind the fence; then pull it over to your side with Magnesis. |
| 3 | Ruby | Stone chest in the right side of the locked cell — spend the Small Key on the cell’s locked door to reach it. |
| 4 | Opal | Wooden chest atop a stack of wooden crates to the left of the unlocked door, opposite the Monk’s Pedestal — burn or bomb the crates to bring it within reach. |
What do people miss here?
- Thinking you must do ‘A Landscape of a Stable’ first: you don’t. The shrine is accessible at any time, with or without Mayro’s quest from Foothill Stable.
- Walking past the Cobble Crusher — after entering the second room, turn around: its alcove is hidden behind vines on the very wall you came through, beside a pair of wooden boxes.
- The Small Key drops out of reach behind the barred fence — use Magnesis to lift it up and over to your side instead of hunting for a way to climb in.
- Crates and ramp boxes that survive the fire: don’t smash them with a good weapon (it drains durability); a Remote Bomb destroys them for free.
- Backtracking to the first room for fire: the second chamber has its own two torches, including the lit sconce ahead — relight your arrow there.
What else is nearby?
| Shrine | Direction | Straight-line distance | Region |
|---|---|---|---|
| Mo’a Keet Shrine | northeast | 477 | Eldin |
| Soh Kofi Shrine | south | 651 | Lanayru |
| Sah Dahaj Shrine | northeast | 735 | Eldin |
Which guides help next?
FAQ
Where is Tah Muhl Shrine?
Do I need the 'A Landscape of a Stable' shrine quest to enter?
How do I get the Small Key in Tah Muhl Shrine?
How do I lower the ramp to reach the monk?
Can I use Fire Arrows instead of the torches?
Related Articles
guides
Breath of the Wild Captured Memories: All 13 Locations and Rewards
All 12 photo locations from Zelda's album plus the 13th memory in Impa's painting, with coordinates, nearby shrines, the Champion's Tunic and the extra ending scene.
guides
Breath of the Wild Great Fairy Fountains: Locations, Costs and Horse God
Where the four Great Fairy Fountains and the Horse God Malanya are in Breath of the Wild, what each fairy costs to release, and how many you need per armor upgrade.
guides
Hyrule Castle Walkthrough: Entry Routes, Hylian Shield and Final Prep
How to get into Hyrule Castle in Breath of the Wild: five entry routes, the Hylian Shield and other loot by room, and what to prepare before the final battle.
Was this helpful?
Thanks for the feedback!