

Qua Raym Shrine Walkthrough – A Balanced Approach | BotW
Step-by-step guide to Qua Raym Shrine in Eldin: burn the crate, unlock the metal cubes, ride the scales past the spikes, and claim both chests.
Where is Qua Raym Shrine?
Qua Raym Shrine sits on a small islet at Goronbi Lake in western Eldin, east of Eldin Tower. The islet sits in lava: use Magnesis to drop the nearby iron crates into the lava as a makeshift bridge, or glide across with the Paraglider from higher ground around the lake.
| Item | Detail |
|---|---|
| Trial | A Balanced Approach |
| Tower region | Eldin |
| Map-marker coordinates | 1820, 1518, 0401 |
| Shrine quest | None |
| Chests | 2 |
| Names | Qua Raym Shrine · 丘‧拉姆席神廟 · 丘·拉姆席神庙 |
What should you bring?
Nothing special is required — the shrine isn’t tied to a shrine quest, and the trial relies only on your Magnesis and Remote Bomb runes, which you have from the start. Bring a bow and a few arrows to destroy the wooden crate; you can light a regular arrow at one of the torches inside, so Fire Arrows aren’t needed. No particular armor or resistances are necessary — just don’t step into the lava on the way over.
Video walkthrough
![[Zelda BotW] Qua Raym Shrine Guide (All Chests)](https://i.ytimg.com/vi/y2mkJCh1ImI/hqdefault.jpg)
How do you solve Qua Raym Shrine?
The whole trial is a balancing act: weight one pan of a scale and the other rises, so the wooden crate, the three metal cubes, and even Link himself are simply weights to be moved around.
1. Get the Small Key from the center scales
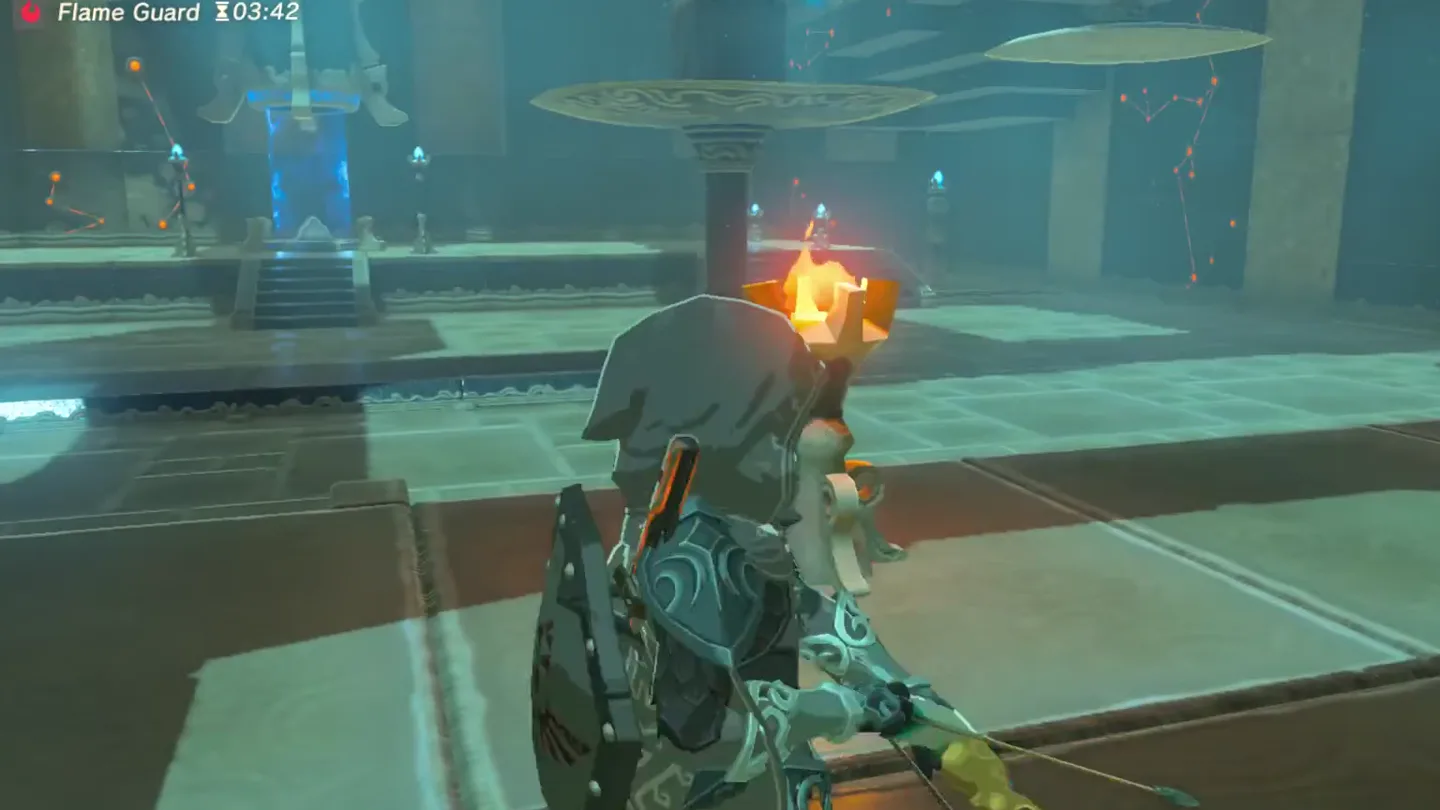
Inside, the single chamber holds two sets of giant scales, and the Monk Qua Raym greets you as you enter. Look at the center pair — the ones leading to the Monk’s Pedestal, which rest halfway raised: the left pan carries a wooden crate, and torches stand in the chamber.
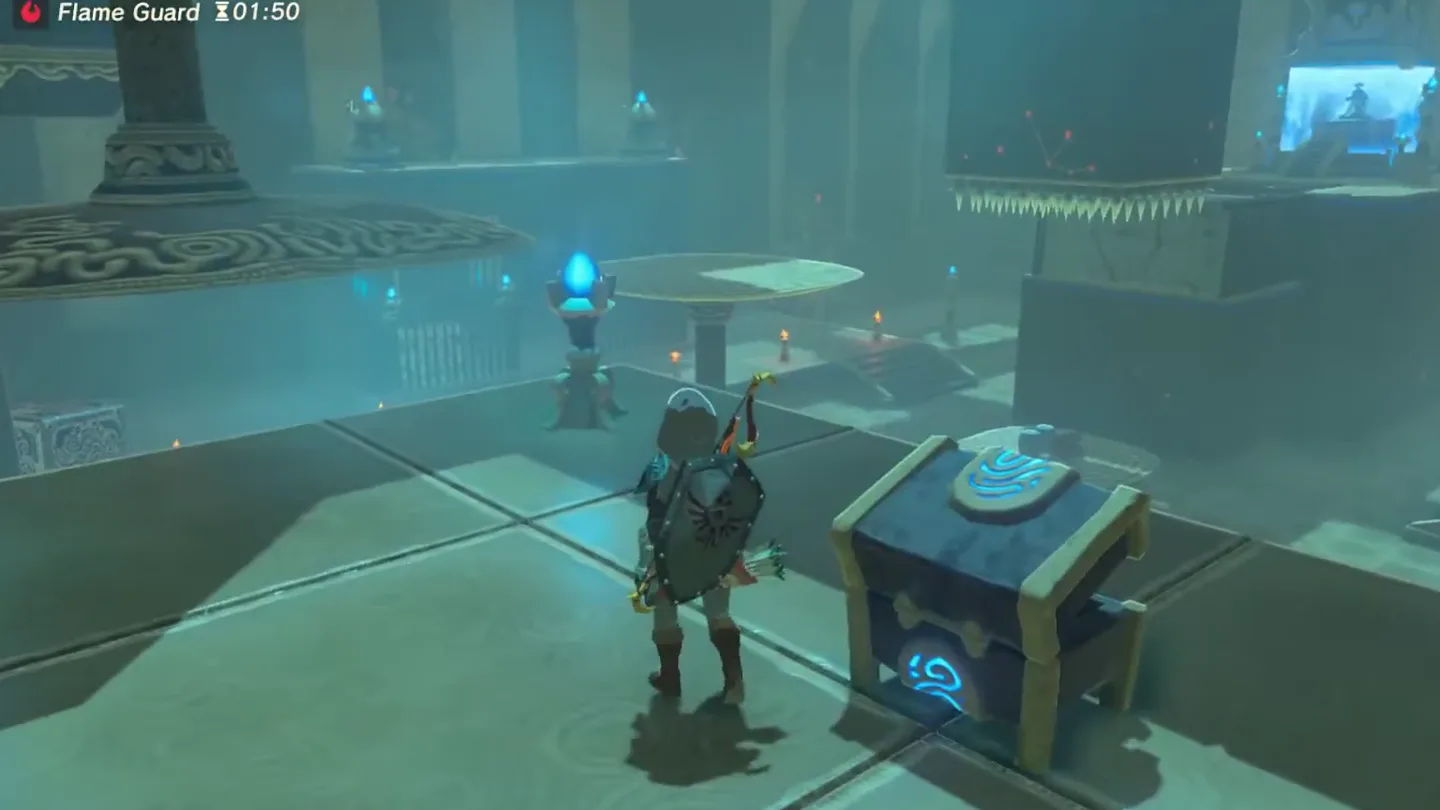
Light an arrow at one of the torches and shoot the crate. It burns away, and with that weight gone the opposite pan — the one closest to the Monk’s Pedestal — sinks to the floor.
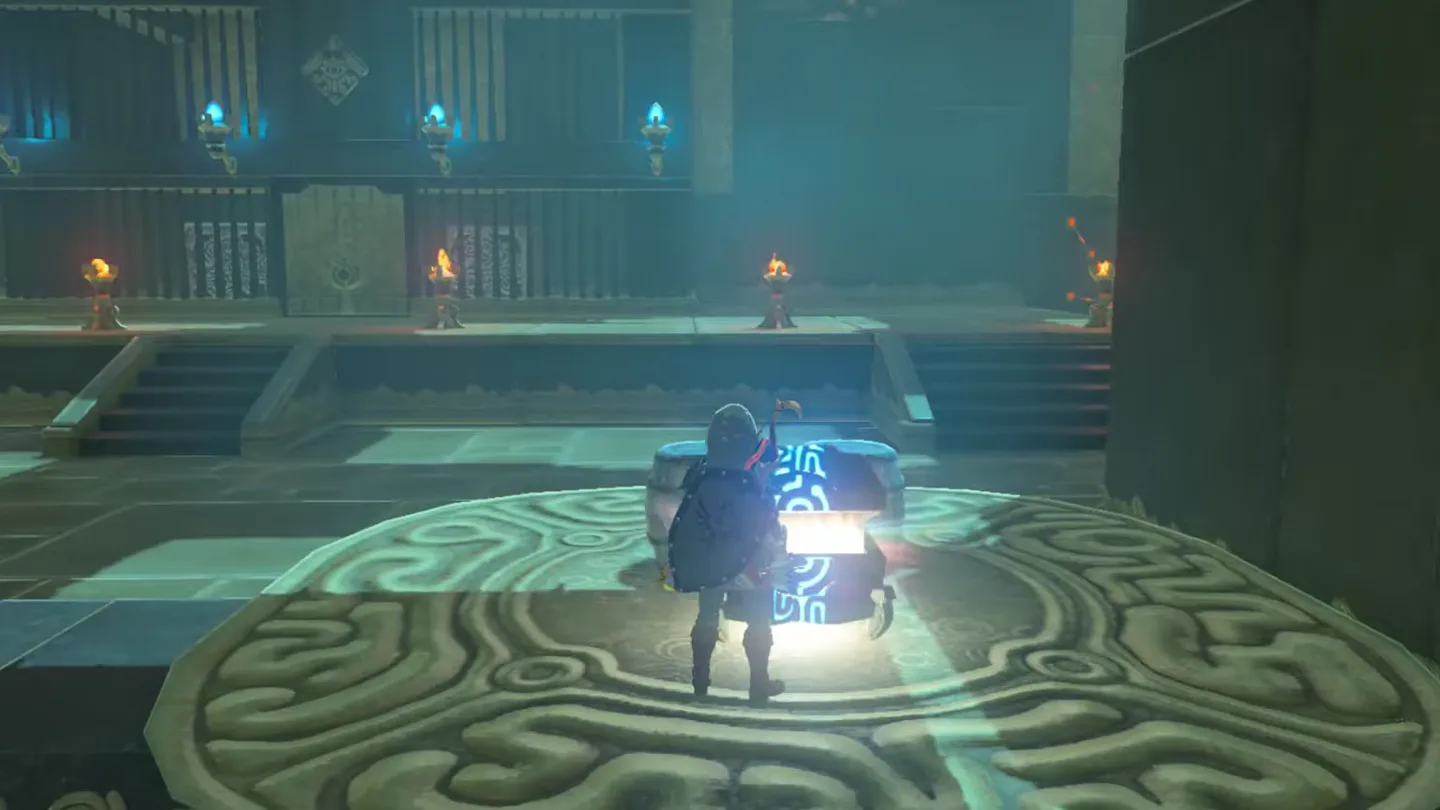
Step onto the lowered pan. It holds two barrels and a chest; open the chest to get the Small Key.
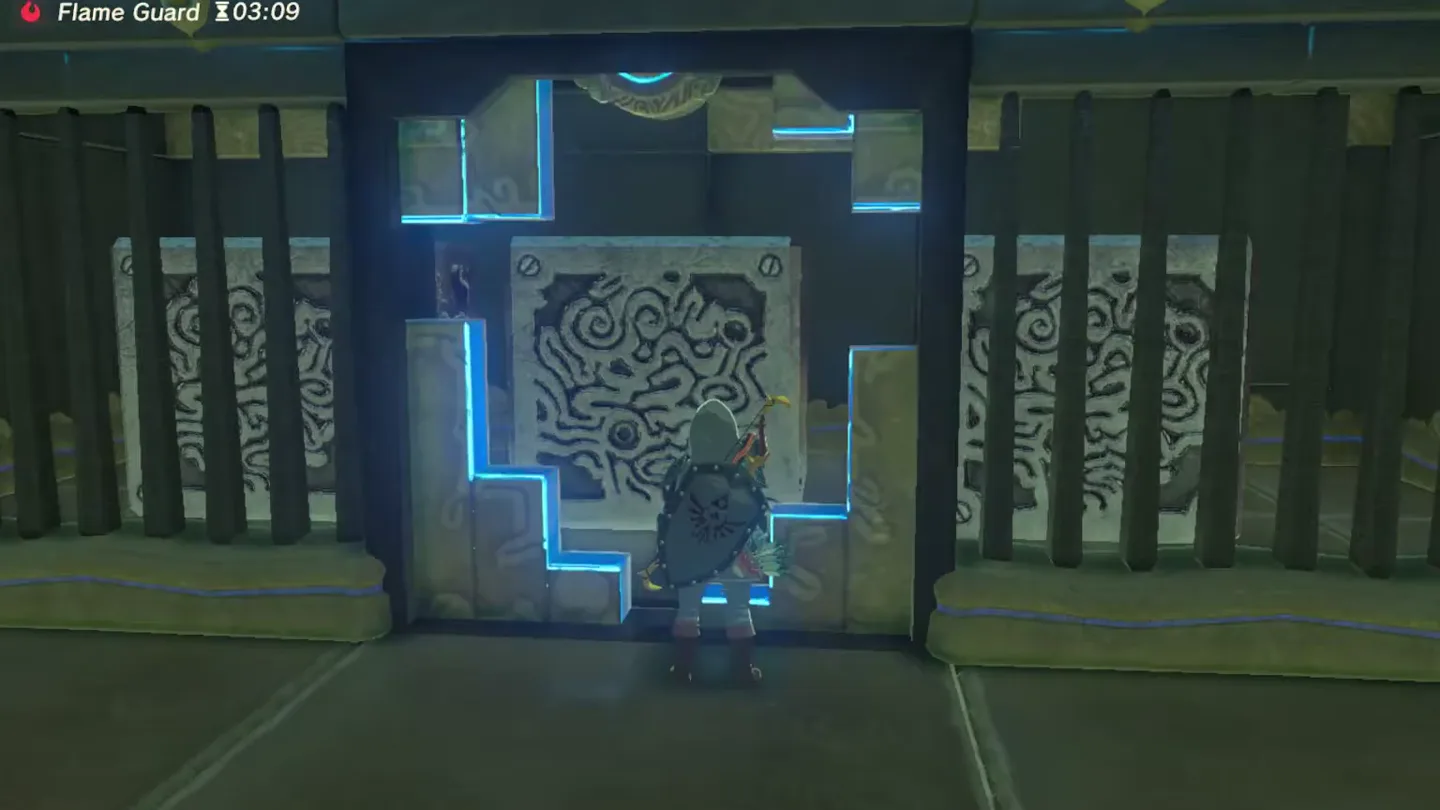
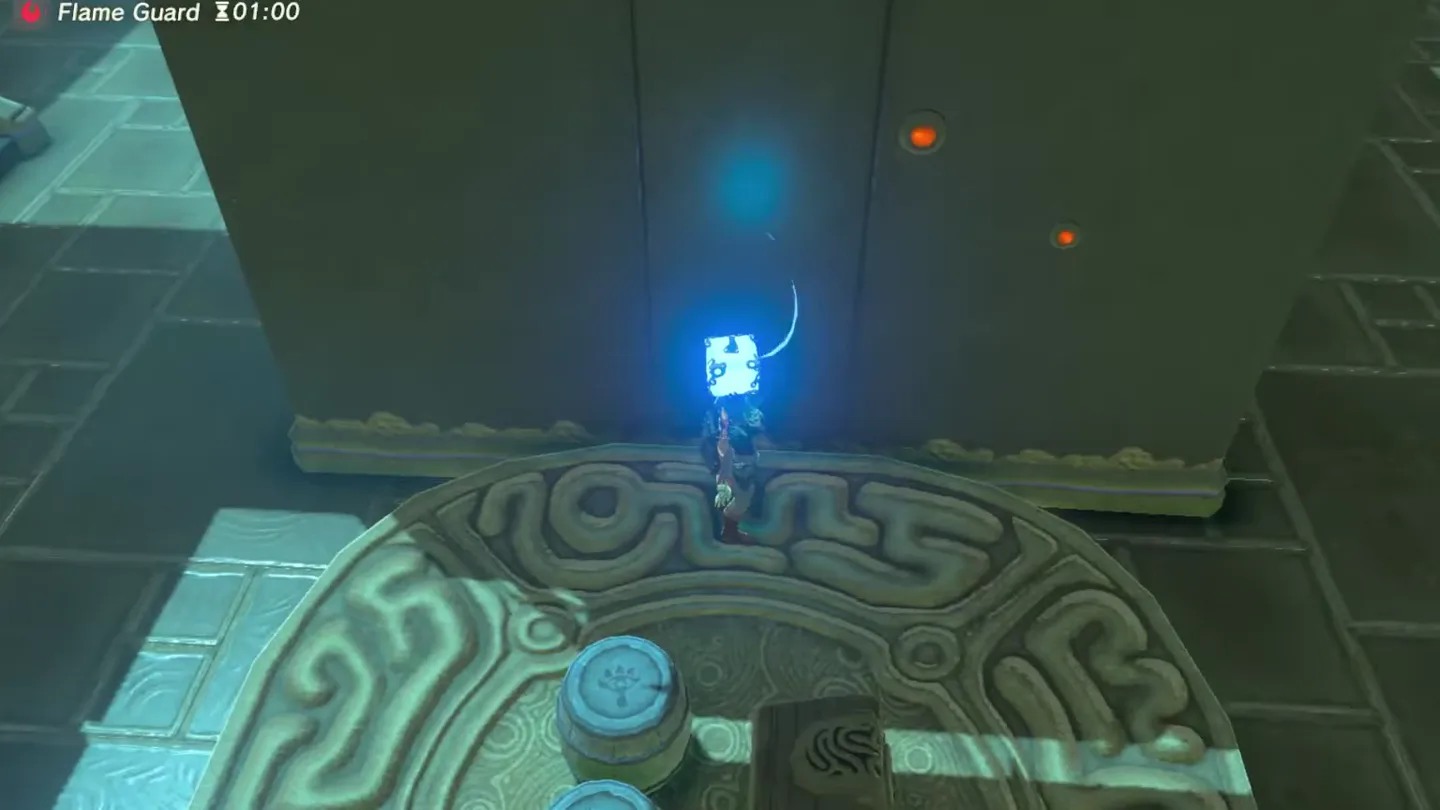
Unlock the locked cell across from the scales with the Small Key. Inside are three large metal cubes you can carry with Magnesis — these weights drive everything that follows.
2. Reach the optional chest on the high platform
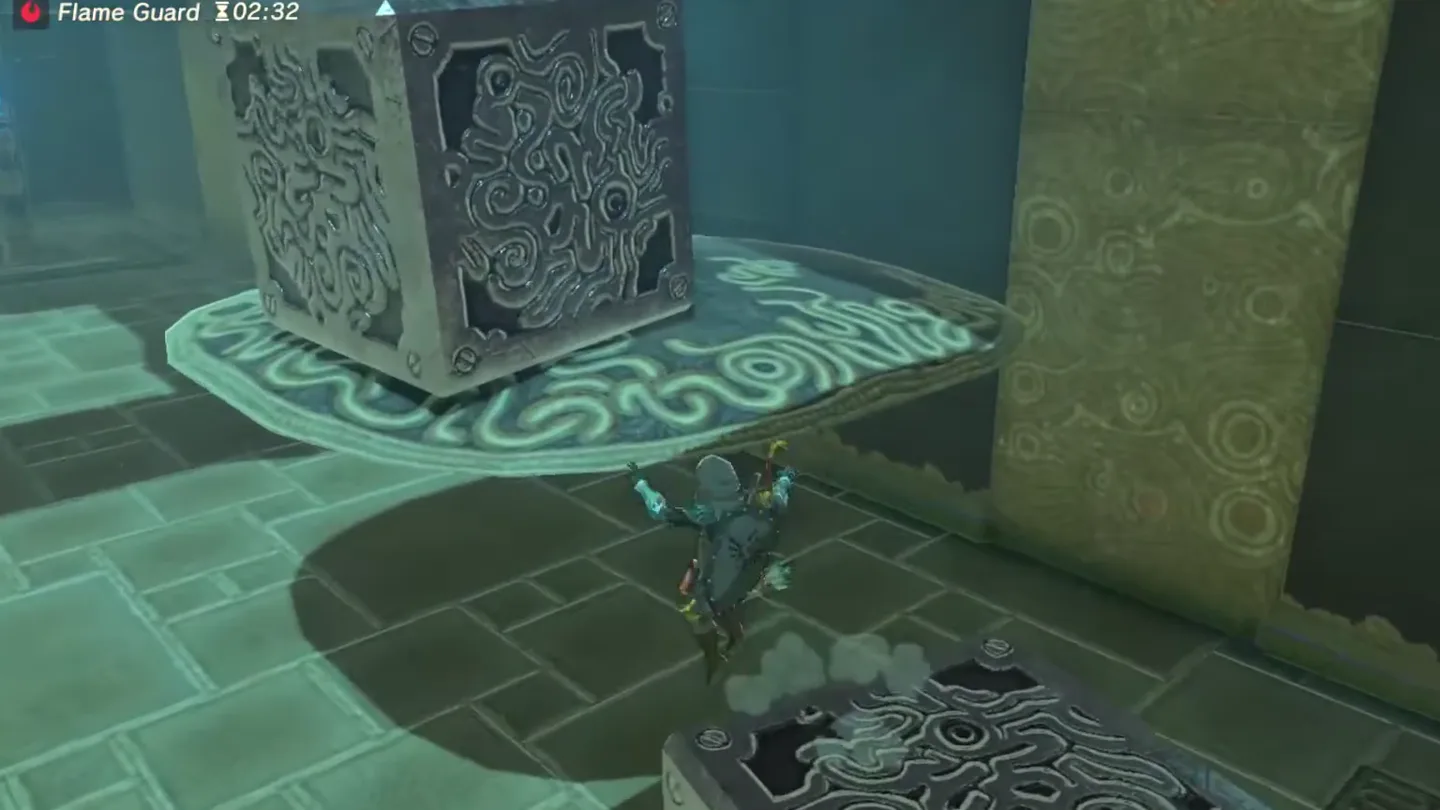
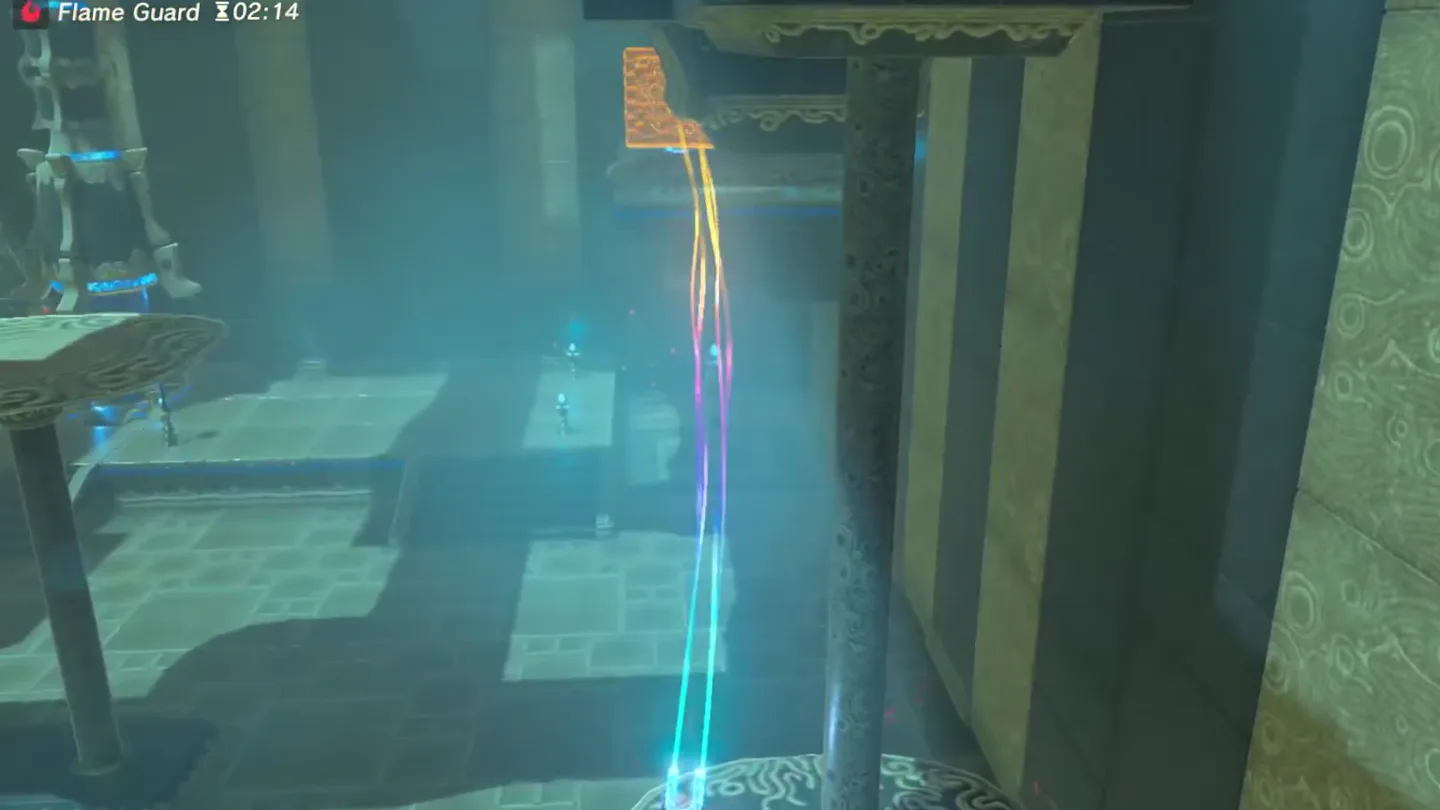
For the optional chest, look to the higher platform left of the entrance, above the second set of scales. Magnesis one metal cube onto the scale closest to that platform so that pan lowers to ground level.
Lay a second cube as a bridge between the steps beside the scales and the lowered pan, then walk across onto the pan.
While standing on it, drag the third cube onto the far scale (the one away from the platform), then Magnesis the cube off your own pan — with the counterweight gone, your side rises. Ride it up and step onto the platform.
Open the chest for the Knight’s Claymore, then head back to the center scales, the ones where you found the key.
3. Blast the blocks and reach the Monk’s Pedestal
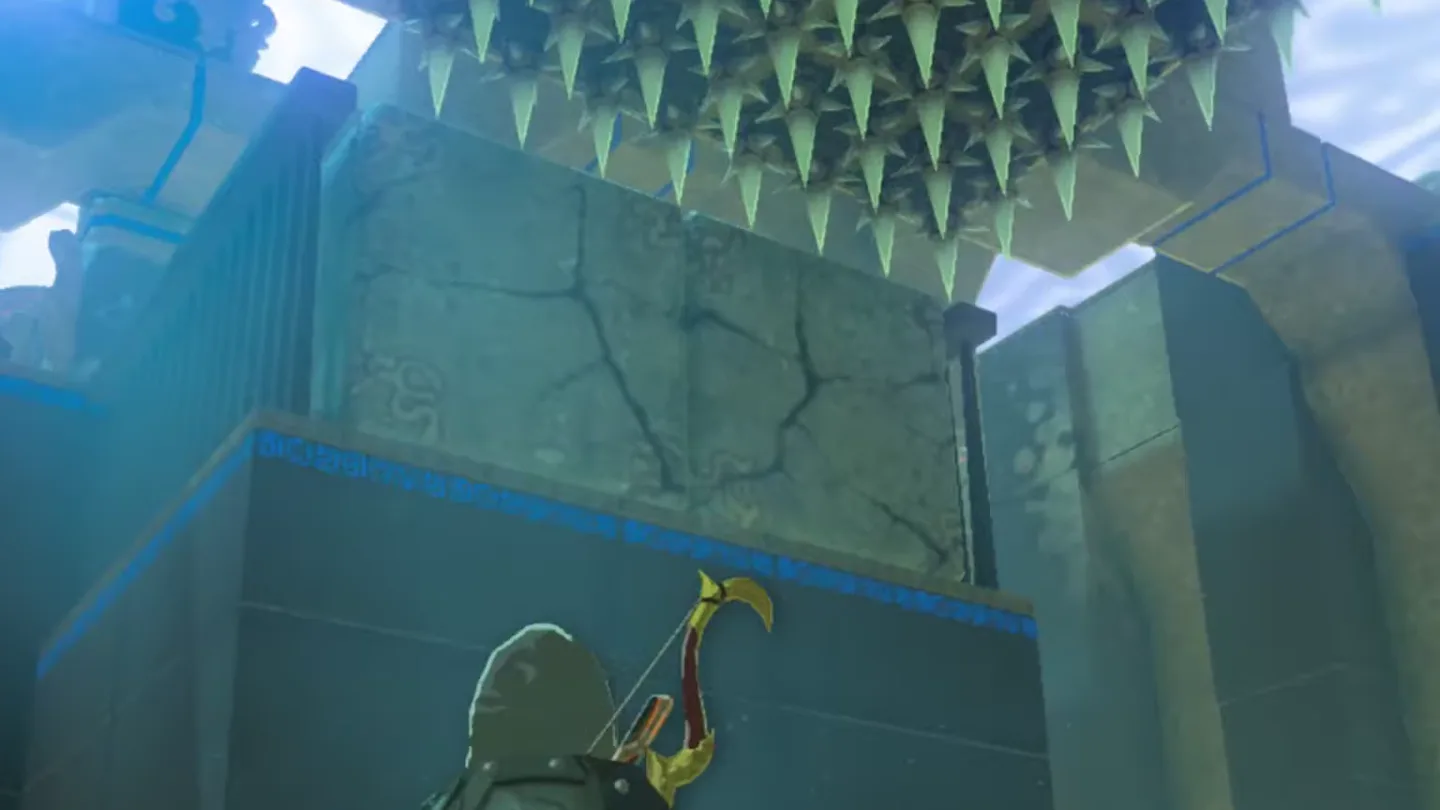
Look up: the Monk’s Pedestal sits on a raised level blocked by a stack of bombable stone blocks, and floor spikes hang directly above the near pan.
Place a Remote Bomb on the pan closest to those blocks, then set a metal cube on the opposite pan. The bomb’s side rises toward the blocks — detonate once it’s close enough to blast the stack open.
To lift yourself: stand on the pan beneath the spikes with one cube on it as a stopper, then load the other two cubes onto the opposite pan. Your side rises and halts just short of the spikes.
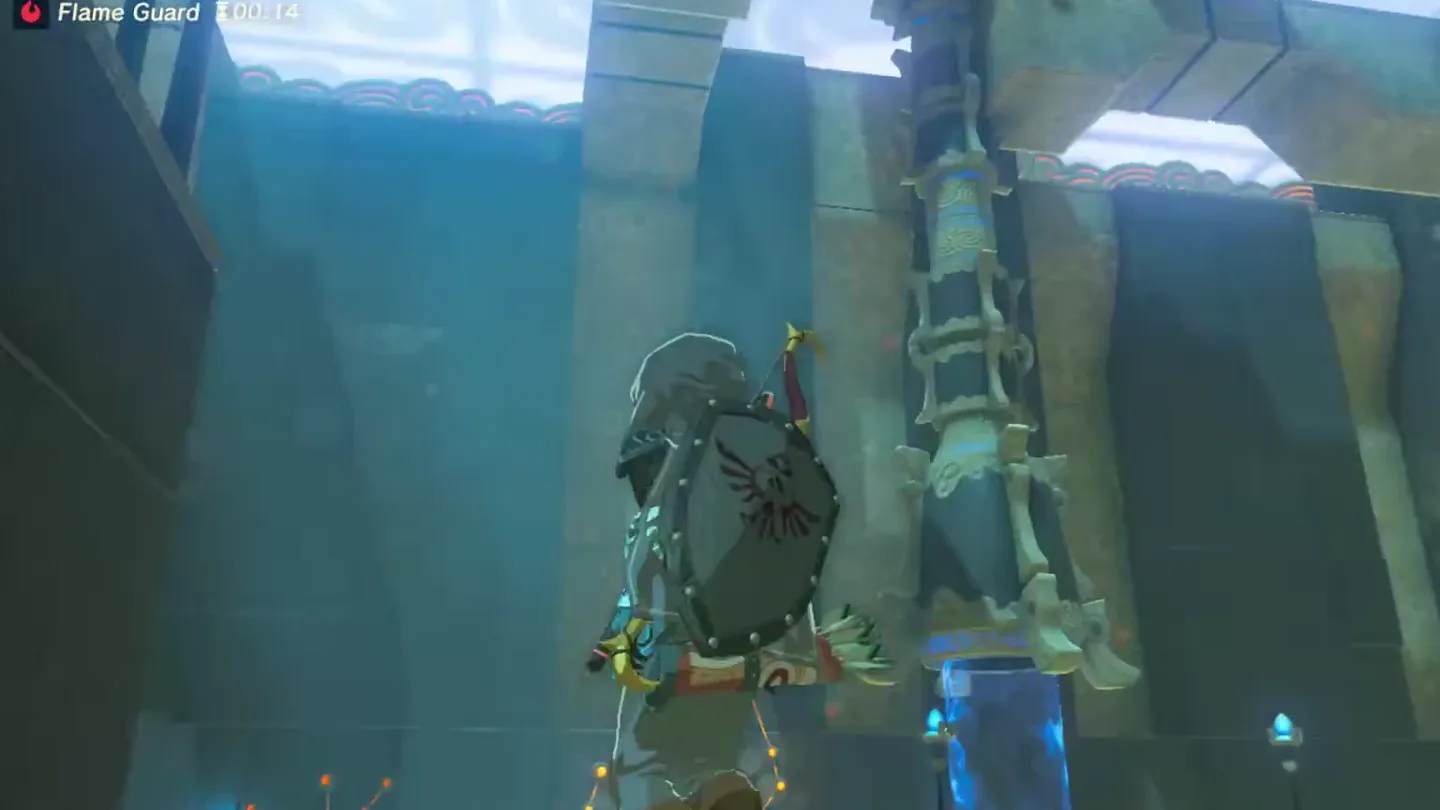
Step off toward the Monk’s Pedestal the moment you’re level with it — hop off quickly so the rising pan doesn’t push you into the spikes, though they deal only light damage. Speak with Qua Raym to receive your Spirit Orb; the Monk wishes you well and fades away.
What is in each chest?
| Chest | Contents | How to get it |
|---|---|---|
| 1 | Small Key | Burn the wooden crate on the left-hand scale with a torch-lit arrow; the opposite pan drops to the floor, where the chest sits alongside two barrels. The key opens the locked cell holding the three metal cubes. |
| 2 | Knight’s Claymore | On the raised platform left of the entrance, above the second set of scales. Weigh down the nearest scale with a cube, bridge across with a second, then shift the third cube to the far scale and lift the one under you so your pan rises to the ledge. |
What do people miss here?
- The Knight’s Claymore chest is fully optional — it’s on a higher platform left of the entrance and nothing points you there, so loot it while the metal cubes are out.
- If you pile all the weight on the far pan and ride the near one empty, it carries you straight into the ceiling spikes. Keep one cube on your pan as a stopper and step off at pedestal height; even a hit only does light damage.
- You don’t need Fire Arrows for the crate — light a regular arrow at one of the torches in the chamber.
- Stuck with nowhere to go? Look up: the Monk’s Pedestal is blocked by a stack of bombable stone blocks above the center scales. Raise a Remote Bomb on the scale to bring it within blast range.
- Outside, players often think the lava islet is unreachable — Magnesis the iron crates near the shore into the lava to form a bridge, or paraglide across from higher ground.
What else is nearby?
| Shrine | Direction | Straight-line distance | Region |
|---|---|---|---|
| Kayra Mah Shrine | northeast | 581 | Eldin |
| Mirro Shaz Shrine | southwest | 663 | Woodland |
| Tah Muhl Shrine | southeast | 751 | Eldin |
Which guides help next?
FAQ
How do I get to Qua Raym Shrine on the island in the lava?
Where is the Small Key in Qua Raym Shrine?
How do I break the stone blocks blocking the Monk's Pedestal?
How do I avoid the ceiling spikes on the way up?
Is the Knight's Claymore chest missable?
Related Articles
guides
Breath of the Wild Captured Memories: All 13 Locations and Rewards
All 12 photo locations from Zelda's album plus the 13th memory in Impa's painting, with coordinates, nearby shrines, the Champion's Tunic and the extra ending scene.
guides
Breath of the Wild Great Fairy Fountains: Locations, Costs and Horse God
Where the four Great Fairy Fountains and the Horse God Malanya are in Breath of the Wild, what each fairy costs to release, and how many you need per armor upgrade.
guides
Hyrule Castle Walkthrough: Entry Routes, Hylian Shield and Final Prep
How to get into Hyrule Castle in Breath of the Wild: five entry routes, the Hylian Shield and other loot by room, and what to prepare before the final battle.
Was this helpful?
Thanks for the feedback!