

Hawa Koth Shrine Guide: The Current Solution Walkthrough
Step-by-step Hawa Koth Shrine guide: solve every electric current puzzle, all 3 chests (Ancient Core, 300 Rupees, Sapphire), and get your Spirit Orb.
Where is Hawa Koth Shrine?
The shrine sits inside the Gerudo Great Skeleton, the giant skeleton landmark in the southwest portion of the Gerudo Desert, southwest of Gerudo Town. When Link enters the Ancient Shrine, the monk Hawa Koth can be heard presenting the trial. Just trek out to the skeleton and step inside — there is nothing else standing between you and the entrance.
| Item | Detail |
|---|---|
| Trial | The Current Solution |
| Tower region | Wasteland |
| Map-marker coordinates | -4847, -3774, 0137 |
| Shrine quest | None |
| Chests | 3 |
| Names | Hawa Koth Shrine · 哈瓦‧卡伊神廟 · 哈瓦·卡伊神庙 |
What should you bring?
Magnesis is the only rune you need — every single puzzle in this shrine is solved with it. Do bring a weapon: three Guardian Scout I stand on the high pathway and attack when you approach them. Arrows or bombs let you pick them off from a distance, or you can run over to them into melee range.
Video walkthrough

How do you solve Hawa Koth Shrine?
Every puzzle in this trial is about routing electricity: an unbroken conductive path — metal cubes, a chained ball, a charged sphere, sliding blocks, and finally a missing gear — must reach the switch for anything to open.
1. Power the first door with metal cubes
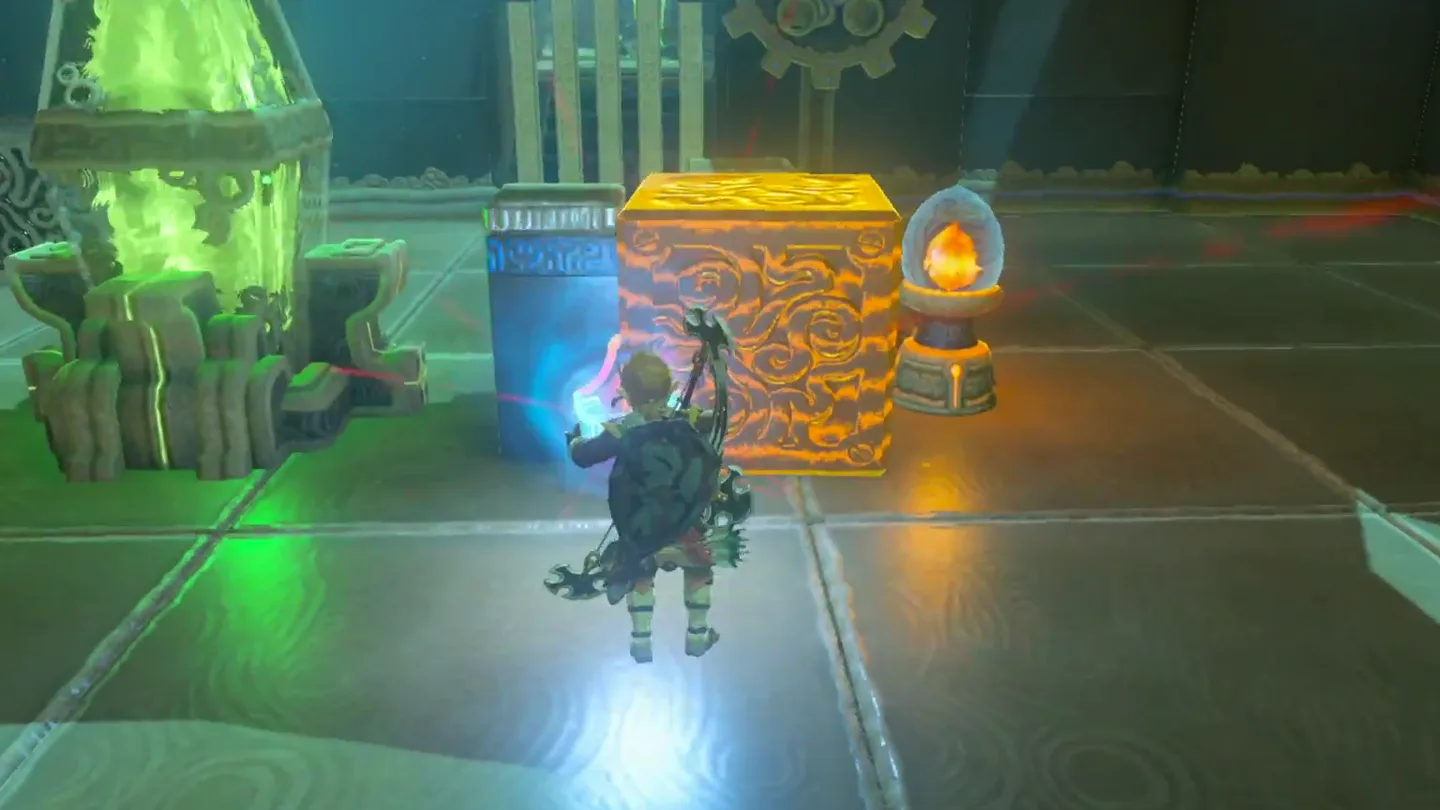
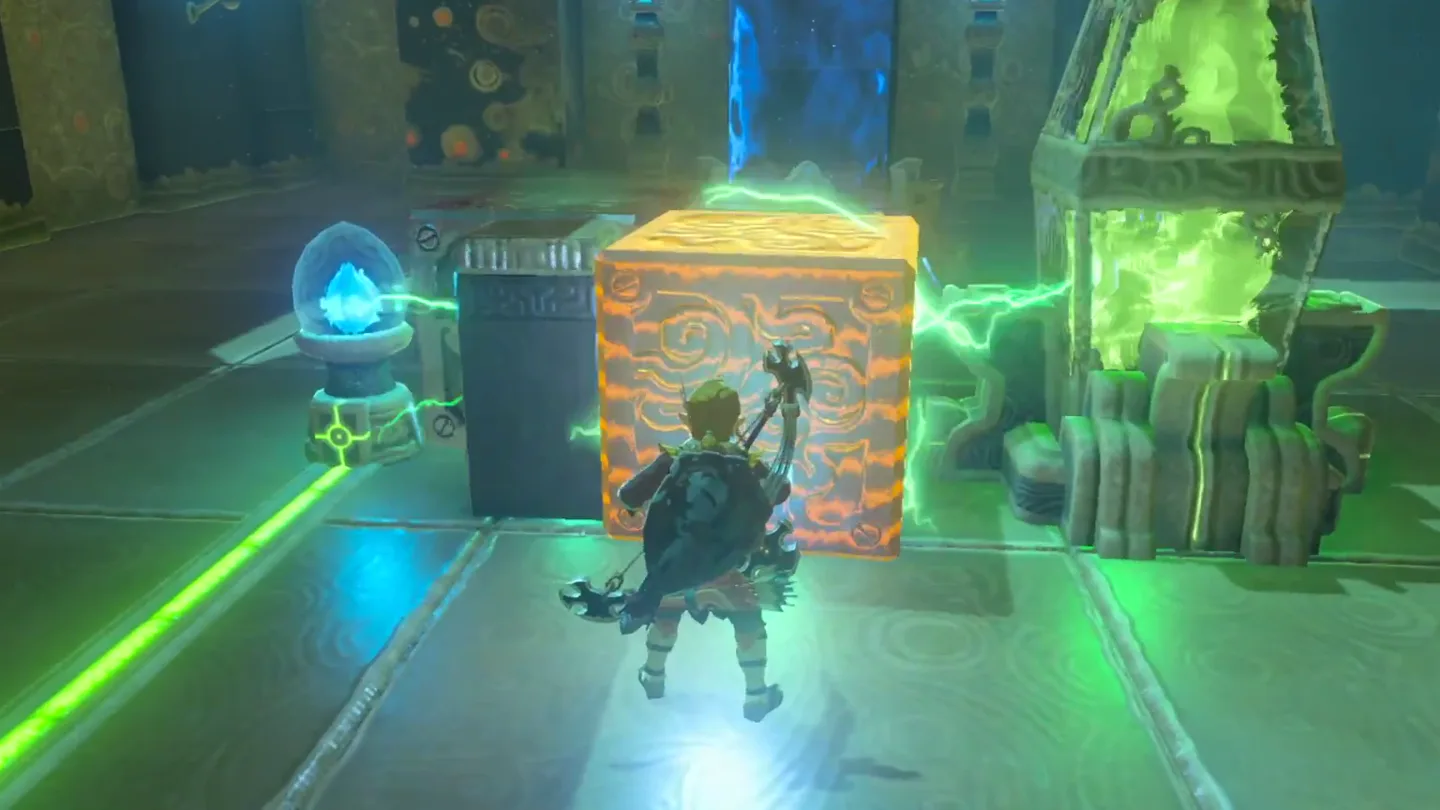
In the first room, a green power source faces a switch across from it, with two small pillars separating them and two metal cubes lying nearby. Use Magnesis to set one cube on each of the two pillars (podiums) — the current bridges the gap, the lamp lights up, and the door to the next room opens.
2. Unravel the chain and activate the platform
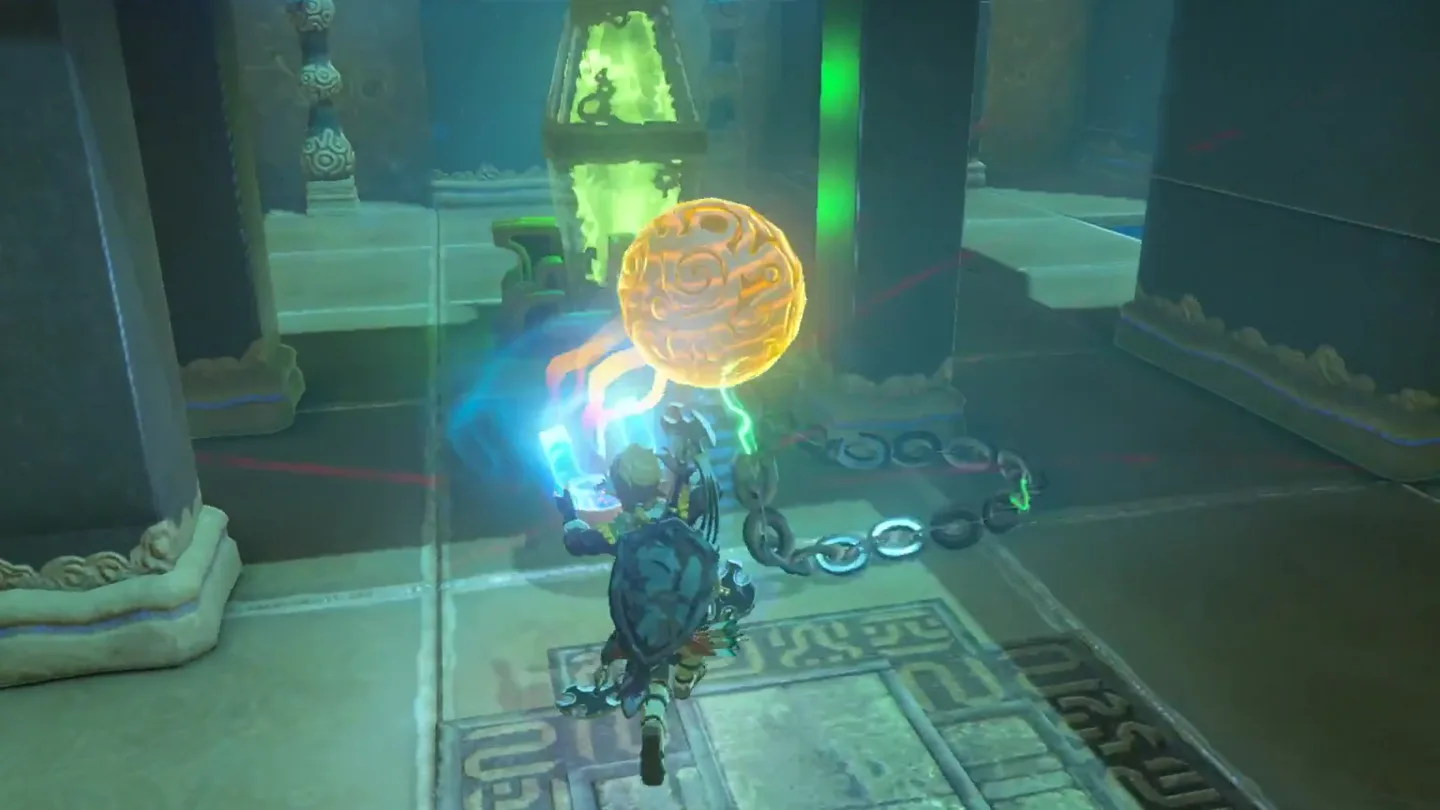
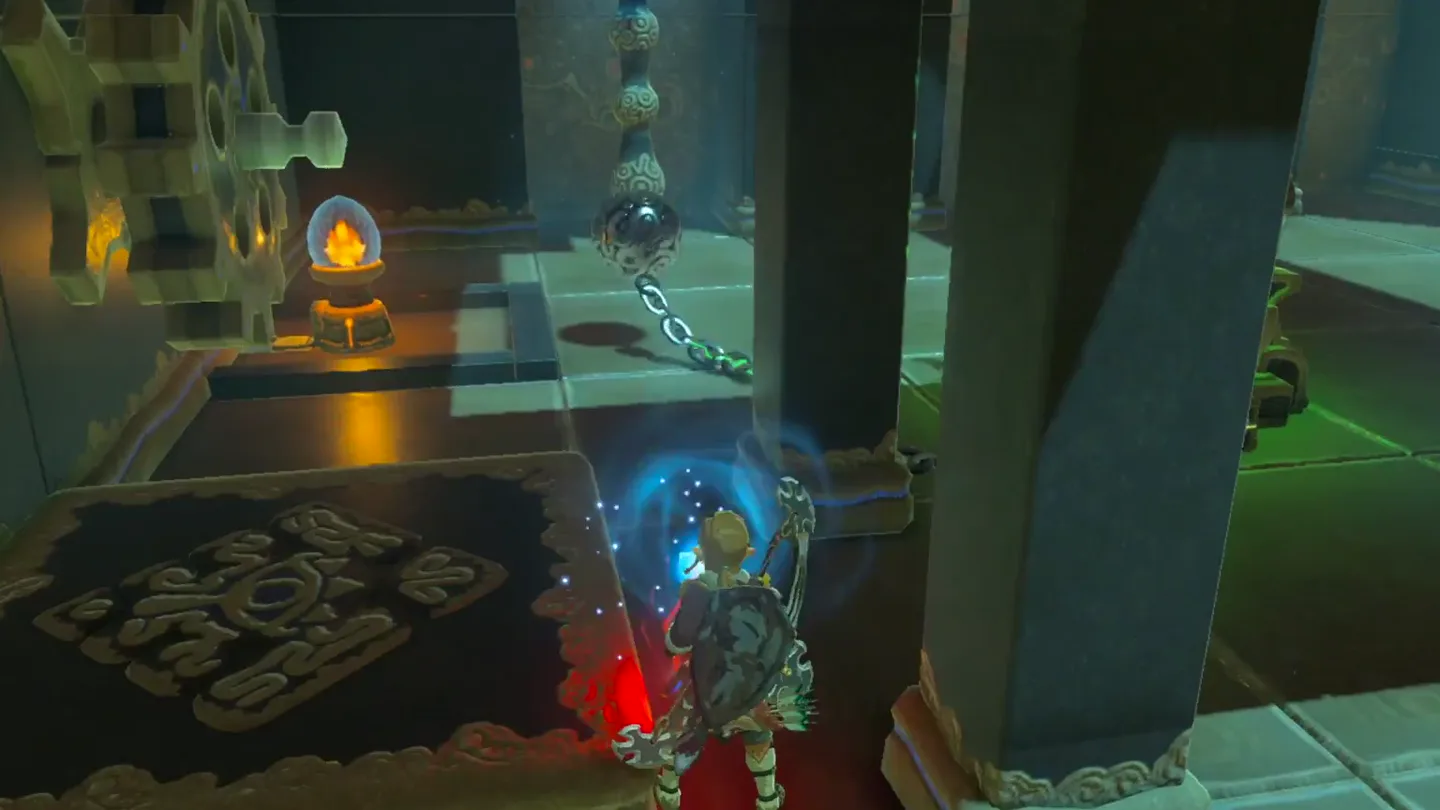
In the next room, another power source holds a metal ball on a chain, and the chain is wrapped around a column. Grab the ball with Magnesis and work it around the column to unravel the chain.
Carry the untangled ball over and place it by the nearby switch/bulb — when that bulb is powered, the moving platform activates.
3. Retrieve the sunken treasure chest
Before riding up, look at the water at the bottom of the room: a treasure chest is sunk in it. Magnesis the chest to the surface and open it for an Ancient Core.
4. Cross the pathway with the electrified ball
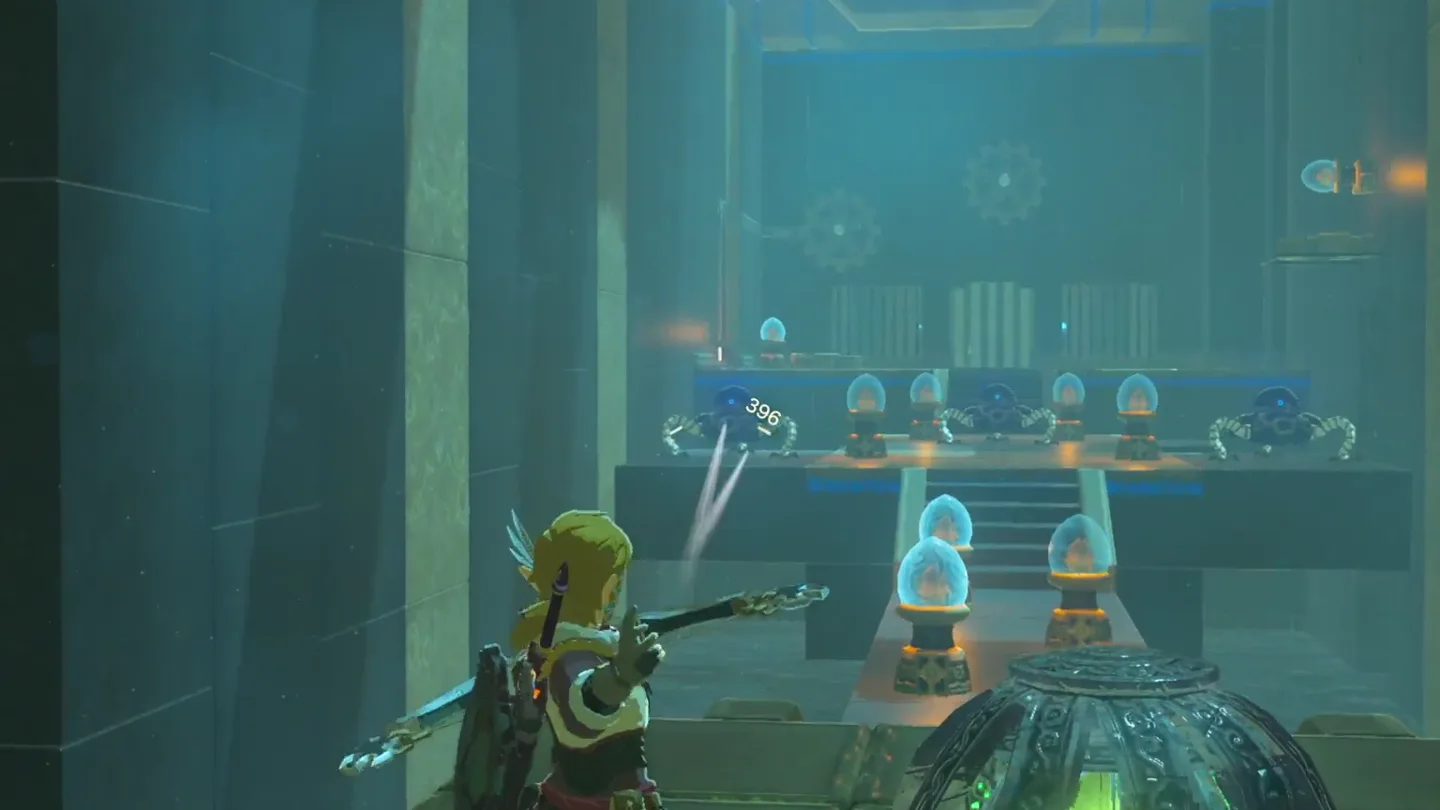
Ride the platform to the upper level. You arrive at a long, narrow pathway lined with switches, where three Guardian Scout I attack as you approach. Clear them first with arrows, bombs, or by running into melee range.
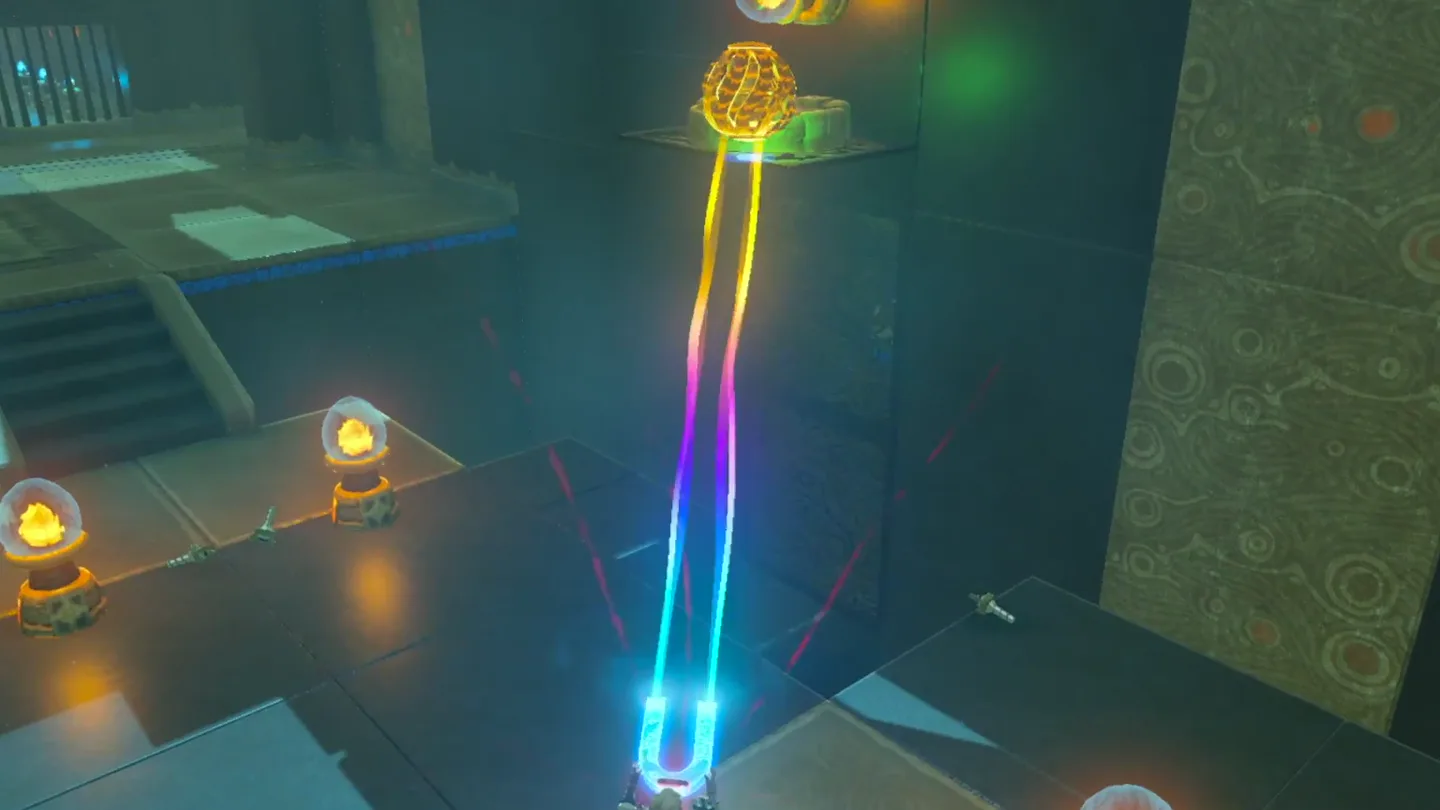
Pick up the new electrified metal ball with Magnesis and set out across the pathway, lifting it high into the air, well away from the switches and bulbs along the bridge.
Watch the right-hand wall up high: there’s a small ledge with a bulb. Place the ball on it — a gate opens into a hidden room. Go in and loot the chest for a Gold Rupee (300 Rupees).
Head back around, pick the ball up again, and place it at the bulb at the end of the bridge. This opens a gate to the right, but the door to the final room stays shut — a gear is missing from the wall mechanism.
5. Solve the floor-switch and sliding-block puzzle
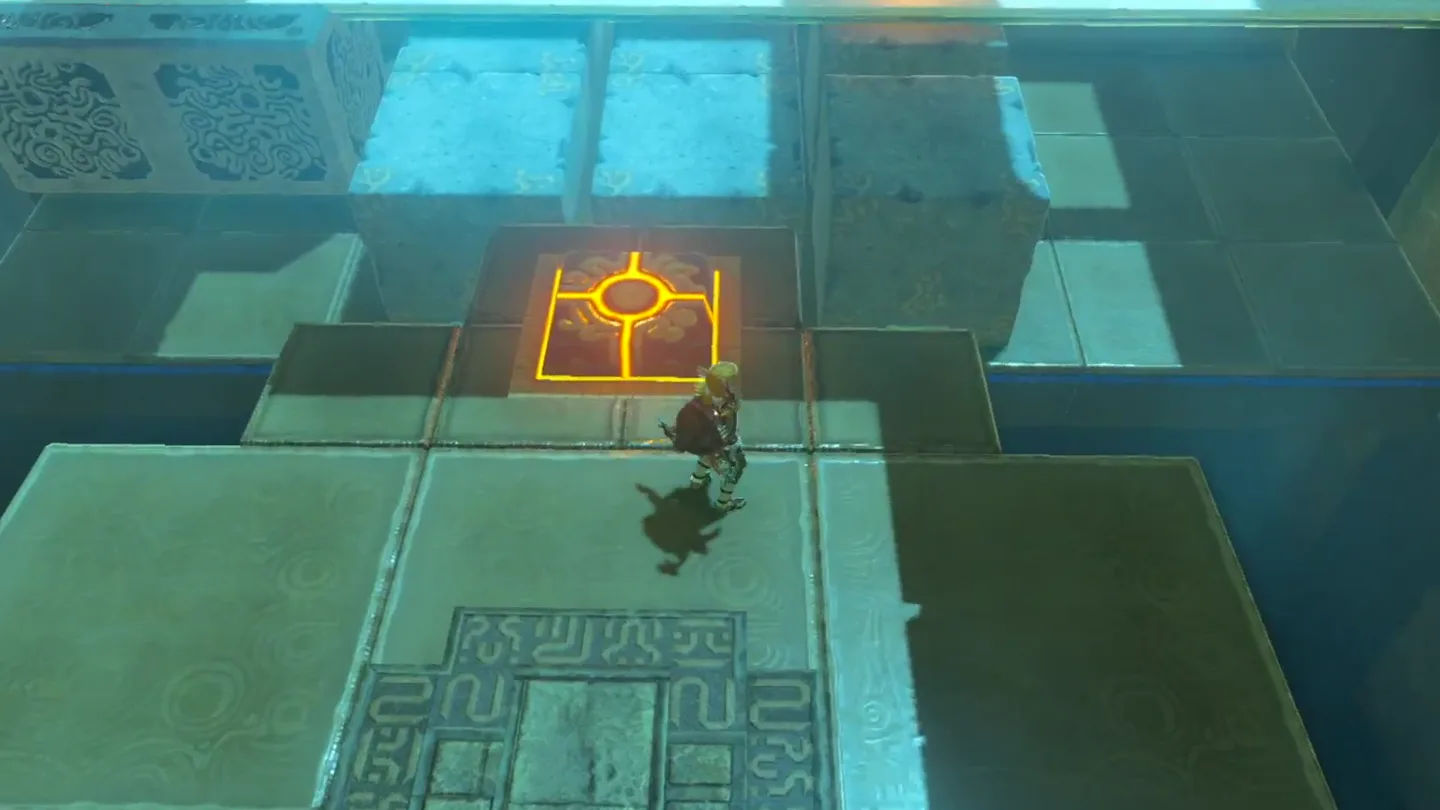
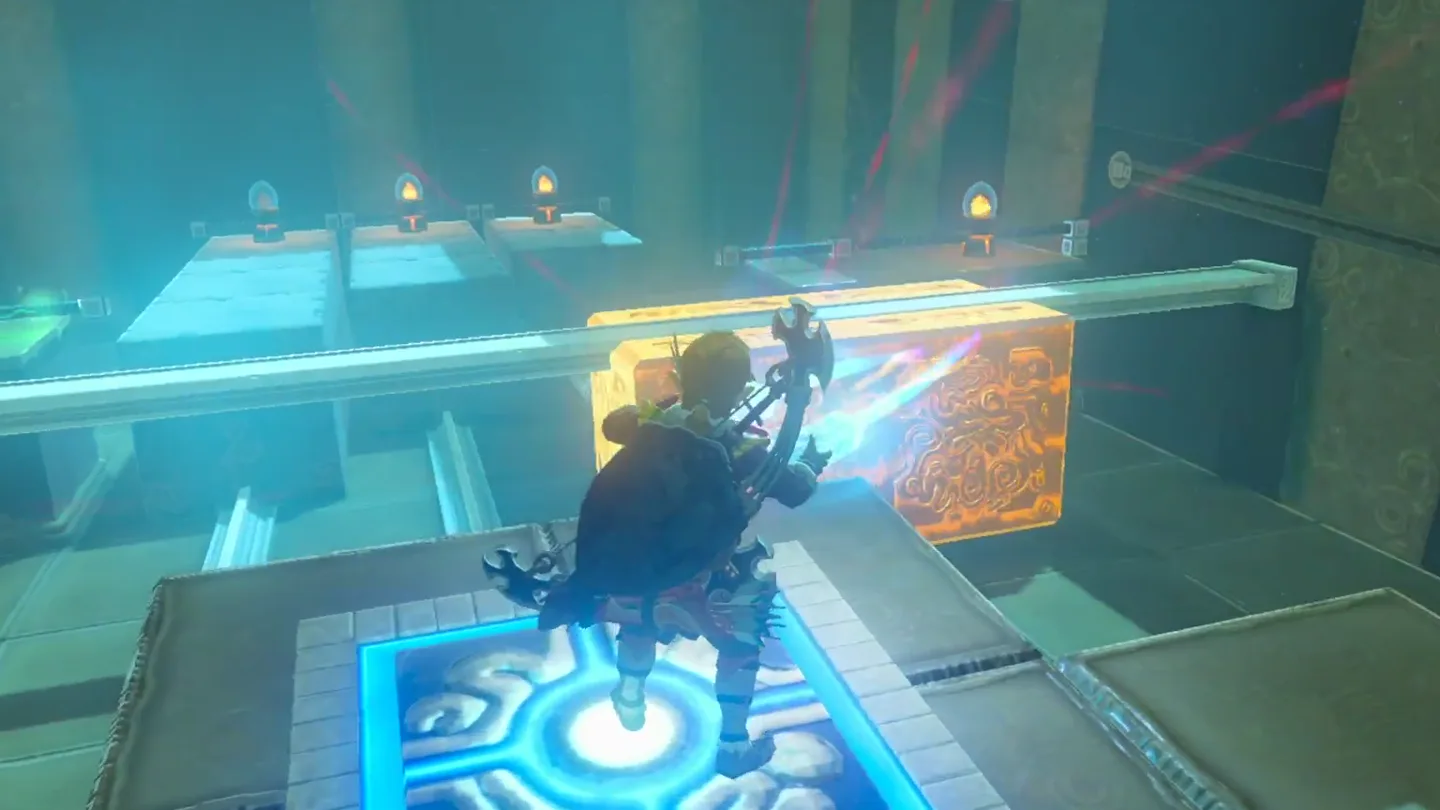
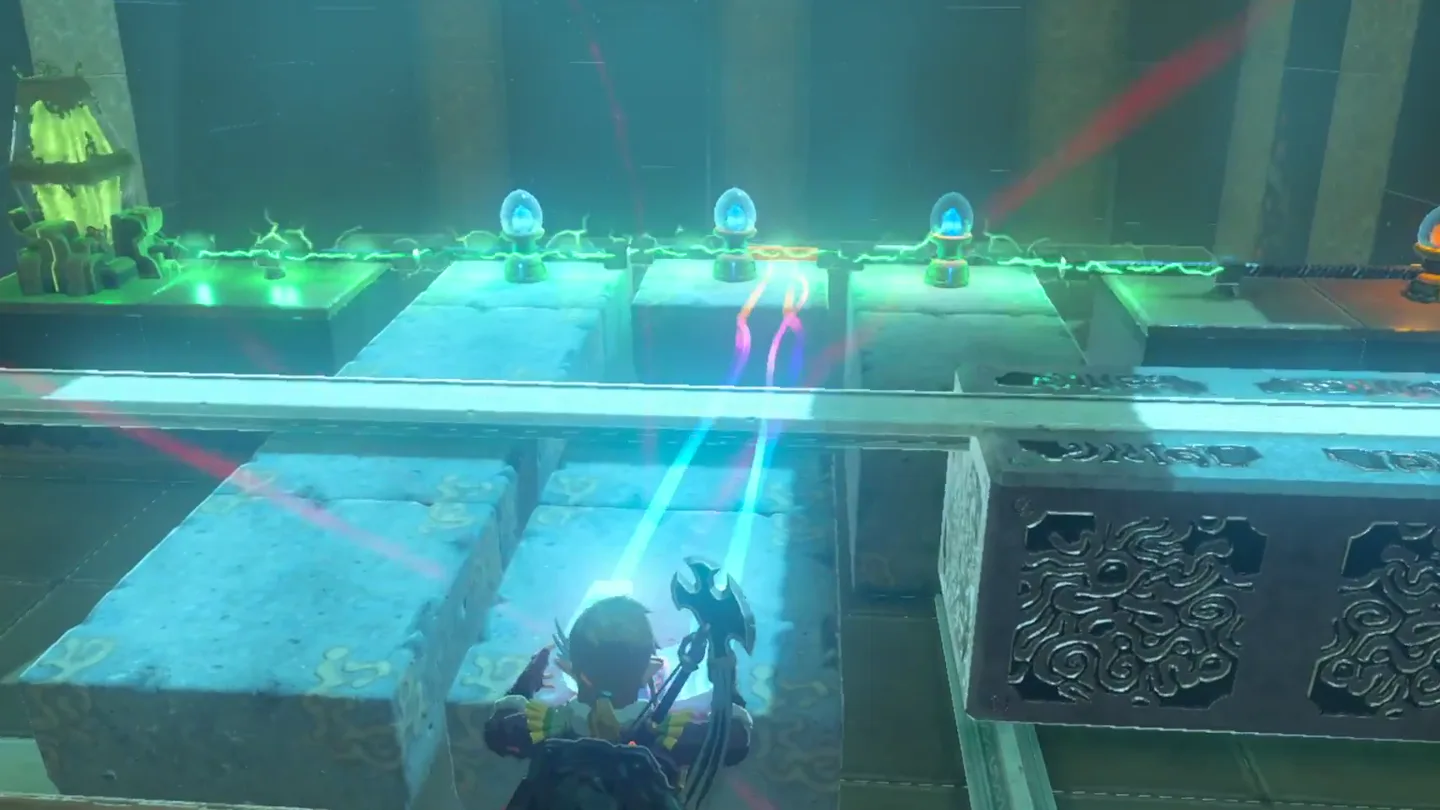
Go through the gate into the next room: a power source, a series of large stone cubes (three of them carry switches that must line up horizontally), and a floor switch (pressure plate) in front of you. Step on the plate and let all the blocks tilt toward the back wall.
While standing on the plate, use Magnesis to pull the metal cuboid from the left to the right, seating it between the 1st and 2nd stone block in the middle.
Step off the plate — the blocks all line up, the wire circuit completes, and gates open in the corner of the room.
6. Get the gear and open the final gate
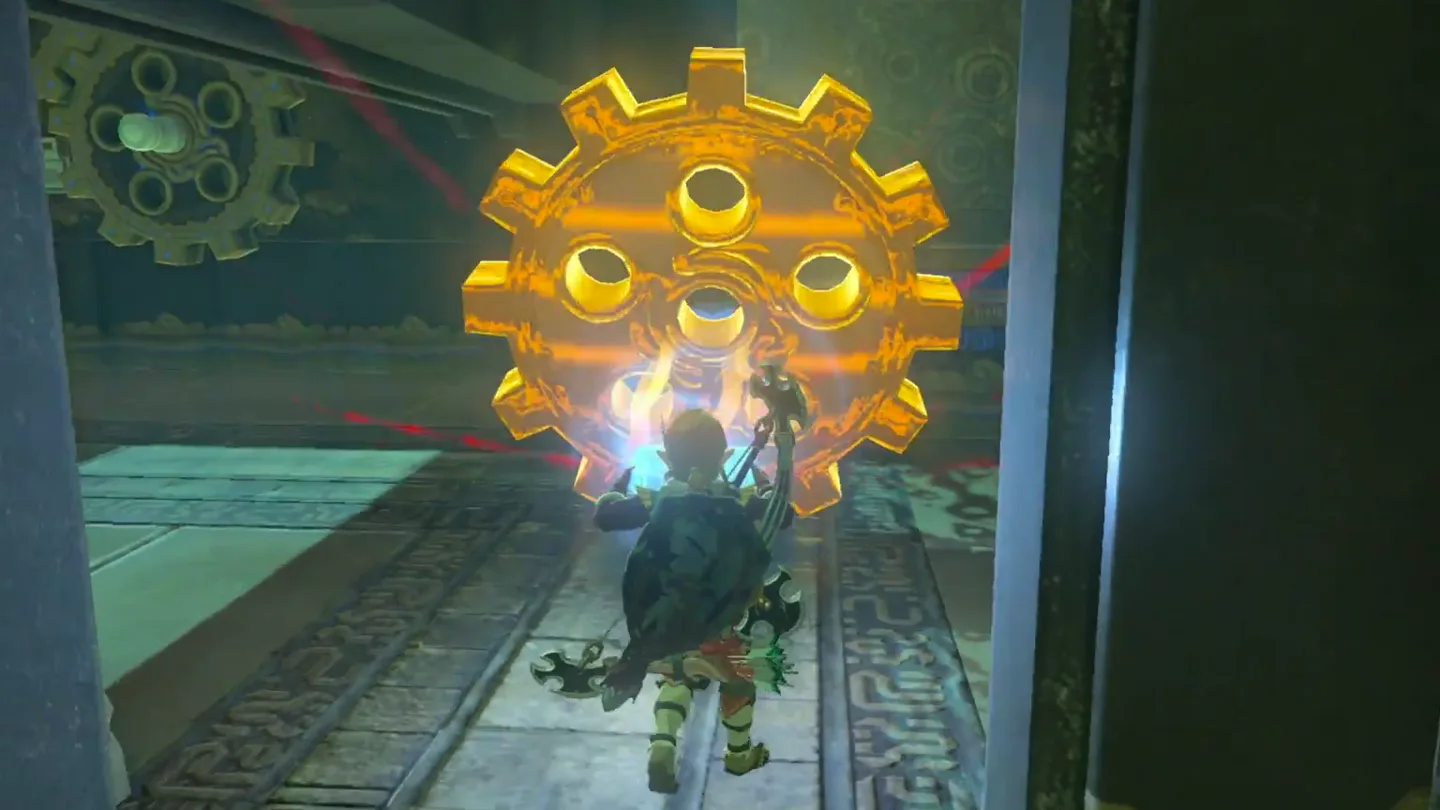
In the small room that opens you’ll find a treasure chest with a Sapphire and the missing gear. Loot the chest, then grab the gear with Magnesis.
Carry the cog to the other room and place it in the empty space on the wall — this opens the gate to the end of the shrine and the Monk’s Pedestal.
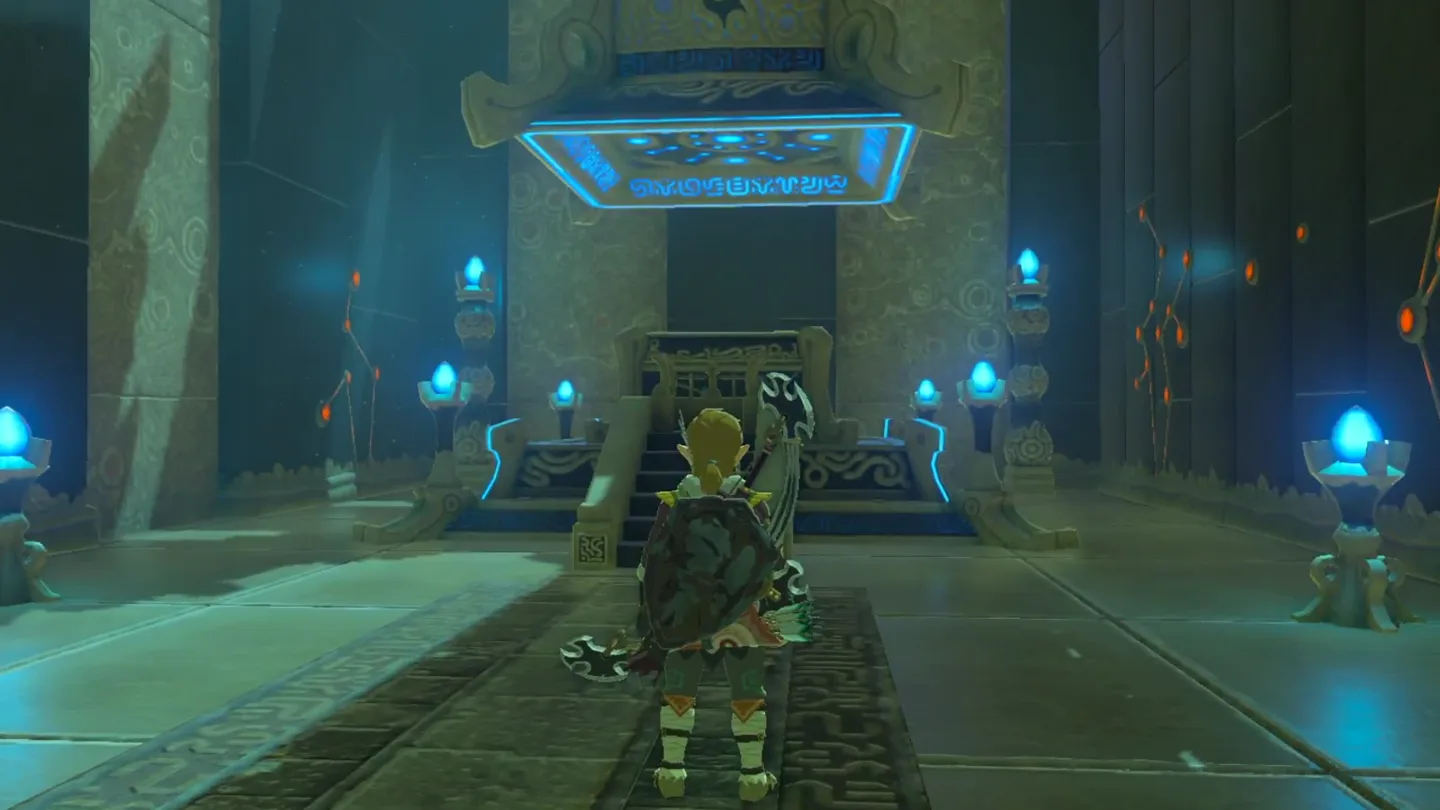
Walk up to Hawa Koth and claim your Spirit Orb.
What is in each chest?
| Chest | Contents | How to get it |
|---|---|---|
| 1 | Ancient Core | Sunk in the water at the bottom of the second room, below the moving platform and pathway. Pull it to the surface with Magnesis before (or after) riding the platform up. |
| 2 | Gold Rupee (300 Rupees) | In a hidden room behind a gate. While crossing the pathway with the electrified ball, place it on the bulb on the small ledge high up on the right-hand wall. |
| 3 | Sapphire | Inside the small room that opens after the floor-switch and sliding-cube puzzle; it sits together with the gear you need for the final door. |
What do people miss here?
- The Ancient Core chest is underwater and easy to walk past — the guide explicitly says to Magnesis it out of the water before you head up on the platform.
- The Gold Rupee chest is behind a hidden gate on a high right-hand ledge along the pathway, and you open it by placing the charged ball on that bulb during the crossing. If you’ve already set the ball down at the end of the bridge, you can head back around, pick it up, and carry it to the ledge.
- If the electrified ball charges any switch along the pathway, the platforms shift angles and drop you down to the lower level — hold the ball high in the air the whole way across.
- The final door refusing to open isn’t a glitch — its wall mechanism is missing a gear. Don’t waste time repositioning the ball; go solve the sliding-cube room first, then come back with the gear.
- In the sliding-cube room, the metal cuboid has to be seated between the 1st and 2nd stone block while you’re standing on the pressure plate. Step off too early and the blocks won’t line up and the circuit stays broken — just step back on and reposition it.
What else is nearby?
| Shrine | Direction | Straight-line distance | Region |
|---|---|---|---|
| Tho Kayu Shrine | north | 975 | Wasteland |
| Raqa Zunzo Shrine | northeast | 1222 | Wasteland |
| Daqo Chisay Shrine | northeast | 1405 | Wasteland |
Which guides help next?
FAQ
Why won't the door at the end of the bridge open in Hawa Koth Shrine?
Where is the Ancient Core chest in Hawa Koth Shrine?
How do I get the chest with 300 Rupees in Hawa Koth Shrine?
What happens if the charged ball touches a switch on the bridge?
How do I solve the large cubes and floor switch puzzle?
Related Articles
guides
Breath of the Wild Captured Memories: All 13 Locations and Rewards
All 12 photo locations from Zelda's album plus the 13th memory in Impa's painting, with coordinates, nearby shrines, the Champion's Tunic and the extra ending scene.
guides
Breath of the Wild Great Fairy Fountains: Locations, Costs and Horse God
Where the four Great Fairy Fountains and the Horse God Malanya are in Breath of the Wild, what each fairy costs to release, and how many you need per armor upgrade.
guides
Hyrule Castle Walkthrough: Entry Routes, Hylian Shield and Final Prep
How to get into Hyrule Castle in Breath of the Wild: five entry routes, the Hylian Shield and other loot by room, and what to prepare before the final battle.
Was this helpful?
Thanks for the feedback!