

Goma Asaagh Shrine: Major Test of Strength Walkthrough
Goma Asaagh Shrine guide: melt the ice at Hebra Peak, beat the Guardian Scout IV on the wet floor, and claim the Royal Claymore chest.
Where is Goma Asaagh Shrine?
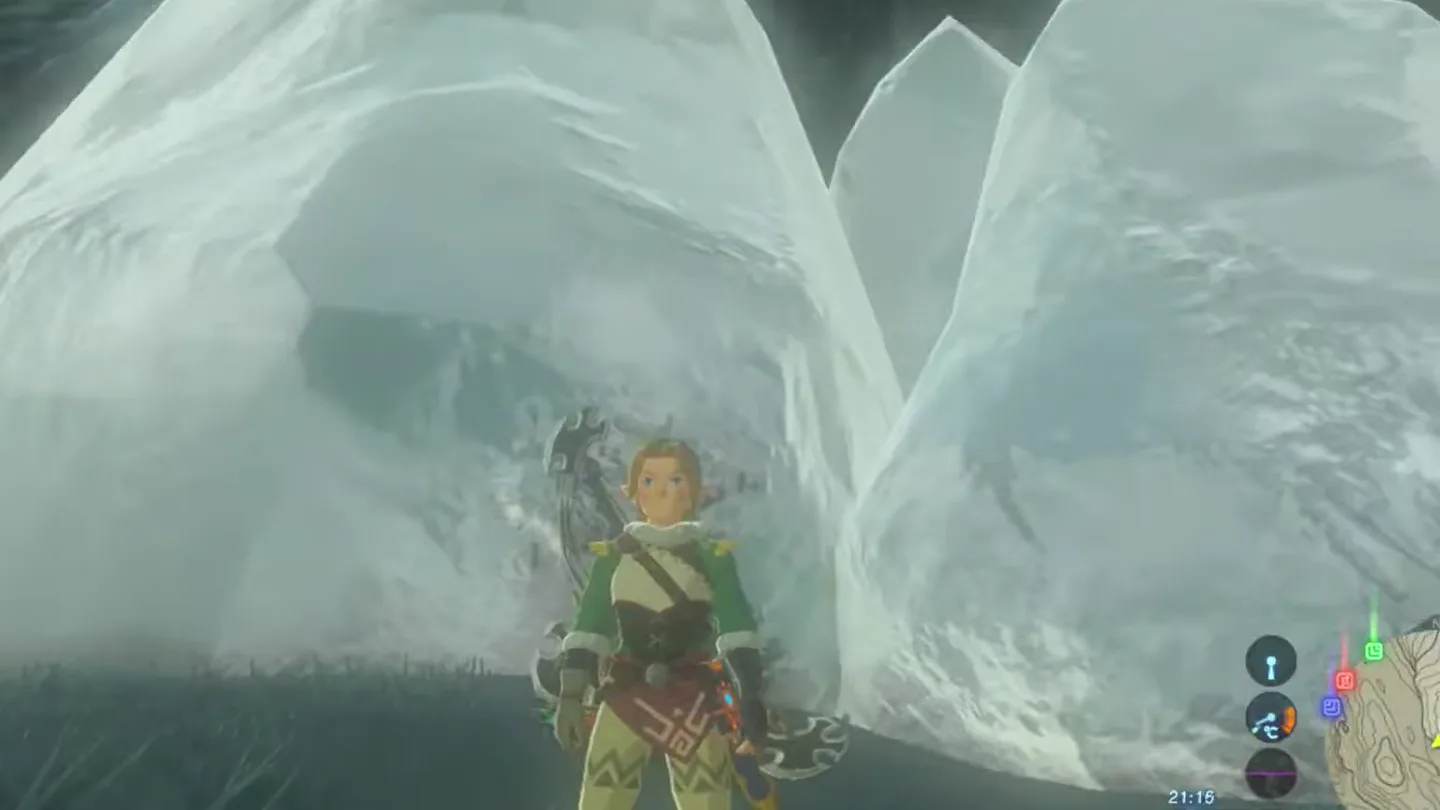
Head for Hebra Peak itself — the shrine is tucked into a cave directly beneath the summit at (-2793, 2882, 0684). Shada Naw Shrine lies a short hop northwest and Rok Uwog Shrine to the northeast, with Gee Ha’rah Shrine much farther southeast. If your Sheikah Slate’s shrine sensor is on, it will start going off like crazy before you see anything, because the entrance is hidden behind a ton of huge ice blocks inside the cave.
| Item | Detail |
|---|---|
| Trial | A Major Test of Strength |
| Tower region | Hebra |
| Map-marker coordinates | -2793, 2882, 0684 |
| Shrine quest | None |
| Chests | 1 |
| Names | Goma Asaagh Shrine · 迦奧瑪‧阿薩神廟 · 迦奥玛·阿萨神庙 |
What should you bring?
Bring a fire source: wood bundles to light campfires against the ice, or a fiery weapon like a Fire Rod or Flameblade to wave over it — without one you’ll need to climb over the top of the blocks instead. Pack your best melee weapons, a sturdy shield, and plenty of healing food: this is a Major Test of Strength against a Guardian Scout IV, and a worn-out arsenal will not outlast it. Shock arrows or any electric weapon make the fight much easier, since the arena floor is covered in water. Dress for the Hebra cold on the climb up.
Video walkthrough

How do you solve Goma Asaagh Shrine?
This trial turns on the flooded arena floor: shock it to paralyze the Scout, and raise Cryonis pillars for the cover this wide-open room otherwise lacks.
1. Melt or climb the ice blocks
Reach the cave beneath Hebra Peak at (-2793, 2882, 0684). If your Sheikah Slate’s shrine sensor is on, it will start pinging before you can see the shrine itself.
Step into the cave and look around: a ton of huge ice blocks fill it, with the shrine buried behind them. You won’t see the shrine itself until they’re dealt with.
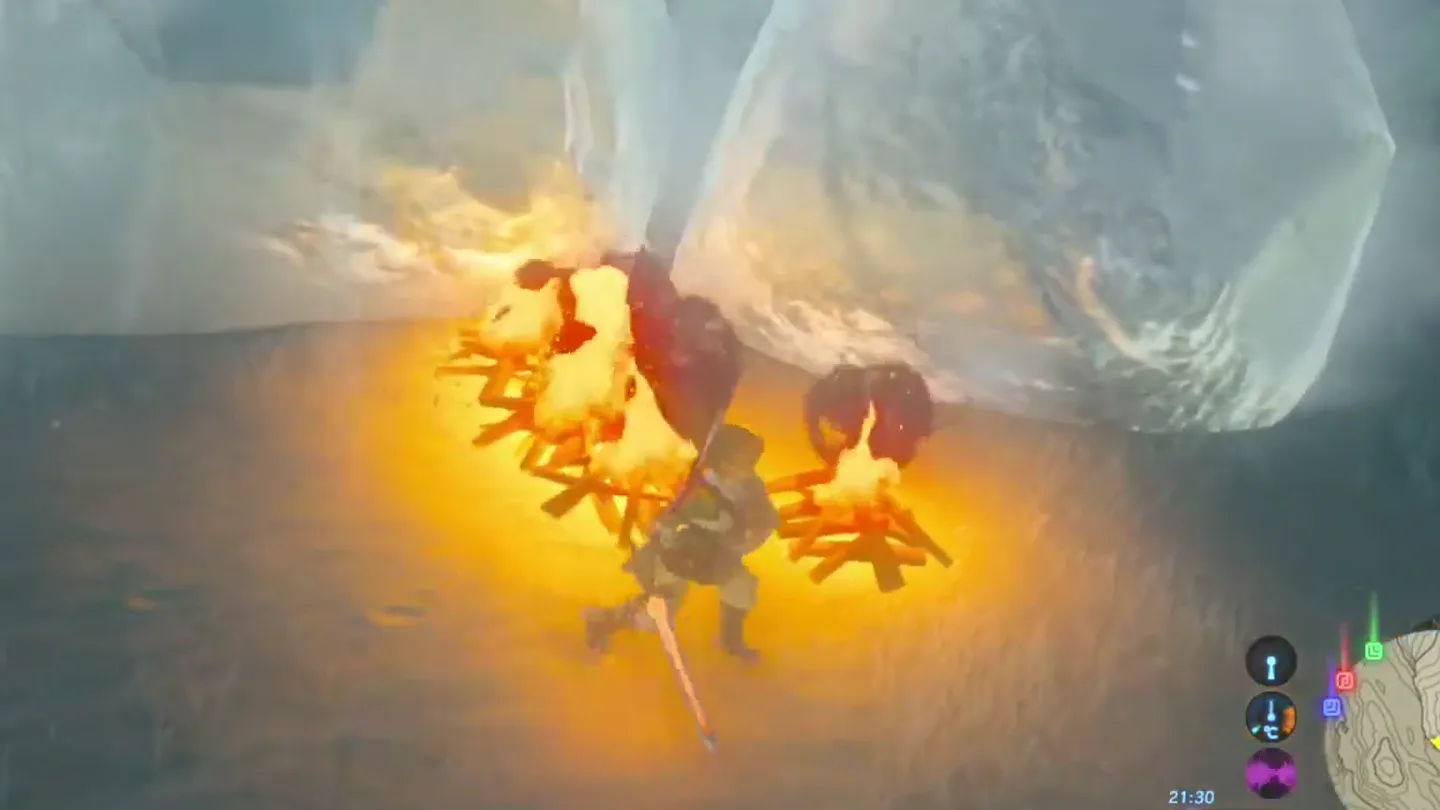
Melt the ice — drop wood bundles and light campfires against the blocks, or wave a fiery weapon like a Fire Rod or Flameblade over them. It takes fire and patience; keep at it until the ice melts away.
Alternatively, skip the melting entirely and climb up and over the top of the ice to reach the shrine from above.
2. Defeat the Guardian Scout IV
Enter the shrine. Monk Goma Asaagh greets you and names this a combat trial: A Major Test of Strength. Gear up now — best weapons, a good shield, healing food, and shock arrows or an electric weapon.
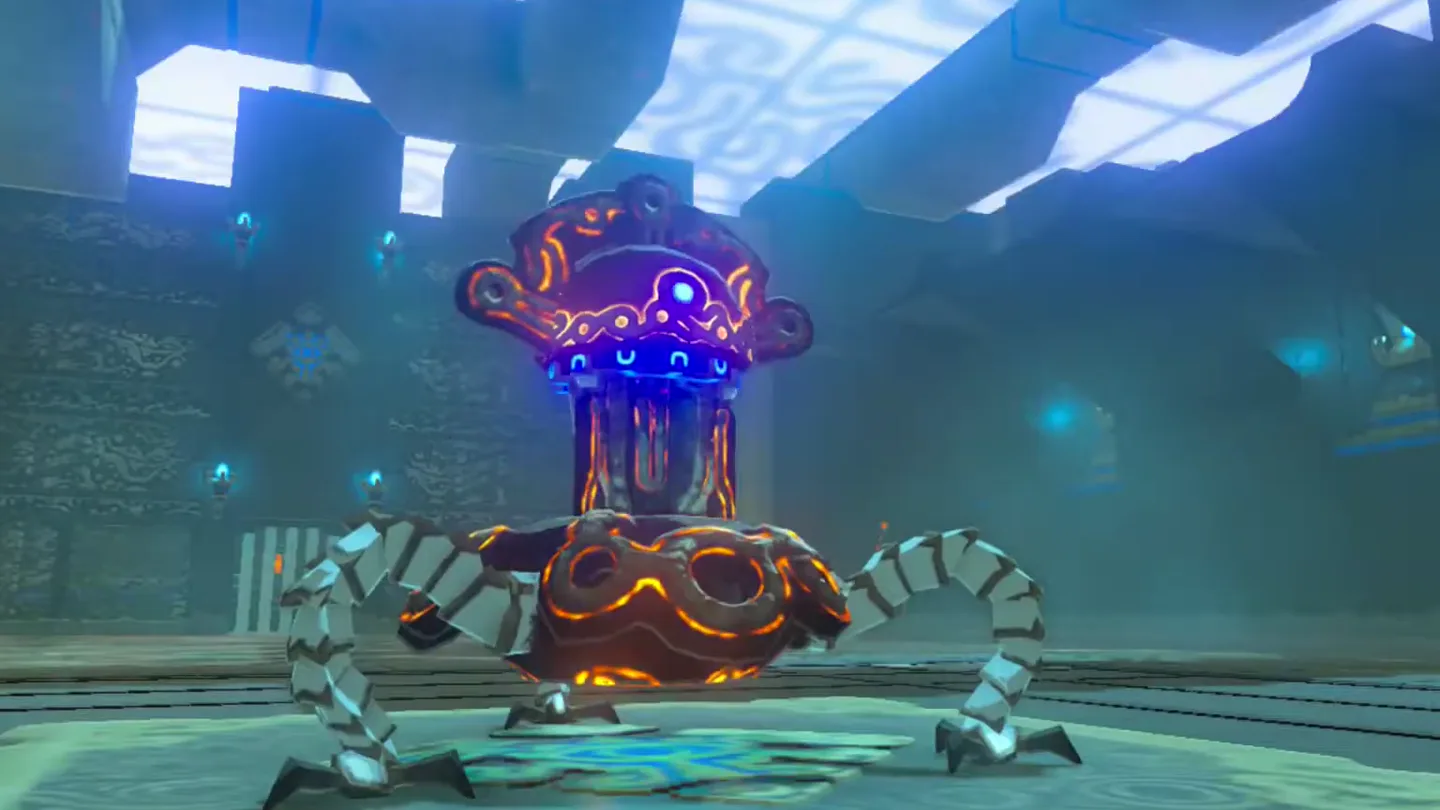
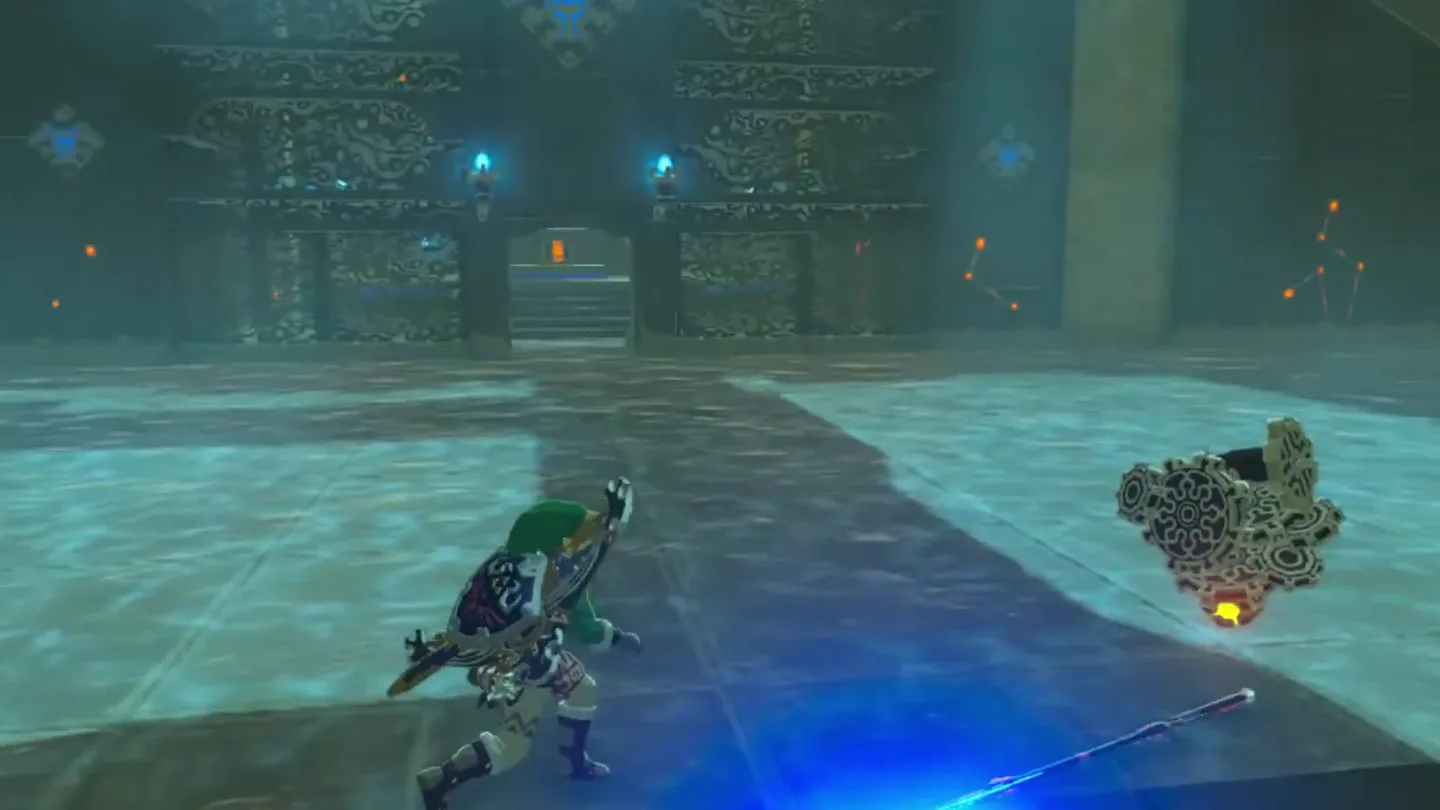
Walk toward the center of the arena. A Guardian Scout IV rises from a pit to challenge you, wielding an Ancient Battle Axe++, a Guardian Spear++, and a Guardian Sword++.
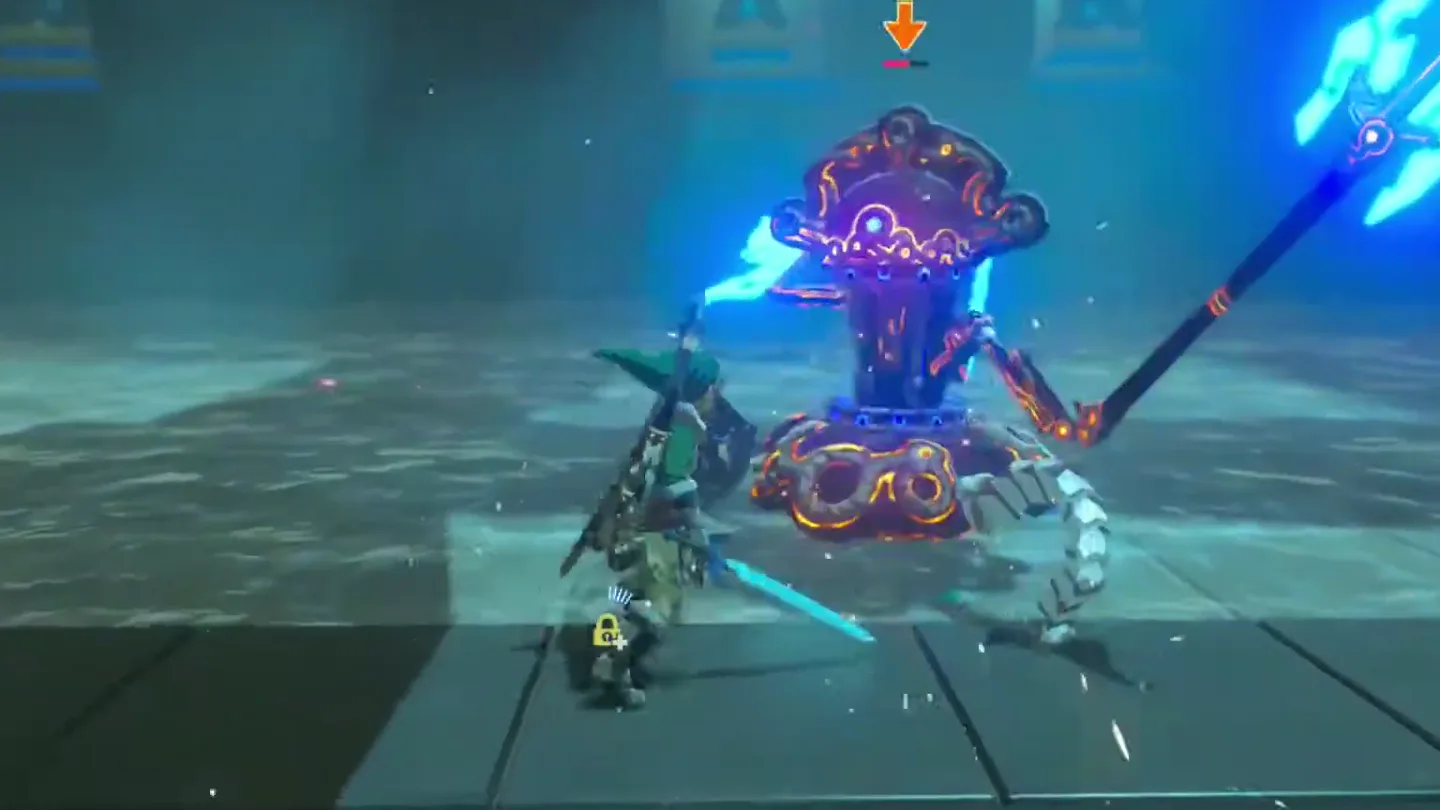
Shoot a shock arrow into the water at the Scout’s feet. A huge bubble of electricity bursts up from the wet floor and paralyzes it — unless it is already readying its laser, in which case wait for the laser attempt to end and shoot again.
While the Scout is stunned, move in and hit it hard, then back off before it recovers.
Watch for its spin attack: this room is wide open, with no columns to hide behind. Backflip or side-jump as it spins to perfect dodge into a Flurry Rush — or block it with your shield, or simply run out of range.
Use Cryonis on the water-covered floor to raise ice pillars, and keep them between you and the Scout whenever you need to reposition, block its attacks, or catch your breath.
Repeat the rhythm — shock the floor to paralyze, punish while stunned, dodge the spin, punish again — until the Guardian Scout IV breaks apart.
Pick up the drops the destroyed Scout leaves behind; its fallen Ancient weapons are well worth grabbing before you move on.
3. Claim the reward
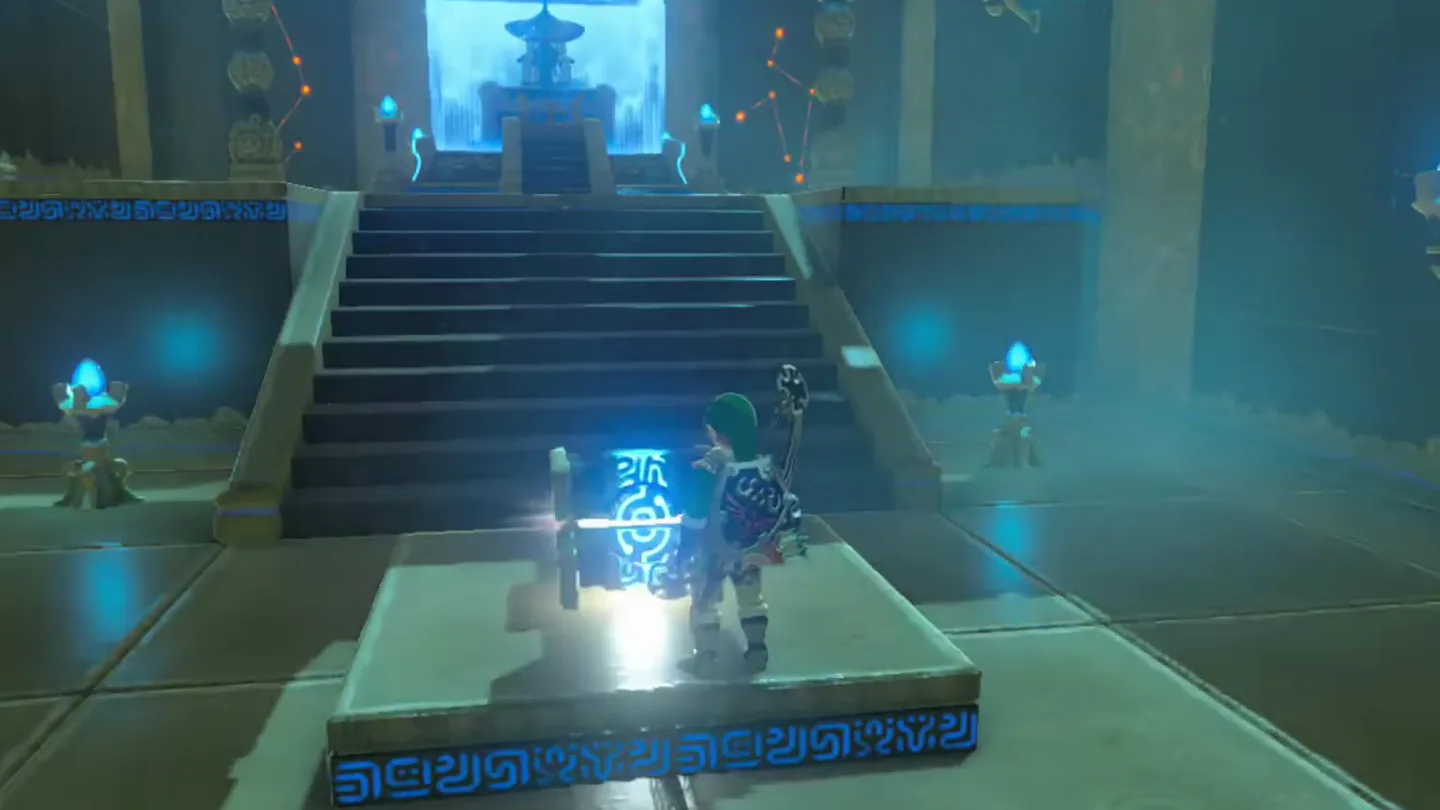
The portcullis at the back of the room opens. Head through it and open the stone treasure chest there to receive a Royal Claymore.
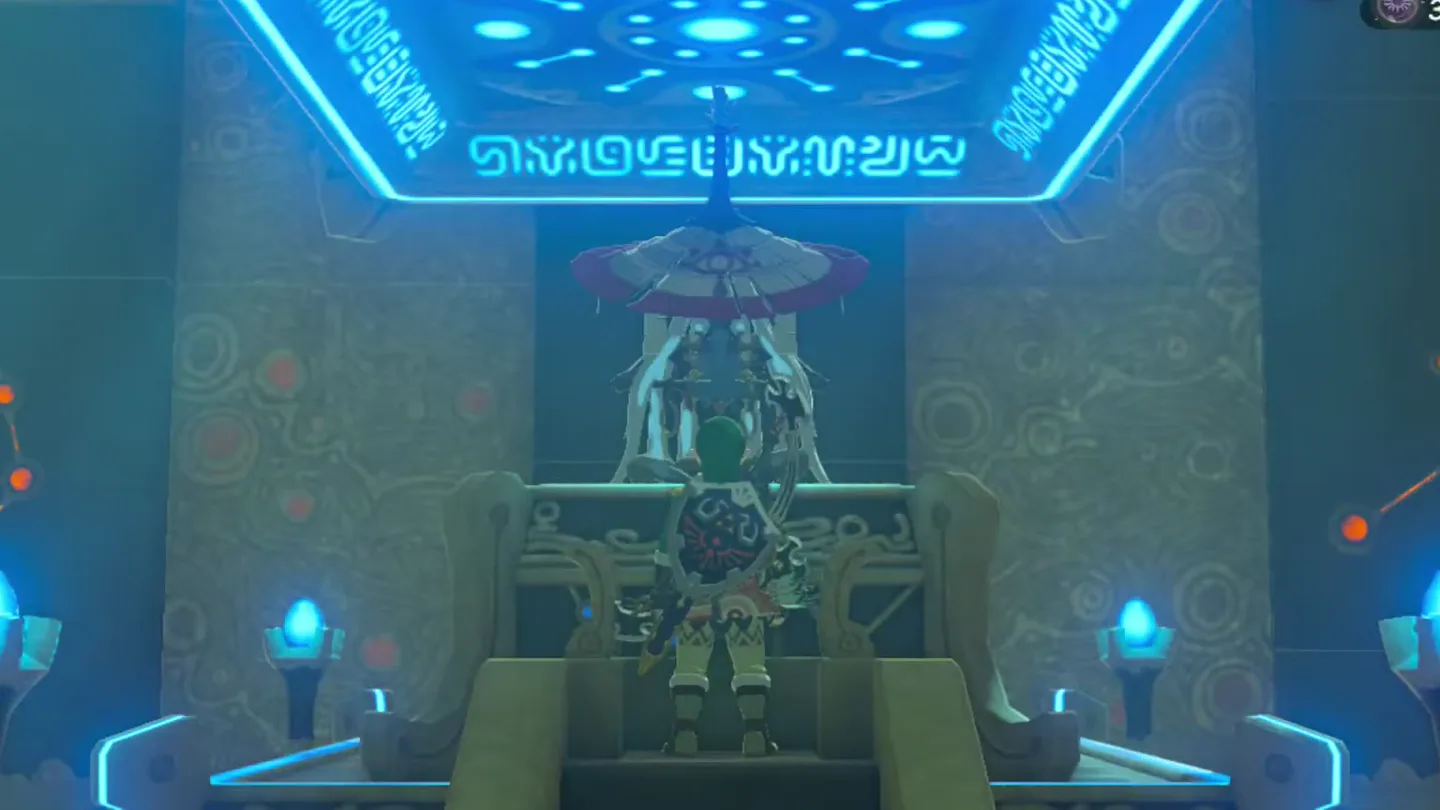
Approach the monk’s pedestal and talk to Goma Asaagh to receive your Spirit Orb, then warp out.
What is in the chest?
| Chest | Contents | How to get it |
|---|---|---|
| 1 | Royal Claymore | In a stone chest behind the portcullis that opens once the Guardian Scout IV is destroyed, on the way to the monk’s pedestal. Open it before you claim the Spirit Orb or warp out. |
What do people miss here?
- The shrine is easy to walk straight past: the entrance is buried behind giant ice blocks in a cave under Hebra Peak, and with the Sheikah Slate’s shrine sensor off you may never notice it. If the sensor is pinging but you see nothing, look for the wall of ice.
- You don’t actually have to melt the ice — you can climb over the top of the blocks and drop in from above if you have no fire source.
- Don’t skip the drops: the destroyed Guardian Scout leaves its Ancient Battle Axe++, Guardian Spear++, and Guardian Sword++ lying in the arena, and leaving without them wastes the best loot in the shrine.
- The stone chest with the Royal Claymore sits behind the opened portcullis before the monk. Players who beeline to the Spirit Orb and warp out miss it — open the chest first.
- If you lose the fight, you’re placed back at the shrine with the Guardian Scout reset and can simply re-enter to retry. Restock on weapons and food before going again rather than pushing on with a broken arsenal.
What else is nearby?
| Shrine | Direction | Straight-line distance | Region |
|---|---|---|---|
| Shada Naw Shrine | northwest | 396 | Hebra |
| Rok Uwog Shrine | northeast | 539 | Hebra |
| Gee Ha’rah Shrine | southeast | 750 | Hebra |
Which guides help next?
FAQ
How do I get into Goma Asaagh Shrine?
What Guardian Scout is in Goma Asaagh Shrine?
How do I deal with the spin attack with no pillars to hide behind?
What's in the Goma Asaagh Shrine chest?
What happens if I die to the Guardian Scout?
Related Articles
guides
Breath of the Wild Captured Memories: All 13 Locations and Rewards
All 12 photo locations from Zelda's album plus the 13th memory in Impa's painting, with coordinates, nearby shrines, the Champion's Tunic and the extra ending scene.
guides
Breath of the Wild Great Fairy Fountains: Locations, Costs and Horse God
Where the four Great Fairy Fountains and the Horse God Malanya are in Breath of the Wild, what each fairy costs to release, and how many you need per armor upgrade.
guides
Hyrule Castle Walkthrough: Entry Routes, Hylian Shield and Final Prep
How to get into Hyrule Castle in Breath of the Wild: five entry routes, the Hylian Shield and other loot by room, and what to prepare before the final battle.
Was this helpful?
Thanks for the feedback!