

Saas Ko'sah Shrine Location and Solution (Breath of the Wild)
Find Saas Ko'sah Shrine beneath Hyrule Castle, light the docks brazier, use metal blocks against its Guardian Scout, and collect the Flameblade chest.
Where is Saas Ko’sah Shrine?
Inside the docks beneath the north side of Hyrule Castle. From the northern moat, swim into the water passage under the castle. At the underground pier, keep left to avoid the Lizalfos, climb the steps, deal with the Keese, and follow the large staircase upward. Look for the unlit large brazier surrounded by smaller burning ones.
| Item | Detail |
|---|---|
| Trial | A Major Test of Strength |
| Tower region | Central |
| Coordinates (X, Y, Z) | -0148, 1159, 0153 |
| Type | Combat trial; hidden entrance revealed by lighting a brazier |
| Shrine quest | None |
| Enemy | Guardian Scout IV |
| Enemy health | 3,000 HP |
| Chests | 1 |
| English name | Saas Ko’sah Shrine |
| Traditional Chinese name | 薩斯‧科薩神廟 |
| Simplified Chinese name | 萨斯·科萨神庙 |
Use the shrine-location checklist to track completion. For help finding concealed entrances, see how to find shrines.
What should you bring?
This is a Major Test of Strength—the toughest tier of combat trial. The Guardian Scout IV has 3,000 HP and hits hard, so carry several strong melee weapons (they can wear out over a fight this long), a shield, and plenty of cooked healing food; if your armor and heart containers are still thin, postpone the fight until you are better equipped. For tactics, lean on perfect guards (raise the shield, then parry), sidehops, and backflips—a well-timed one can trigger a flurry rush for extra damage. You will also need Magnesis to lift the arena’s metal blocks, the paraglider for the laser’s updraft, and a bow plus a Fire Arrow or another flame source for the entrance brazier; electric or ice attacks are optional.
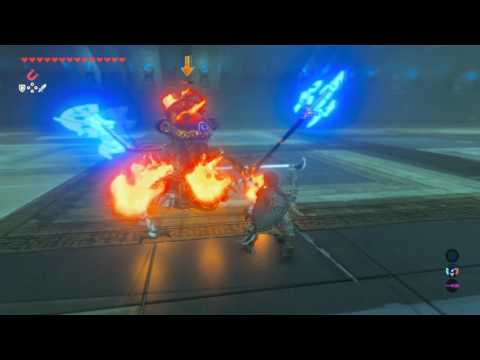
Video walkthrough
Solution: how do you beat the trial?
Prepare a bow and a way to light an arrow for the entrance, melee weapons and a shield for combat, and Magnesis for the arena blocks. Keep the paraglider ready for the sweeping laser. Electric or ice attacks can help control the Scout but are optional.
1. Ignite the Brazier
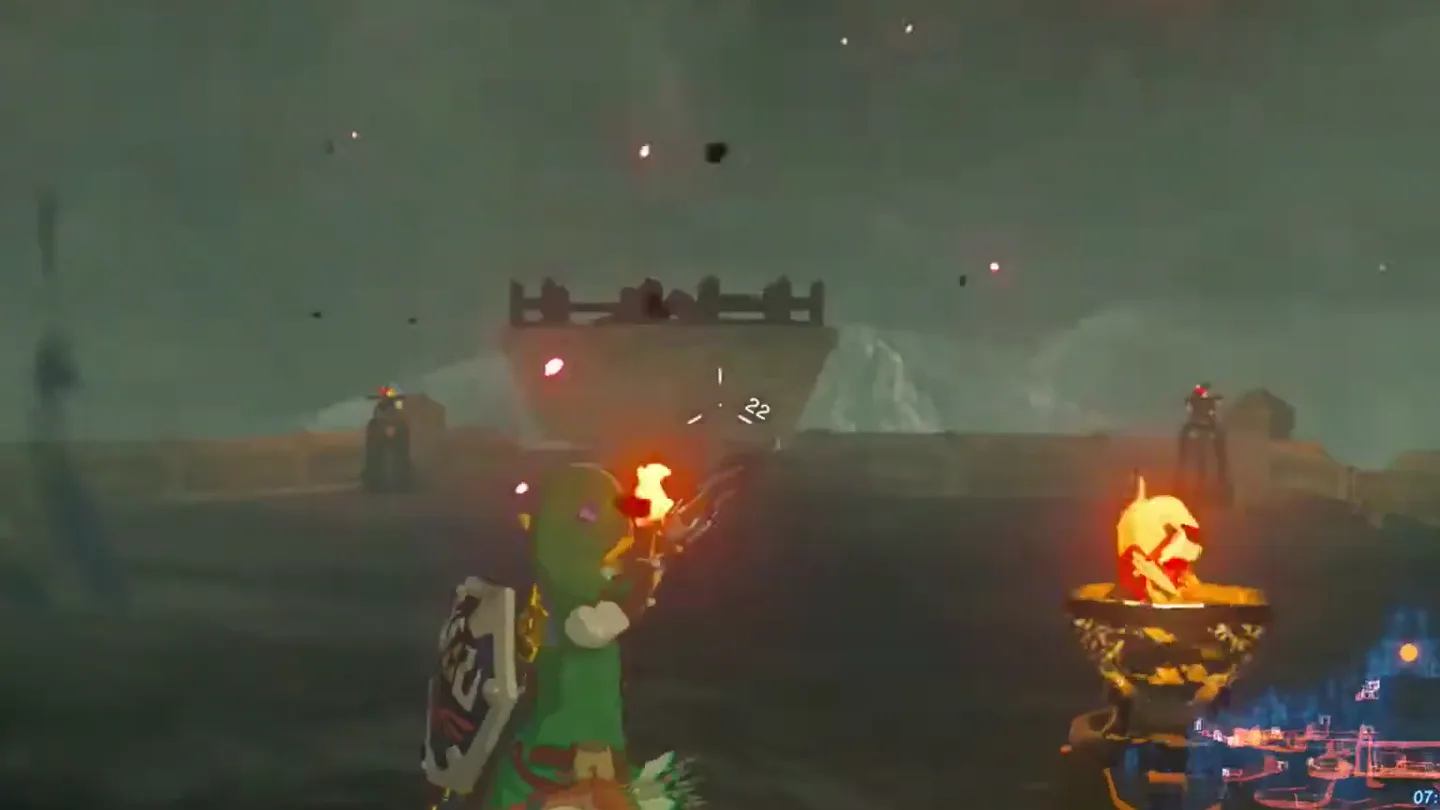
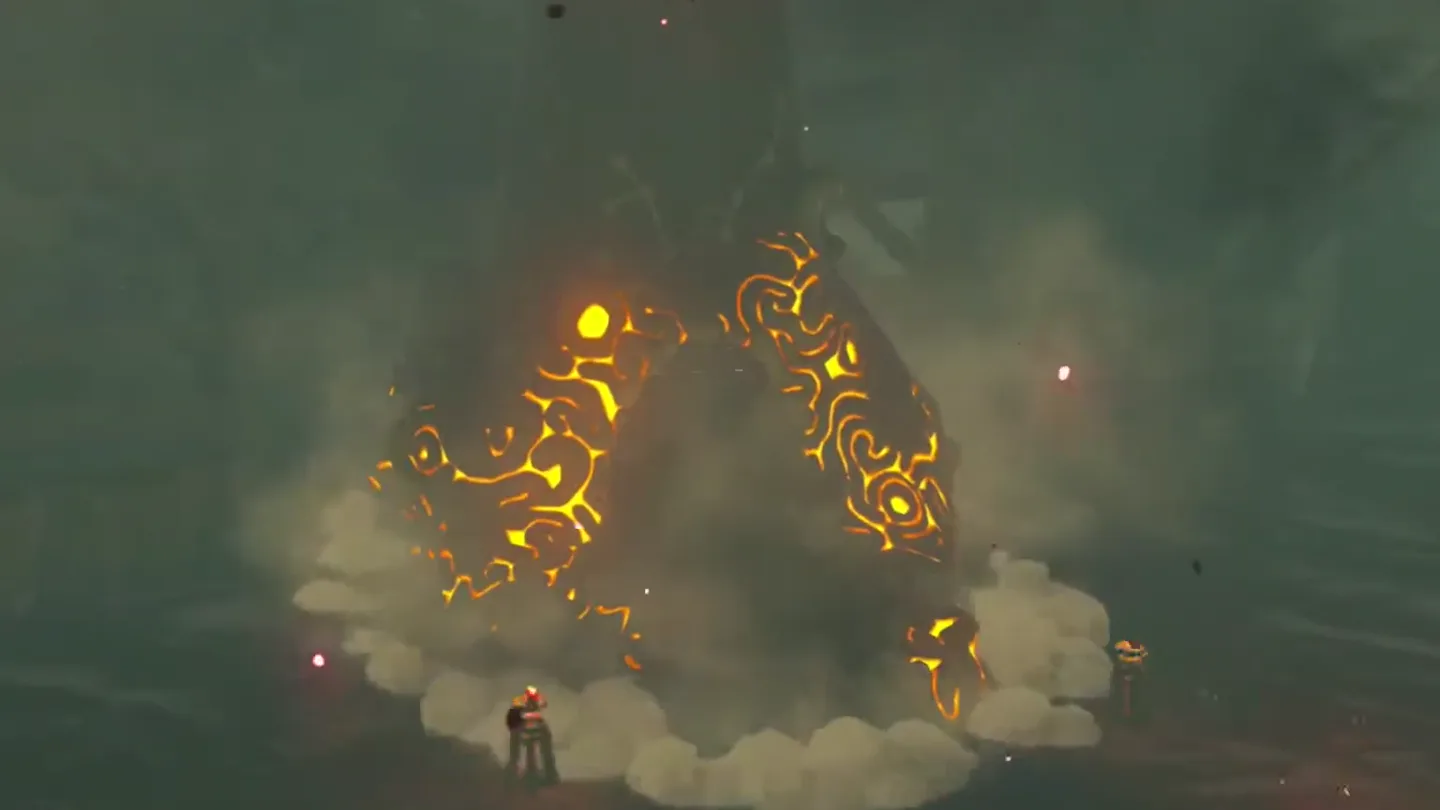
Ignite the large brazier. Shoot a Fire Arrow or a burning regular arrow into the bowl at the top of the docks stairs. Enter the shrine that emerges nearby.
2. Melee Combat Phase
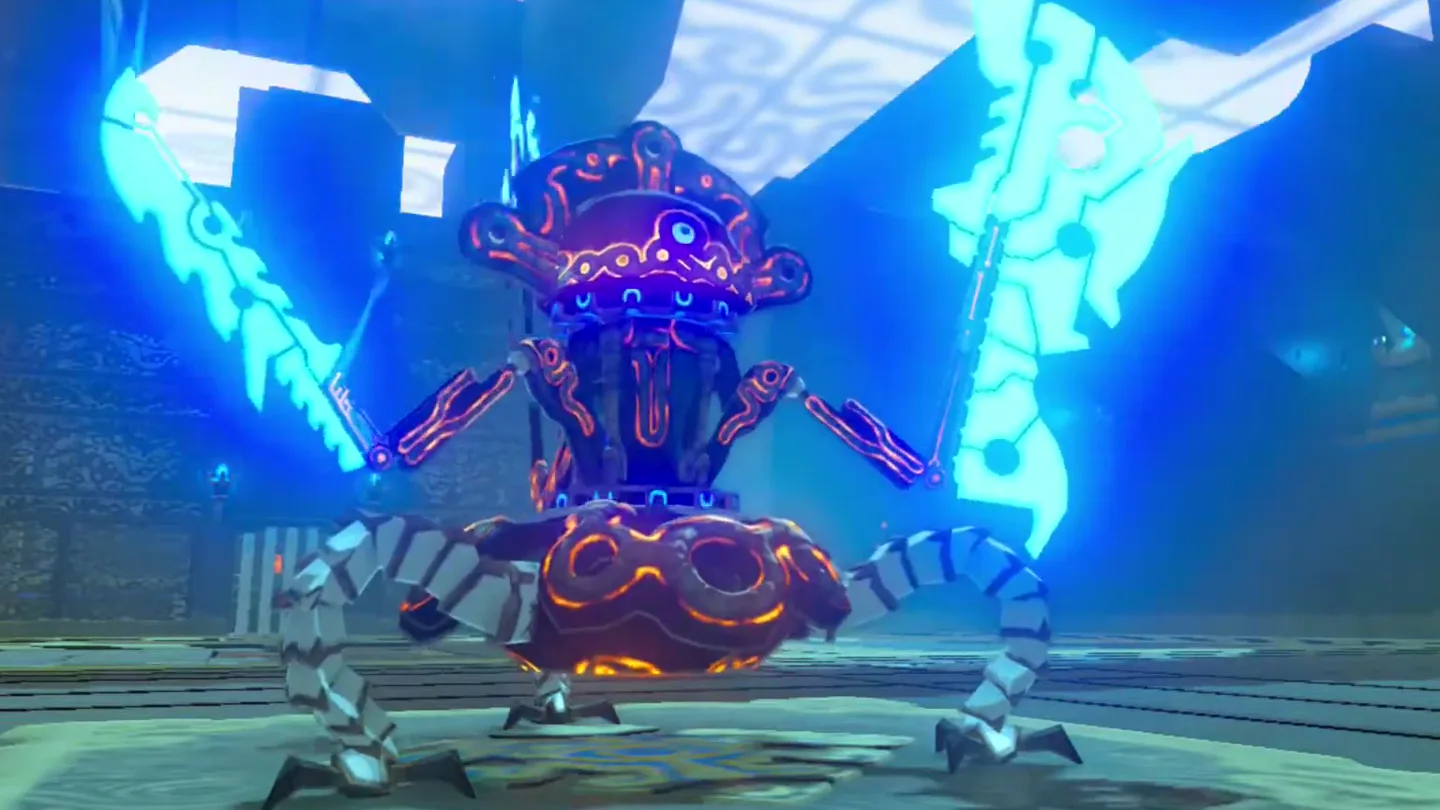
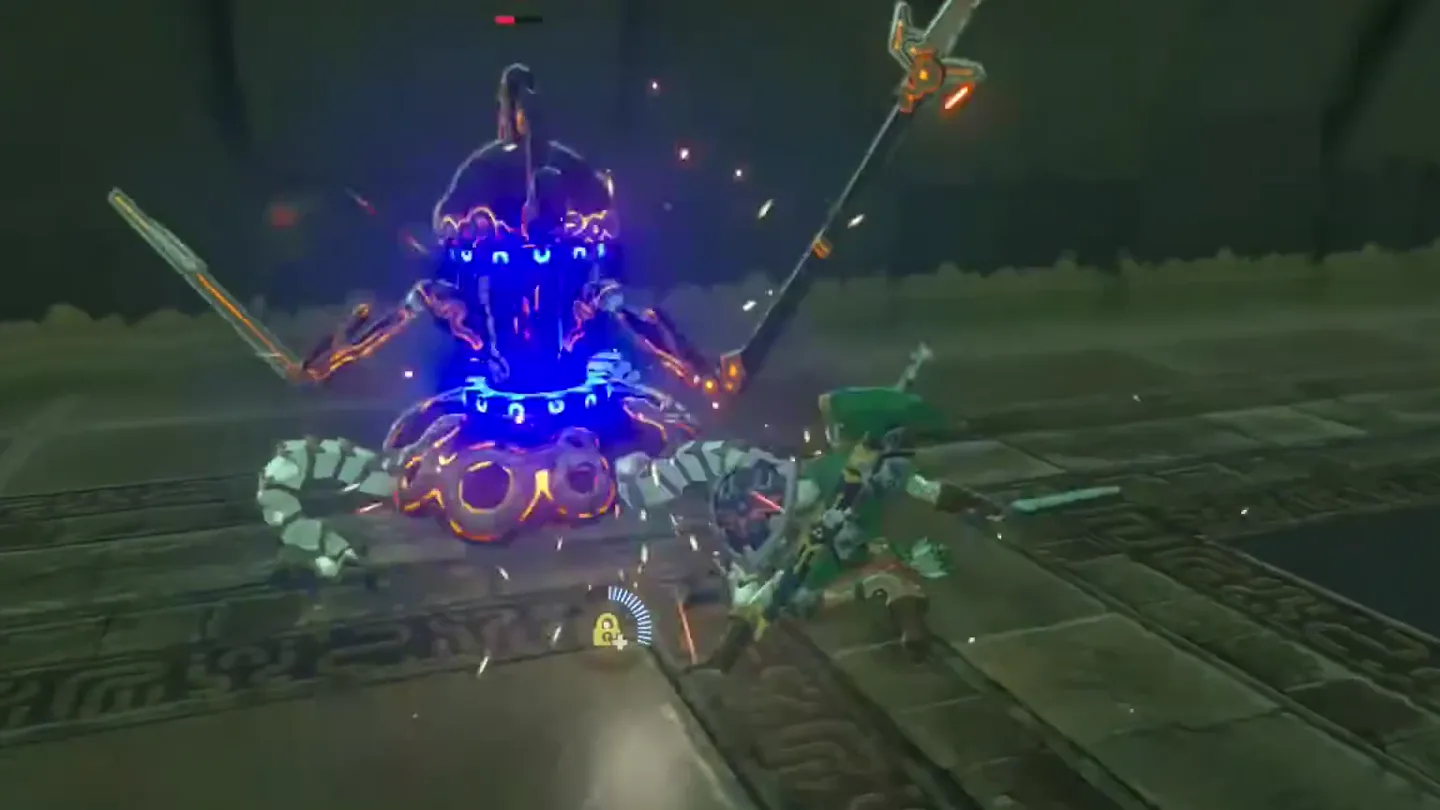
Approach the arena’s center. The Guardian Scout IV rises to fight with a sword, axe, and spear. Get ready to defend before closing in.
Dodge its melee swings and counterattack. Keep your shield ready, watch the weapon animation, and attack after avoiding a strike. Electricity can stun it; ice can freeze it to create an opening.
3. Block the Spinning Charge
Raise a metal block when it winds up a spinning charge. After the Scout jumps back, use Magnesis to lift a floor block into its path between you and the enemy. Counterattack when its rush hits the obstacle.
4. Glide Over the Ground Laser
Glide above the rotating ground laser. When it stays in place and sweeps a beam around the floor, back away from the beam, then ride the resulting updraft with the paraglider to approach from above.
5. Final Laser Charge
Press the attack during its final laser charge. At low health it charges a stronger beam. A powerful two-handed weapon can help finish it during this opening; landing a hit alone does not guarantee that the charge stops.
6. Open the Chest and Claim the Spirit Orb
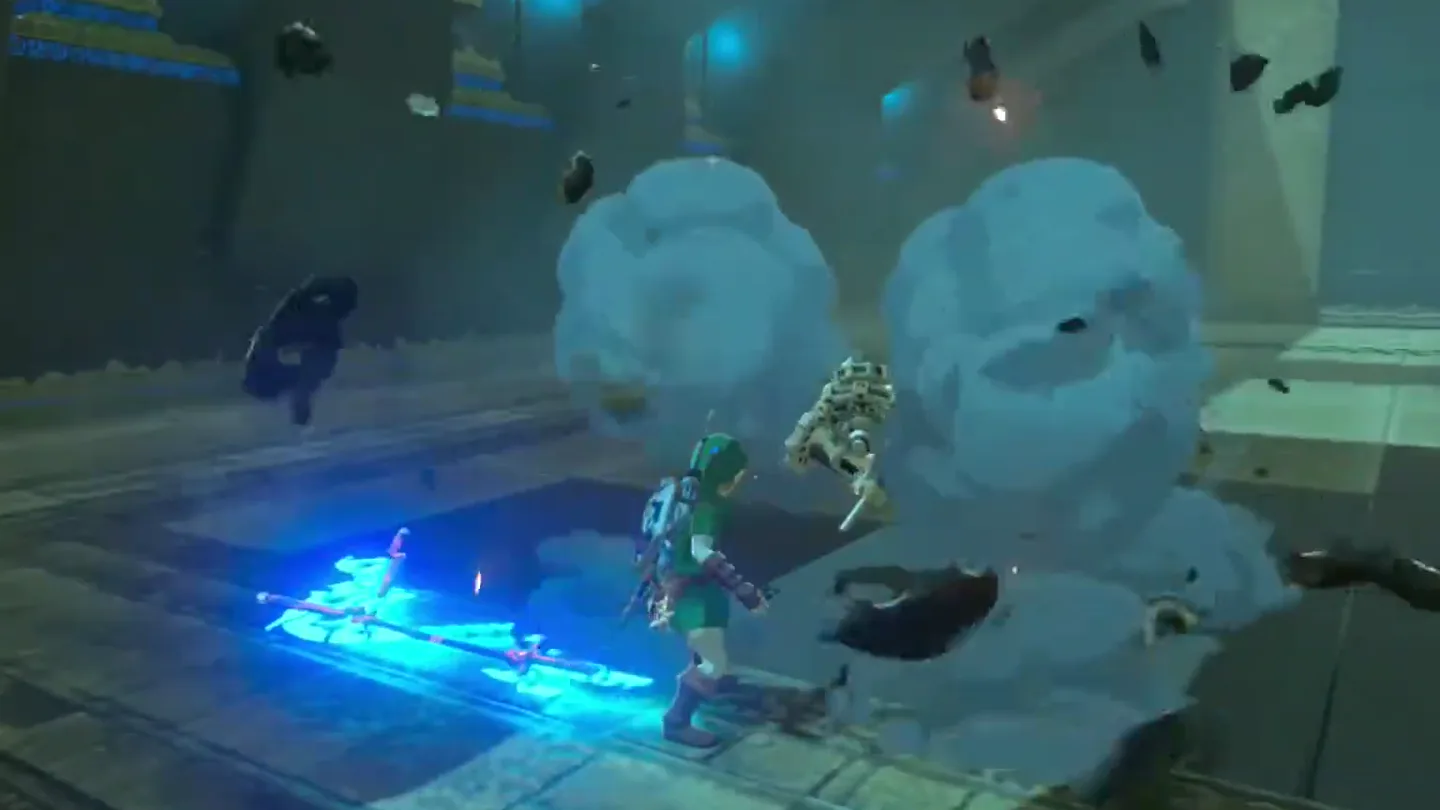
Open the chest beyond the rear gate. Defeating the Scout unlocks the way to the stone chest containing the Flameblade.
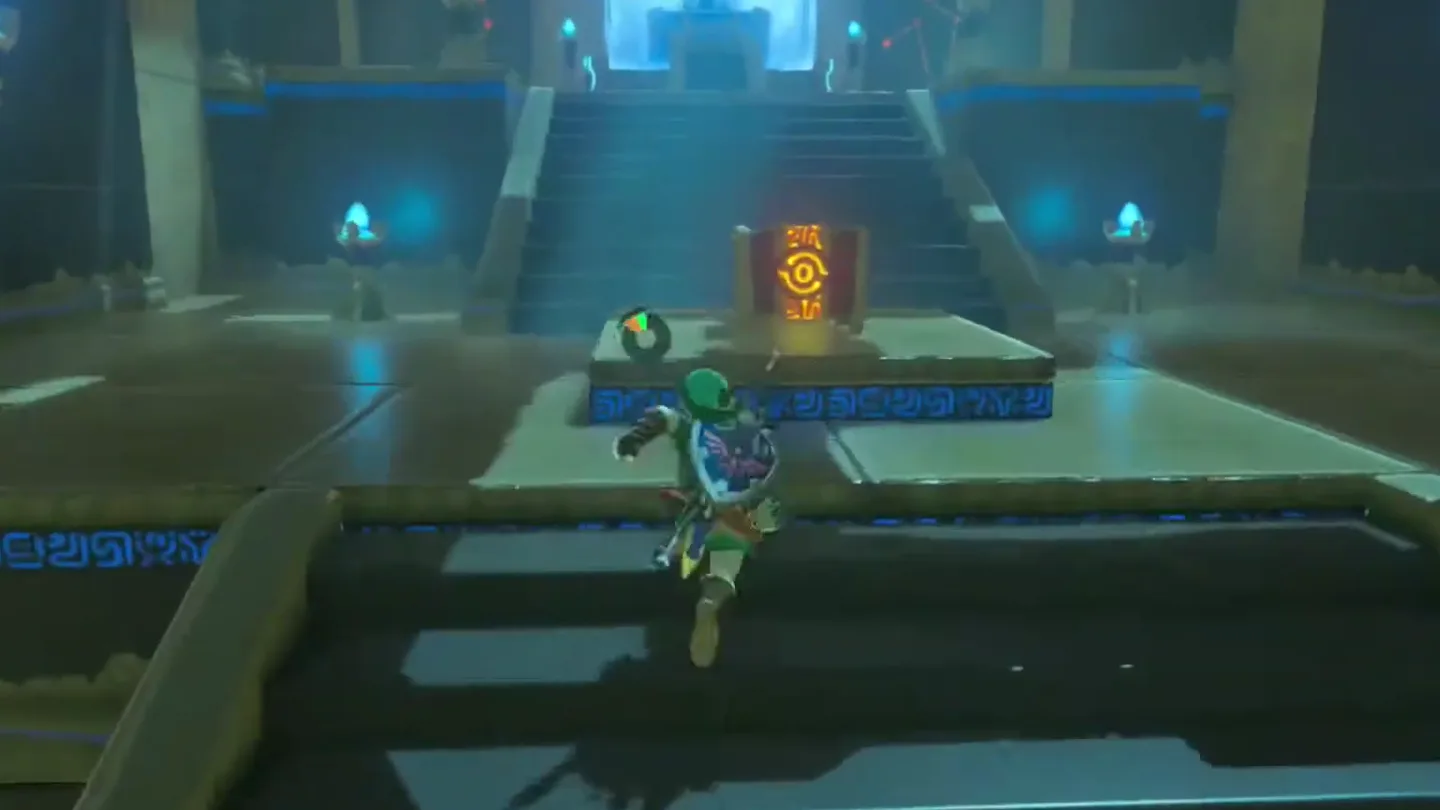
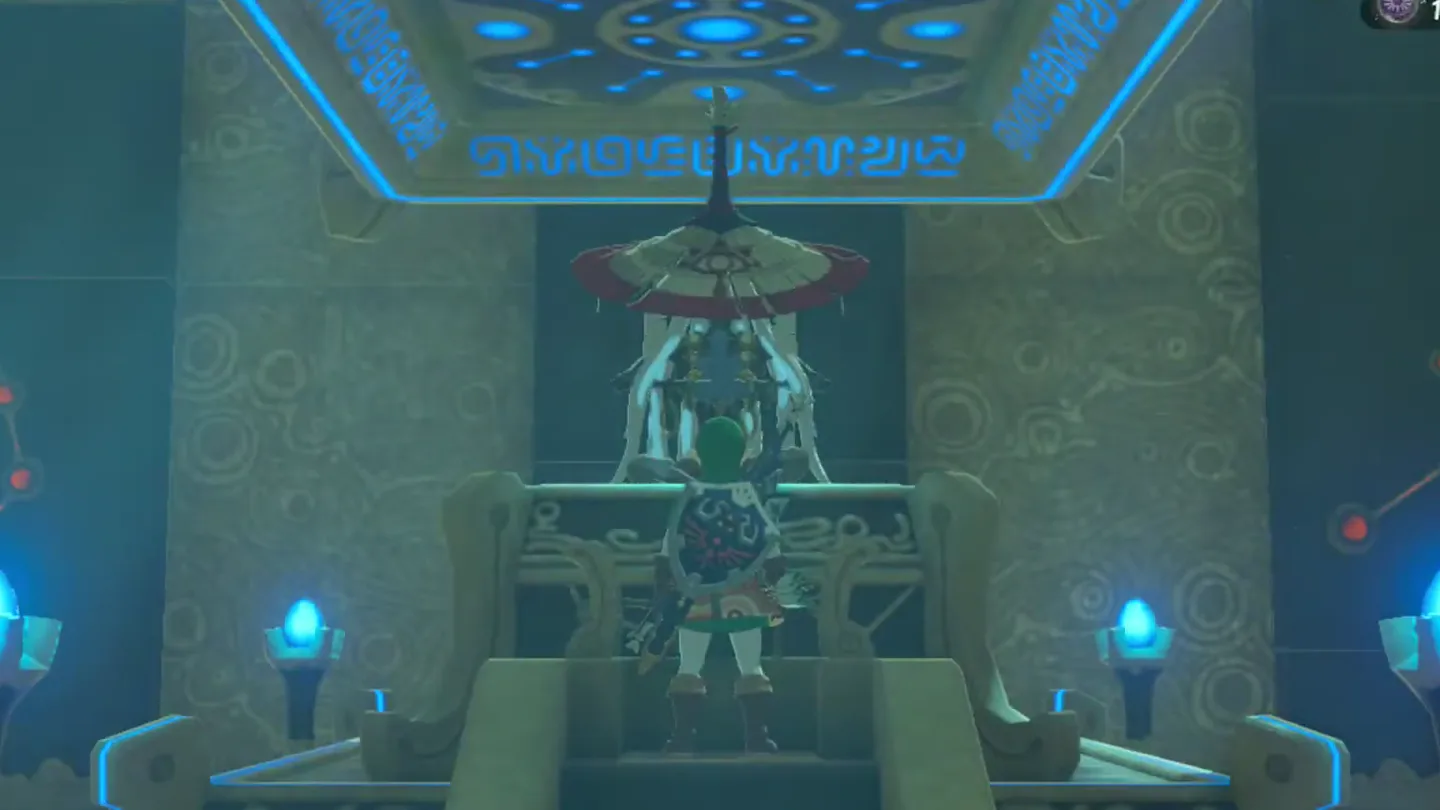
Approach the monk. Receive the Spirit Orb to finish the trial.
The combat instructions are responses to attack patterns. Repeat them as needed while reducing the Scout’s health.
Chests: what is inside?
| Chest | Contents | How to get it |
|---|---|---|
| 1 | Flameblade | Defeat the Guardian Scout, pass through the opened rear gate, and open the stone chest before the monk. |
What do people miss here?
- Don’t treat this as just another combat shrine: Saas Ko’sah is the best fast-travel point for Hyrule Castle, so it stays worth having even if you put off the Major Test until your gear and hearts are ready.
- Swimming the moat is not the only way in—you can glide across it to the cave entrance, or hop down from the main path if you are already inside the castle grounds.
- You do not need Fire Arrows to reveal the shrine: a fire weapon or a torch lights the large brazier directly.
- The Scout’s three weapons are all ++ grade (Ancient Battle Axe++, Guardian Sword++, Guardian Spear++), so every swing hits hard—do not walk in expecting an easier Test of Strength.
What else is nearby?
| Shrine | Direction | Straight-line distance | Region |
|---|---|---|---|
| Kuhn Sidajj Shrine | north | 802 | Woodland |
| Katah Chuki Shrine | southwest | 949 | Central |
| Noya Neha Shrine | southwest | 965 | Central |
Related: where should you go next?
- All shrine locations for the regional checklist.
- Shrine-finding guide for locating entrances that are not immediately visible.
- Tears of the Kingdom vs. Breath of the Wild for a comparison of the adventures.
FAQ
How do I make Saas Ko'sah Shrine appear?
How do I stop the spinning attack when there are no pillars?
What is in the Saas Ko'sah Shrine chest?
Do I need elemental weapons for this shrine?
Related Articles
guides
Breath of the Wild Captured Memories: All 13 Locations and Rewards
All 12 photo locations from Zelda's album plus the 13th memory in Impa's painting, with coordinates, nearby shrines, the Champion's Tunic and the extra ending scene.
guides
Breath of the Wild Great Fairy Fountains: Locations, Costs and Horse God
Where the four Great Fairy Fountains and the Horse God Malanya are in Breath of the Wild, what each fairy costs to release, and how many you need per armor upgrade.
guides
Hyrule Castle Walkthrough: Entry Routes, Hylian Shield and Final Prep
How to get into Hyrule Castle in Breath of the Wild: five entry routes, the Hylian Shield and other loot by room, and what to prepare before the final battle.
Was this helpful?
Thanks for the feedback!