

Rucco Maag Shrine (Five Flames) Walkthrough: Crystal Order & Chests
Step-by-step Rucco Maag Shrine guide: the six-hit crystal solution for Five Flames, the Fire Arrow shortcut, and both chests (Silver Bow, Opal).
Where is Rucco Maag Shrine?
Rucco Maag Shrine stands on Samasa Plain in the Lanayru Great Spring, south of Zora’s Domain in the Lanayru Region. From Zora’s Domain, head south across the plain to reach it. The Ancient Shrine’s entrance is surrounded by spikes, and Lizalfos patrol the surrounding ground.
| Item | Detail |
|---|---|
| Trial | Five Flames |
| Tower region | Lanayru |
| Map-marker coordinates | 3334, -0403, 0132 |
| Shrine quest | None |
| Chests | 2 |
| Names | Rucco Maag Shrine · 魯克‧瑪神廟 · 鲁克·玛神庙 |
What should you bring?
Nothing special is required — the trial asks only that you strike crystals and light torches. You’ll want the Magnesis rune to pull the two chests down, and a few spare Fire Arrows let you skip the puzzle entirely. Outside, be ready for the Lizalfos patrolling the spike-ringed entrance.
Video walkthrough

How do you solve Rucco Maag Shrine?
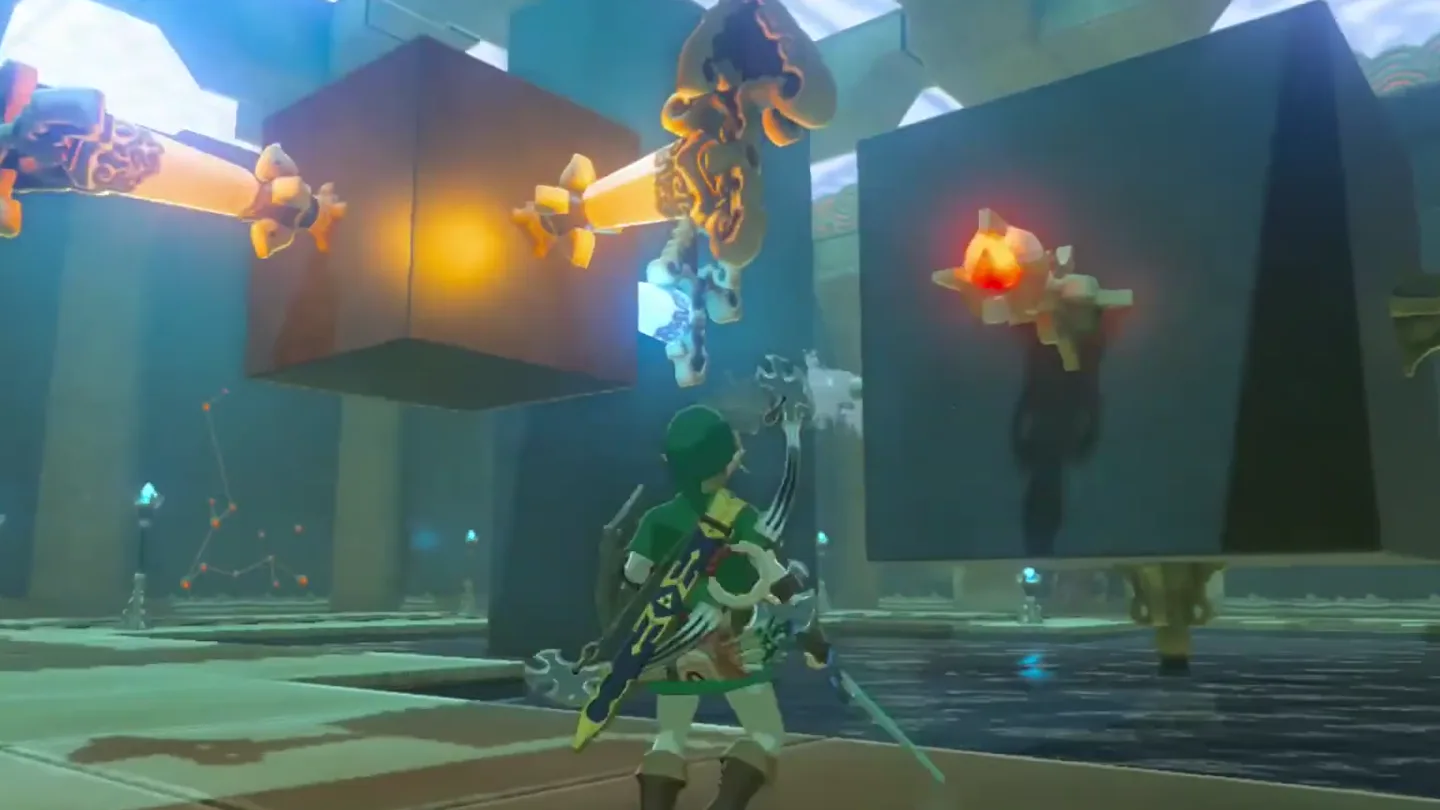
The trial turns on one idea: striking the orange crystals on the small floating cube rotates the big cube in the direction of each crystal’s arrow, carrying its lit flame to the dark sconces — while the pool below and the pump’s water spray on the cube’s left wait to douse anything rotated carelessly.
1. Light all five torches to raise the portcullis
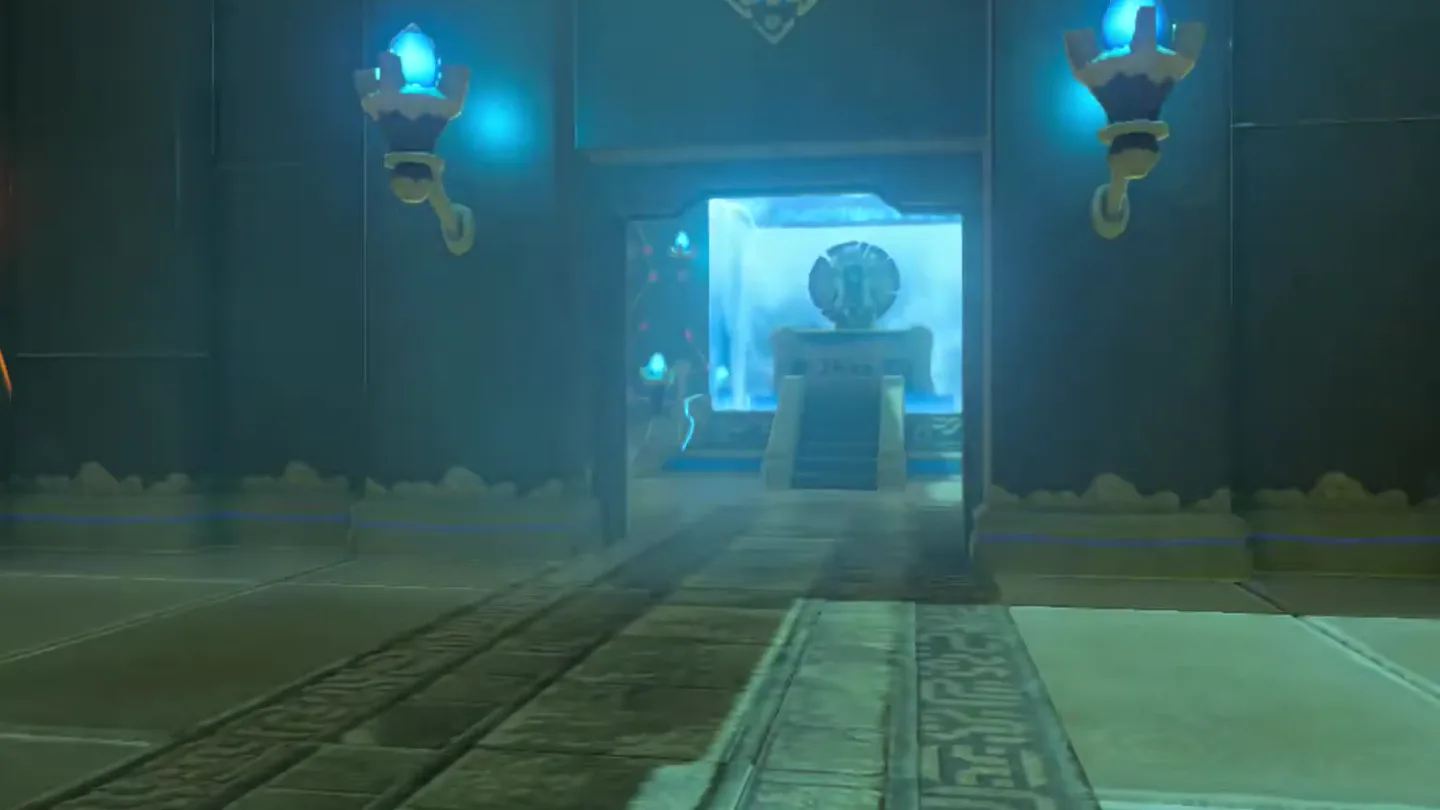
Ride the elevator platform down and look across the large central chamber: the monk’s pedestal is visible behind a lowered portcullis. Lighting all five torches is what raises that gate.
Walk to the edge overlooking the big cube suspended over the pool. Three stationary torches are fixed to its sides — the one on top already burns — and two more sit on structures to the left and right. A pump on the cube’s left side sprays water forward, and the pool sits below; that water is what makes this trial tricky.
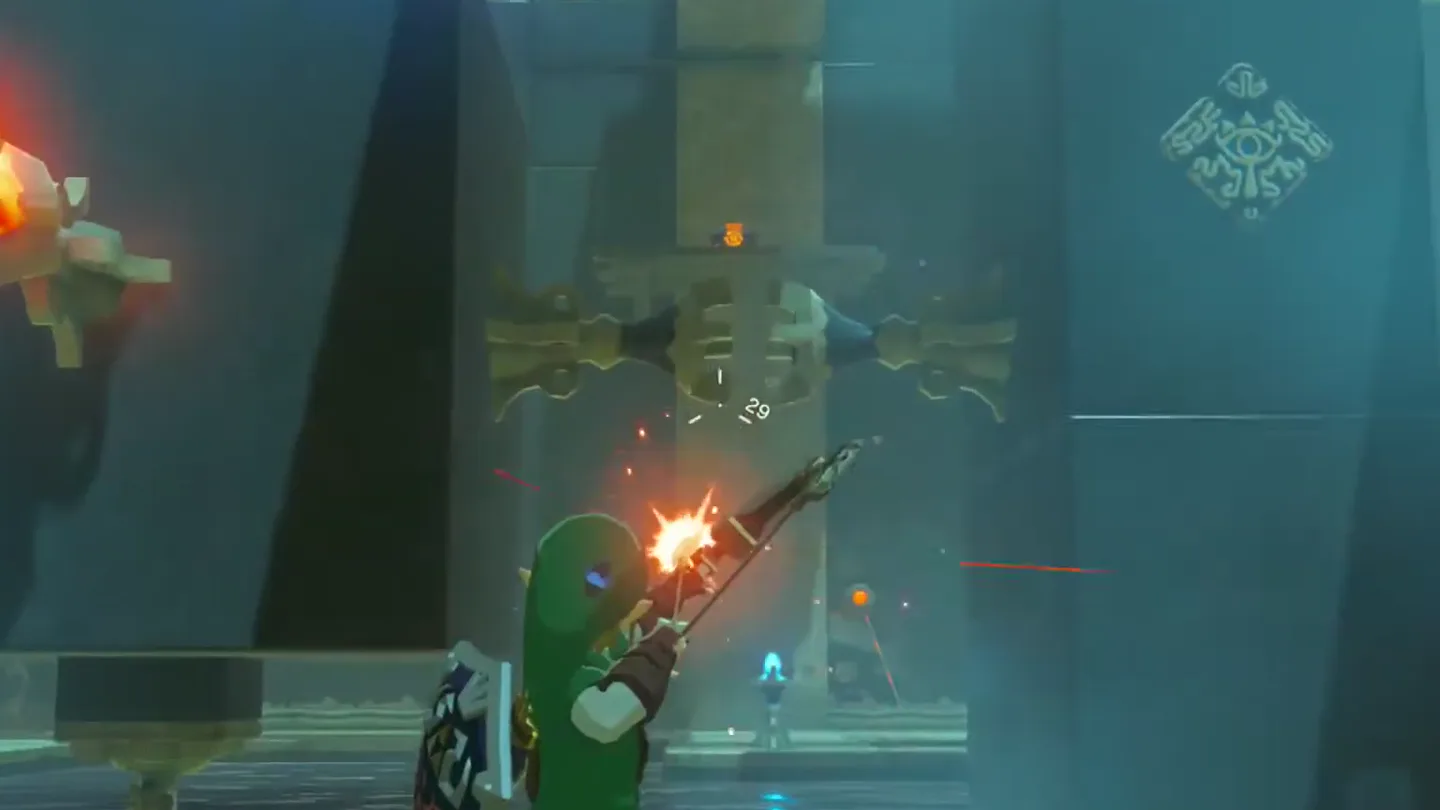
Find the small floating cube with three orange crystals near you; each crystal is labeled with a pointing arrow. Hitting a crystal rotates the big cube in that arrow’s direction.
Shortcut (optional): if you have Fire Arrows you don’t mind sparing, shoot the sconces directly — the torches catch, the gate rises, and you never touch the crystals.
Strike the bottom crystal — the big cube rotates, carrying the lit flame toward the unlit torches.
Strike the middle crystal for the next rotation.
Strike the left crystal.
Strike the left crystal again.
Strike the middle crystal again.
Strike the right crystal — with this final rotation, all five torches are burning and the portcullis rises.
2. Collect the treasure chests and speak with the monk
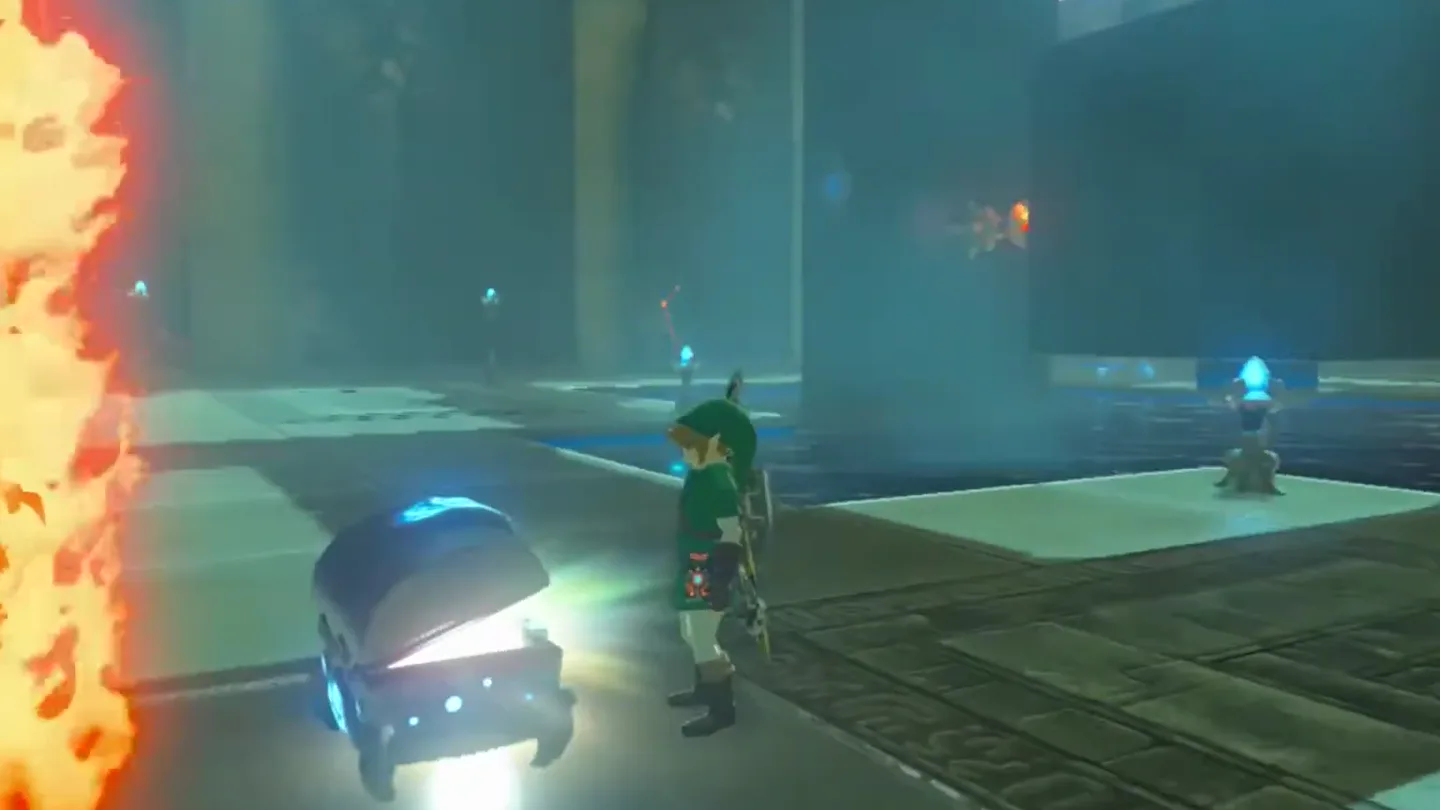
Before visiting the monk, circle around to the other side of the big cube: two metal chests sit on wooden platforms, out of easy reach.
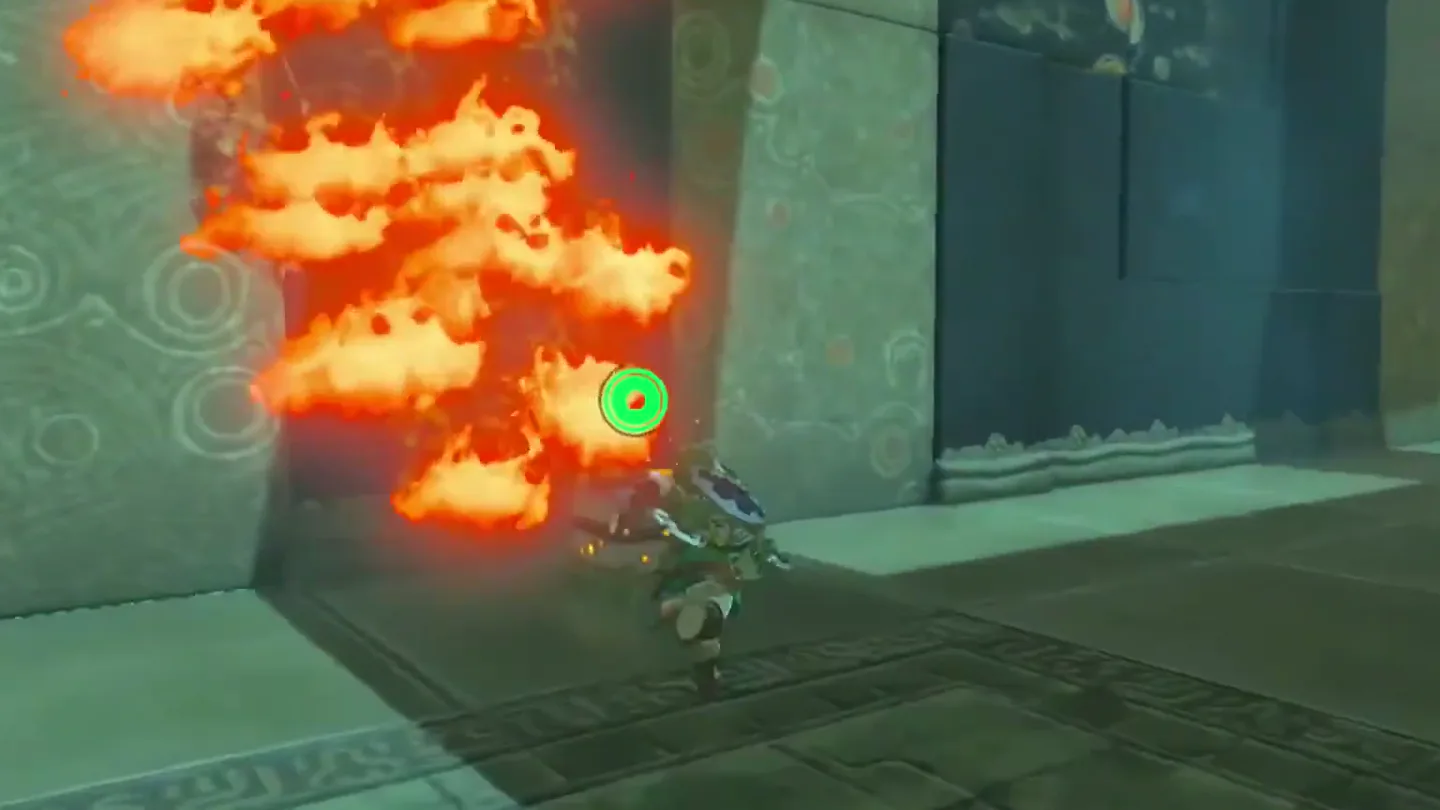
Burn the wooden platforms by shooting an arrow through the flame of one of the lit torches — the platform burns away and the chests fall to the ground. Alternatively, pull both chests down with Magnesis.
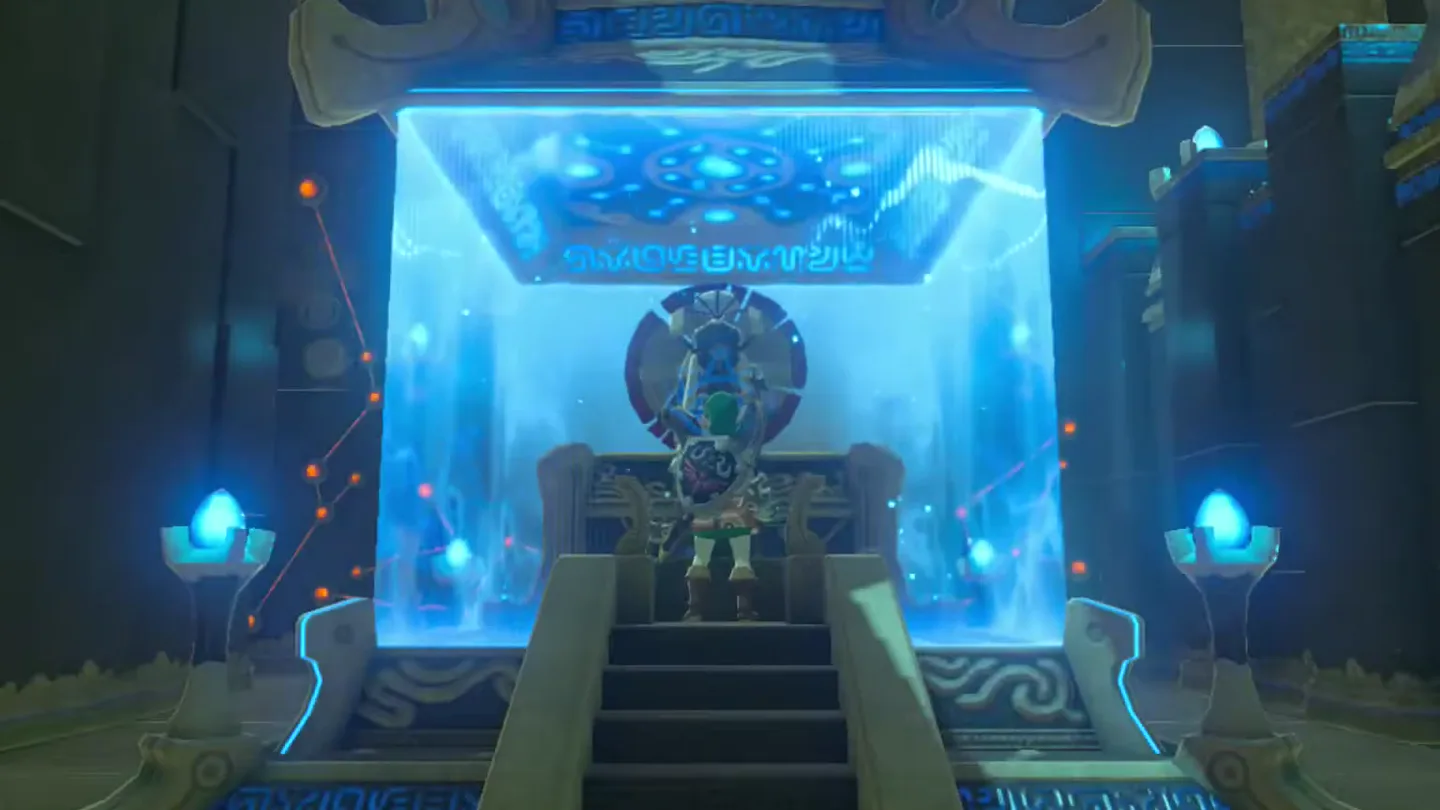
Open both chests — one contains a Silver Bow, the other an Opal. Then head back around, pass through the raised gate, and speak with Rucco Maag: he bestows a Spirit Orb, wishes you well, and fades away.
What is in each chest?
| Chest | Contents | How to get it |
|---|---|---|
| 1 | Silver Bow | Sits on a wooden platform behind the big cube. Shoot an arrow through a lit torch’s flame so it ignites the platform and the chest falls, or pull the chest down directly with Magnesis. |
| 2 | Opal | On the second wooden platform beside the Silver Bow chest — same trick: burn the platform away with a flame-tipped arrow or pull the chest down with Magnesis. |
What do people miss here?
- The two chests behind the big cube are the classic miss — they sit on wooden platforms out of easy reach, but an arrow shot through a torch’s flame (or Magnesis) gets them down. Don’t leave the shrine without them.
- If torches keep going out, a rotation has dragged a flame through the pump’s water spray on the cube’s left or toward the pool below — nothing is permanently broken, just strike the crystals again to rotate the flame back and relight them.
- Random crystal hits waste rotations and can douse your progress; the clean order is bottom → middle → left → left → middle → right (six hits total).
- Forgetting you own Fire Arrows: shooting the sconces directly solves the entire trial quickly if you’d rather not puzzle out the rotations — it just costs arrows you don’t mind sparing.
- Outside the shrine, the entrance is ringed with spikes and Lizalfos patrol Samasa Plain — players sprinting south from Zora’s Domain can blunder into both, so approach wide and deal with the enemies first.
What else is nearby?
| Shrine | Direction | Straight-line distance | Region |
|---|---|---|---|
| Mezza Lo Shrine | west | 712 | Hateno |
| Dagah Keek Shrine | north | 840 | Lanayru |
| Ne’ez Yohma Shrine | north | 921 | Lanayru |
Which guides help next?
FAQ
What is the crystal order in Rucco Maag Shrine?
Can you skip the Five Flames puzzle?
What's in the chests in Rucco Maag Shrine?
Why do the torches keep going out in this shrine?
Where is Rucco Maag Shrine located?
Related Articles
guides
Breath of the Wild Captured Memories: All 13 Locations and Rewards
All 12 photo locations from Zelda's album plus the 13th memory in Impa's painting, with coordinates, nearby shrines, the Champion's Tunic and the extra ending scene.
guides
Breath of the Wild Great Fairy Fountains: Locations, Costs and Horse God
Where the four Great Fairy Fountains and the Horse God Malanya are in Breath of the Wild, what each fairy costs to release, and how many you need per armor upgrade.
guides
Hyrule Castle Walkthrough: Entry Routes, Hylian Shield and Final Prep
How to get into Hyrule Castle in Breath of the Wild: five entry routes, the Hylian Shield and other loot by room, and what to prepare before the final battle.
Was this helpful?
Thanks for the feedback!