

Soh Kofi Shrine Guide: A Minor Test of Strength (Breath of the Wild)
Step-by-step Soh Kofi Shrine guide: beat the Guardian Scout II, claim the Knight's Bow chest, and earn your Spirit Orb in Lanayru's combat trial.
Where is Soh Kofi Shrine?
Soh Kofi Shrine stands on the north bank of the Zora River in the Lanayru Great Spring, just west of Inogo Bridge — the same stretch of river where the ‘Reach Zora’s Domain’ main quest kicks off. If you haven’t started that quest yet, the Zora Torfeau is standing right beside the shrine, searching for a Hylian on Prince Sidon’s behalf. The area is mild (+73 °F), so no climate prep is needed — just walk up and head in.
| Item | Detail |
|---|---|
| Trial | A Minor Test of Strength |
| Tower region | Lanayru |
| Map-marker coordinates | 2239, 0292, 0161 |
| Shrine quest | None |
| Chests | 1 |
| Names | Soh Kofi Shrine · 薩奧‧科席神廟 · 萨奥·科席神庙 |
What should you bring?
You need no runes and no key items — there’s no puzzle to solve; the whole trial is a one-on-one duel with zero tutorial. Bring your strongest melee weapon plus a backup, a shield you trust for parrying the big laser, and a bow with at least a few arrows for the eye-shot stun. A couple of healing dishes help too. And since Guardian weapons are great in the field, anything you walk out with is a bonus.
Video walkthrough
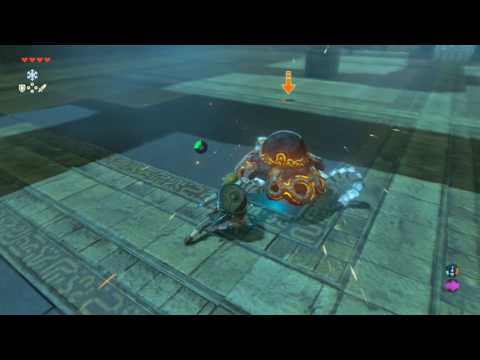
How do you solve Soh Kofi Shrine?
There’s no puzzle here at all — the monk offers a combat trial, and it’s a one-on-one duel, like the combat shrine in Kakariko Village but with no tutorial. Read the Guardian Scout II’s attacks — sword swings, a spinning charge, quick laser pellets, a charged Guardian beam, and a widening circular laser — punish them with Flurry Rushes, parries, and eye shots, and the gate at the back of the chamber opens.
1. Enter the Shrine and Summon the Guardian Scout
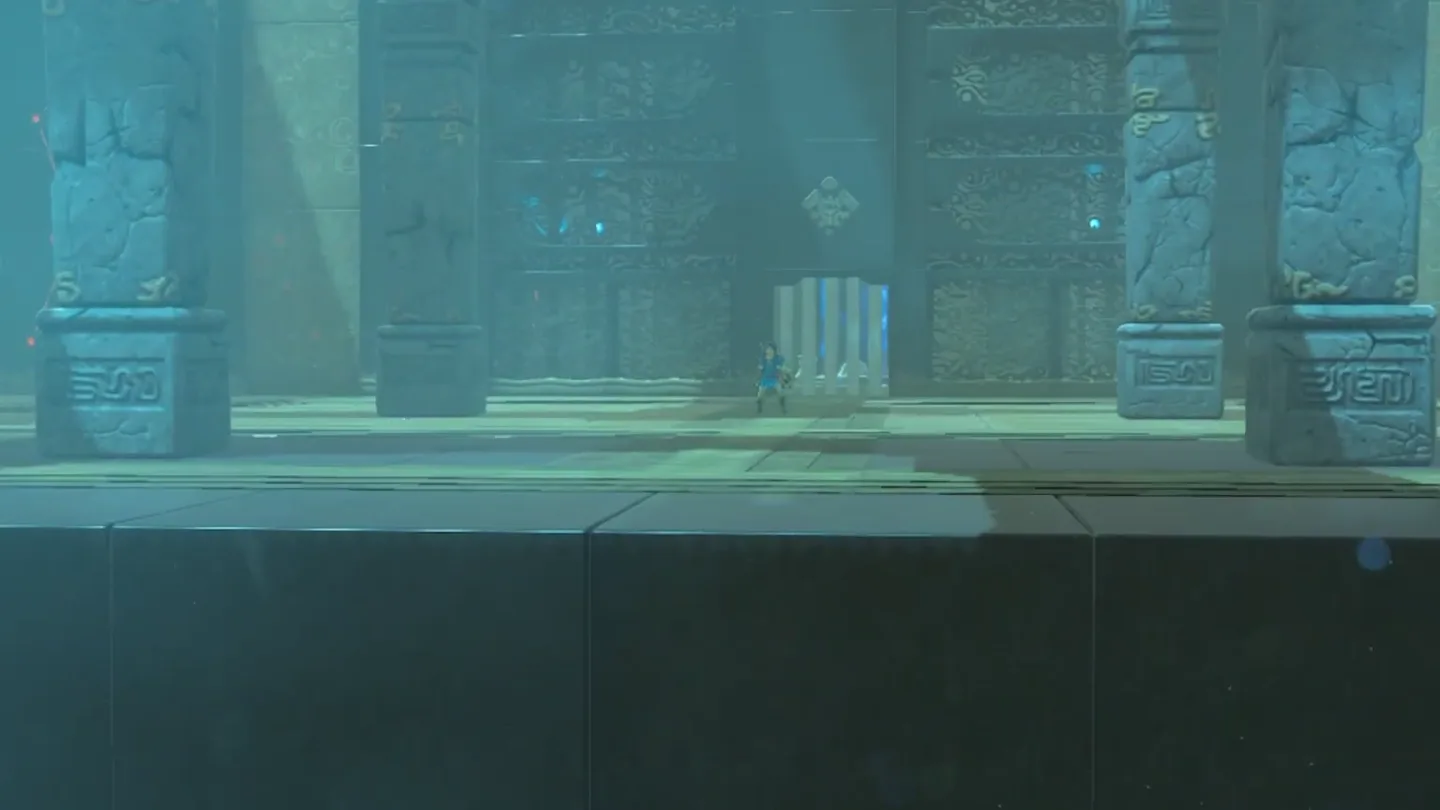
Enter the shrine — the monk Soh Kofi greets you as you step in — and follow the small hallway into the large square chamber. You’ll see destructible pillars — ten in total: six in two columns down the middle and two more on each side — a small pit in the center, and a gated doorway in the far wall.
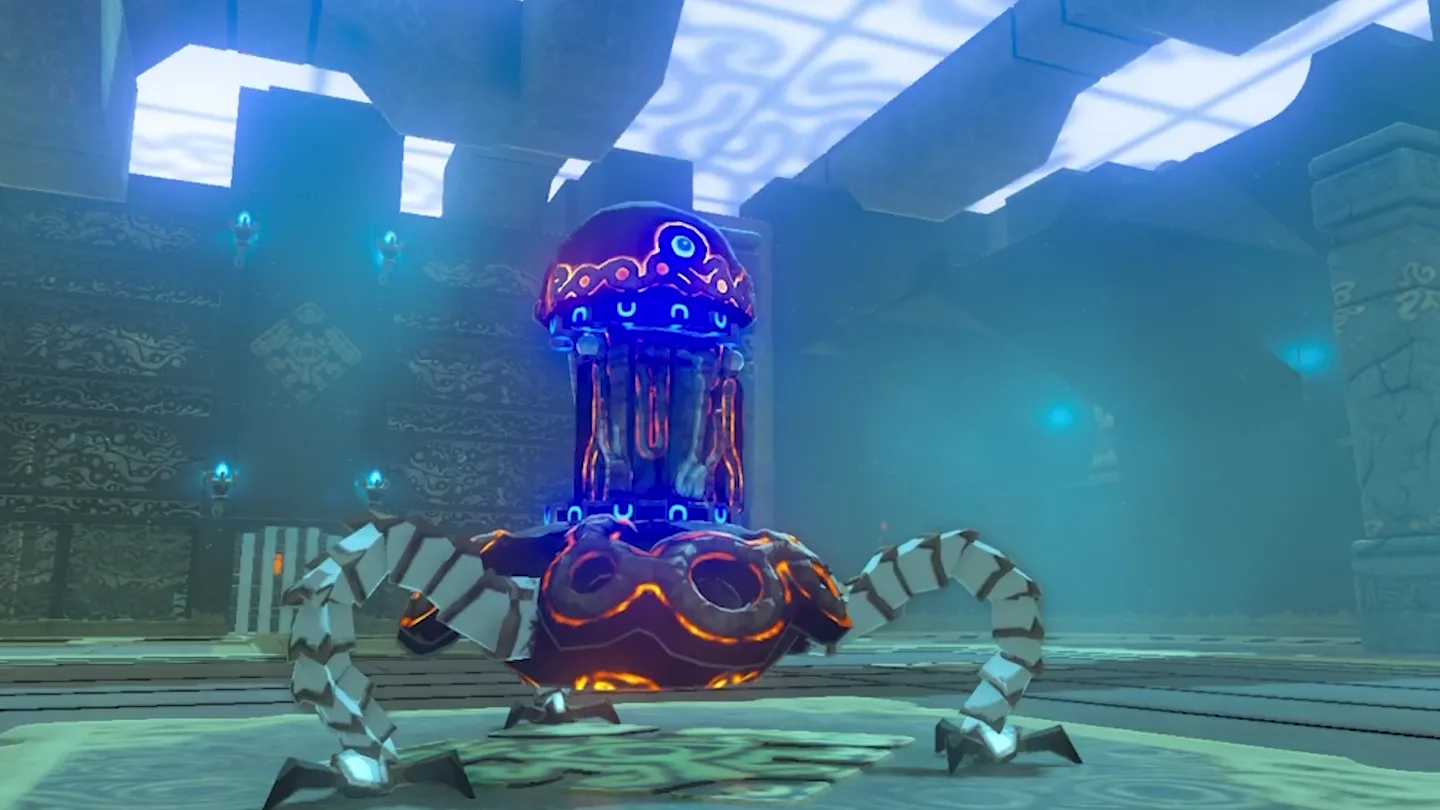
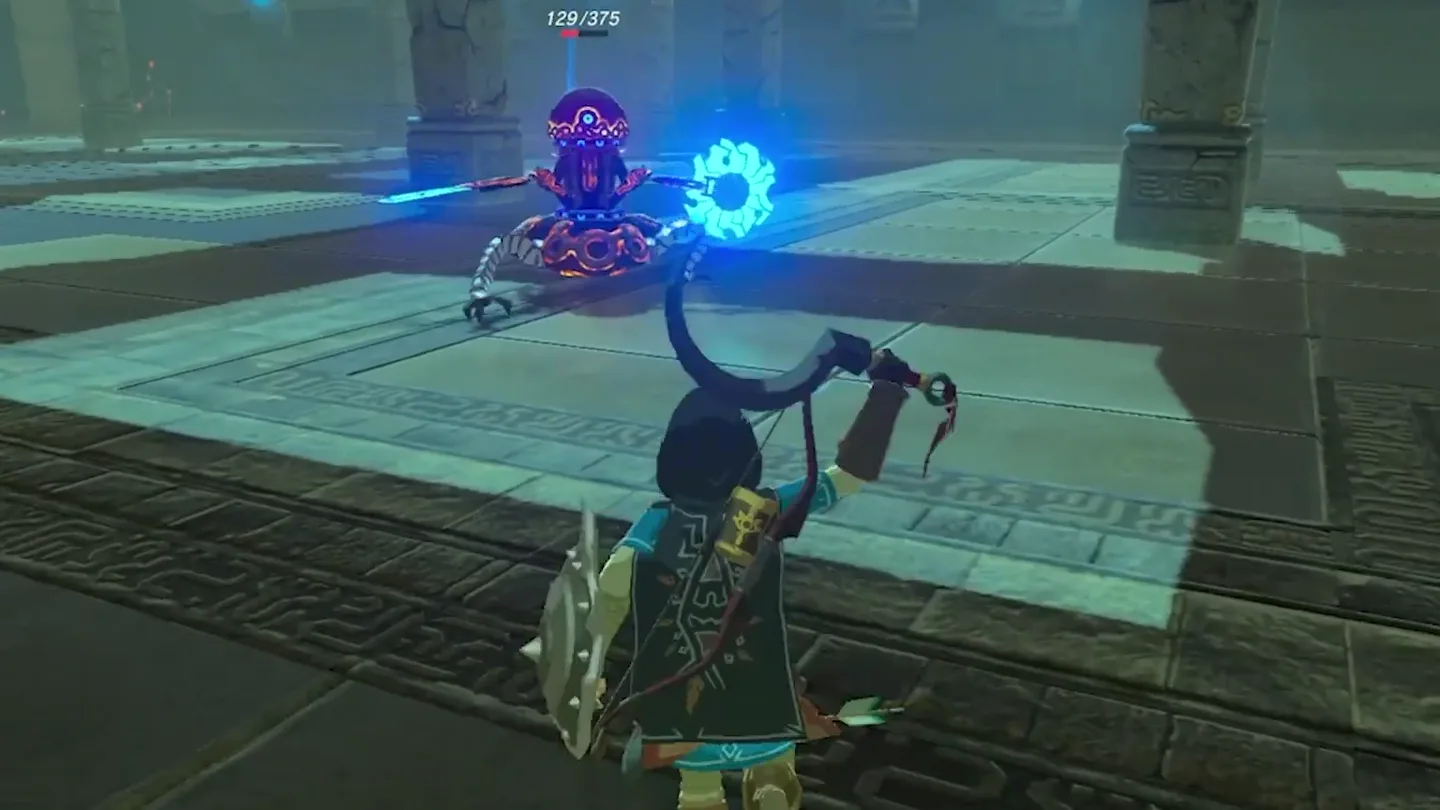
Walk up to the central pit. A platform rises out of it carrying a Guardian Scout II armed with a Guardian Sword and Guardian Shield — the duel starts then and there, with none of the hand-holding Kakariko Village’s combat shrine gives you.
2. Defeat the Guardian Scout II
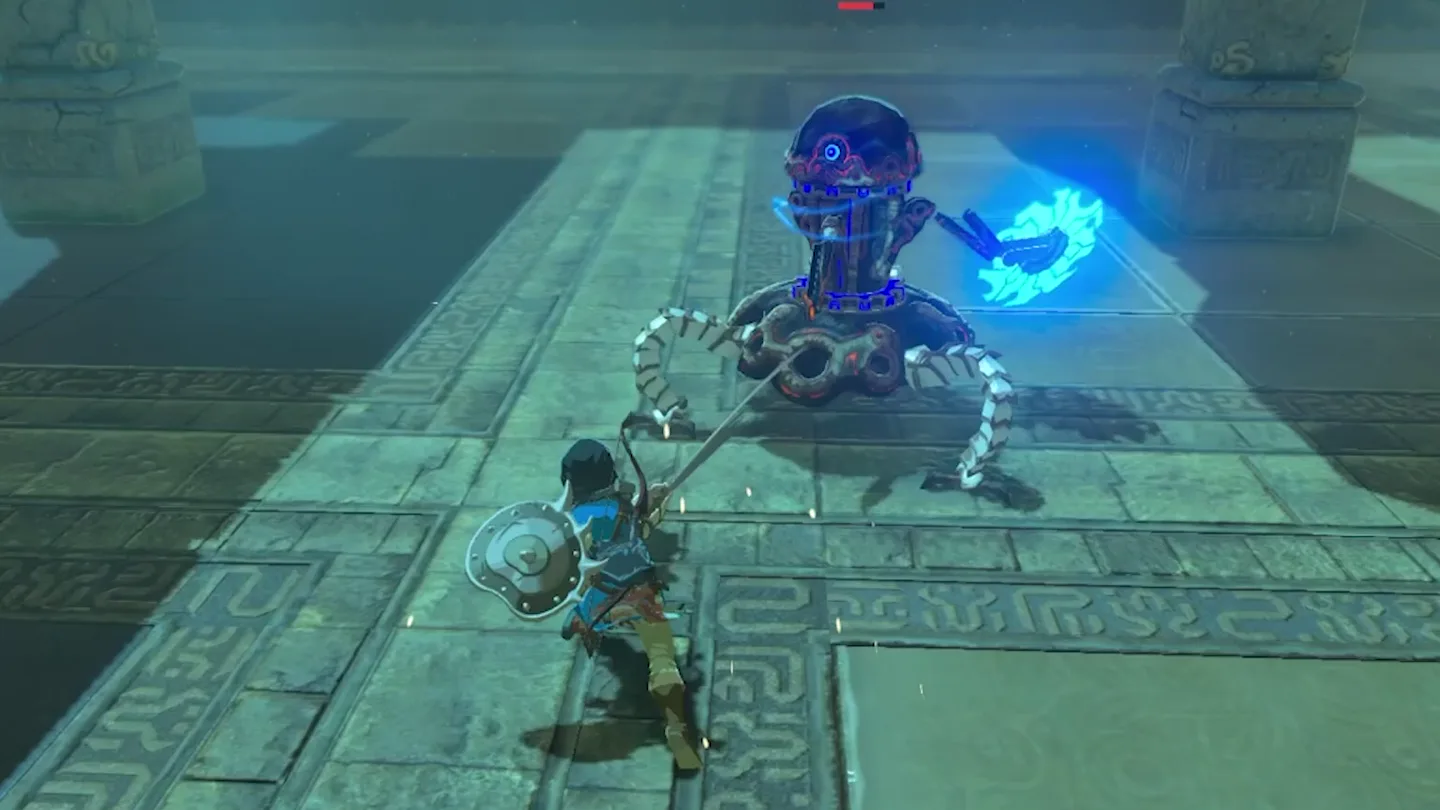
Its bread-and-butter attack is the sword swing as it closes in. Backflip or side-hop the swings to trigger a Flurry Rush, land your free hits, then back off and reset.
It can also spin its body like a charge attack and charge at you — don’t try to trade; dodge wide out of its path and re-engage once it stops.
From range it fires quick little laser pellets from its eye — each deals only light damage, but several can come in succession, so keep moving so the volley doesn’t stack up on you.
The dangerous one is the full-power Guardian laser. Either sprint out of the beam or time a shield parry to deflect it — this is the hit you do not want to take.
Periodically it moves far away and fires a thin laser in a circle around itself that gradually widens, creating an updraft all around it. Jump, open the Paraglider, ride the updraft up, and shoot it in the eye with an arrow — a critical hit that also stuns it.
While it’s stunned, run in and land your melee attacks, then back off and repeat the read-and-punish cycle until its health is gone.
3. Collect the Dropped Weapons
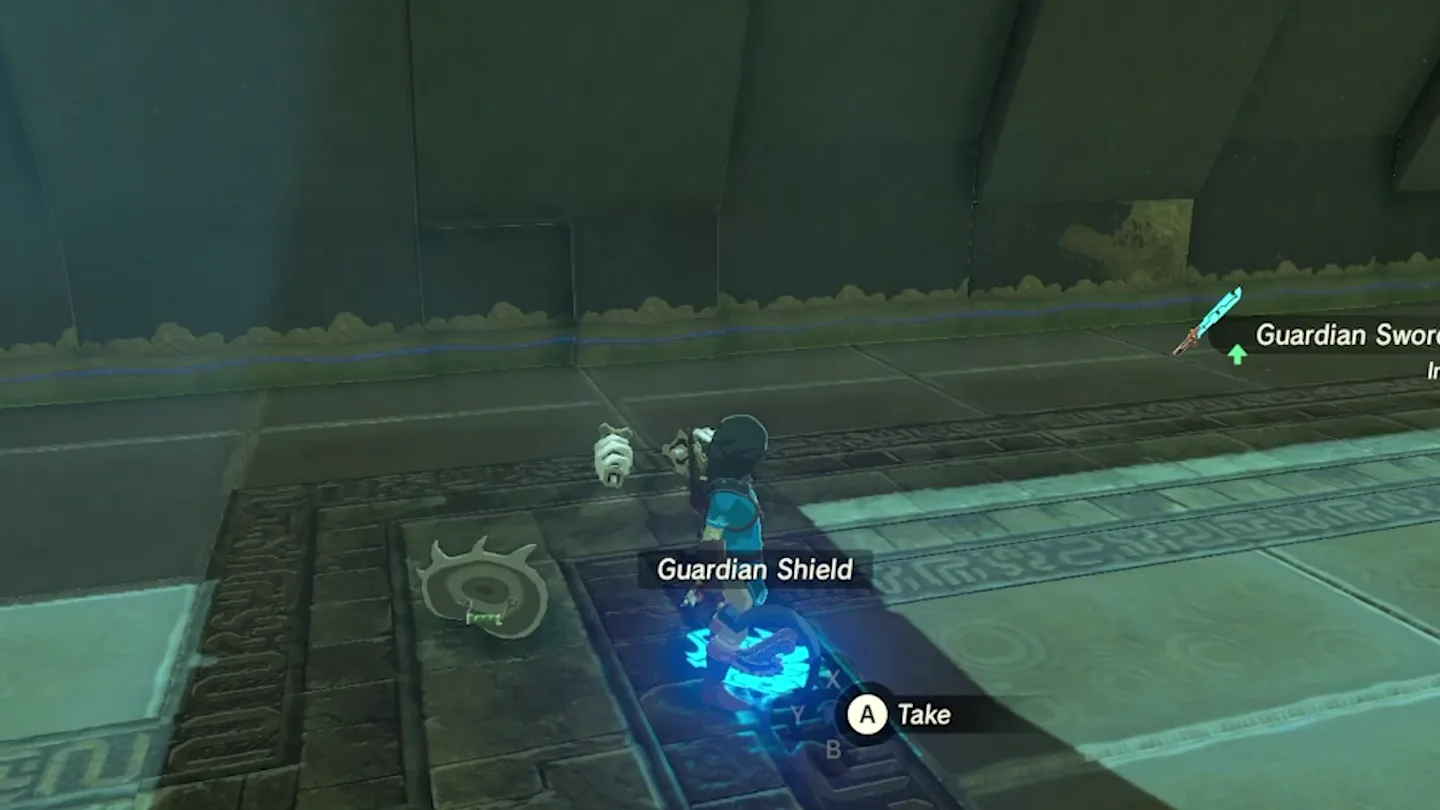
When the Scout is destroyed, it drops the Guardian Sword and Guardian Shield it was fighting with — walk over and take both; Guardian gear is great in the field.
4. Go Through the Opened Gate
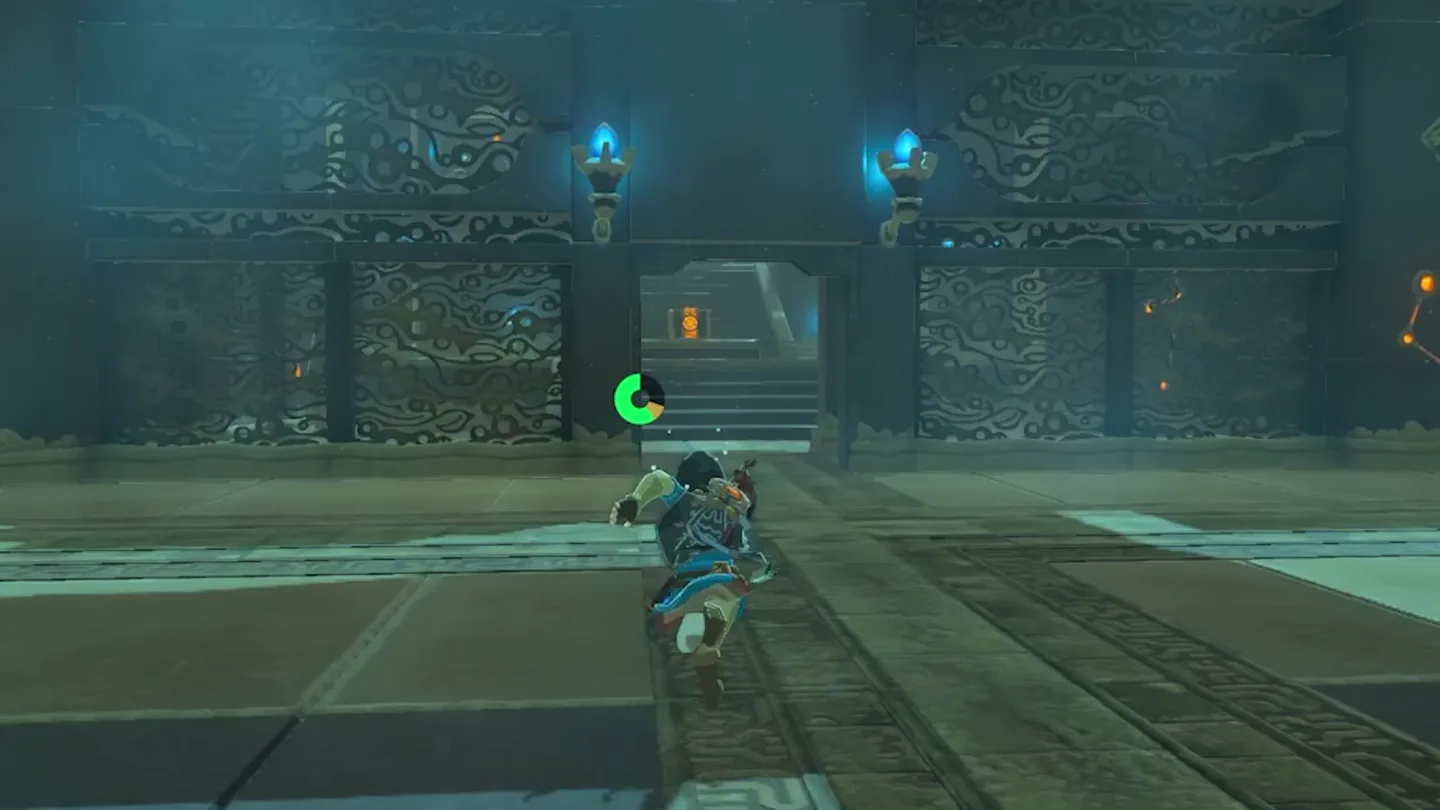
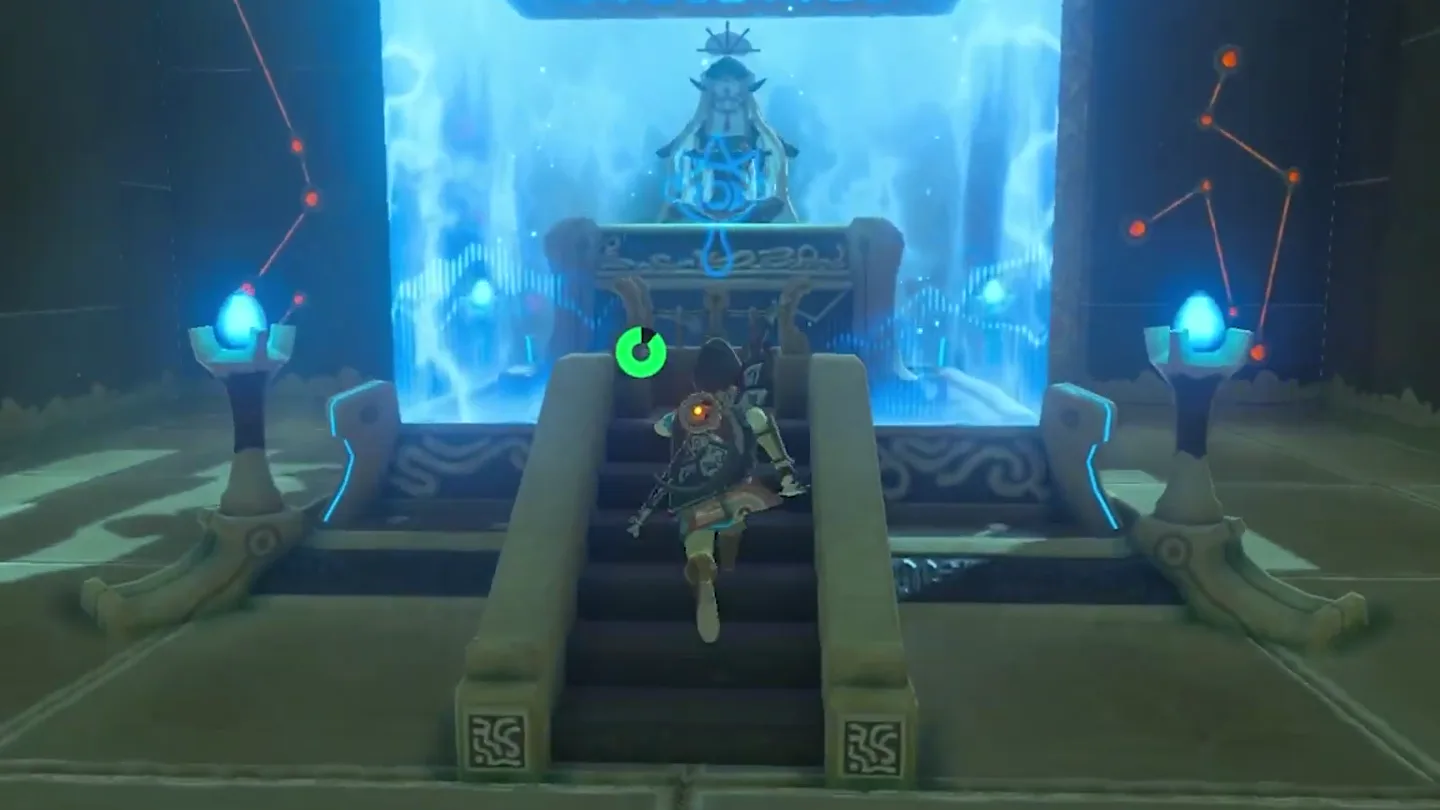
The portcullis at the back of the chamber rises once the Scout is defeated, opening the way to the Monk’s Pedestal. Head through and start up the stairs.
5. Open the Treasure Chest
On the way up, step onto the small platform beside the stairs and pop open the treasure chest for a Knight’s Bow — grab it on your way out.
6. Receive the Spirit Orb
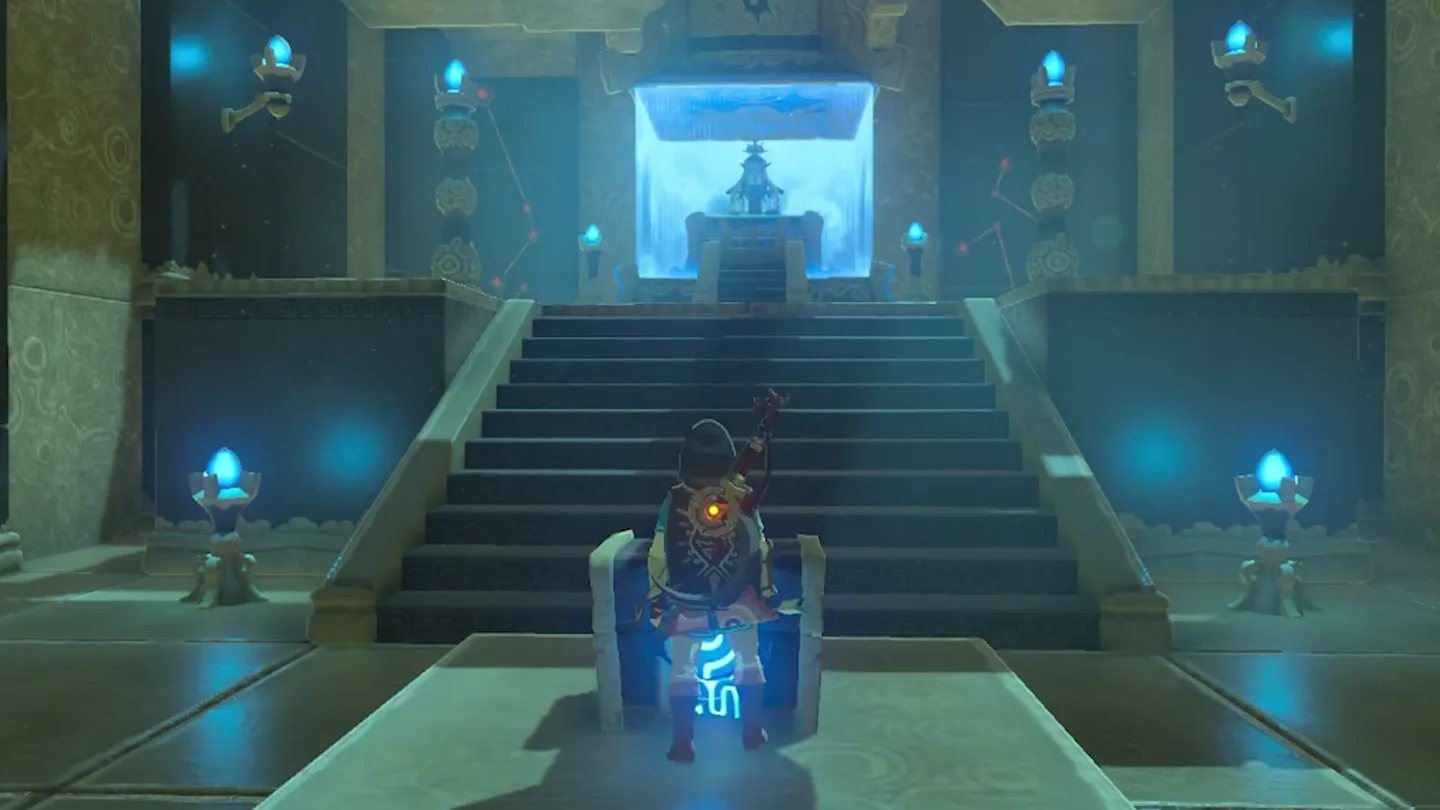
Approach Soh Kofi to receive your Spirit Orb — he wishes you well and fades away, and the shrine is complete.
What is in the chest?
| Chest | Contents | How to get it |
|---|---|---|
| 1 | Knight’s Bow | After the duel, the portcullis at the back of the chamber rises; climb the stairs toward the Monk’s Pedestal and step onto the small platform along them — the chest sits right there, right before the monk. Pop it open before you claim your Spirit Orb. |
What do people miss here?
- Walking straight past the Knight’s Bow chest — it sits off to the side on a small platform along the stairs to the Monk’s Pedestal, easy to miss in the rush to the monk. Grab it on your way out, right before you reach Soh Kofi.
- Leaving without looting the Scout’s dropped Guardian Sword and Guardian Shield. Skip them and you’ll have to wait for a Blood Moon to reset the shrine and fight another Guardian Scout for a fresh set.
- Treating both lasers as the same threat. The quick pellets barely hurt and only demand movement; the charged Guardian beam is much more powerful and deserves a full sprint or a shield parry.
- Ignoring the updraft during the circular laser. Chasing the Scout around on the ground in that phase is slow and risky — the Paraglider-plus-arrow eye crit stuns it for your biggest damage window of the fight.
- Walking in under-prepared because it looks like a tutorial fight — it isn’t. The Scout has quite a few attacks up its sleeve (swings, a spin charge, two laser types, and the circular sweep), so bring a decent melee weapon, a shield you trust for parries, and a bow with arrows.
What else is nearby?
| Shrine | Direction | Straight-line distance | Region |
|---|---|---|---|
| Tah Muhl Shrine | north | 651 | Eldin |
| Sheh Rata Shrine | west | 734 | Lanayru |
| Mezza Lo Shrine | southeast | 772 | Hateno |
Which guides help next?
FAQ
What level Guardian Scout is in Soh Kofi Shrine?
Do I need any runes or special gear for Soh Kofi Shrine?
What's in the Soh Kofi Shrine treasure chest?
Does the Guardian Scout respawn after a Blood Moon?
Is Soh Kofi Shrine referenced anywhere else?
Related Articles
guides
Breath of the Wild Captured Memories: All 13 Locations and Rewards
All 12 photo locations from Zelda's album plus the 13th memory in Impa's painting, with coordinates, nearby shrines, the Champion's Tunic and the extra ending scene.
guides
Breath of the Wild Great Fairy Fountains: Locations, Costs and Horse God
Where the four Great Fairy Fountains and the Horse God Malanya are in Breath of the Wild, what each fairy costs to release, and how many you need per armor upgrade.
guides
Hyrule Castle Walkthrough: Entry Routes, Hylian Shield and Final Prep
How to get into Hyrule Castle in Breath of the Wild: five entry routes, the Hylian Shield and other loot by room, and what to prepare before the final battle.
Was this helpful?
Thanks for the feedback!