Some terrain tiles could not load. Switch to the coordinate grid or retry.
The shrine sits at the center of the North Lomei Labyrinth, in the northeast of the Hebra Mountains. It is only accessible by completing the ‘Trial on the Cliff’ shrine quest—the maze itself—and it is initially surrounded by portcullises, so you cannot simply walk up to it at ground level.
Item
Detail
Trial
Qaza Tokki’s Blessing
Tower region
Hebra
Map-marker coordinates
-0822, 3535, 0354
Shrine quest
Trial on the Cliff
Chests
1
Names
Qaza Tokki Shrine · 卡扎‧託基神廟 · 卡扎·托基神庙
What should you bring?
Nothing is required for the shrine itself—no Runes, weapons, or special armor. Qaza Tokki’s is a blessing shrine: inside there are no puzzles, just a direct path to the monk’s pedestal with a chest along the way. The entire challenge is navigating the labyrinth outside, so budget time for working the maze.
Qaza Tokki’s Blessing is earned before you ever step inside: the labyrinth itself is the trial. Clear the maze to the ladders, take the tunnel up and over, and drop onto the shrine from the walkway above.
1. Arrive at the Labyrinth
Travel to the North Lomei Labyrinth in the northeast of the Hebra Mountains—the shrine waits at its center.
Walk into the labyrinth entrance. A mysterious voice greets you, telling you to proceed onward through the maze to receive a blessing as reward—this starts the ‘Trial on the Cliff’ shrine quest.
Walk into the labyrinth entrance; the voice that greets you starts the shrine quest. Screenshot (cropped) from DuoNerd
· CC BY
2. Navigate the Maze to the Overhead Walkway
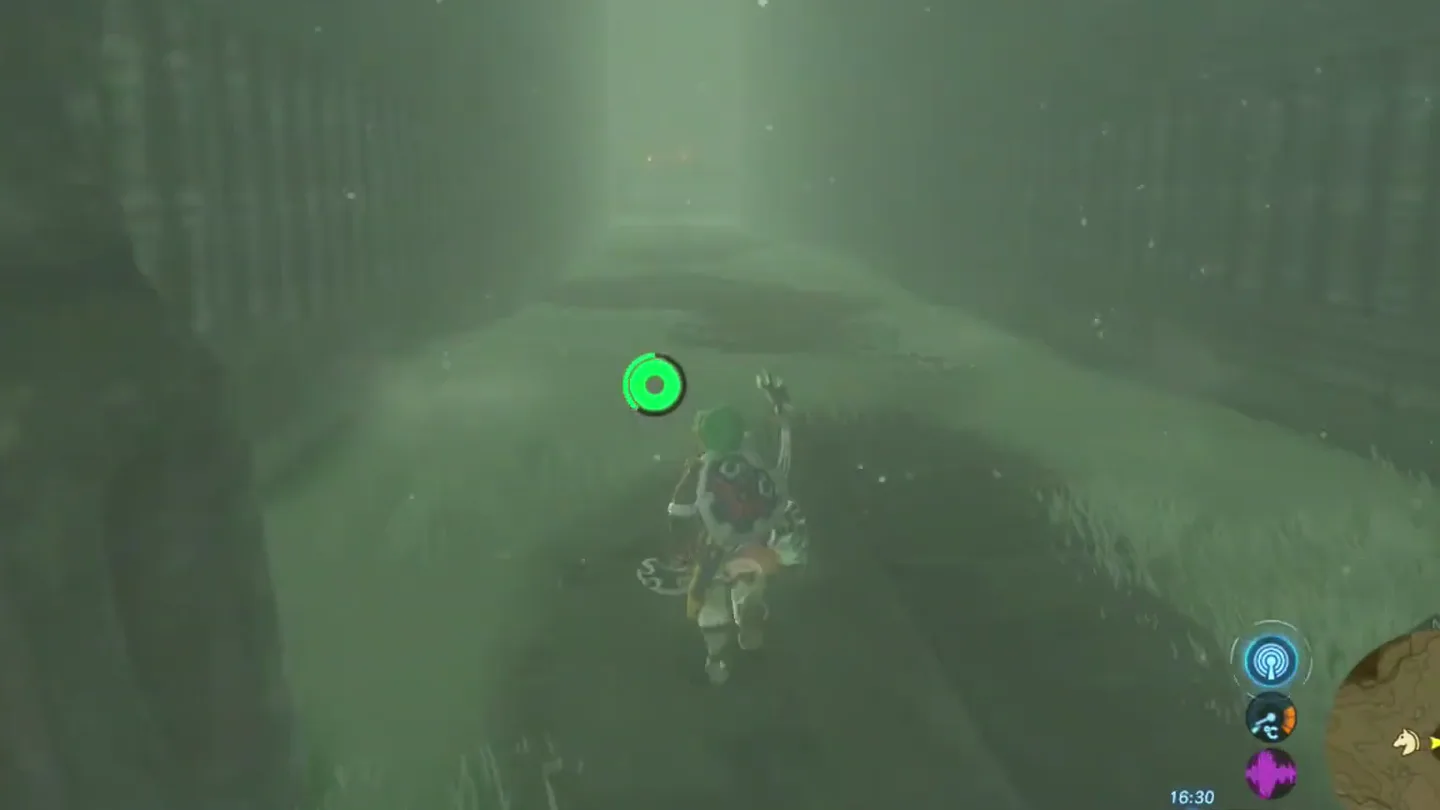
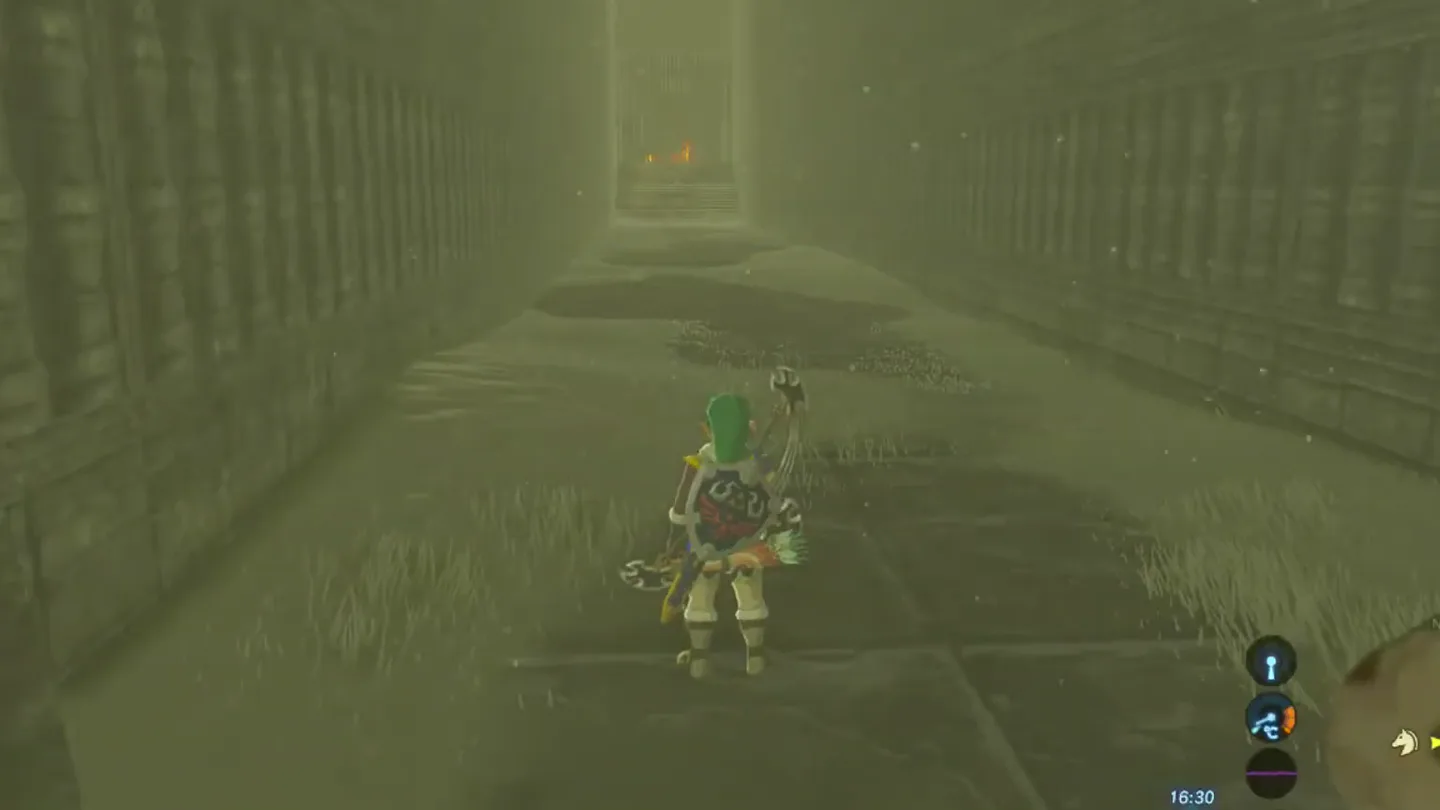
Work your way through the maze. The shrine is initially surrounded by portcullises that prevent you from easily reaching it at ground level, so pushing straight for the center gets you nowhere.
Keep following the maze route, backtracking around dead ends, until the path brings you to a series of ladders.
Climb the ladders.
At the top, continue forward through the tunnel.
The tunnel takes you to a walkway above Qaza Tokki Shrine.
Work your way through the maze; the ground route to the center is blocked. Screenshot (cropped) from DuoNerd
· CC BY
3. Drop Down to the Shrine
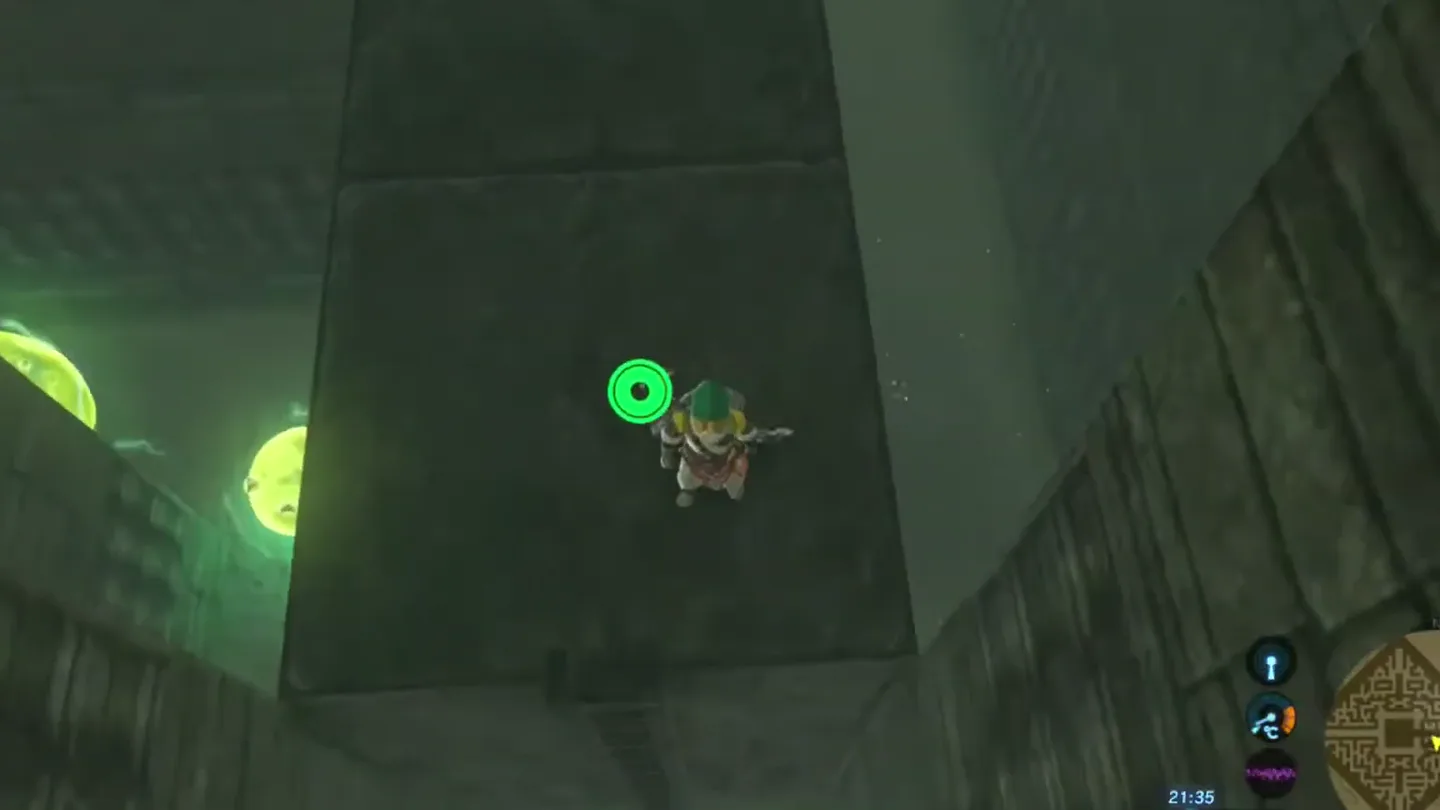
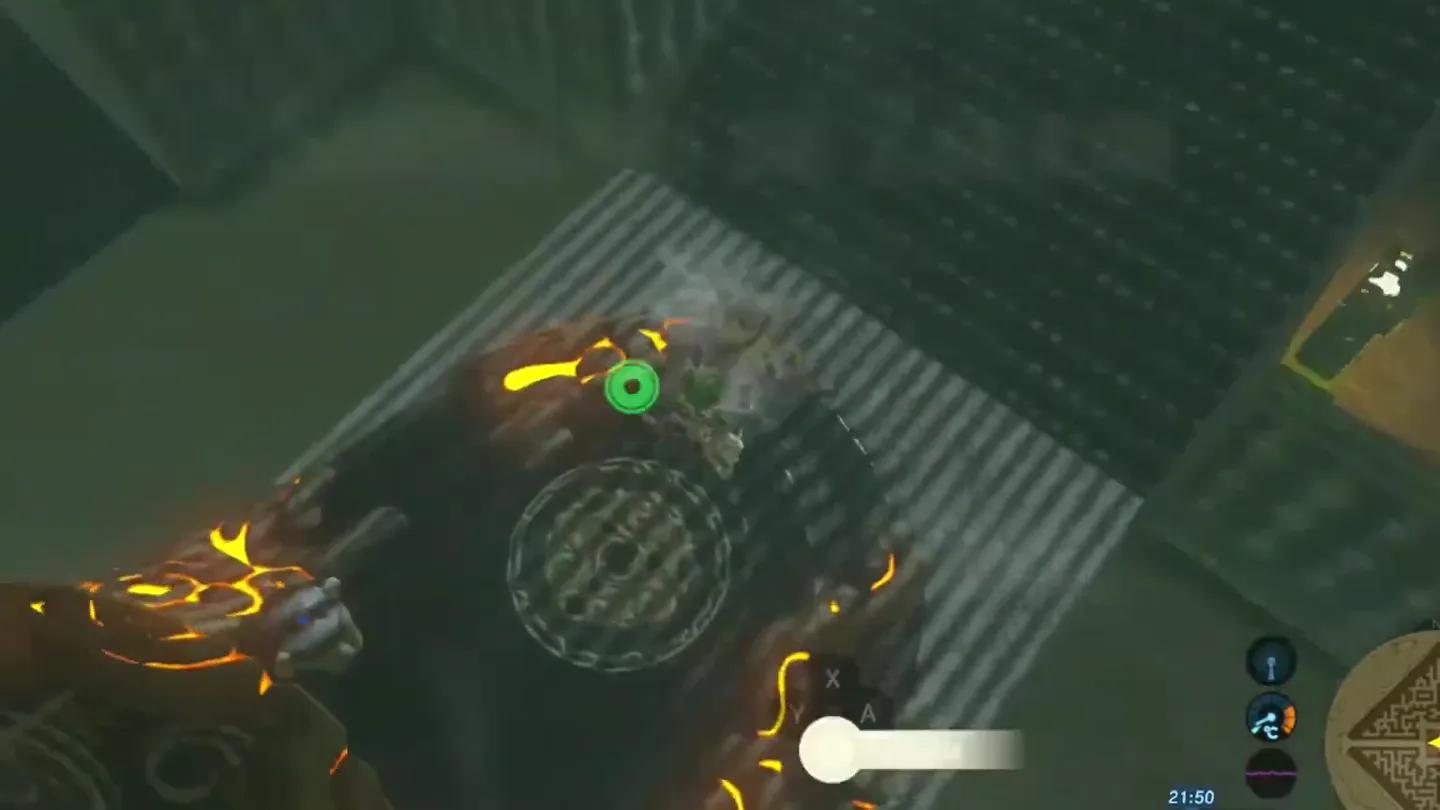
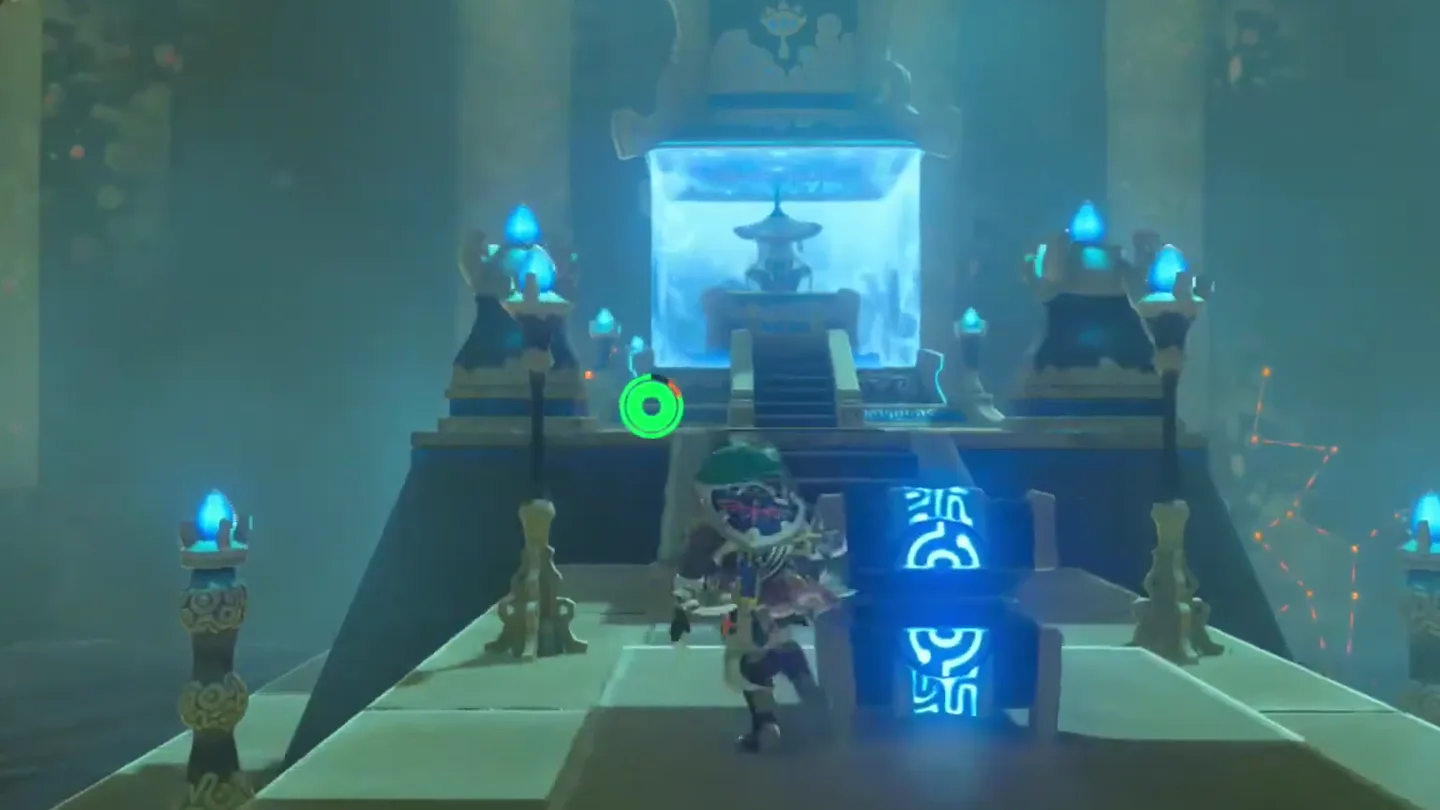
Drop down from the walkway to the shrine below and enter—this is how you get past the portcullises.
Drop down from above to reach the shrine past the portcullises. Screenshot (cropped) from DuoNerd
· CC BY Step onto the glowing entrance to go inside. Screenshot (cropped) from DuoNerd
· CC BY
4. Enter the Shrine and Claim the Reward
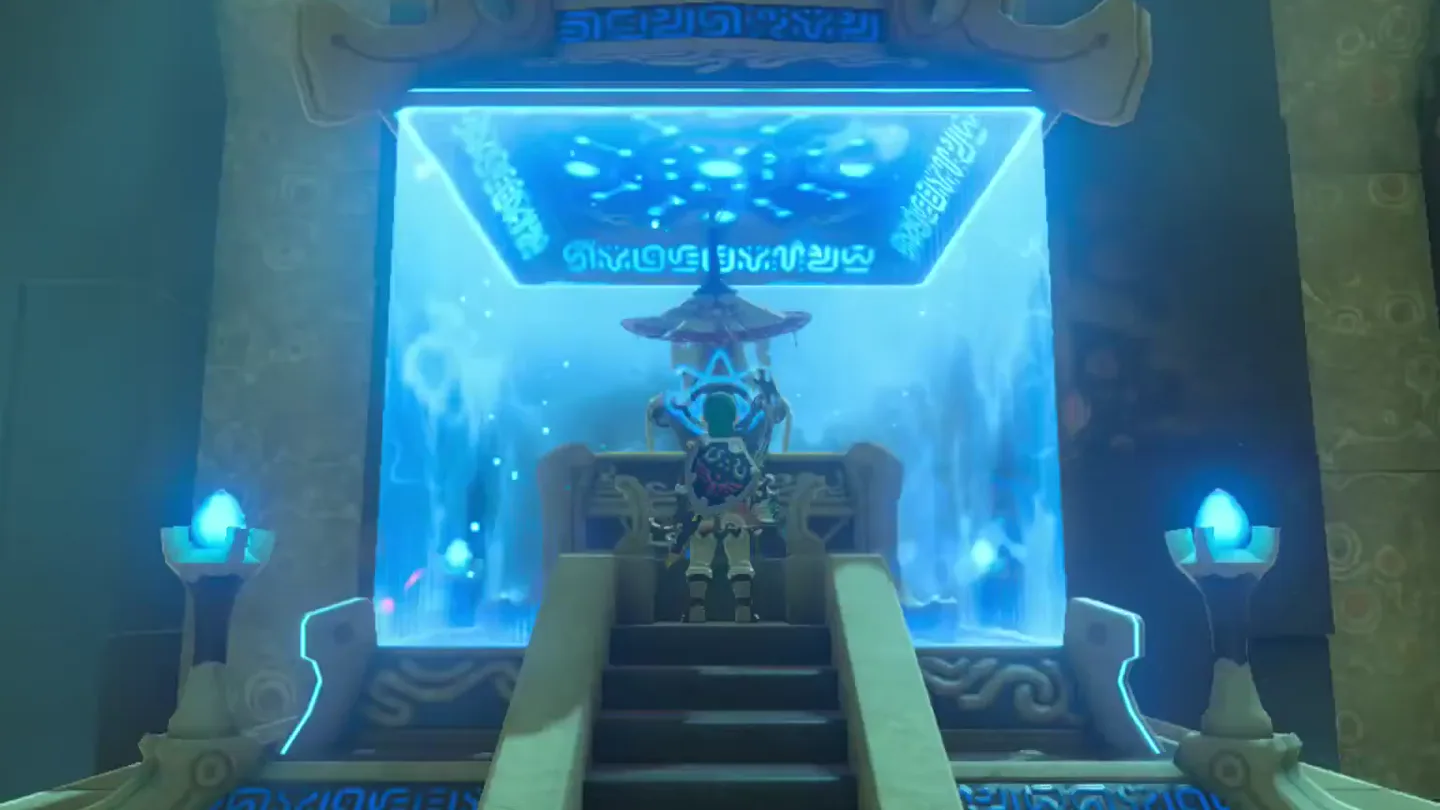
Step inside. Monk Qaza Tokki greets you, stating that merely being able to enter the shrine is proof of your worth.
Along the direct path to the pedestal, open the stone Treasure Chest to claim the Barbarian Leg Wraps—part of the Barbarian armor set, which can only be obtained from the three labyrinths, one piece per shrine.
Approach the pedestal and speak with Qaza Tokki to receive your Spirit Orb.
Afterwards the monk wishes you well and fades away, and the shrine is complete.
Open chest ① on the way to the pedestal for the Barbarian Leg Wraps. Screenshot (cropped) from DuoNerd
· CC BY Speak with Qaza Tokki at the pedestal to receive the Spirit Orb. Screenshot (cropped) from DuoNerd
· CC BY
What is in the chest?
Chest
Contents
How to get it
1
Barbarian Leg Wraps
A stone Treasure Chest sitting on the direct path to the monk’s pedestal. Nothing guards it—walk up and open it on your way to Qaza Tokki.
What do people miss here?
Searching the portcullises for a way through: they are never the way in. The route is overhead—climb the ladders deeper in the maze, take the tunnel, and drop down from the walkway above the shrine.
Beelining straight to the monk: the stone chest with the Barbarian Leg Wraps sits right on the path to the pedestal. Don’t leave without it—the Barbarian set can only be obtained from the three labyrinths, one piece per shrine.
Assuming the reward is automatic: the Spirit Orb is given when you approach and speak with Qaza Tokki at the pedestal. Skip the conversation and the shrine won’t count as complete.
Missing the quest trigger: entering the labyrinth is what starts the ‘Trial on the Cliff’ shrine quest, and the shrine is only accessible by completing it—if the maze looks like the whole trial, that’s because it is.
No. It's a blessing shrine ('Qaza Tokki's Blessing')—navigating the North Lomei Labyrinth to reach it is the entire trial. Inside there's just a stone chest and the monk's pedestal.
Why is Qaza Tokki Shrine blocked by gates?
The shrine is initially surrounded by portcullises that prevent you from easily reaching it at ground level. After working through the maze you'll find ladders and a tunnel leading to a walkway directly above the shrine—drop down from there to enter.
What's in the Qaza Tokki Shrine chest?
The Barbarian Leg Wraps, part of the Barbarian armor set. The set can only be obtained from the three labyrinths, with each shrine giving one piece.
How does the 'Trial on the Cliff' shrine quest start?
Simply enter the North Lomei Labyrinth: a mysterious voice will greet you and tell you to proceed onward through the maze for a blessing, which initiates the quest. The shrine is only accessible by completing it.
What reward does Monk Qaza Tokki give?
A Spirit Orb, bestowed for reaching the shrine. Approach and speak with him at the pedestal to receive it, after which he wishes you well and fades away.