

TotK Purah Pad Upgrades: Sensor, Travel Medallion, Hero’s Path
Unlock every Purah Pad upgrade: move Robbie to Hateno, finish the shrine sensor test, recover the Travel Medallion and add Sensor+ and Hero’s Path.
Which Purah Pad upgrades should you unlock first?
Start with the shrine sensor because it unlocks Robbie’s other upgrade requests. After that, the best next step depends on what you have already collected: Hero’s Path and Sensor+ can be finished immediately if your existing records meet their requirements, while the Travel Medallion sends you to Akkala.
| Feature | Requirement after the sensor test | What it does |
|---|---|---|
| Shrine sensor | Complete Hateno Village Research Lab | Signals when you move toward an undiscovered shrine |
| Travel Medallion | Bring back the prototype from Akkala Ancient Tech Lab | Places a reusable fast-travel point at a suitable location |
| Hero’s Path Mode | Record 15 shrine locations | Displays your route on the map |
| Sensor+ | Register five different monster types in the Compendium | Tracks a selected Compendium entry |
| Compendium picture shop | Complete Filling Out the Compendium with Robbie | Sells pictures to fill missing Compendium entries |
These are quest rewards in the base game. You do not need a paid upgrade pack. The side-adventure list lists the five Robbie quests together.
How do you move Robbie from Lookout Landing to Hateno?
- Complete Camera Work in the Depths with Robbie. This unlocks the camera and Hyrule Compendium.
- Complete one of the four Regional Phenomena branches. Use the main-quest order if you have not chosen your first region yet.
- Take A Mystery in the Depths from Josha, obtain Autobuild in the Depths and report back to her at Lookout Landing.
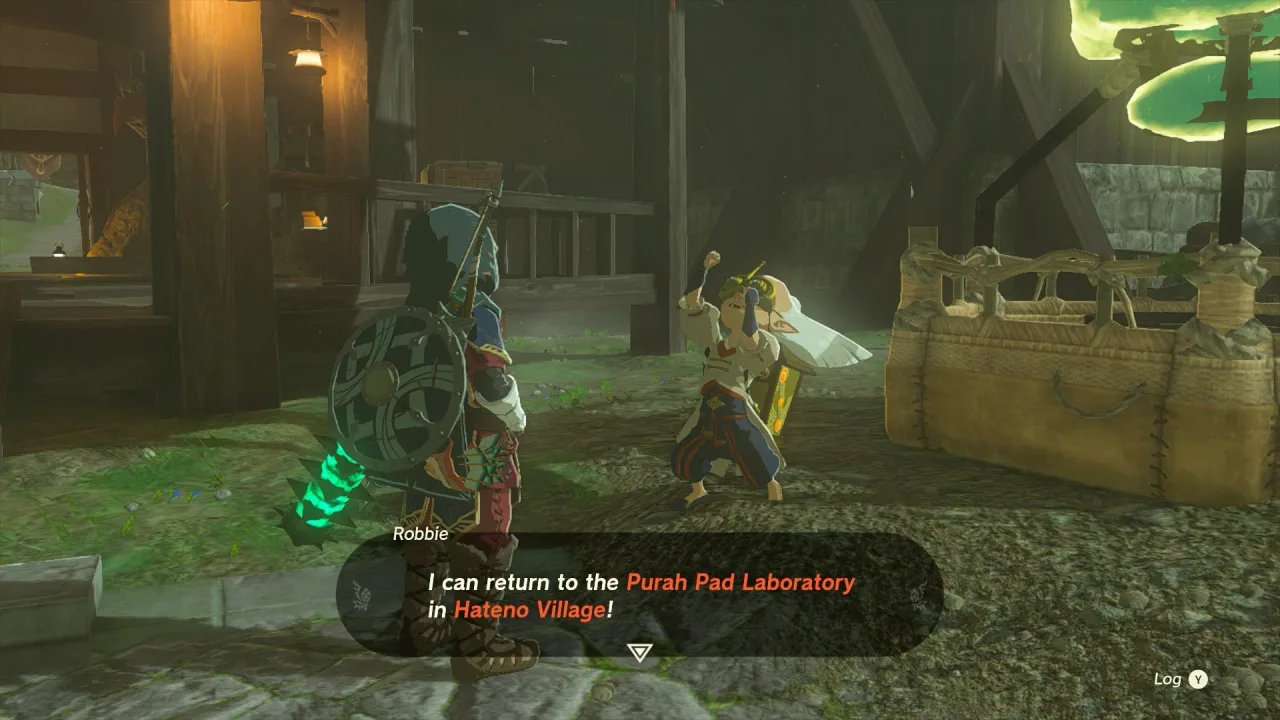
- Josha then asks you to repair Robbie’s balloon with Autobuild; the quest only completes once it is fixed. Speak to Robbie after the repair; he can now return to Hateno Ancient Tech Lab.
- Travel to the lab on the hill above Hateno Village and speak to him inside. Going to Akkala first does not move Robbie: Hateno is where the upgrades are installed.
How do you finish the shrine sensor test?
Robbie installs the sensor and first asks you to demonstrate it inside the lab. Gently tilt the movement stick and walk toward the window beside the entrance. Do not sprint around the room; the test needs the slow movement that makes the signal respond.
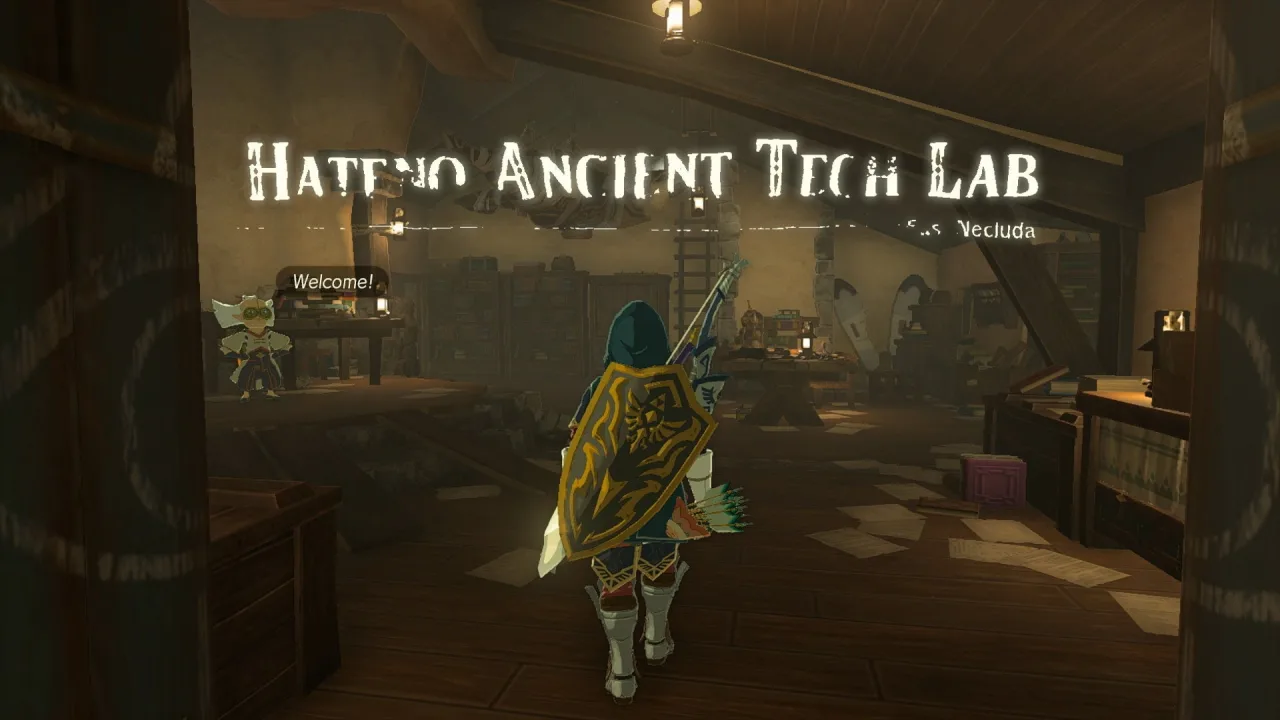
After the dialogue advances, leave the lab and descend the hill to the cave entrance. Follow the cave toward Mayahisik Shrine. Reach the shrine to advance the objective, then return to Robbie to finish Hateno Village Research Lab.
If the beeping is confusing, turn and walk a short distance in different directions. The signal responds to movement toward the target; standing still is not a useful test. A shrine below you can sound close even when you cannot see its entrance from the hilltop.
Where is the Travel Medallion Prototype?
Ask Robbie about the Travel Medallion to start Presenting: The Travel Medallion! He marks Akkala Ancient Tech Lab in the far northeast. This is a different building from the Hateno lab where you are standing.
- Travel to Akkala Ancient Tech Lab. From Jochi-iu Shrine, follow the road toward the lab uphill.
- Try the front door. Defeat the Yiga Footsoldier and Blademaster who appear before entering.
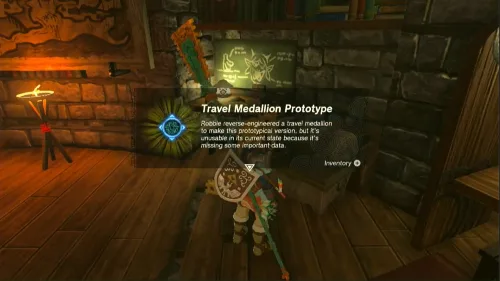
- Open the chest inside for the Travel Medallion Prototype. Talking to the person inside and receiving the Yiga Armor is a separate reward; it does not replace opening this chest.
- Return to Hateno Ancient Tech Lab and give the prototype to Robbie. Use the lab’s travel gate once it is available.
- Open Key Items, select the Travel Medallion and choose Place at a suitable spot. You can then select its marker on the map to travel back or collect a marker you no longer need.
| Total Travel Medallions | Requirement |
|---|---|
| 1 | Return the prototype |
| 2 | Reveal 10 surface regions using Skyview Towers and report to Robbie |
| 3 | Reveal all 15 surface regions and report to Robbie again |
Already revealed the whole map? Keep speaking to Robbie about the upgrades; you do not have to activate the towers again. The Skyview Tower guide helps you find the regions you still need.
How do you unlock Hero’s Path Mode?
Ask Robbie about Hero’s Path Mode after completing the sensor test. He needs data for 15 shrine locations. Existing discoveries count, so you may receive the upgrade immediately. If not, activate more shrine travel gates and return; the shrine map helps you plan a short loop.
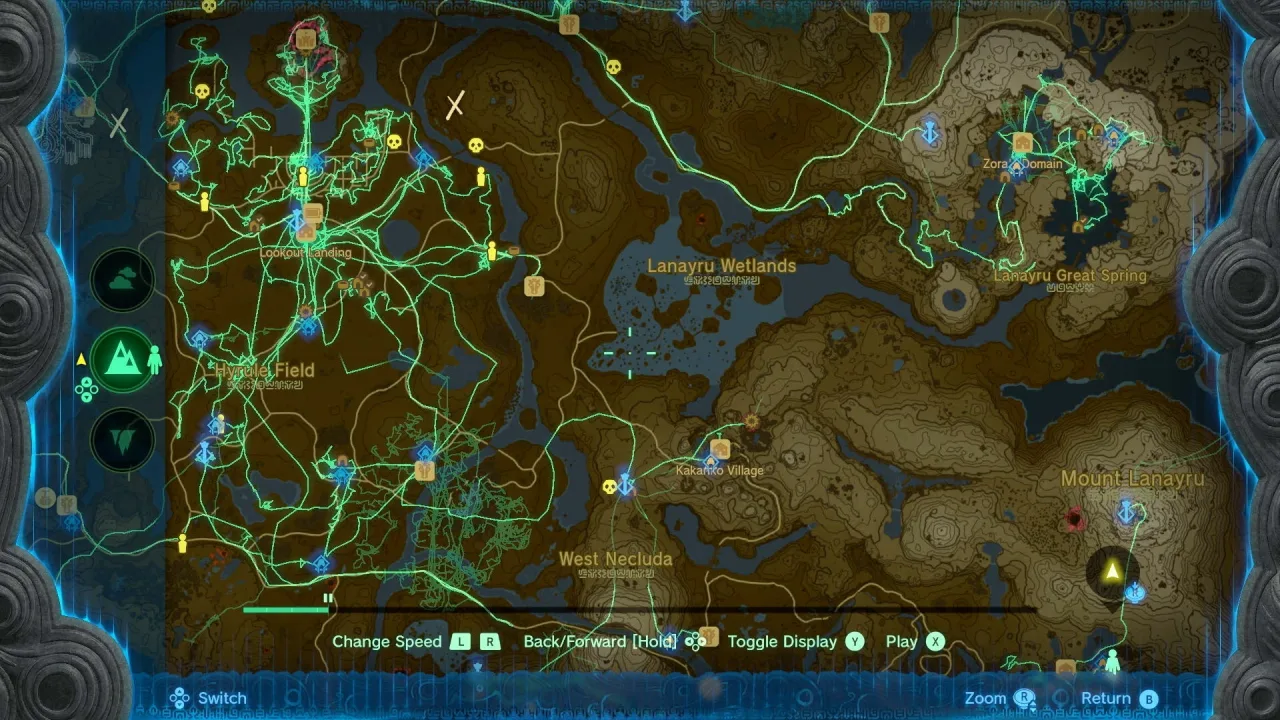
Open the map and press X to view the route. It records up to 256 hours; older movement is replaced once the record exceeds that limit. Use the sky, surface and Depths map layers when reviewing a route. A blank patch is a place to investigate, not proof that a collectible is hidden there.
How do you unlock and use Sensor+?
Choose Sensor+ in Robbie’s upgrade conversation. Register five different monster types in the Hyrule Compendium. Five pictures of the same monster do not create five types: aim the camera until the monster is identified and accept the photo into its Compendium entry.
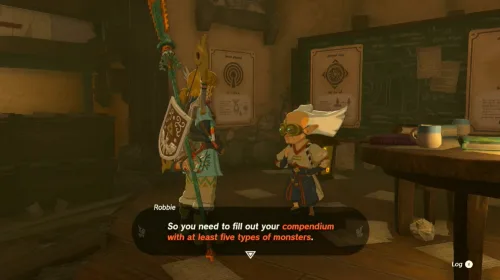
Return to Robbie once the requirement is met. After installation, select a recorded target through the map’s sensor setting or its Compendium entry. The signal then follows that target instead of shrines. For farming, photograph the correct monster variant: tracking any Lizalfos is less useful when you need a particular elemental tail. See the Lizalfos guide for the different variants and drops.
The picture shop is a separate conversation under Filling Out the Compendium. It can fill gaps in your collection, but buying pictures is not a replacement for first finishing the shrine sensor quest and installing Sensor+.
What should you check if an upgrade is missing?
| Problem | Check next |
|---|---|
| Robbie never leaves Lookout Landing | Josha’s quest completion, the repaired balloon and Robbie’s final conversation |
| The indoor sensor test will not finish | Walk slowly toward the window beside the door |
| You reached the shrine but other upgrades are unavailable | Return to Robbie and finish the test dialogue |
| You have the Yiga Armor but no Travel Medallion | Open the prototype chest inside Akkala lab |
| You only have one travel marker | Check tower coverage, then report back to Robbie |
| Sensor+ finds the wrong thing | Change the selected Compendium target; restore shrine detection when finished |
| Hero’s Path has an empty area | Check the correct map layer and the recording limit |
FAQ
Why is Robbie still at Lookout Landing?
Why does the shrine sensor test not advance?
How do I get three Travel Medallions?
Related Articles
weapons
TotK Pristine Weapons: Depths Locations and Respawn Rules
Find pristine weapons in Tears of the Kingdom: shadow soldiers, regional weapon pools, decayed-weapon unlocks, Blood Moon respawns and collection tips.
guides
TotK Hateno Mayoral Election: Quests, Mushrooms and Rewards
Complete the Hateno election in Tears of the Kingdom: all eight mushroom recipients, cheese, both secrets, rewards, unlocks and fixes for stalled quests.
guides
TotK Hearty Ingredient Farming: Radish, Truffle and Fish Routes
Find all seven Hearty ingredients in Tears of the Kingdom with sky-island, cave and fish routes, cooking values, and reserves for armor upgrades.
Was this helpful?
Thanks for the feedback!