

Dow Na'eh Shrine: Three Boxes Solution and Chests (BotW)
Find Dow Na'eh Shrine behind the Lanayru Promenade waterfall, use the chests to open the gate, and reach the altar with the metal block and lift.
Where is Dow Na’eh Shrine?
Start at Lanayru Promenade and look for the waterfall on its south side. Follow the path into the cave behind the waterfall to reach the shrine. There is no shrine quest to trigger before entering. Use the BotW shrine location table to place it on your route.
| Item | Detail |
|---|---|
| Trial | Three Boxes / 3個箱子 |
| Tower region | Hateno |
| Map-marker coordinates (X, Y, Z) | 2697, -1333, 0234 |
| Type | Magnesis and moving-platform puzzle; not a Test of Strength |
| Shrine quest | None |
| Chests | 3 |
| English name | Dow Na’eh Shrine |
| Traditional Chinese name | 達烏‧納艾神廟 |
| Simplified Chinese name | 达乌·纳艾神庙 |
What should you bring?
Pack a bow and a handful of arrows — cutting the two ropes that hold the shelf chest is the only step in this trial that consumes anything. The rest is pure ability work: Magnesis and Cryonis inside, plus the paraglider for the final jump to the altar. There is nothing to fight (not a Test of Strength) and no hazard to resist, so combat weapons, meals, and resistance gear can all stay home.
Video walkthrough

Solution: How do you solve Three Boxes?
The treasure chests are also weights for the large floor switch. Collect their contents, then use the chests to release the metal block needed for the final crossing.
| Ability or equipment | Use on this route |
|---|---|
| Magnesis | Retrieve metal chests and move the large metal block |
| Bow and arrows | Cut the ropes supporting the wooden shelf |
| Cryonis | Make a foothold to approach the chest dropped into the water |
| Paraglider | Cross from the raised block to the altar |
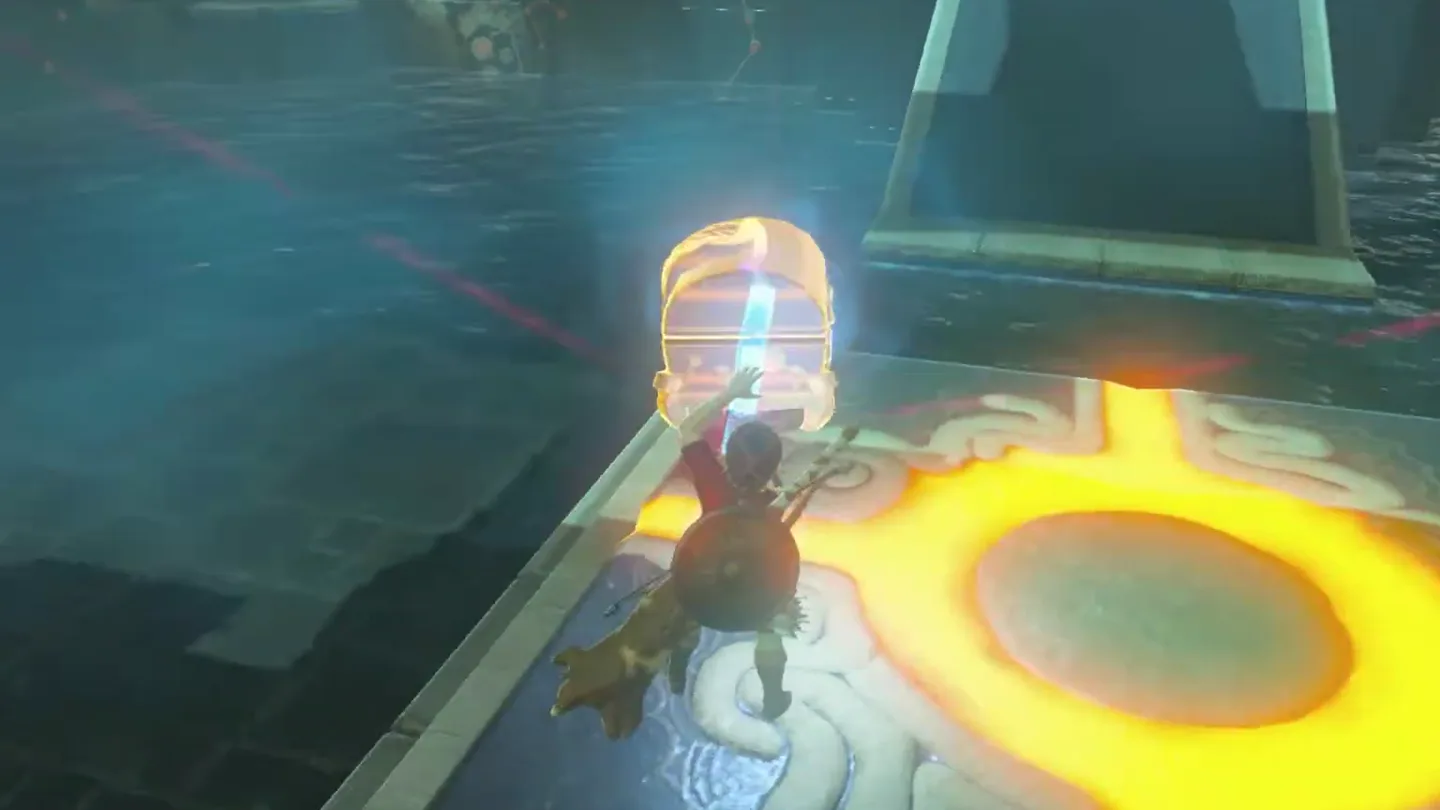
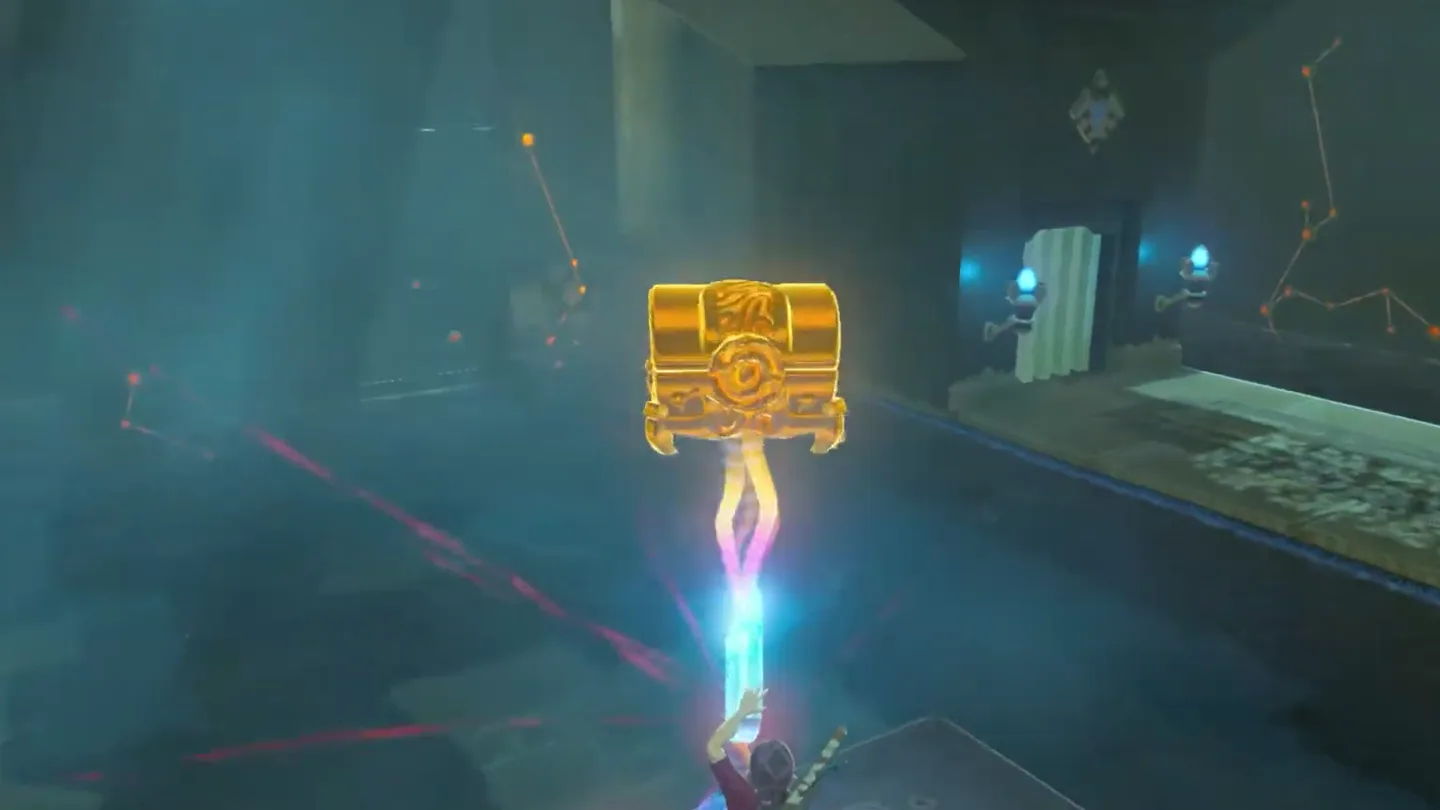
1. Collect all three chests and place them on the switch
Retrieve the water chest. Walk down the entrance slope and use Magnesis to lift the chest out of the water beside the large switch. Open it for the Opal, then put the chest on the switch.
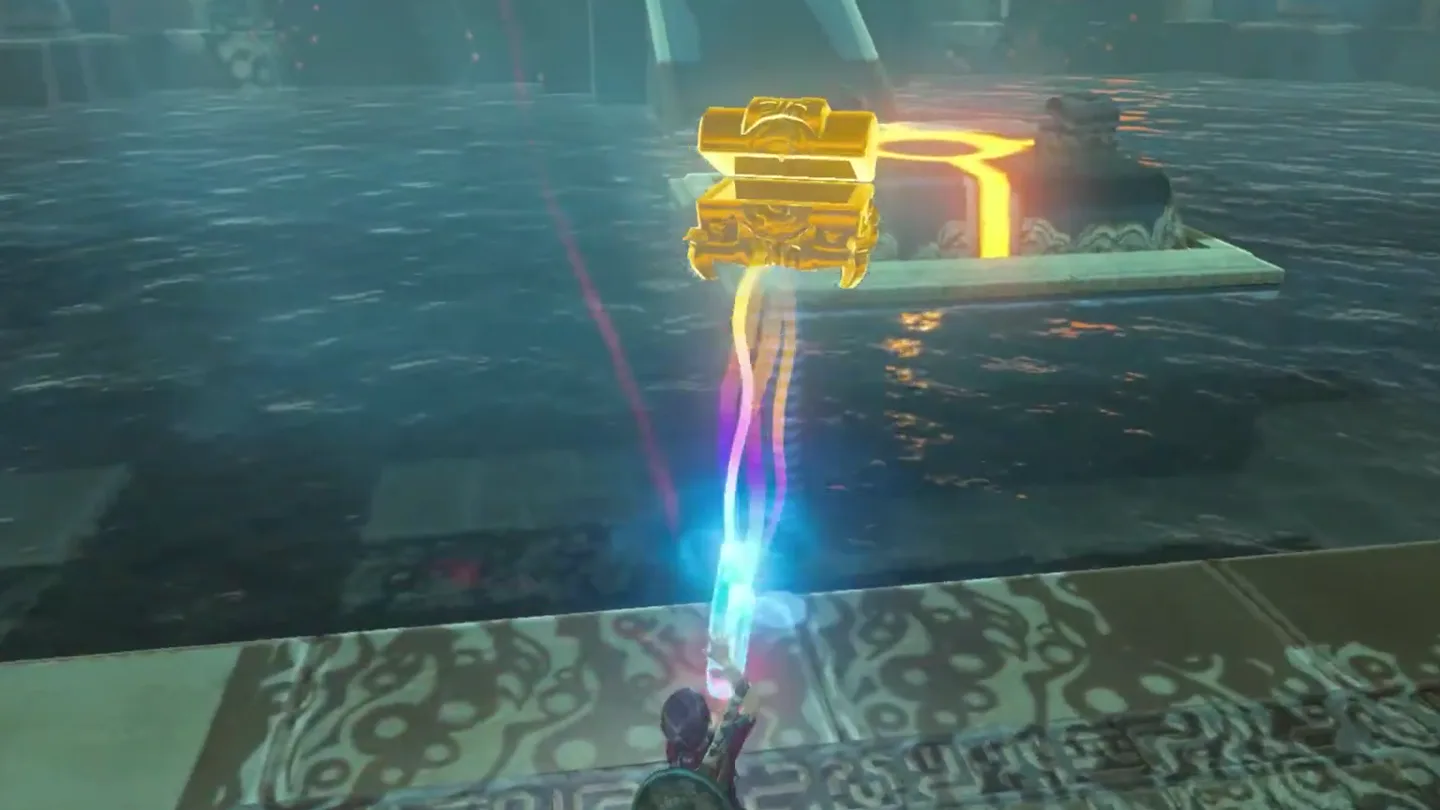
Shoot the shelf’s ropes. Look left for the wooden shelf supporting a chest. Cut both ropes with arrows so the chest falls into the water.
Recover the fallen chest. Use Cryonis to make an ice pillar for approaching it, then pull it out with Magnesis. Open it for the Zora Sword and move the chest onto the switch.
Collect the rear chest. Find the chest on the elevating pillar at the back of the room. Bring it within reach with Magnesis, open it for Amber, and add it to the switch.
2. Move the metal block onto the lift platform
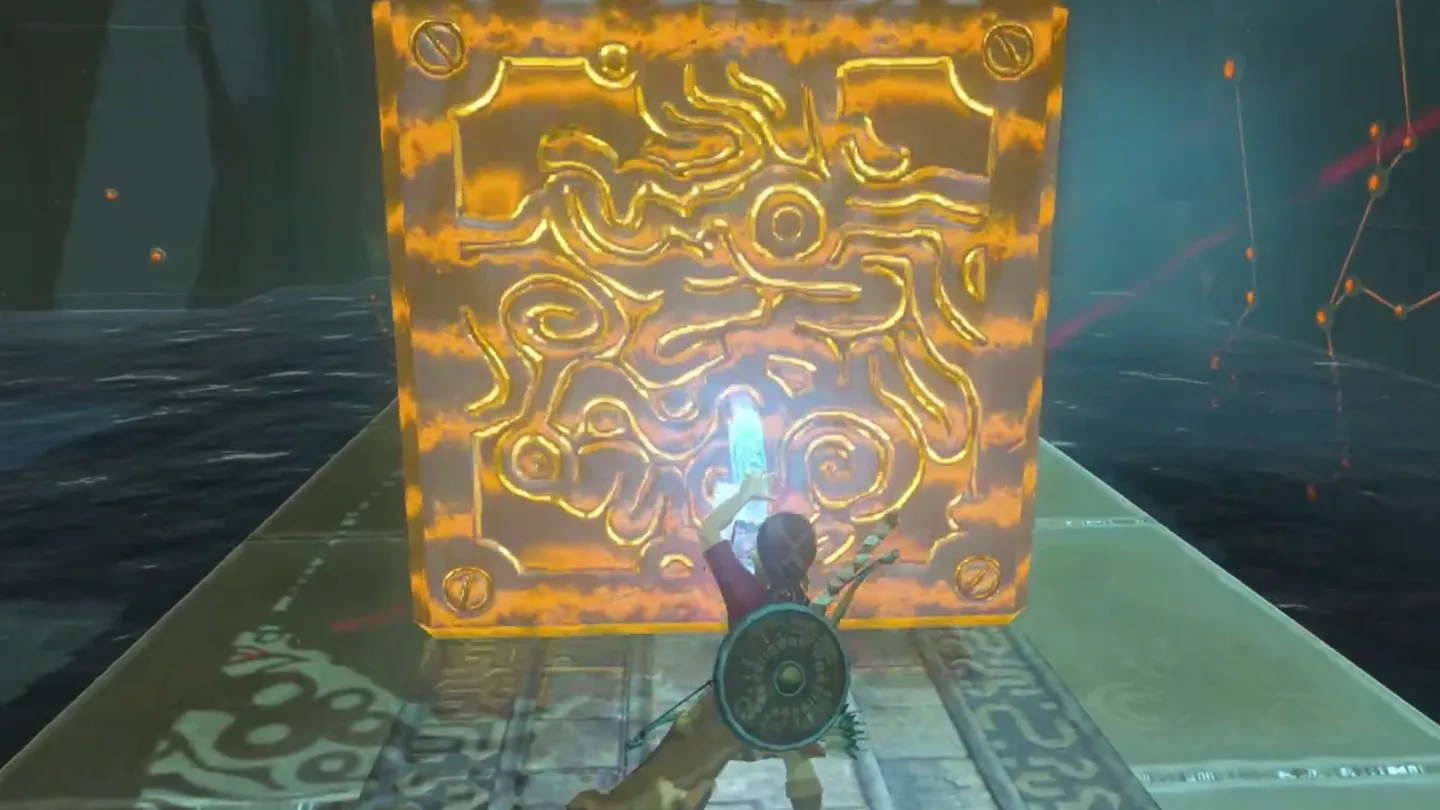
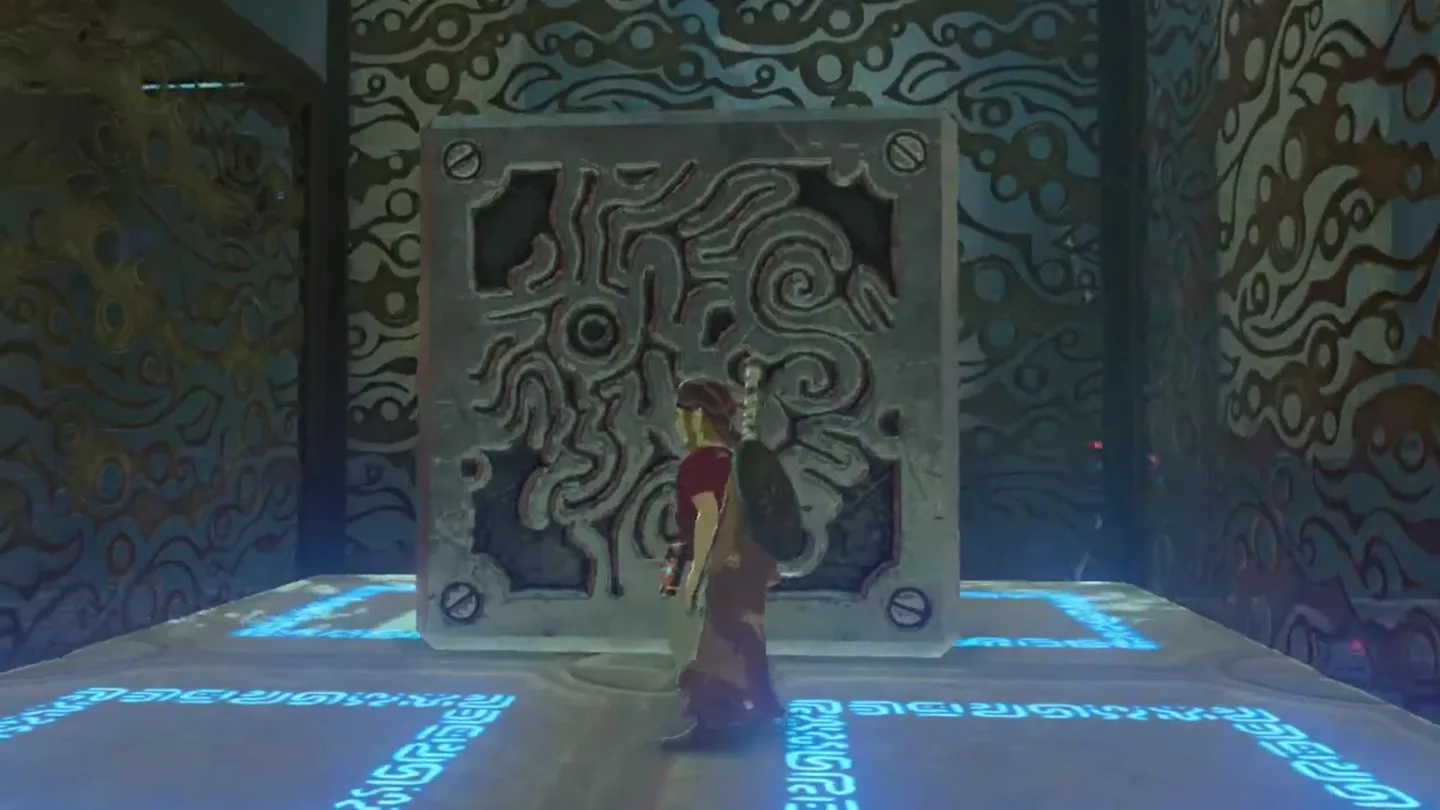
Release the metal block. With all the chests resting on the switch, the barred room opens. Use Magnesis to bring its large metal block out.
Put the block on the lift. Move it onto the moving platform that will raise it toward the altar.
3. Ride the block up and glide to the altar
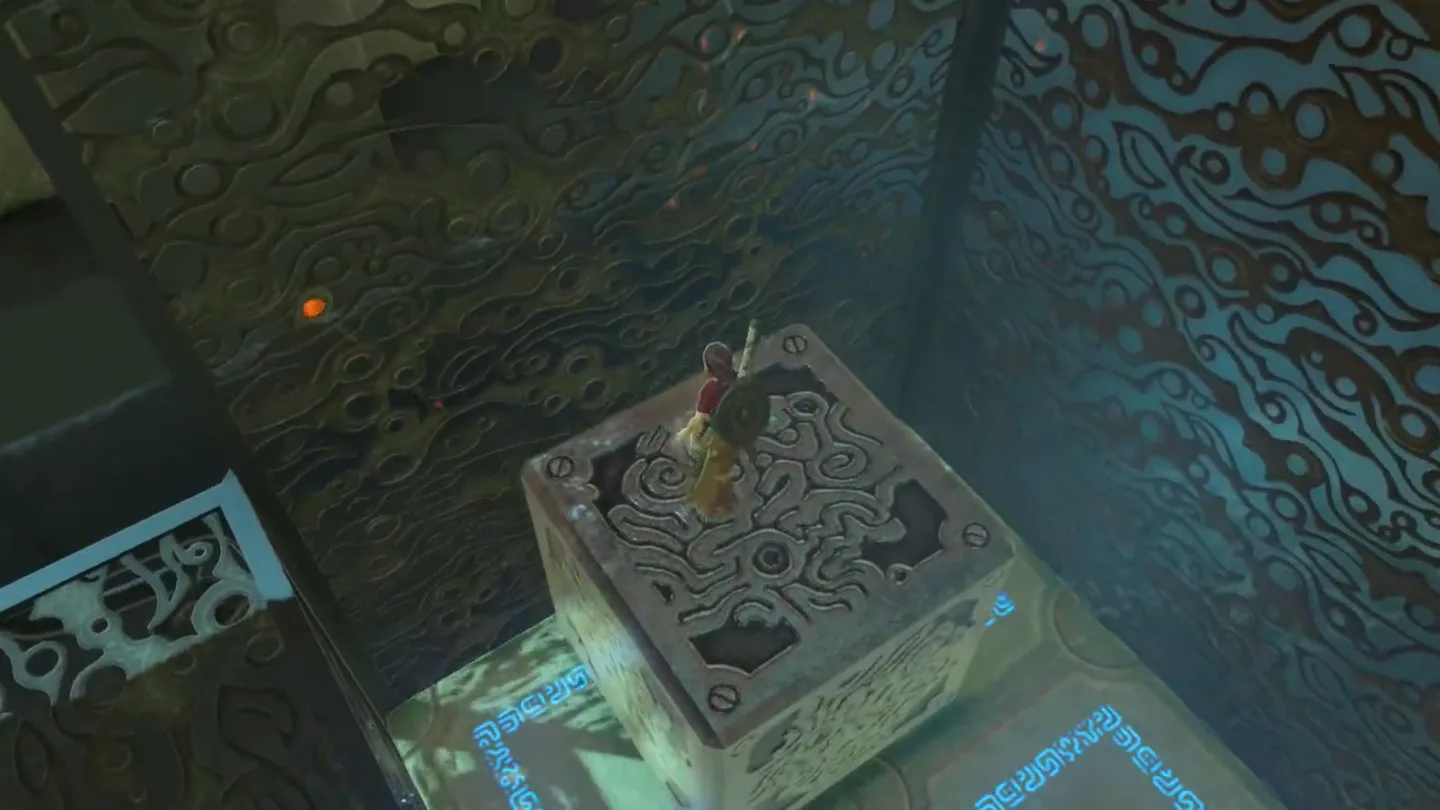
Get onto the block from above. Go up to the higher walkway, then drop down on the left and jump onto the block’s top.
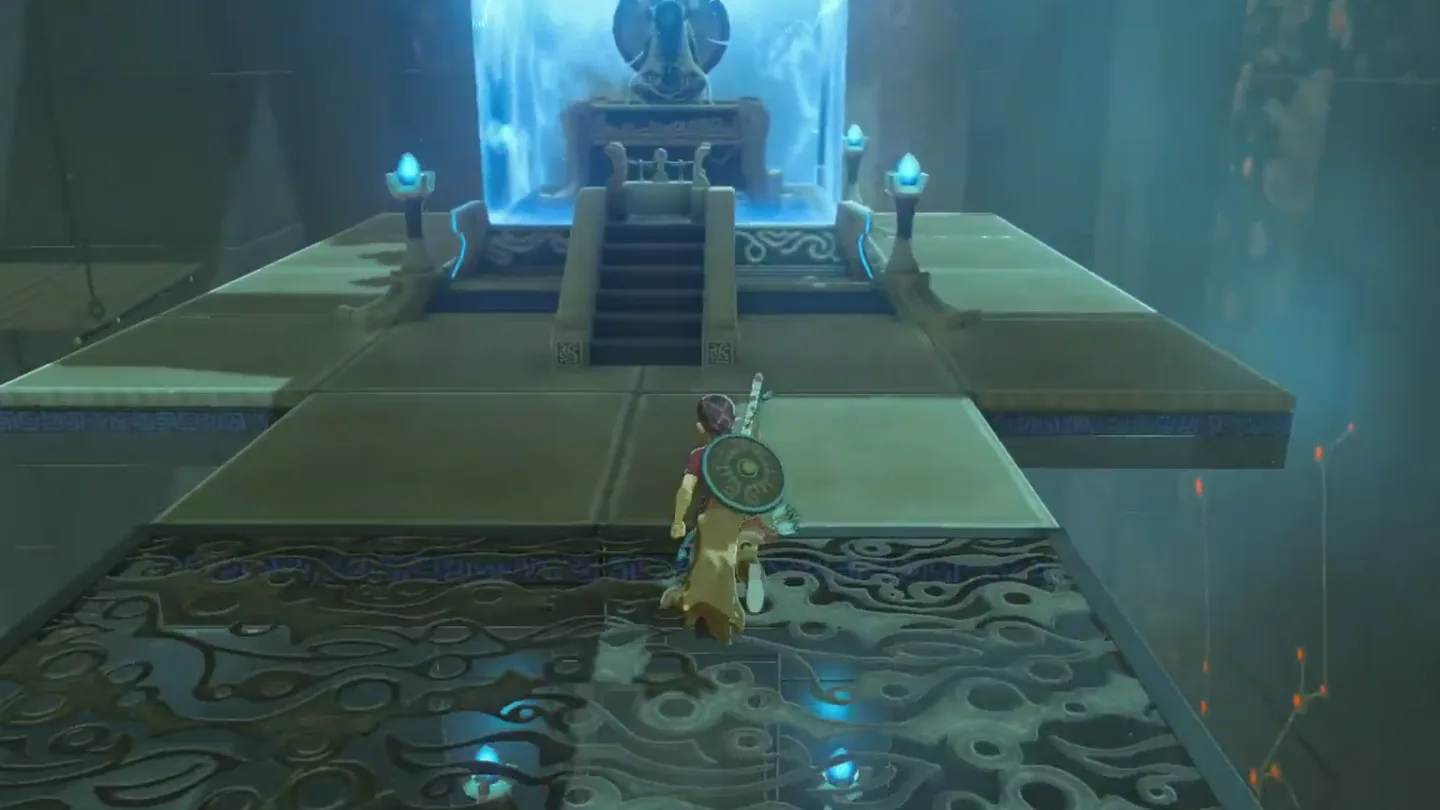
Glide to the altar. Ride the block upward with the platform, then jump and open the paraglider to reach the monk. Interact with him to receive the Spirit Orb.
Chests: Where are they and what is inside?
| Chest | Contents | How to get it |
|---|---|---|
| 1: Water beside the switch | Opal | Lift it out with Magnesis, open it, then keep it on the switch. |
| 2: Suspended wooden shelf | Zora Sword | Shoot the 2 supporting ropes; approach with a Cryonis pillar and recover the fallen chest with Magnesis. |
| 3: Rear elevating pillar | Amber | Use Magnesis to bring it down to open, then place it with the other chests on the switch. |
What do people miss here?
- The most-skipped chest in here is the first one: the Opal chest sits in the water pooled around the big floor switch and hardly catches the eye from the entrance slope — if you have only counted two chests, sweep the pool with Magnesis before doing anything else.
- Arrows gate one third of the weights. The shelf chest only comes down once both of its ropes are shot, so an empty quiver leaves that chest unreachable and the switch can never be fully loaded — count your arrows before you walk in.
- Looting does not lighten the chests. All three can be emptied before they ever touch the switch, so take the Opal, Amber, and Zora Sword first and stack the empty boxes afterwards — there is no trade-off between treasure and progress.
- The lift by the altar cycles rather than running once: it periodically raises and lowers itself, so if you and the metal block miss a beat, nothing fails and nothing resets — just wait for the platform’s next rise.
What else is nearby?
| Shrine | Direction | Straight-line distance | Region |
|---|---|---|---|
| Kam Urog Shrine | southwest | 254 | Hateno |
| Lakna Rokee Shrine | northwest | 749 | Dueling Peaks |
| Mezza Lo Shrine | north | 956 | Hateno |
Related: Which guides help with the next stop?
- BotW shrine locations: check off this shrine and browse the surrounding tower regions.
- How to find shrines: plan searches for entrances hidden from view.
- Kam Urog Shrine: southwest of Dow Na’eh on the map.
- Lakna Rokee Shrine: northwest of Dow Na’eh on the map.
- Tears of the Kingdom vs. Breath of the Wild: compare the games before switching guide sets.
FAQ
How do I get behind the waterfall at Dow Na'eh Shrine?
Why is the big switch in Dow Na'eh Shrine not opening the gate?
What is in the Dow Na'eh Shrine chests?
Is Dow Na'eh Shrine a Test of Strength?
Related Articles
guides
Breath of the Wild Captured Memories: All 13 Locations and Rewards
All 12 photo locations from Zelda's album plus the 13th memory in Impa's painting, with coordinates, nearby shrines, the Champion's Tunic and the extra ending scene.
guides
Breath of the Wild Great Fairy Fountains: Locations, Costs and Horse God
Where the four Great Fairy Fountains and the Horse God Malanya are in Breath of the Wild, what each fairy costs to release, and how many you need per armor upgrade.
guides
Hyrule Castle Walkthrough: Entry Routes, Hylian Shield and Final Prep
How to get into Hyrule Castle in Breath of the Wild: five entry routes, the Hylian Shield and other loot by room, and what to prepare before the final battle.
Was this helpful?
Thanks for the feedback!