

Hia Miu Shrine: A Major Test of Strength Walkthrough
Step-by-step guide to Hia Miu Shrine in Hebra's far northwest: beat the Guardian Scout IV in A Major Test of Strength and claim the Sapphire chest and Spirit Orb.
Where is Hia Miu Shrine?
Hia Miu Shrine stands on the Icefall Foothills, in the northwestern corner of the Hebra Mountains — the most northwestern part of the Hebra region, about as far toward the map’s northwest edge as you can get. It’s one of the many shrines scattered across Hebra, so once you’re in the region’s far north, keep pushing toward the northwestern edge and the shrine will come into view.
| Item | Detail |
|---|---|
| Trial | A Major Test of Strength |
| Tower region | Hebra |
| Map-marker coordinates | -4446, 3802, 0343 |
| Shrine quest | None |
| Chests | 1 |
| Names | Hia Miu Shrine · 席亞‧米烏神廟 · 席亚·米乌神庙 |
What should you bring?
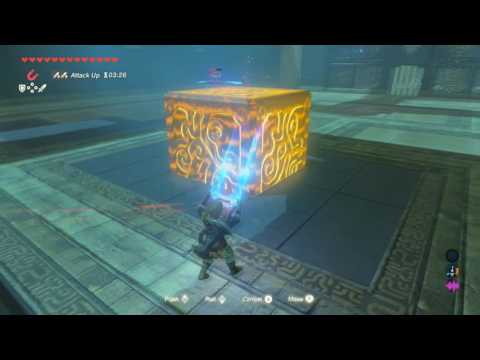
There’s no puzzle here — the entire trial is the duel, so treat it seriously. The resident Guardian Scout IV wields three ++-tier weapons and can hit quite hard, and Major Tests of Strength are tricky fights for less experienced players — the kind you’ll want to avoid until you have better armor and weapons and a few more heart containers under your belt. Cook up some food before heading into the shrine, since the Guardian can pack quite the punch. The one rune that matters is Magnesis: metal blocks are embedded into the arena floor, and lifting them gives you movable protection from the scout’s attacks.
Video walkthrough
How do you solve Hia Miu Shrine?
Everything in this shrine unlocks off a single duel: destroy the one Guardian Scout IV in the arena, and the portcullis at the back of the chamber opens, giving access to the monk’s pedestal and the chest.
1. Prepare for Battle
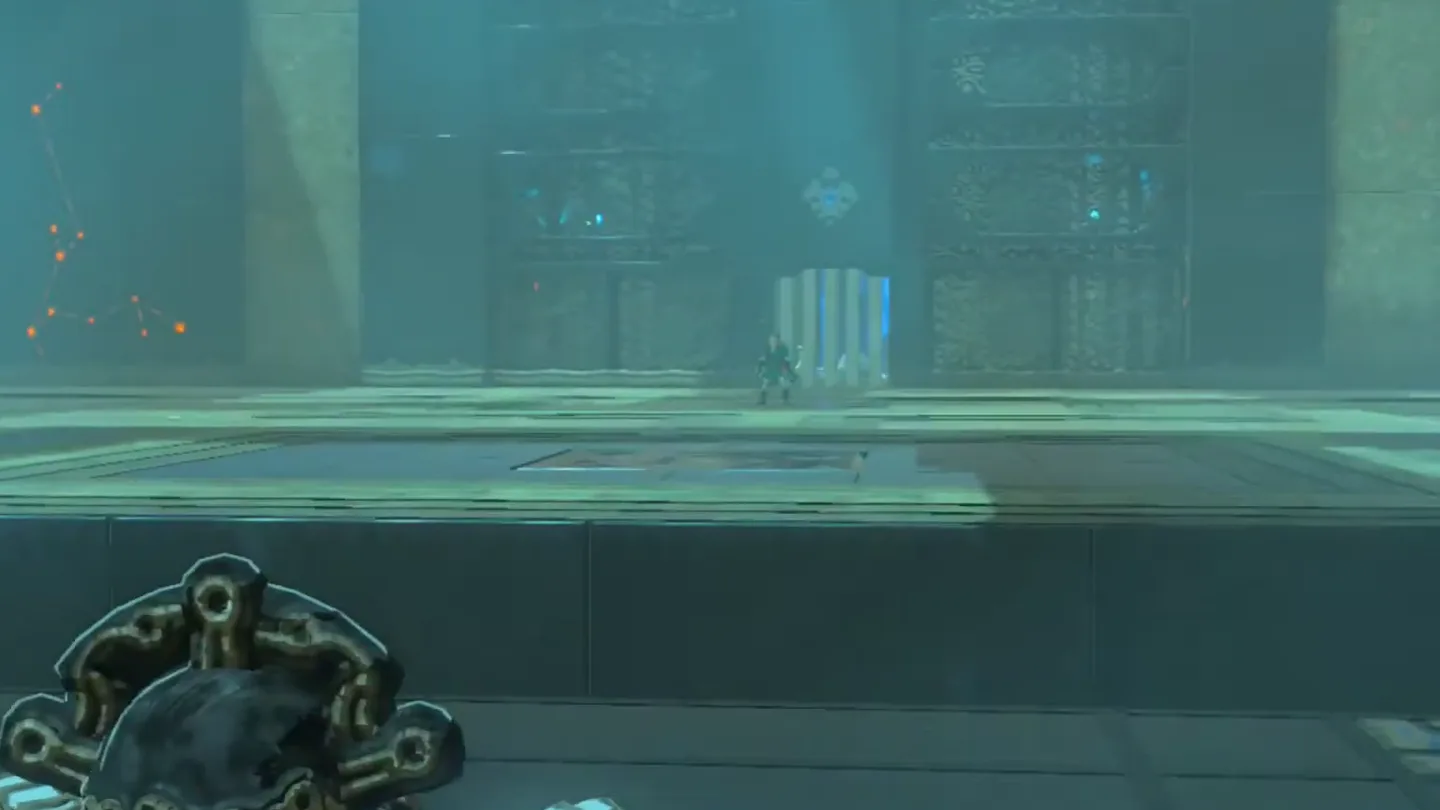
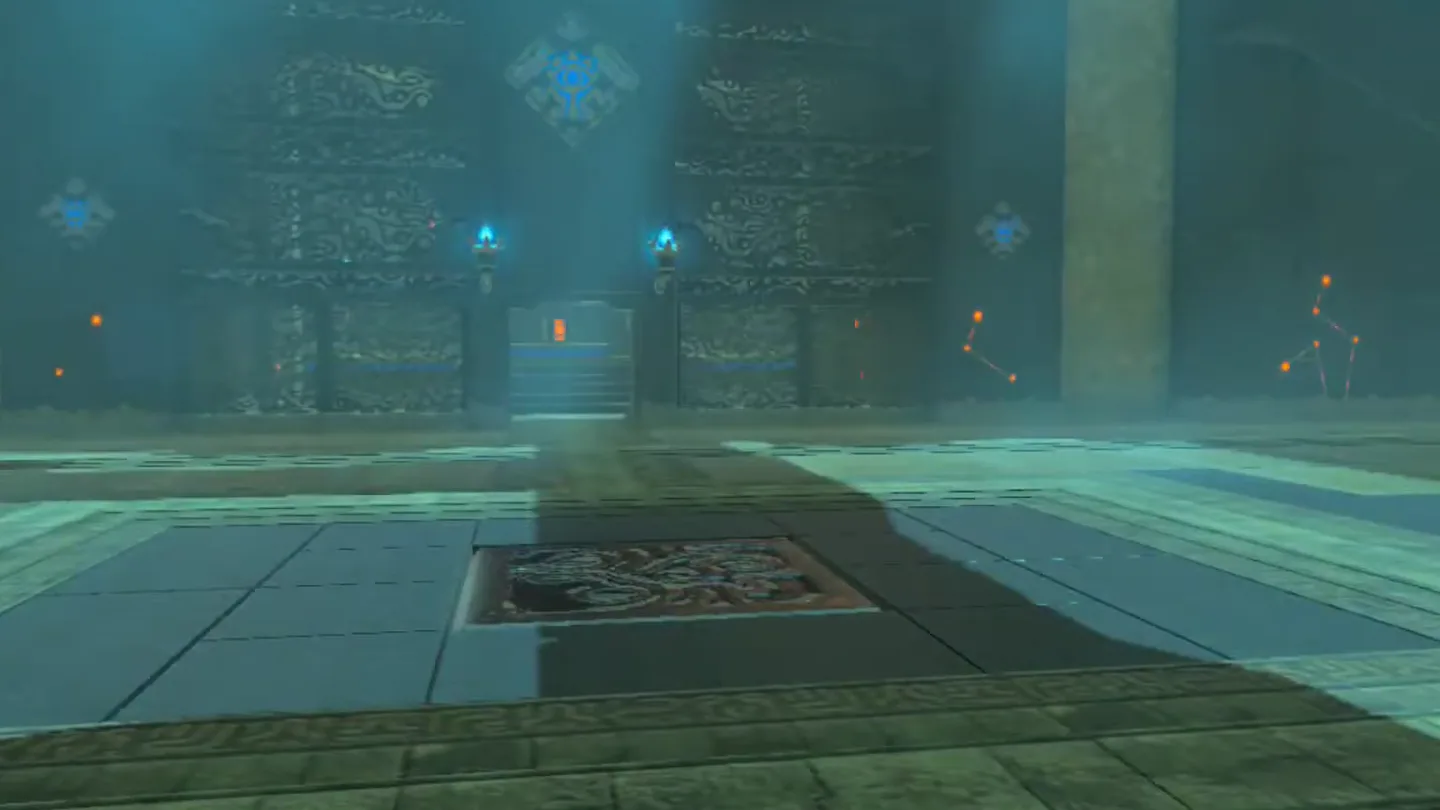
Step inside and Hia Miu greets you, declaring this a combat trial in the name of the Goddess Hylia. You’ll face one large, central chamber that acts as an arena, with the monk’s pedestal waiting behind a closed portcullis at the far end.
Don’t rush the middle yet. Eat the food you cooked and equip your best weapon and shield — the Guardian can pack quite the punch.
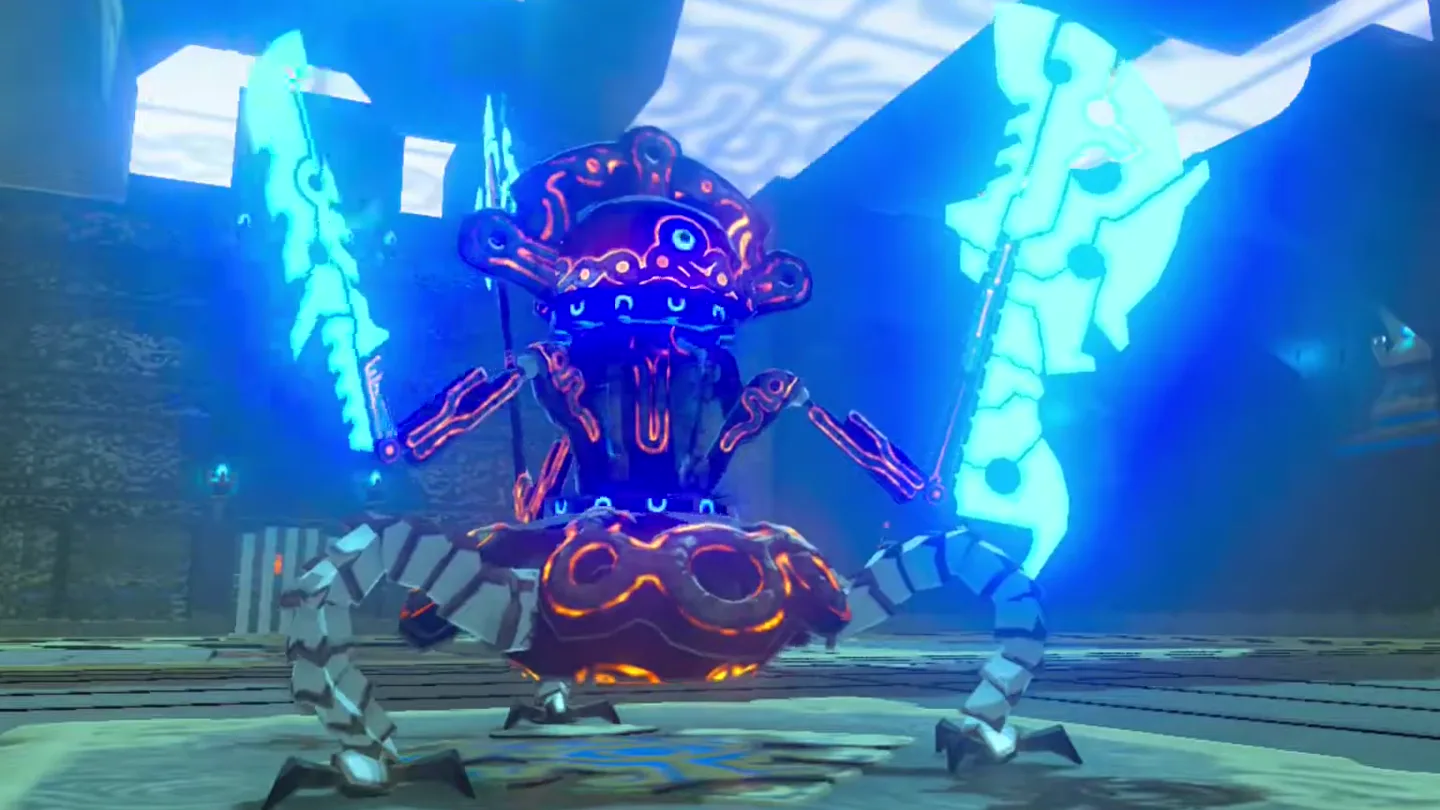
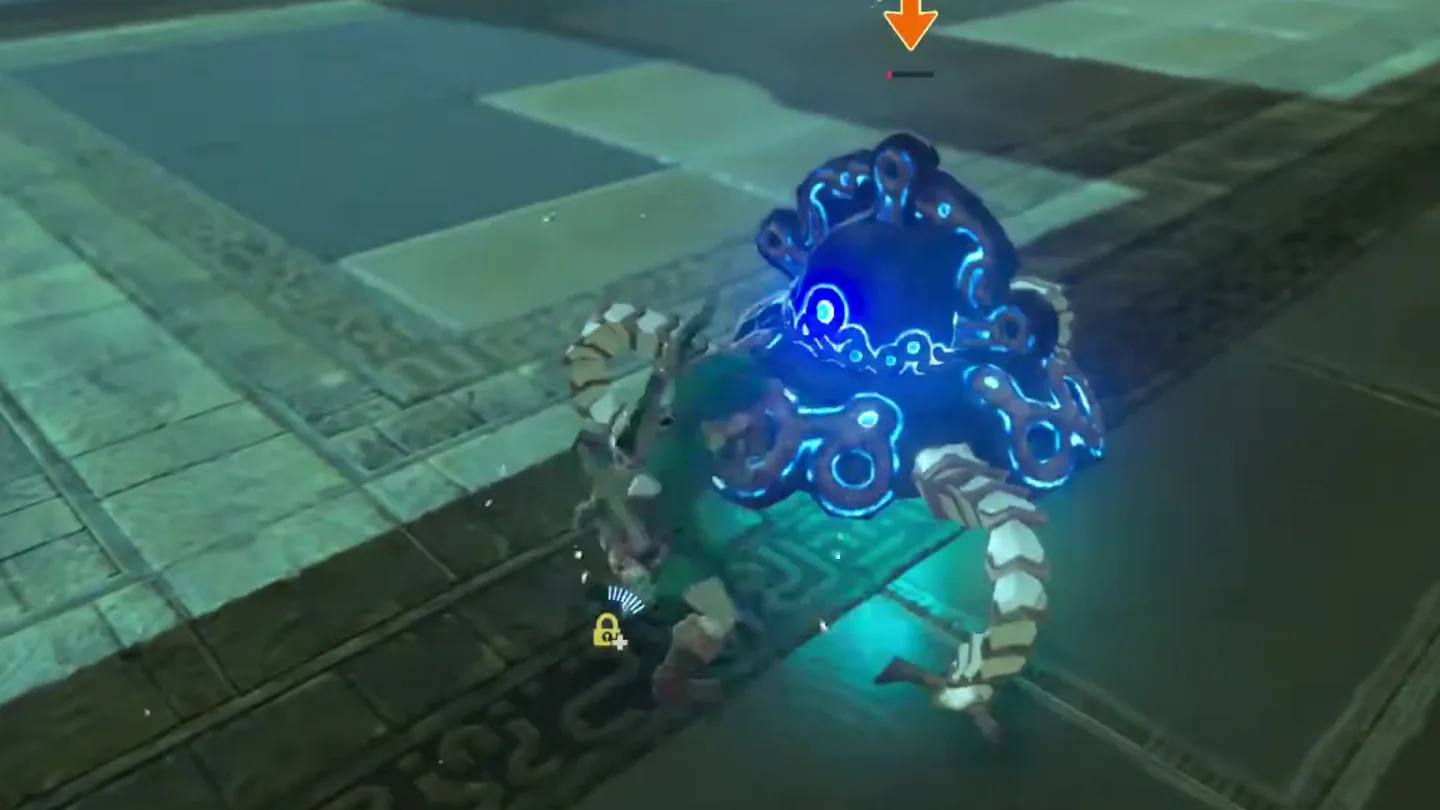
Walk toward the center of the arena — a Guardian Scout IV rises from a pit in the floor to challenge you.
Size up its loadout before engaging: get ready for what feels like a bit of an unbalanced fight — the scout carries three weapons, an Ancient Battle Axe++, a Guardian Spear++, and a Guardian Sword++.
Before trading blows, lift one of the metal blocks embedded in the floor with Magnesis and hold it between you and the scout as movable cover.
2. Defeat the Guardian Scout IV
Fight from cover and dodge on rhythm: sidehop through horizontal swings (target the enemy, strafe left or right, then jump) and backflip away from overhead chops (target the enemy, backpedal, then jump).
Mix in a well-timed perfect guard (ready your shield, then parry). Perfectly timed abilities like these also have the chance of triggering a flurry attack, which is great for dealing extra damage.
Don’t get greedy in the duel: the Guardian can hit quite hard, and Major Tests of Strength rank among the trickier shrine fights for less experienced players — play patiently and pick your openings.
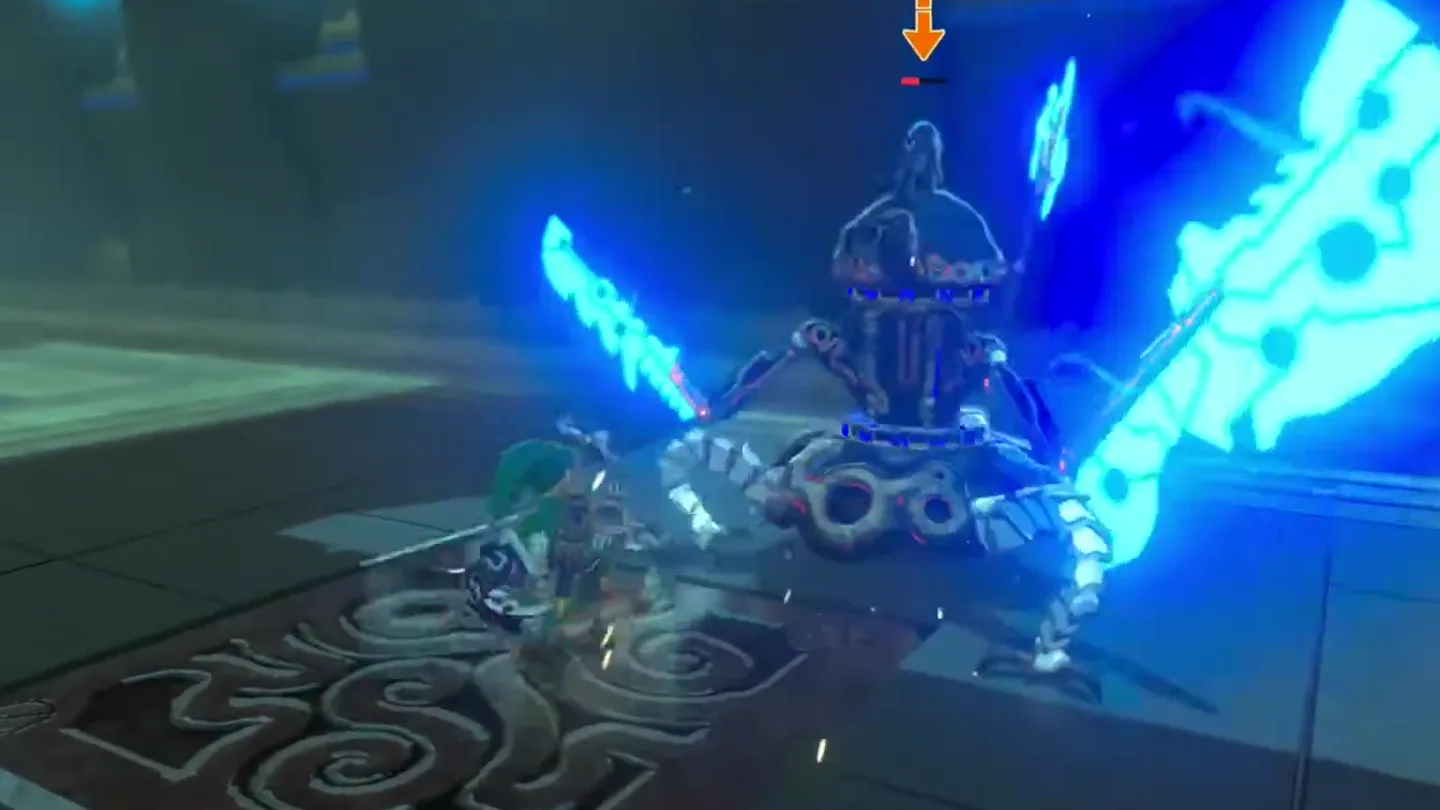
When the scout is nearly defeated, watch out for its ranged attacks, including explosive lasers that trigger once you’ve almost beaten it — that’s its last stand.
Handle the laser phase aggressively: run up before it finishes charging and try to defeat it before it starts shooting, rather than backing off.
3. Claim Your Reward
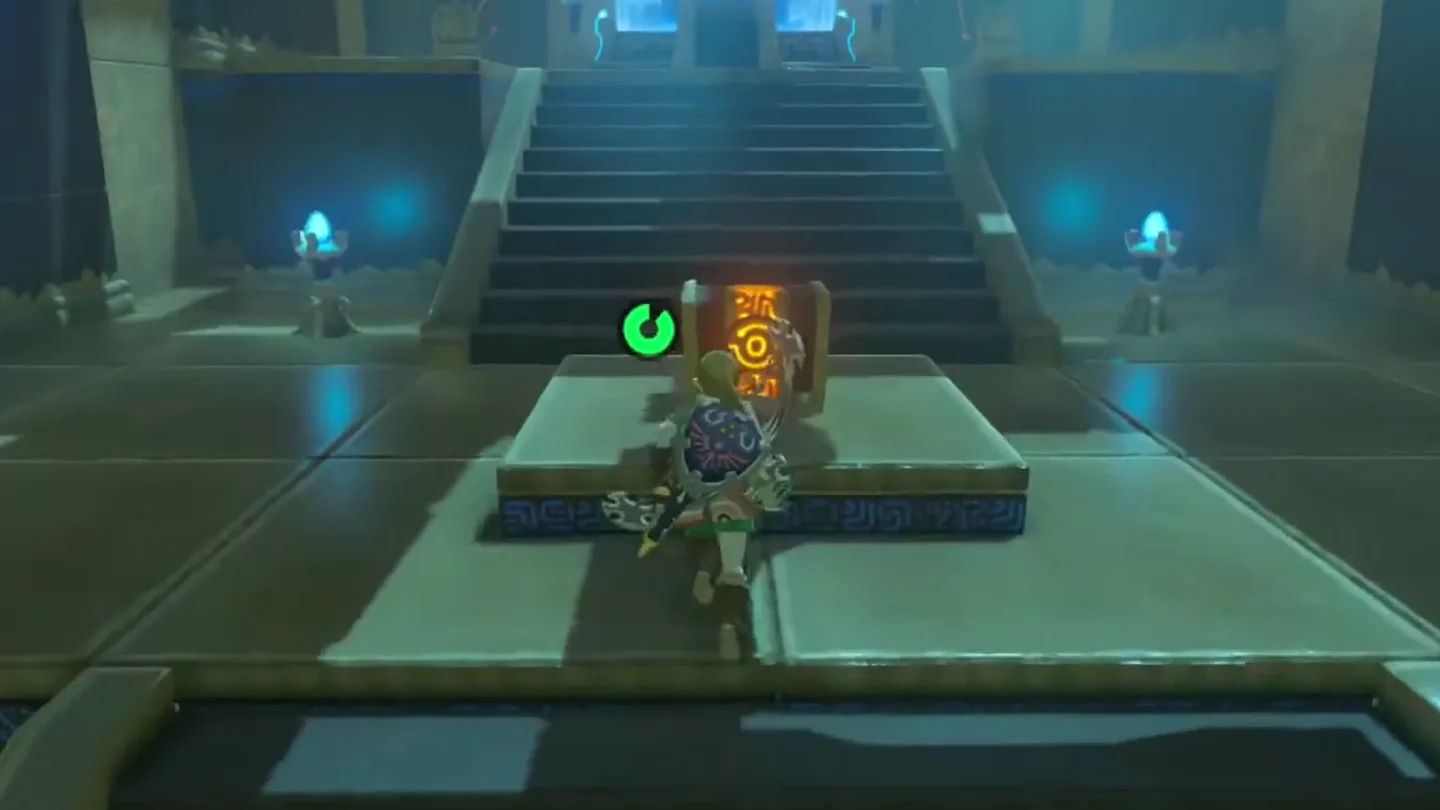
Once the Guardian Scout IV is destroyed, the portcullis at the back of the chamber opens, giving you access to the monk’s pedestal.
Head through the gate and open the stone treasure chest behind the portcullis — it contains a Sapphire.
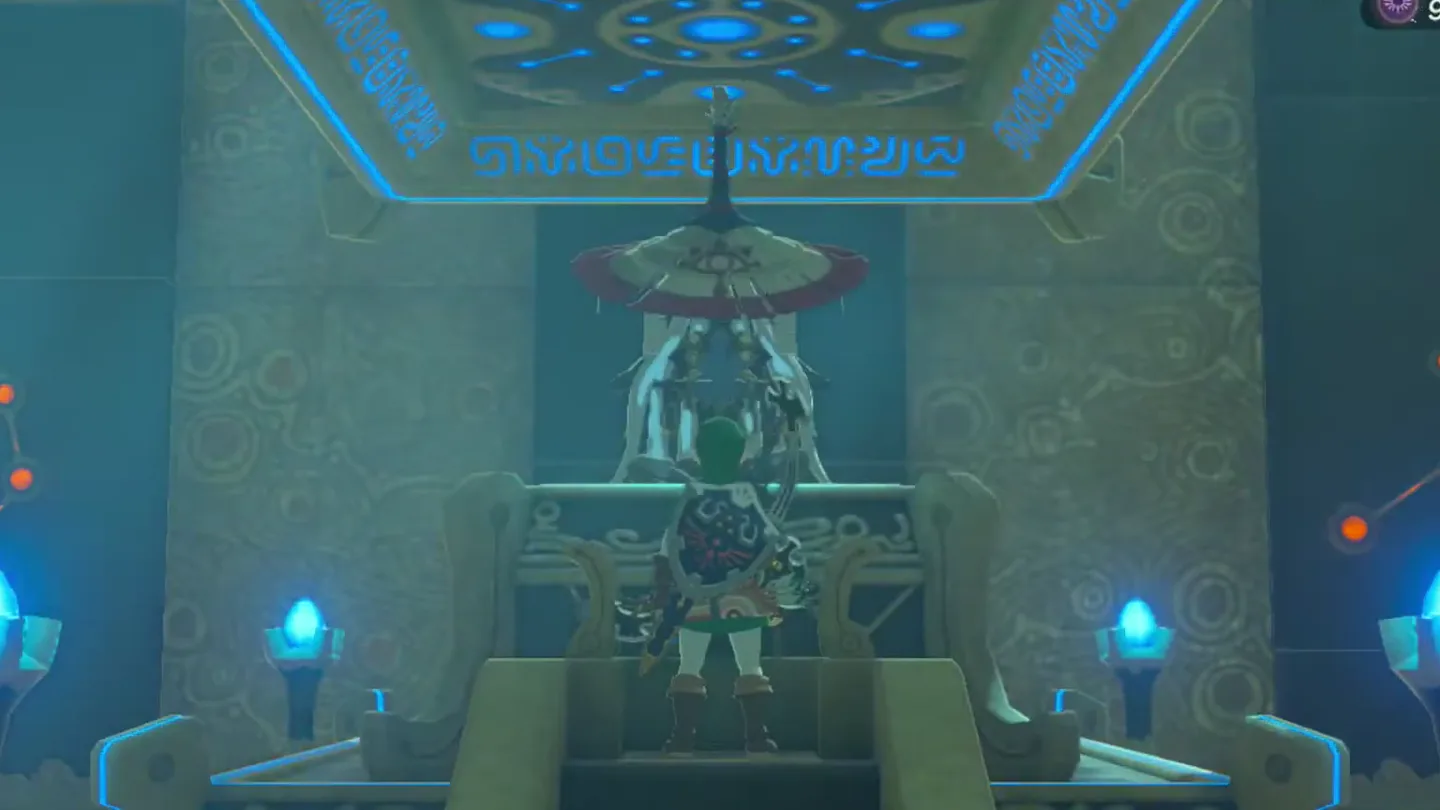
Approach Hia Miu at the pedestal to receive your Spirit Orb as a reward for completing the trial; he wishes you well before fading away.
What is in the chest?
| Chest | Contents | How to get it |
|---|---|---|
| 1 | Sapphire | The portcullis only opens once the Guardian Scout IV is destroyed. The stone chest sits behind it, on the way to Hia Miu’s pedestal — open it before talking to the monk or warping out. |
What do people miss here?
- Skipping the chest: the stone chest behind the portcullis holds the shrine’s only treasure, a Sapphire, and it’s literally on your path to the monk. Don’t claim the Spirit Orb and warp out without opening it.
- Triggering the fight under-prepared: approaching the center of the arena is what makes the Scout IV rise from its pit, so eat your food and equip your best gear before walking in.
- Forgetting Magnesis: the metal blocks embedded into the arena floor are there to be lifted as protection from the Guardian Scout IV’s attacks. Many players fight the whole duel without ever using them.
- Playing passively during the laser phase: when the scout is almost defeated it triggers explosive lasers, and backing off gives it time to fire. The fix is to run up before it finishes charging and finish the kill before the barrage starts.
- Underestimating the matchup: a Scout IV carrying three ++-tier weapons makes this a serious fight. If your hearts, armor, or weapons aren’t there yet, it’s the kind of trial you’ll want to hold off on until you’re better equipped.
What else is nearby?
| Shrine | Direction | Straight-line distance | Region |
|---|---|---|---|
| To Quomo Shrine | east | 433 | Hebra |
| Mozo Shenno Shrine | southeast | 1120 | Hebra |
| Maka Rah Shrine | south | 1350 | Hebra |
Which guides help next?
FAQ
What kind of Guardian is in Hia Miu Shrine?
Where exactly is Hia Miu Shrine?
What's in the Hia Miu Shrine chest?
Can I skip fighting the Guardian Scout?
How do I deal with the explosive lasers at the end of the fight?
Related Articles
guides
Breath of the Wild Captured Memories: All 13 Locations and Rewards
All 12 photo locations from Zelda's album plus the 13th memory in Impa's painting, with coordinates, nearby shrines, the Champion's Tunic and the extra ending scene.
guides
Breath of the Wild Great Fairy Fountains: Locations, Costs and Horse God
Where the four Great Fairy Fountains and the Horse God Malanya are in Breath of the Wild, what each fairy costs to release, and how many you need per armor upgrade.
guides
Hyrule Castle Walkthrough: Entry Routes, Hylian Shield and Final Prep
How to get into Hyrule Castle in Breath of the Wild: five entry routes, the Hylian Shield and other loot by room, and what to prepare before the final battle.
Was this helpful?
Thanks for the feedback!