

Gee Ha'rah Shrine Walkthrough: Snowball Door, Ropes & Diamond
Step-by-step Gee Ha'rah Shrine guide: smash the snowball door at Kopeeki Drifts, cut every rope in the Tandem trial, and claim the Diamond chest.
Where is Gee Ha’rah Shrine?
The shrine sits inside Kopeeki Drifts Cave, behind a Giant Stone Door at the bottom of the Kopeeki Drifts on the Tabantha Frontier, northwest of Hebra Tower. Climb to the northeast end of the drifts, where an abandoned shelter stacked with snowballs marks the top of the slope — that’s your starting point for the entrance puzzle.
| Item | Detail |
|---|---|
| Trial | Tandem |
| Tower region | Hebra |
| Map-marker coordinates | -2380, 2255, 0291 |
| Shrine quest | None |
| Chests | 1 |
| Names | Gee Ha’rah Shrine · 諾基‧米席神廟 · 诺基·米席神庙 |
What should you bring?
Bring a bow and arrows — every puzzle inside is solved by shooting ropes, so you can’t do anything without them. You’ll also need the Stasis rune for the final room. The entrance puzzle needs nothing but a large snowball, which is waiting among the many snowballs piled at the shelter.
Video walkthrough

How do you solve Gee Ha’rah Shrine?
The whole trial is tandem timing between your bow and the Stasis rune: boulders hang from ropes above (or beside) switches, and each room is solved by cutting the right rope so gravity or a pendulum swing does the rest.
1. Break open the Giant Stone Door
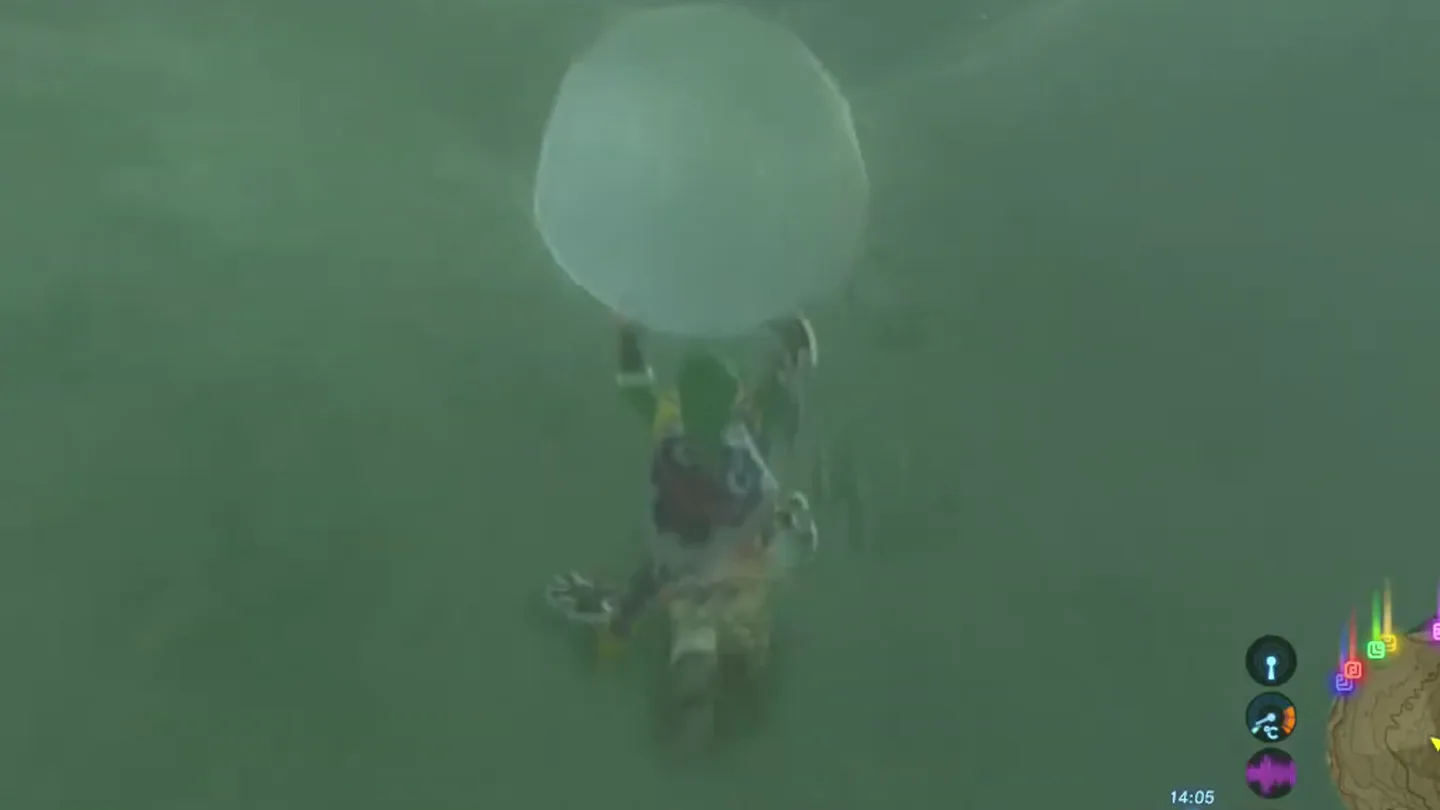
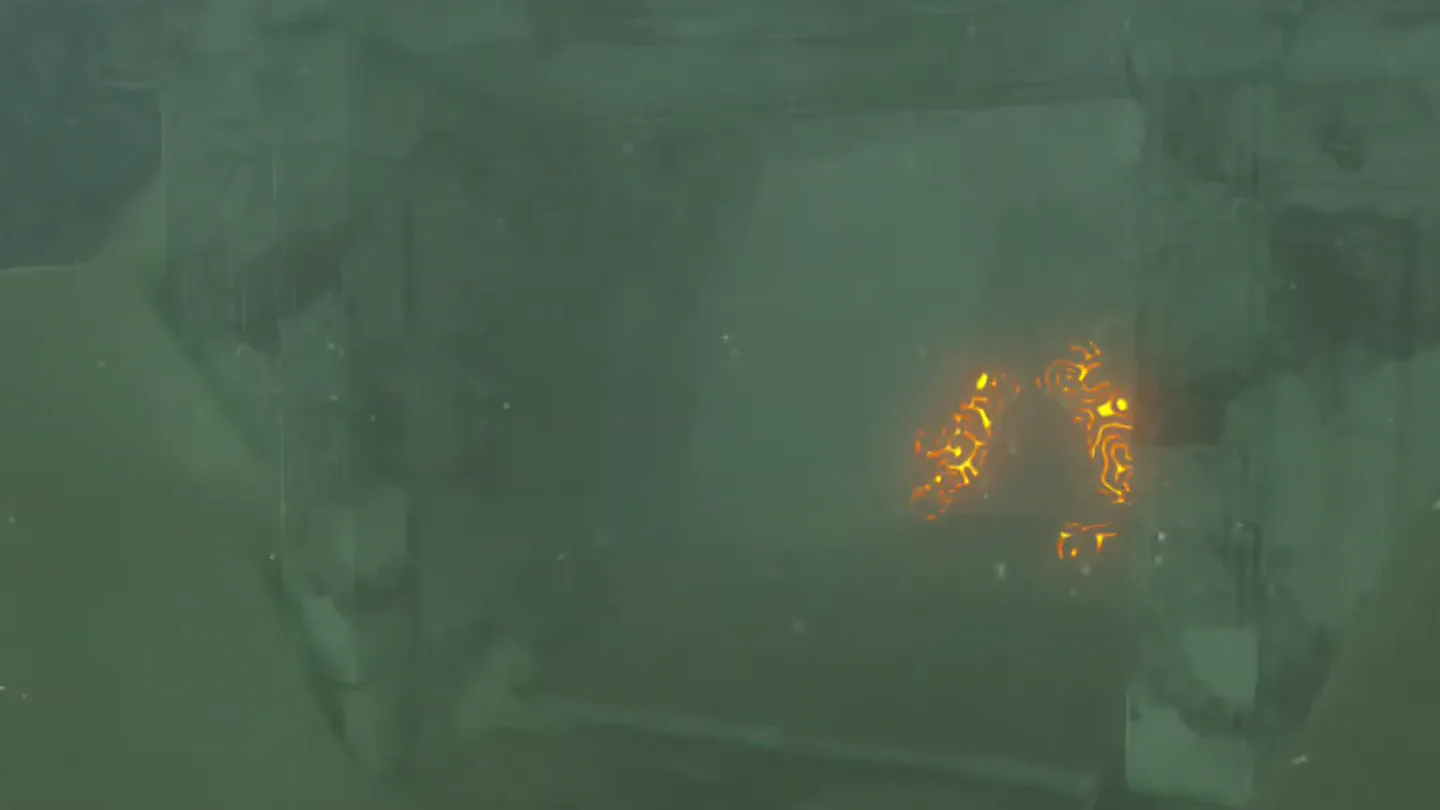
From the abandoned shelter at the northeast end of the Kopeeki Drifts, look down the slope: several routes run downhill toward the Giant Stone Door at the bottom, but only one lines up with it.
Pick up a large snowball at the shelter — it has to be big enough to break the door; a small one won’t do it.
Aim for the third route from the left, the one that looks shorter and seems to lead to nowhere.
Roll the snowball down that route and watch it smash into the Giant Stone Door, collapsing it. If it misses, grab another snowball and try again — there’s a bunch at the shelter, and they respawn if you leave the area.
2. First room: drop the boulder onto the switch
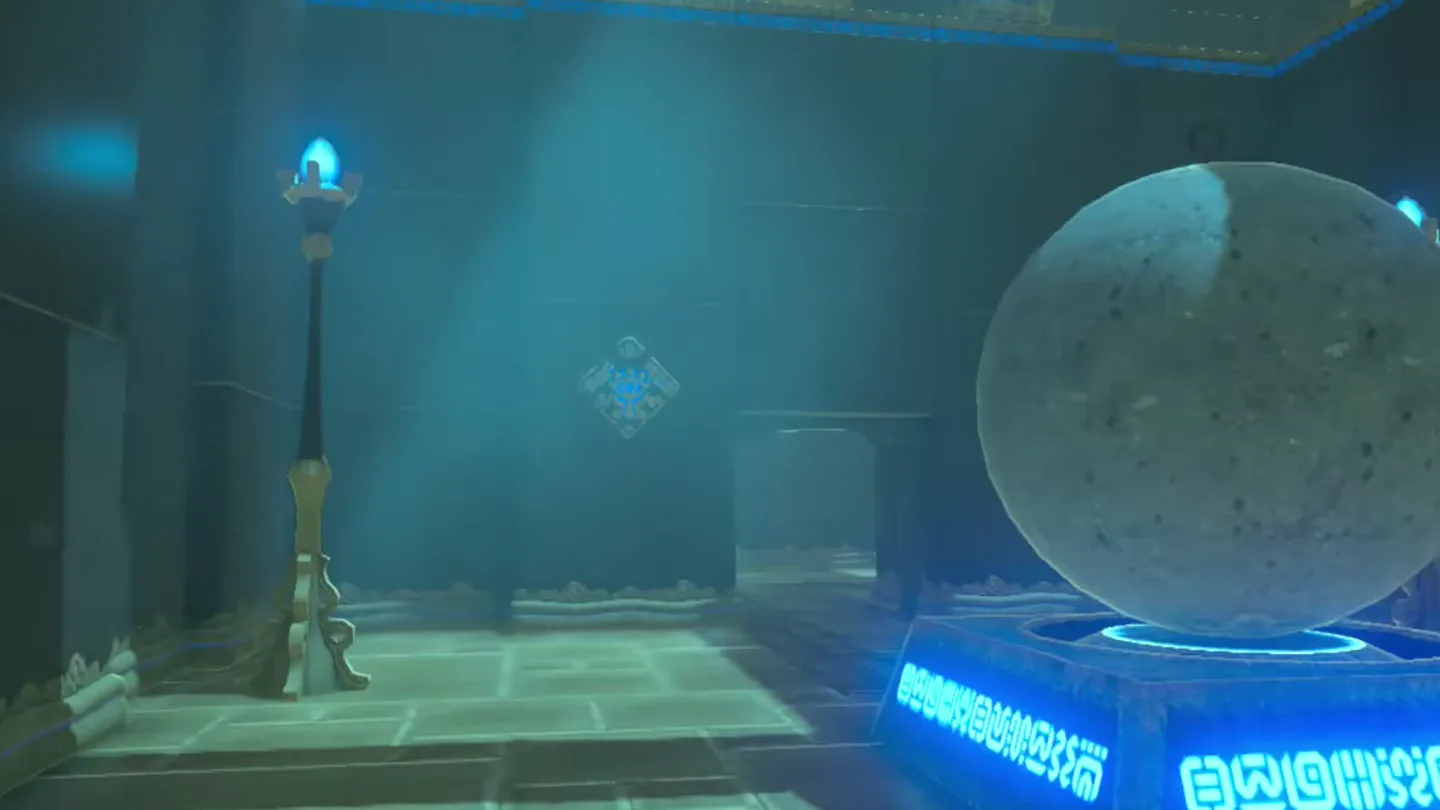
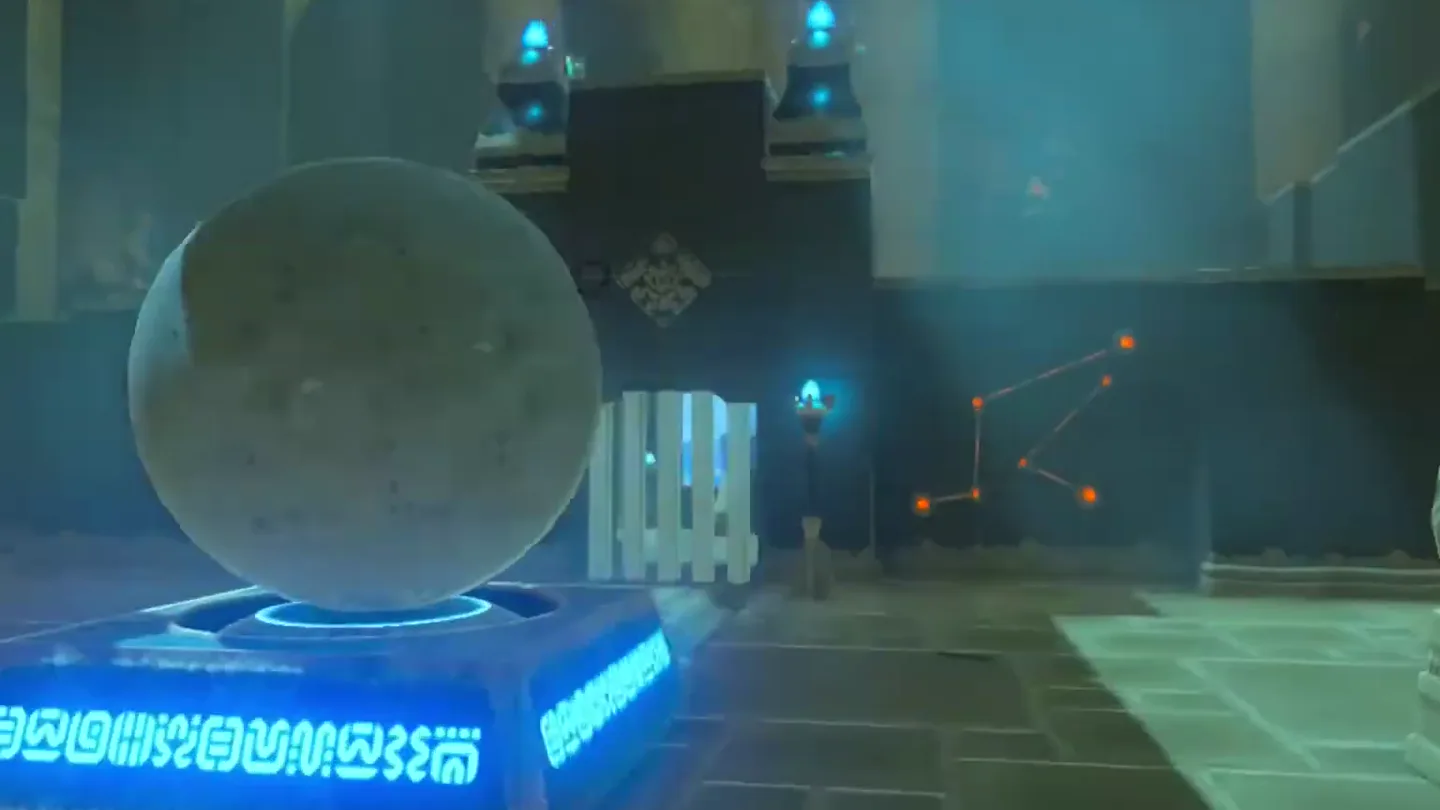
Head inside, where the monk Gee Ha’rah greets you. In the first room, a large boulder hangs from a single rope directly above a stake switch in the floor.
Shoot the rope with an arrow: the boulder drops straight onto the switch and the portcullis at the back of the room rises.
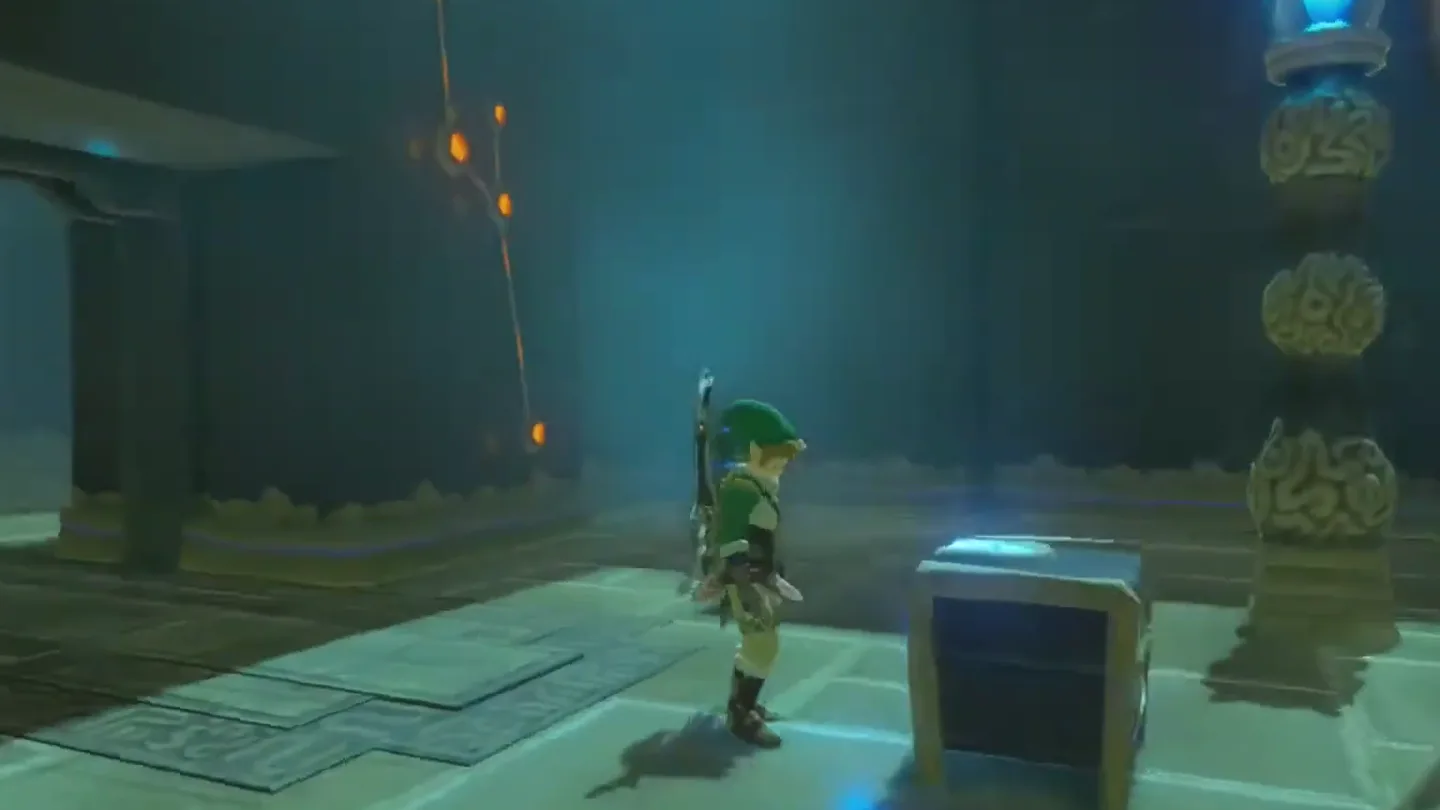
Walk through into the small corridor — there are two side rooms: treasure on the LEFT, the path to the monk on the RIGHT. Do the left room first.
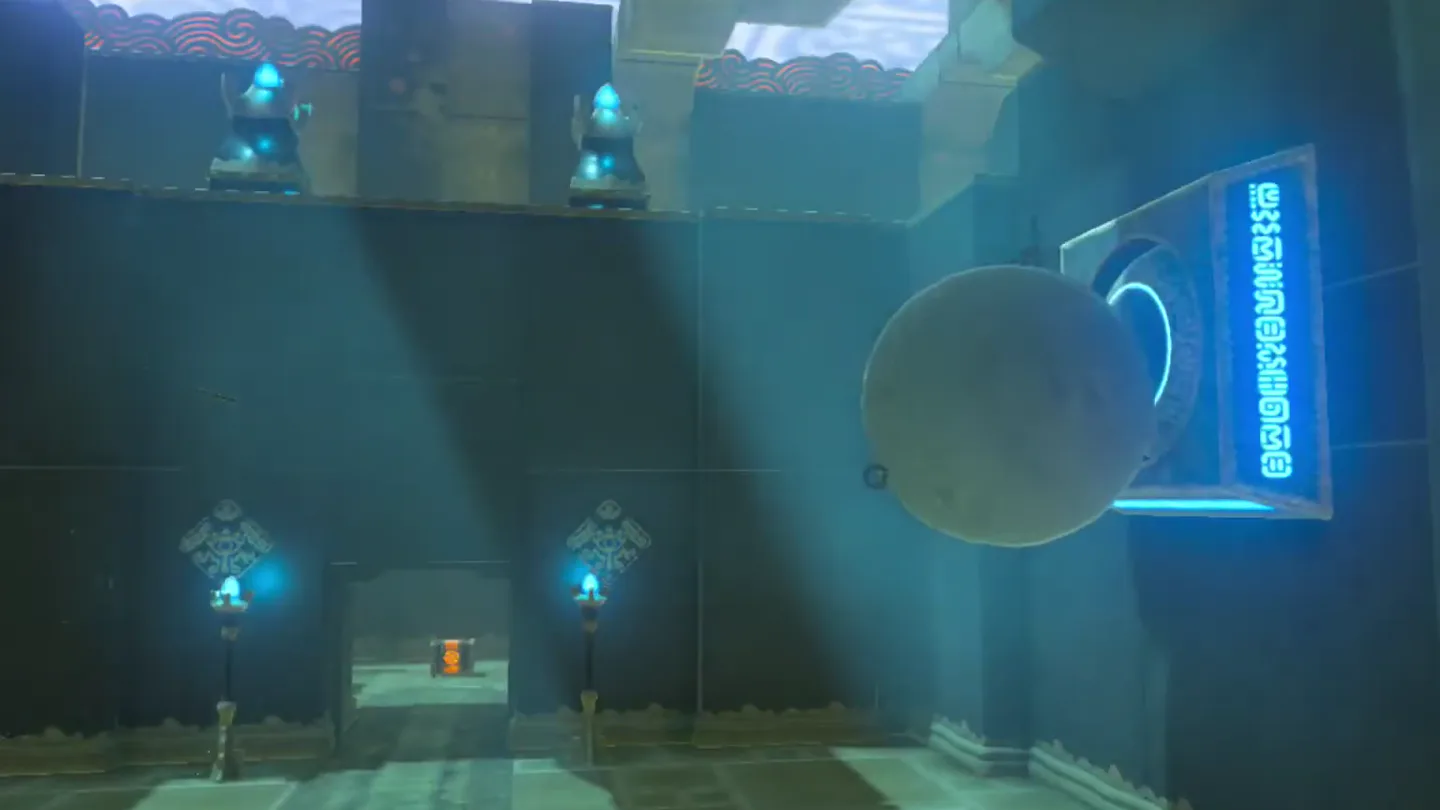
3. Left side room: swing the boulder into the wall switch
Left room: another boulder hangs from two ropes, but the switch is mounted on the right-hand wall instead of underneath it.
Shoot the left rope — the one farther from the wall switch — and the boulder swings like a pendulum into the switch, raising the portcullis.
Go through and open the treasure chest for a Diamond.
4. Right side room: Stasis then cut both ropes
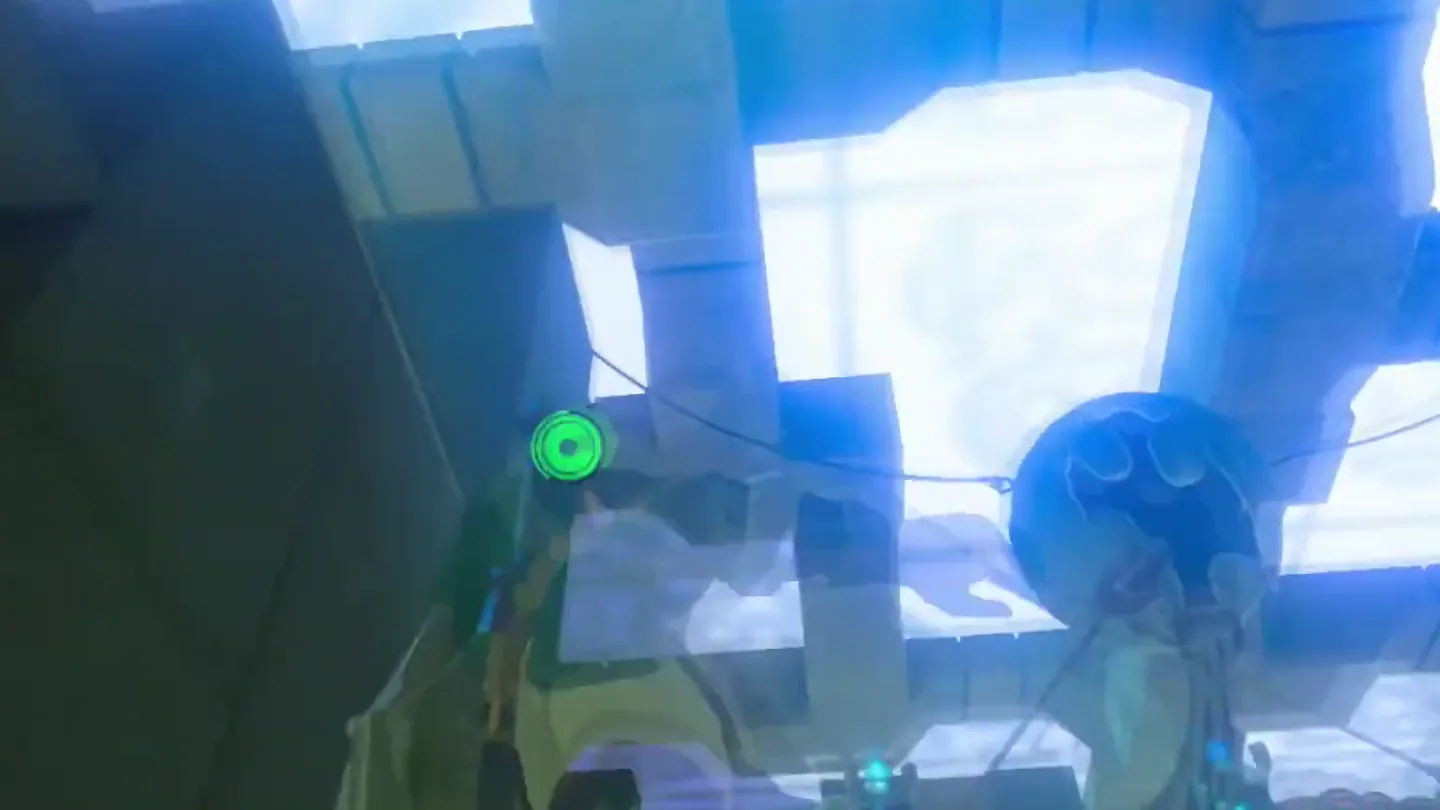
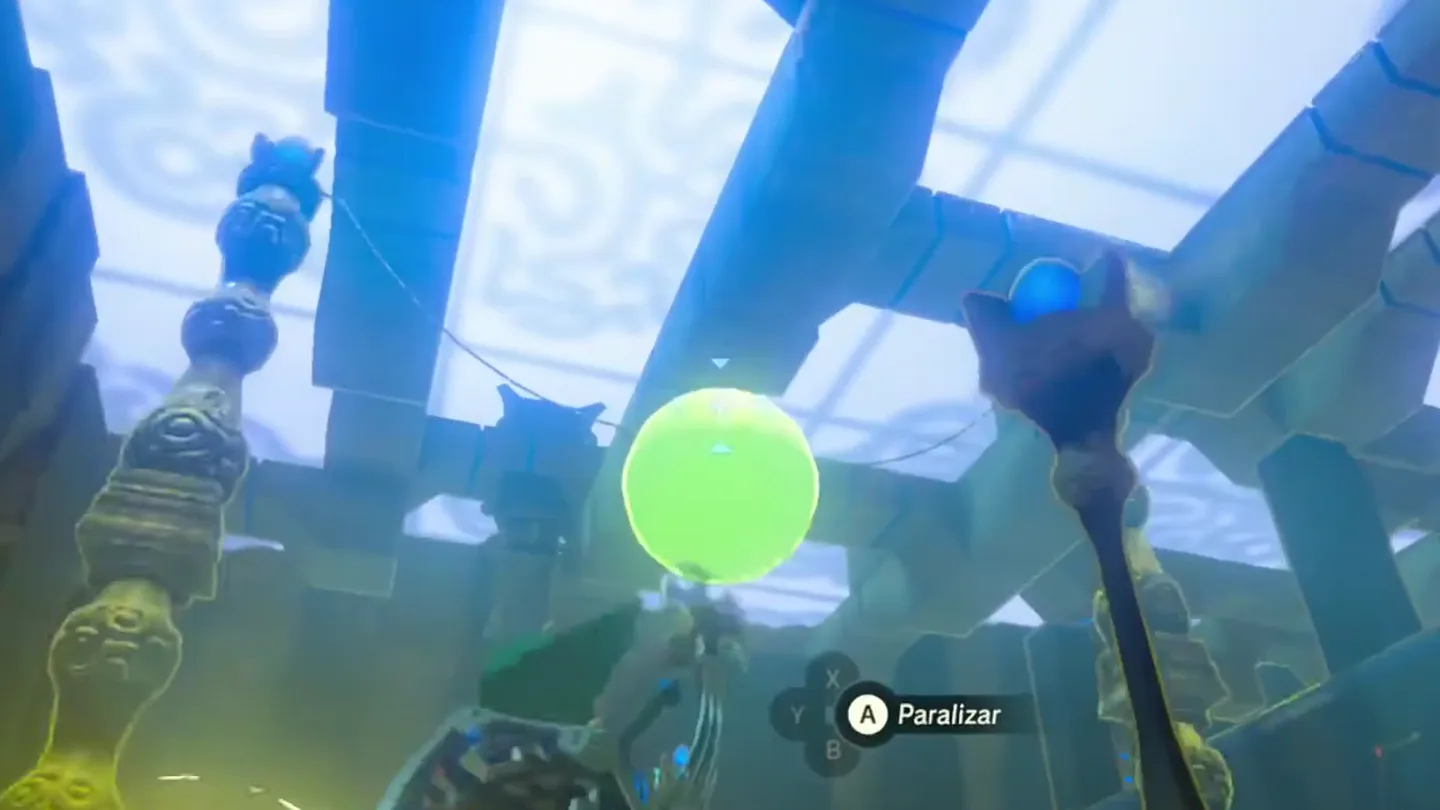
Now take the right room: a third boulder hangs from two ropes on opposite sides, this time directly above a floor switch.
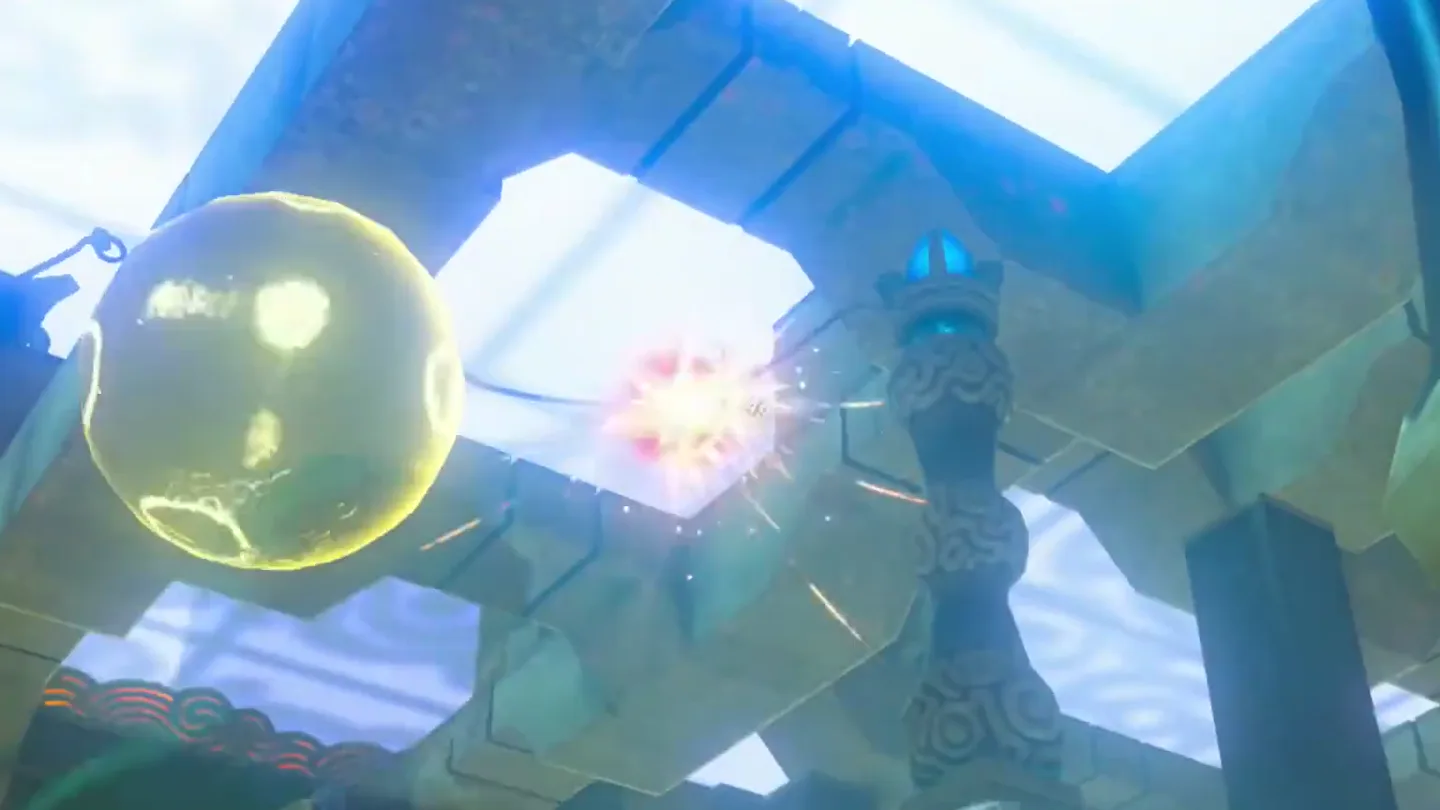
Cast Stasis on the boulder first, then quickly shoot both ropes before Stasis deactivates — and keep your arrows off the boulder itself, because any hit will nudge it off the switch the moment Stasis ends.
When Stasis wears off, the boulder falls straight onto the switch, the final portcullis rises, and you can claim your Spirit Orb from the monk Gee Ha’rah, who wishes you well before fading away.
What is in the chest?
| Chest | Contents | How to get it |
|---|---|---|
| 1 | Diamond | In the left-hand room off the first chamber, shoot the rope farther from the wall-mounted switch (the left rope) so the boulder swings into it like a pendulum. The portcullis at the back of the room rises and opens onto a small room with the chest. |
What do people miss here?
- Arriving without arrows: every single puzzle inside is solved by shooting ropes, so stock up on arrows before you enter.
- The Diamond chest is optional — the right-hand room is the one that ends the trial, so you can finish the shrine without ever stepping into the left-hand room. Loot the chest before you visit the monk.
- Most snowball routes at the entrance miss the door. The correct third route from the left looks too short to reach anything, which makes it easy to dismiss — snowballs respawn if you leave the area, so retry freely.
- A snowball that’s too small won’t break the Giant Stone Door — it only collapses under a large enough snowball, so pick one of the big ones stacked at the shelter.
- In the chest room, only the rope farther from the wall switch gives you the swing you need — that’s the left rope. Cutting the closer one won’t drive the boulder into the switch.
- In the final room, a stray arrow that clips the boulder while you’re cutting the ropes will knock it off the switch once Stasis wears off — aim at the ropes only.
What else is nearby?
| Shrine | Direction | Straight-line distance | Region |
|---|---|---|---|
| Lanno Kooh Shrine | southwest | 322 | Hebra |
| Rin Oyaa Shrine | northeast | 724 | Hebra |
| Goma Asaagh Shrine | northwest | 750 | Hebra |
Which guides help next?
FAQ
How do I open the giant stone door at Kopeeki Drifts?
Do the snowballs respawn if I keep missing the door?
What's in the Gee Ha'rah Shrine treasure chest?
Why won't the boulder land on the switch in the last room?
Do I need arrows for Gee Ha'rah Shrine?
Related Articles
guides
Breath of the Wild Captured Memories: All 13 Locations and Rewards
All 12 photo locations from Zelda's album plus the 13th memory in Impa's painting, with coordinates, nearby shrines, the Champion's Tunic and the extra ending scene.
guides
Breath of the Wild Great Fairy Fountains: Locations, Costs and Horse God
Where the four Great Fairy Fountains and the Horse God Malanya are in Breath of the Wild, what each fairy costs to release, and how many you need per armor upgrade.
guides
Hyrule Castle Walkthrough: Entry Routes, Hylian Shield and Final Prep
How to get into Hyrule Castle in Breath of the Wild: five entry routes, the Hylian Shield and other loot by room, and what to prepare before the final battle.
Was this helpful?
Thanks for the feedback!