

Rok Uwog Shrine Walkthrough: Chests, Small Key, Spirit Orb
Step-by-step Rok Uwog Shrine guide: burn the vines, drop the ramp, blast the barrels off the switch, and claim the Drillshaft and Spirit Orb.
Where is Rok Uwog Shrine?
The shrine hides under a rocky canopy in the northwestern part of the Pikida Stonegrove, in the Hebra Mountains. Coming from Snowfield Stables, push northwest across the snow until the glowing entrance appears tucked beneath the overhang. For orientation, Goma Asaagh Shrine sits to the southwest and Shada Naw Shrine to the west, with Sha Gehma Shrine off to the northeast. Because the entrance is under a canopy of rock, it is easy to walk past — sweep along the base of the rocks if you don’t see it right away.
| Item | Detail |
|---|---|
| Trial | Power of Reach |
| Tower region | Hebra |
| Map-marker coordinates | -2377, 3225, 0499 |
| Shrine quest | None |
| Chests | 2 |
| Names | Rok Uwog Shrine · 拉‧庫阿神廟 · 拉·库阿神庙 |
What should you bring?
You need the Magnesis and Remote Bomb runes — Magnesis fetches both the ledge chest and the metal block, and a Remote Bomb is the only way to clear the barrels at the end. Bring a weapon sturdy enough for two Guardian Scout IIs, each wielding a Guardian Spear. No fire gear is required: the torches in the first room can be knocked into the vines to burn them, though any fire weapon works too. The trial itself asks for no special armor or resistances, but you are crossing snowy Hebra terrain to get there, so dress warmly for the trip.
Video walkthrough

How do you solve Rok Uwog Shrine?
Everything in this shrine is solved from a distance: Magnesis moves objects you can’t walk up to, and one well-placed Remote Bomb does the heavy lifting at the end.
1. Pull Down the Metal Chest
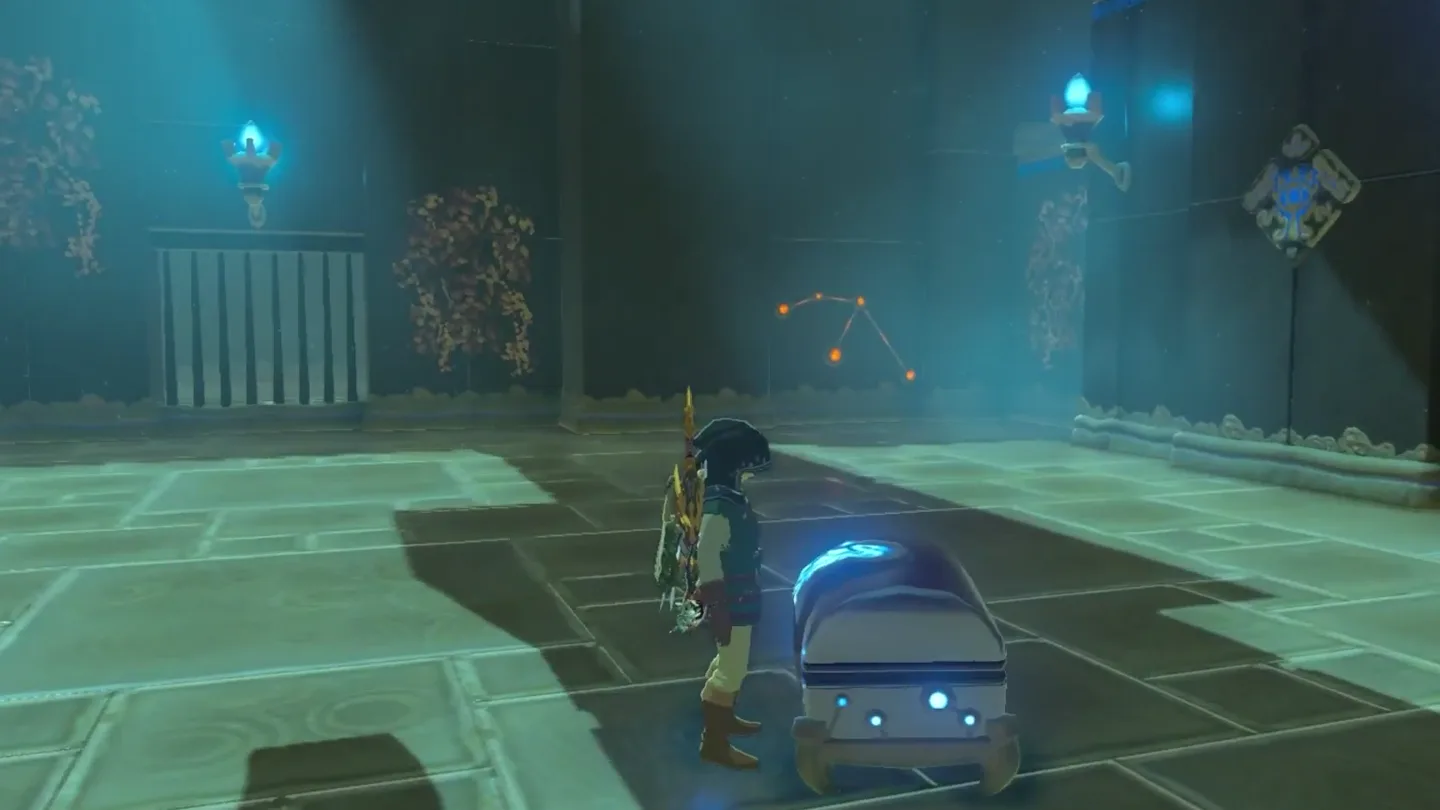
Walk in and size up the main chamber: a locked door on the right leads to the monk, ivy covers the walls on the left beside a barred window, and lit torches stand around the room.
Look up along the right wall — a metallic chest sits on a high ledge. Use Magnesis to grab it and pull it down to the floor, then open it for a Drillshaft with Durability Up.
2. Burn the Ivy to Open a Passage
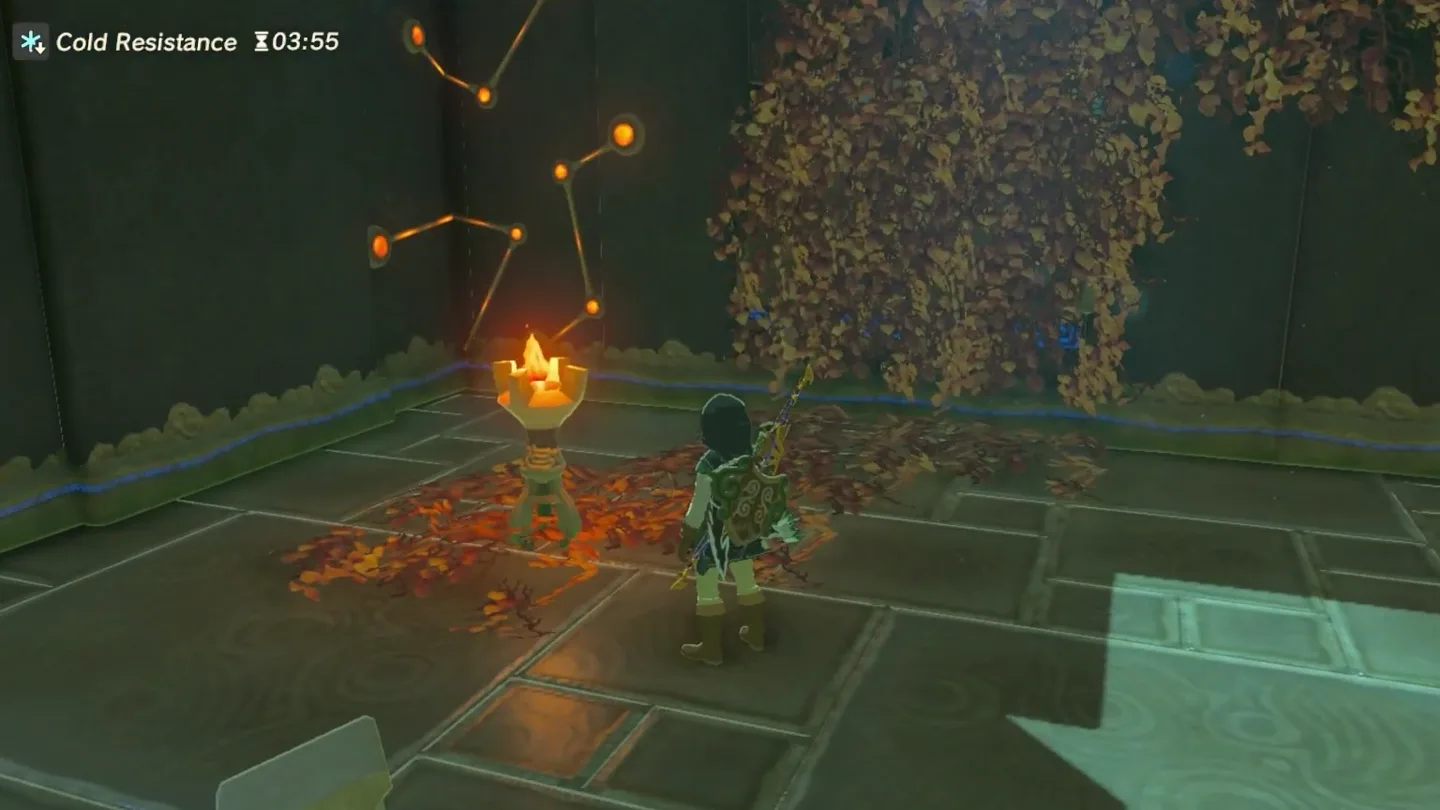
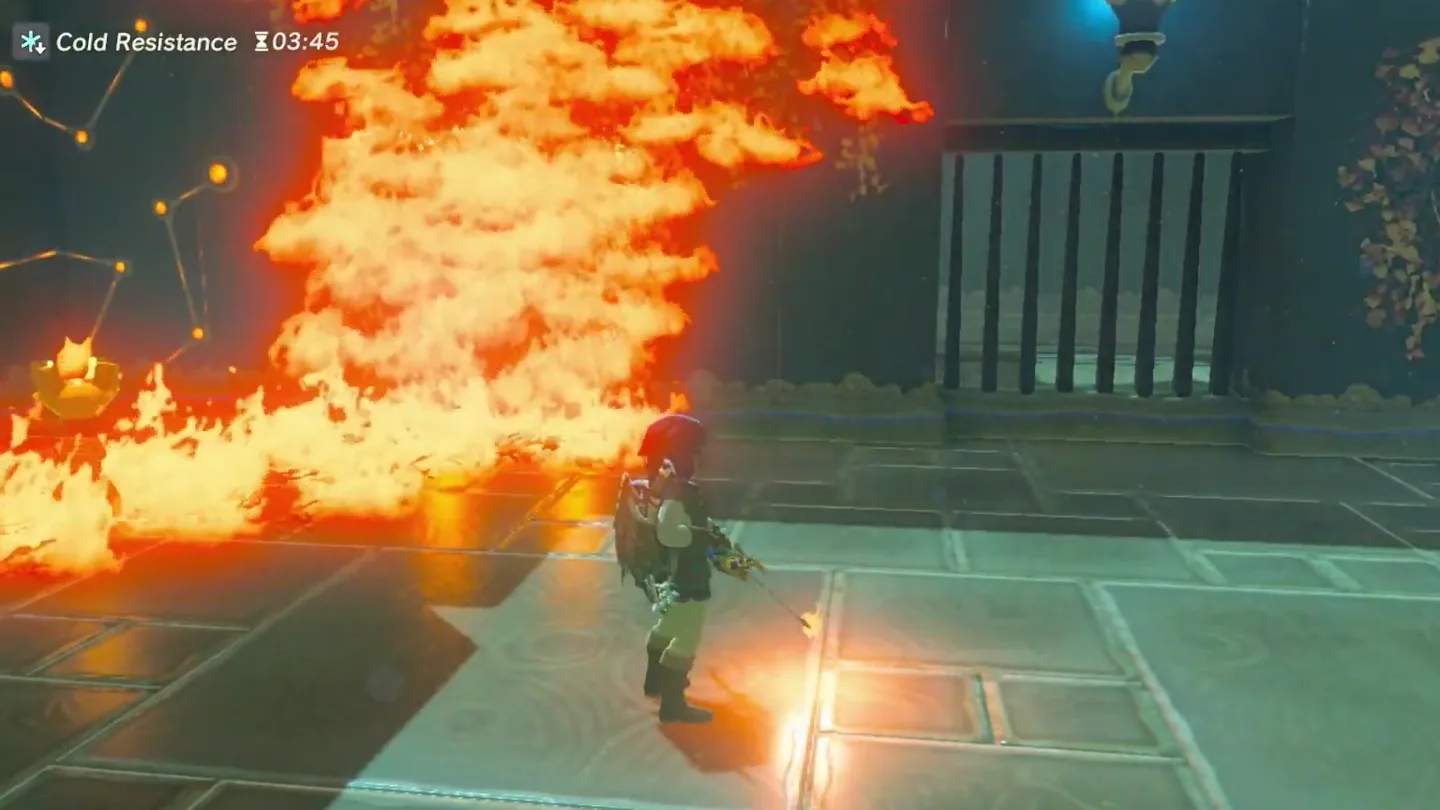
Turn to the ivy on the left wall: burn it with any fire weapon, or simply knock over one of the nearby torches so the flames catch the vines. The burning ivy opens a small hole in the wall.
Climb through the gap — you’ll pass two wooden boxes sitting in it — into the second chamber.
3. Defeat the Guardian Scouts and Lower the Platform
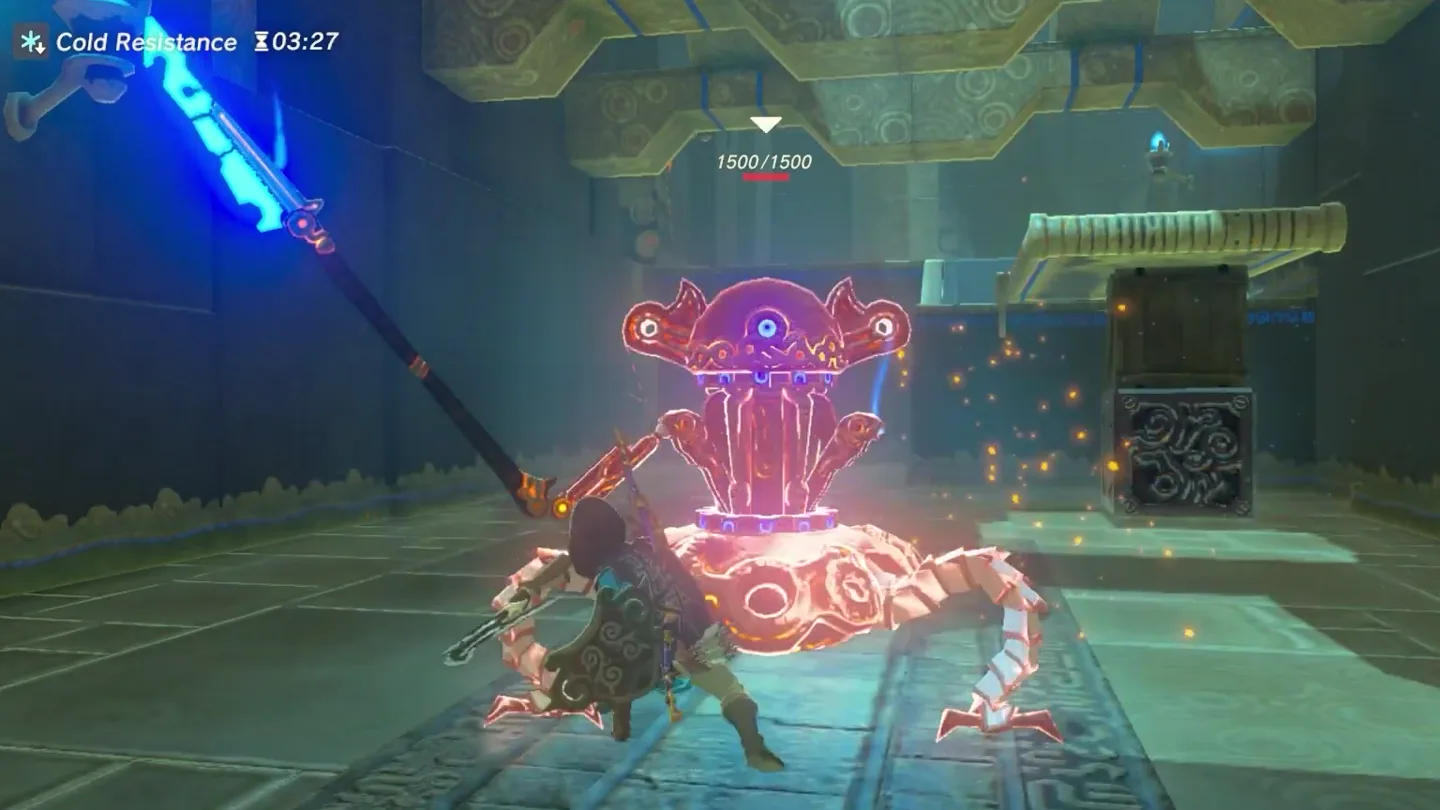
A Guardian Scout II wielding a Guardian Spear attacks right away; take it out before touching anything else.
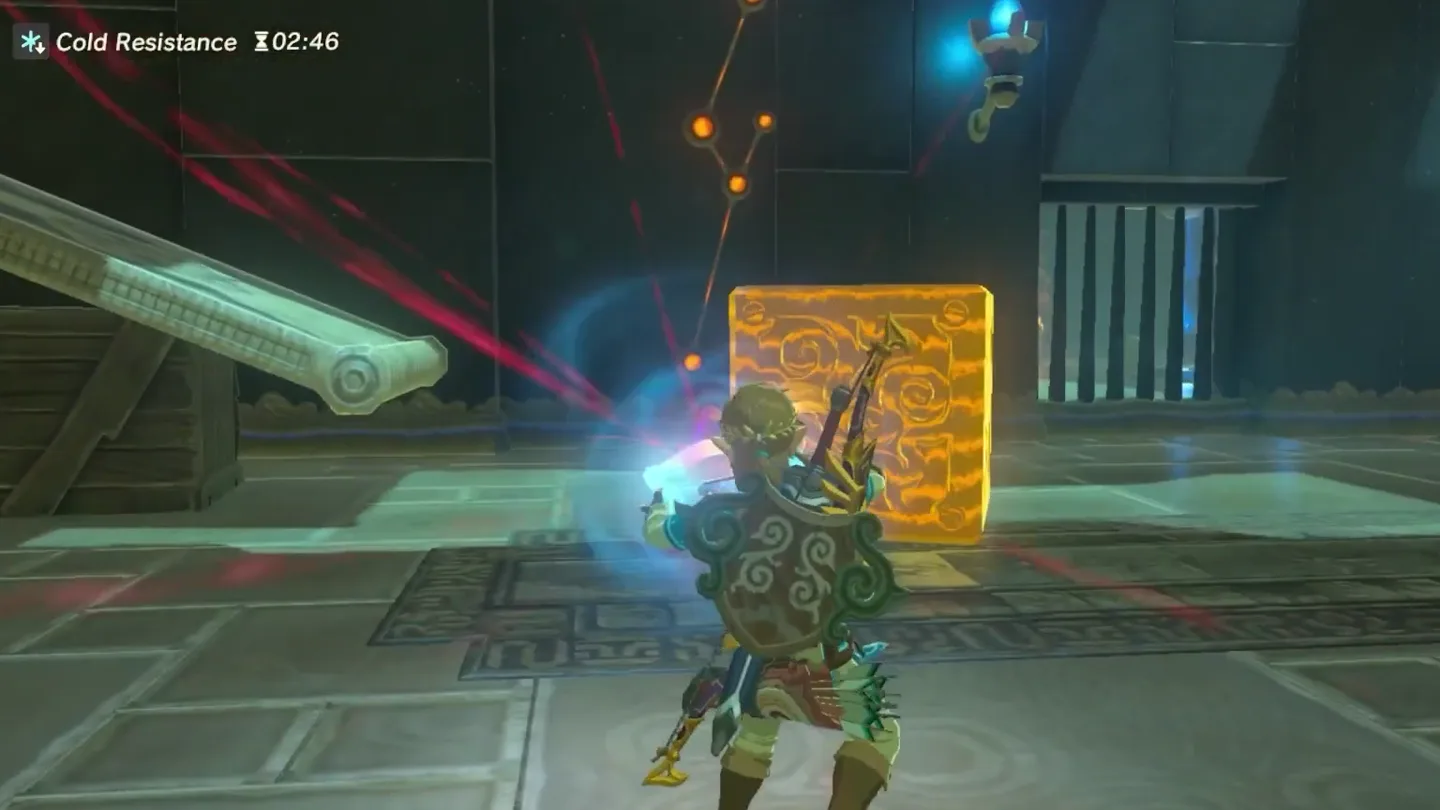
Look at the raised platform: it is being held up by a metal block (with a wooden box alongside). Use Magnesis to pull the metal cube out from under the platform.
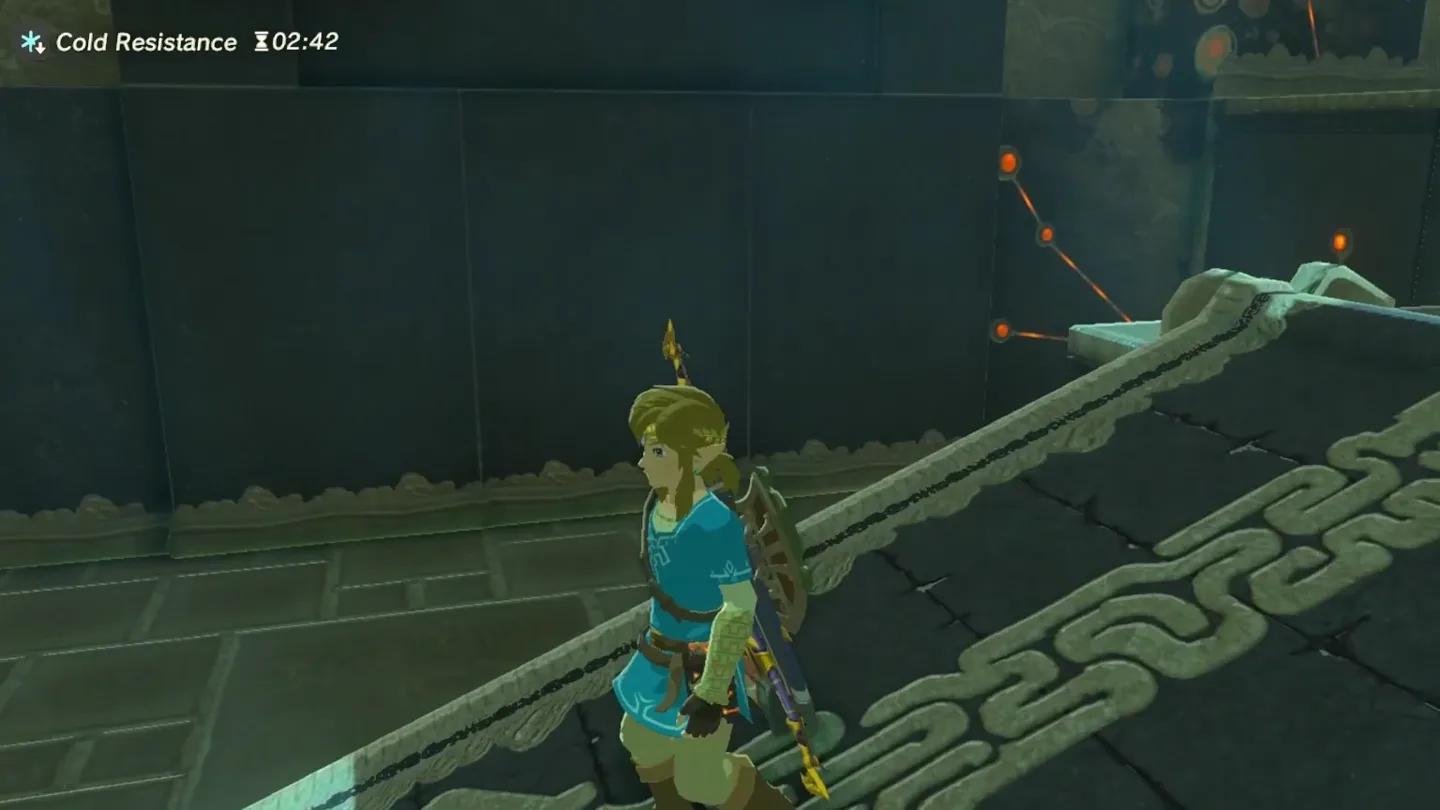
With the support gone, the platform falls into a ramp you can walk up — climb it into the corridor beyond.
A second Guardian Scout II with a Guardian Spear guards the corridor; deal with it.
4. Clear the Barrels to Open the Portcullis
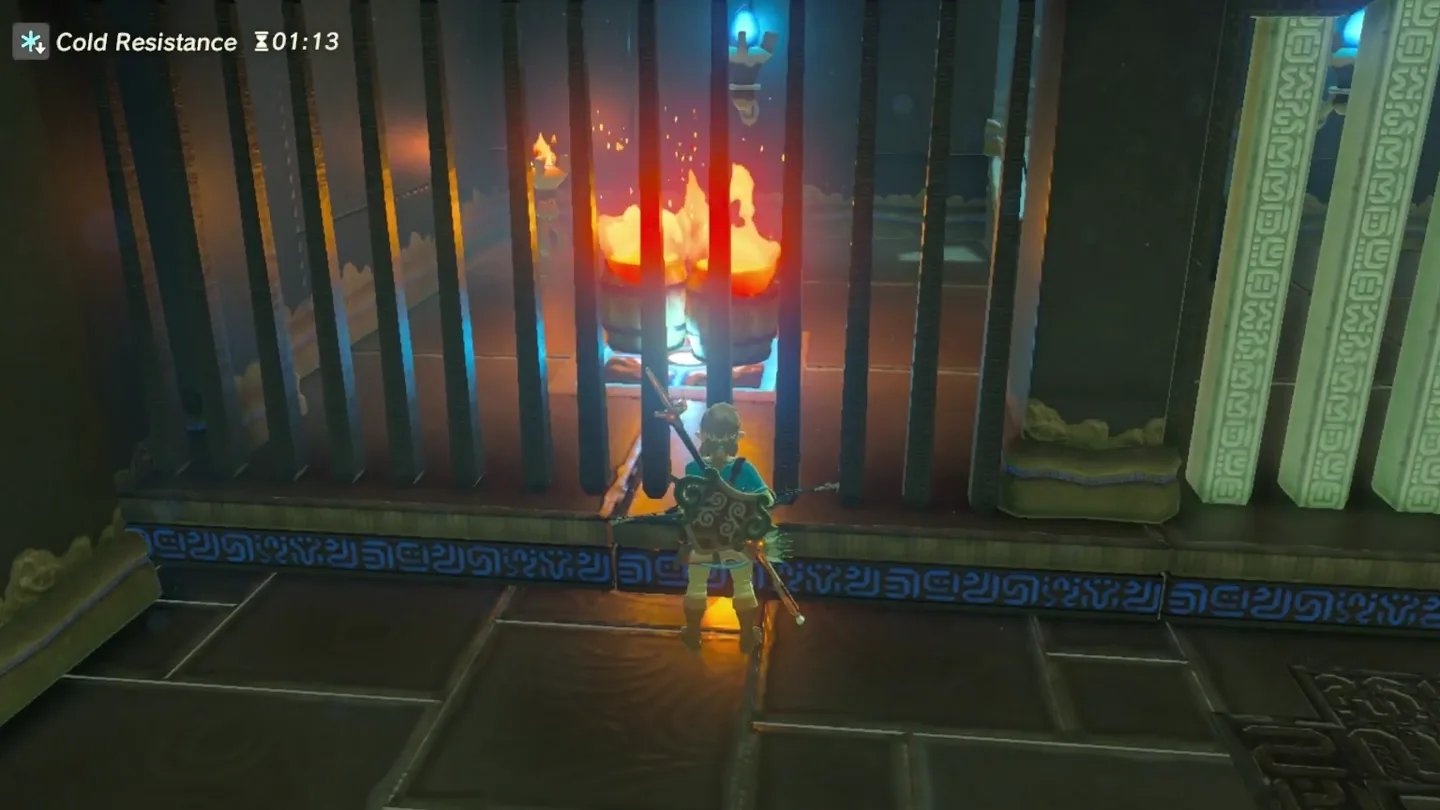
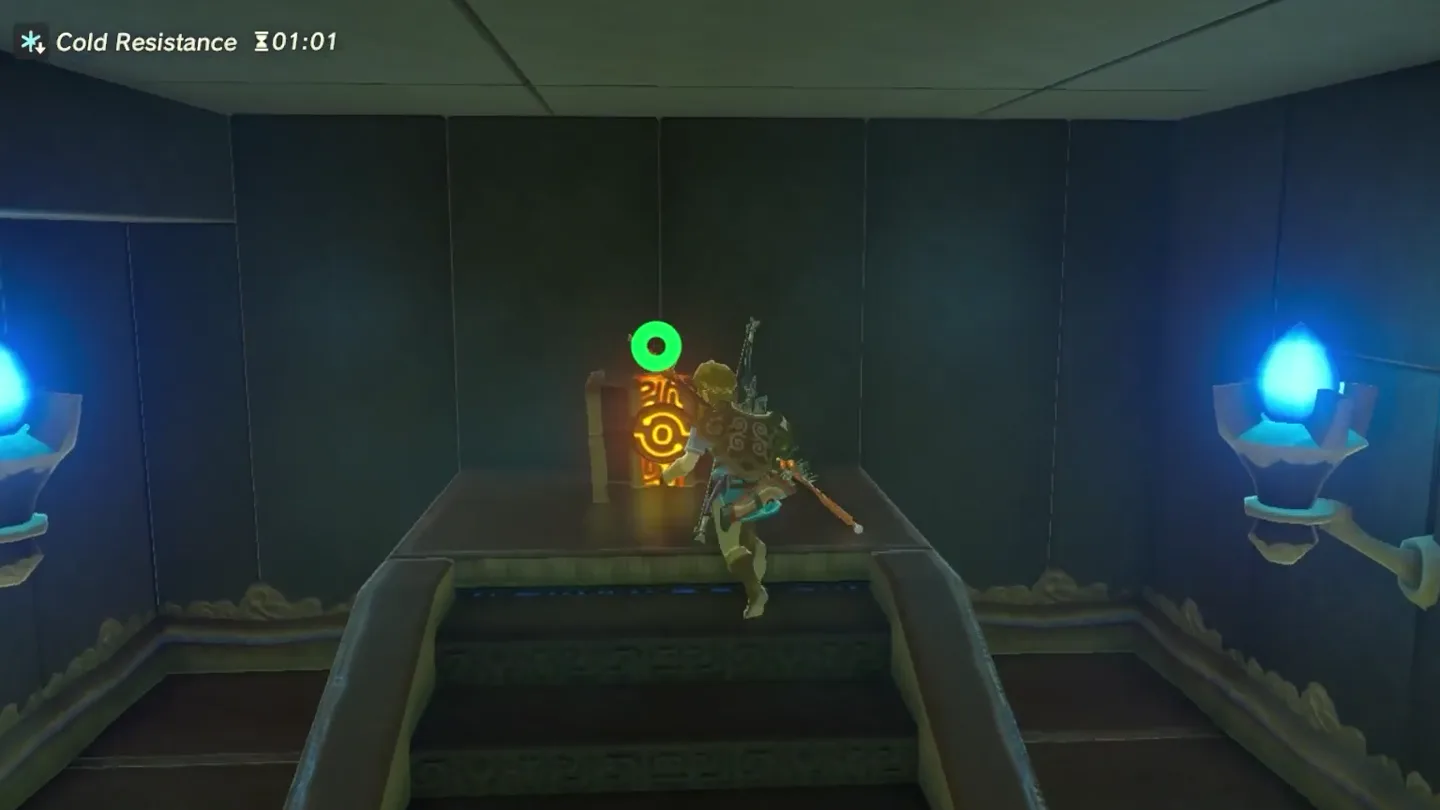
At the end of the corridor is a barred window. Through it you can see the final chamber: barrels stacked on a floor switch, a treasure chest, and a closed portcullis.
Throw a Remote Bomb toward the barrels and detonate it only once it has landed beside them — the explosion destroys the barrels and takes their weight off the switch.
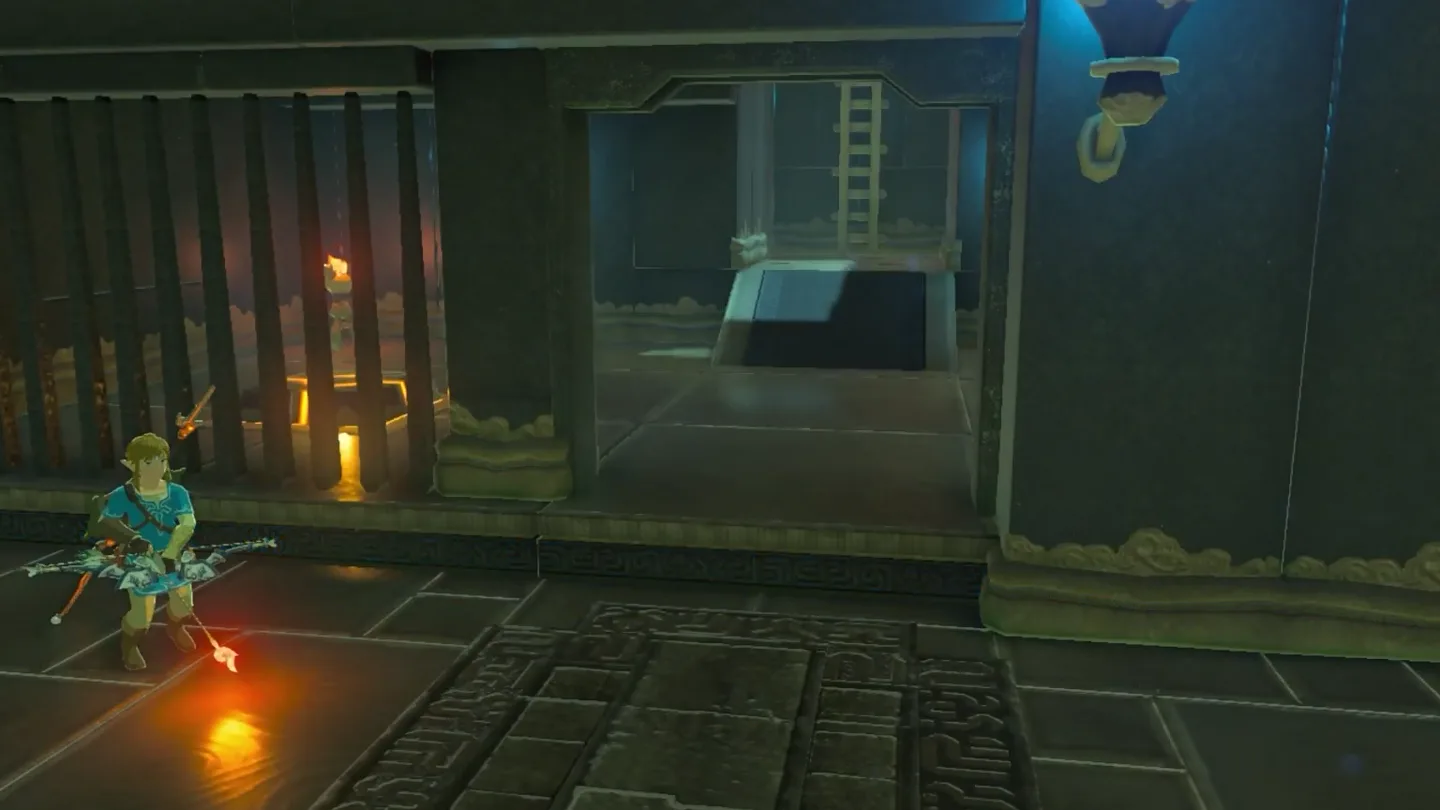
With the barrels gone, the portcullis rises; head into the chamber.
Open the treasure chest to claim the Small Key.
5. Unlock the Monk’s Door
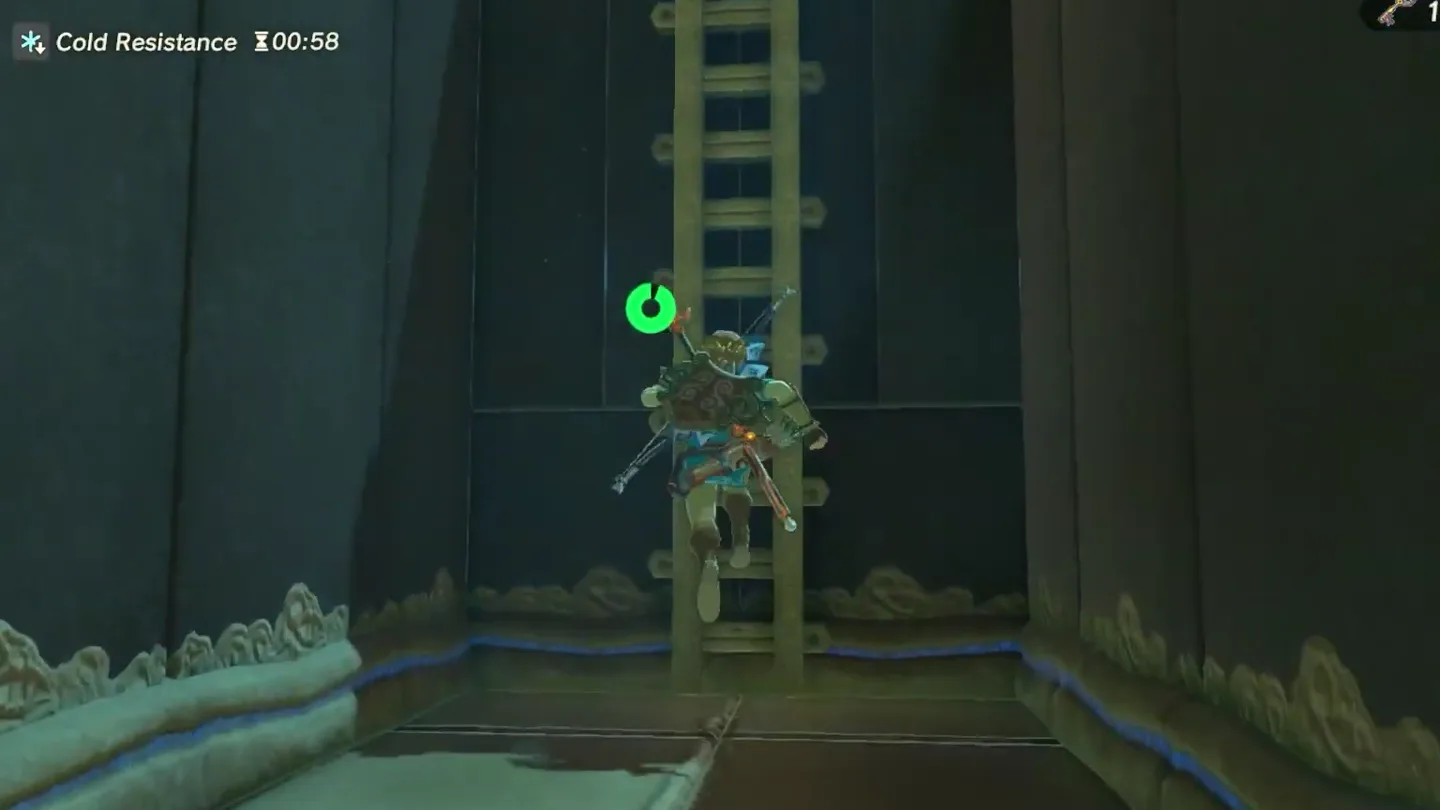
Climb the ladder in this chamber — it leads back up into the starting room.
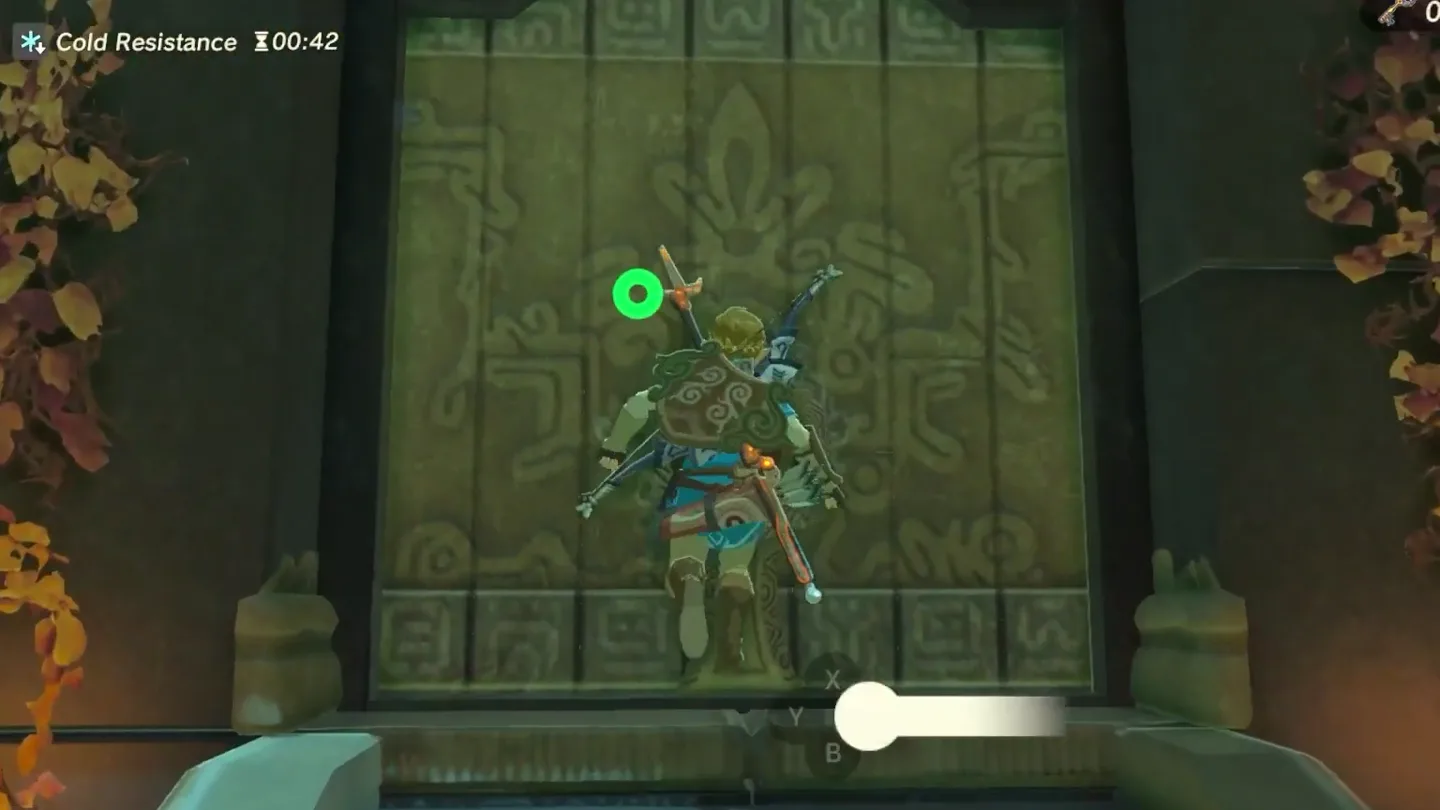
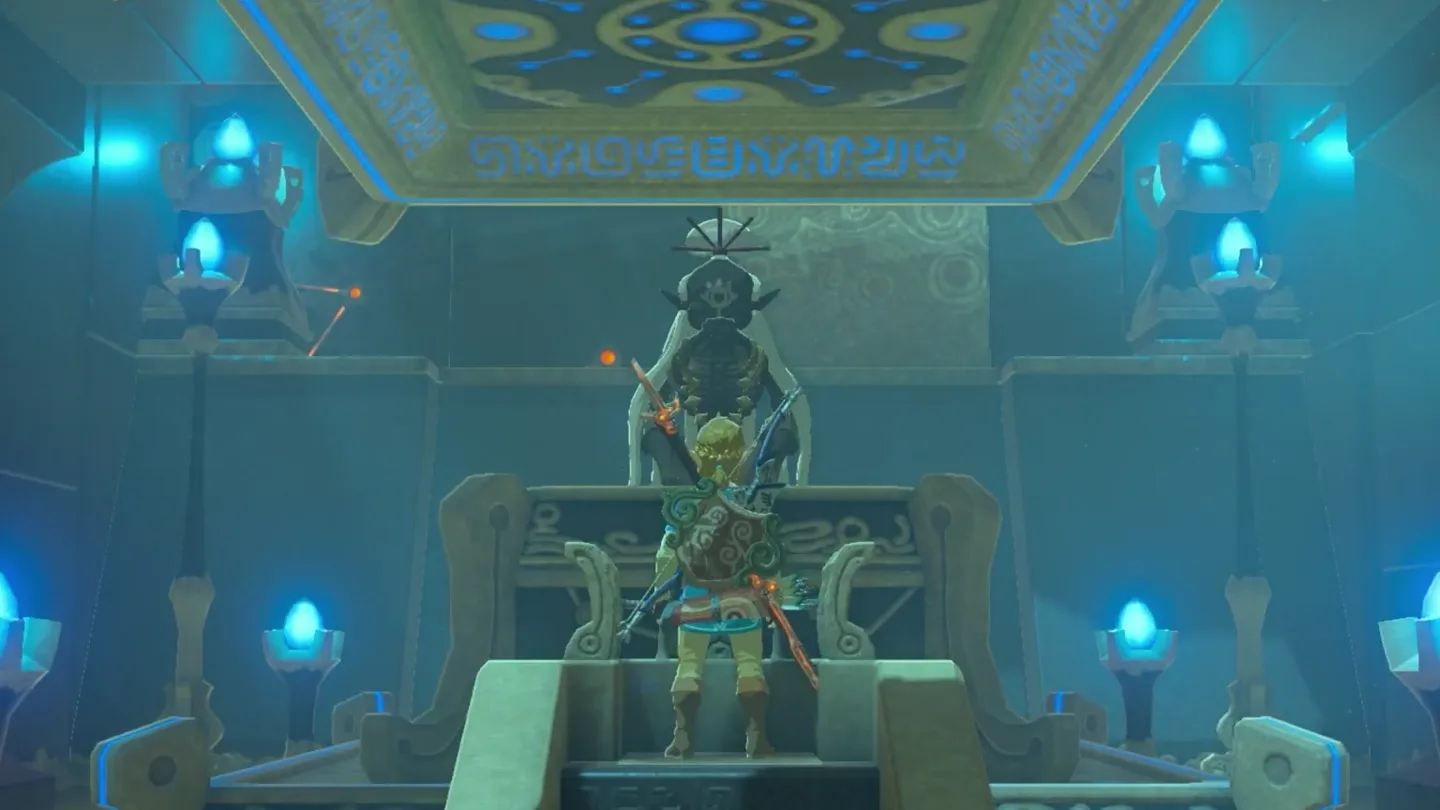
Use the Small Key to unlock the door on the right, then speak with Monk Rok Uwog to receive your Spirit Orb.
What is in each chest?
| Chest | Contents | How to get it |
|---|---|---|
| 1 | Drillshaft (Durability Up) | A metallic chest sits on a high ledge on the right wall of the very first chamber. Grab it with Magnesis and pull it down to open it — do this before you leave the room, or loop back via the ladder later. |
| 2 | Small Key | Inside the chest in the final chamber behind the portcullis. Clear the barrels off the floor switch with a Remote Bomb to raise the gate, then walk in and open it. |
What do people miss here?
- The Drillshaft chest is the classic miss — it’s up on a ledge on the right of the first room and nothing in the room points to it. Magnesis it down before moving on, or grab it when the ladder returns you here at the end.
- You don’t need fire arrows or your own torch for the vines: knocking one of the room’s torches into the ivy sets it alight just fine.
- At the barred window, the Remote Bomb must go off right next to the barrels. Detonate too early and the barrels survive and the portcullis stays shut — just throw another bomb.
- Both Guardian Scout IIs carry Guardian Spears, so fiddling with the metal block while one is still alive invites damage. Clear each room of enemies before you start puzzling.
- Nothing here is permanently missable: the shrine stays on your map once found, so you can re-enter any time to pick up a chest you skipped.
What else is nearby?
| Shrine | Direction | Straight-line distance | Region |
|---|---|---|---|
| Goma Asaagh Shrine | southwest | 539 | Hebra |
| Shada Naw Shrine | west | 621 | Hebra |
| Sha Gehma Shrine | northeast | 884 | Hebra |
Which guides help next?
FAQ
How do I open the gate at the end of Rok Uwog Shrine?
How do I burn the vines in Rok Uwog Shrine without fire arrows?
Where are all the chests in Rok Uwog Shrine?
What is the metal block for in the second chamber?
Can I go back for the Drillshaft chest after finishing the shrine?
Related Articles
guides
Breath of the Wild Captured Memories: All 13 Locations and Rewards
All 12 photo locations from Zelda's album plus the 13th memory in Impa's painting, with coordinates, nearby shrines, the Champion's Tunic and the extra ending scene.
guides
Breath of the Wild Great Fairy Fountains: Locations, Costs and Horse God
Where the four Great Fairy Fountains and the Horse God Malanya are in Breath of the Wild, what each fairy costs to release, and how many you need per armor upgrade.
guides
Hyrule Castle Walkthrough: Entry Routes, Hylian Shield and Final Prep
How to get into Hyrule Castle in Breath of the Wild: five entry routes, the Hylian Shield and other loot by room, and what to prepare before the final battle.
Was this helpful?
Thanks for the feedback!