

Shada Naw Shrine Walkthrough – Red Giveaway Trial (Hebra)
Step-by-step guide to Shada Naw Shrine's Red Giveaway trial in Hebra: solve the orb-and-fans puzzle and claim the Great Frostblade chest.
Where is Shada Naw Shrine?
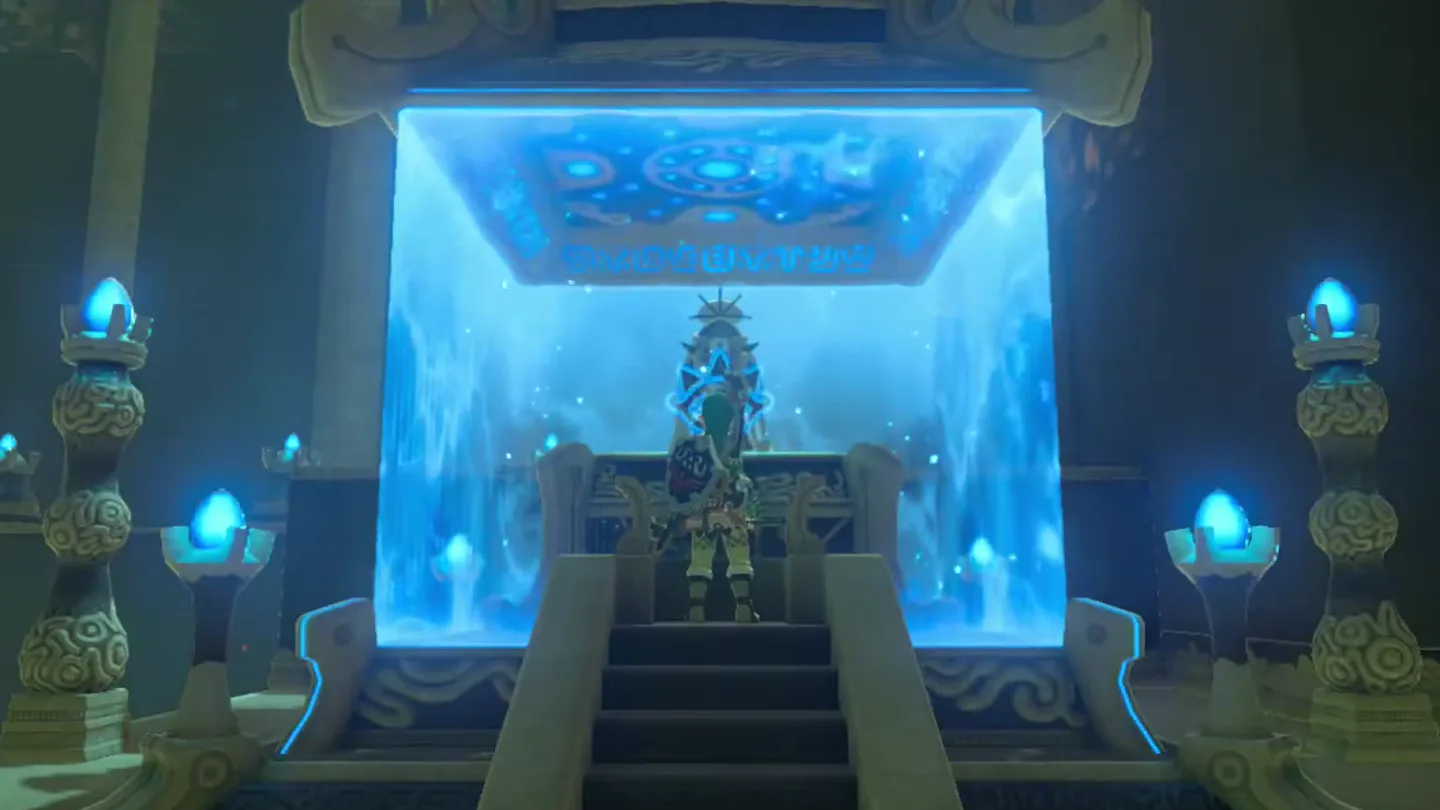
Shada Naw Shrine is an Ancient Shrine in the Hebra Mountains, located north of Hebra East Summit and north of Selmie’s Spot — the landmark it’s officially listed under. As Link enters, he is greeted by the shrine’s Monk, Shada Naw, whose pedestal sits high above the chamber floor, reachable only by completing the trial.
| Item | Detail |
|---|---|
| Trial | Red Giveaway |
| Tower region | Hebra |
| Map-marker coordinates | -2998, 3221, 0681 |
| Shrine quest | None |
| Chests | 1 |
| Names | Shada Naw Shrine · 夏達‧阿達神廟 · 夏达·阿达神庙 |
What should you bring?
Magnesis is the one essential rune: it reveals the hidden wall block, moves the metal cube onto it, and pulls down the treasure chest. Stasis is optional but handy — freezing the moving platform at the perfect moment removes the trial-and-error timing. The Ancient Orb itself is simply carried by hand.
Video walkthrough

How do you solve Shada Naw Shrine?
Red Giveaway is a single-chamber wind puzzle: three fans blow the Ancient Orb from a stone platform, over a moving platform, and toward a ramp that leads to the Concave Slot at the center of the room. Your job is to cut off the gust beside that ramp so the orb actually rolls into the slot — while standing on the tilted platform the slot raises.
1. Find and open the hidden treasure chest
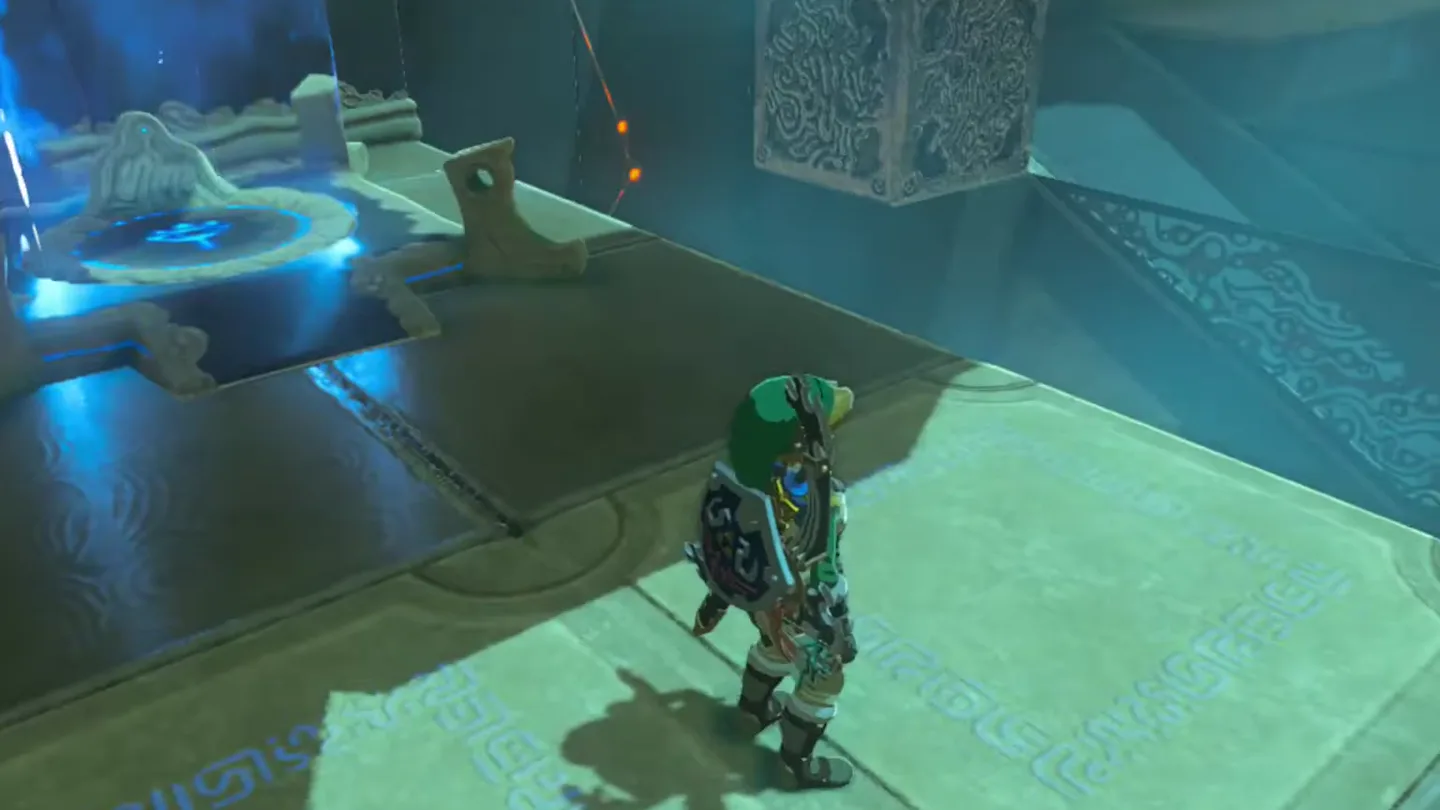
Walk in and take stock — Link is greeted by the shrine’s Monk, Shada Naw, on his pedestal above. The chamber holds an Ancient Orb down on the lower level, three fans, a moving platform on the far wall, a ramp leading to a concave slot at the center of the room, and a loose metal cube on the right-hand side.
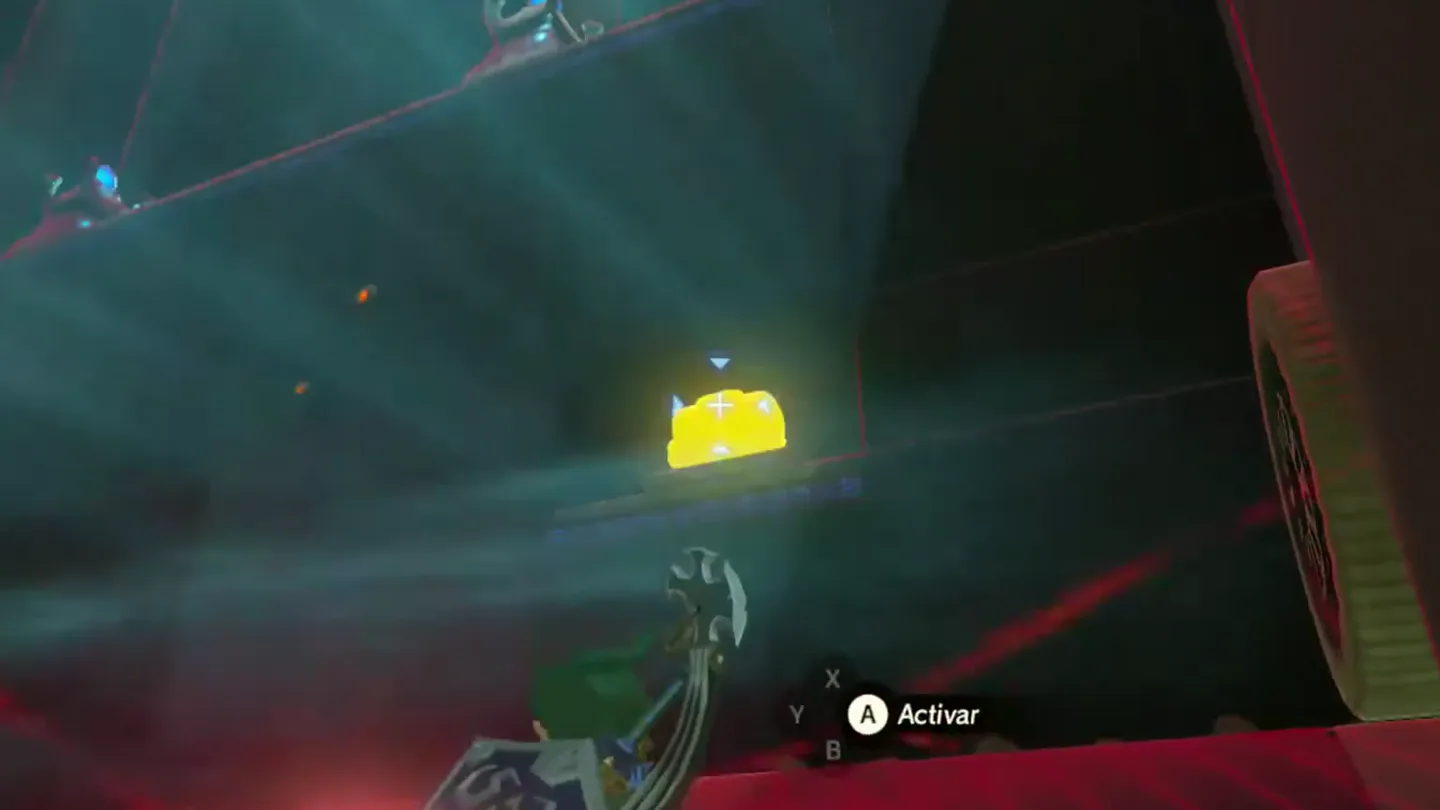
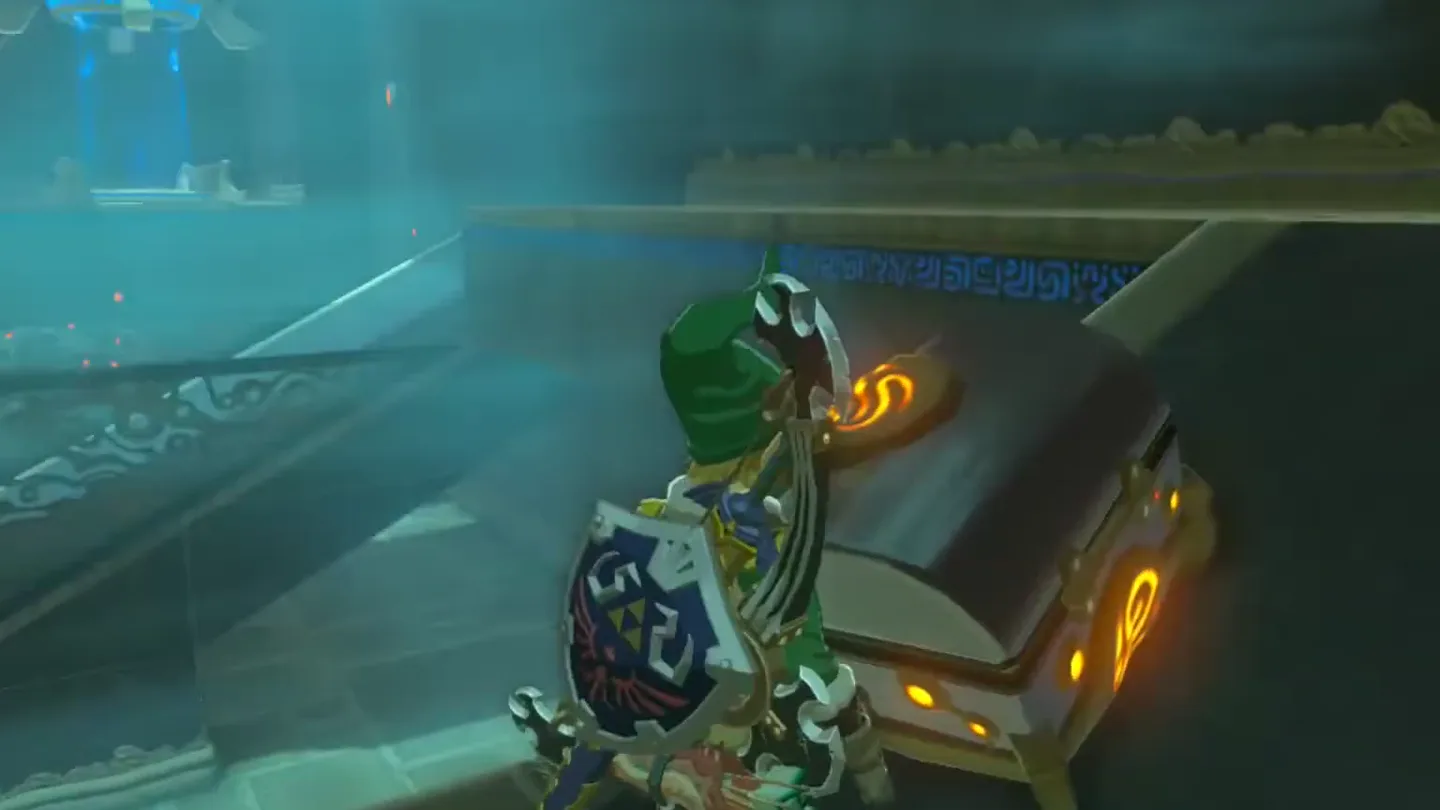
Before touching the puzzle, head down to the bottom level and sweep the walls with Magnesis — a metallic treasure chest hides in a small nook above one of the fans, up in an alcove of its own.
Pull the chest down with Magnesis and open it for a Great Frostblade, a weapon with pretty high stats.
2. Block the wind with stacked metal blocks
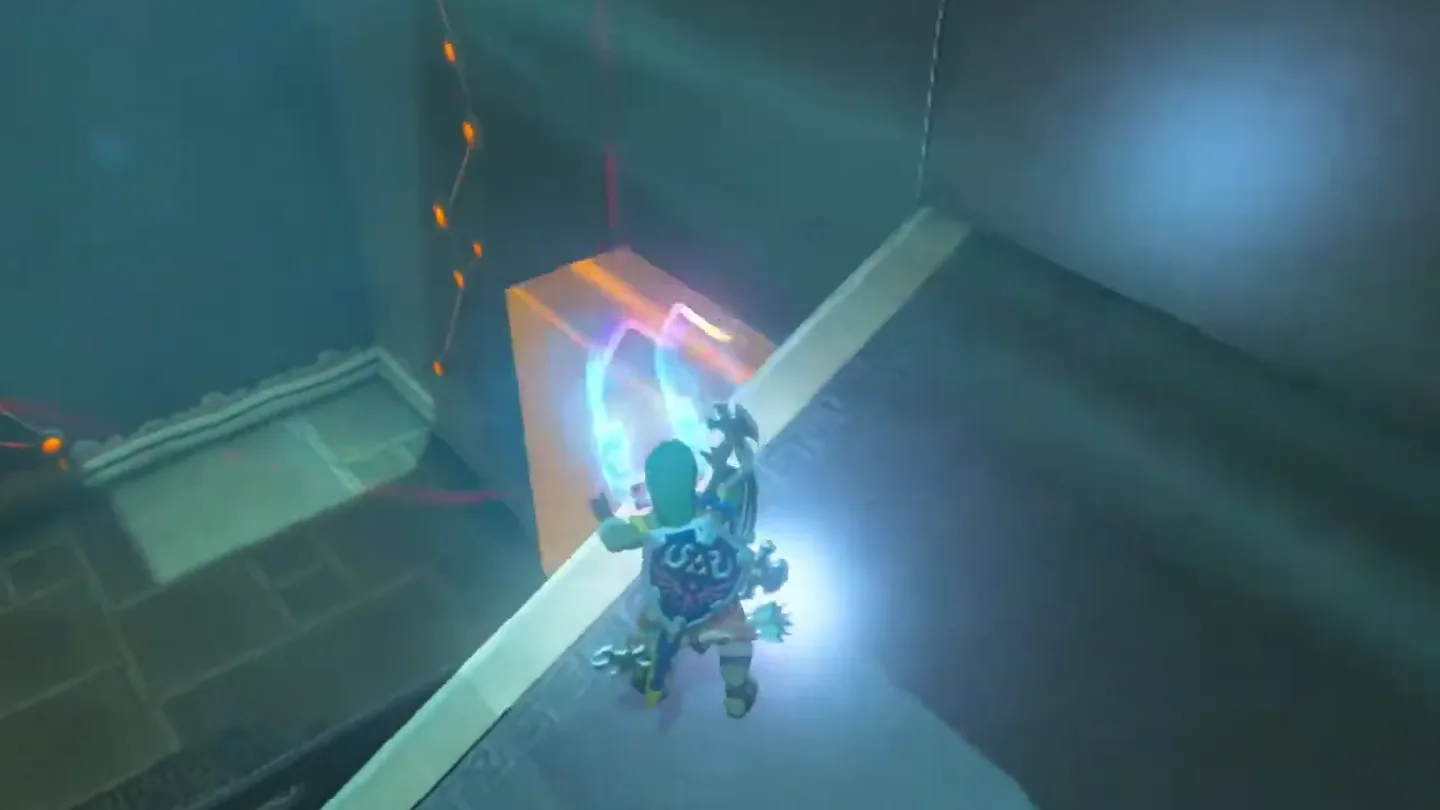
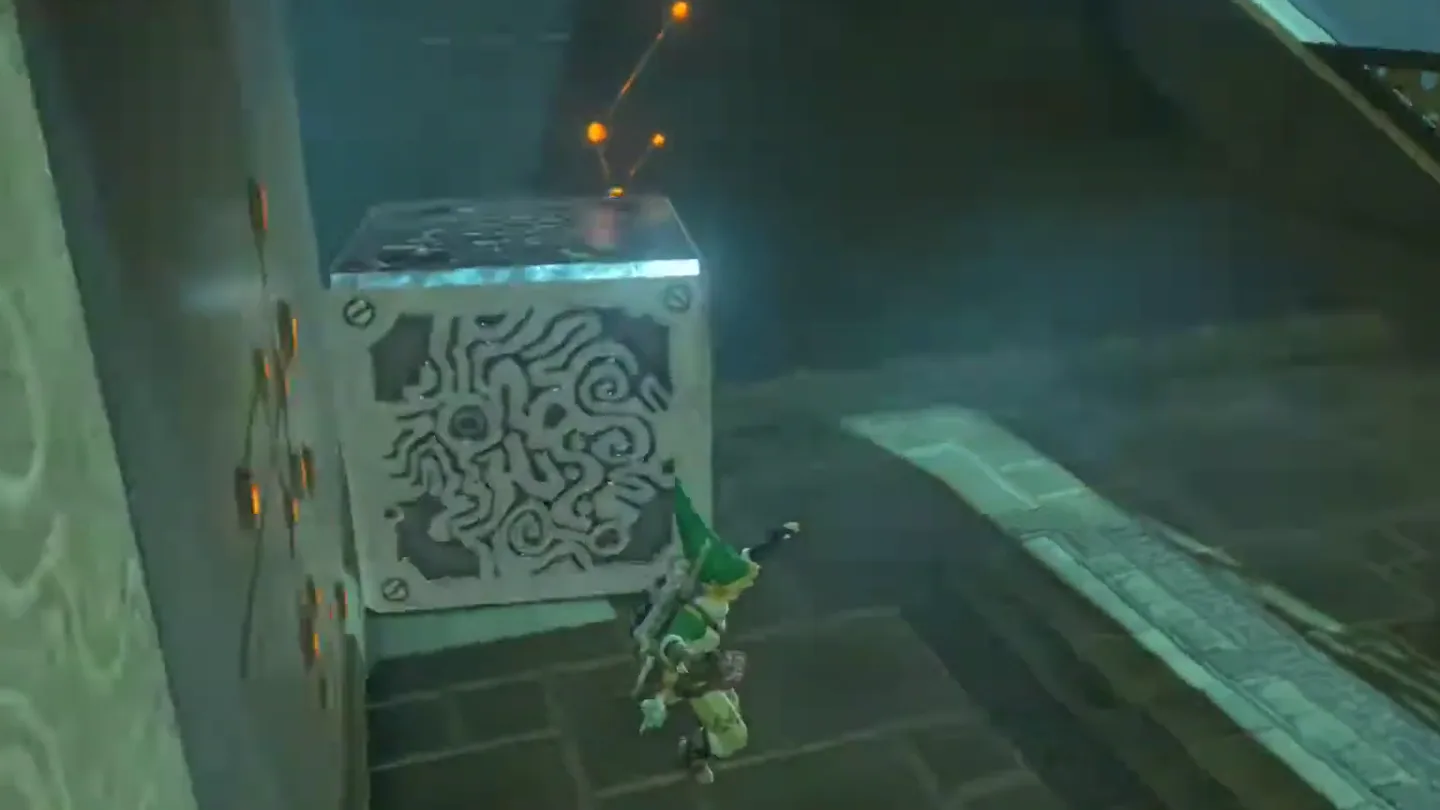
Still using Magnesis, scan the wall to the left of the ramp, tucked under it: a hidden moveable metal block is buried inside the wall, and only Magnesis makes it visible.
Pull the hidden block out — it only comes partway out of the wall, and that’s exactly as far as it needs to go.
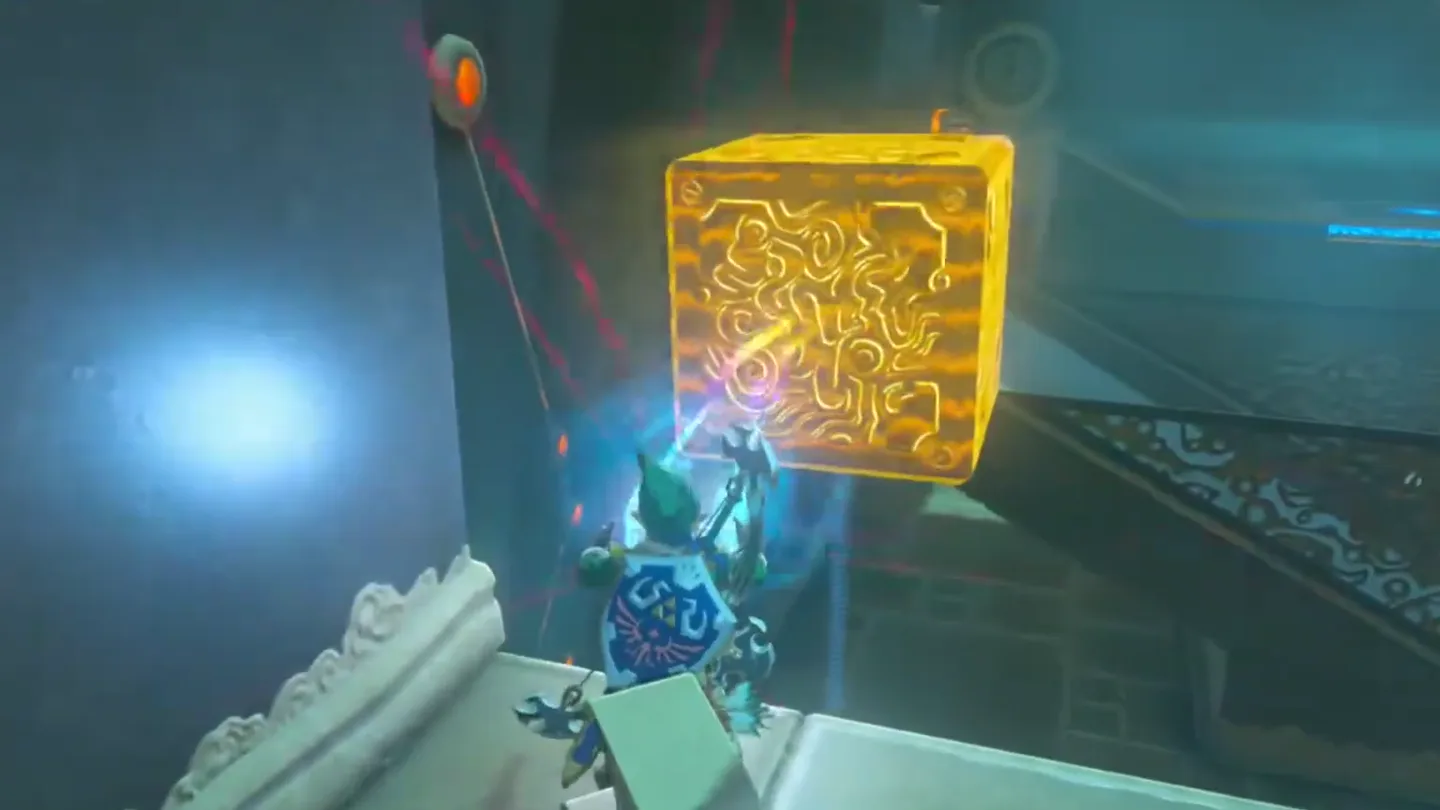
Grab the loose metal cube from the right-hand side of the room with Magnesis and rest it on top of the pulled-out block. The stack stops the stream of wind beside the ramp, so the ball won’t go flying and will instead roll down the ramp into the hole.
3. Carry the orb and roll it down the ramp
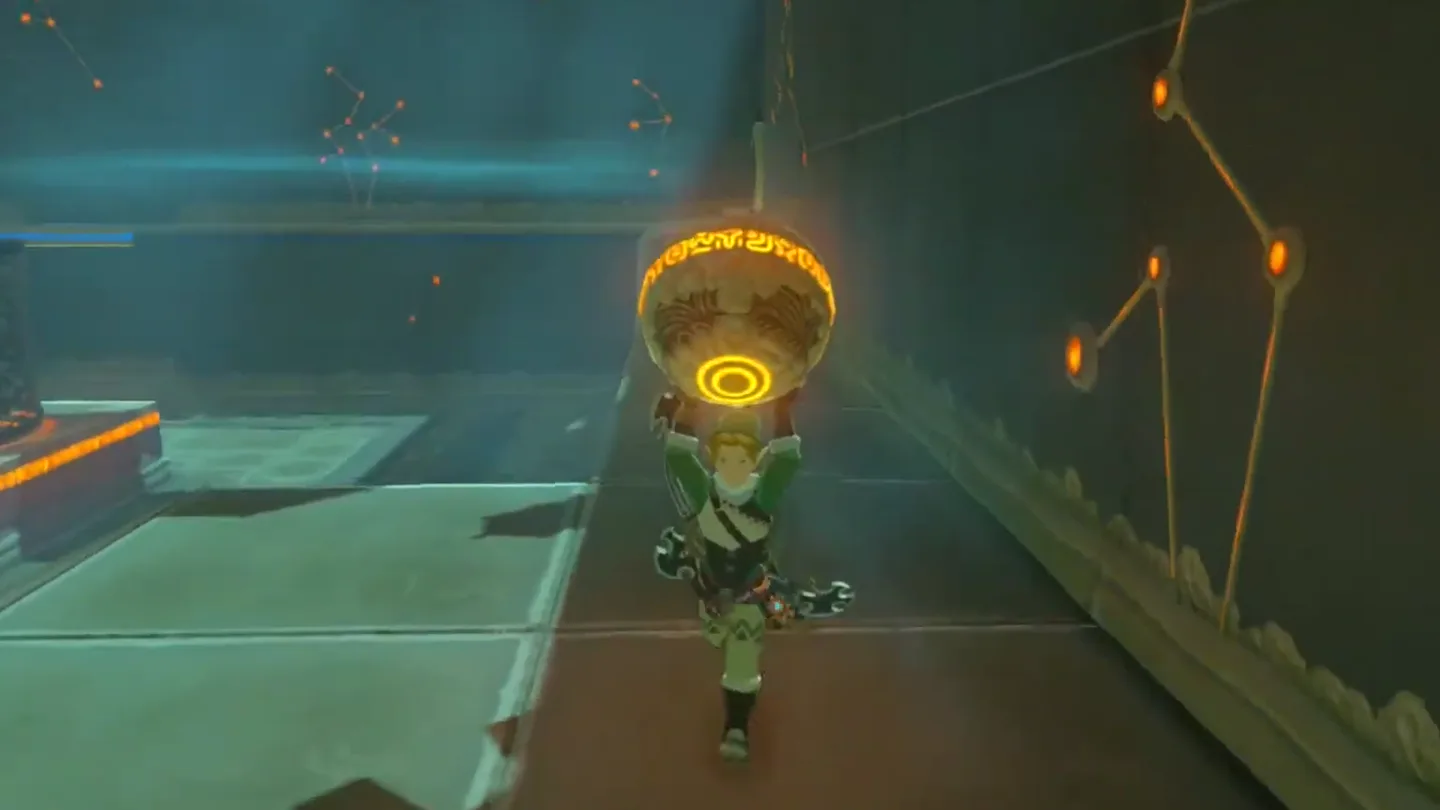
Head down, pick up the Ancient Orb, and carry it back up next to the shrine’s entrance, ready to roll it down the ramp so it begins its windy route around the room.
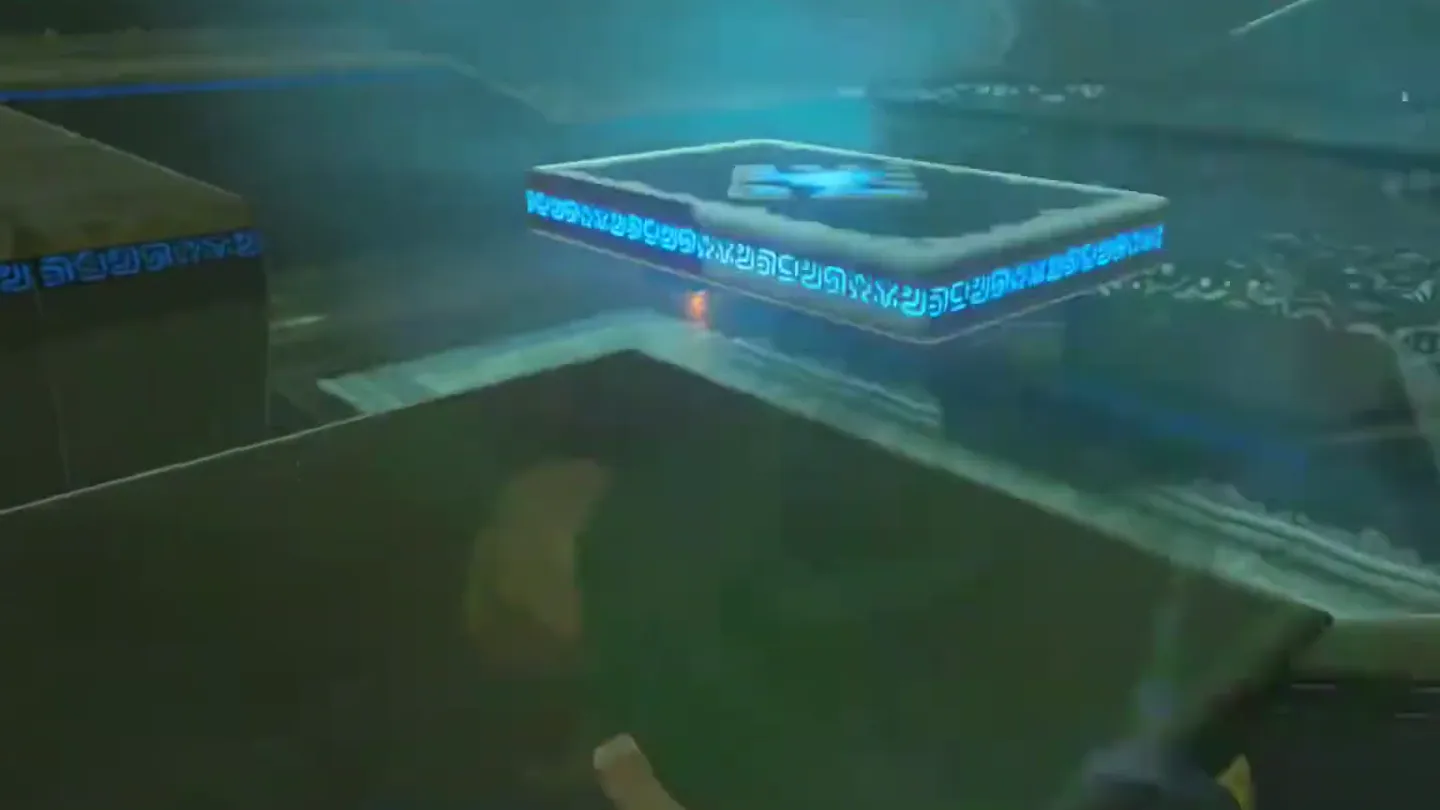
Watch the moving platform on the opposite side of the room: the orb gets blown across here, and it drops mid-room if the platform isn’t right next to the wall at the moment the wind carries it over.
Either use a bit of trial and error to time when the ball reaches the platform so it makes its way across, or freeze the moving platform with Stasis at the perfect moment so it stays in place.
Roll the orb down the ramp — the fans carry it off the stone platform, over the moving platform, and around the room toward the ramp that leads to the concave slot.
4. Ride the platform up and complete the shrine
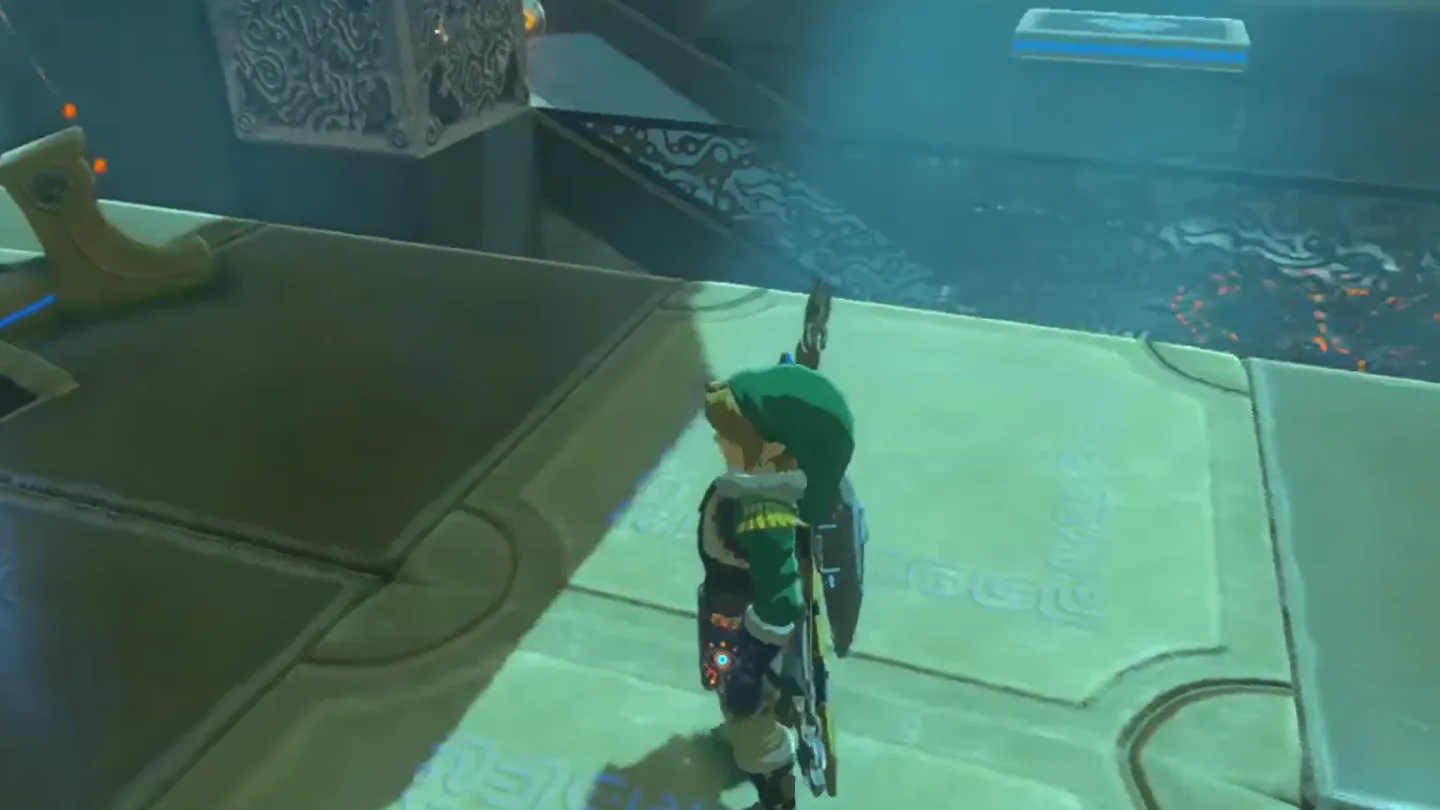
Step onto the tilted platform beside the entrance before the orb arrives — with the gust blocked, the orb rolls down the ramp into the concave slot instead of being blown straight past it.
The concave slot activates and raises the tilted platform — with you standing on it — up to the Monk’s Pedestal.
Speak to Shada Naw: he commends your resourcefulness, bestows a Spirit Orb, wishes you well, and fades away.
What is in the chest?
| Chest | Contents | How to get it |
|---|---|---|
| 1 | Great Frostblade | A metallic chest sits in a small nook above one of the fans on the bottom level, up in an alcove of its own. Use Magnesis to pull it down from the alcove, then open it for this high-stat weapon. |
What do people miss here?
- The treasure chest is easy to walk past — it’s tucked in a small nook above one of the fans on the bottom level, up in its own alcove, and it’s metallic, so sweeping the room with Magnesis makes it stand out and lets you yank it down from a distance.
- The hidden wall block is the entire trick and is invisible without Magnesis. If you never pull it out and rest the loose cube on it, the fans blow the orb straight past the ramp and it falls off the side every time.
- If the moving platform isn’t next to the wall when the wind carries the orb across, the orb drops mid-room. Pick it up, carry it back up to the top next to the entrance, and either re-time your roll or freeze the platform with Stasis.
- You must be standing on the tilted platform when the orb drops into the concave slot — watch from the floor and the platform rises to the pedestal without you, forcing you to run the orb again.
- The hidden block can only be pulled partially out of the wall — that’s by design, not a mistake. It’s the metal cube stacked on top that actually stops the stream of wind.
What else is nearby?
| Shrine | Direction | Straight-line distance | Region |
|---|---|---|---|
| Goma Asaagh Shrine | southeast | 396 | Hebra |
| Rok Uwog Shrine | east | 621 | Hebra |
| Mozo Shenno Shrine | west | 655 | Hebra |
Which guides help next?
FAQ
Where is Shada Naw Shrine?
How do I get the chest in Shada Naw Shrine?
Why does the ball keep flying past the hole in Shada Naw Shrine?
The ball fell into the room – what did I do wrong?
Do I have to stand on the platform to reach the monk?
Related Articles
guides
Breath of the Wild Captured Memories: All 13 Locations and Rewards
All 12 photo locations from Zelda's album plus the 13th memory in Impa's painting, with coordinates, nearby shrines, the Champion's Tunic and the extra ending scene.
guides
Breath of the Wild Great Fairy Fountains: Locations, Costs and Horse God
Where the four Great Fairy Fountains and the Horse God Malanya are in Breath of the Wild, what each fairy costs to release, and how many you need per armor upgrade.
guides
Hyrule Castle Walkthrough: Entry Routes, Hylian Shield and Final Prep
How to get into Hyrule Castle in Breath of the Wild: five entry routes, the Hylian Shield and other loot by room, and what to prepare before the final battle.
Was this helpful?
Thanks for the feedback!