

Takama Shiri Shrine Guide: Dual Purpose (BotW)
Finish the Sand Seal ring course, cross Takama Shiri’s sliding blocks safely, and power the side gate for a Royal Bow in Breath of the Wild.
How do you reveal Takama Shiri Shrine?
In The Legend of Zelda: Breath of the Wild, this shrine belongs to EX Champion Urbosa’s Song. Complete the four opening DLC shrines, then visit this Champion’s monument to start its trials. The Champions’ Ballad overview covers those prerequisites and the branch order.
Take a Sand Seal to the blue ring in West Barrens. Pass through it to start the course, then follow each newly appearing ring before its timer expires. Steer towards the next ring early and keep moving past enemies instead of stopping to fight. Reaching the final ring reveals the shrine nearby.
| Detail | Answer |
|---|---|
| Trial | Dual Purpose |
| Main mechanic | Use sliding blocks as both safe bridges and electrical conductors |
| Treasure | 1 chest: Royal Bow |
| Completion reward | Naboris’s Emblem |
This is an additional DLC shrine and does not count towards the 120 base-game shrines.
How do you solve Dual Purpose?
1. Cross the first bridge before powering it
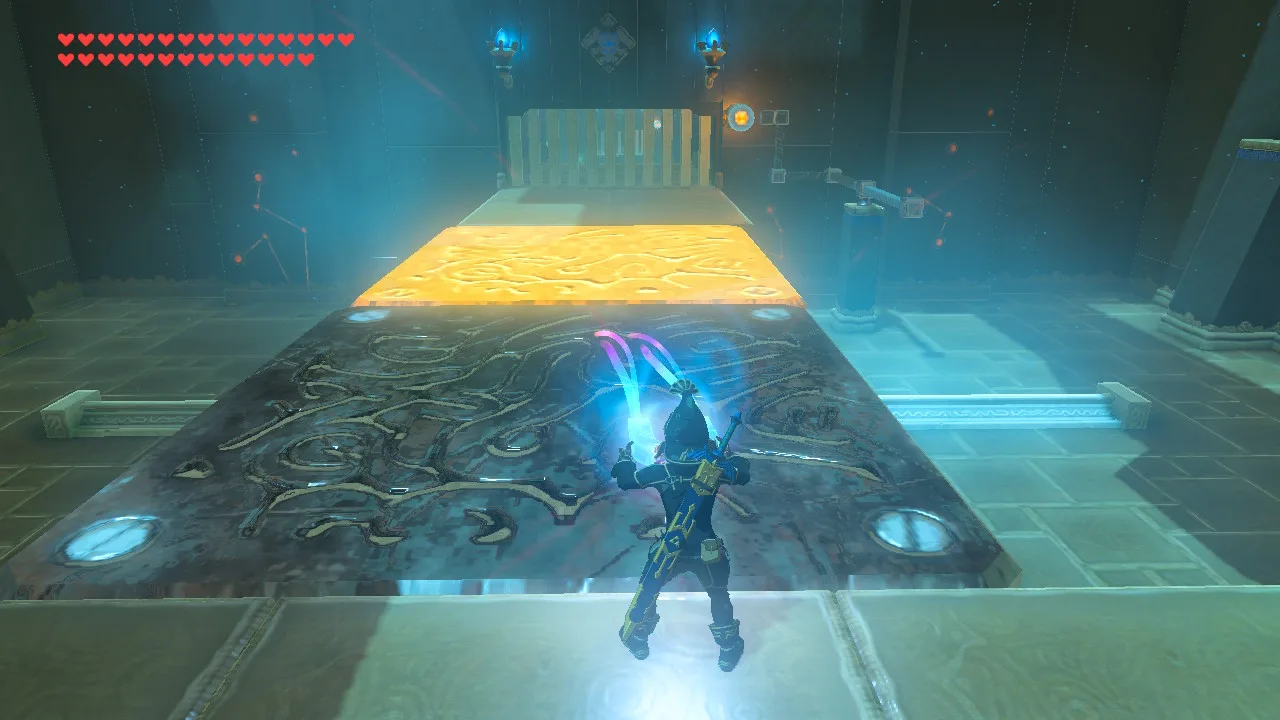
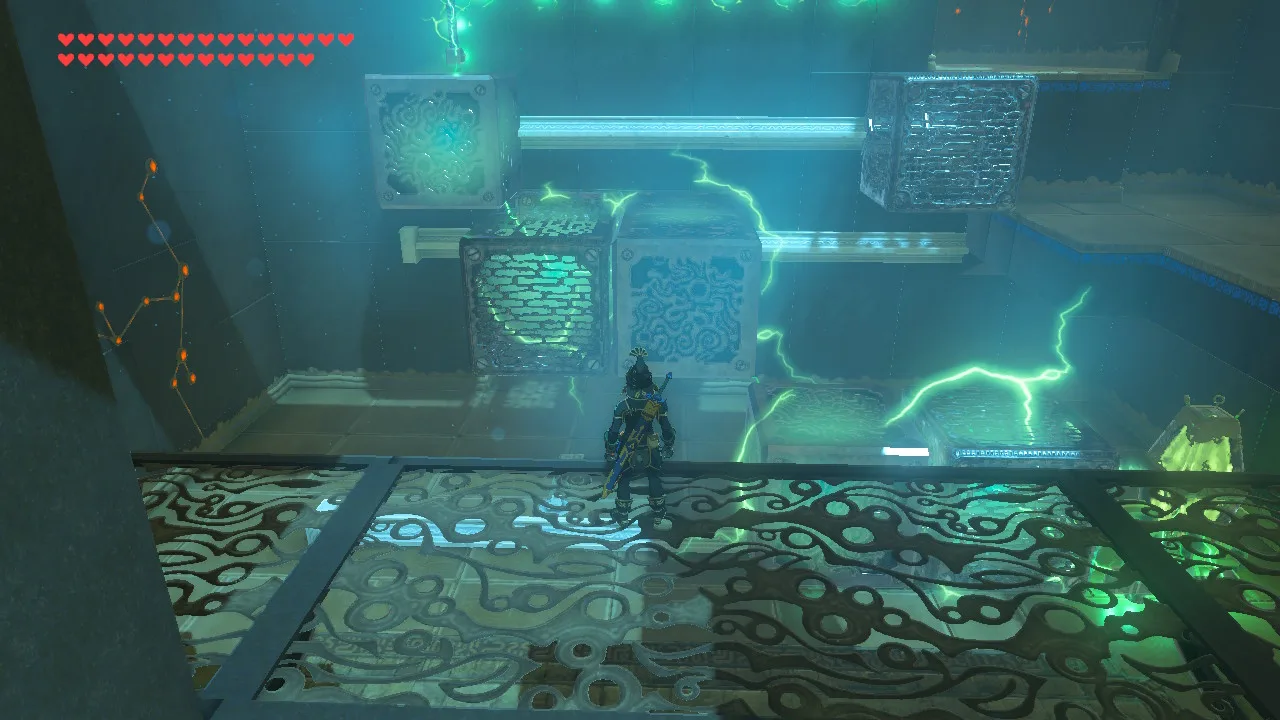
Use Magnesis to slide the first pair of metal platforms away from the electrical source and line them up as a bridge. Cross to the dry ledge beside the gate. From that ledge, slide the platforms towards the circuit so they join the live terminal to the gate’s conductor. The gate opens once the current reaches the other side.
2. Keep a safe path through the second room
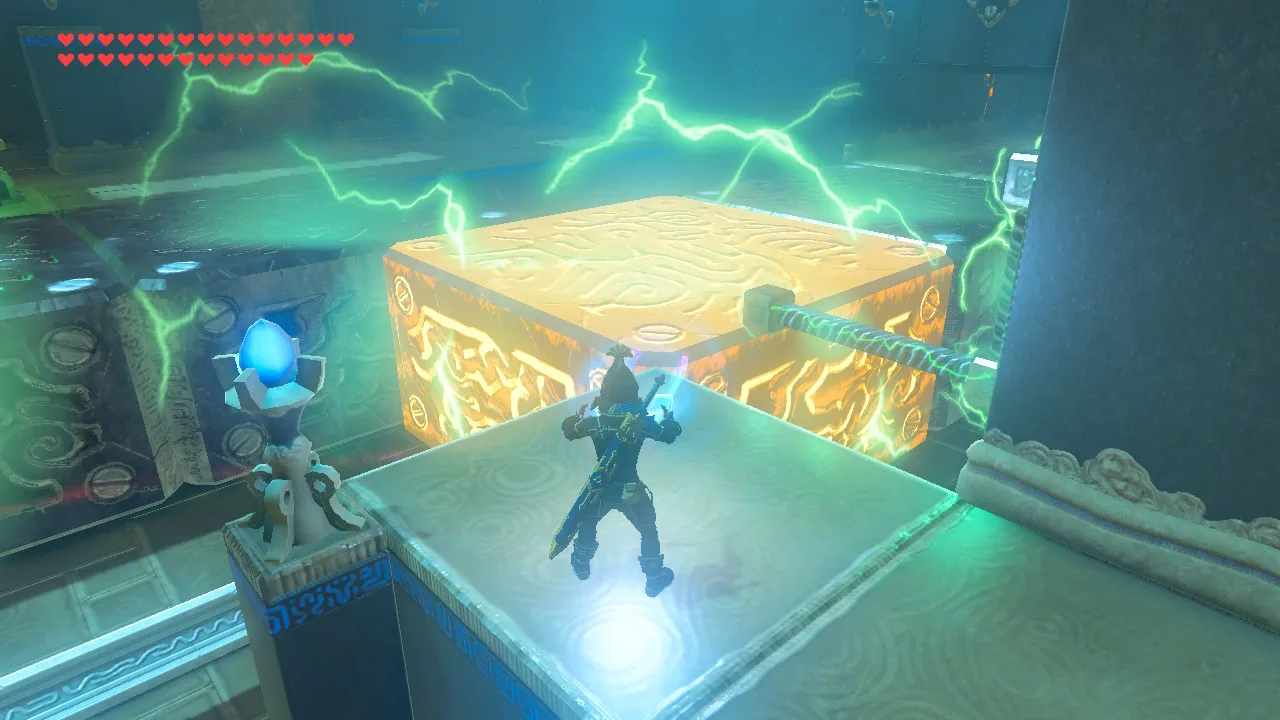
Move the block behind the first crossing away so the nearest block loses power. Step across it to the non-metal walkway on the right. From there, slide the blocks to make a route across the channel to the source side. Cross, then move the far pair towards the exit side to create the last bridge. Once you can reach safe ground by the gate, use the remaining pair to connect the generator to the gate’s conductor. Keep the bridge you still need out of the live chain.
3. Open the ground-level chest circuit
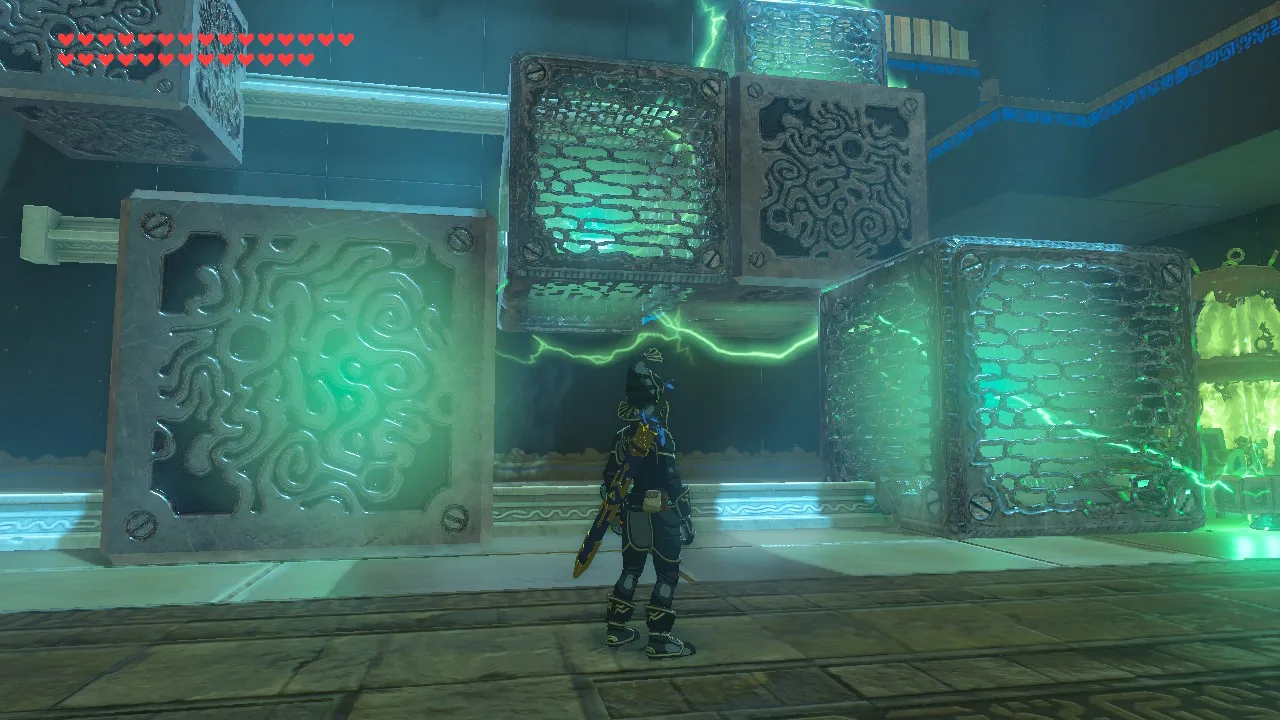
In the tall third room, start with the lower circuit. Slide the lower-left metal block towards the middle. Use the pair one tier above it to link that block with the live lower-right block, forming an arch over the gap. Follow the lit path to check that both lower endpoints connect. Walk behind the stack into the narrow passage and take the Royal Bow through the newly opened gate.
4. Disconnect the power and climb to the right ledge
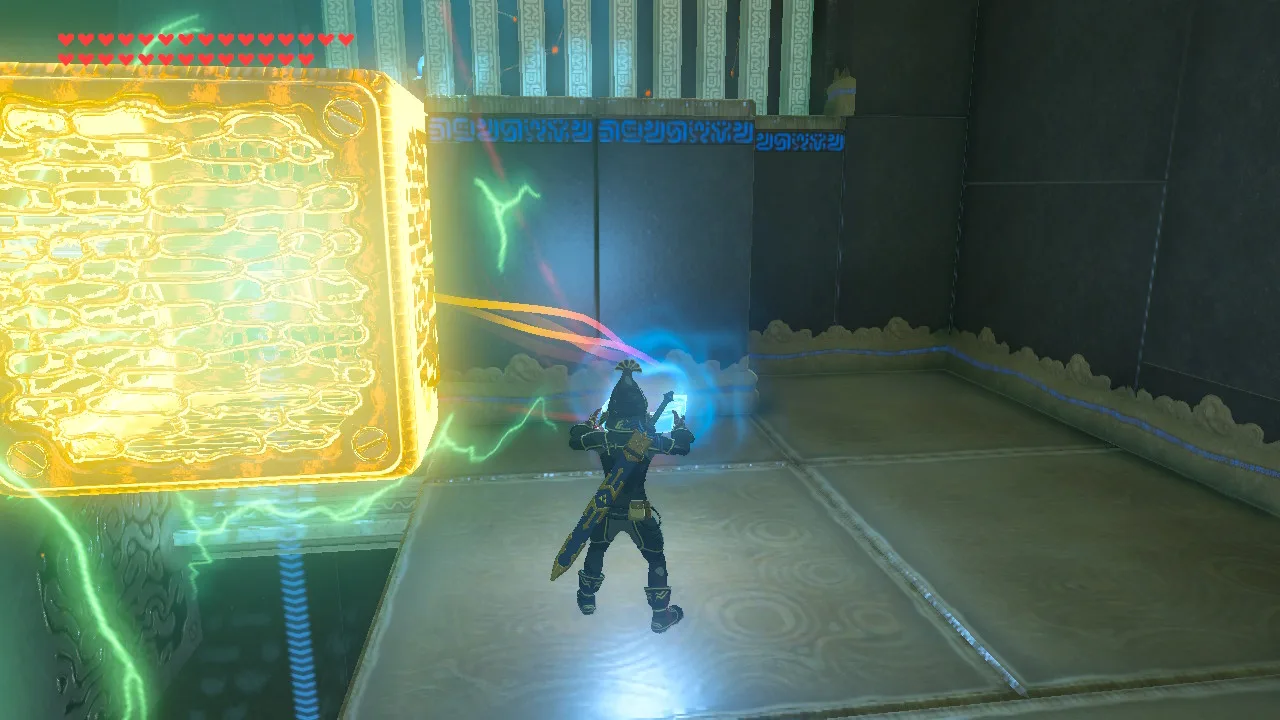
After collecting the chest, pull the conductor away from the source to make the stack safe again. Arrange the blocks with mesh faces as ascending steps towards the right-hand ledge. Push the top climbable block all the way to the right so it can serve as the last step to the exit later. Climb onto the fixed ledge before restoring power.
5. Connect the upper terminal from safe ground
From the right ledge, move the remaining metal blocks into a rising chain between the source below and the electrical terminal at the upper left. The top-right climbing block should stay outside that live chain. Check for gaps between tiers if the gate stays closed. Once the circuit glows through to the upper terminal, use the safe block beside the exit to climb to the monk.
Where is the treasure chest?
The single Royal Bow chest is behind a side gate at ground level in the third room. Link the lower conductors by making an arch through the middle tier of metal blocks, then follow the narrow passage behind the blocks to the chest. Reconfigure the room afterwards to reach the high exit.
What can go wrong?
- A useful bridge is electrified: move its connection away from the power source before stepping on it.
- The second room’s exit is powered but unreachable: keep the final walking bridge separate from the live circuit, or cross to the gate side before connecting it.
- The third room has no way up: use the blocks with mesh faces as climbing steps; the smooth blocks are not interchangeable climbing surfaces.
- The exit remains shut after taking the bow: the chest circuit ends at the lower terminal. Rearrange the conductors to reach the upper-left terminal for the main exit.
What do you receive, and where do you go next?
Speak to the monk for Naboris’s Emblem. The other shrines in this branch are Keive Tala Shrine and Kihiro Moh Shrine. Collect all three emblems from this branch, then return to Divine Beast Vah Naboris for the memory rematch. This shrine awards an emblem rather than a Spirit Orb; the main walkthrough explains the next fight.
Related Articles
shrines
Kamia Omuna Shrine Guide: Moving Targets (BotW)
Defeat the Igneo Talus Titan at Lake Darman, time Kamia Omuna’s cannon shots, rotate the target cage, and recover its Diamond chest in Breath of the Wild.
shrines
Kee Dafunia Shrine Guide: The Melting Point (BotW)
Pass the sunrise ring, melt ice into stairs, reveal the Frostblade chest, and lift the final ice cube in Kee Dafunia Shrine in Breath of the Wild.
shrines
Keive Tala Shrine Guide: Big or Small (BotW)
Defeat the Molduking to reveal Keive Tala Shrine, connect its metal-and-water circuit, and solve the laser puzzle for a Radiant Shield in Breath of the Wild.
Was this helpful?
Thanks for the feedback!