

Shira Gomar Shrine Guide: Aim for Stillness (BotW)
Reveal Shira Gomar Shrine by shooting Dinraal’s glowing horn, solve the wind-and-bomb puzzles, and collect ten Bomb Arrows in Breath of the Wild.
How do you reveal Shira Gomar Shrine?
In The Legend of Zelda: Breath of the Wild, this shrine belongs to EX Champion Revali’s Song. Complete the four opening DLC shrines, then visit this Champion’s monument to start its trials. The Champions’ Ballad overview covers those prerequisites and the branch order.
Wait at night on the ledge overlooking Tanagar Canyon. When Dinraal passes with a glowing horn, jump from the ledge, glide closer, draw your bow in the air and hit the glowing horn. The shrine rises across the canyon on the Upland Lindor side. Aim for the glowing horn, not the body.
| Detail | Answer |
|---|---|
| Trial | Aim for Stillness |
| Main mechanic | Carry bombs on wind currents and stop a rotating platform |
| Treasure | 1 chest: Bomb Arrow ×10 |
| Completion reward | Medoh’s Emblem |
This is an additional DLC shrine and does not count towards the 120 base-game shrines.
How do you solve Aim for Stillness?
1. Ride the opening updrafts
Open the Paraglider over the first vent and gain height before steering towards the next. Follow the chain of updrafts to the solid platform beyond the pit. Do not glide straight through each current at low altitude: pause over its centre until you have enough height for the next crossing.
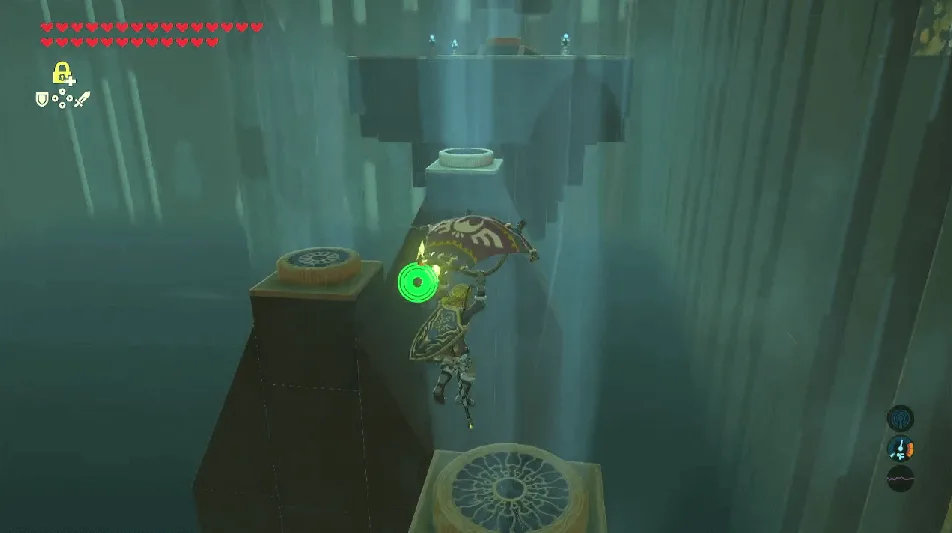
2. Lift a bomb to the cracked wall
At the next vertical vent, create a Remote Bomb and drop it into the airflow. Watch it rise towards the cracked stone section overhead. Detonate when it reaches the stones, then use the same updraft to glide through the new opening.
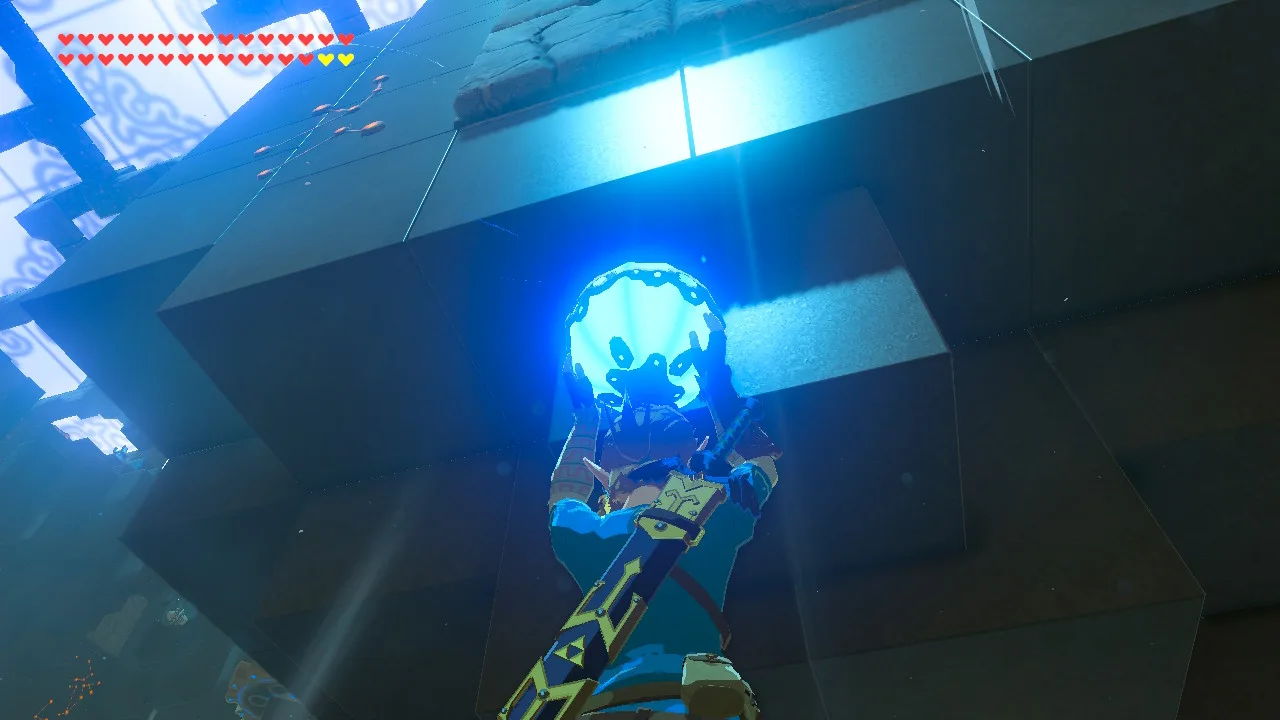
3. Send a round bomb through the funnel
Follow the ledge to the funnel. Select the round bomb, drop it into the mouth and let the wind carry it across the gap. Detonate near the next cracked wall. Ride the angled currents through the cleared route until you reach the ledge above the large rotating platform, then glide down onto it.
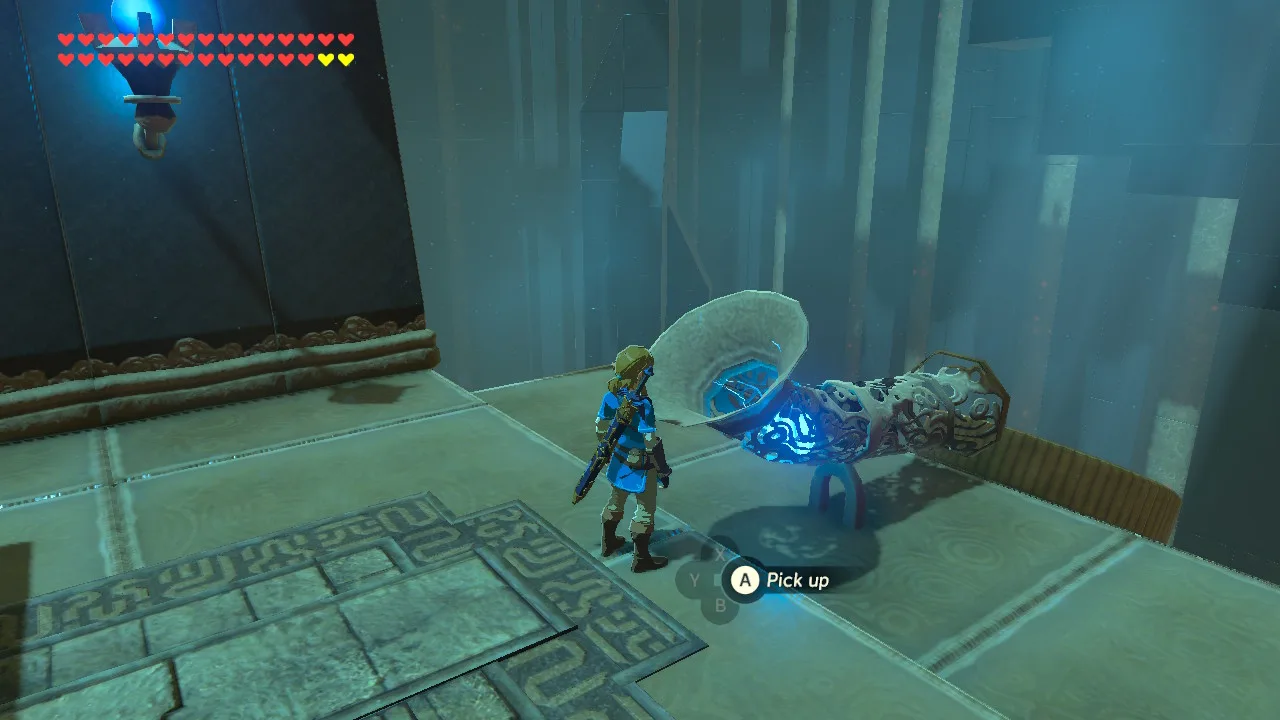
4. Take the side route to the chest
Locate the chest platform off to the side. Wait for a vent on the rotating platform to face that ledge, then apply Stasis to the rotating platform. Use its current to reach the chest and take the arrows. Glide back towards the rotating section and wait for your rune to recharge before setting up the final shot.
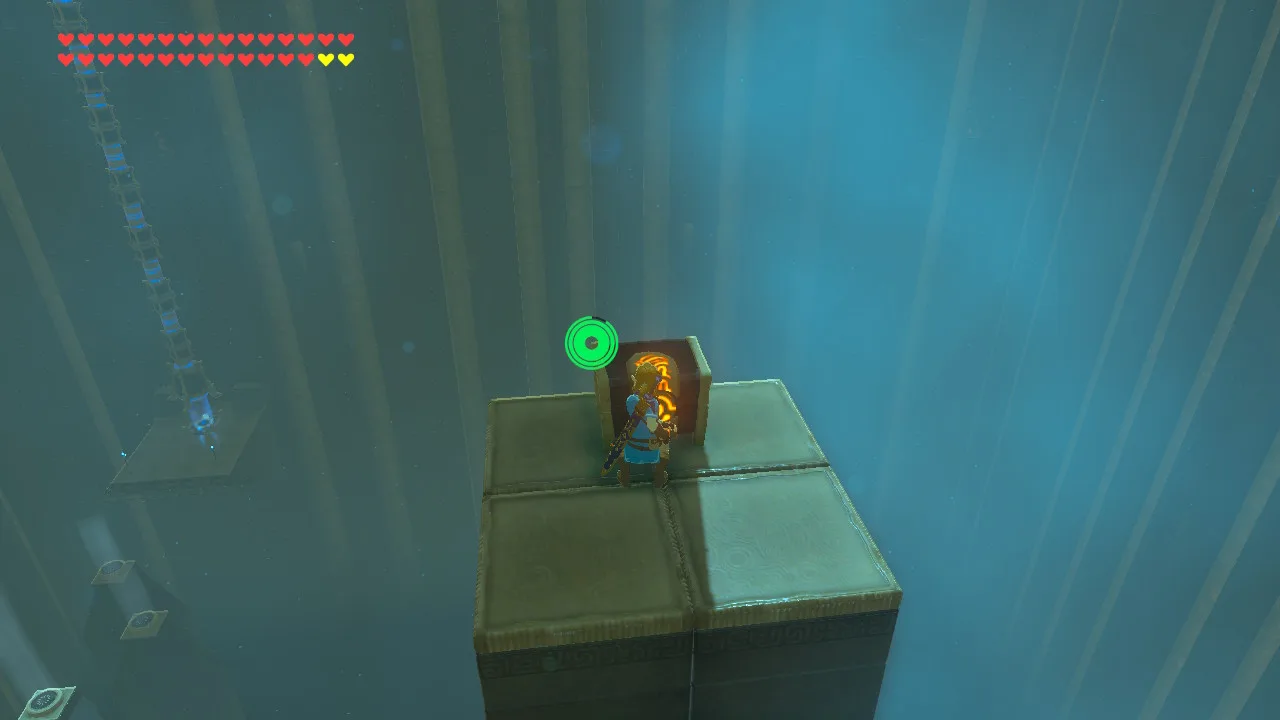
5. Hold the final alignment and clear the gate
Now wait for the vent to face the closed gate and stop the rotating platform again. Keep watching the gate: once the adjacent propeller stops and the gate opens, quickly drop a round bomb into the funnel. Detonate at the cracked stones beyond it. When the way is clear, follow the remaining updrafts to the monk’s platform.
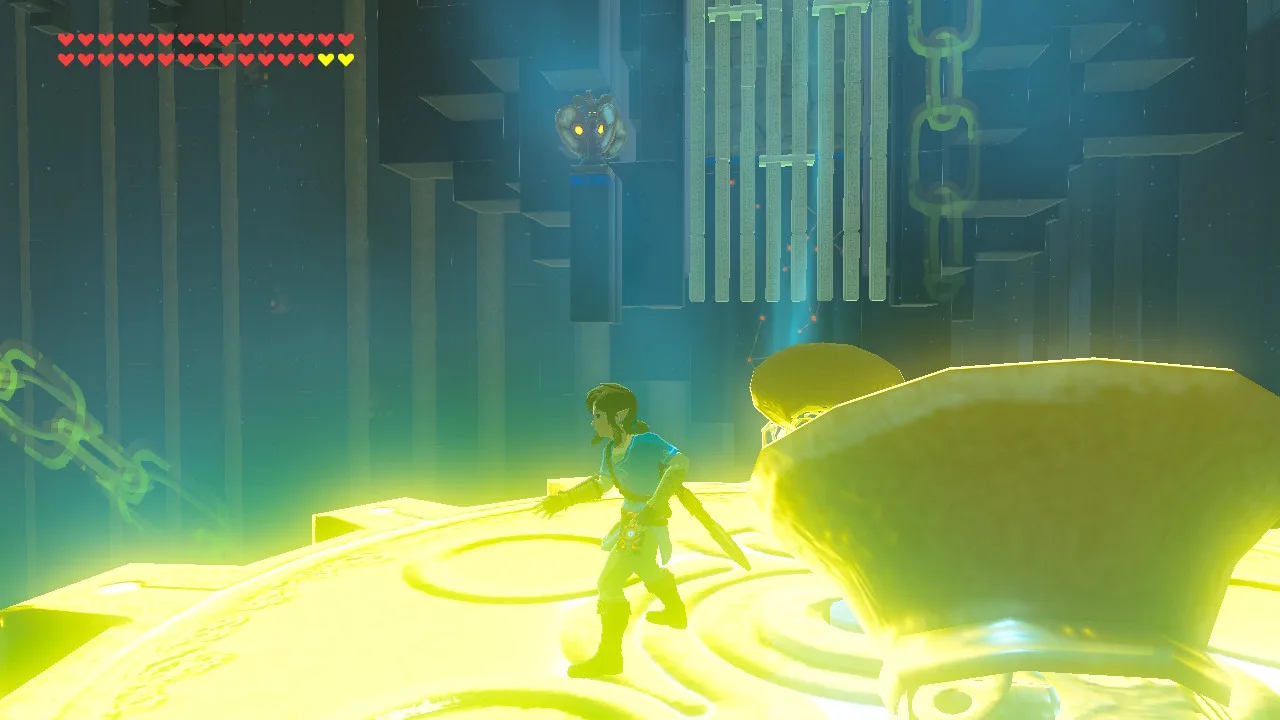
Where is the treasure chest?
The only chest is on the high side platform beside the rotating section. Stop the platform with its vent facing that ledge, glide over and open the chest for 10 Bomb Arrows. Return to the rotating section afterwards; this detour does not open the final gate.
What can go wrong?
- The bomb falls before reaching the wall: align the moving vent before dropping it, and use a round bomb in the funnel.
- The final gate blocks the shot: stop the rotating platform, then watch the gate reopen before releasing the bomb. Do not spend the whole pause trying to freeze the small propeller instead.
- You lose height between vents: rise near the centre of each current before moving sideways. Land on a platform if you need to recover stamina.
What do you receive, and where do you go next?
Speak to the monk for Medoh’s Emblem. The other shrines in this branch are Kiah Toza Shrine and Noe Rajee Shrine. Collect all three emblems from this branch, then return to Divine Beast Vah Medoh for the memory rematch. This shrine awards an emblem rather than a Spirit Orb; the main walkthrough explains the next fight.
Related Articles
shrines
Kamia Omuna Shrine Guide: Moving Targets (BotW)
Defeat the Igneo Talus Titan at Lake Darman, time Kamia Omuna’s cannon shots, rotate the target cage, and recover its Diamond chest in Breath of the Wild.
shrines
Kee Dafunia Shrine Guide: The Melting Point (BotW)
Pass the sunrise ring, melt ice into stairs, reveal the Frostblade chest, and lift the final ice cube in Kee Dafunia Shrine in Breath of the Wild.
shrines
Keive Tala Shrine Guide: Big or Small (BotW)
Defeat the Molduking to reveal Keive Tala Shrine, connect its metal-and-water circuit, and solve the laser puzzle for a Radiant Shield in Breath of the Wild.
Was this helpful?
Thanks for the feedback!